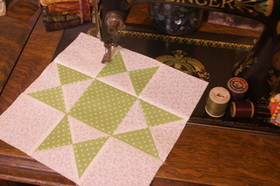
 Stars pop up in my quilts frequently and this is one I have done several times as it is easy to piece, especially with a few tricks that eliminate the need for cutting and sewing all those individual triangles. I recently made a baby quilt that incorporated them in its design and I thought I would put together a tutorial to show you how I piece them. 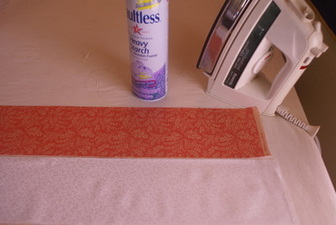 This is a block that benefits from two fabrics with high contrast. Once the fabrics have been chosen we need to do is figure out what size to cut our strips. The finished size of my block is 3 inches. That means I will be cutting the strips for my quarter-square triangles 4-1/4 inches. The math is quite simple: Take the finished size of your block and add 1-1/4 inches. Once my strips are cut I like to starch them. I have found my piecing to be much more accurate by doing so. It will go in the wash once finished so the starch is all washed away in the end. One important note about starch- do not use it if your fabric is going to be sitting around for a long period of time as it will attract bugs. 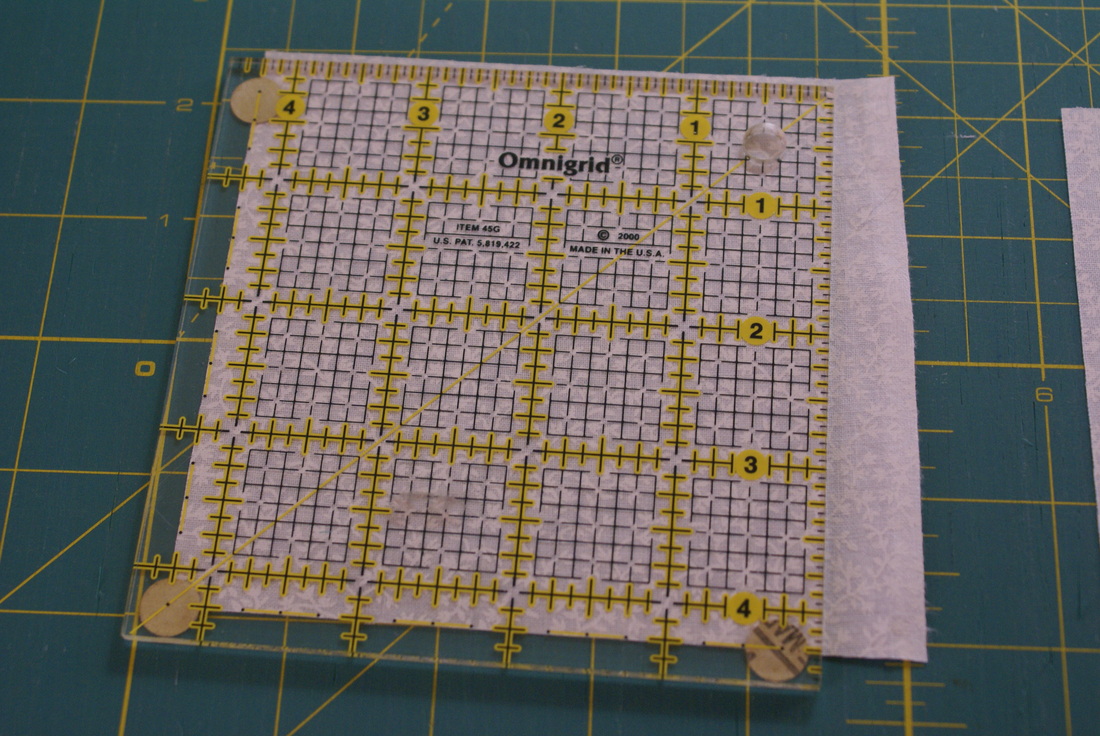 Next we need to cut the strips into squares- in this case 4-1/4 inch squares. Remember my math formula?- finished size of block plus 1-1/4 inches. Notice in the photo that I have the grid lines on top of the fabric. I don't want to line them up along the outside edge of the fabric as my finished block will be too small. This gives me just the right amount for my scant 1/4 inch seam allowance. I would much rather have to do a little trimming on the finished square than have one that came out too small for the block I am making. 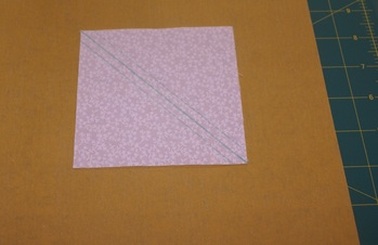 Once the squares are cut I use my ruler and pencil to mark a diagonal line down the center of the lightest color square on the wrong-side of the fabric. I like to add lines on either side of that center line- these are my stitching lines. You do not have to add them, as the center line is your seam guide if you have an accurate 1/4 piecing foot for your machine. I want to be as accurate as possible so, for me, I have found these stitching lines to be important. A trick I have learned when marking fabric is to place a sheet of very fine sandpaper under the fabric. This keeps the fabric from moving during the marking process. Quilt shops sell a sandpaper board that you can purchase but I just picked up a package of 3M Sandblaster Pro 325 grit in the painting section of the hardware store. It has a non-slip backing which keeps it in place on my cutting mat as well. The photo below shows how I mark the stitching lines from the center diagonal. 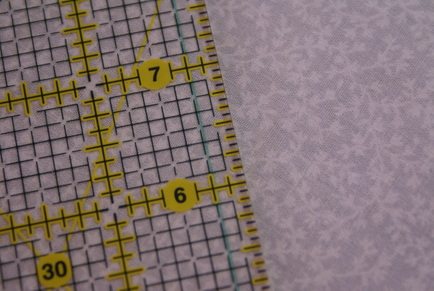 When I mark the stitching lines I place the grid on my ruler just to the edge of my pencil line just the opposite of what I do when cutting my fabric. I want to be sure I have a scant 1/4 inch seam and this is another step to ensure that. I would much rather have a bit to trim away than have a block that measures to small. 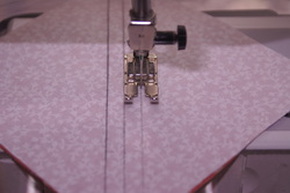 Lining up the stitching line with my needle I chain piece the squares through my machine. I like to stitch a little slower than normal when doing these so that I stay right on that little line. Be especially careful when beginning and ending your stitches on each square. By lifting the presser foot and snugging your fabric up to its starting point at the needle you will get a very smooth entrance. Slowing down as you reach the end of the square and paying close attention to staying right on that line will ensure a straight exit as well. You will need to sew both of your outside diagonal lines. First feed all of your squares through on one side and then turn and do the same for the other line.  Using a ruler for your guide cut along the middle diagonal line between the two rows of stitching. Press the seams towards the darker side. 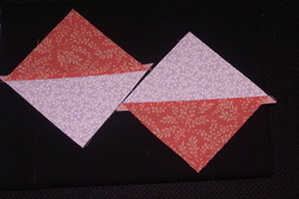 A word about pressing: before opening your triangle squares, with the dark side facing up, press the seam with a hot iron on a dry setting. Gently fold back the darker fabric, finger pressing if you prefer and set your iron onto your square. You do not want to run the iron back and forth, simply set it down on your piece so that the square does not become distorted. Now you have two triangle squares. If you like, trim of the little triangles sticking out over the seams. 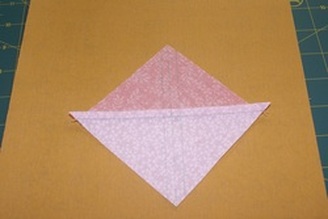 For our quarter-square triangles we need to repeat the process once more. Once again mark diagonal lines onto the wrong side of your square. 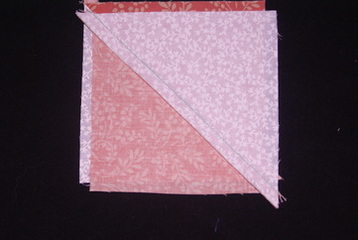 Take a second triangle square and place it right sides together with the one you have marked- light triangles facing dark triangles. The beauty of having pressed towards the dark side is that the two seams will lock into place against each other. This is what as known as matching up seams. 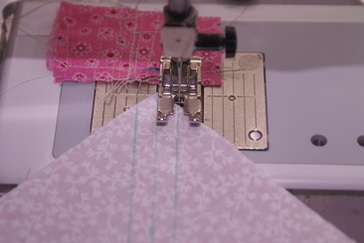 Once again you are going to chain-piece these squares following your marked seam lines. Here I am showing you how I snug a new square right up to the needle before I begin stitching.  Just like before we need to cut along the center diagonal line to separate the two quarter-square triangles. 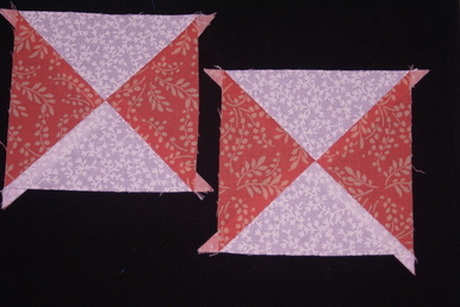 Once you press your seams you should have two quarter-square triangle units ready to do their part in your quilt. A little note: depending on what I am doing with this block I sometimes like to press the seams open rather than to one side. After years of quilting I finally learned that you do not have to press to one side in every application. Seams like these can become very bulky and not lay down nicely- pressing the seam open helps with this in areas where I do not have to match up seams in a block. 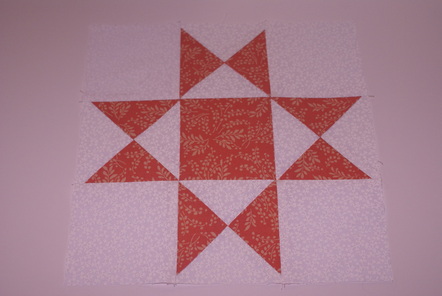 My finished Ohio Star block. Hopefully you will be encouraged to give this block a try now. I laid out a lot of baby steps for you in order to help you have the same success that I do with these quarter-square blocks. Come back and share your pics and stories if you make any yourself- I would love to see what you are doing too!
Happy Stitching, Deb
1 Comment
 I fell in love with needle-turn applique a couple of years ago. There is something I find relaxing about sitting down with handwork. One of the great tricks I have learned is how to make perfect little circles. I had to do quite a few for the piece I am currently working on so decided I would put together a little tutorial. I hope you will see how easy it is to get great results after reading through this post. If you have any questions or need some clarification please feel free to comment and I will respond. How to Make Perfect Circles for Applique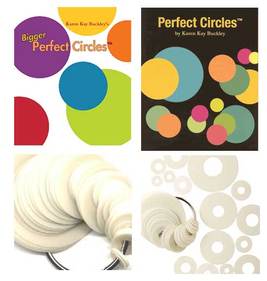 The key for me was Karen Buckley's Perfect Circles. I have the small set with the black background. I tried making my own templates once but it is extremely difficult to get them smooth and perfectly round. The other nice thing about Perfect Circles is that she provides you with several of each size. 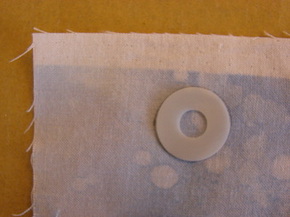 The first step is to place the template on your fabric, wrong side facing you. I like to place mine on a piece of very fine sand paper. Trace around the circle, I use a chalk pencil for this, SewLine makes one that is just like a mechanical pencil and they have a variety of colors of chalk leads to use with it. This is where the sandpaper comes in handy- the fabric does not move at all as you trace around the template.  Next I cut out the circle using between a 1/8 and 3/16 seam allowance-smaller circles benefit from narrower seams allowances. I never worry about being perfect, this is not going to show at all. 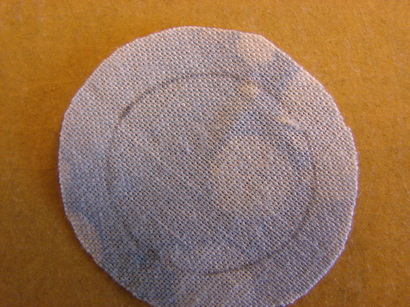 Using a running stitch I sew as near the edge as possible all the way around. (Be sure and leave a good bit of thread at the beginning careful not to pull it into your work as you sew.) If you get too close to the edge it may fray and your stitch will not stay in place. Again, I do this very quickly not worried a bit about perfection. 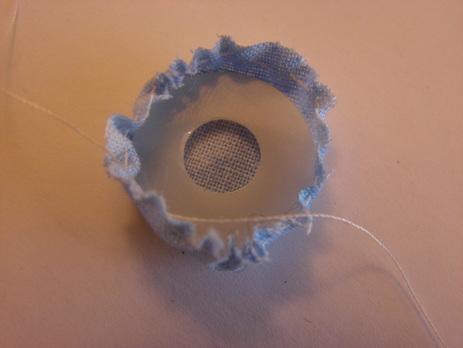 Once that is done clip the thread leaving a good tail. Place the template back in the middle of your circle and begin pulling the loose thread ends to gather up the fabric.  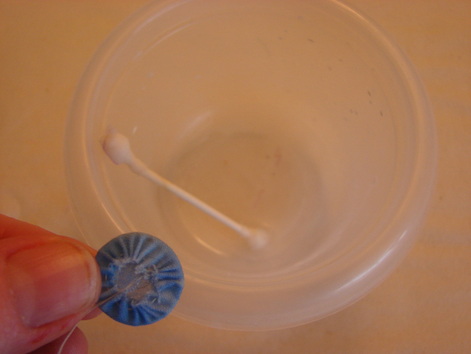 Holding the threads taught across the circle paint on the starch/sizing. Make sure to cover all of the gathers. 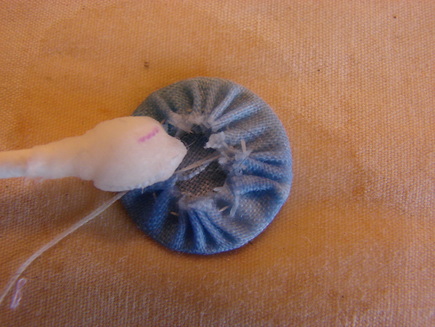 Using an iron that is set to medium heat, no steam, very carefully set it on top of the circle leaving the thread tails sticking out where you can see them. 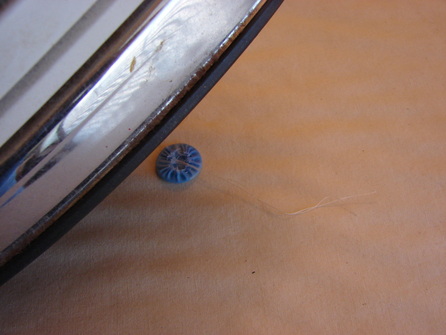 Just leave that iron to set on the circle, pick up another circle that has been cut out and do the running stitch on it while you wait. It is the perfect timing for the iron to do it's job. This is where those threads sticking out come in handy you can safely grab hold of them as you lift them iron and get grab your circle. Set this one to the side to cool. Prepare the second circle with the starch/sizing, place it under the iron and go to work on another circle. It is a great way to mass produce the circles. The set comes with four templates so I do all four, and then draw and cut out the next four while the first are cooling. Once the pressed circles have cooled gently pull out the plastic template 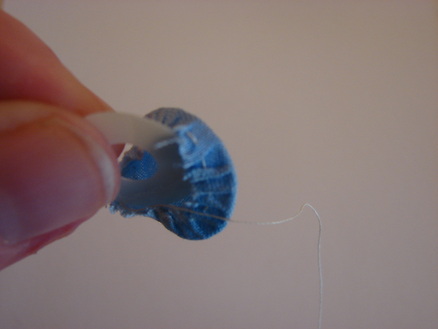 Pull on the stitches to return the circle to it's proper roundness and give a light press with the iron. TaDa! A perfect circle ready to be stitched in place. 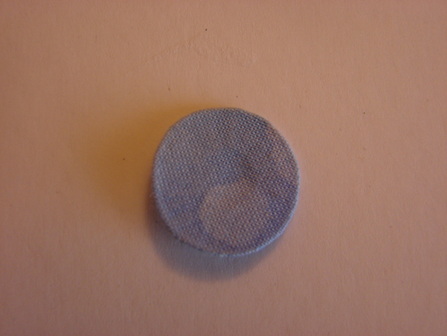 Now it is time for me to get back to sewing. 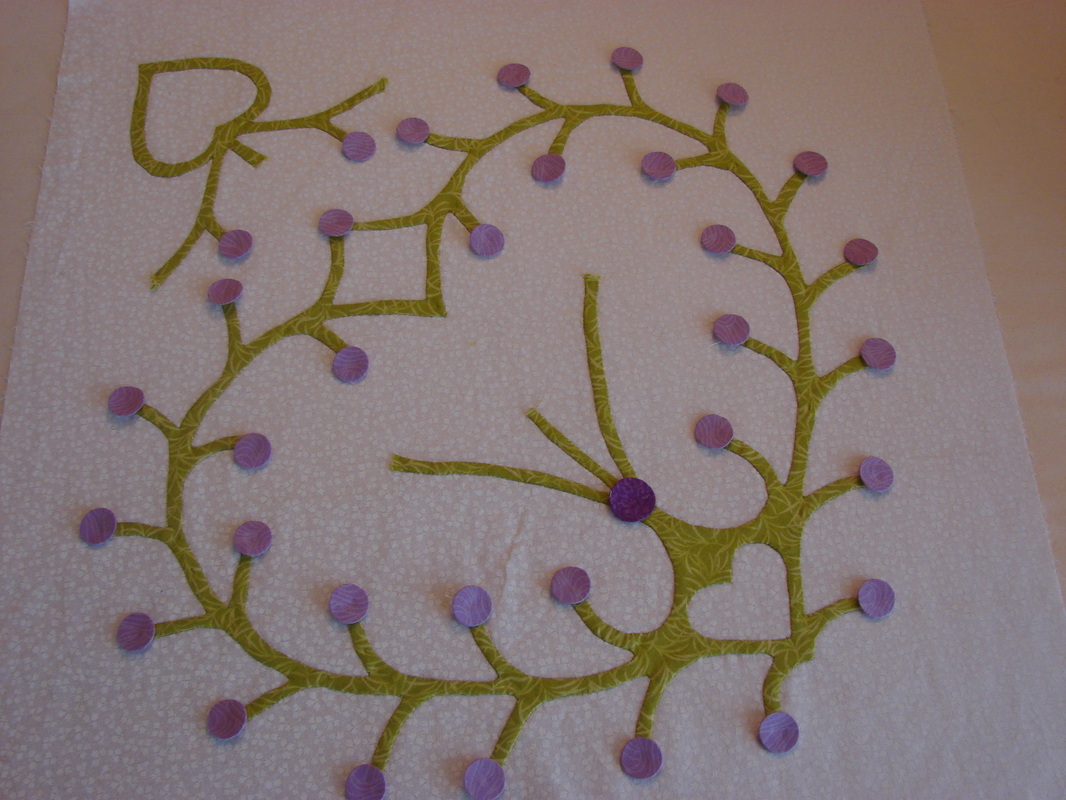 Happy Quilting!
Deb |
 RSS Feed