|
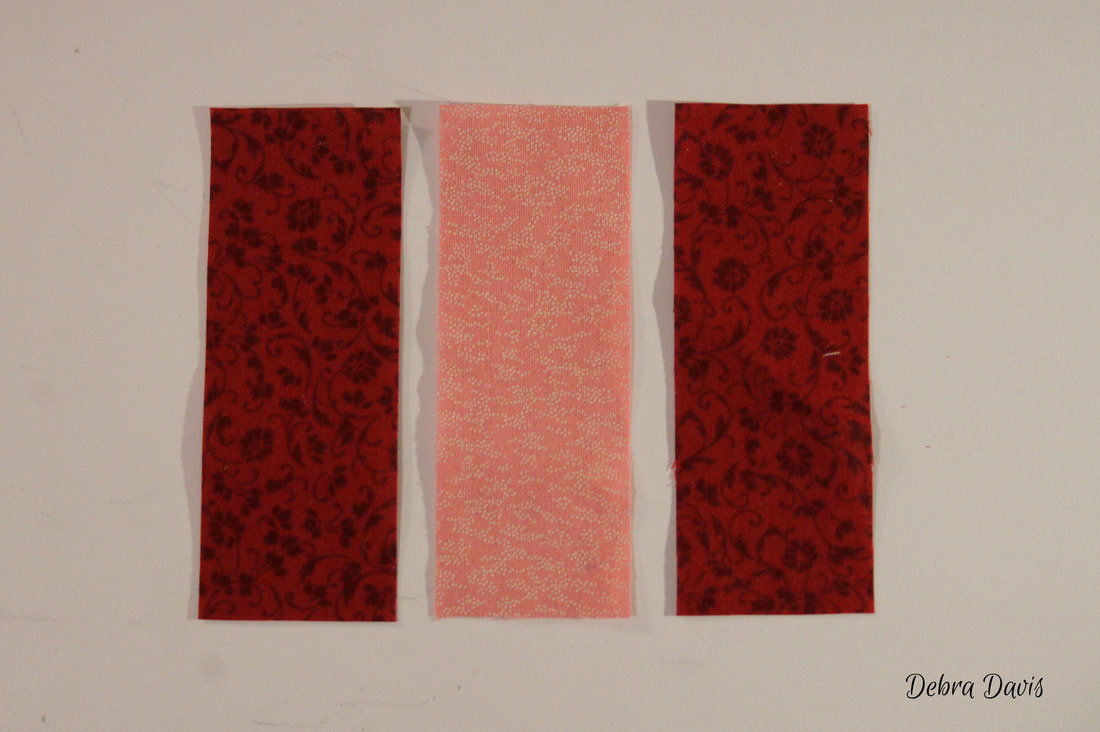
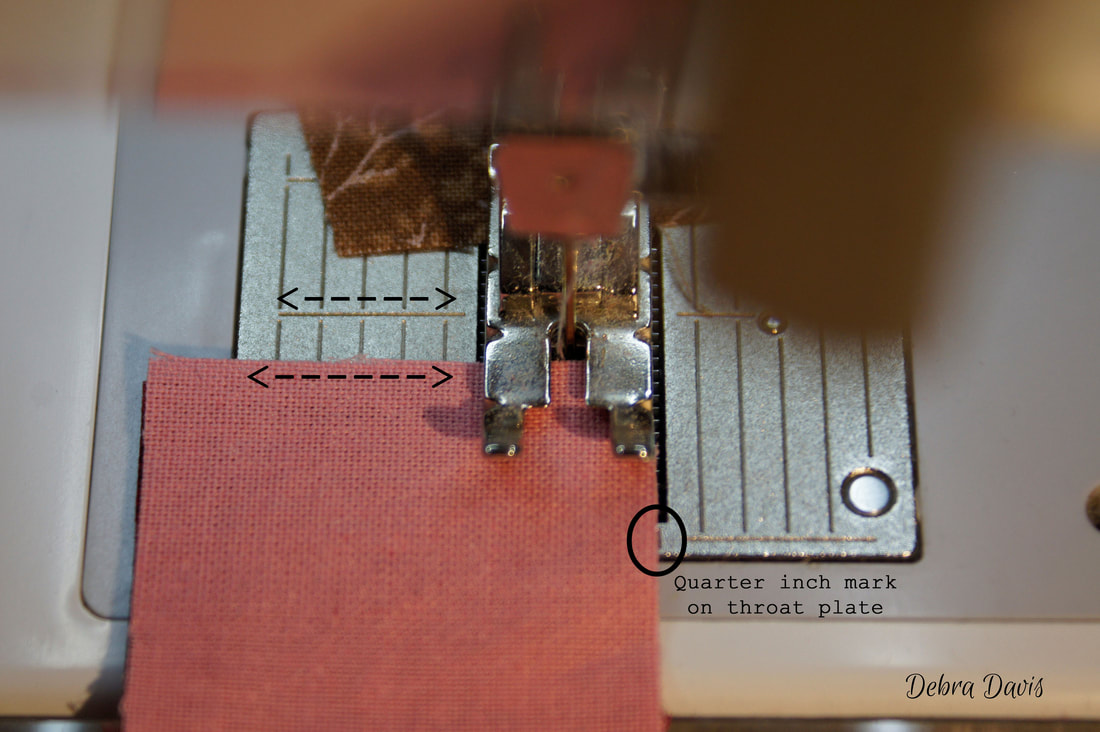
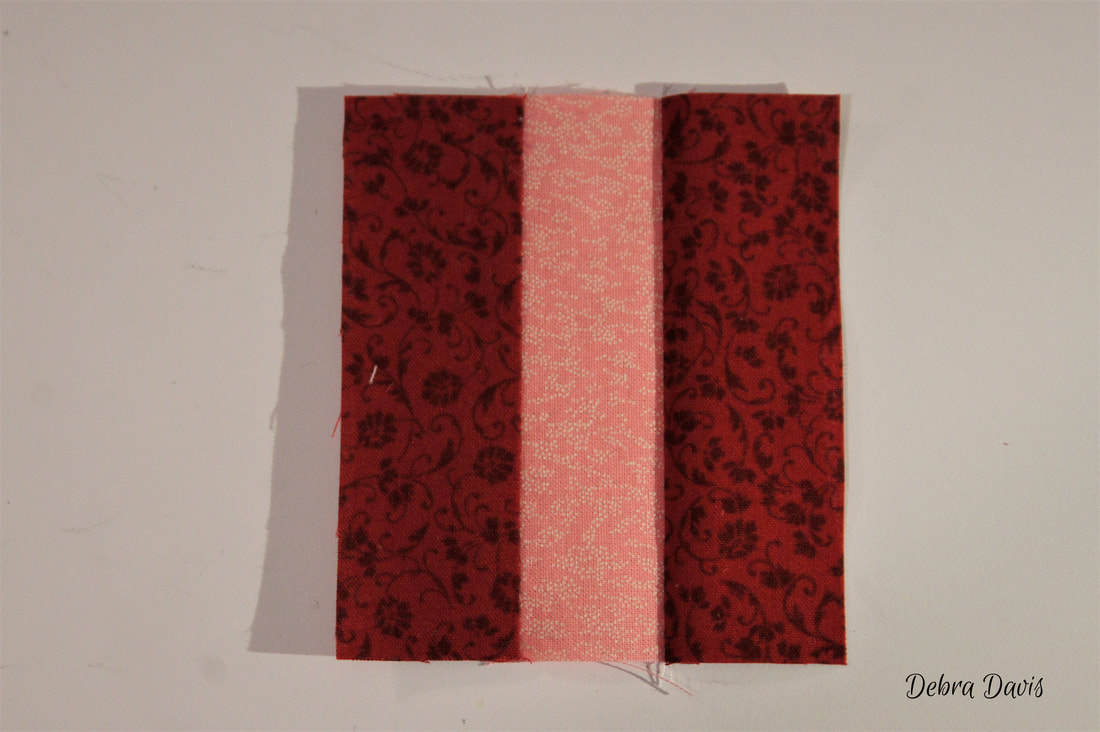
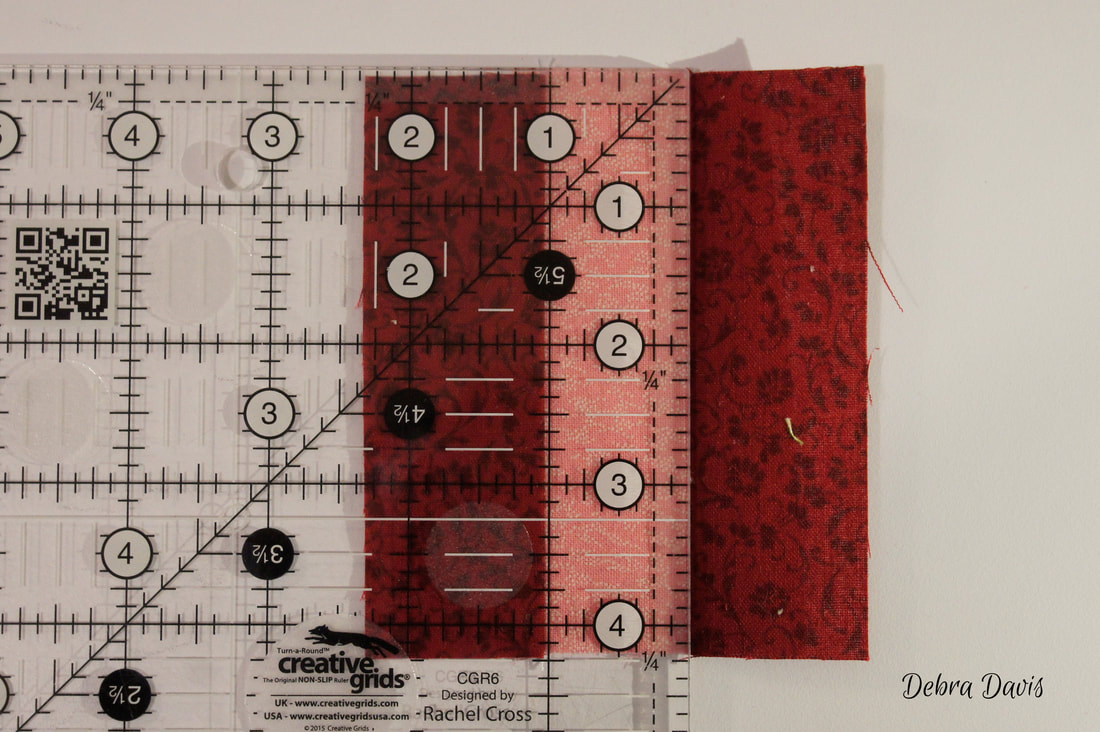
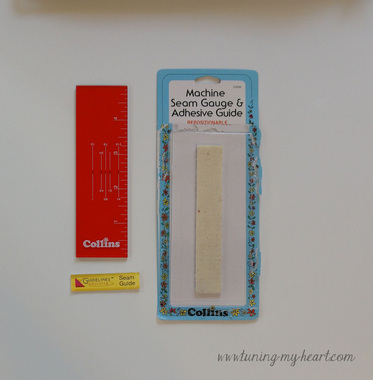
We have all heard how important a 1/4 seam is. It sounds so easy, but how elusive it can prove to be. Did you know that the accuracy of your 1/4 inch seam can be affected by the thread you use, among other things. It is important to check the accuracy of your seams before beginning a new project, especially if you are using a different thread and/or needle size. Here is my little tutorial on how to achieve that mysterious seam needed for quilting. There is nothing new here, but perhaps you, dear reader of my blog, will find it helpful. Step 1: I cut three strips of fabric that measure 1 1/2" x 4" wide using two different fabrics. Step 2: One of the often overlooked keys is how you sit at your machine. It is important to sit facing your machine "square on." As you look at the needle you want your eyes to align with the presser foot in such a way that you are looking straight at it. My machine has a 1/4 inch foot that I use, I make sure the edge of my fabric is lined up with the edge of the foot. My throat plate also has a quarter inch mark that I make sure is lined up as well. One other thing I check is that the top edge of my fabric lines up with the horizontal mark on the throat plate-this tells me everything is squared up and I will be starting with a straight line as I sew. (Notice the two arrows in the photo,) When I sew I I focus my attention, not on the needle, but on that quarter inch mark on my throat plate. I was so used to looking at my needle from my garment sewing days that it took a bit to realize how much this little change in focus helped. With right sides together sew the strips together and press towards the dark side. Step 3: Now I can check how accurate my seam is. The middle strip should measure 1" across. 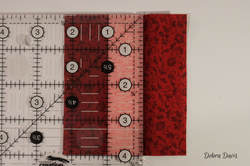 I want to show you in this next photo how much difference there is if I move my needle over one position on my machine. My machine has the ability to move the needle to the right and left several places. Here I have moved it one position to the right and you can see that the middle strip is now over 1" even though I only moved the needle over a very tiny fraction of an inch, basically a needle width. But just that little bit is enough to affect the accuracy of my blocks. If your machine does not have this feature you may find it helpful to use a seam guide, of which there are many available options, that will help you line up your fabric on your machine as it enters the stitching area. You might even find placing a piece of tape on your throat plate is all that is needed once you figure out where your quarter inch mark should be. Pictured below are some of the things I have used in the past, before I purchased my current sewing machine, that helped me with acheiving accuracy. These are all adhesive guides that can be removed when not needed. I hope this helps. Happy Quilting! Debra
0 Comments
We had a cold front move through Texas this weekend. It actually started to feel like fall. As my studio is usable again my thoughts soon turned to quilt patterns. I think I gather even more patterns than I do fabric! I came across these and thought you might enjoy them as well. 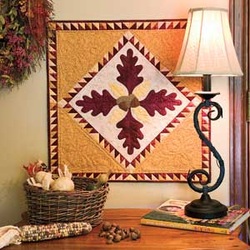 Acorn Autumn is a pattern available from McCAlls Quilting  Autumn Blessings- a freebie from The Painted Quilt Fall Scarecrow-This is another one from the Painted Quilt. I checked the links and they worked for me, but let me know if you run into problems. Happy Quilting! Deb |
Tuning My Heart Quilts by Debra Davis is licensed under a Creative Commons Attribution-NonCommercial-NoDerivs 3.0 Unported License.
Based on a work at www.tuning-my-heart.com.
Copyright 2010-2022 by Tuning My Heart Quilts, LLC. No part of this website can be reproduced without written permission from the author. All rights reserved.
Proudly powered by Weebly
 RSS Feed