|
At our quilt guild meeting on Monday two of our members shared several smoothies they mixed up for us. I tend to get away from smoothies over the winter, but with the temperatures rising I am once again returning to them for their ease and cooling refreshment. There are so many healthy recipes out there to try.  Photo credit: Healthful Pursuit Photo credit: Healthful Pursuit Here is a site where you can find some healthy recipes. Healthful Pursuit. Leanne Vogel has some very tasty combinations to try, and I like that for some she recommends putting them together the night before so breakfast prep is at a minimum. Smoothies are really quite easy, just dump everything into a blender and away you go. Apple Cinnamon Smoothies 2 scoops of vanilla protein powder 1 cup unsweetened almond milk 1 Granny Smith apple, cored and sliced 1/2 frozen banana 1 tsp. cinnamon 1 tablespoon agave nectar apprx. 5 ice cubes Makes a great breakfast smoothie. Berries and Cream Smoothie 2 scoops vanilla protein powder 1 cup unsweetened almond milk 1/2 cup lowfat cottage cheese 1 cup frozen berry blend 2 Tablespoons flaxseed meal apprx. 5 ice cubes I hope to share more recipes with you over the next few weeks. Do you have a favorite smoothie recipe you would like to share? The ladies at guild made some with Kale and I hope to incorporate that into some this next week. Cheers, Deb
0 Comments
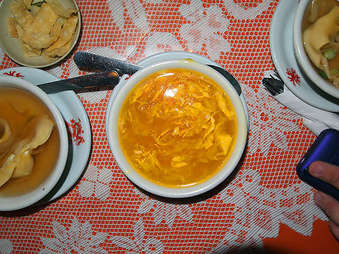 Sunrise's Egg Drop Soup Sunrise's Egg Drop Soup We have a favorite Chinese restaurant that we frequent enough they know how many places to set for us when we come. I have really begun to enjoy their soups. Usually I would just pick the wonton soup which came with the meal. Lately, however I have just been ordering the soup for my main dish. No matter which one I try they are simply a healthy and delicious choice. A bonus, I have started to drop some of those extra pounds I gained over this past year while still feeling satisfied. It all led me to wonder if I could replicate these wonderful recipes at home. Success was had last week with my first attempt at Egg Drop Soup. We had purchased a whole roasted chicken from the store for dinner and I used the bones as a start for my chicken stock. I had read somewhere that roasted chicken makes a really good stock, so I was excited to give it a try. I found several recipes for making a chicken stock online, everybody claims there is the best of course. I usually end up combining various recipes according to what I have on hand and here is what I ended up with for the base of my soup: Chicken Stock Recipe. This recipe produced 8 cups of stock for me. I did decide to give it a go in my crock pot, since it was late evening by the time I got this started and I really wanted to make my soup the next day for dinnner. I am not always the most patient person, and this stock cooking overnight made it really hard for my husband to sleep as the house just smelled so good. The following is the recipe I came up with followed with the details of the process I used. There is a link at the bottom of the page for the printable version. Ingredients: 4 cups chicken broth (homemade or store bought with no/low sodium) 1/2 cup diced ham or bacon 6 green onions, thinly sliced and seperating the white parts from the green 1 inch piece of ginger, finely grated 1 teaspoon whole peppercorns kosher salt 4 teaspoons cornstarch 2 whole eggs -Bring stock to a boil in a saucepan. -Add ham and the white parts of the green onions. Place ginger and peppercorns in a tea ball or spice bag and add to soup. Reduce heat and simmer for 20-30 minutes. If you prefer to have a clear broth you can pour the soup through a strainer before proceeding. -Season to taste with salt. -Combine 1 tablespoon of the cornstarch with about a tablespoon of water in a small bowl and mix until smooth. Whisk this into the soup and let it simmer for a minute or two. -Whisk together the eggs with the remaining teaspoon of cornstarch until well blended. -Swirl the soup with a large spoon to get it moving in the saucepan. -hold the tines of a fork over the edge of the bowl with the egg mixture and slowly drizzle the egg into the saucepan. -Allow soup to sit for about 20 seconds, then stir gently to break up the egg to desired size. -Serve with green parts of onion sprinkled over the top. For my Egg Drop Soup I started with 4 cups of homemade chicken stock and brought it to a boil for two minutes. Next I added some pre-cooked bacon pieces, the white parts of the green onions, some ginger and the peppercorns. I had a tube of Gourmet Garden's ginger in the fridge and squeezed in about a tablespoon worth. I love Gourmet Garden products and usually have a tube of this and one of lemongrass on hand in my fridge. I simmered this for about 20 minutes. Most of the recipes I read said to strain the soup at this point. Others did not for a heartier version. Since I was planning to serve this as our main course I did not strain it. That did mean that you occasionally came across a peppercorn, my husband just eats them-I left them in my bowl. (I realized later that I should have added my spices to a tea ball or spice bag and this would have easily solved the problem of biting into a peppercorn.)
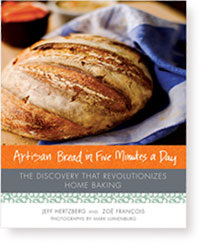
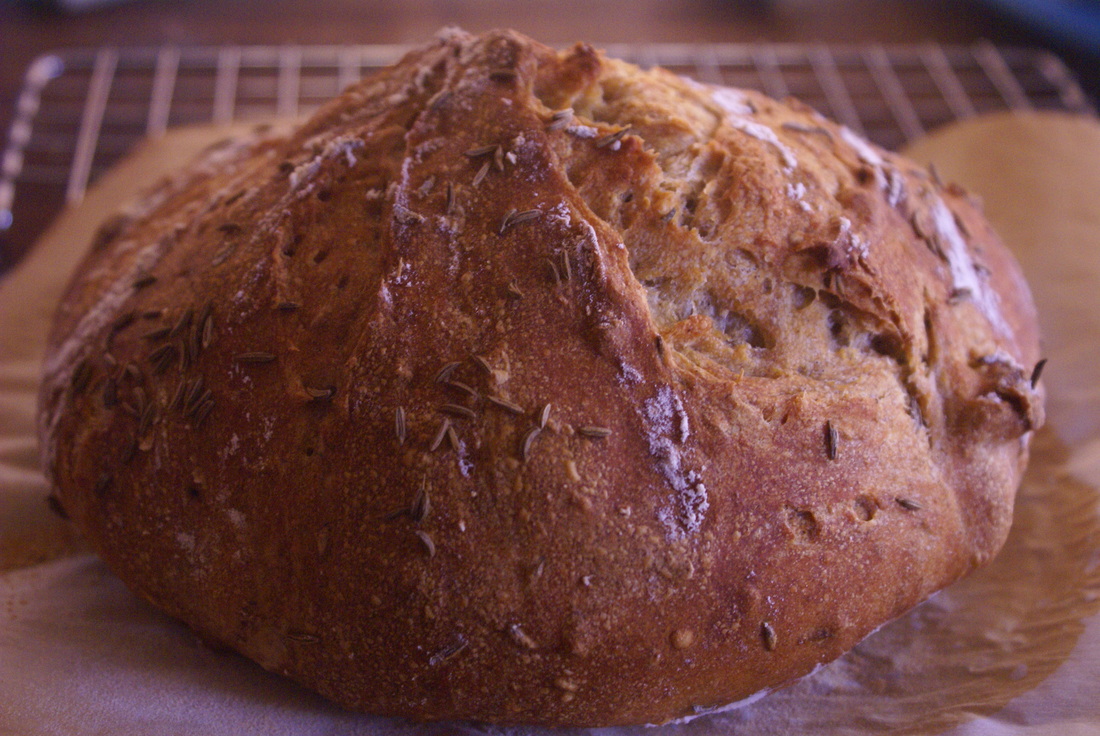
The next step was to whisk some cornstarch into the soup: I mixed the cornstarch with about a tablespoon of cold water until it was pastelike. Once that was accomplished, I whisked it into the soup and simmerd for a couple of minutes. Now came the fun part: adding the eggs. There was very little variation in recipes at this point except for the number of eggs to use. I went with two and that was plenty for Ken and I. I whisked the eggs in a bowl with the rest of the cornstarch. According to one source the reason for this is that the cornstarch in the eggs inhibits protein bonds and keeps the eggs from going rubbery. I cannot speak to that, but the eggs did come out very nice. With the soup still simmering at this point, I stirred the soup until it was swirling around the pot pretty well. Holding the tines of a fork over the bowl with the egg mixture I slowly drzzled it into the soup. This was simmered for a few seconds and then I gave my soup a stir until the egg was broken up into the size I desired. Sprinkling a little of the green onions on top made for a pretty little presentation. I served this along with my Coconut Rice recipe and we were both quite satisfied. This soup was so good that when went back to our favorite little restaurant a few days ago I was disappointed with the soup I ordered. It was still very good of course, but I actually think mine was better. 食福 (chia̍h hok) - Eat well, enjoy good food Deb We have a weakness for good bread in this house. There is a store in Texas we love to go to and peruse their bakery where you can sample all of their wonderful artisan breads. Ken and I had success with our bread machine in making some pretty tasty breads, but I wanted something that looked pretty too. So I ordered a copy of Artisan Bread in Five Minutes a Day and have since loaned my bread machine to our oldest son for his use and not missed it at all. It is a bit of a misnomer to say "five minutes a day," but that is only because it takes longer than that to actually bake the bread. I was in the mood for Reubens last week so played with the rye bread recipe from the book. This process produced a delicious bread and it made meal prep quick and easy, which is something I am in need of now that I am working. Jeff Hertzberg and Zoe Francois walk you through each step with easy to follow instructions. The first step in the process is to combine 3 cups of lukewarm water with a tablespoon of yeast and a tablespoon of kosher salt. No more worrying about getting the temperature of the water just right. With this method as long as the water is not hot you are good to go. Hot water could kill your yeast, cold water will just prolong the time that is needed for the rise. I use my stand mixer on low for the whole process as it is easier to mix in the flour, though you can mix everything by hand in a large bucket and get a bit of a workout at the same time. To the water/yeast.salt mixture I added 1 cup of rye flour, 5 1/2 cups of all-purpose flour and 1 1/2 tablespoons of caraway seeds blending just enough to mix well. Everything then gets dumped into my 6 quart lidded bucket. Let this sit on the counter for a couple of hours with the lid sitting loosely on top. The dough will double in volume after approximately 2 hours. Then into the fridge it goes until I am ready to use it. It can stay there for up to two weeks and the longer you wait to use it the more flavor it develops. The dough is much easier to handle when it is cold, thus I always work with refrigerated dough. It is pretty sticky when you get it out to make your loaf and benefits from a sprinkling of flour over the top of the dough. Then just pull off about a grapefruit sized piece. This next part is a a little hard to describe, but you work the dough quickly, pulling the top down and around the bottom shaping into a ball. Do a quarter turn and repeat three more times. That is it. Place the formed ball onto a piece of parchement paper and let it rest for about 40 minutes. During that time preheat the oven to 450 degrees. The authors have you preheat a stone in the oven, I have found that I just place my bread on one of our pizza pans or a baquette pan if I am doing a longer shape and rarely mess with the stone anymore. Once my 40 minutes was up and the oven was at temperature, I brushed water over the loaf with a pastry brush and then sprinkled it with more caraway seeds. Using a bread knife I slashed the loaf in a pleasing pattern, popped that baby into the oven and 30 minutes later the bread was done. It is so hard to resist digging in right away when the loaves come out of the oven, but the authors state that the bread will be gummy if you do, and experience has proven them to be correct in their assessment. Just wait until it cools and the loaf is perfect. This is such a timesaver of a method. I love that it is very forgiving too. So how much time is really involved. Well, ten minutes for putting the ingredients all together. 2 hours to rise, but if you forget and let it go longer no problem, and you could put it in the fridge right away the rise would just be slower. I never watch the clock on this step. 40 minutes for this particular recipe to rest after spending less than five to shape it. 35 minutes to bake. Sooo, approximately 3 1/2 hours all together, but by doing it in bits and pieces you can have fresh bread everyday for dinner without spending all day to achieve it. I received my copy of Artisan Pizza and Flatbread in Five Minutes a Day last week from Amazon and need to try the master recipe for pizza crust next.
I highly recommend this method to even the novice cook. No kneading, no rising and punching down and rising again- and best of all, the bucket is ready to go whenever I need another loaf. The basic recipe has become our standard around here too. On Friday we shape some into baguettes and on Saturday morning it makes the best french toast. So many recipes yet to try... Jeff and Zoe, the authors, have a great website with lots of tips and recipes. They have done a fantastic job of showing how to do the basic recipe if you would like to give it a try.  We love Spaeztle around here. It is quick and easy, especially if you have a spaeztle maker. Mine is an old one that was given to me by a German friend. I recommend one of the sturdy German models if you are planning on purchasing one. You can find them on Amazon here. For Spaeztle you will need: 2 cups flour 2 eggs 1 teaspoon salt 1/2-3/4 cup hot water A saucepan with boiling water slotted spoon Mix the flour, eggs, and salt together. Slowly add the hot water until it becomes a heavy sticky dough. Squeeze through the spaetzle maker in batches into boiling water. When the spaetzle float to the top scoop them out with the strainer, being sure to drain them well. If I am going to serve this with Beef Stroganoff I place them immediately into a covered casserole as each batch comes out of the boiling water. Variations: Add a little spice to this dish. To the flour, eggs and salt add 1/2 teaspoon nutmeg and a dash of pepper. Printable Version of Recipe  Many years ago a German friend had us over for dinner. She not only prepared us a delicious meal from her mother's recipes she shared her recipes with me. Beef Stroganoff served over spaetzle has been a family favorite ever since. Now that my sons are heading out on their own they are asking for my recipes so that they can prepare their favorites themselves. Though not a pretty dish for a photograph, it makes up for itself with flavor. We have served this over packaged egg noodles and toasted bread, but our favorite is with homemade spaeztle. Hope you enjoy. Zum Wohl. Ingredients:
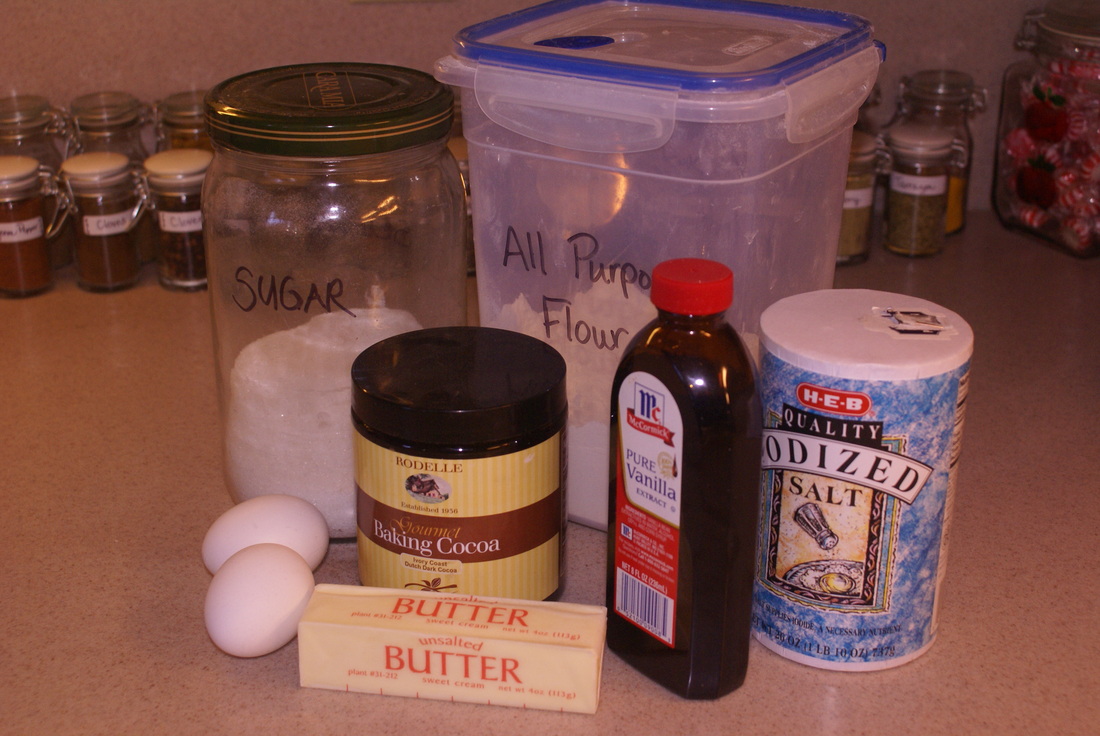
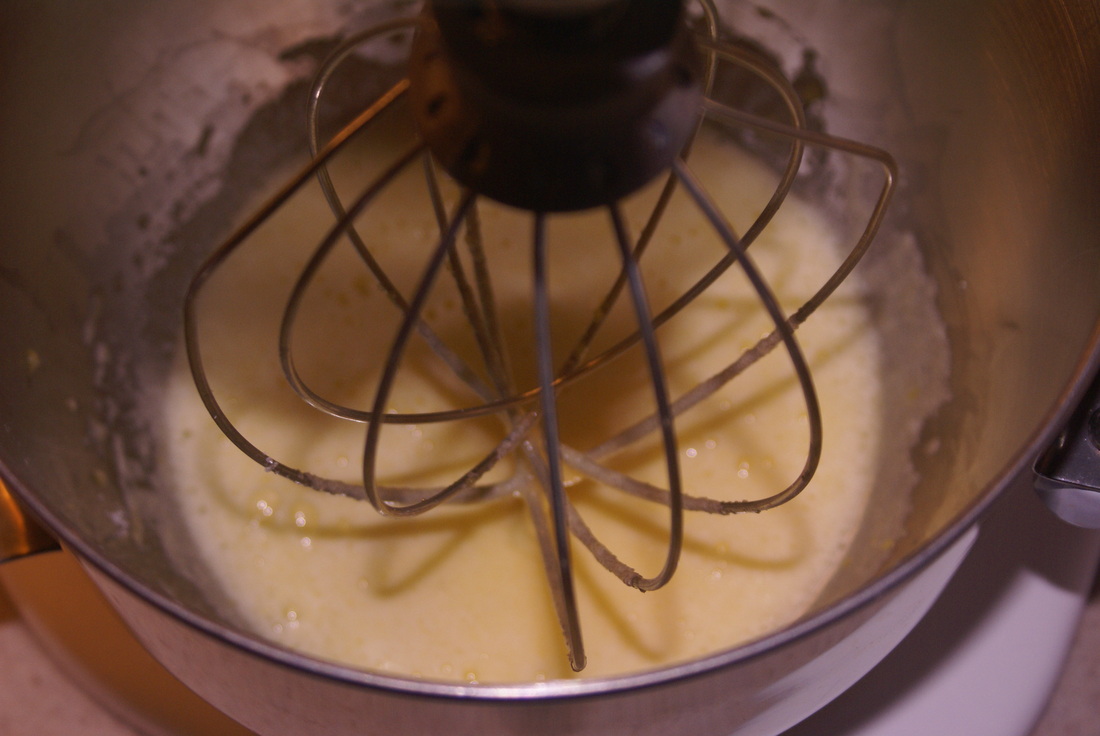
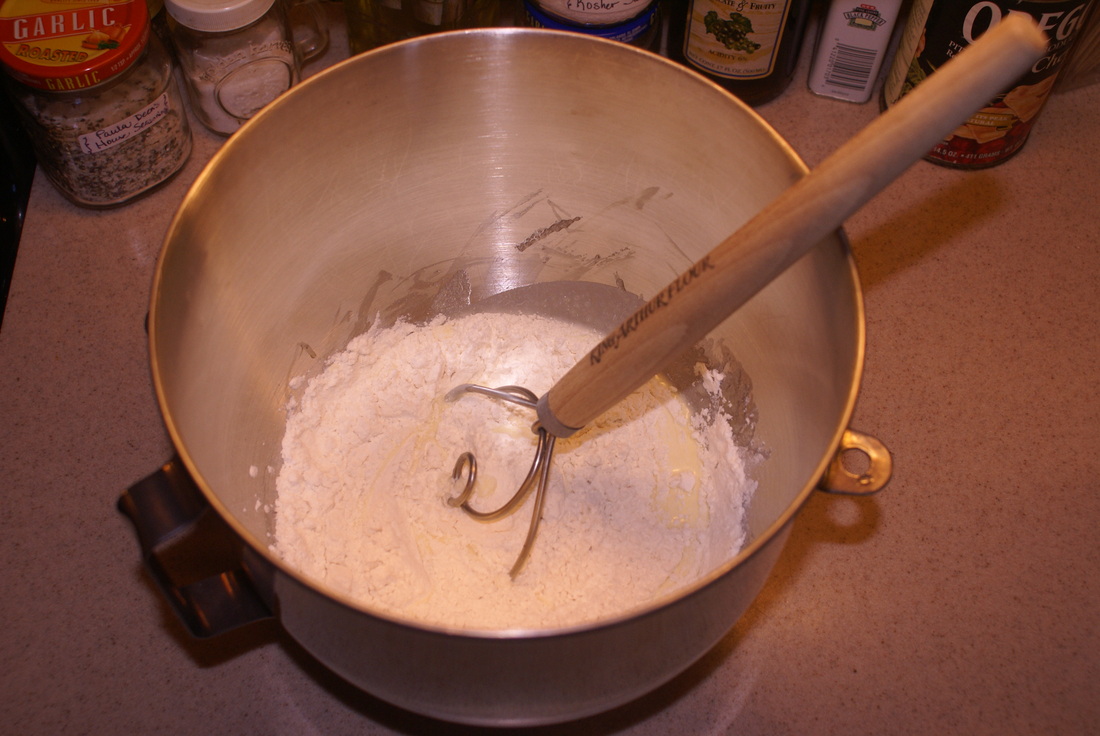
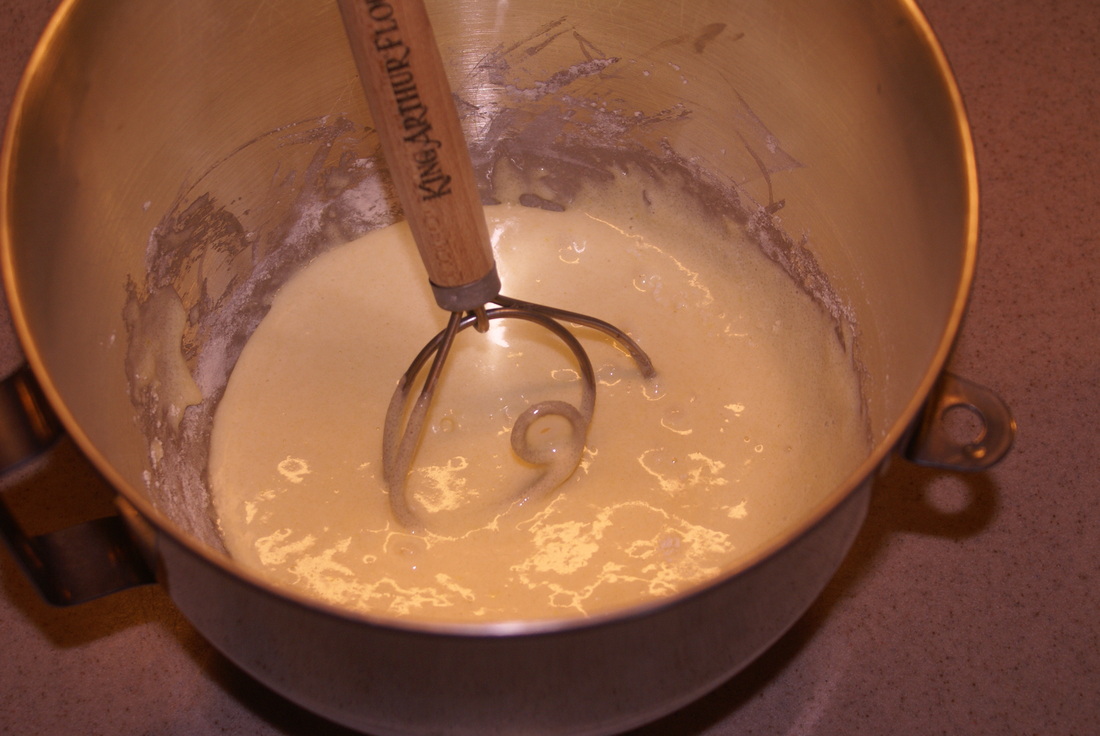
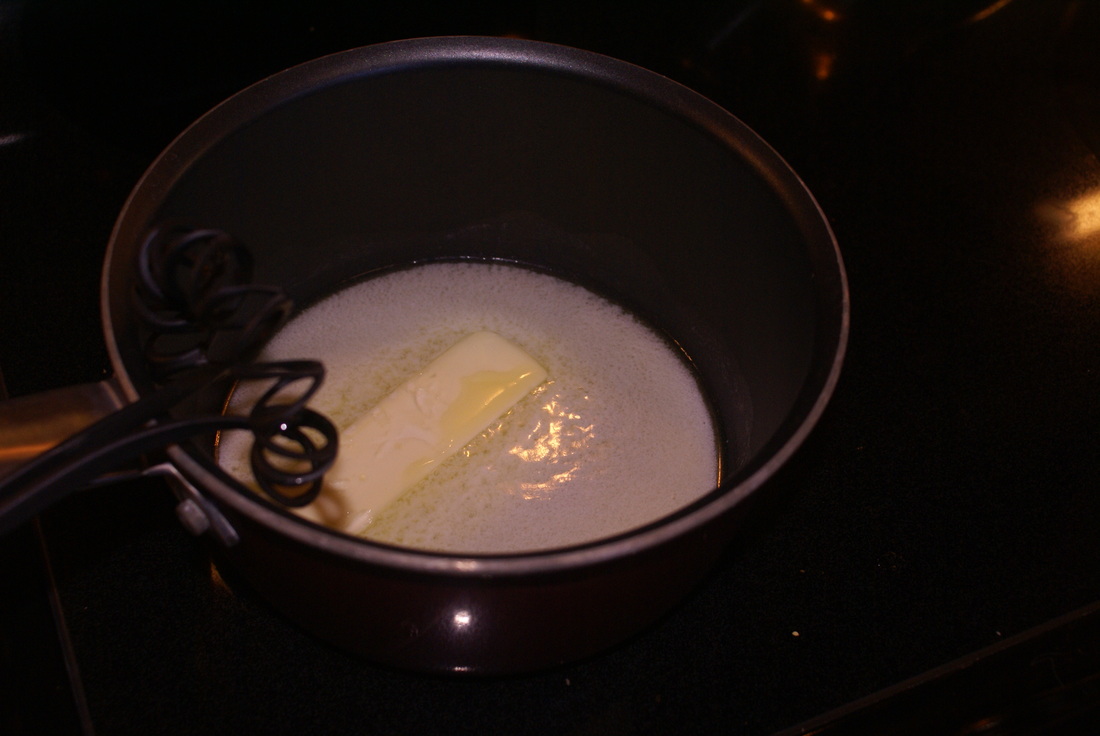
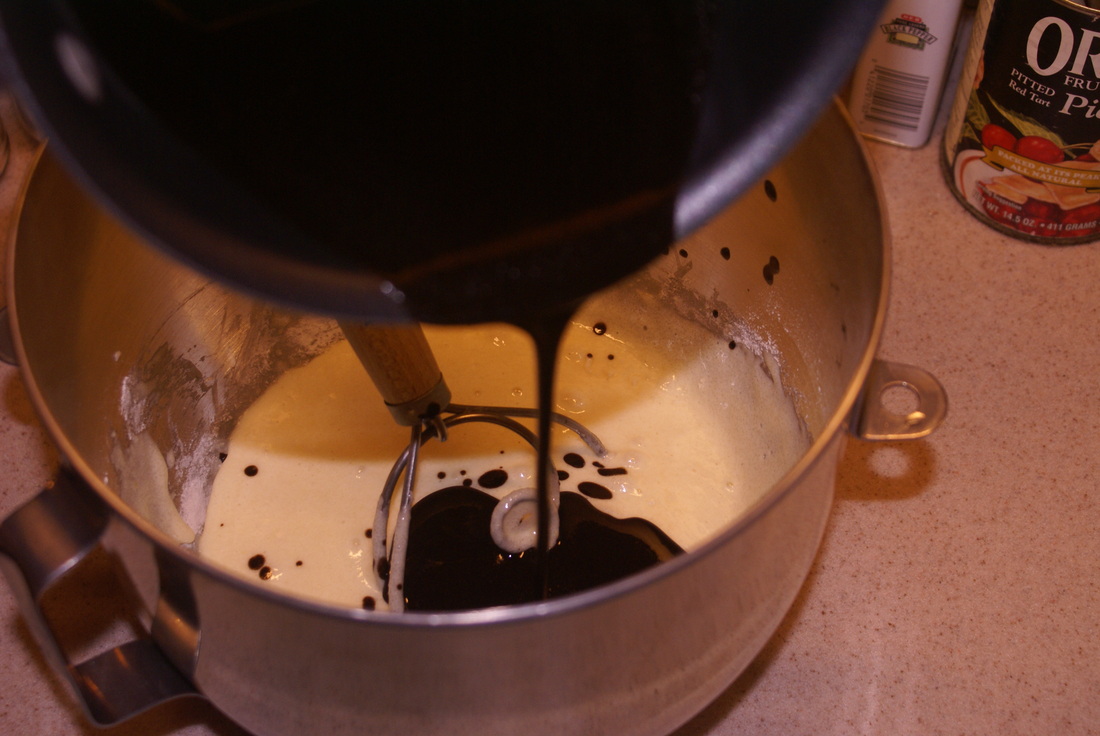
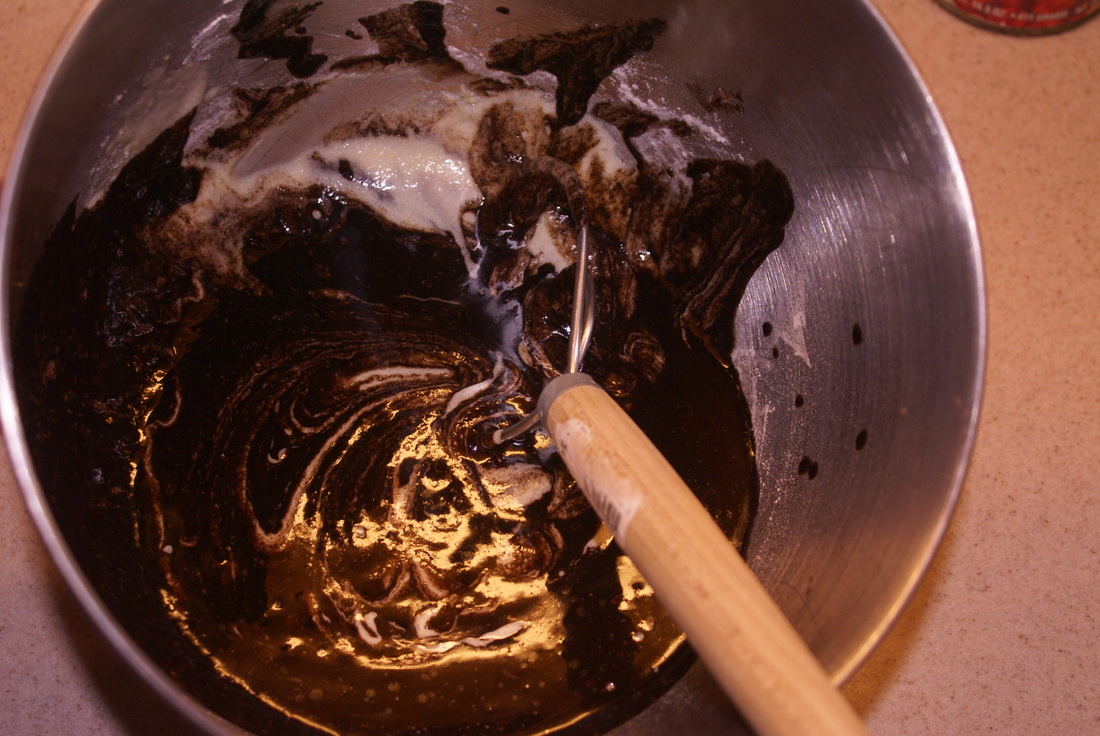
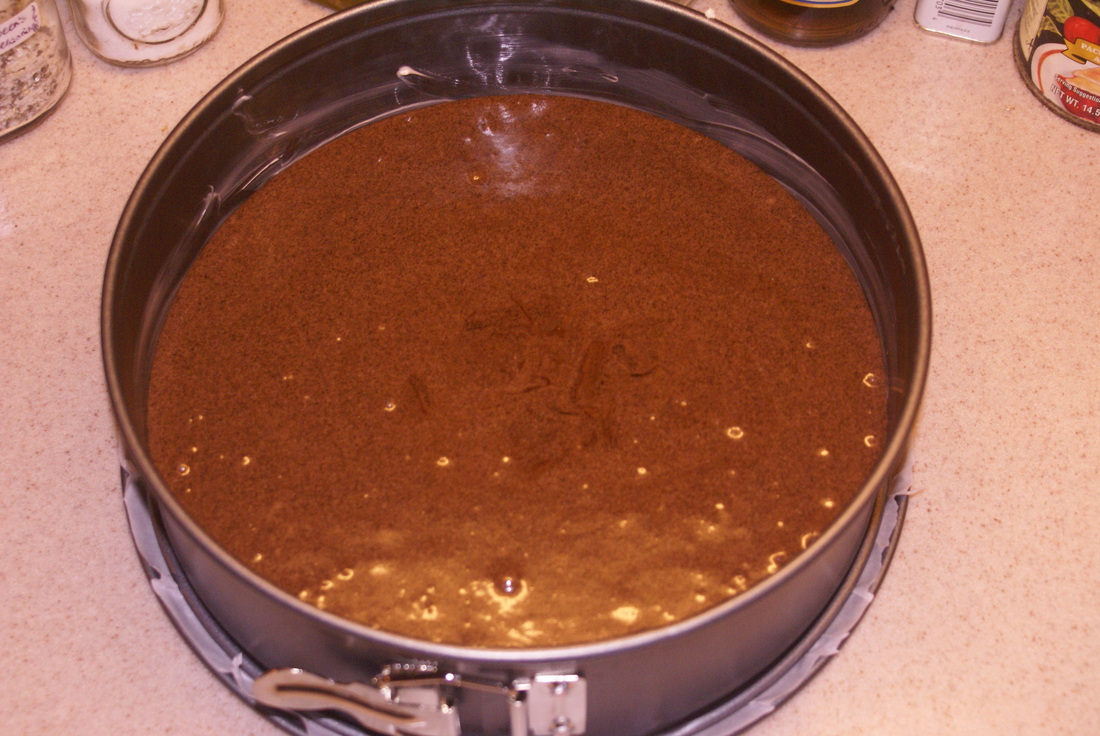
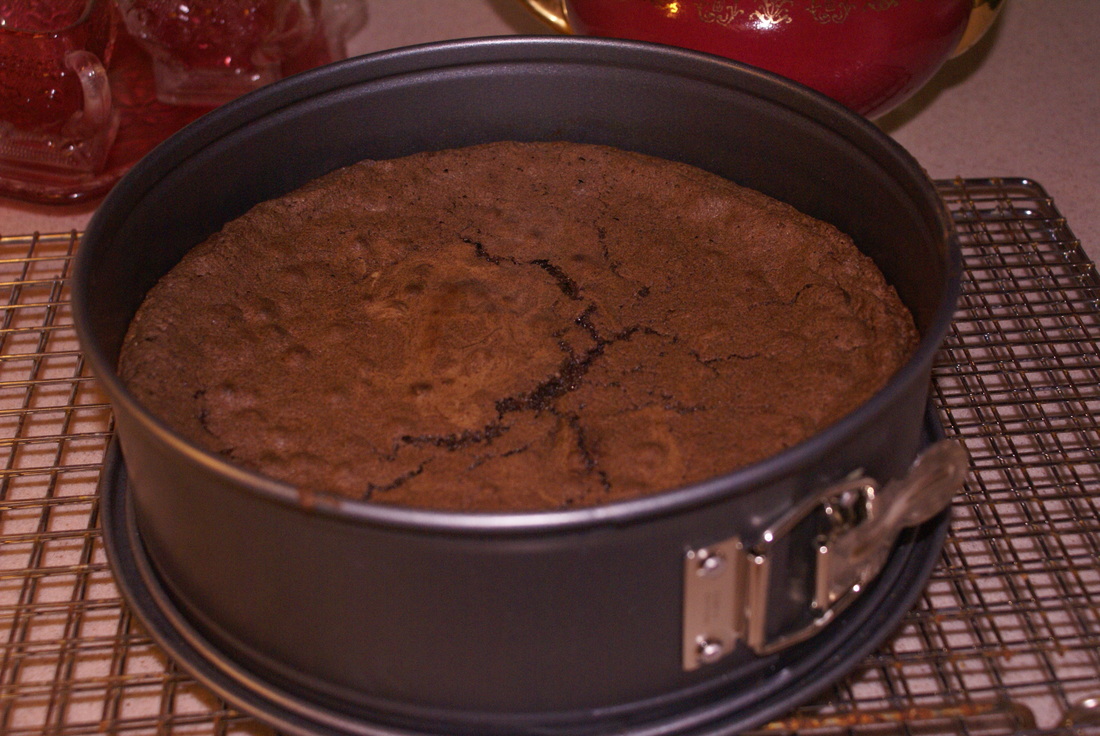
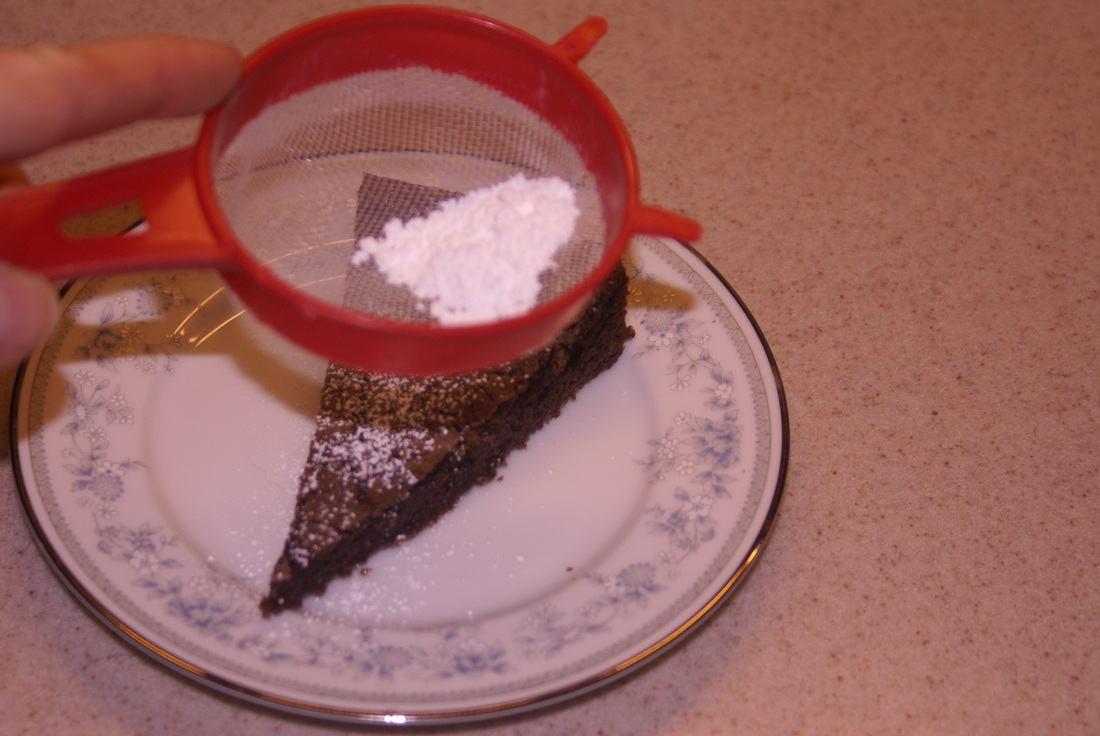
1 lb. ground beef 1/4 cup butter or margarine 1 small onion, minced 1/4 cup all-purpose flour 2-1/4 cups beef broth (may replace 1/4 cup broth with wine of choice) 1/2 teaspoon dill weed dash Worcesteshire 1 cup sour cream salt and pepper to taste Directions: 1. Brown ground beef in pan. Set aside. 2. Melt butter in saucepan; saute onion until tender. 3. Stir in flour and cook until blended and bubbly. 4. Slowly stir in beef broth and cook until thickened, stirring occasionally 5. Add cooked beef to broth mixture, then add sour cream, dill weed, salt and pepper. Heat through, but do not let boil after sour cream has been added. Serve over noodles or homemade spaetzle (click on link for recipe) Printable Version  My grandmother immigrated to this country from Sweden when she was a girl. I have always felt a special connection with Sweden because of that. It helps that they are known for some wonderful desserts. Kladdkasa, which translates sticky cake is one that I fell in love with. It is like eating a gooey, chocolaty brownie. It is very easy to make, some people like to serve it warm, but traditionally it should cool completely. Kladdkasa is also one of those desserts that you can prepare a day in advance and it retains it's yumminess- that is if you can resist the smell as it comes out of the oven. Here is what you need to get started.2 eggs 1 cup plus 4 tablespoons sugar ½ cup plus 2 tablespoons all-purpose flour. 1 pinch salt ½ cup unsalted butter 4 tablespoons unsweetened cocoa powder- I prefer Dutch dark cocoa 1 teaspoon vanilla extract Preheat your oven to 300 degrees F and lightly grease an 8 or 9 inch springform pan. A pie plate works well for this also. I have discovered that lining the bottom of my pan with parchment paper works very well. It completely eliminated the sticking problem I previously had. I just use a little butter on the sides of the pan with this method. Mix the eggs and sugar in a bowl for about 5 minutes. A mixer set on low works well for this process. Add the flour and pinch of salt and stir by hand until combined. This is how it looks after mixing in the flour. I love my King Arthur Dough Whisk for hand mixing. While the egg and butter mixture is blending I usually start melting the butter on my stove top. Once it has melted whisk in the cocoa powder and vanilla until it is nice and smooth. Pour the cocoa mixture into the batter. Mix until blended, about 30 strokes. You do not want to over-do on the mixing at this point. Pour the batter in to your prepared pan. Place on the bottom rack of the oven. Bake for 30-35 minutes. To test for doneness a toothpick inserted on the outer edge should come out clean, and when inserted in the middle will be covered with gooey chocolate. It is still good if it overbakes, you just loose that soft chocolate center. Remove from the oven and allow to cool for 10 minutes before releasing from the pan. Cool completely before serving. I like to serve with a sprinkling of powdered sugar, some unsweetened fresh whipped cream, a drizzle of chocolate and some raspberries. Don't ya love my powder sugar duster? Där har du det! which I believe translates to "there you have it."
For the unsweetened whipped topping here is what I do: Chill mixing bowl. Place one cup of heavy whipping cream in bowl, add a teaspoon of vanilla extract and whip until peaks form. Printable version of Recipe  I miss the wild asparagus growing along the roadsides in Colorado. What a treat it was in the spring to stop and pick it fresh and tender. Here in Texas I have to rely on the grocer. It was on sale last week and I couldn't resist. My mom used to serve asparagus that came in a can. I hated it, and my parents were hard pressed to get me to eat it. I will be forever grateful to the mom of a friend who introduced me to fresh asparagus when I was invited to dinner one day. I finished off our last bit of our fresh asparagus from the store last night at dinner. My favorite way to prepare it is quick, simple, and tasty. I did not get a photo of the finished product, just one of my last bunch...for now. Hope you enjoy! 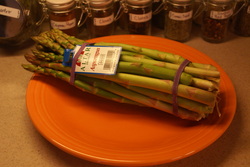 Roasted Asparagus Ingredients: 1 bunch asparagus spears 1 Tablespoon olive oil ¼ tsp granulated garlic 1 tsp kosher salt ¼ tsp. freshly ground black pepper ¼ cup grated Parmesan Cheese (this measurement is not for the stuff that comes in a can) Directions: 1. Place the asparagus in a large Ziploc bag along with the olive oil and manipulate the bag until the spears are coated with oil. (Note: to be sure you only use the tender part of the spear, grasp the bottom end in your hand and slowly bend the spear with your other hand until it snaps.) 2. Remove asparagus from bag and arrange in a single layer on a baking sheet. 3. Combine the garlic, salt and pepper. Sprinkle onto asparagus. 4. Sprinkle Parmesan cheese on asparagus spears. 5. Bake in 400F oven for 10-15 minutes. Printable Recipe |
AuthorI love to cook - my family loves to eat- we are a match made in heaven Join me on facebookFollow me on TwitterArchives
April 2014
Categories
All
|
Tuning My Heart Quilts by Debra Davis is licensed under a Creative Commons Attribution-NonCommercial-NoDerivs 3.0 Unported License.
Based on a work at www.tuning-my-heart.com.
Copyright 2010-2022 by Tuning My Heart Quilts, LLC. No part of this website can be reproduced without written permission from the author. All rights reserved.
Proudly powered by Weebly




 RSS Feed