|
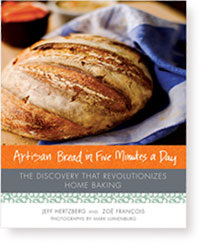
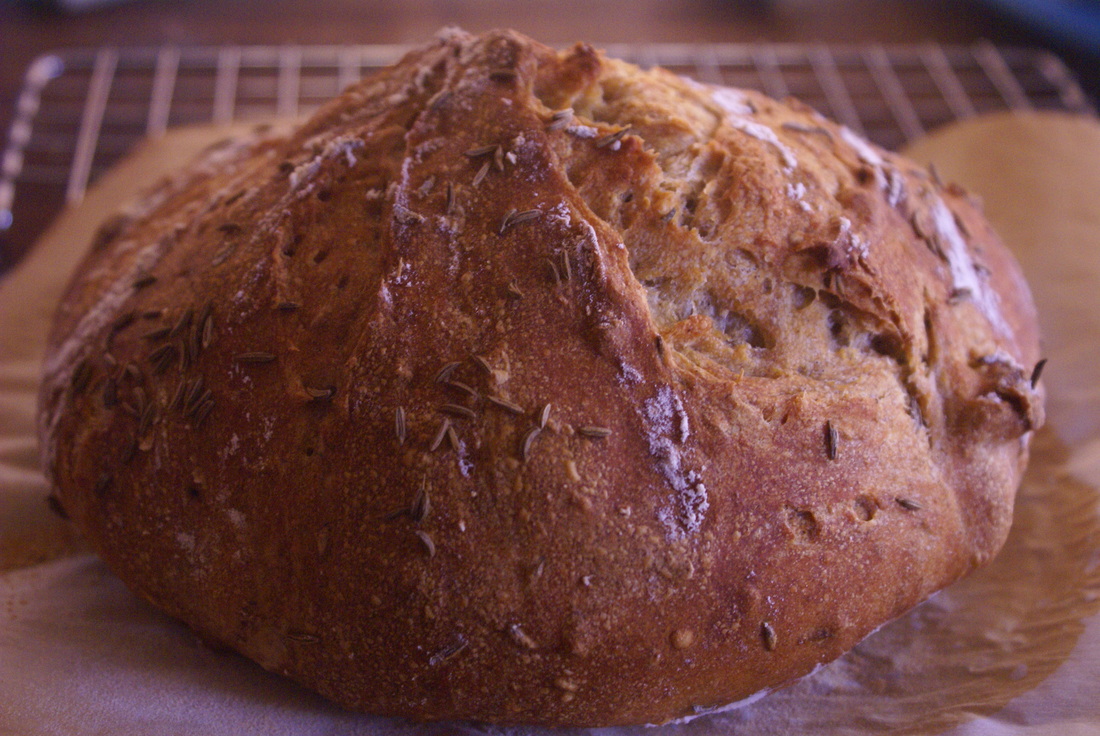
We have a weakness for good bread in this house. There is a store in Texas we love to go to and peruse their bakery where you can sample all of their wonderful artisan breads. Ken and I had success with our bread machine in making some pretty tasty breads, but I wanted something that looked pretty too. So I ordered a copy of Artisan Bread in Five Minutes a Day and have since loaned my bread machine to our oldest son for his use and not missed it at all. It is a bit of a misnomer to say "five minutes a day," but that is only because it takes longer than that to actually bake the bread. I was in the mood for Reubens last week so played with the rye bread recipe from the book. This process produced a delicious bread and it made meal prep quick and easy, which is something I am in need of now that I am working. Jeff Hertzberg and Zoe Francois walk you through each step with easy to follow instructions. The first step in the process is to combine 3 cups of lukewarm water with a tablespoon of yeast and a tablespoon of kosher salt. No more worrying about getting the temperature of the water just right. With this method as long as the water is not hot you are good to go. Hot water could kill your yeast, cold water will just prolong the time that is needed for the rise. I use my stand mixer on low for the whole process as it is easier to mix in the flour, though you can mix everything by hand in a large bucket and get a bit of a workout at the same time. To the water/yeast.salt mixture I added 1 cup of rye flour, 5 1/2 cups of all-purpose flour and 1 1/2 tablespoons of caraway seeds blending just enough to mix well. Everything then gets dumped into my 6 quart lidded bucket. Let this sit on the counter for a couple of hours with the lid sitting loosely on top. The dough will double in volume after approximately 2 hours. Then into the fridge it goes until I am ready to use it. It can stay there for up to two weeks and the longer you wait to use it the more flavor it develops. The dough is much easier to handle when it is cold, thus I always work with refrigerated dough. It is pretty sticky when you get it out to make your loaf and benefits from a sprinkling of flour over the top of the dough. Then just pull off about a grapefruit sized piece. This next part is a a little hard to describe, but you work the dough quickly, pulling the top down and around the bottom shaping into a ball. Do a quarter turn and repeat three more times. That is it. Place the formed ball onto a piece of parchement paper and let it rest for about 40 minutes. During that time preheat the oven to 450 degrees. The authors have you preheat a stone in the oven, I have found that I just place my bread on one of our pizza pans or a baquette pan if I am doing a longer shape and rarely mess with the stone anymore. Once my 40 minutes was up and the oven was at temperature, I brushed water over the loaf with a pastry brush and then sprinkled it with more caraway seeds. Using a bread knife I slashed the loaf in a pleasing pattern, popped that baby into the oven and 30 minutes later the bread was done. It is so hard to resist digging in right away when the loaves come out of the oven, but the authors state that the bread will be gummy if you do, and experience has proven them to be correct in their assessment. Just wait until it cools and the loaf is perfect. This is such a timesaver of a method. I love that it is very forgiving too. So how much time is really involved. Well, ten minutes for putting the ingredients all together. 2 hours to rise, but if you forget and let it go longer no problem, and you could put it in the fridge right away the rise would just be slower. I never watch the clock on this step. 40 minutes for this particular recipe to rest after spending less than five to shape it. 35 minutes to bake. Sooo, approximately 3 1/2 hours all together, but by doing it in bits and pieces you can have fresh bread everyday for dinner without spending all day to achieve it. I received my copy of Artisan Pizza and Flatbread in Five Minutes a Day last week from Amazon and need to try the master recipe for pizza crust next.
I highly recommend this method to even the novice cook. No kneading, no rising and punching down and rising again- and best of all, the bucket is ready to go whenever I need another loaf. The basic recipe has become our standard around here too. On Friday we shape some into baguettes and on Saturday morning it makes the best french toast. So many recipes yet to try... Jeff and Zoe, the authors, have a great website with lots of tips and recipes. They have done a fantastic job of showing how to do the basic recipe if you would like to give it a try.
2 Comments
|
AuthorI love to cook - my family loves to eat- we are a match made in heaven Join me on facebookFollow me on TwitterArchives
April 2014
Categories
All
|
Tuning My Heart Quilts by Debra Davis is licensed under a Creative Commons Attribution-NonCommercial-NoDerivs 3.0 Unported License.
Based on a work at www.tuning-my-heart.com.
Copyright 2010-2022 by Tuning My Heart Quilts, LLC. No part of this website can be reproduced without written permission from the author. All rights reserved.
Proudly powered by Weebly


 RSS Feed