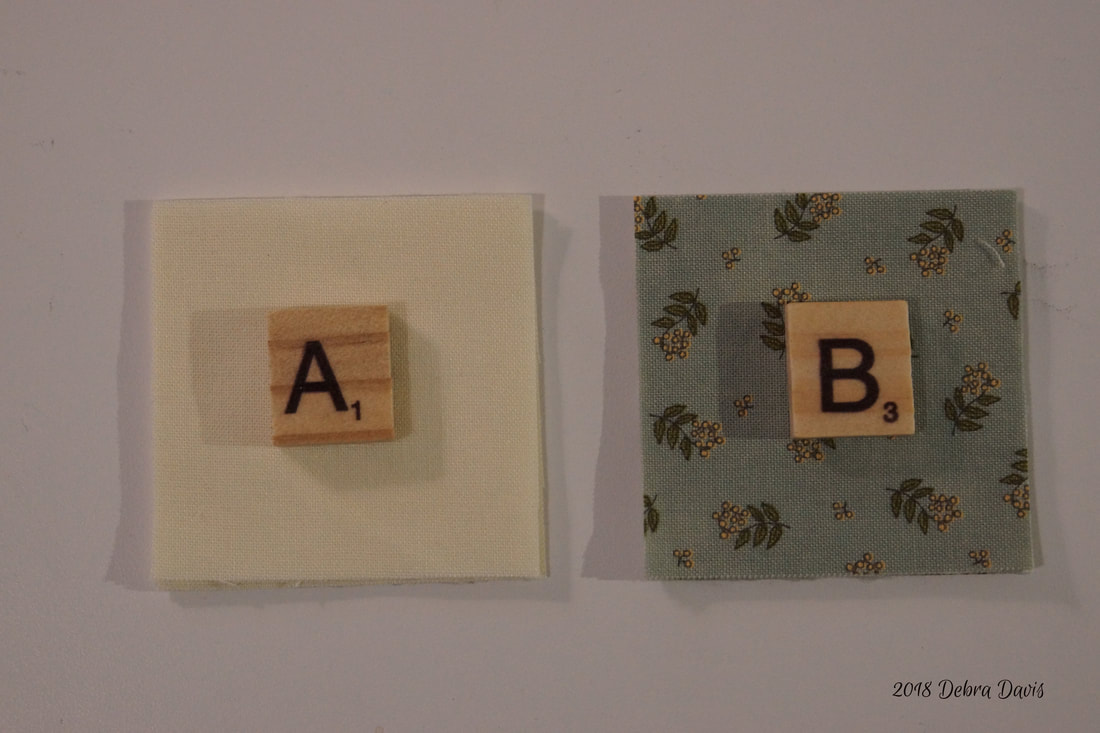
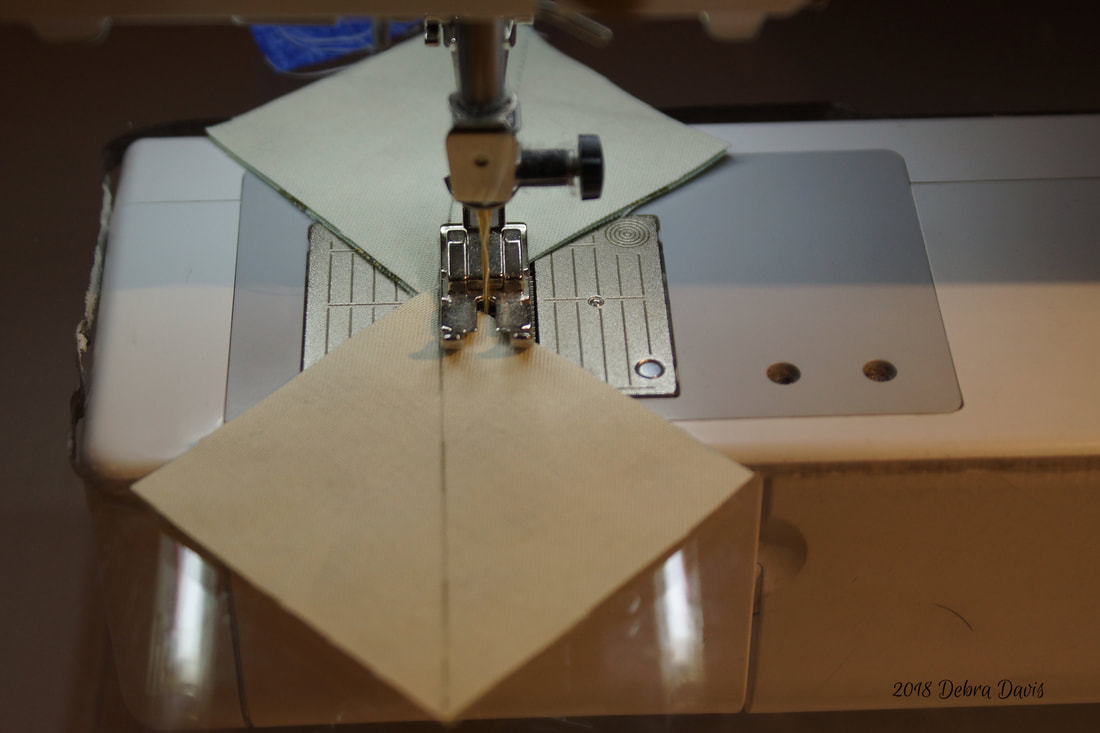
 I am going to use a quick-hourglass method and I like to start with slightly larger squares when making Half-square triangles so have made sime adjustments to the cutting instructions. A-(cut 4) 2 1/4" x 2 1/4" B-(cut 4) 2 1/4" x 2 1/4" C-(cut 4) 1 1/2" x 1 1/2" D-(cut 4) 1 1/2" x 1 1/2" For thefollowing fabrics used in the hourglass units-do not cut squares into triangles E-(cut 2) 3 1/2" x 3 1/2" F-(cut 1) 3 1/2" x 3 1/2" G-(cut 1) 3 1/2" x 3 1/2" H-(cut 1) 2 1/2" x 2 1/2" I began by making the Half-Square Triangles using A and B squares. I think I can do this step in my sleep now. Draw a diagonal line on the wrong side of the A sqaures. Stitch 1/4 inch from each side of the drawn line.
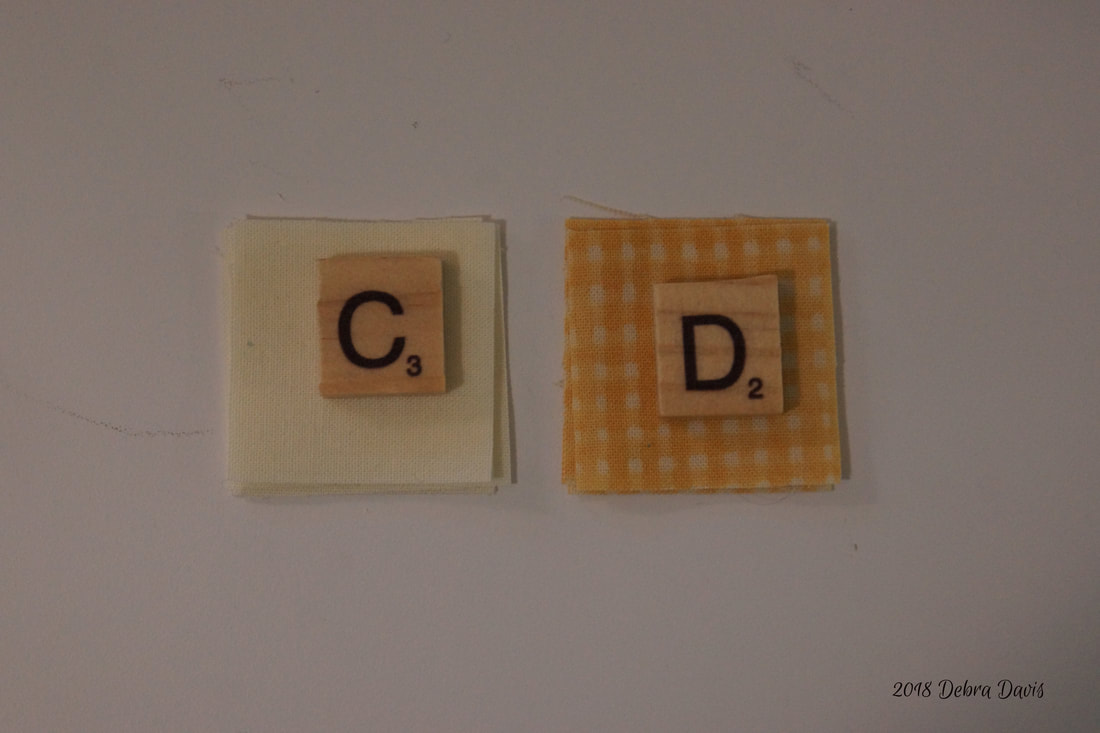
Cut along the line and press towards the dark side. 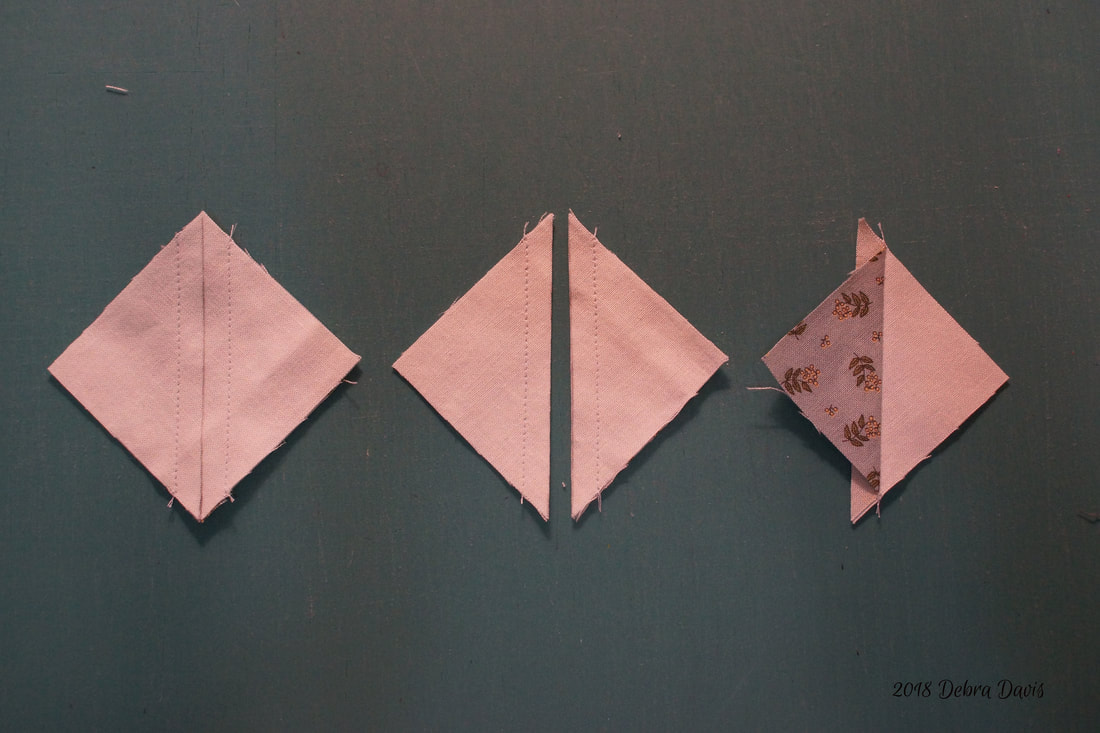 These get trimmed to 1 1/2" squares being sure to line up the diagonal line on the ruler with the seam line. 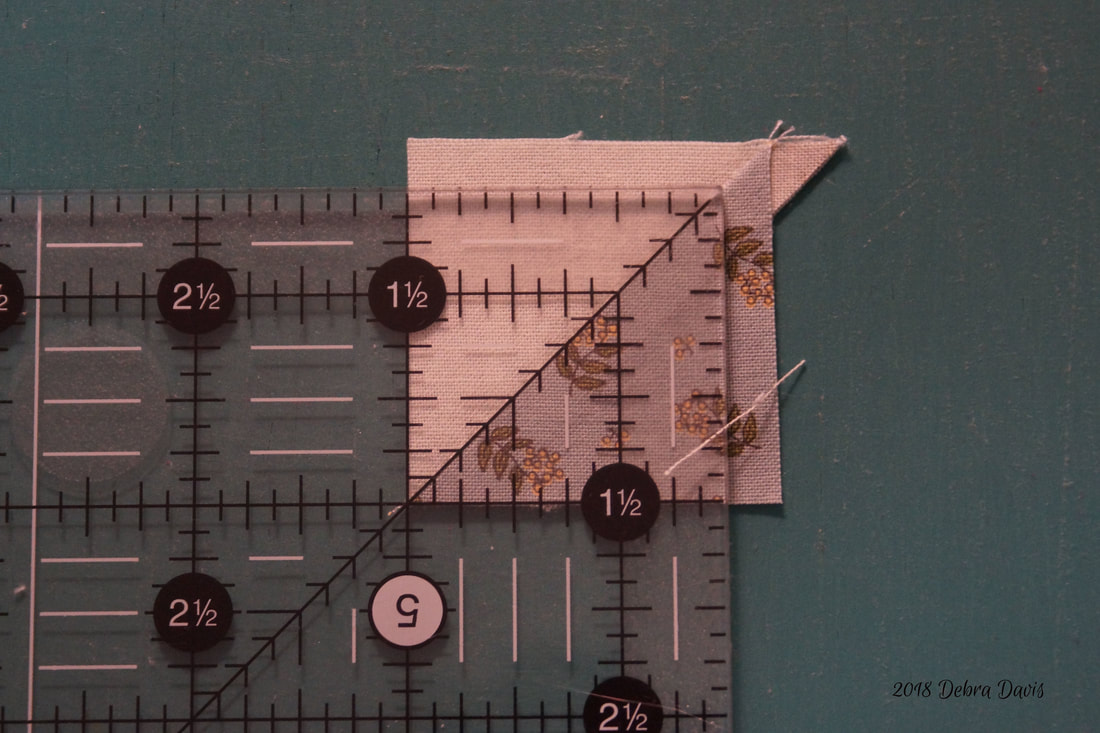 Next I add the C and D squares to the Half-square triangles to make a four-patch unit.
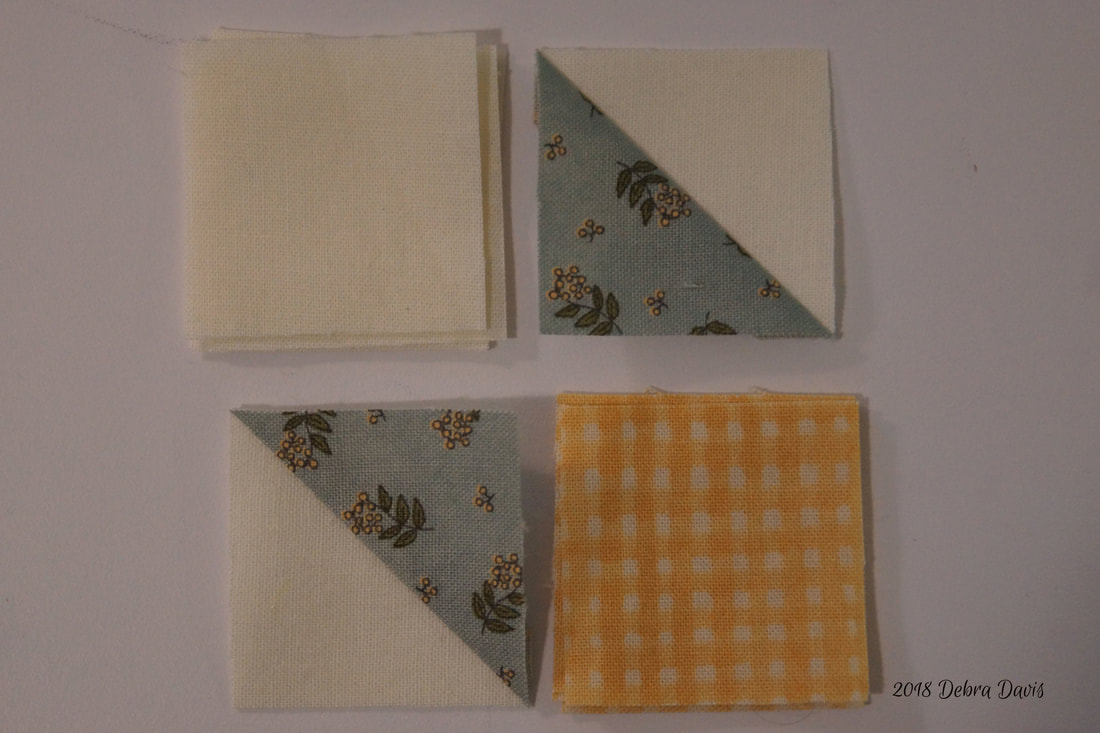
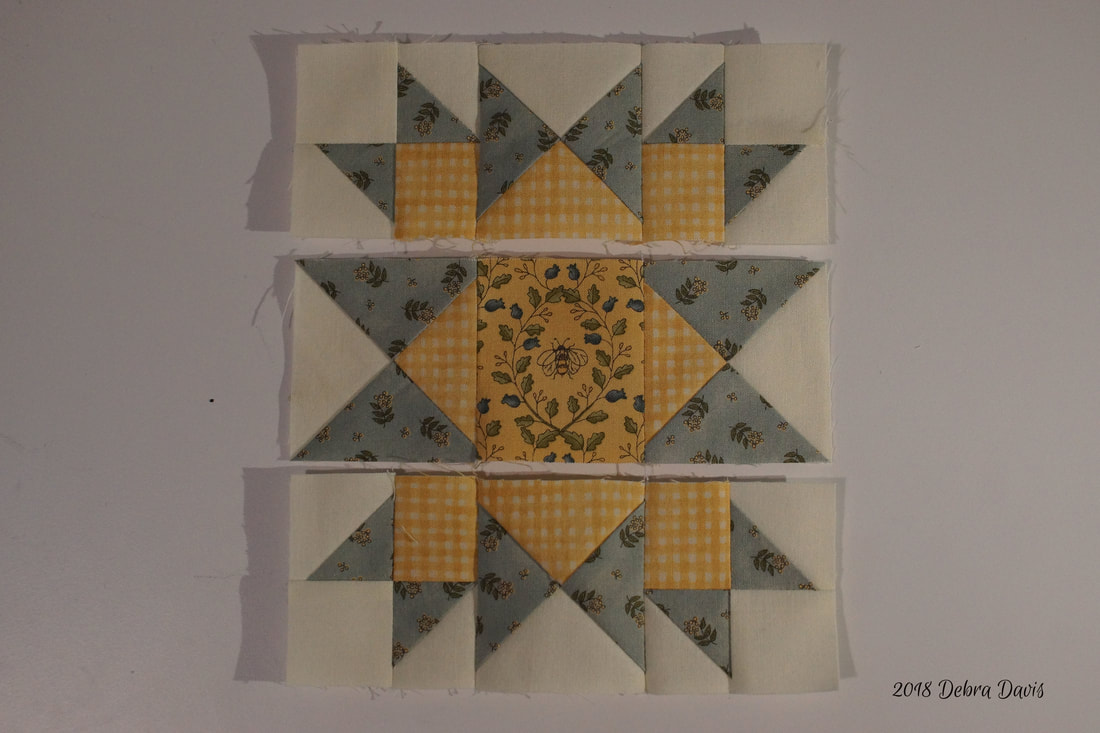
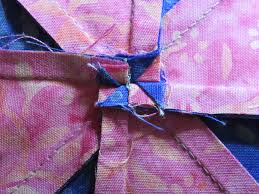
Chain-piecing them together. 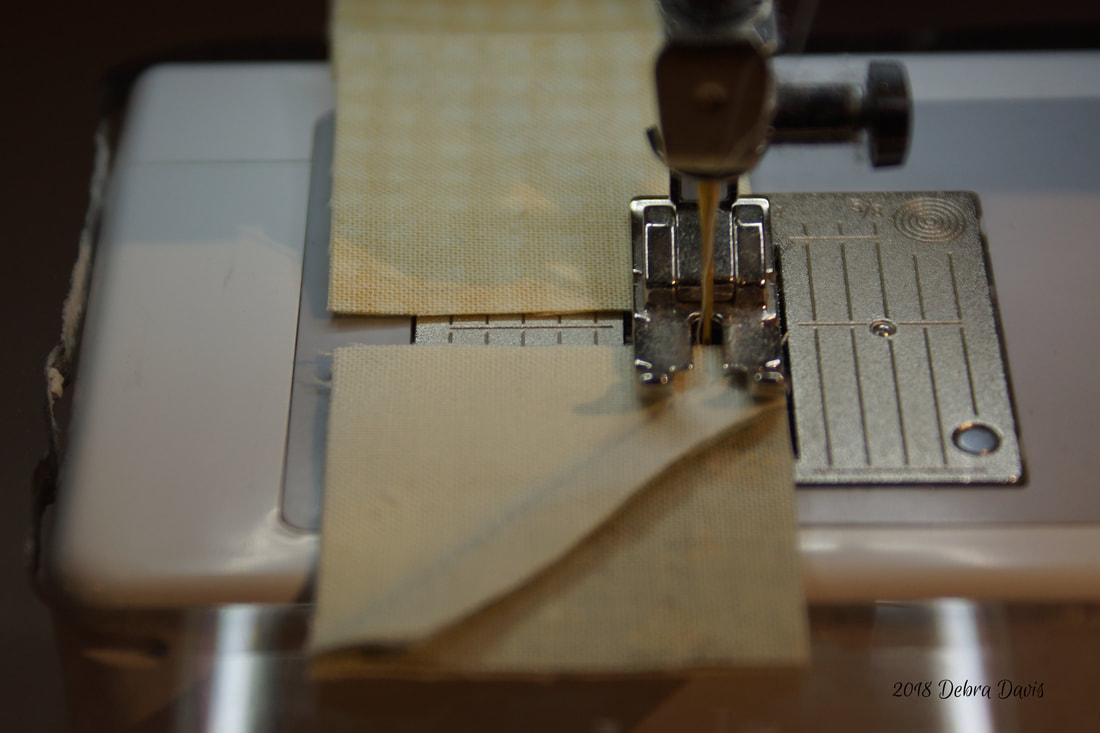 I broke the "rules" here and pressed these towards the C and D squares.  The seams, which are pressed in opposite directions will nest together nicely now. 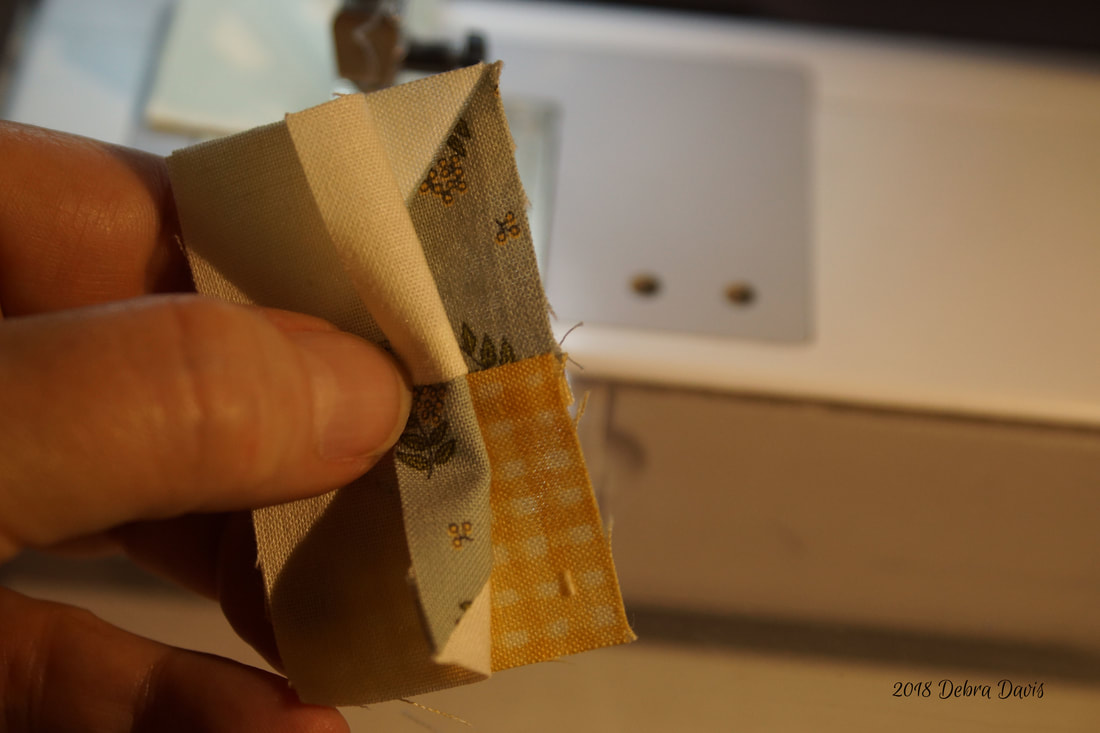 I find that all I need to do is sew so that the seam on top is facing up towards the needle, rather than away, and as I sew the two seams are pushed together nicely without the need for a pin. I pressed the seams open on these. At this point these little Four-patch blocks should measure 2 1/2" x 2 1/2" 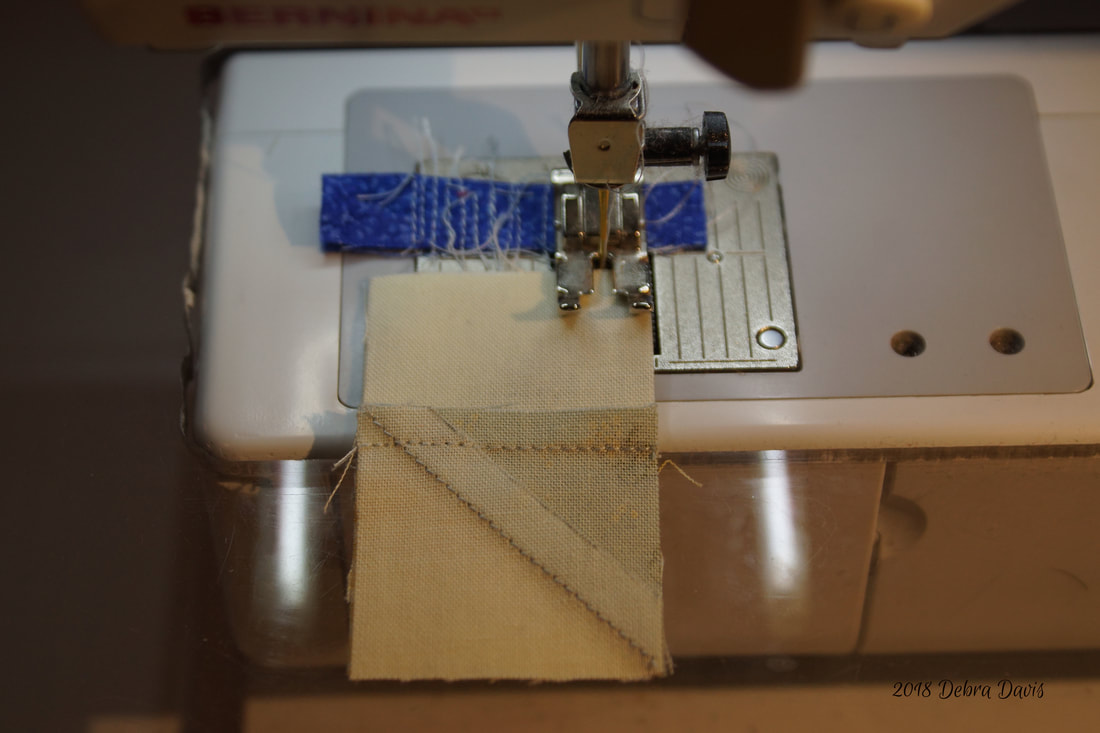 Now I am going to make the hourglass units. I like how quick this method makes these. 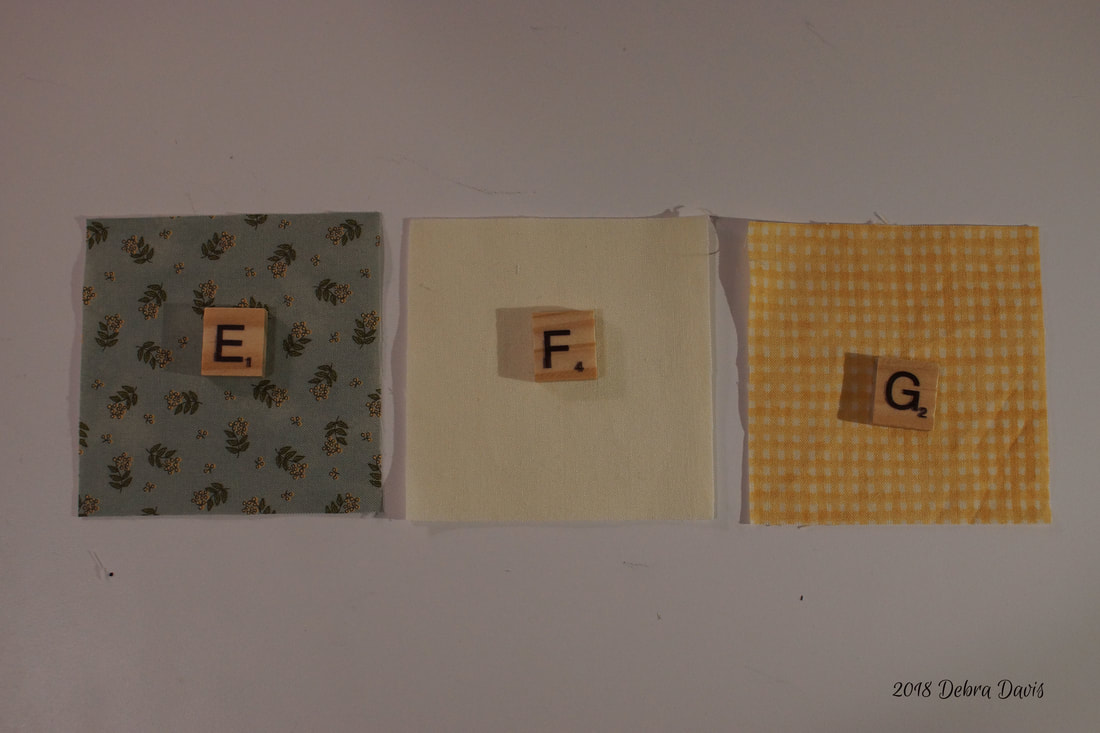 First I draw a diagonal line on the wrong side of the F and G squares. The with right sides together I place each on top of an E square.  Just like with the Half-square triangles I stitch 1/4 inch from each side of the line. 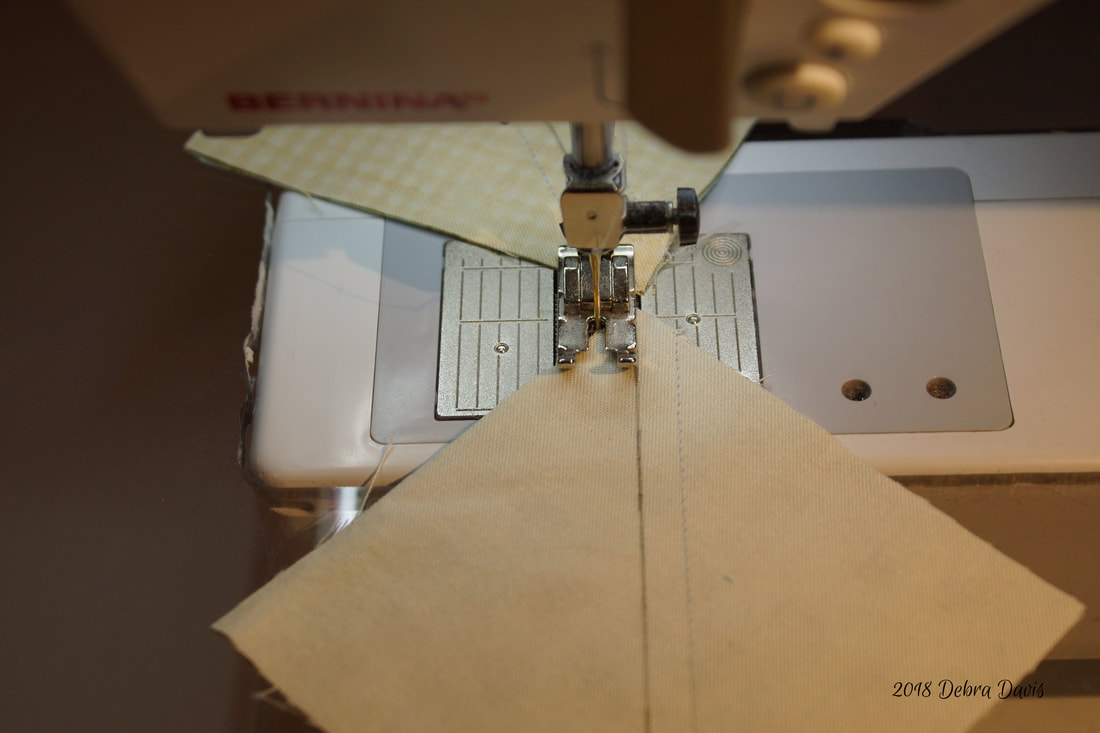 These get cut apart and pressed toward the dark side. On the back of the two of the units I once again draw a diagonal line from corner to corner. It is important that your line land right on the tips of those corners. 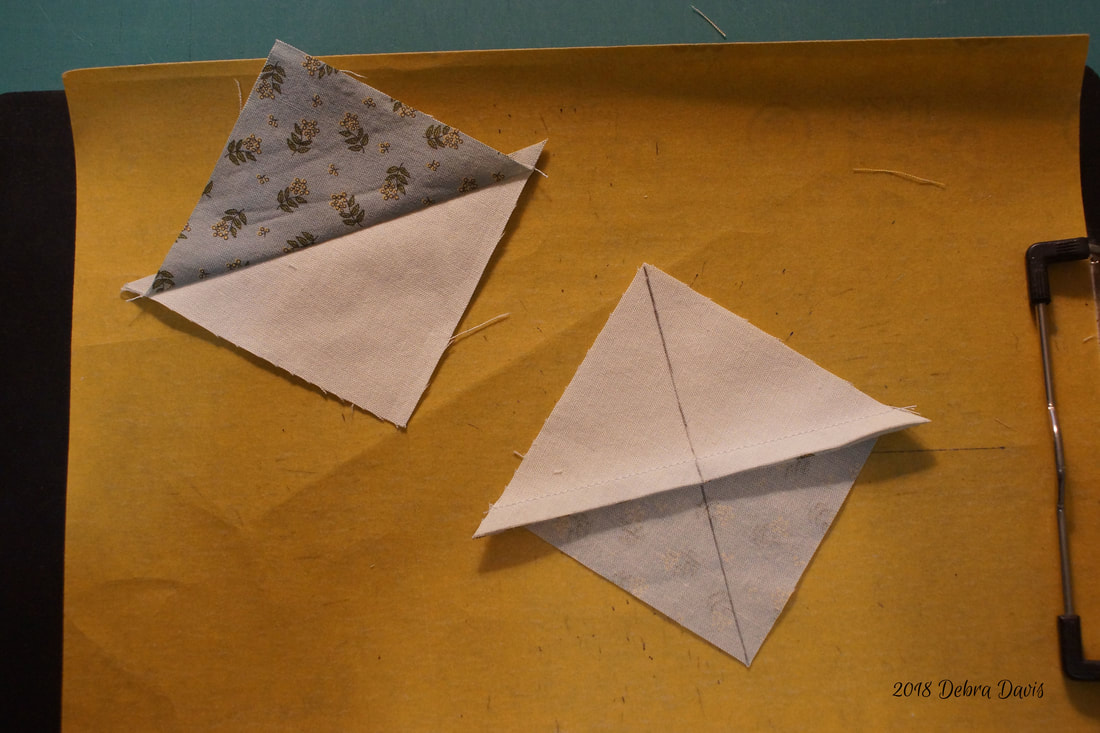 Next I put two Half-square triangles together-one of each type- matching the seams. 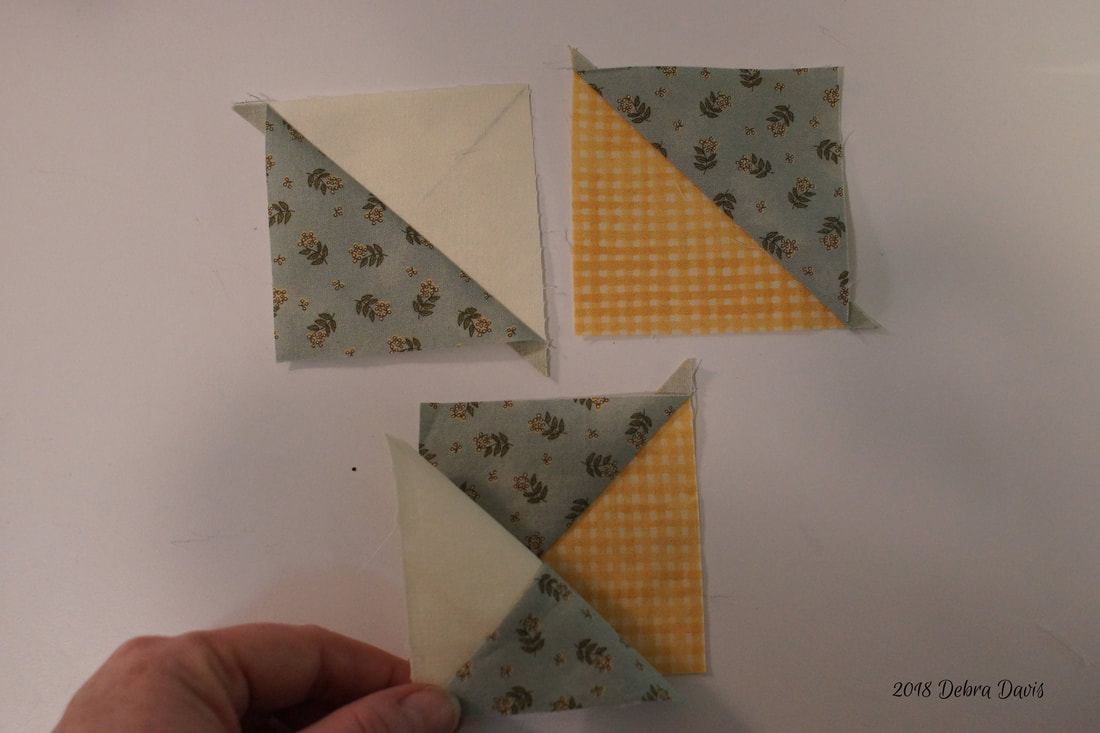 I sew 1/4 inch away from one side of the line and to push those seams together I make sure that the top seam is pointed towards the needle. When I first started doing this method I alwyas put a couple of pins in buthave found they really are not necessary if i remember to have them facing this direction when I sew. Before I sew on the other side of the line I will take a quick check of my work. 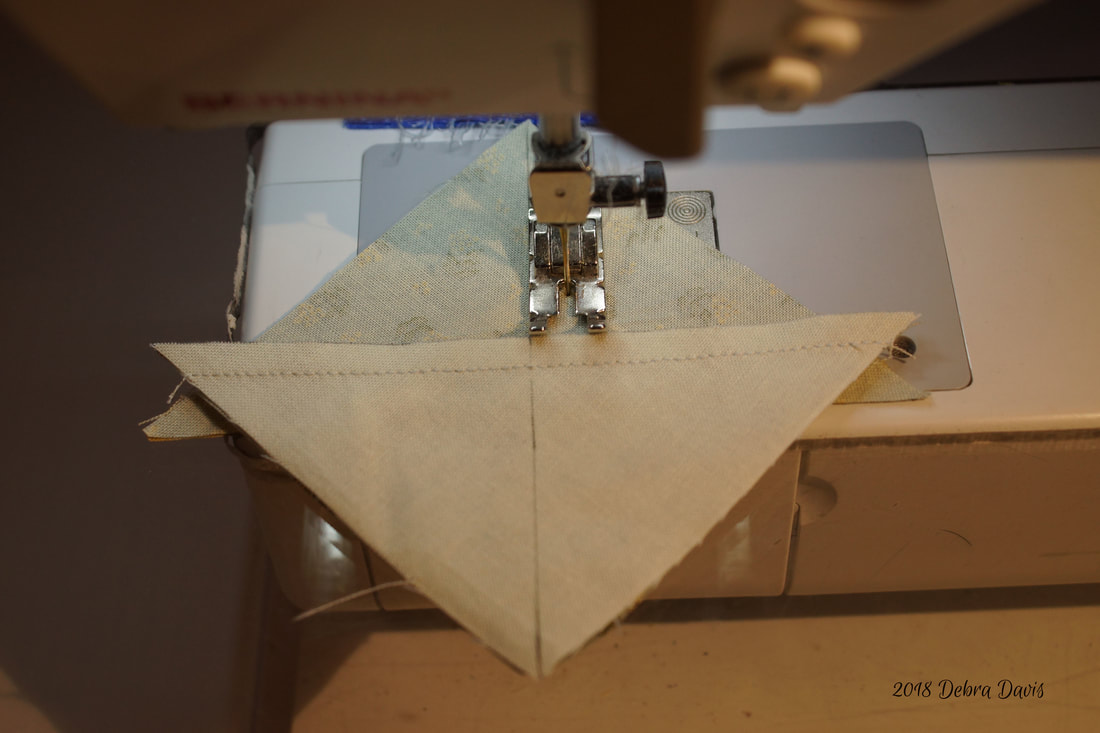 That is what I want to see-the seams matching perfectly. 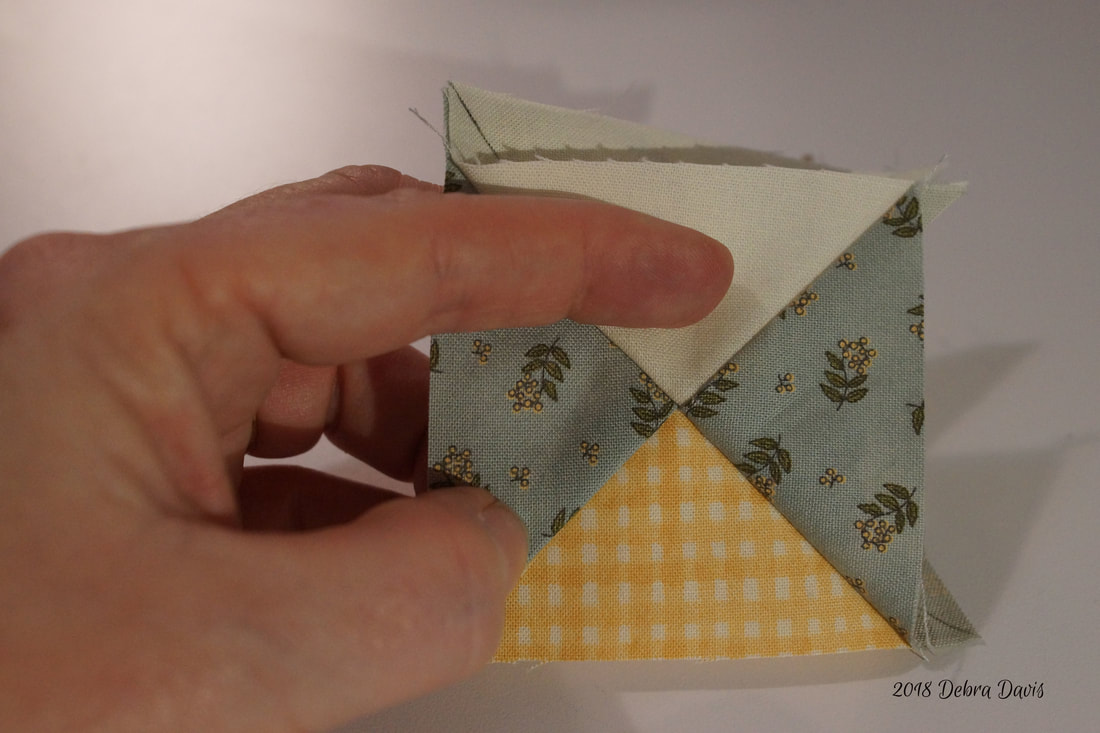 Now I sew down the other side, again with that seam facing up towards my needle. 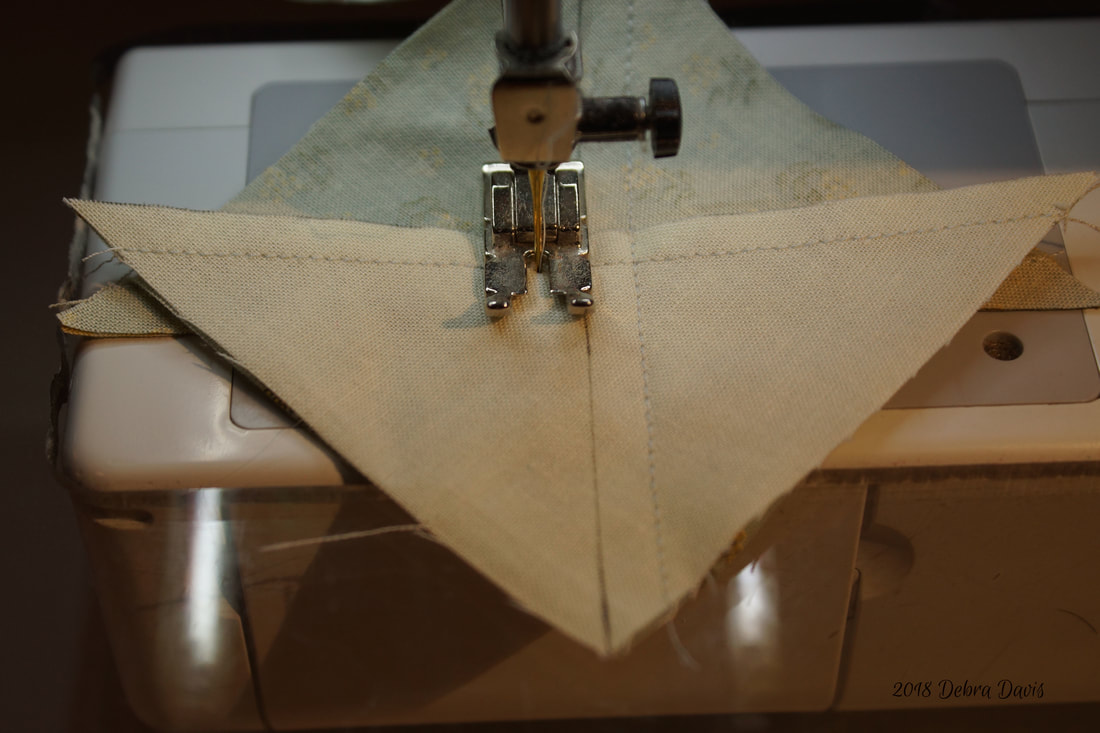 After cutting apart on the drawn line, I pressed towards one side and now I can trim these to 2 1/2" x 2 1/2" It is important to line up the diagonal line on my ruler with the seam. I have also made sure that the mid point of 1 1/4" lands right at the center intersection. The other thing I am going to check for is that the outer edges along the 2 1/2" lines make perfect points of a triangle. 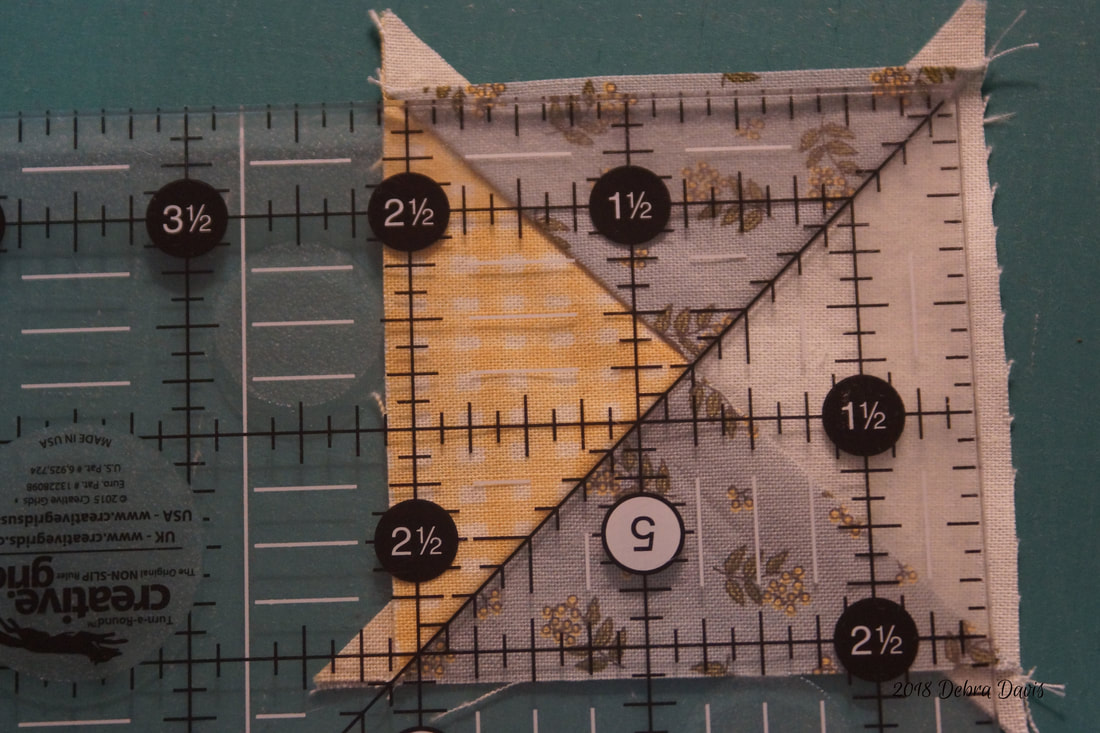 Rotating the block after trimming the first two sides I again line up the lines on my ruler-make sure the 1 1/4" mark is at the center of the block and trim. 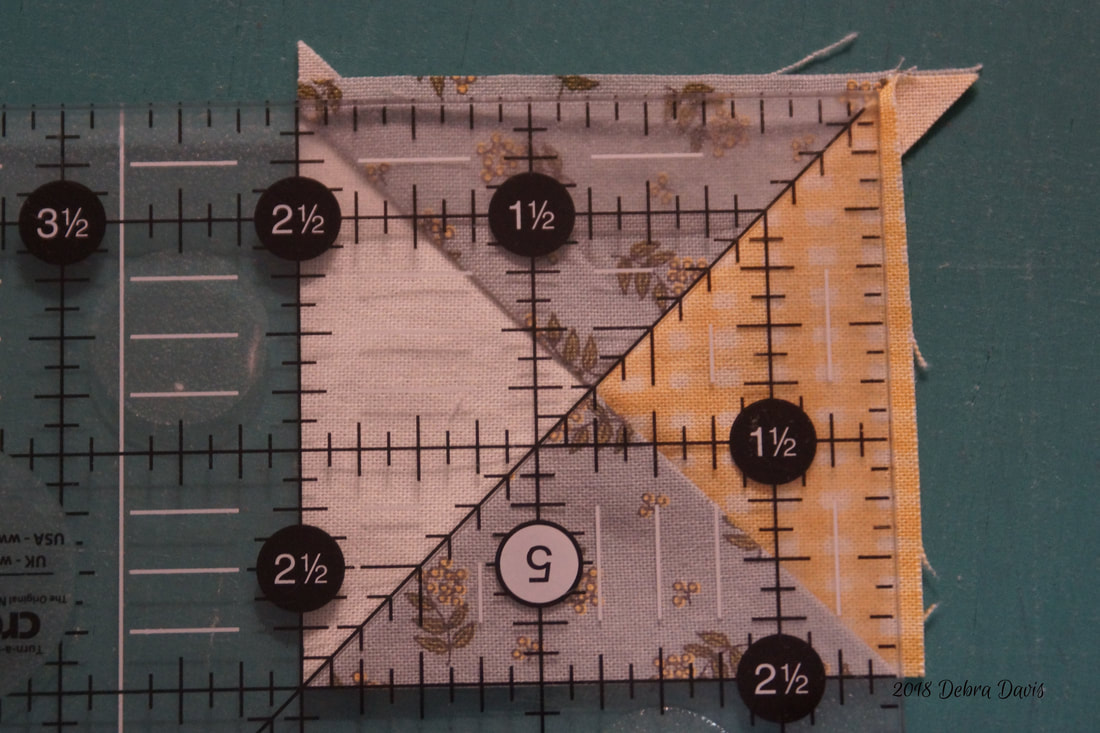 Time to add my H square and put all of the pieces together to make the block. 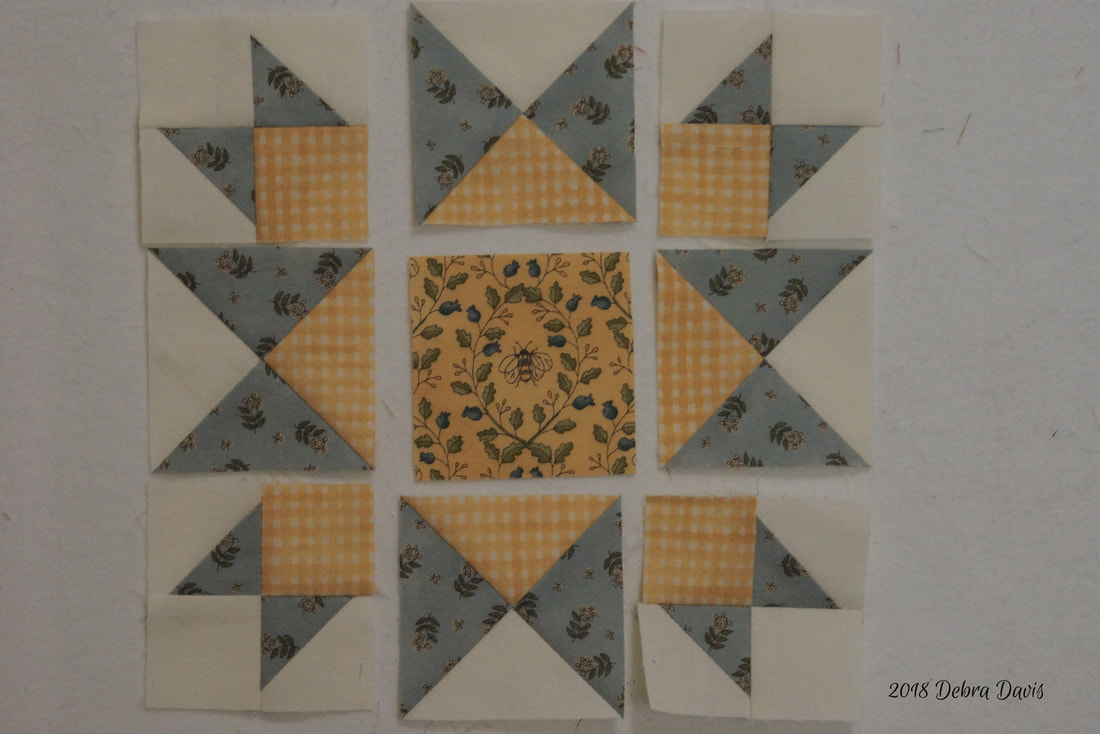 I pressed all of the rows towards the hourglass units. As I sewed the rows together I fanned the seams at the intersections so that the seams lay in opposite directions. Here is a photo of another fanned seam to give you an idea of what this looks like as it show up better in this photo.
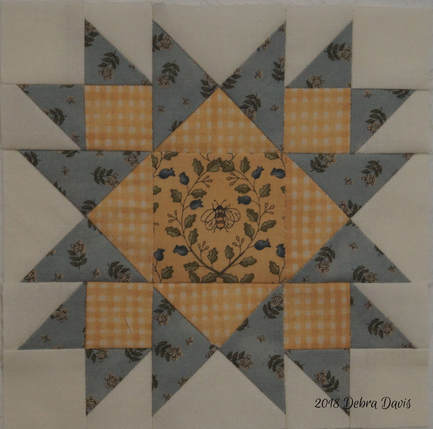
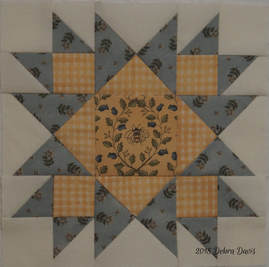
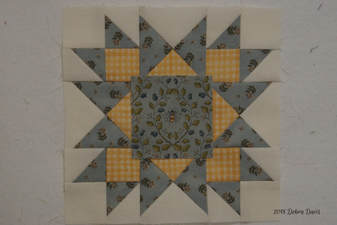
I love this block! I am even considering making another using this blue square for the center-just that one little change gives it a whole new look.
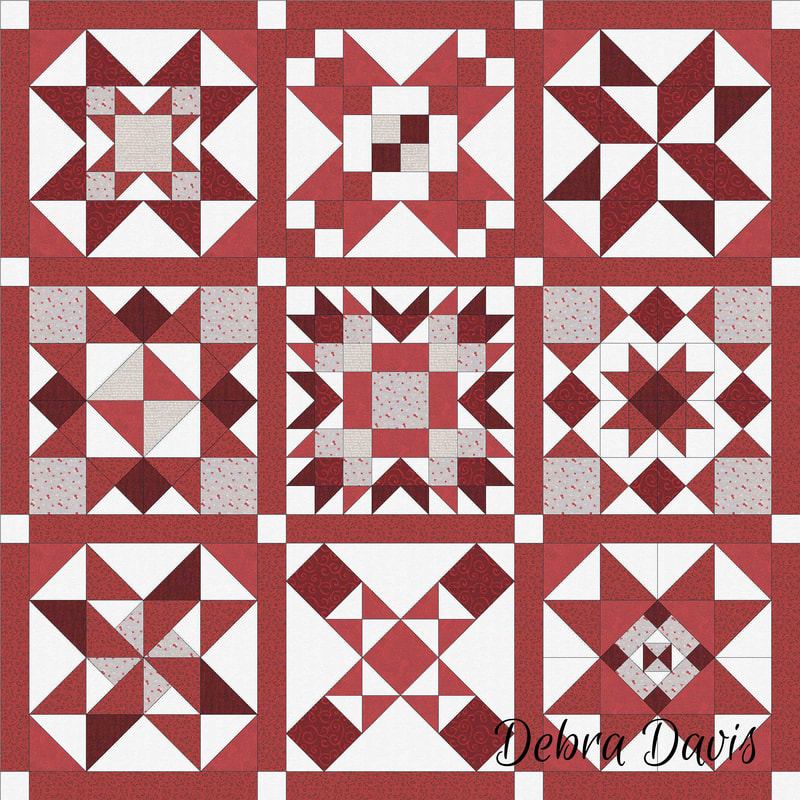
As promised here are the links to the designers blog posts with their setting ideas. I am really drawn to two of them and may just need to combine the ideas-time will tell. Lynne Hagmeier Betsy Chutchian Lisa Bongean Jan Patek Jo Morton Carrie Nelson I hope you have as much fun with this block as I did-and since I still have more to make I can still say... Until next time... Happy Quilting!  Let me introduce you to Under the Stars-my 2018 Free Block of the Week. I love sitting out on a dark night and looking up at the stars so it is not surprising that Star Blocks are among my favorites. Each block finishes at 16". I am doing this in two colorways: a Red and White and a Color verion percect for a scrappy look. Also included will be directions for two setting variations of the blocks after all blocks have been completed. This is a brand new adventure for me and I want to thank all of those who have encouraged me along the way to step out and do this. My plan is to post a new block every Monday beginning February 5th.
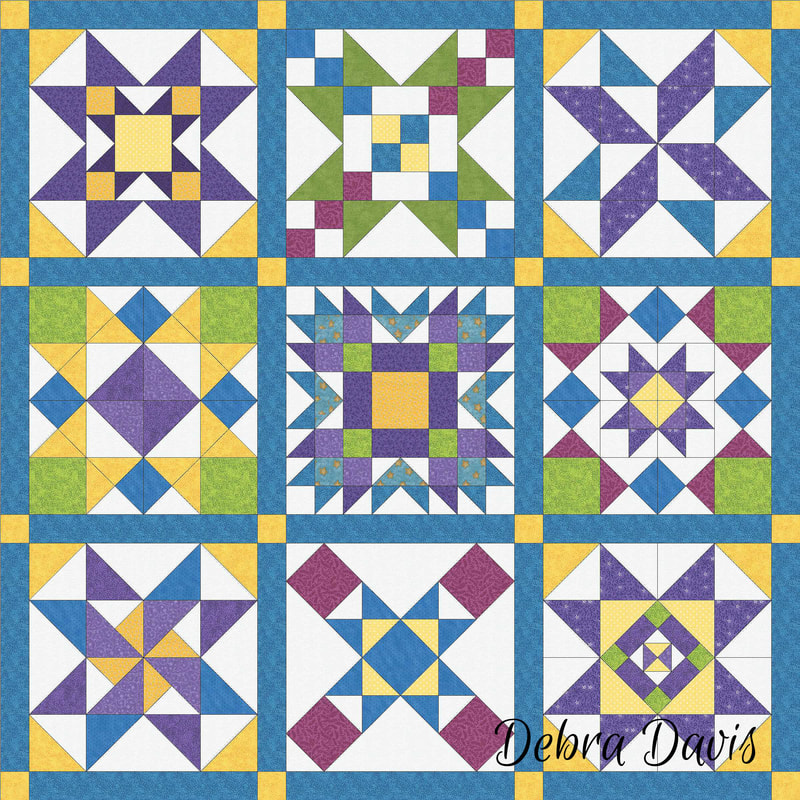
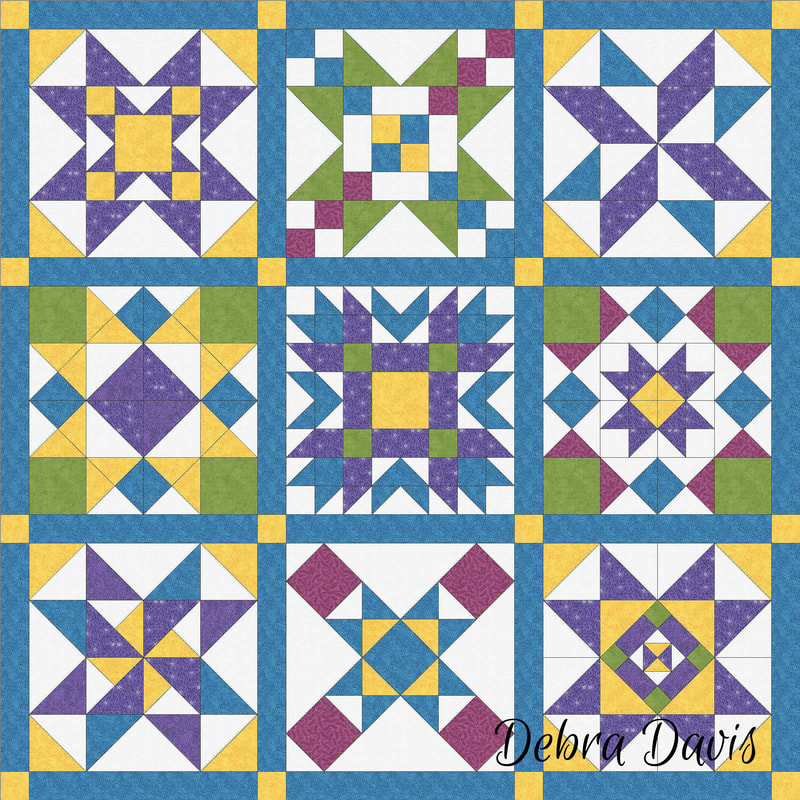
The first thing we all need to do of course is pick out our fabrics. I have links in my Free Patterns page for everything you need to know to get started. If you click on one of the quilts pictured above it will also take you to the requirements for that quilt. Now let me share with you how I go about choosing my fabrics. I have decided to shop my stash for the most part. Knowing I want to do a Red and White quilt, but feeling like I wanted to add a little more depth I make sure my fabrics have a variety of tones-meaning some light, medium, dark reds are chosen. If you look at the photo below where my fabric choices have been replaced with a single color you get an idea of how choosing various tones can increase the impact of the quilt. 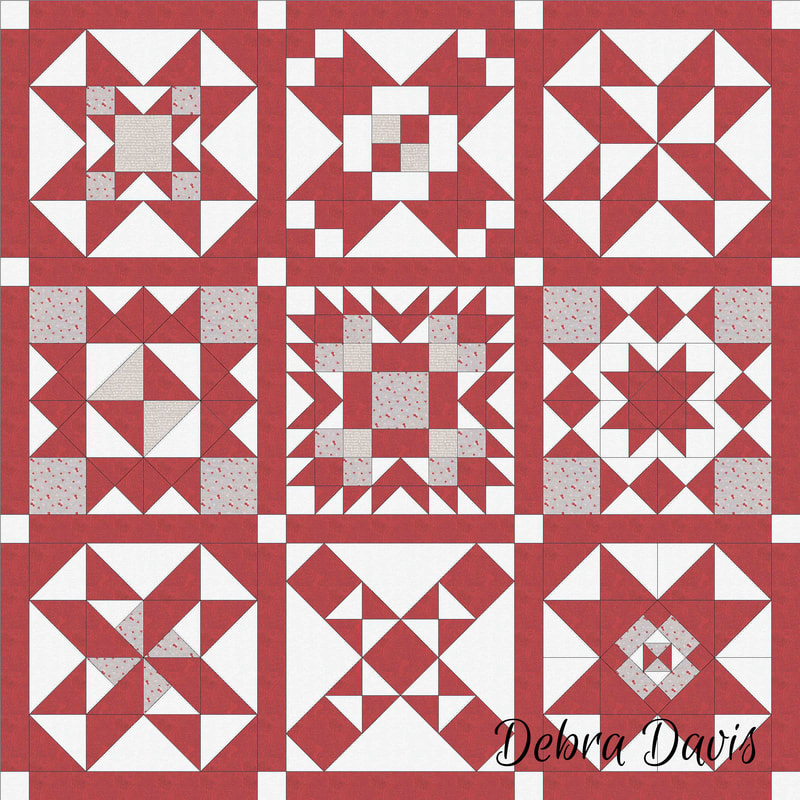 So here is the palette I have settled on for this quilt. I picked up these greys a few weeks ago after seeing some other quilts that were using them, I had never considered greys before so am trying something new. I also am using a variety of whites-there slight variation will also add extra interest to the look of the blocks. They are all very similar as I wanted to stick close to a pure white, but there is enough variation to add depth. 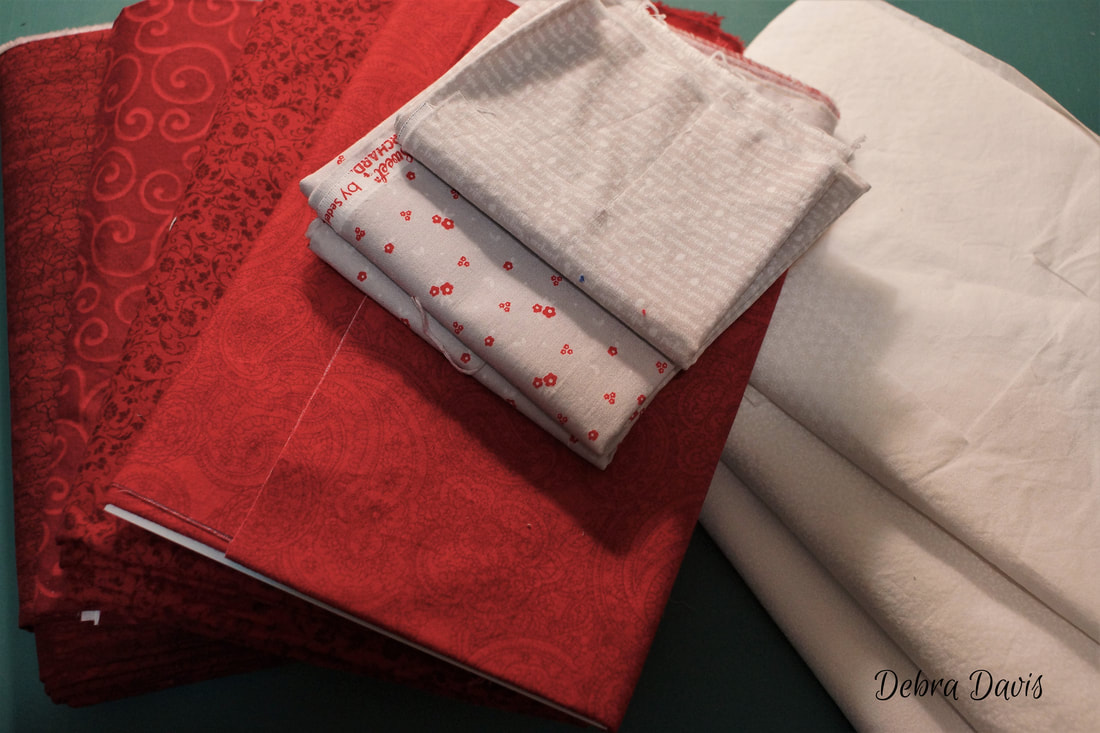 I will be using the Alternate #2 Setting for this quilt so will need to add a black eventually. 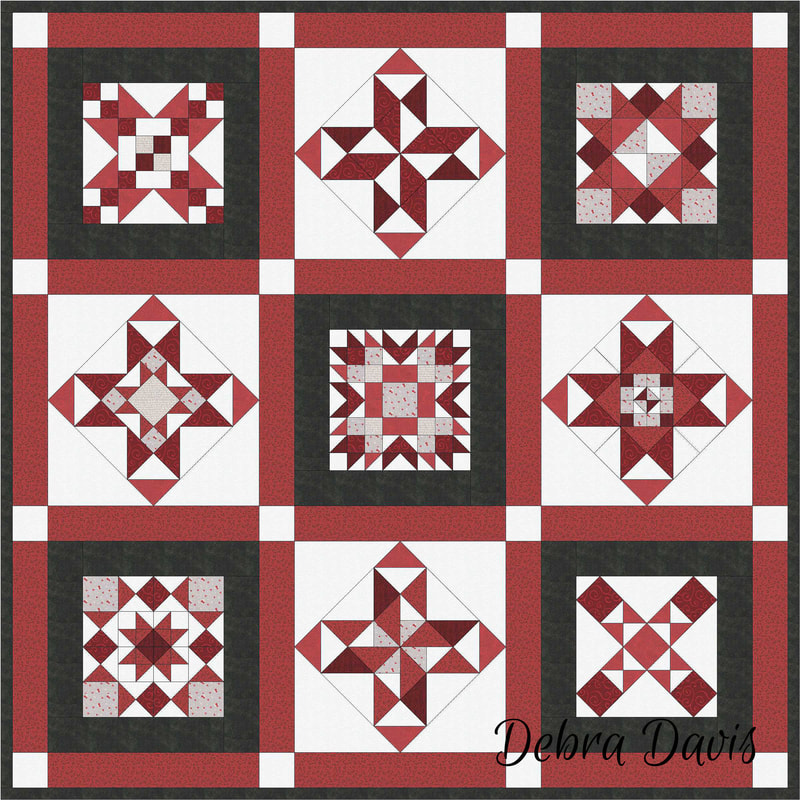 For the color version I pulled out several jewel tones-again notice how making sure to have several tones of a color add interest to the overall quilt.
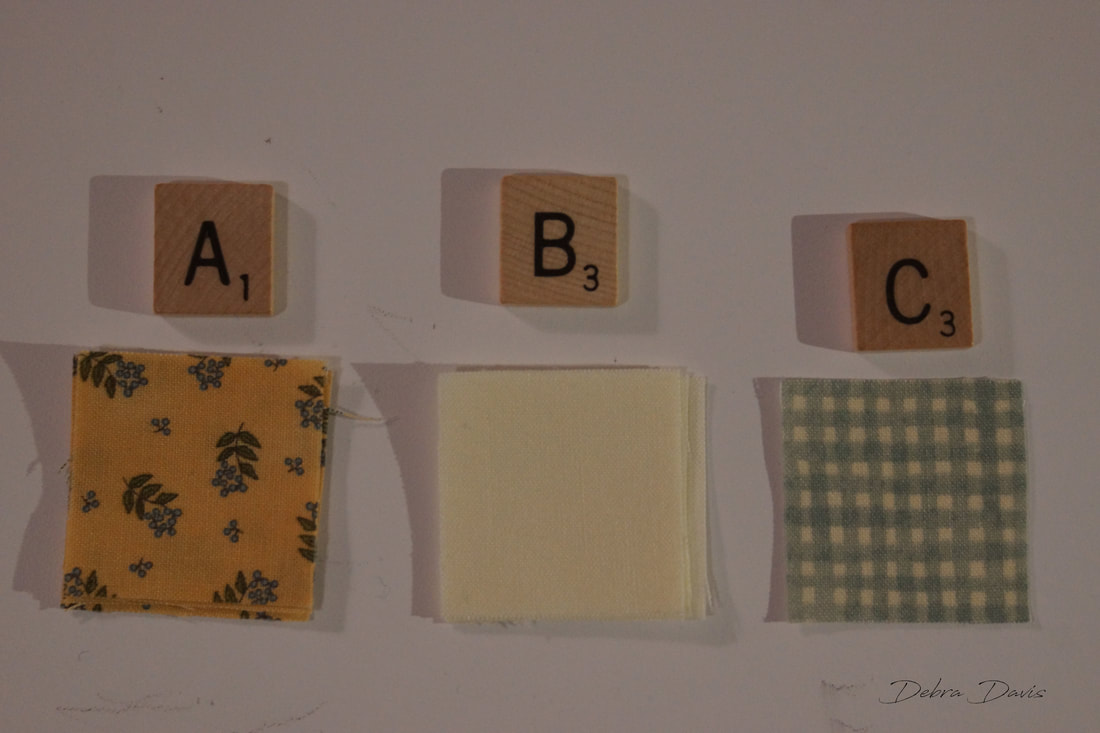
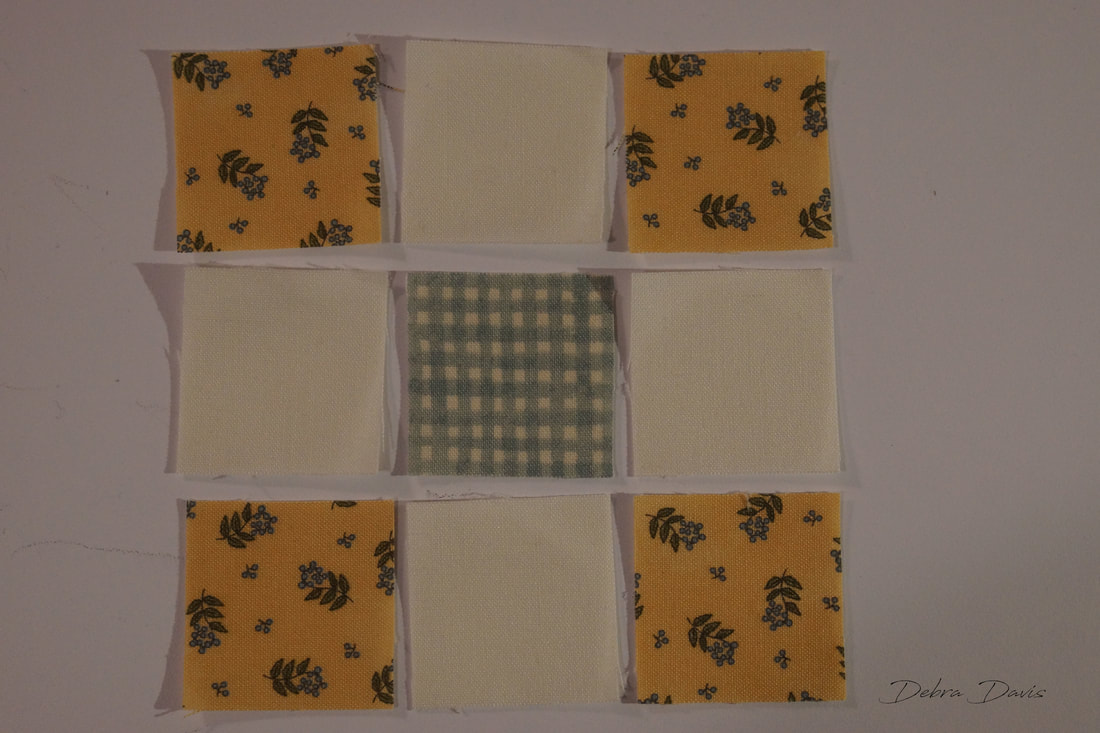
This is what I ended up with for this one. I will need to purchase some more white on white fabric though. That will mean a trip to a quilt shop! The closest is 21 miles away and my favorits is a two hour drive-good thing my beloved husband likes road trips-even road trips in Oregon...in the winter...with snow on the ground. 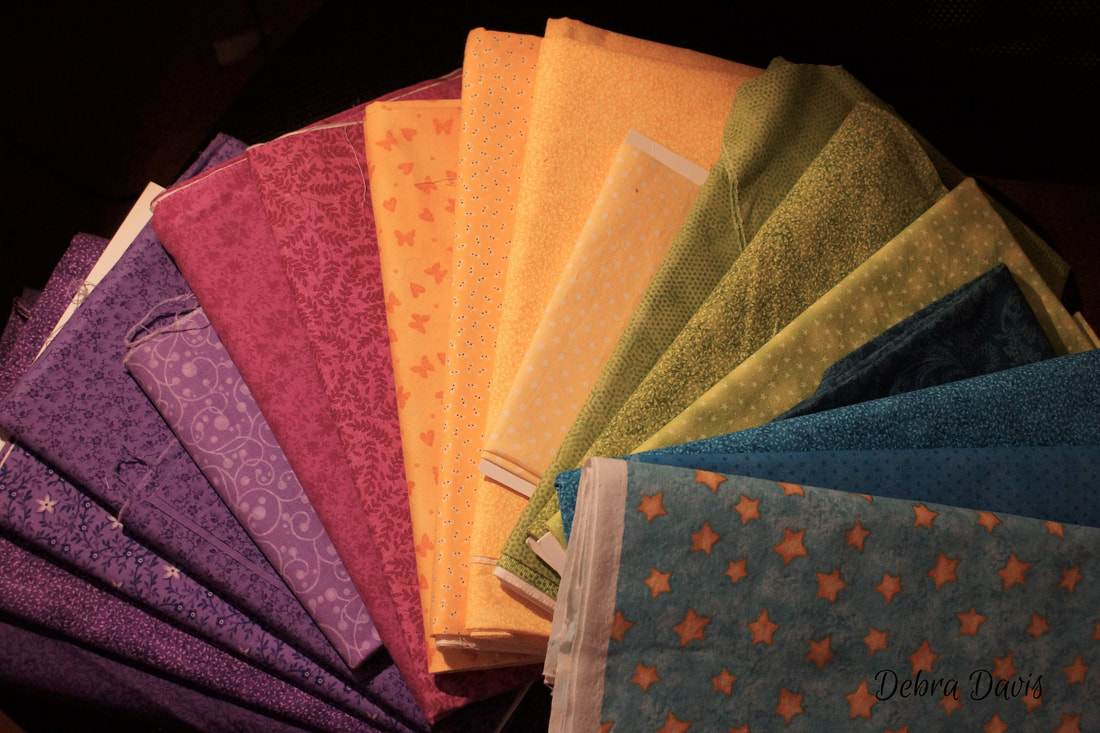 I have decided I would like to do Alternate Setting #1 with these blocks. Setting them on point will make them large enouogh for a bed quilt so I will be able to sleep under the stars whenever I want. 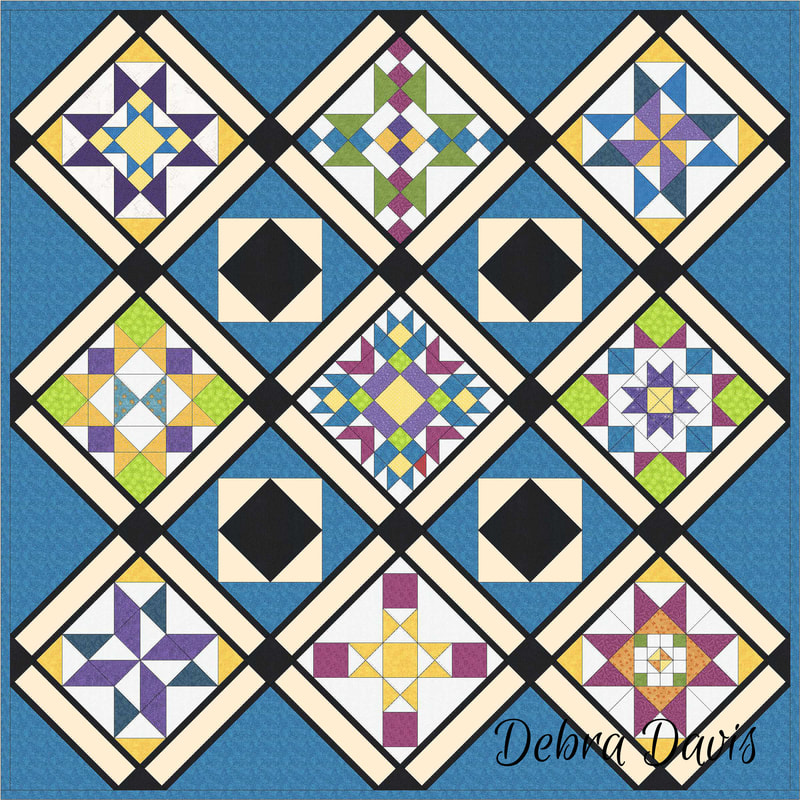 As we get under way I hope you will join us over at my Facebook Group page which is linked here: https://www.facebook.com/groups/tuningmyheartsewalong/ Come and and share your fabric choices and get inspiration from others as well. Until then... Happy Quilting!!  Our final Block from Lisa Bongean came out today. I will certainly miss the way she has challenged me to step-up my quilting game with her blocks and alternate blocks. With my love of star blocks I was delighted to see this one was a star. You can find the pattern on Lisa's blog HERE. 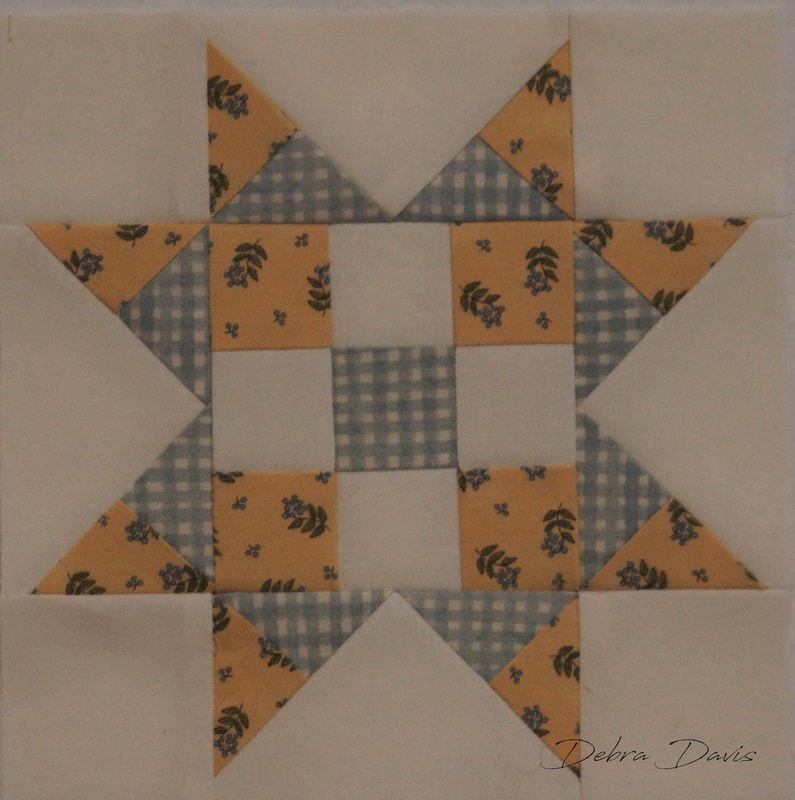 I hope you are not to shocked to learn that I did not make any changes to Lisa's directions. I cut out everything according to the pattern she provided. Starch has been my friend with these blocks and I did starch everything before cutting. I did notice later that I missed the G squares but not to worry they will turn up at just the right time. 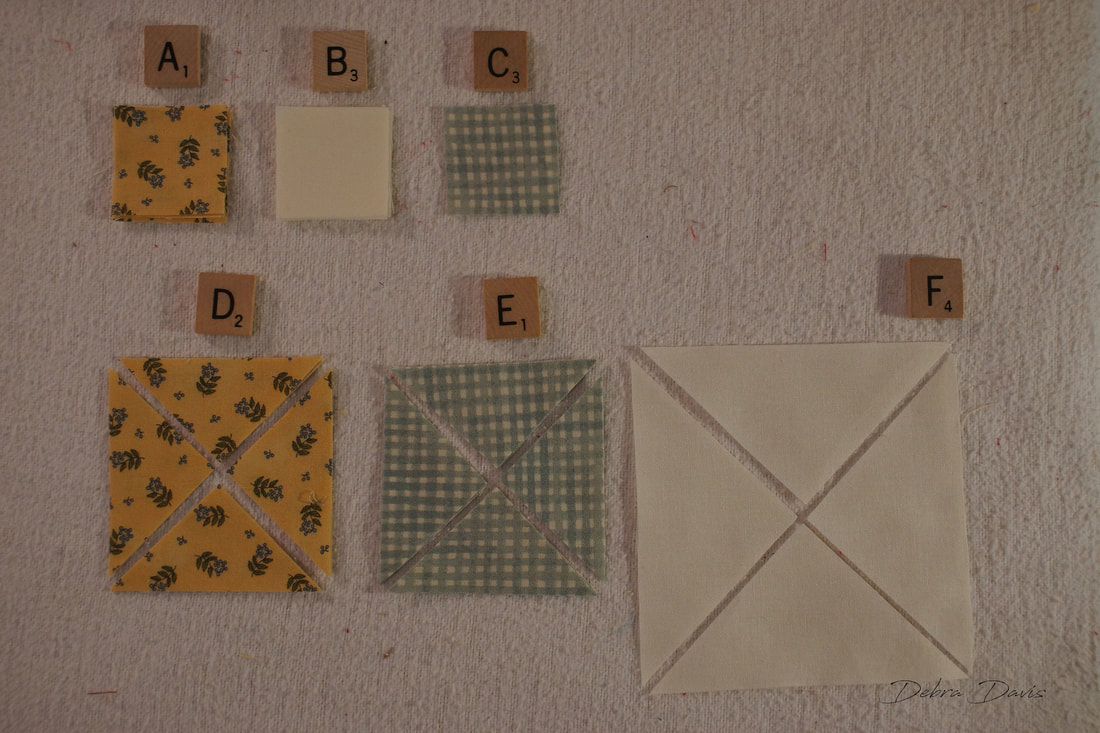 I began by putting the 9-patch block center together. I laid all of the pieces out and chain-pieced just like I normally do with 9-patch blocks.
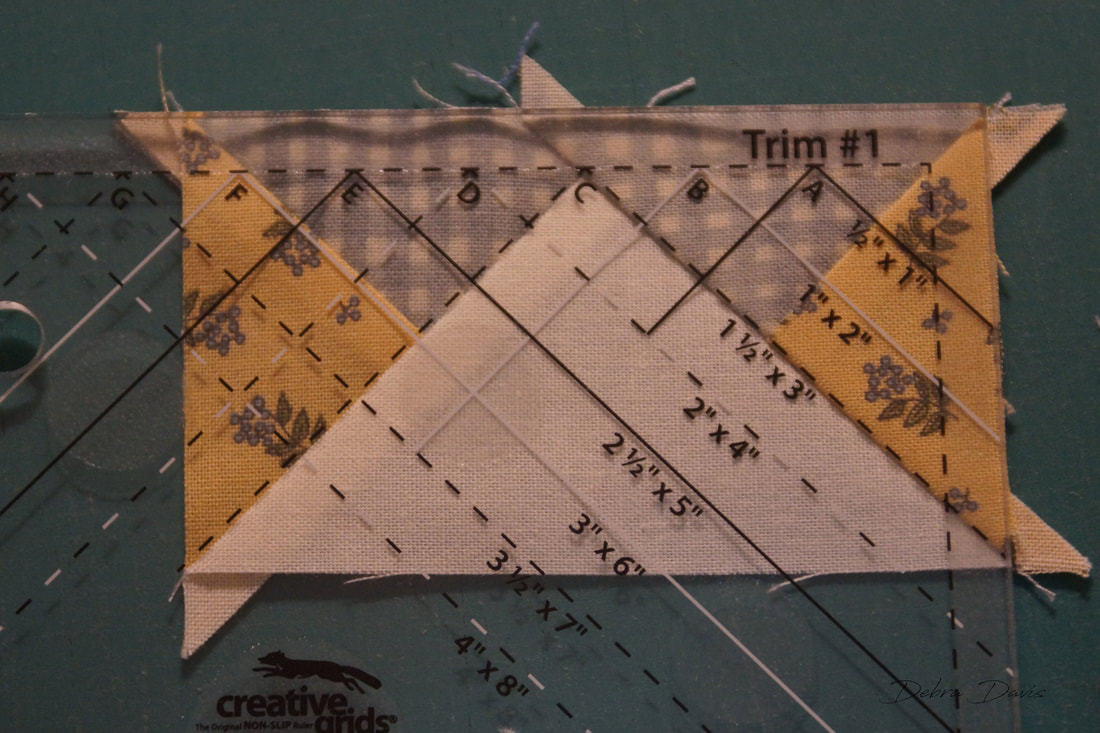
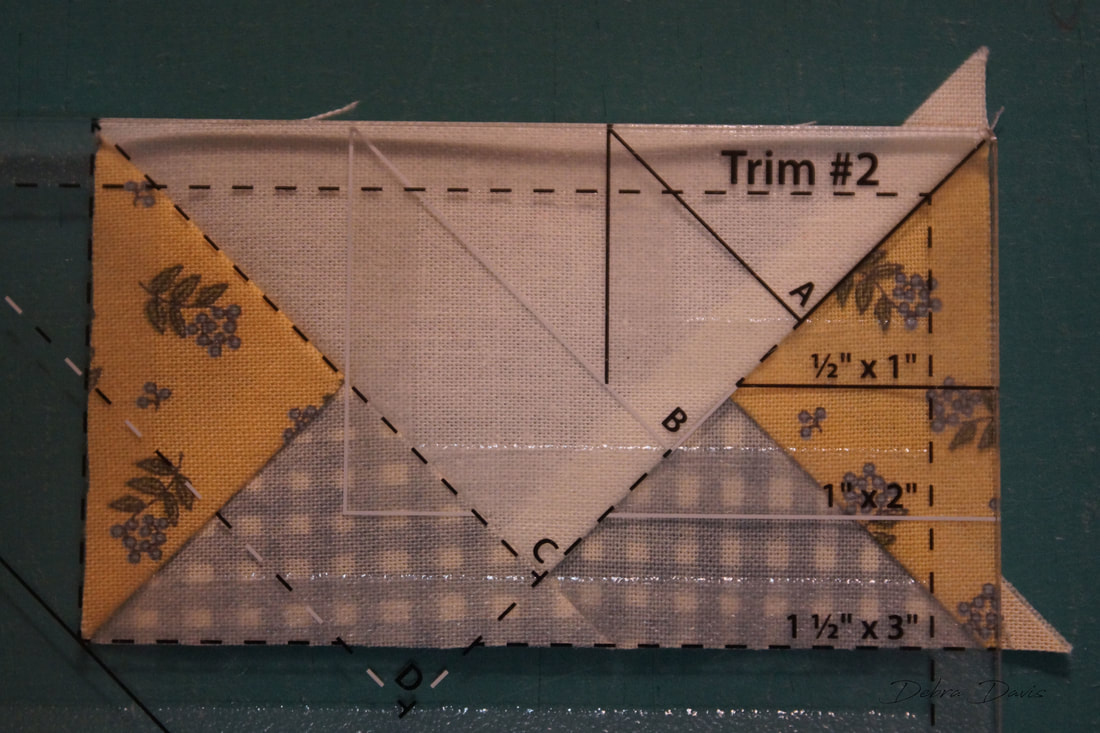
I have been asked why I always start and end my sewing on little scraps of fabric. I call them leaders and enders. This way I can bring the pieces I am ready to sew right up to the needle (I always have it in the down position) and when I begin sewing I do not have any bunching or messy thread issues that can happen if you just start sewing without them, It was also pointed out ot me that it saves on thread as well since we do not end up with long tails that need to be trimmed. I had never considered that before-just appreciated not have long thread tails everywhere. 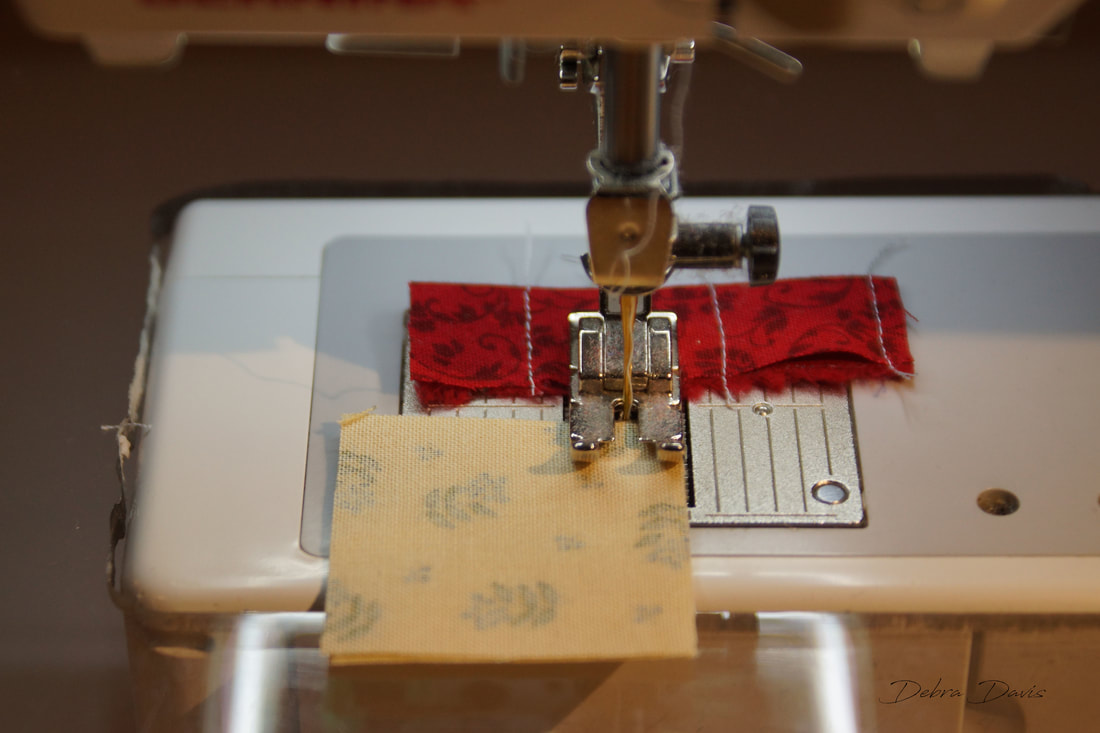 I pressed the rows in opposite directions: the top and bottom were pressed towards the B squares and the middle row was pressed towards the C square. Once I finish the rows I check to make sure the middle piece measures 1 inch across. Always happy to see that I am sewing an accurate 1/4 inch seam! 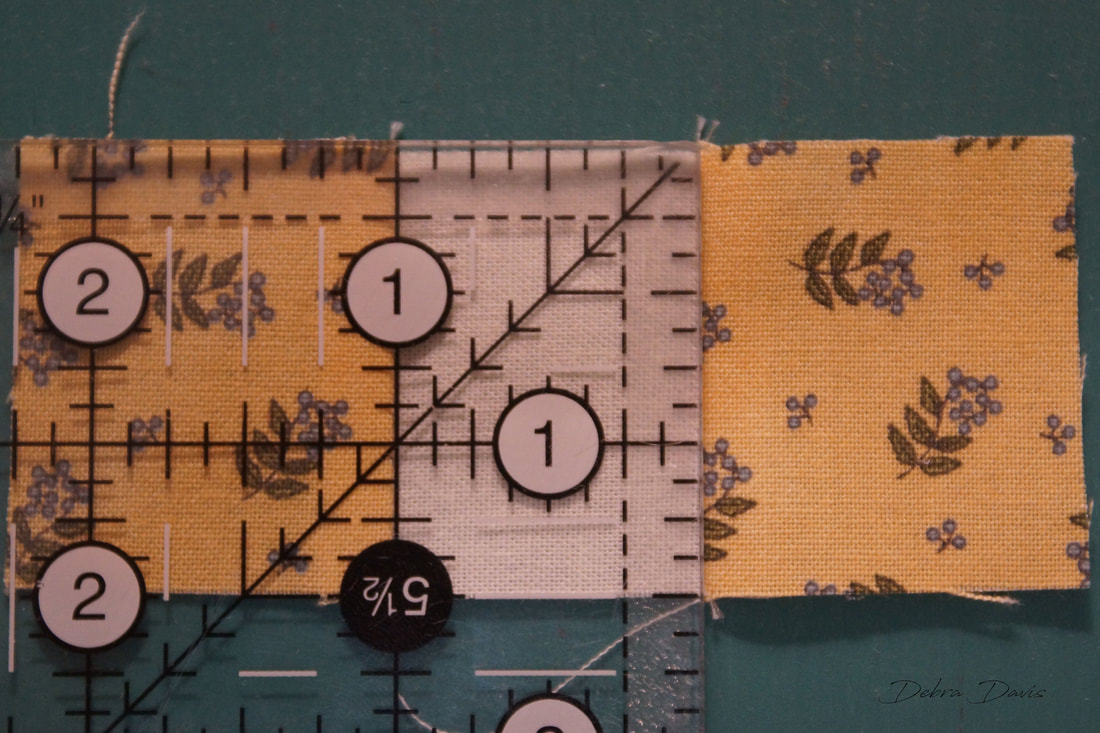 Next I sew the rows together to finish the 9-patch. 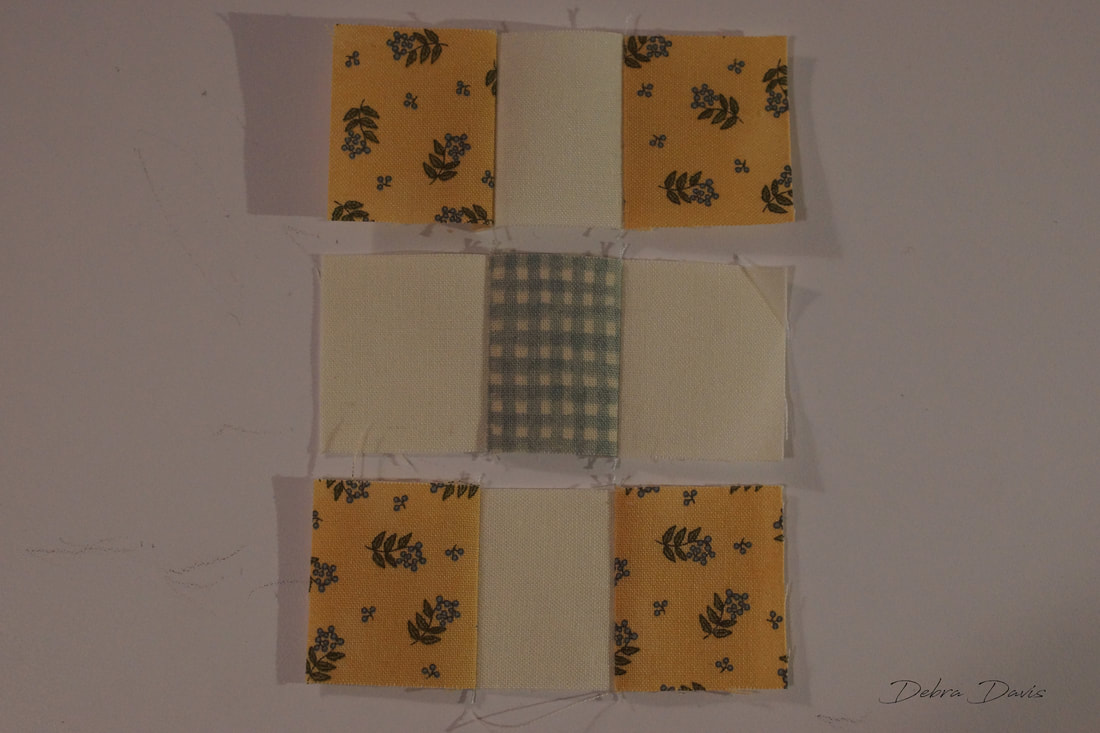 Notice that I have the first seam facing towards the needle as it approaches-this just helps puch the two seams that are nested there together so if all goes according to plan I will not need to pin them. And I am happy to say it all worked out. On larger blocks I still like to pin those seams together. 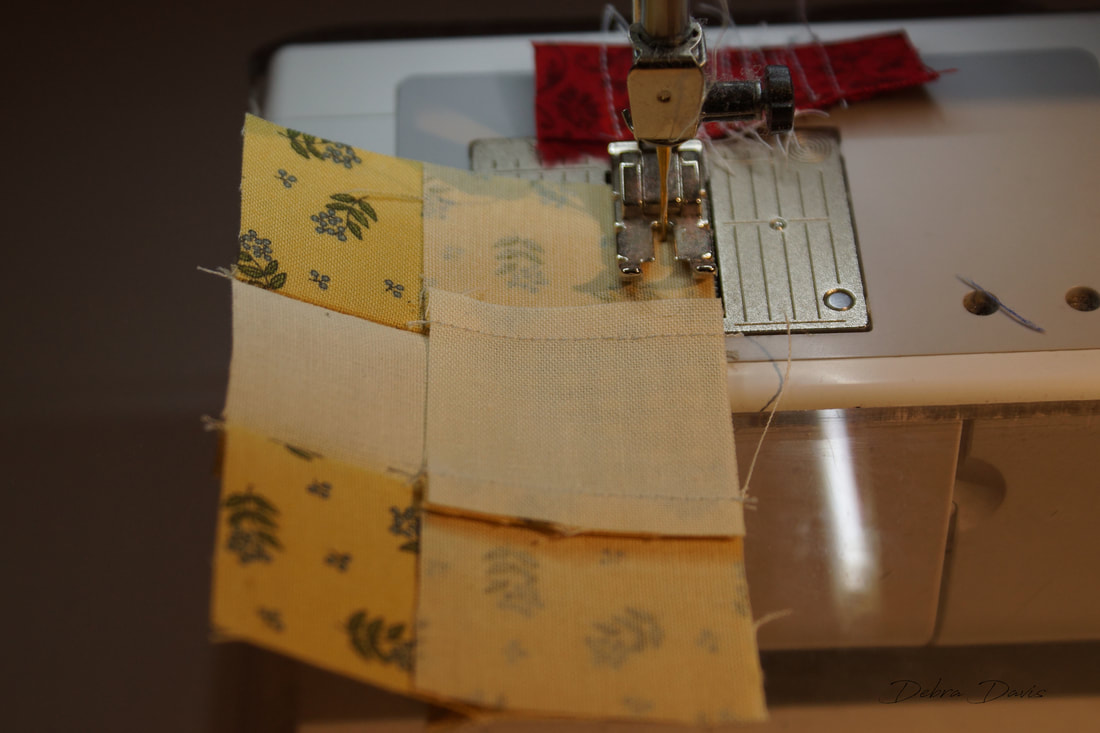 Just need to check that the 9-patch measures 3 1/2" x 3 1/2" 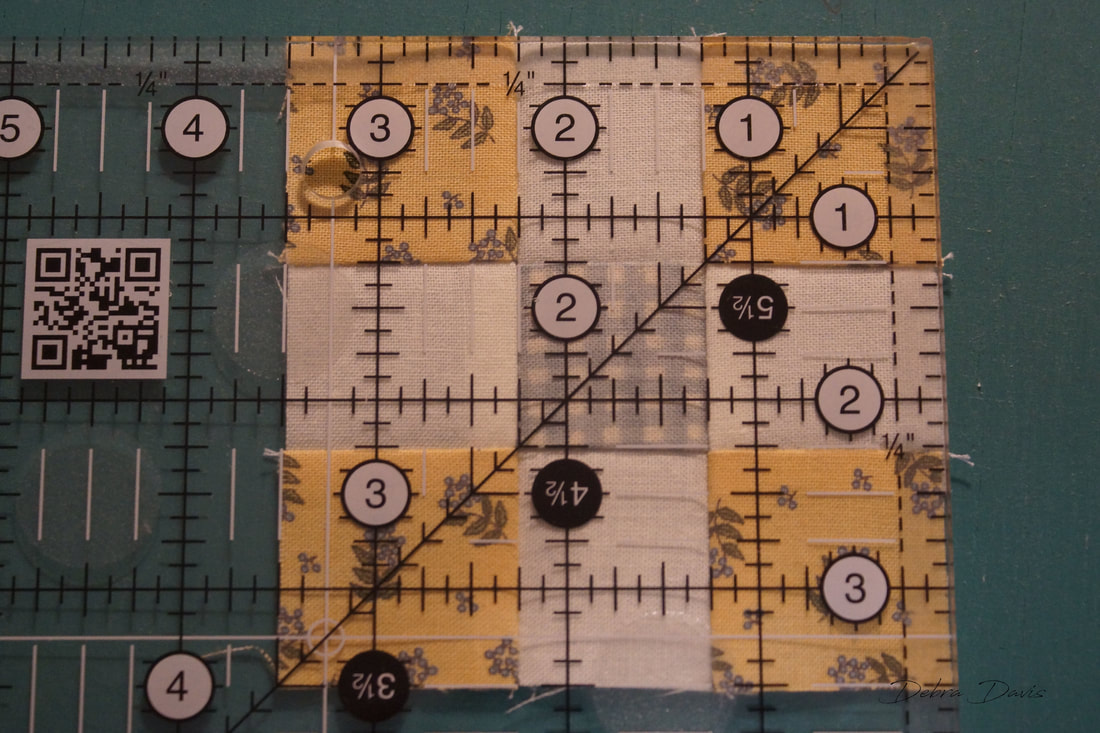 Sewing triangles is not my favorite thing-but these went together very nicely. So as not to confuse myself I only joined 4 D and E triangles at a time. Making sure I have them oriented the correct way. 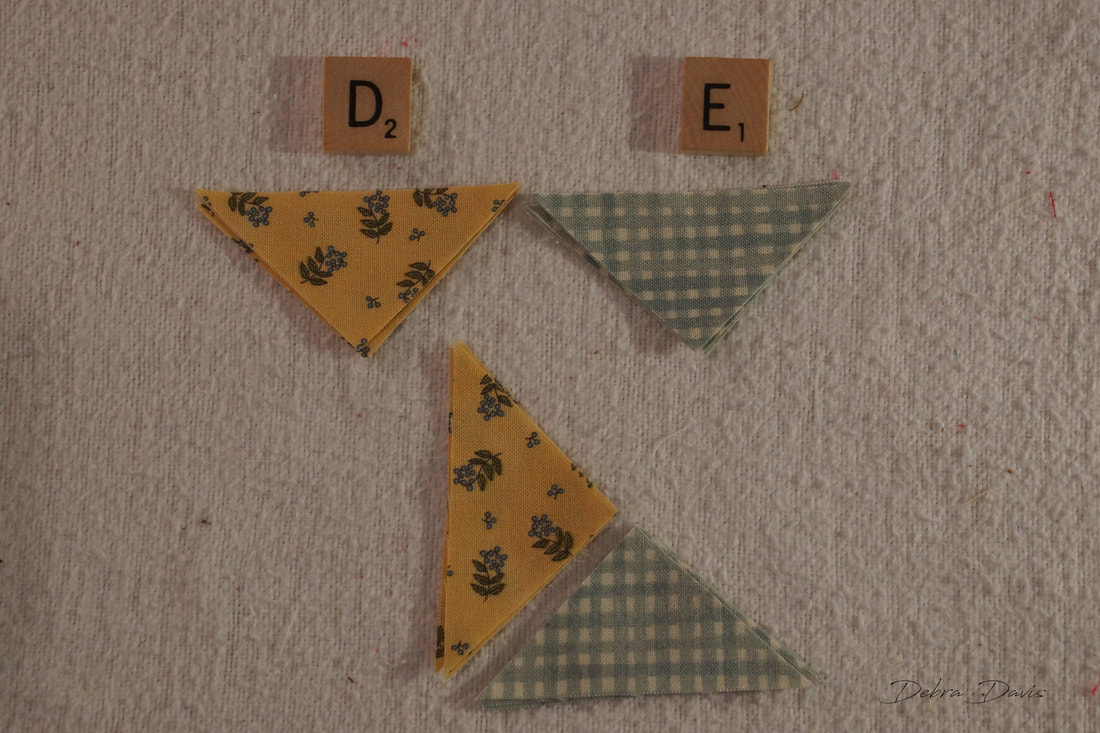 I like to start sewing these on the top of the square side rather than trying to start with the point. 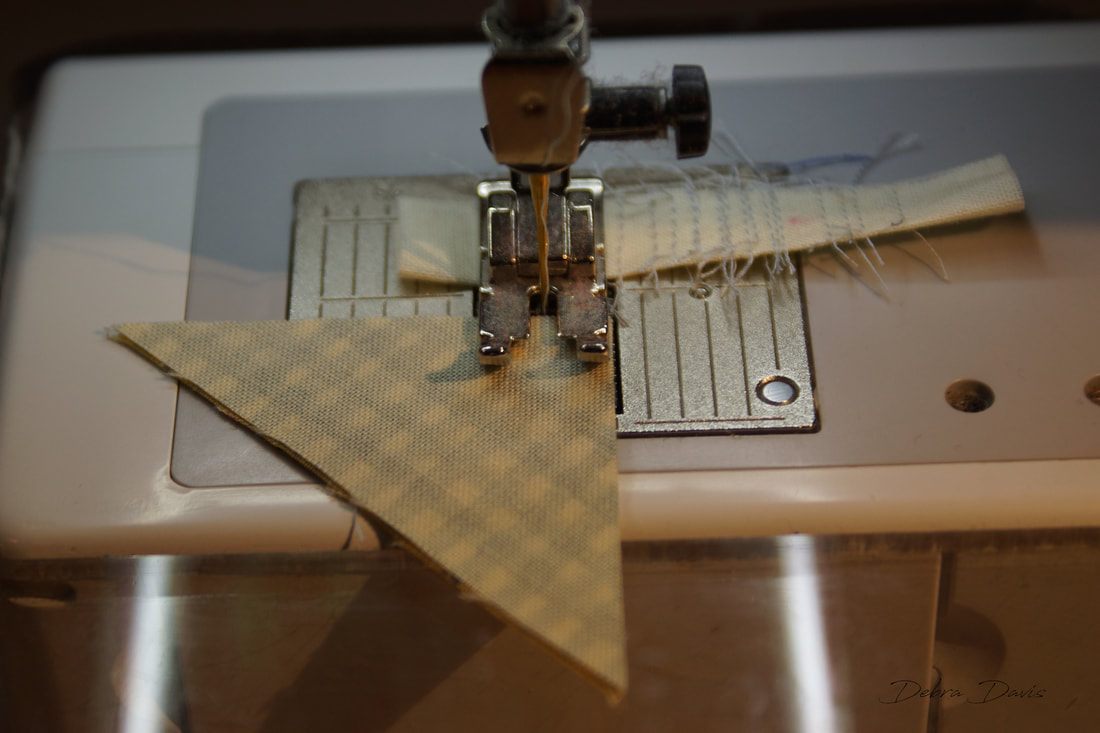 Now I make the next four units with the other configuration. 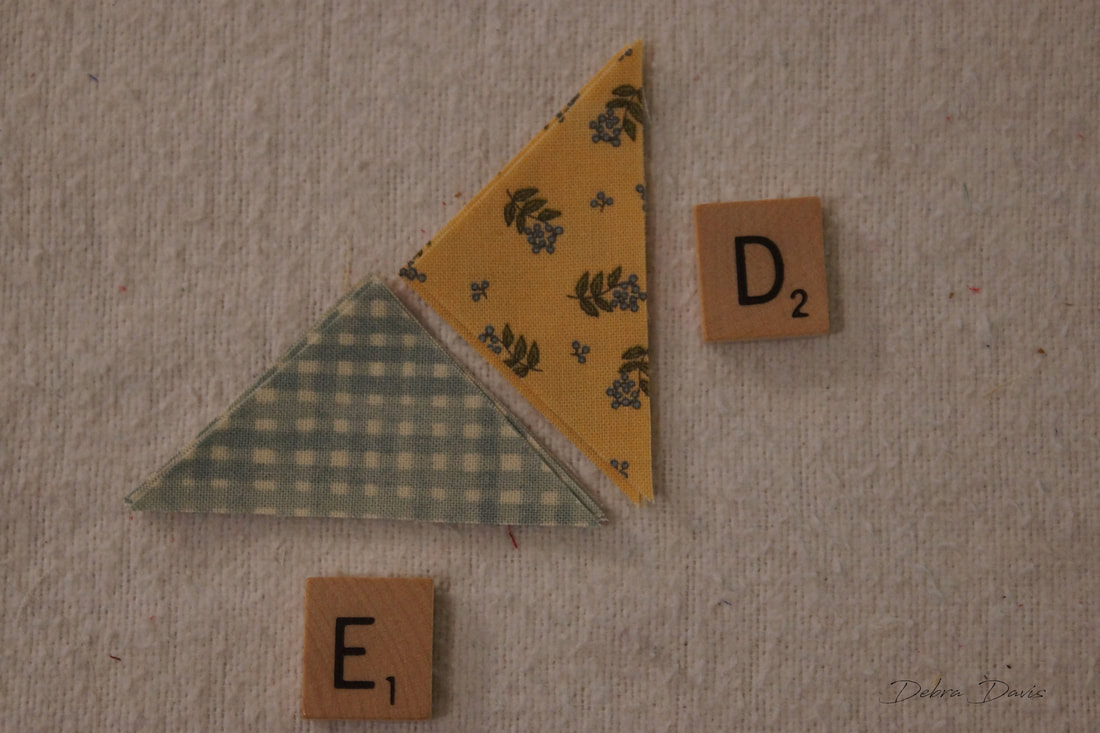 There they are. I am not going to bother with trimming off those little triangle bits just yet. 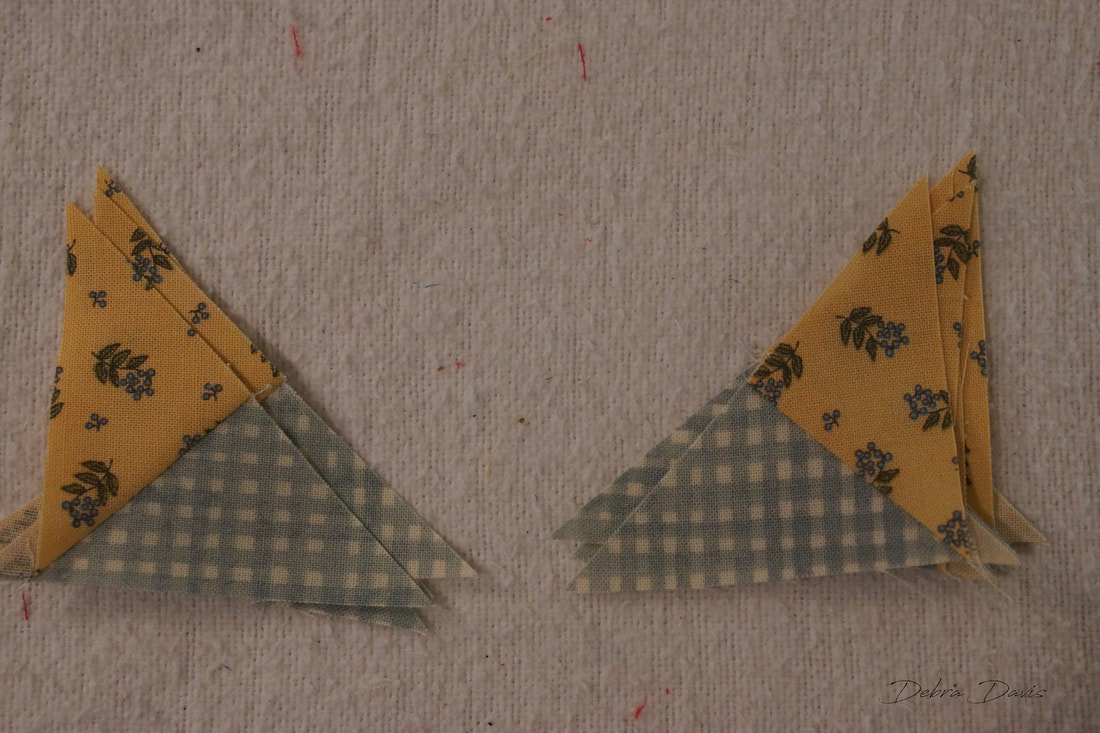 Adding the F triangle will complete these Flying geese units. 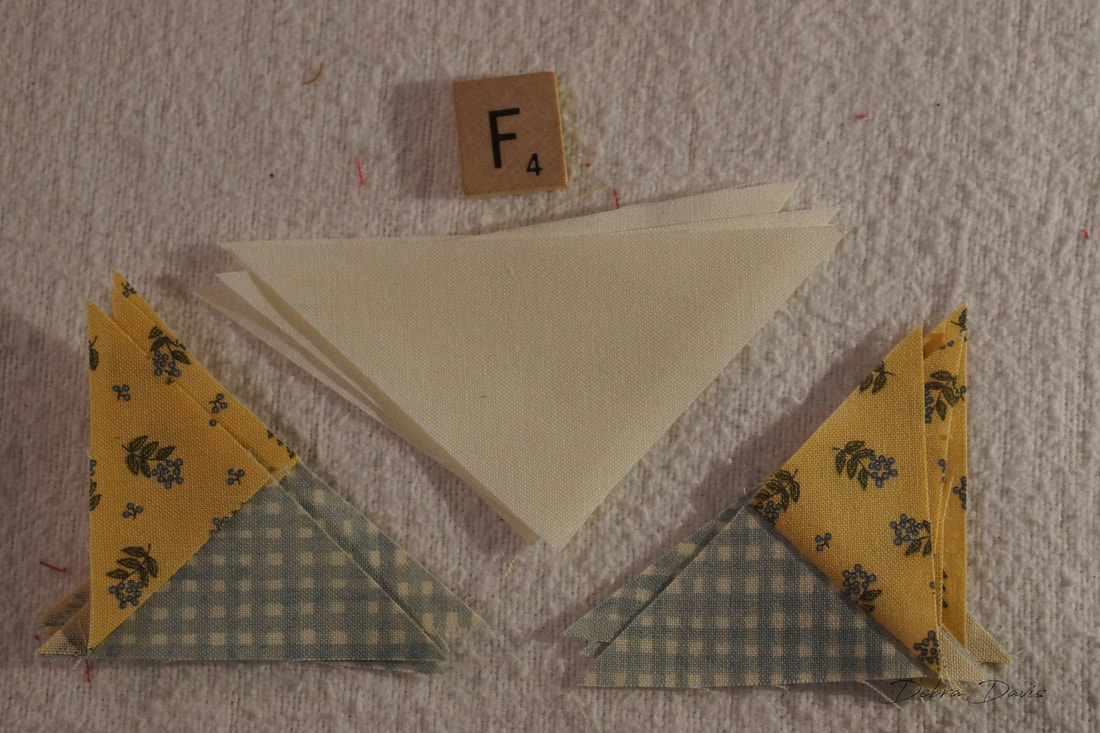 To start I lay a unit 2b on top of the F triangle. For some reason I noted that seem to work from right to left-so that meant starting with #2b instead of #2a-it all works out no matter which way you put them together. 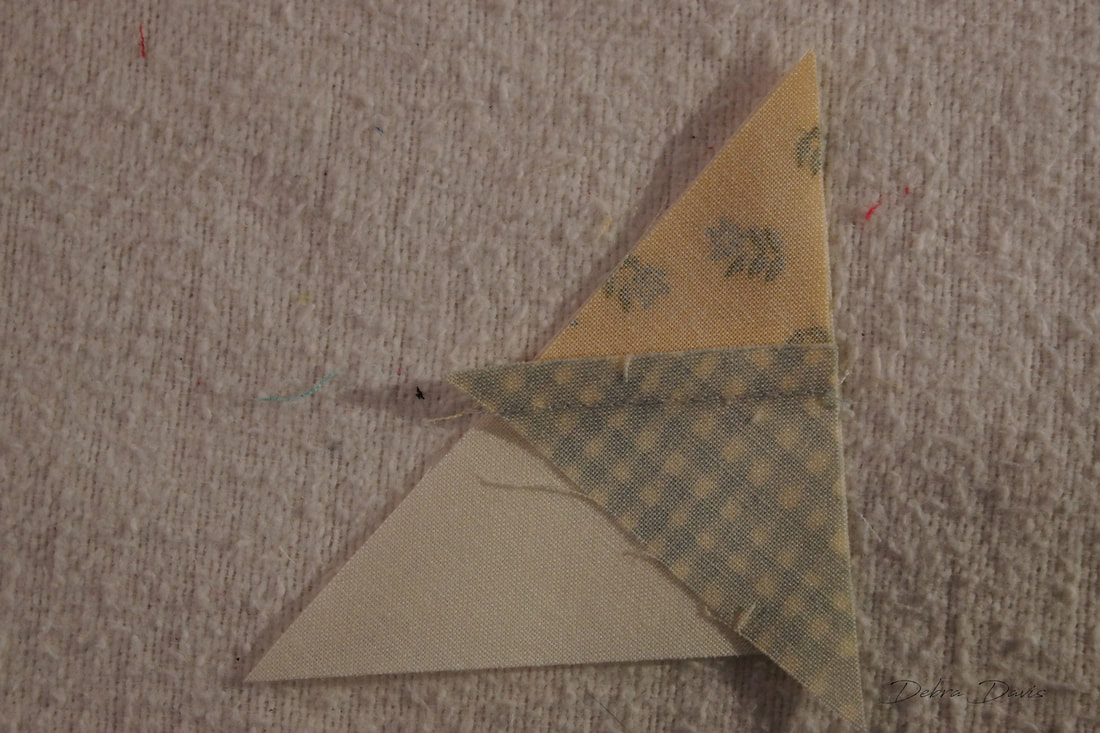 No way around starting with a pointed end this time so I jsut take my time as I go. 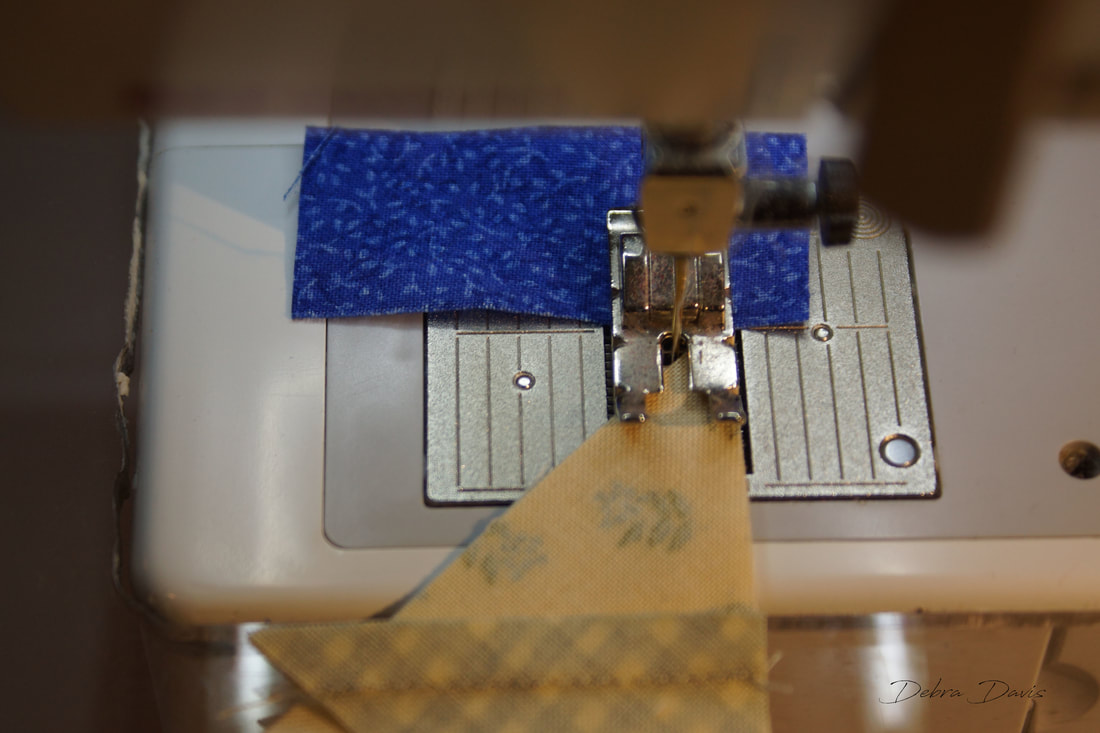 When I come to a seam that is facing the needle this way I often find that I need to lift and lower the presser foot to get it to feed nicely under the needle. 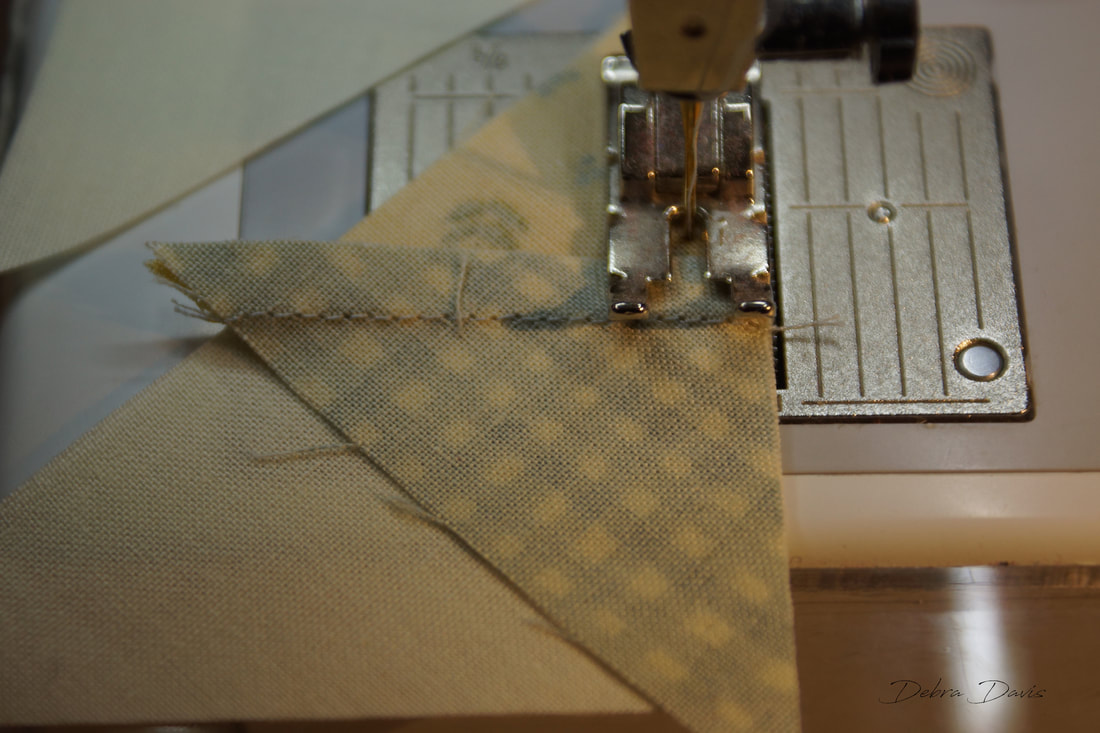 Ignore the pressing on this one-I decided it worked better to press towards the smaller tirangle just like I normally do. So after sewing the first side-press towards the smaller triangle unit and then place a #2a unit on top. 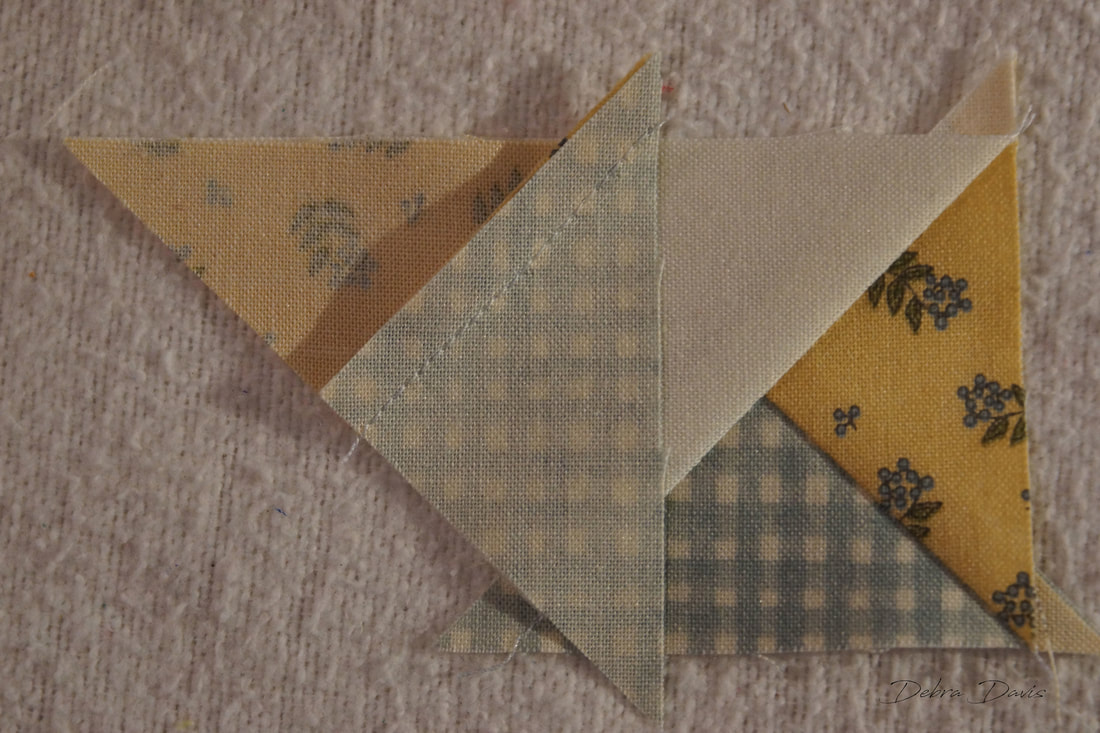 Starting to sew, with my unit right up to the needle to begin with -it fits in the notch just perfectly. Once these are sewn they also are pressed towards the smaller tirangle unit. 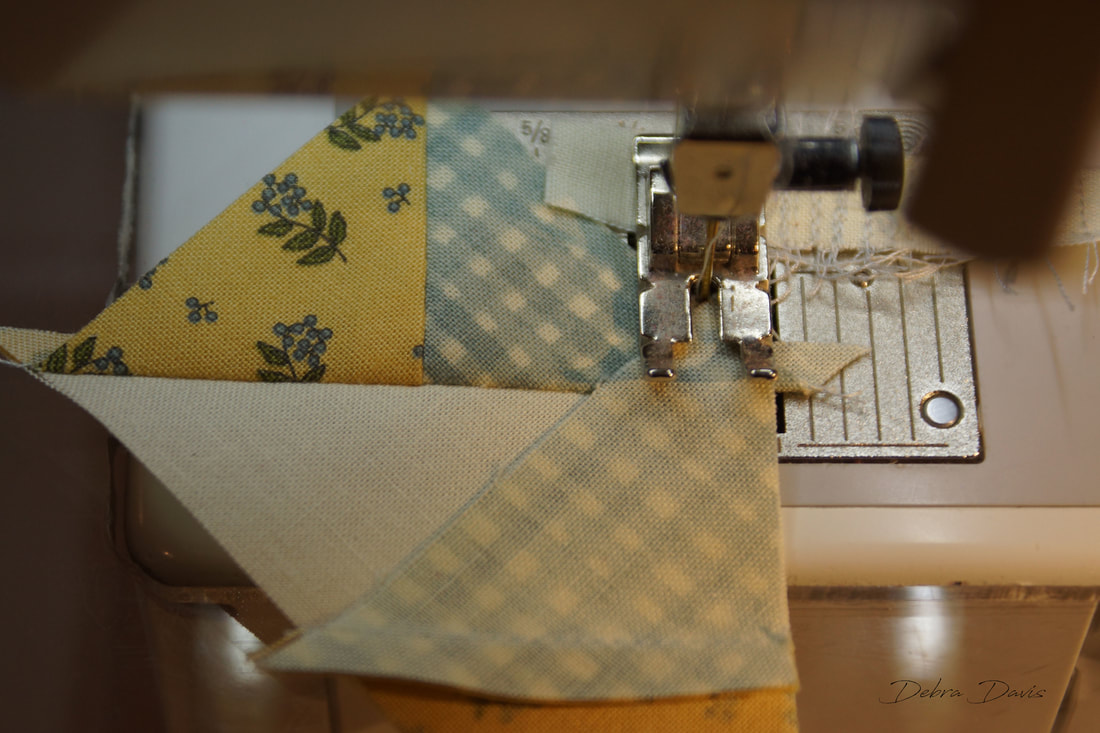 I still love my Bloc Loc rulers but tried out a new one I learned about from someone in Facebook Group. This one is by Creative Grids and the main benefit is that it can handle several sizes. For these blocks I am using the guidelines for the 1 1/2" x 3" size. This is the finished size-so the Flying Geese are being trimmed to 2" x 3 1/2"
Ah, there are those renegade G squares just in time to add them to the block.  As I join the units into rows I sew with the Flying Geese units on top so I can watch that my needle lands on the intersection of the "X" made by the previous stitching lines. 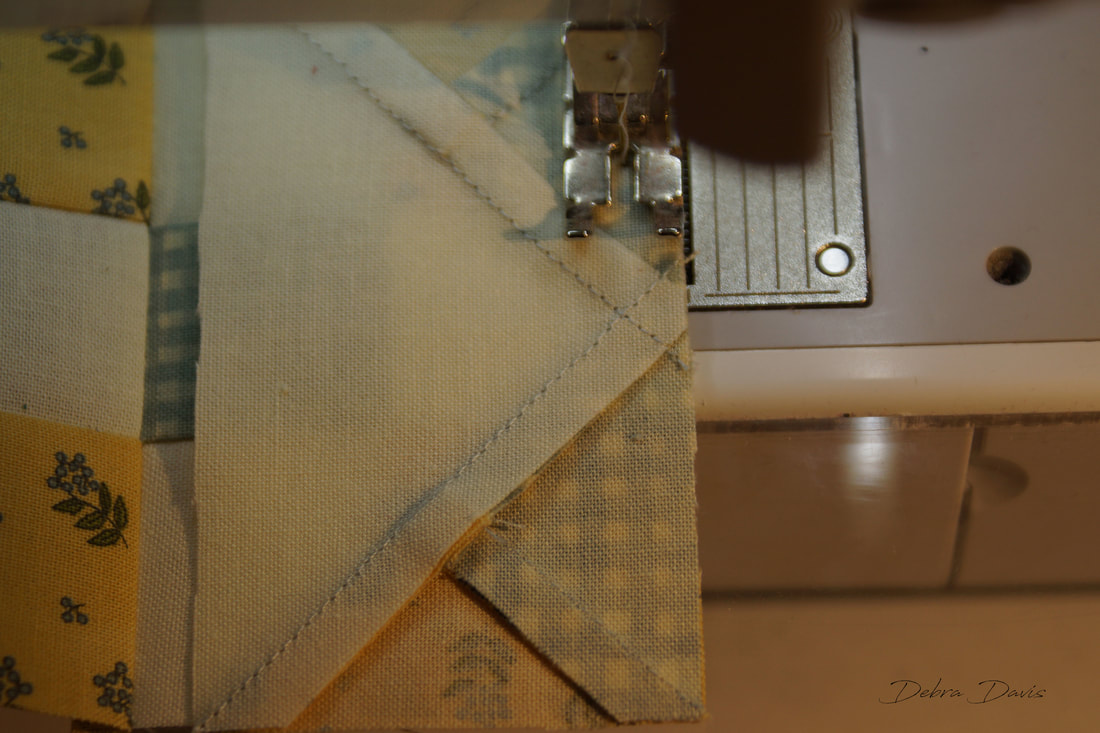 Perfect-just where I want that needle to be!  I pressed the top and bottom rows towards the G squares and the middle row towards the 9-patch center. 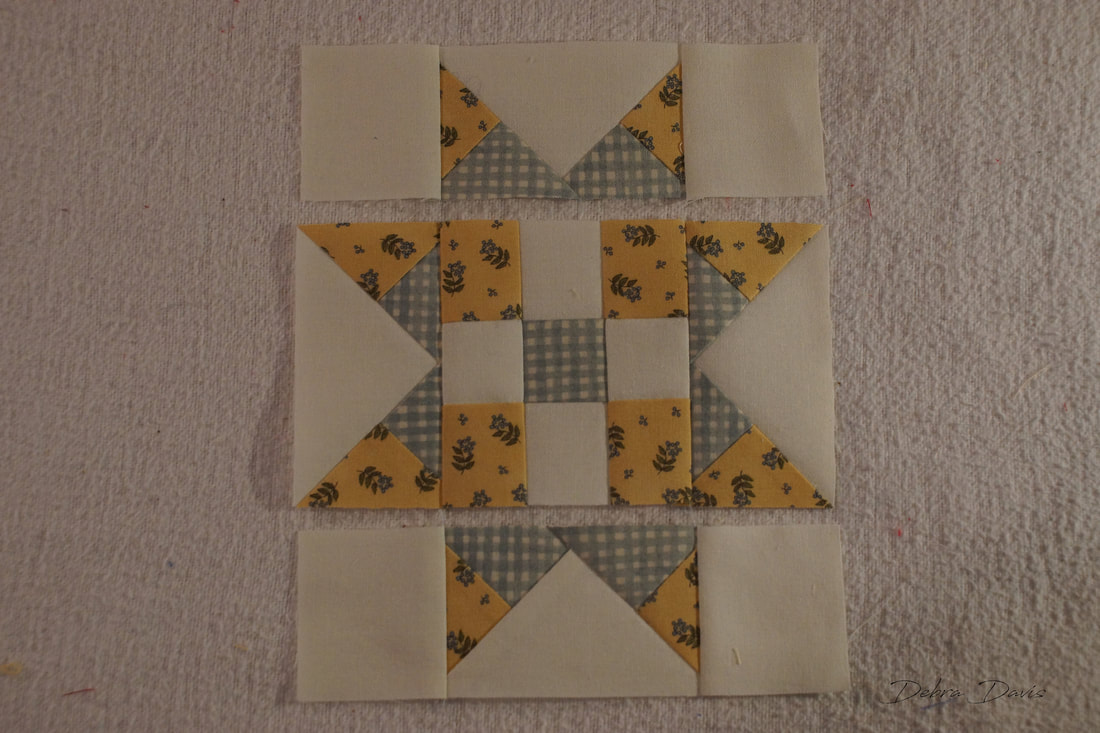 There is a little more to keep an eye on as I join these rows. This seam I did not pin-but the one at the bottom I did. Here too I have an intersection at the "X" of previous seams. 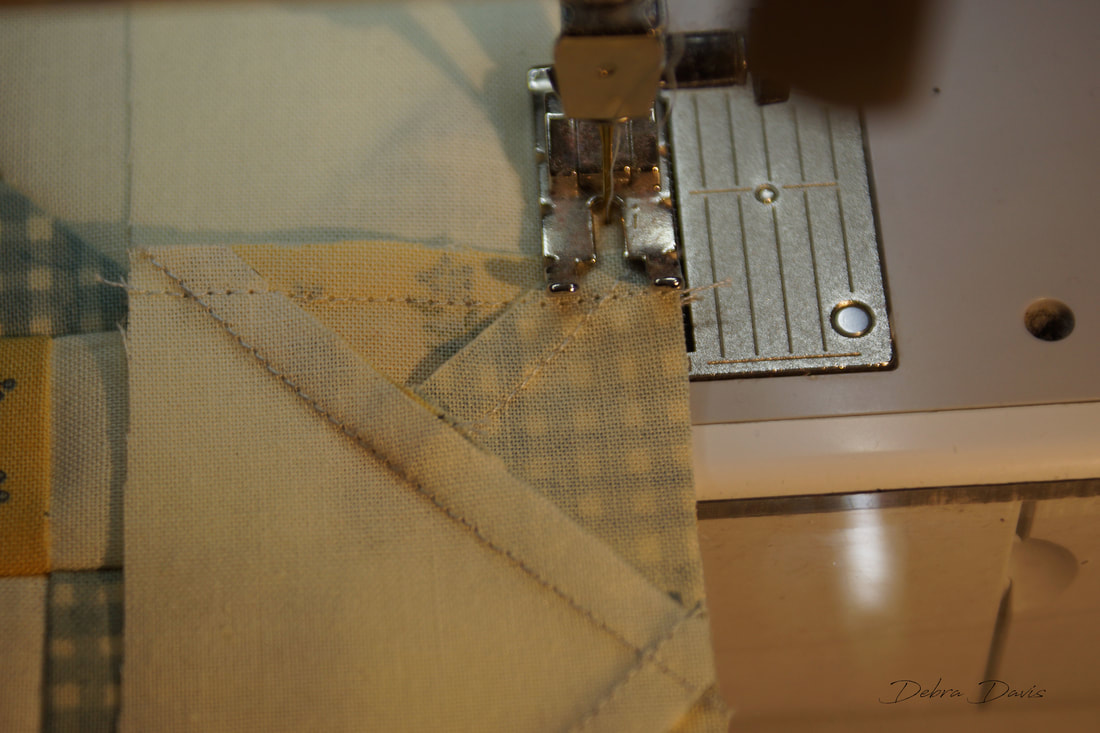 I took the advice of others and opened up the intersecting seams on the back so that my seams fall in opposite directions. I have not pressed the front yet-just want to show you how this is looking frmo the back. 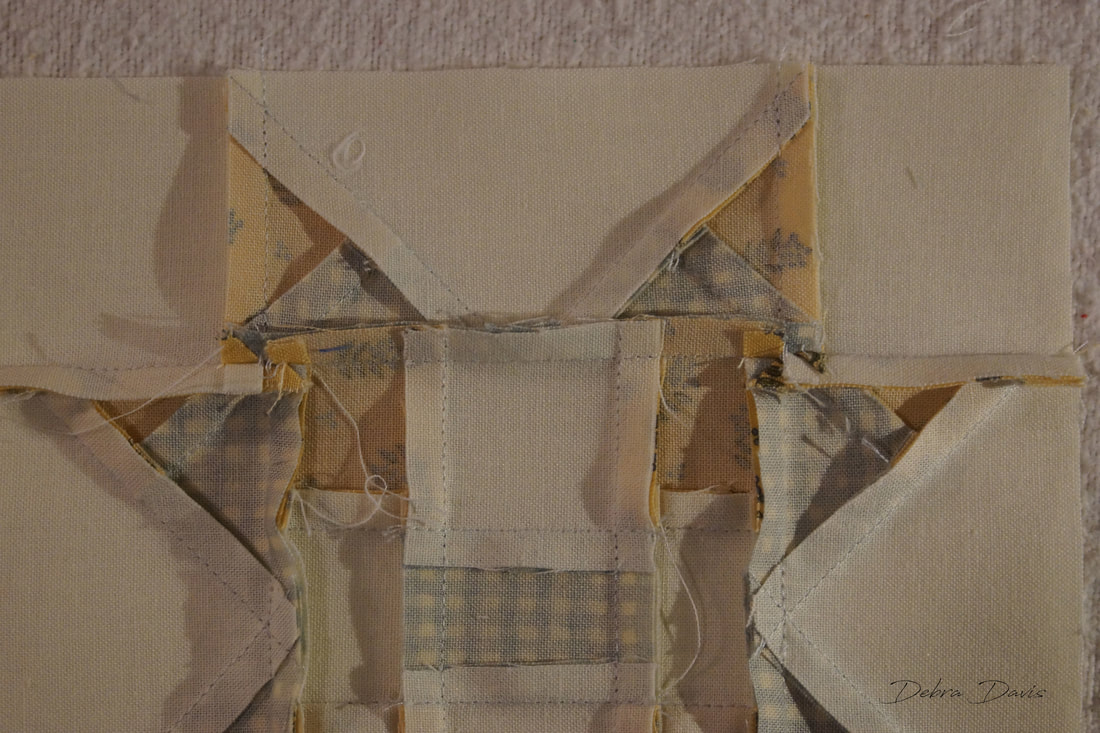 One final seam and my Starry 9-Patch is done.  While there is only one block left to be released I still have some to catch up on. I have decided to continue doing just one a week as I have so many other projects that want my attention too. But eventually they will all be ready and I am glad that there are so many quilters still working on various stages of their own Moda Blockhead blocks that are keeping the Facebook group acitve and fun. If you have not checked it out come and see for yourself by clicking on the following link! Moda Blockheads Facebook Group Until next week... Happy Quilting!!  |

Welcome to the site of Debra Davis-a woman who loves the Lord and loves to quilt.
My other blog where I share about my walk of faith:
Sitting at His Feet 
|


 RSS Feed