|
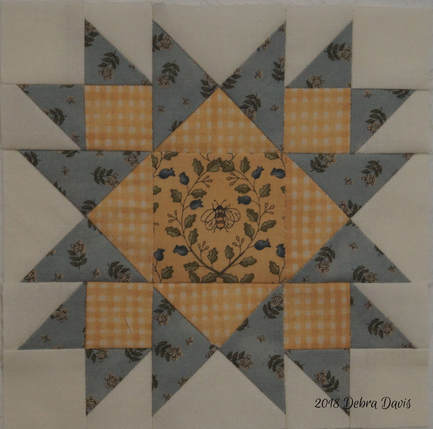
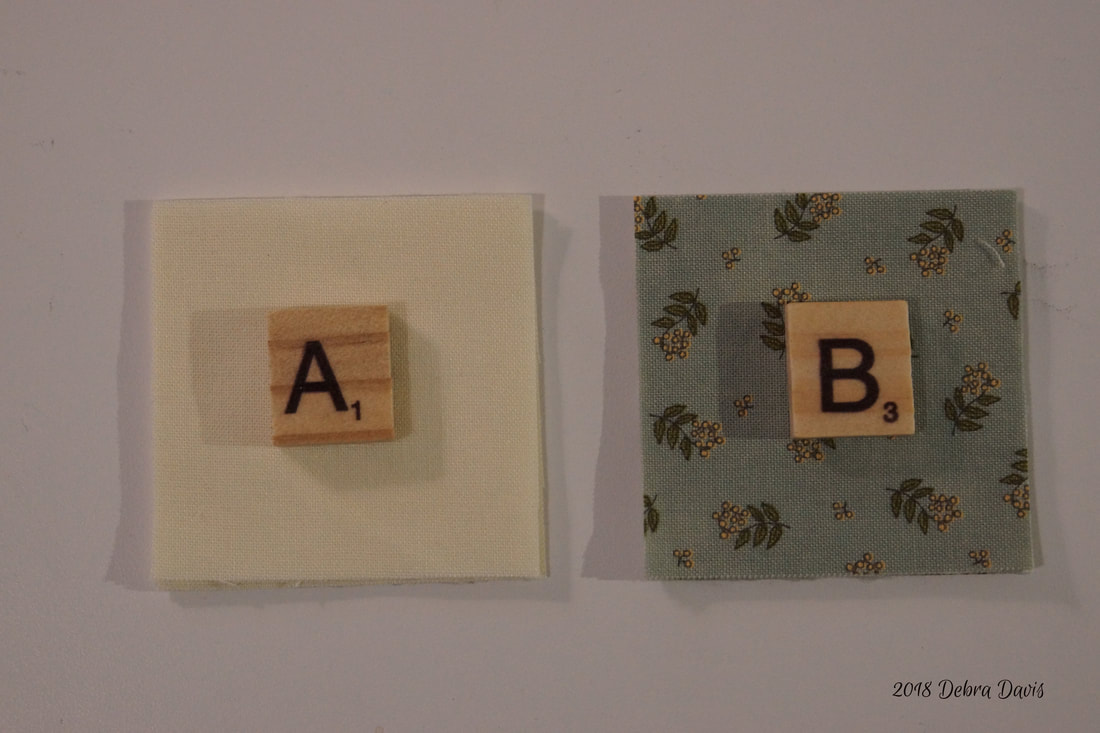
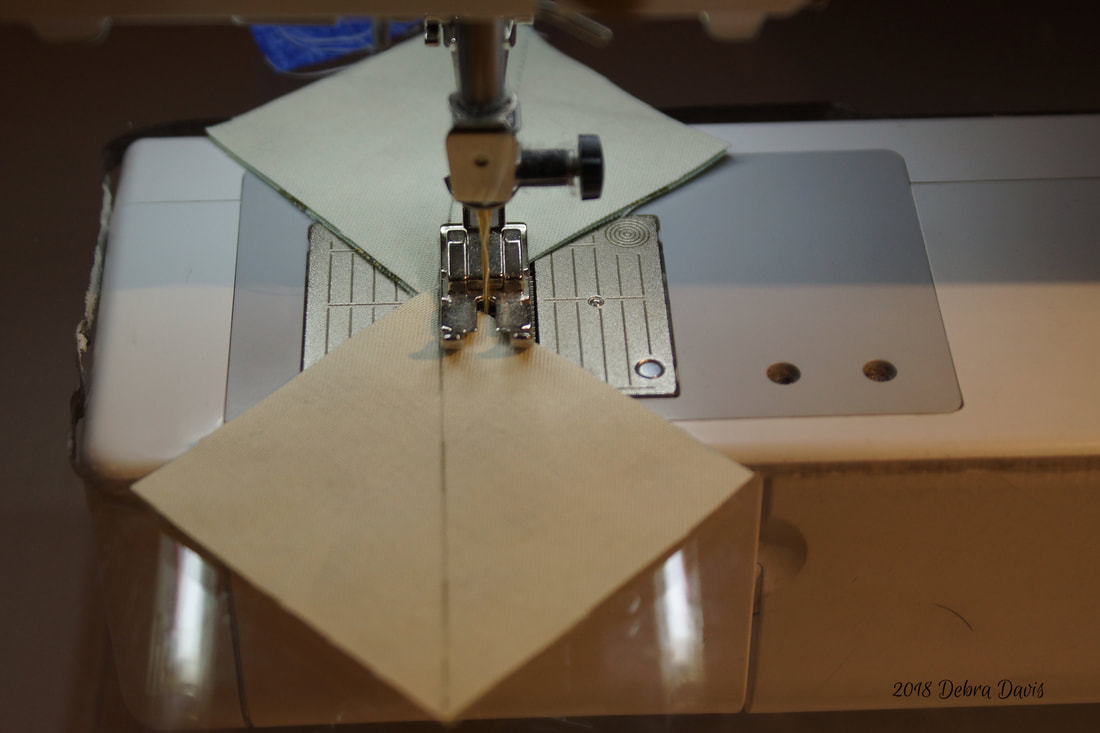
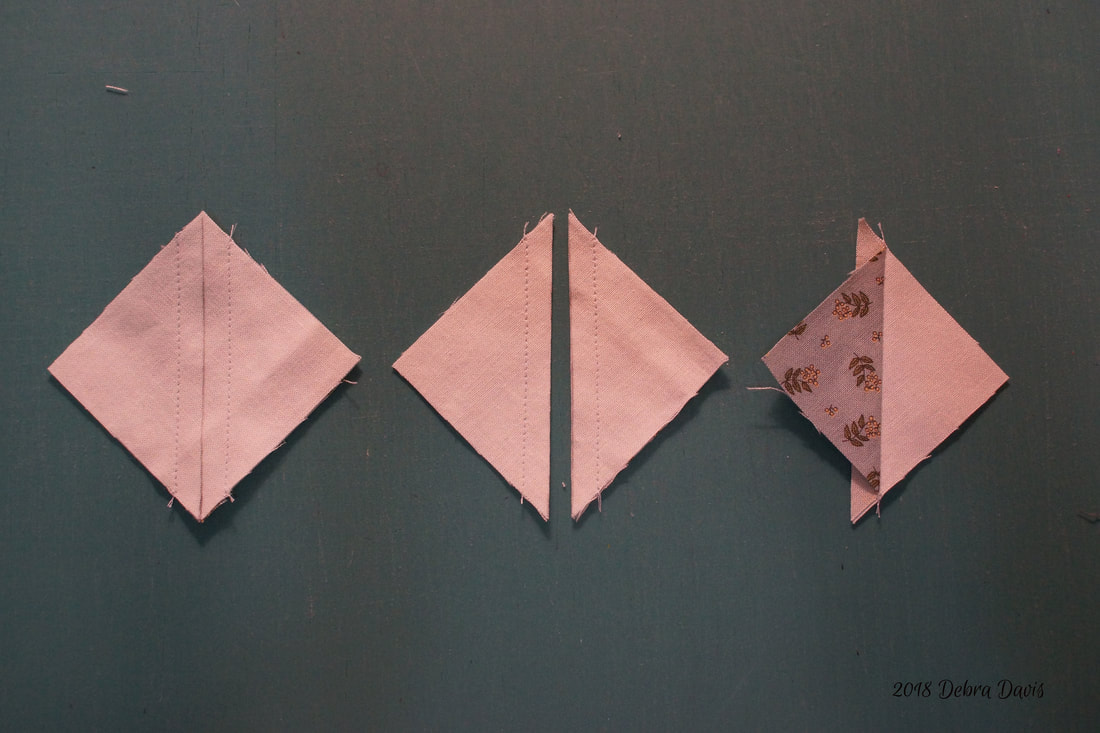
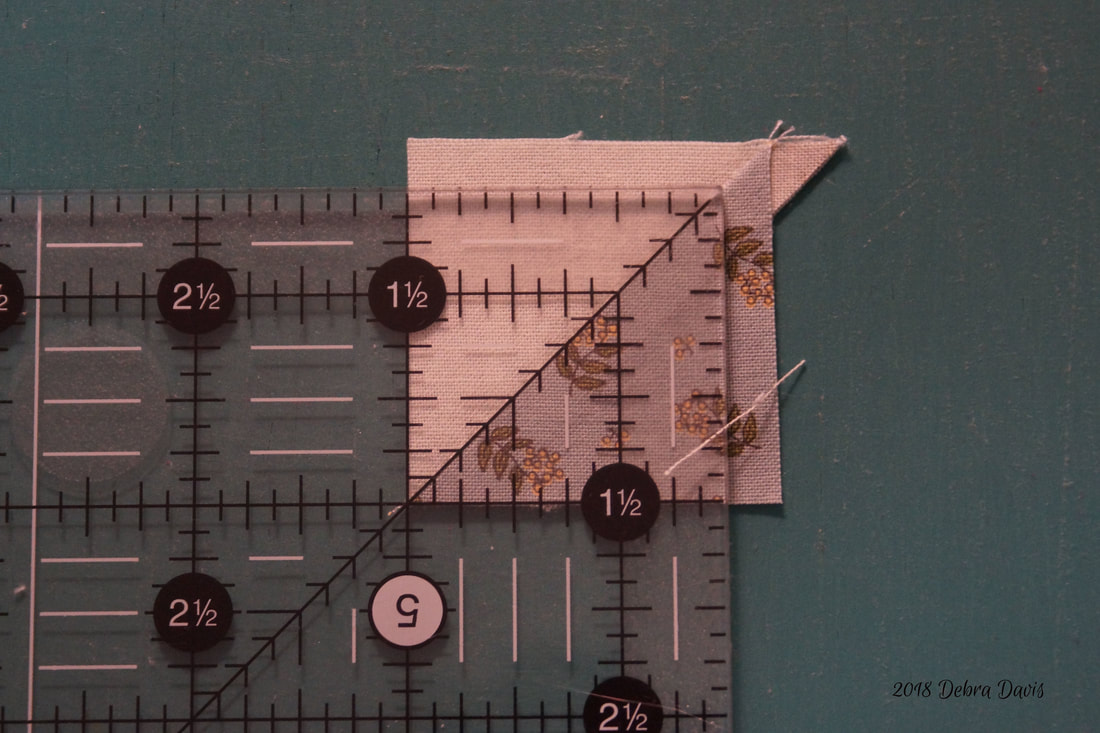
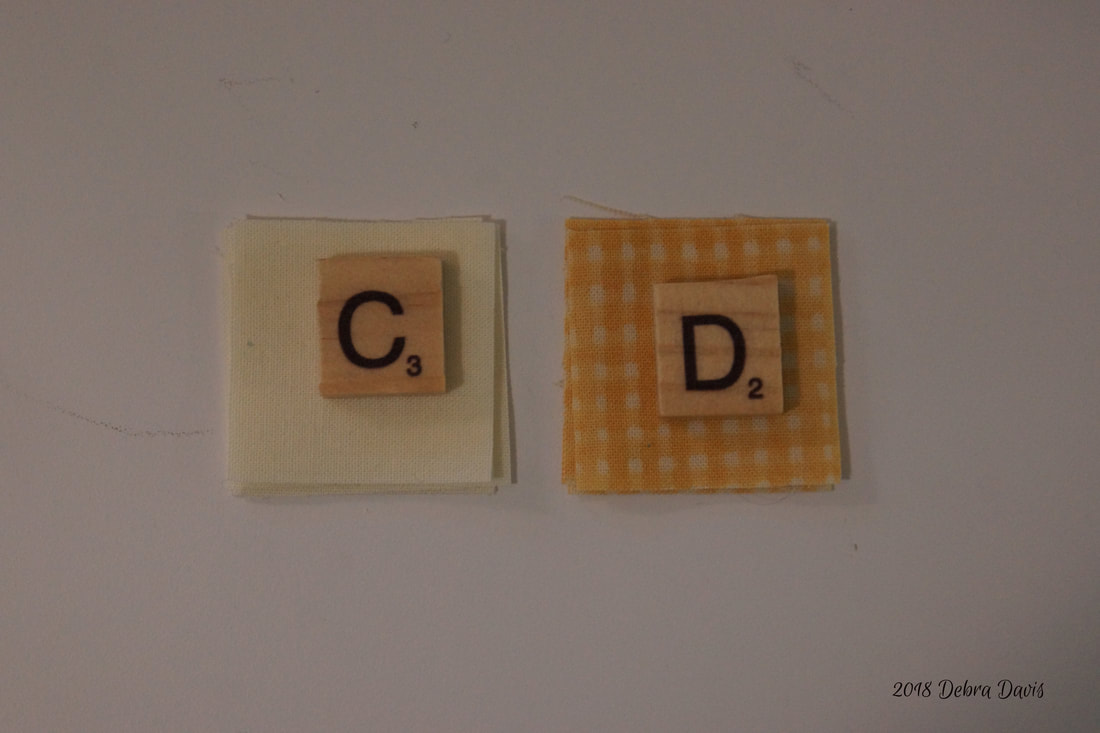
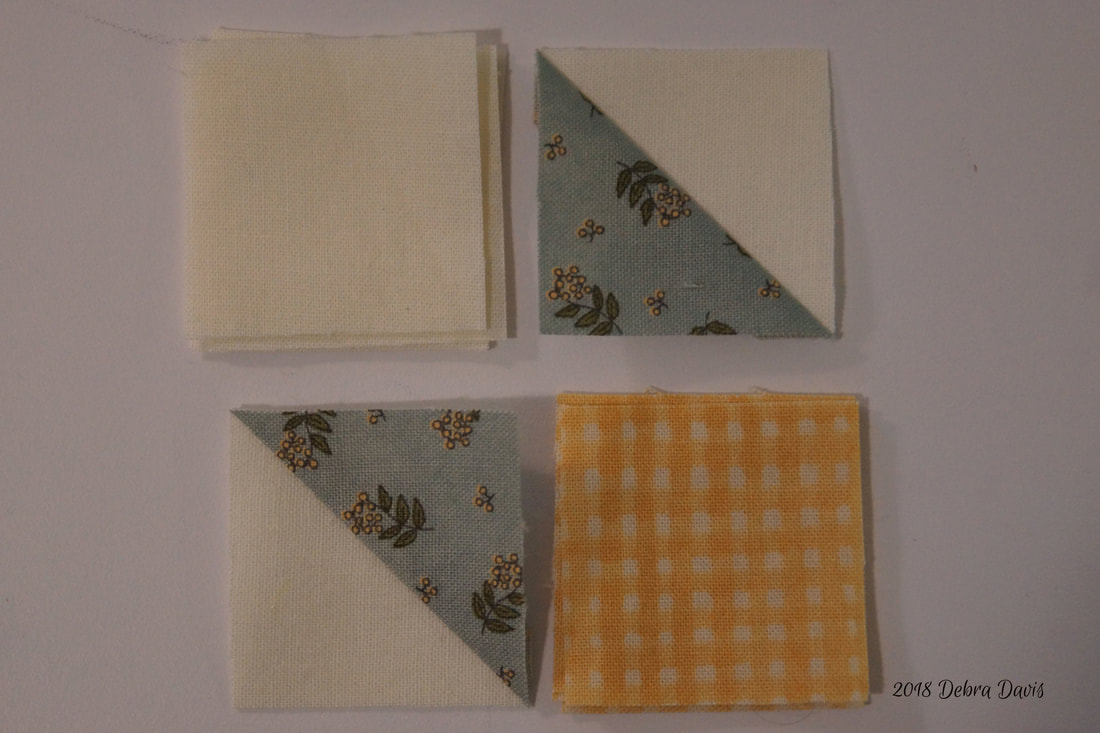
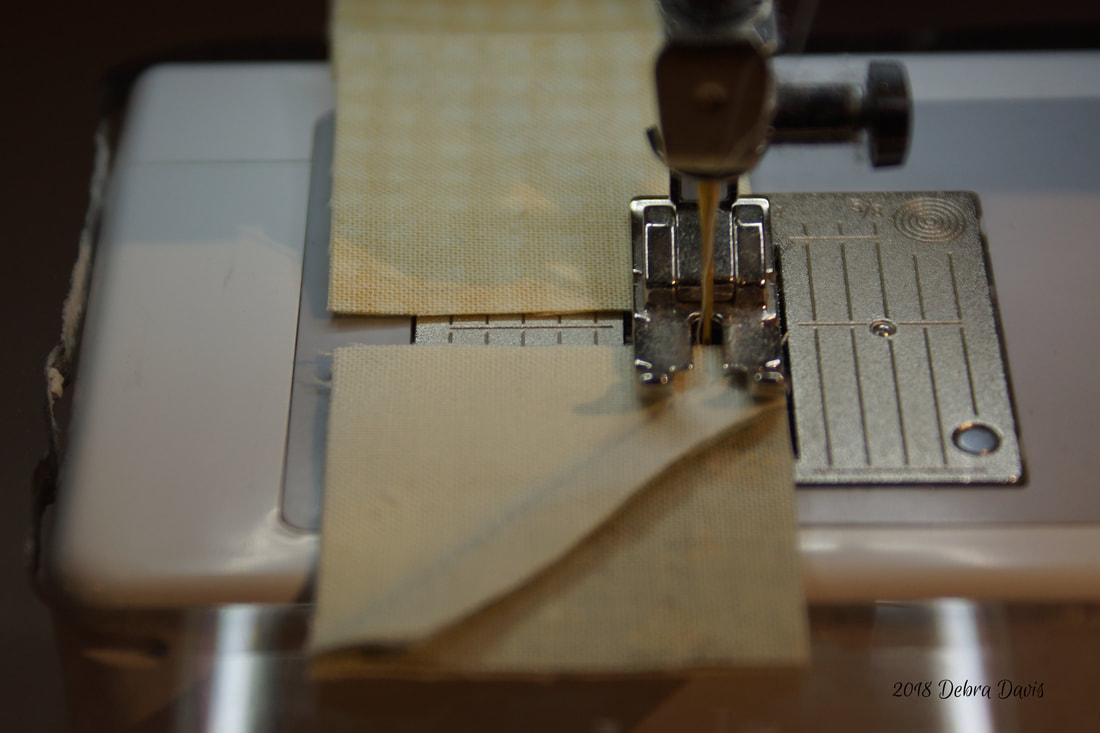
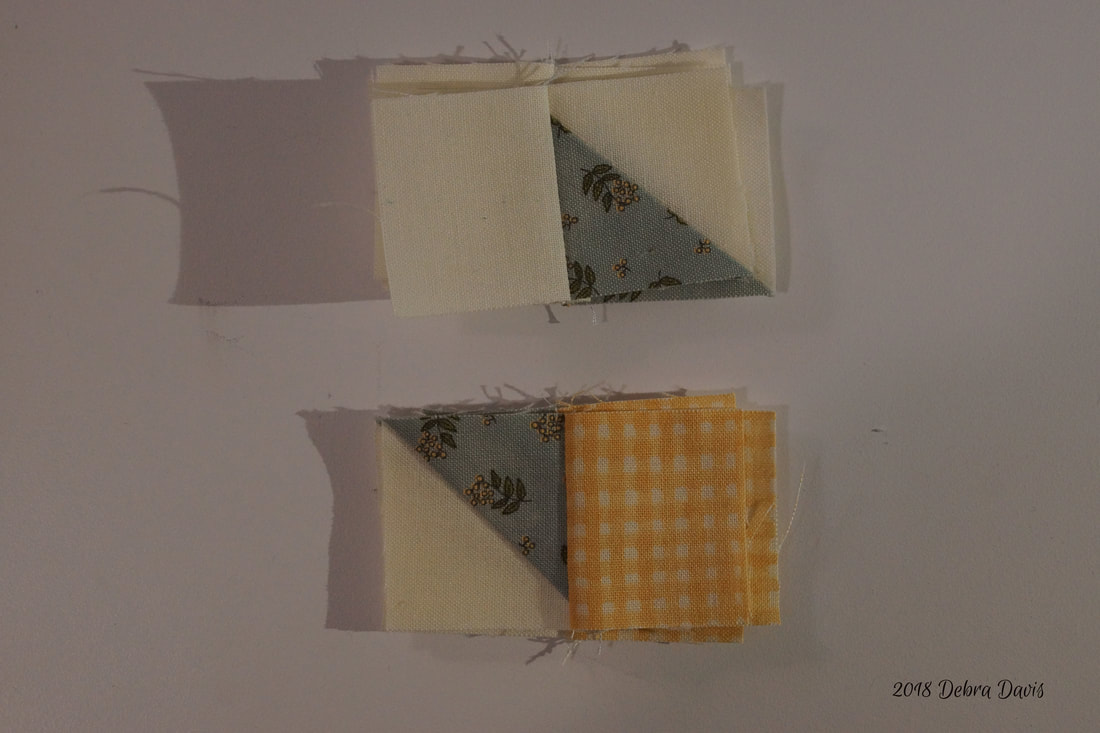
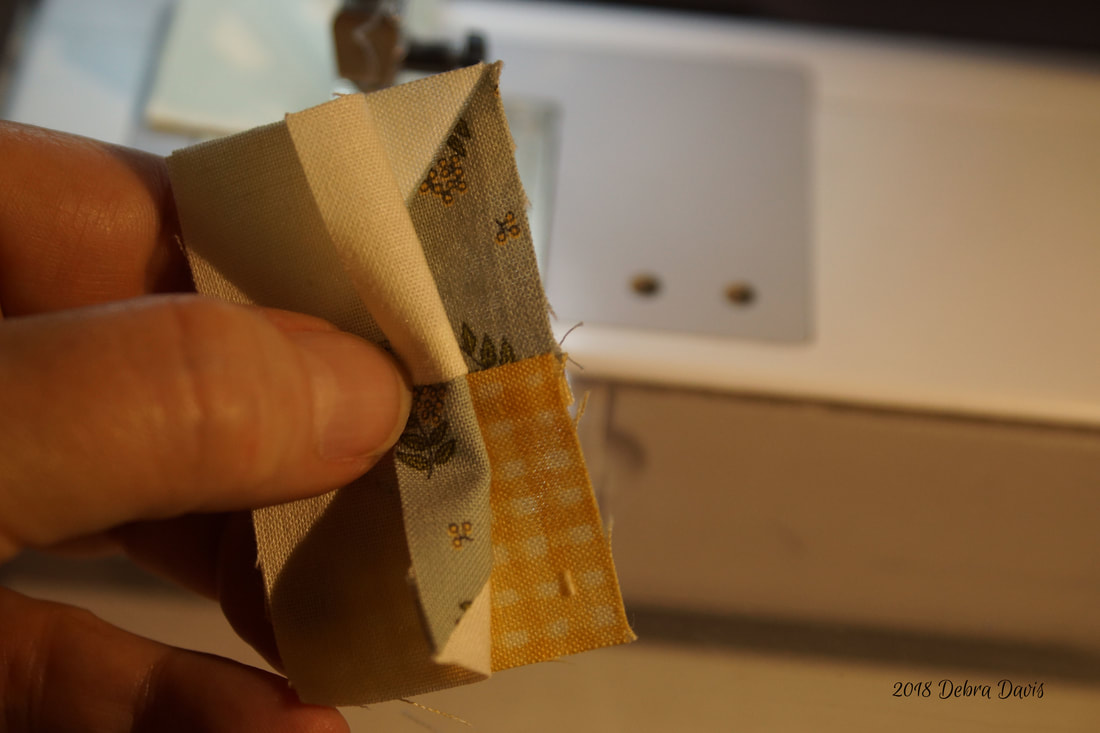
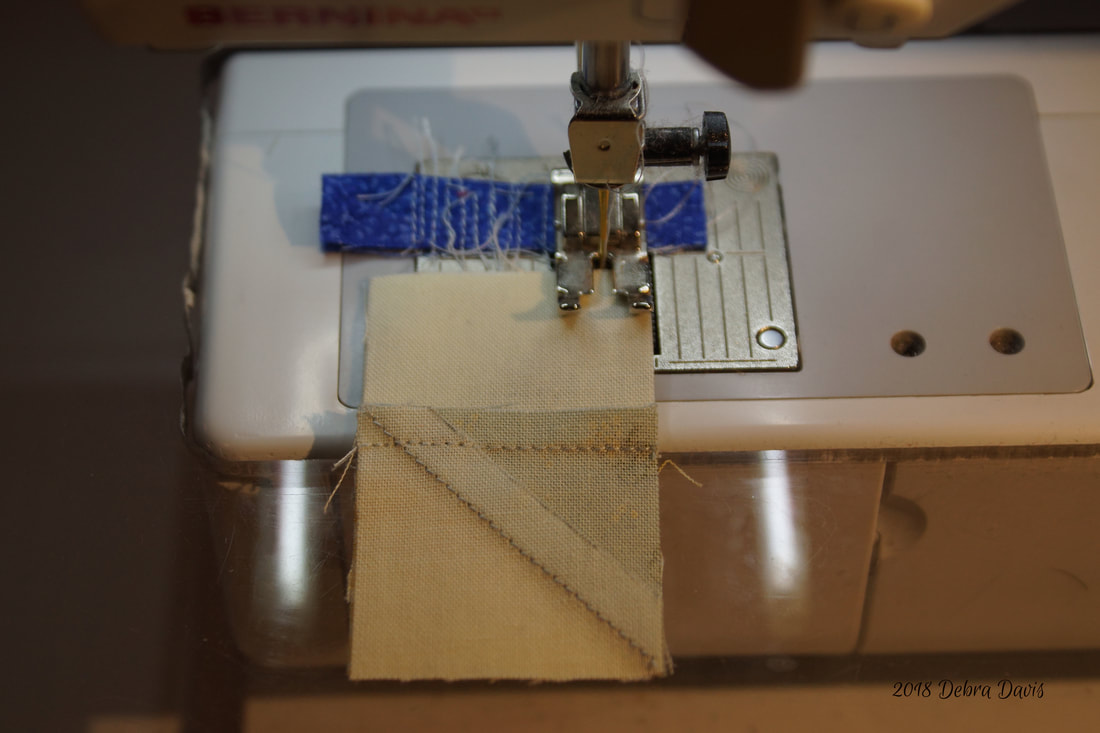
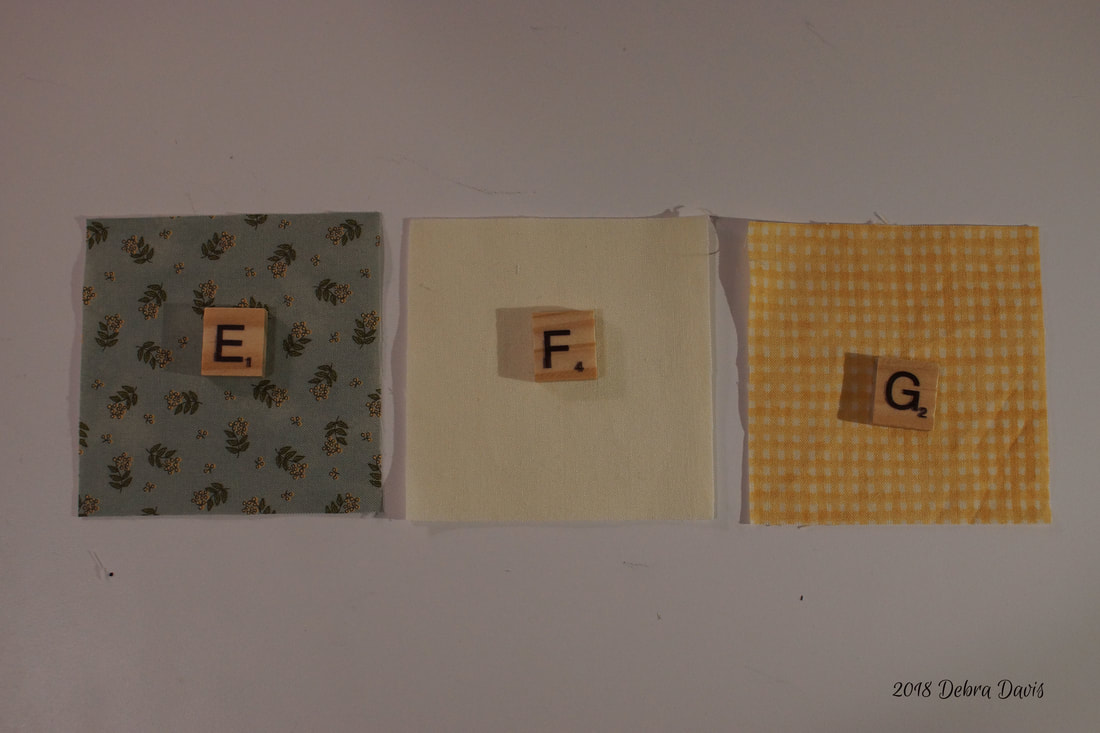
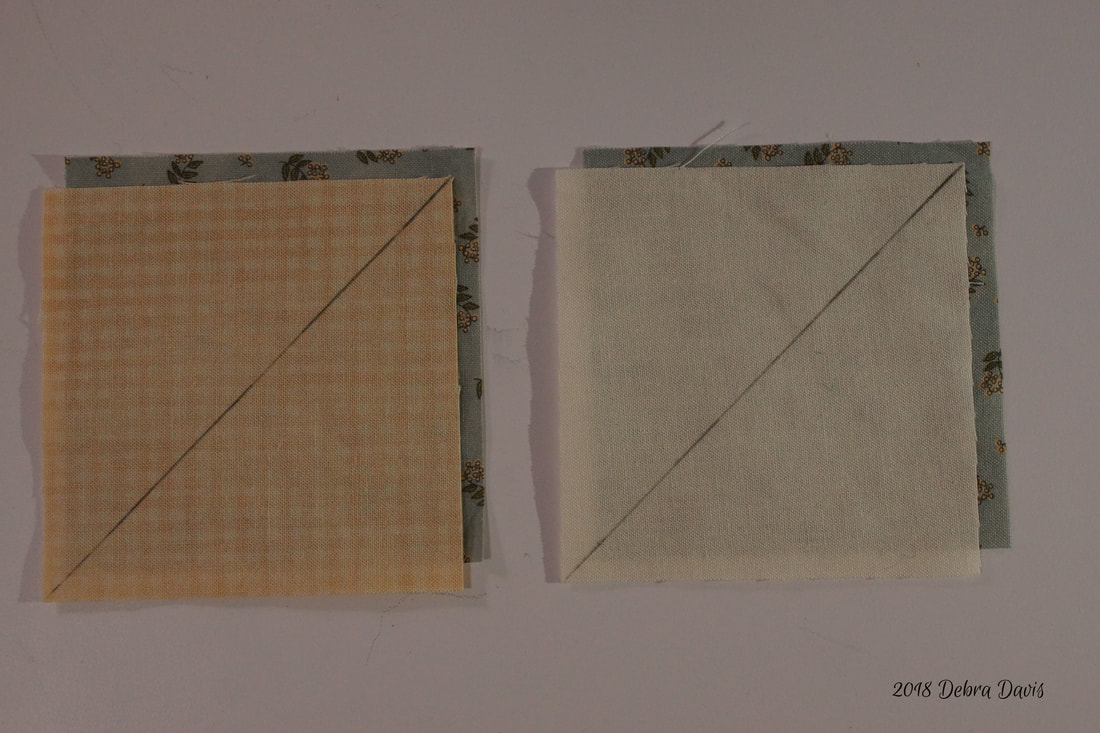
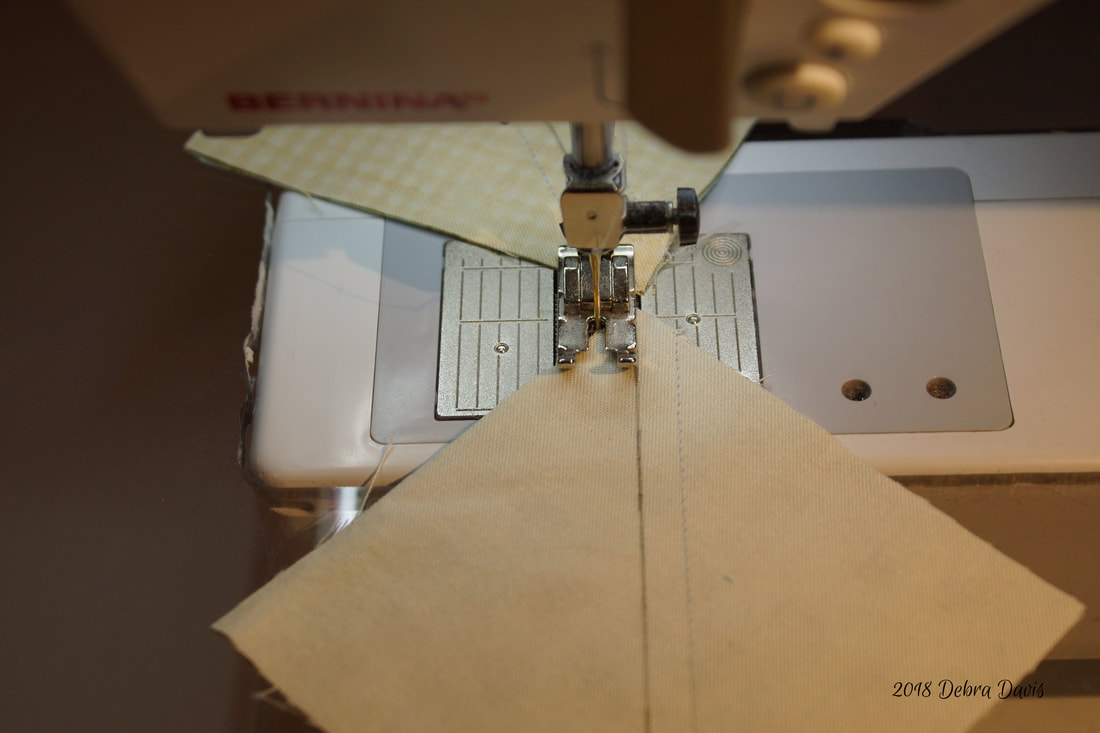
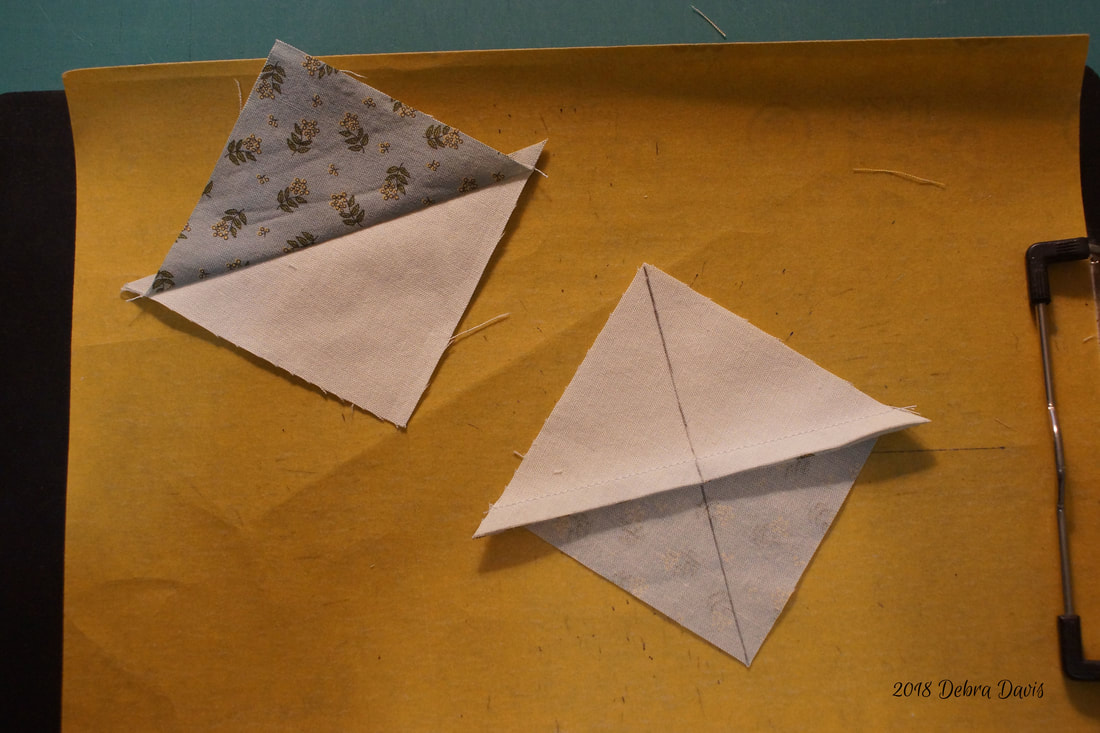
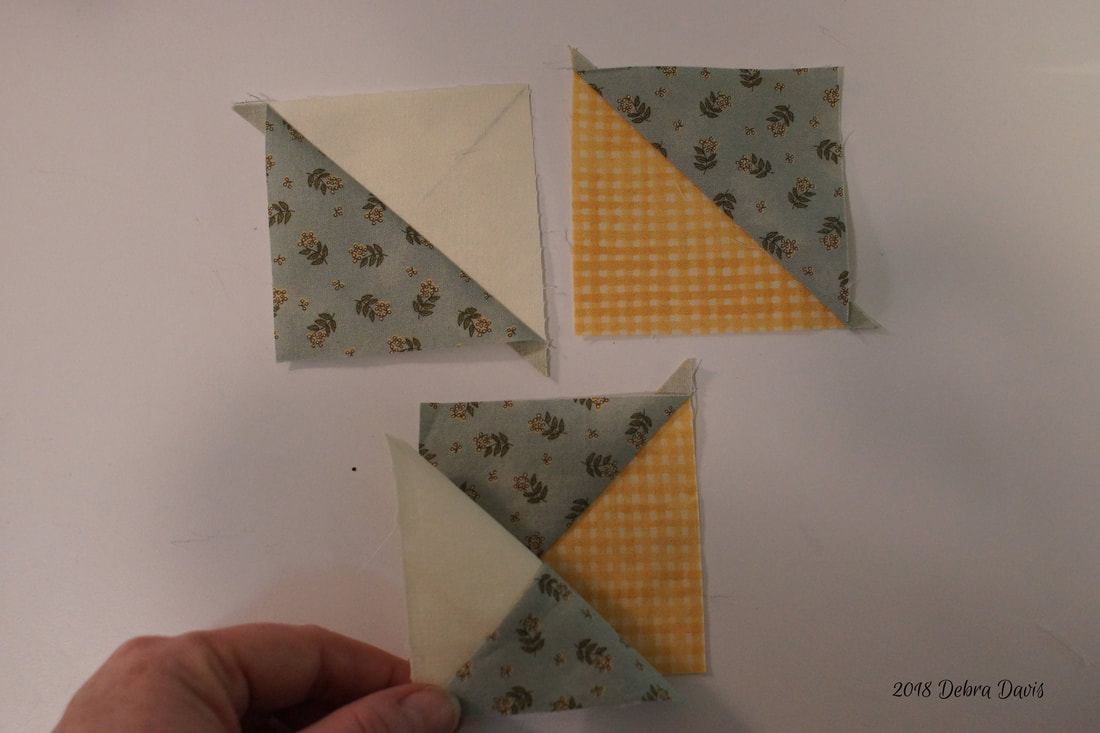
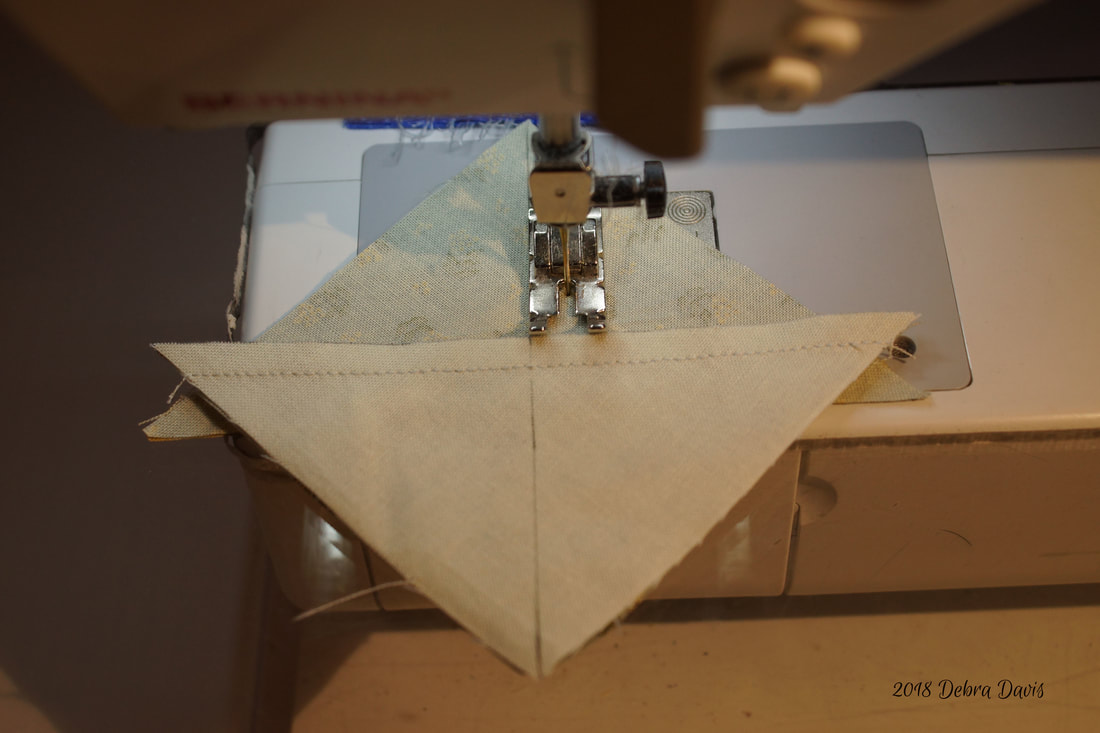
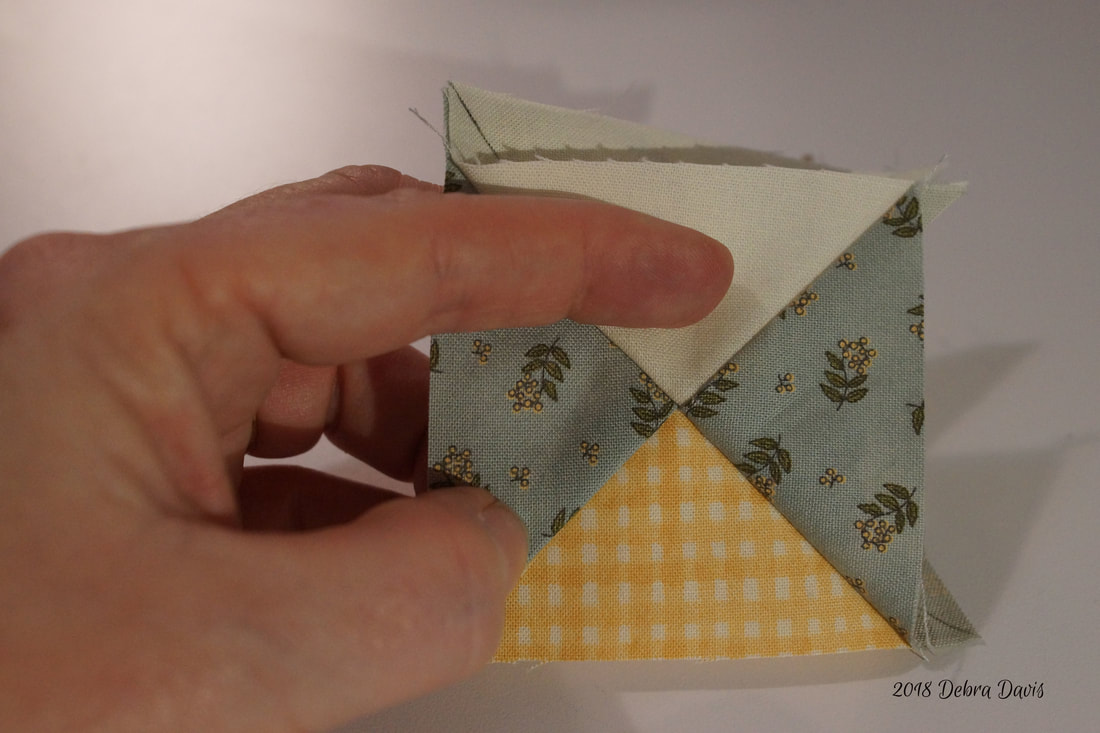
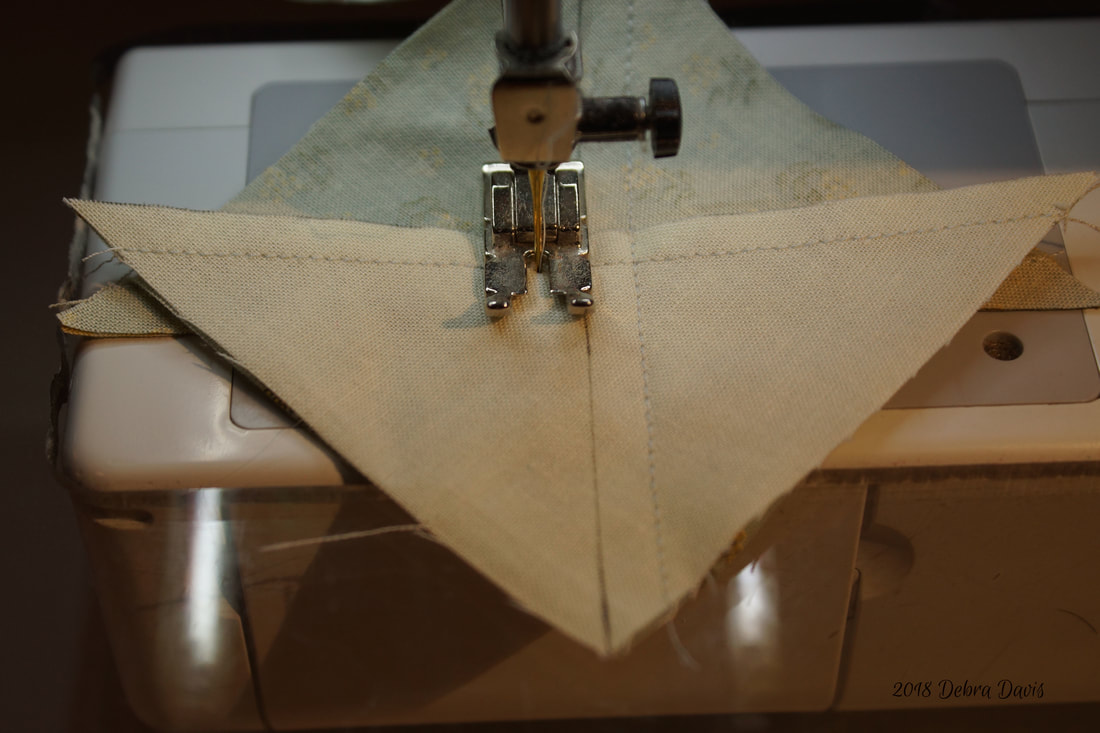
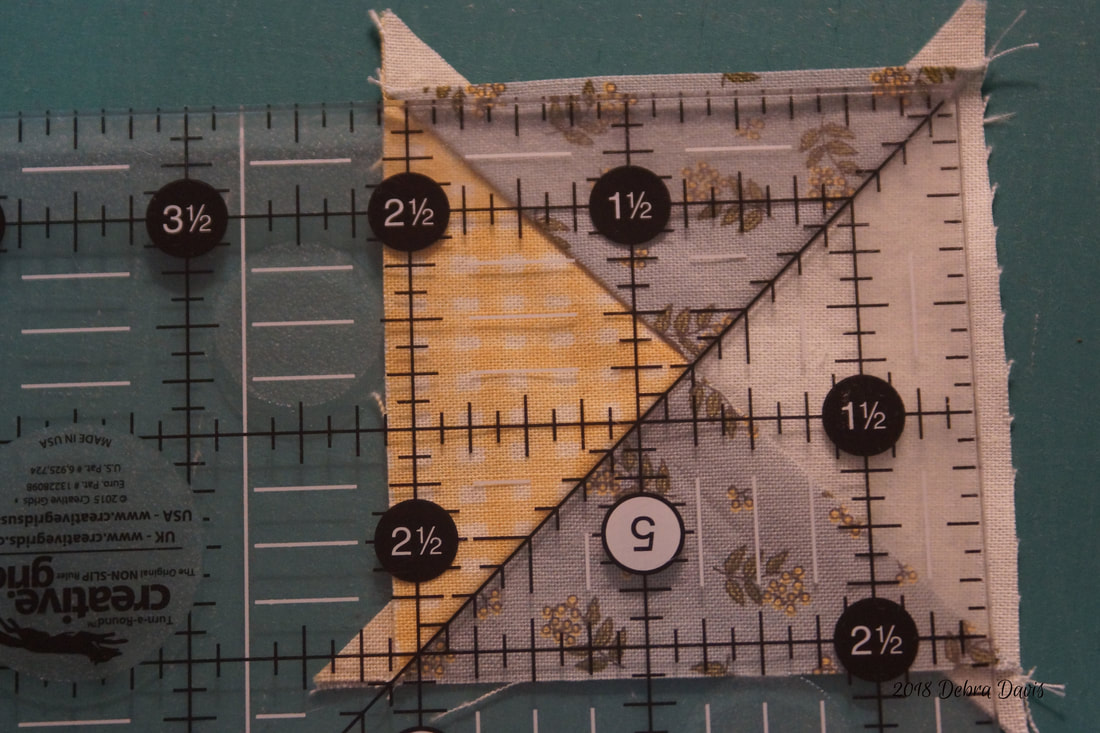
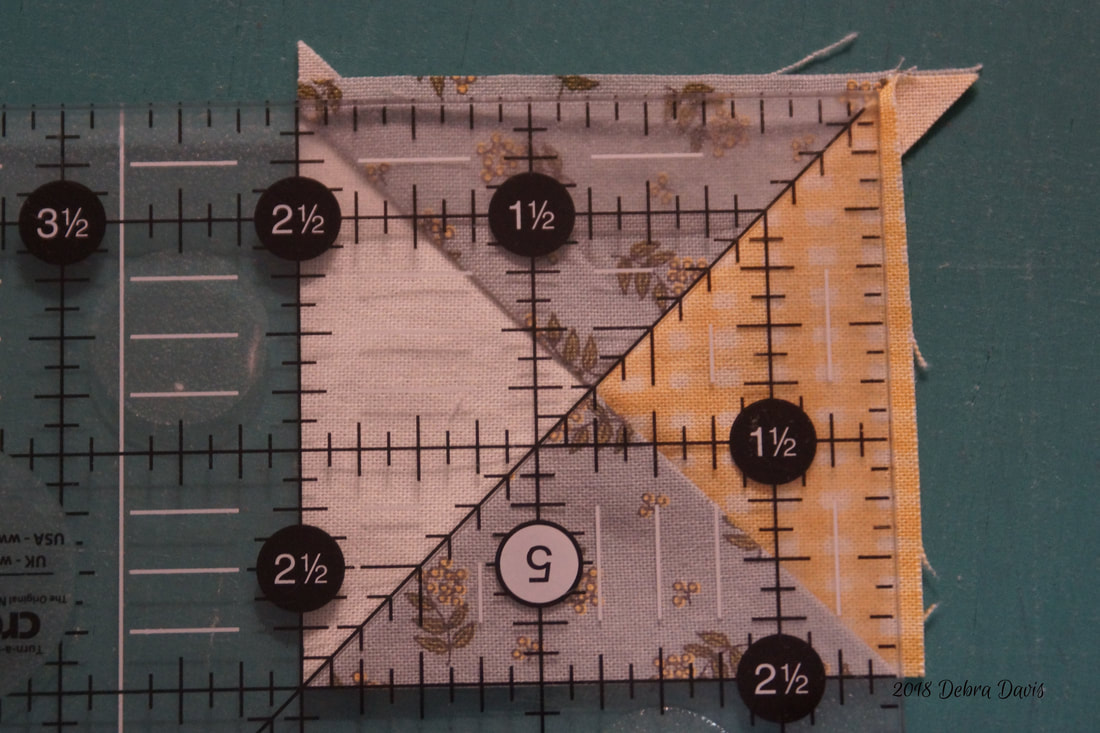
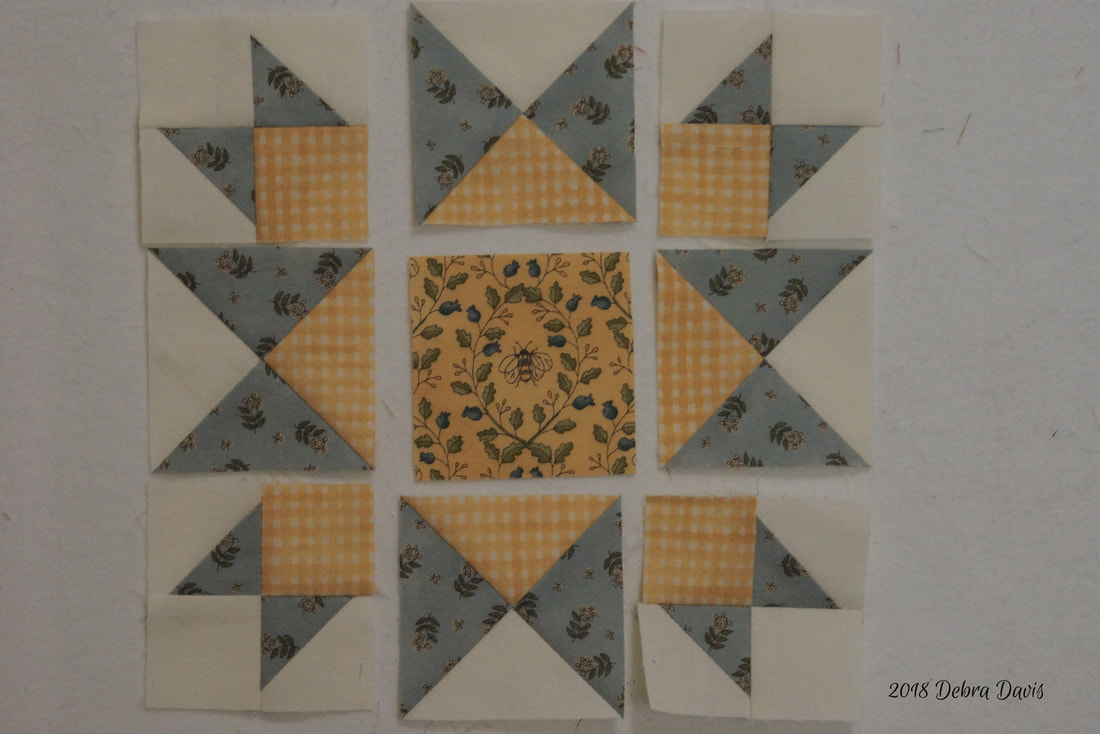
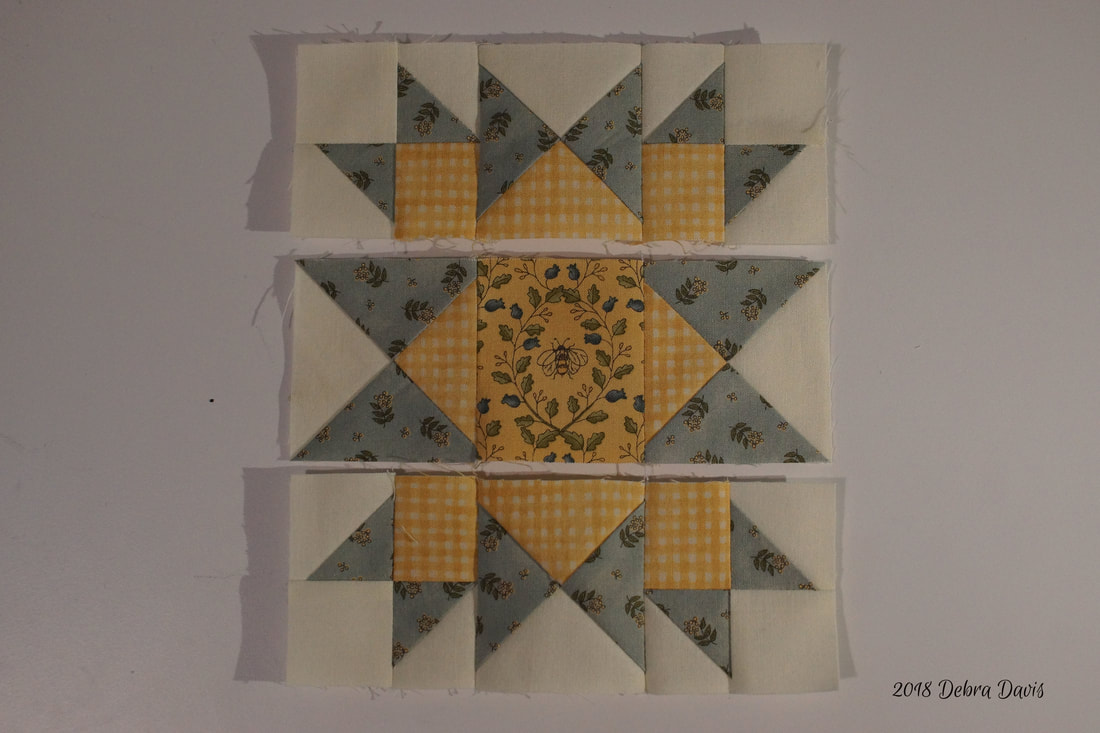
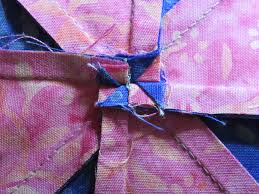
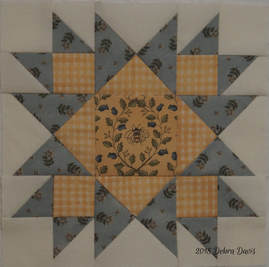
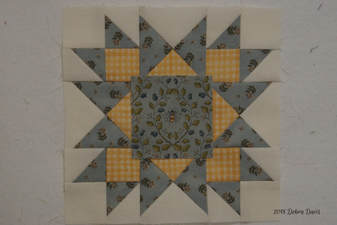
I am going to use a quick-hourglass method and I like to start with slightly larger squares when making Half-square triangles so have made sime adjustments to the cutting instructions. A-(cut 4) 2 1/4" x 2 1/4" B-(cut 4) 2 1/4" x 2 1/4" C-(cut 4) 1 1/2" x 1 1/2" D-(cut 4) 1 1/2" x 1 1/2" For thefollowing fabrics used in the hourglass units-do not cut squares into triangles E-(cut 2) 3 1/2" x 3 1/2" F-(cut 1) 3 1/2" x 3 1/2" G-(cut 1) 3 1/2" x 3 1/2" H-(cut 1) 2 1/2" x 2 1/2" I began by making the Half-Square Triangles using A and B squares. I think I can do this step in my sleep now. Draw a diagonal line on the wrong side of the A sqaures. Stitch 1/4 inch from each side of the drawn line. Cut along the line and press towards the dark side. These get trimmed to 1 1/2" squares being sure to line up the diagonal line on the ruler with the seam line. Next I add the C and D squares to the Half-square triangles to make a four-patch unit. Chain-piecing them together. I broke the "rules" here and pressed these towards the C and D squares. The seams, which are pressed in opposite directions will nest together nicely now. I find that all I need to do is sew so that the seam on top is facing up towards the needle, rather than away, and as I sew the two seams are pushed together nicely without the need for a pin. I pressed the seams open on these. At this point these little Four-patch blocks should measure 2 1/2" x 2 1/2" Now I am going to make the hourglass units. I like how quick this method makes these. First I draw a diagonal line on the wrong side of the F and G squares. The with right sides together I place each on top of an E square. Just like with the Half-square triangles I stitch 1/4 inch from each side of the line. These get cut apart and pressed toward the dark side. On the back of the two of the units I once again draw a diagonal line from corner to corner. It is important that your line land right on the tips of those corners. Next I put two Half-square triangles together-one of each type- matching the seams. I sew 1/4 inch away from one side of the line and to push those seams together I make sure that the top seam is pointed towards the needle. When I first started doing this method I alwyas put a couple of pins in buthave found they really are not necessary if i remember to have them facing this direction when I sew. Before I sew on the other side of the line I will take a quick check of my work. That is what I want to see-the seams matching perfectly. Now I sew down the other side, again with that seam facing up towards my needle. After cutting apart on the drawn line, I pressed towards one side and now I can trim these to 2 1/2" x 2 1/2" It is important to line up the diagonal line on my ruler with the seam. I have also made sure that the mid point of 1 1/4" lands right at the center intersection. The other thing I am going to check for is that the outer edges along the 2 1/2" lines make perfect points of a triangle. Rotating the block after trimming the first two sides I again line up the lines on my ruler-make sure the 1 1/4" mark is at the center of the block and trim. Time to add my H square and put all of the pieces together to make the block. I pressed all of the rows towards the hourglass units. As I sewed the rows together I fanned the seams at the intersections so that the seams lay in opposite directions. Here is a photo of another fanned seam to give you an idea of what this looks like as it show up better in this photo. I love this block! I am even considering making another using this blue square for the center-just that one little change gives it a whole new look. As promised here are the links to the designers blog posts with their setting ideas. I am really drawn to two of them and may just need to combine the ideas-time will tell. Lynne Hagmeier Betsy Chutchian Lisa Bongean Jan Patek Jo Morton Carrie Nelson I hope you have as much fun with this block as I did-and since I still have more to make I can still say...
Until next time... Happy Quilting!
Susan Mast
1/31/2018 04:47:24 pm
I love your tutorials. I always go to your website before making my blockhead blocks. Thanks for all the pointers. You are a great teacher!
Debra
1/31/2018 09:43:11 pm
Thanks, Susan. I have enjoyed having you along on my journey too. May our quilting adventures together continue on!
Skeeter
2/2/2018 02:04:07 pm
Doing great up to the point where I am to put the two hst together (about 2/3s of the way thru the pattern). You say to match the seams but I don't u derstand what seams and what do I stitch? Could you please clarify.😳
Skeeter
2/3/2018 09:05:09 am
It's amazing what fresh eyes can do. Picked this up again this morning and it made perfect sense. Sorry for the previous SOS.
Debra
2/3/2018 03:53:26 pm
Glad to hear it, Skeeter. Yes, those fresh eyes can do amazing things!
Alycia
2/3/2018 12:34:23 pm
Your tutorials, tips, and advice are invaluable! Thank you so much for taking your time to do these for us Blockheads!
Debra
2/3/2018 03:54:21 pm
Thank you, Alycia. That is so nice to hear. It has been a labor of love for me. Comments are closed.
|
Welcome to the site of Debra Davis-a woman who loves the Lord and loves to quilt.
My other blog where I share about my walk of faith:
Sitting at His Feet This website uses marketing and tracking technologies. Opting out of this will opt you out of all cookies, except for those needed to run the website. Note that some products may not work as well without tracking cookies. Opt Out of Cookies |



 RSS Feed