|
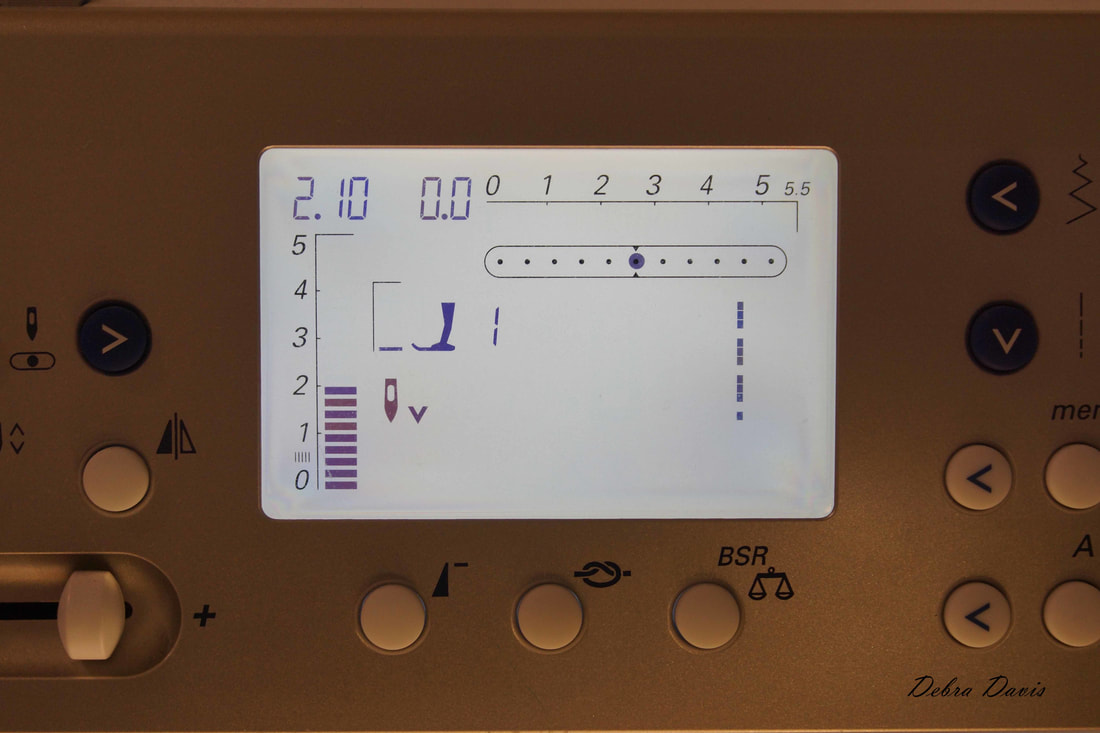
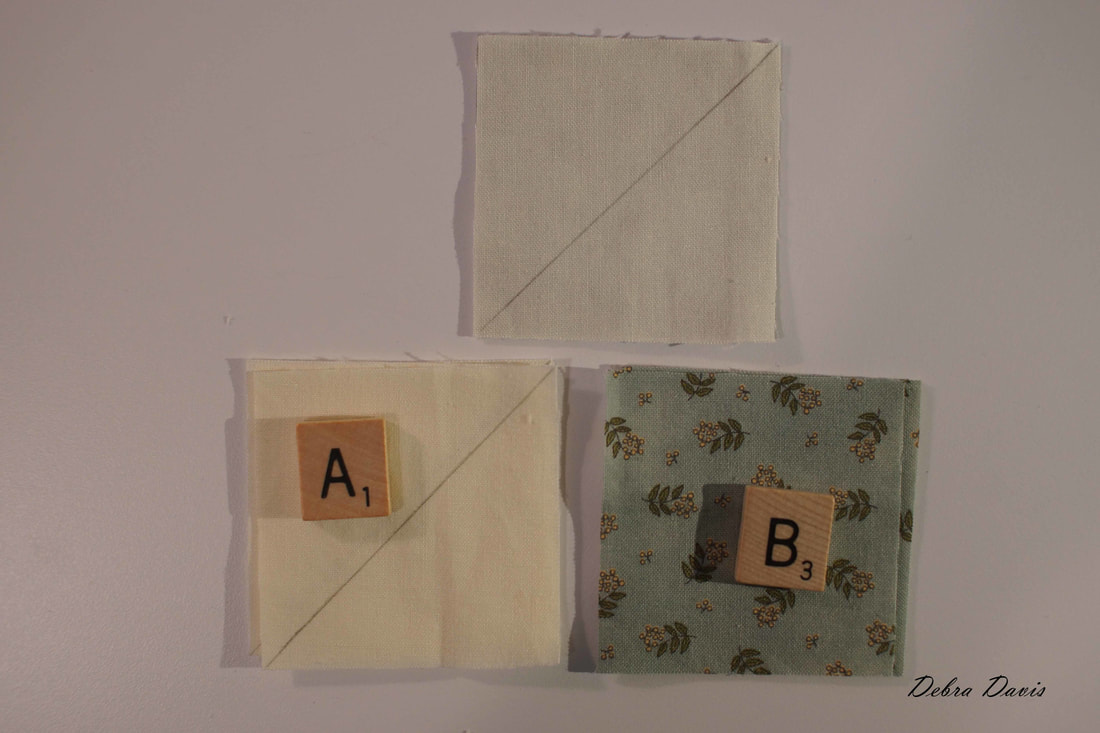
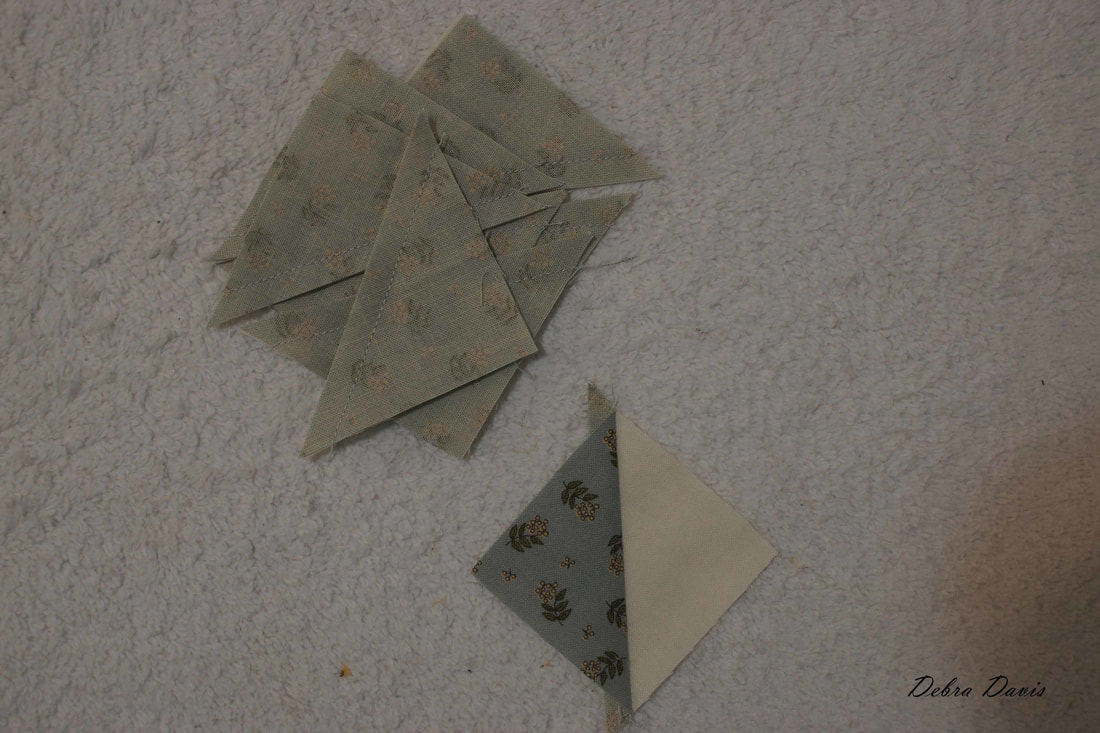
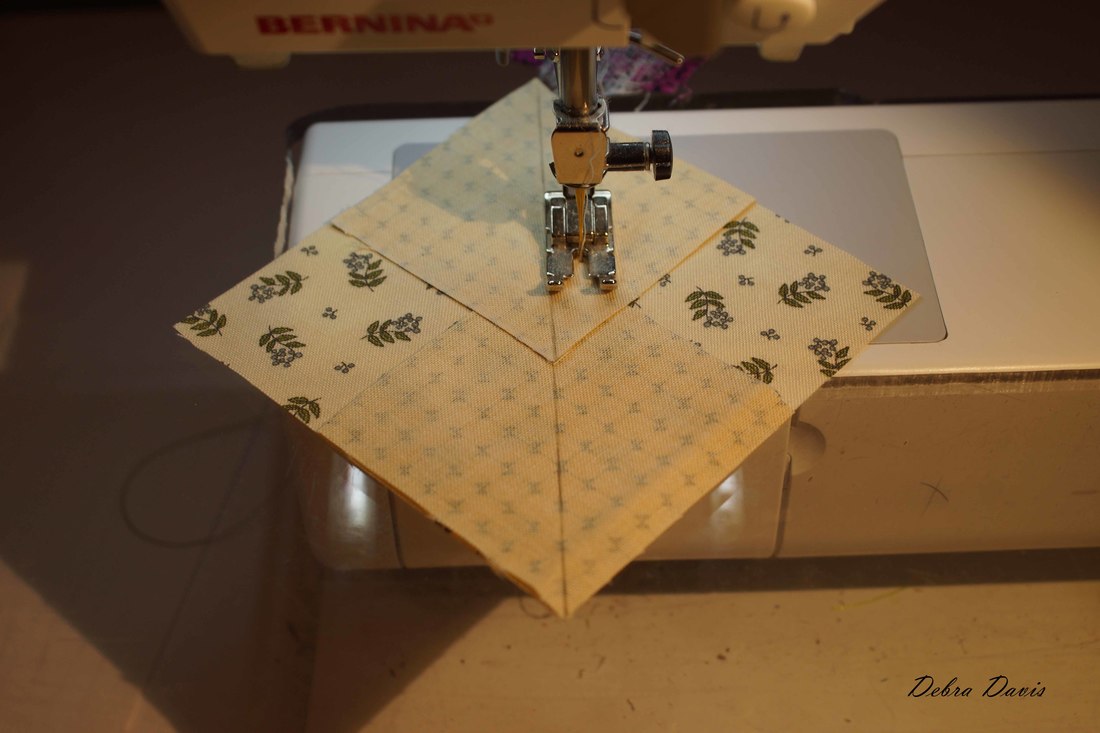
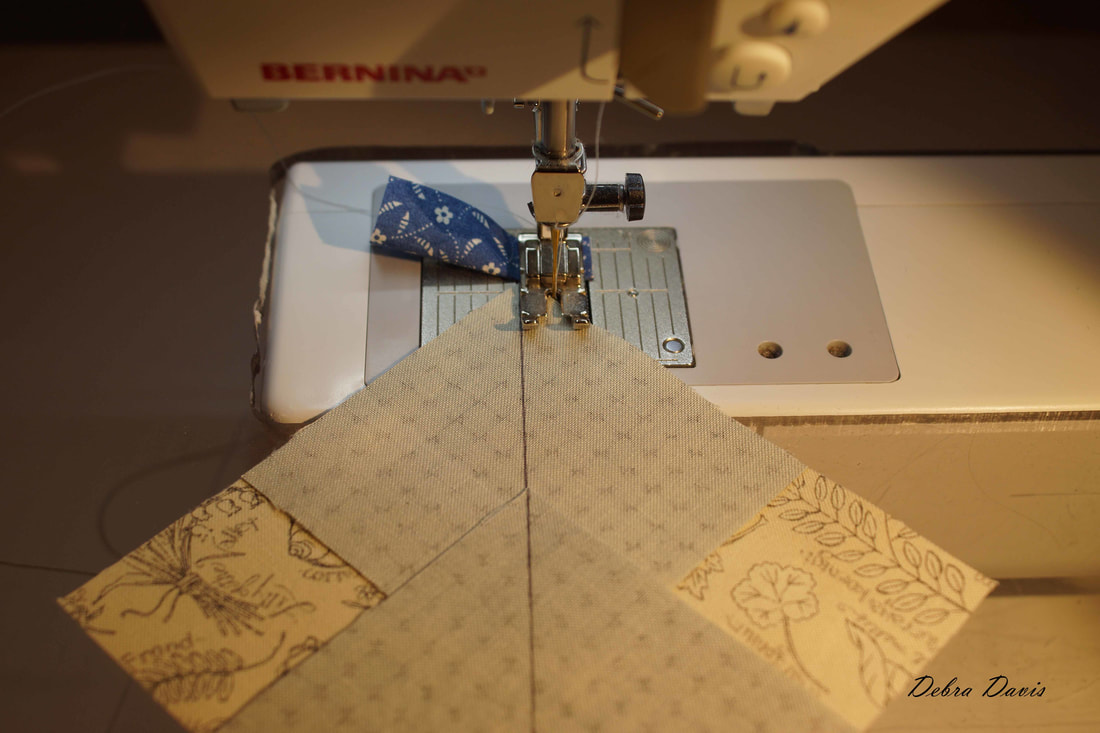
This week's block is from Jo Morton. The pattern can be found on her blog HERE I Love star blocks and this one is no exception. I did play with my lights and darks a bit on this one, and of course my cutting directions vary from the pattern. This one looks daunting at first, but broken down into its smaller parts there is nothing there that we cannot manage. I did use starch as some of the pieces are pretty small. If you have not prewashed your fabric be sure and starch before you do any cutting to size. 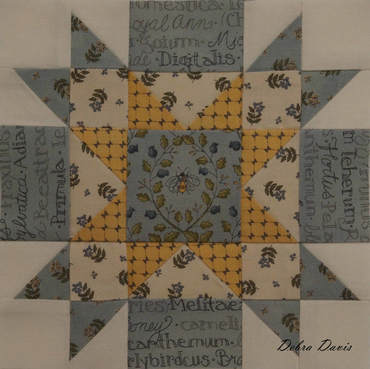 My Cutting Directions: A-(cut 4) 2 1/4" x 2 1/4" ( I cut these generously if you do not want as much to trim away cut them 2" x 2") B-(cut 4) 2 1/4" x 2 1/4" ( I cut these generously if you do not want as much to trim away cut them 2" x 2") C-(cut 8) 1 1/2" x 1 1/2" ( I am using two different fabrics for these so cut 4 of each) D-(cut 4) 2 1/4" x 2 1/4" (These are the "sky" parts of the flying geese units) E-(cut 1) 3 3/4" x 3 3/4" (This is for the "geese" of the flying geese units) F-(cut 4) 1 1/2" x 2 1/2" G-(cut 1) 2 1/2" x 2 1/2" 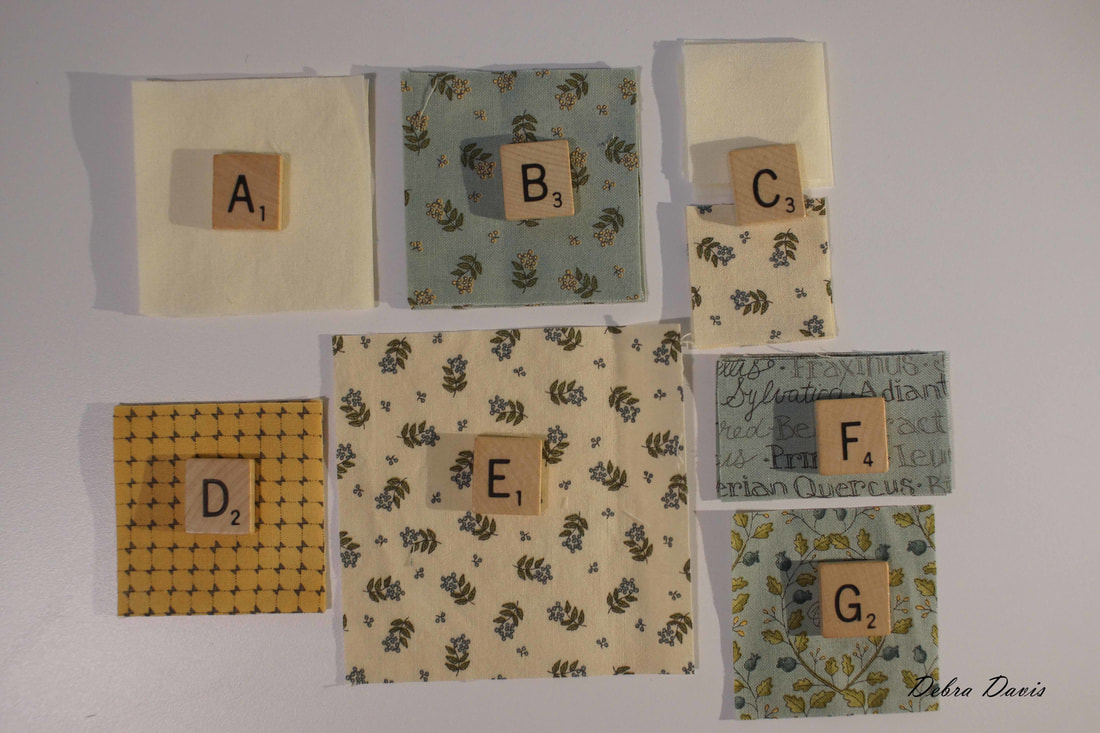 I started by drawing a diagonal line on the wrong side of all of the A squares. 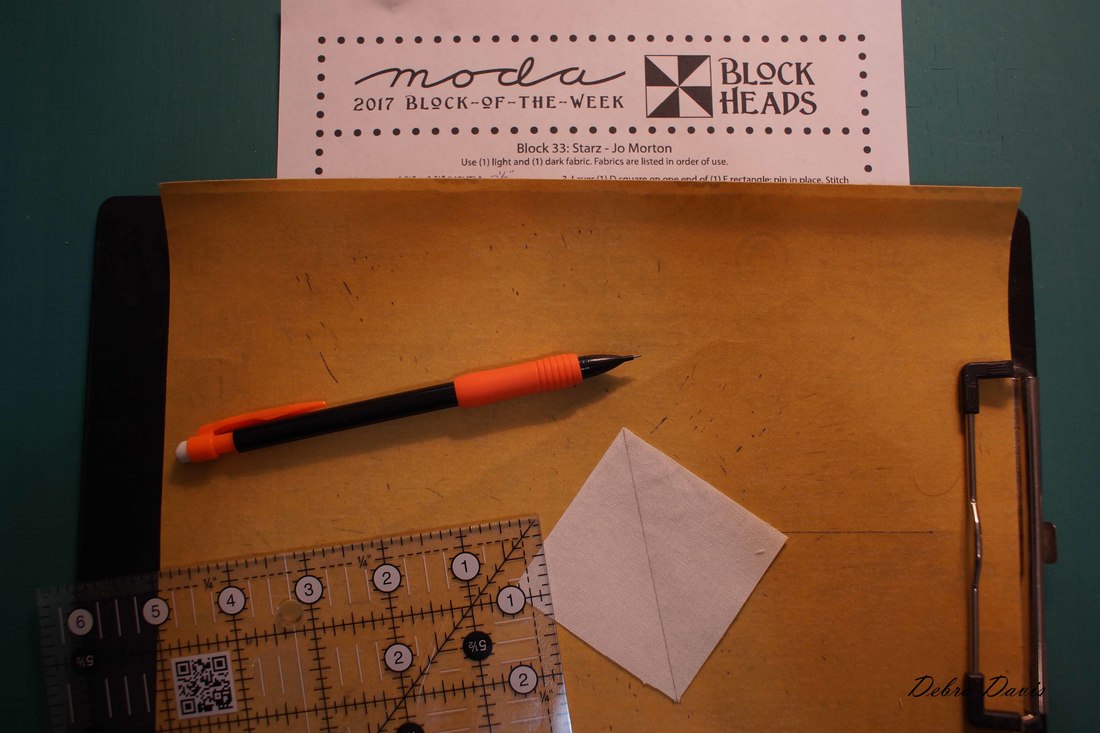 I tend to piece my blocks with a 2.1 stitch length. I also like to have my needle in the down position when piecing. Place the A and B squares right sides together.
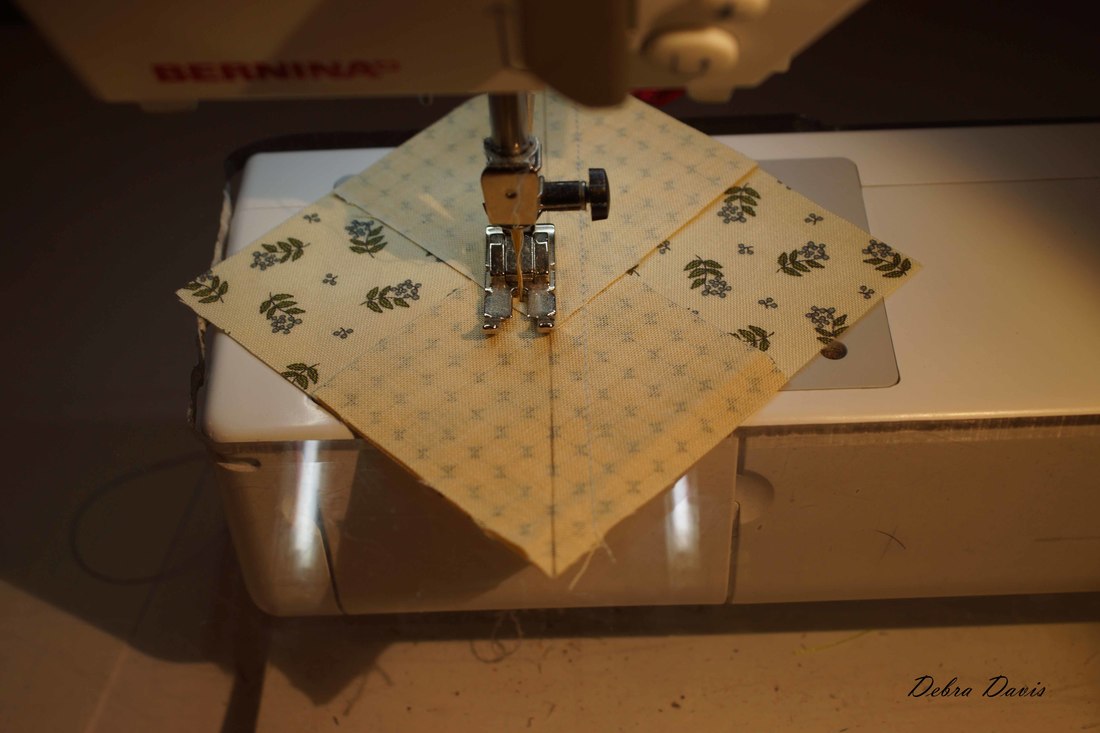
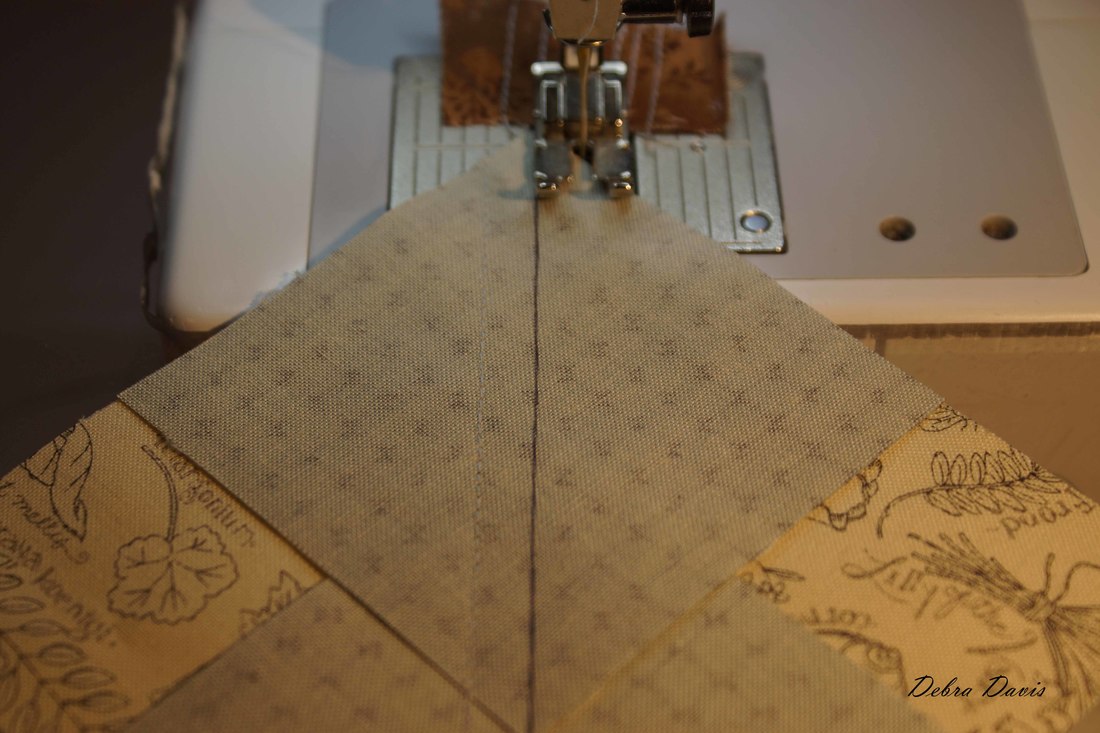
Stitch 1/4 inch from each side of the drawn line. 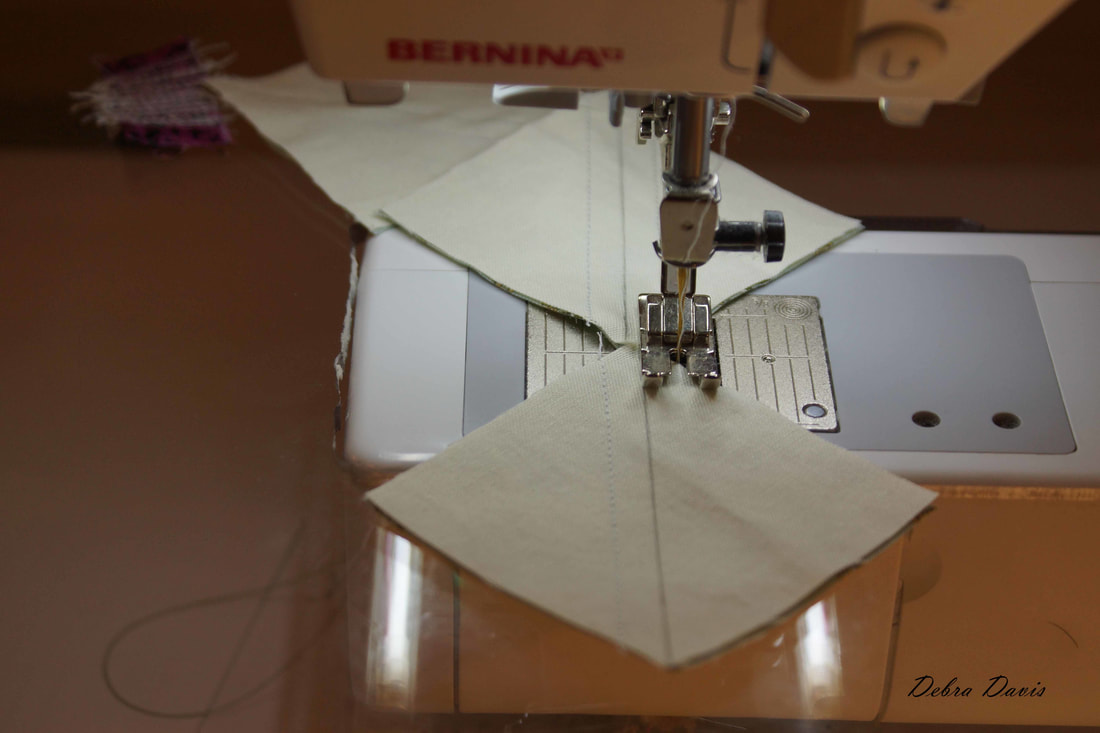 Cut on the line and press towards the dark side.
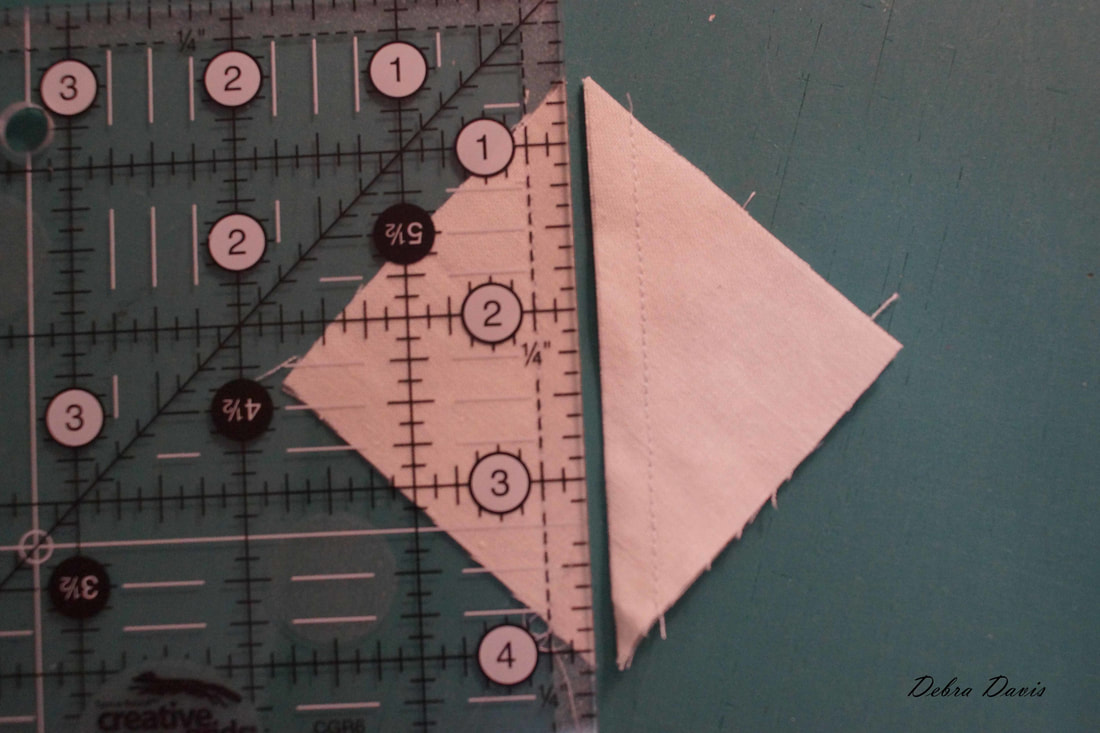
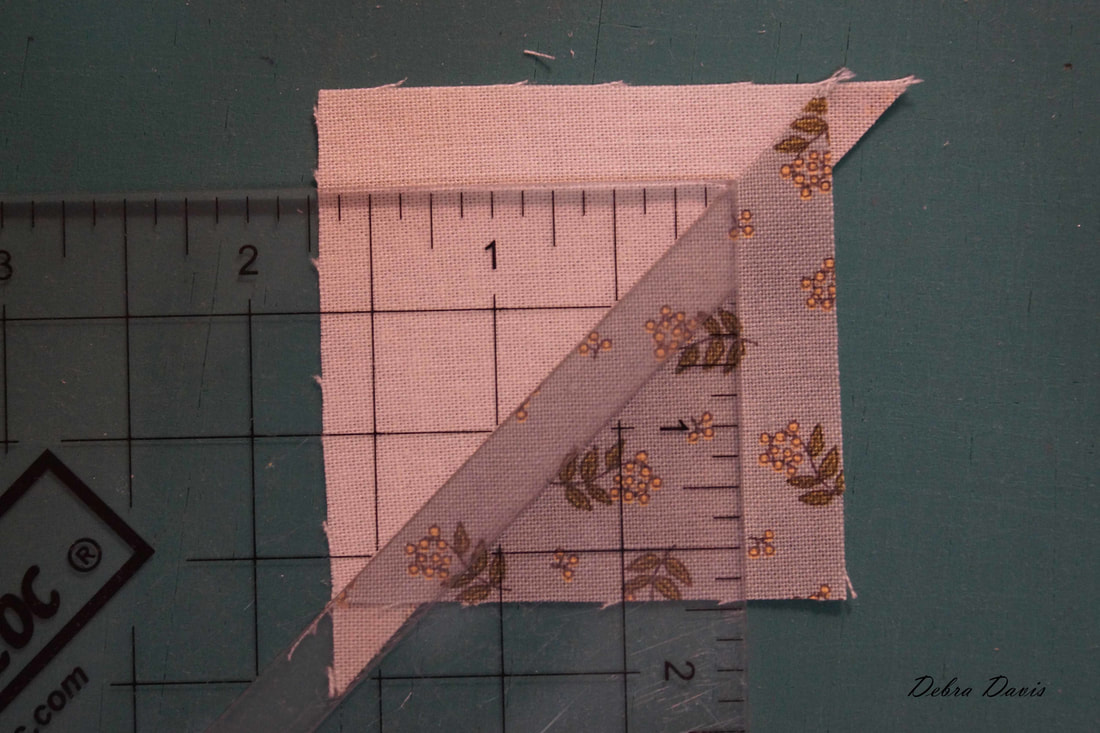
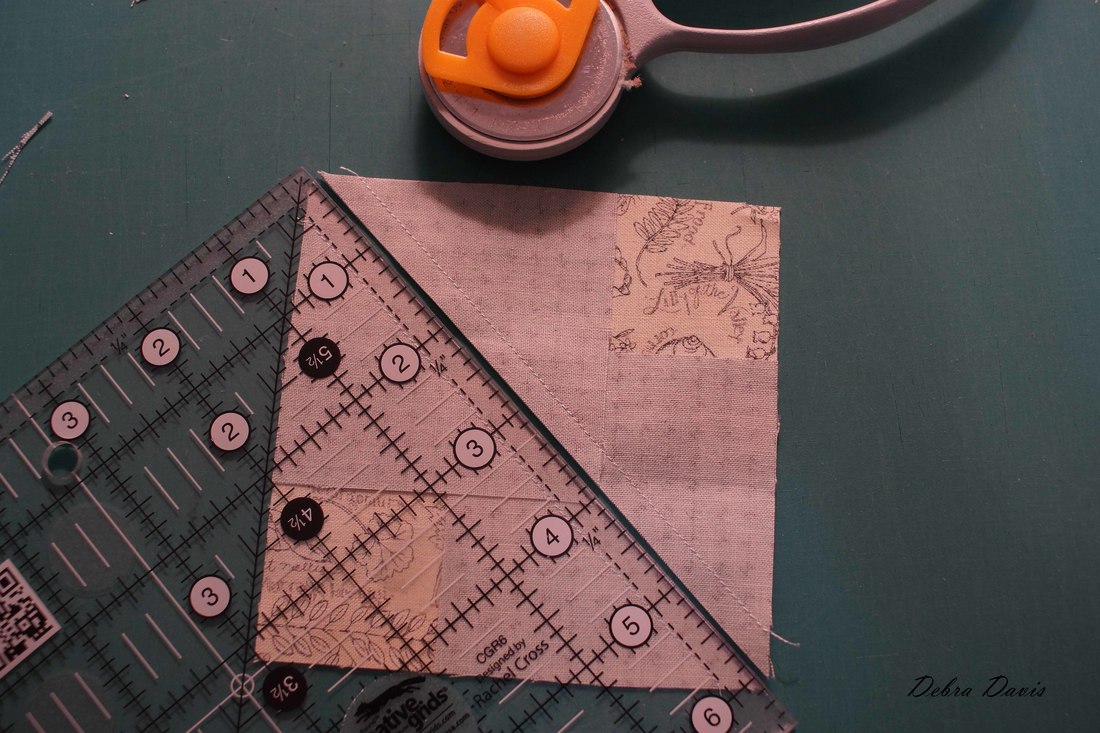
Use a ruler to trim these to 1 1/2" x 1 1/2"being sure to line up the diagonal line of the ruler with the seam. I finally found my Bloc Loc ruler for Half-square triangles-it locks onto that seam just like the Flying geese rulers that I love. (Moving and sharing my quilt space with house guests several times has meant I have been missing some of my favorite helpers. Why is it the perfect place for something is always the last place you look?)
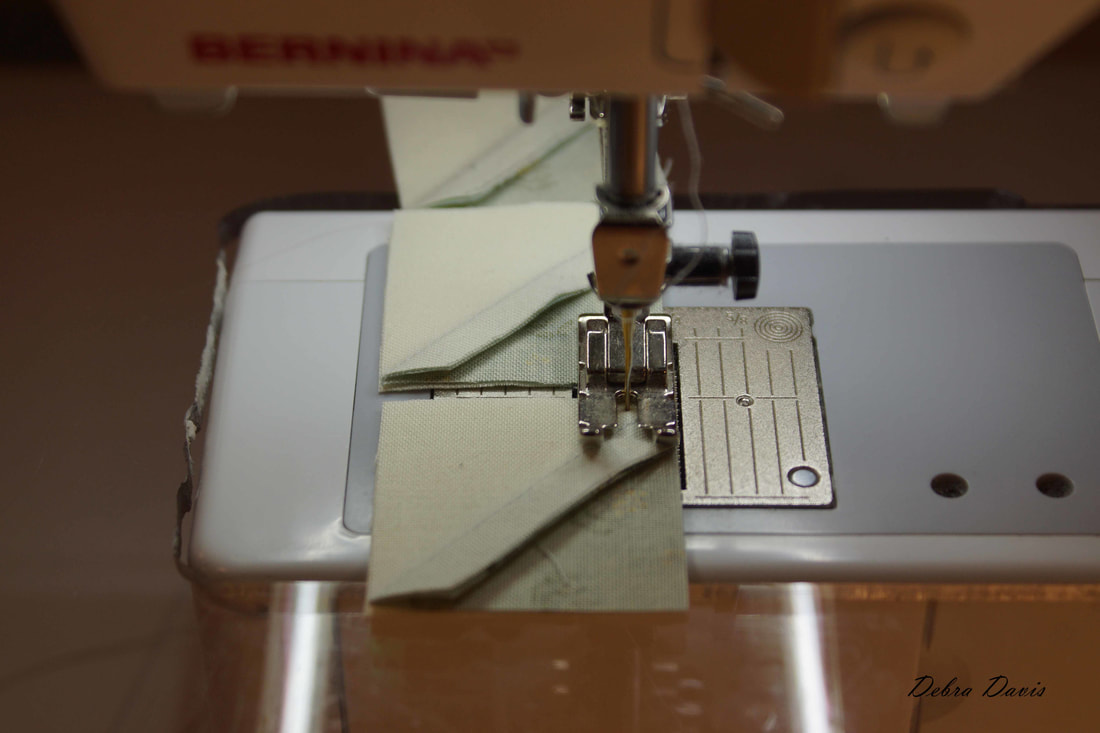
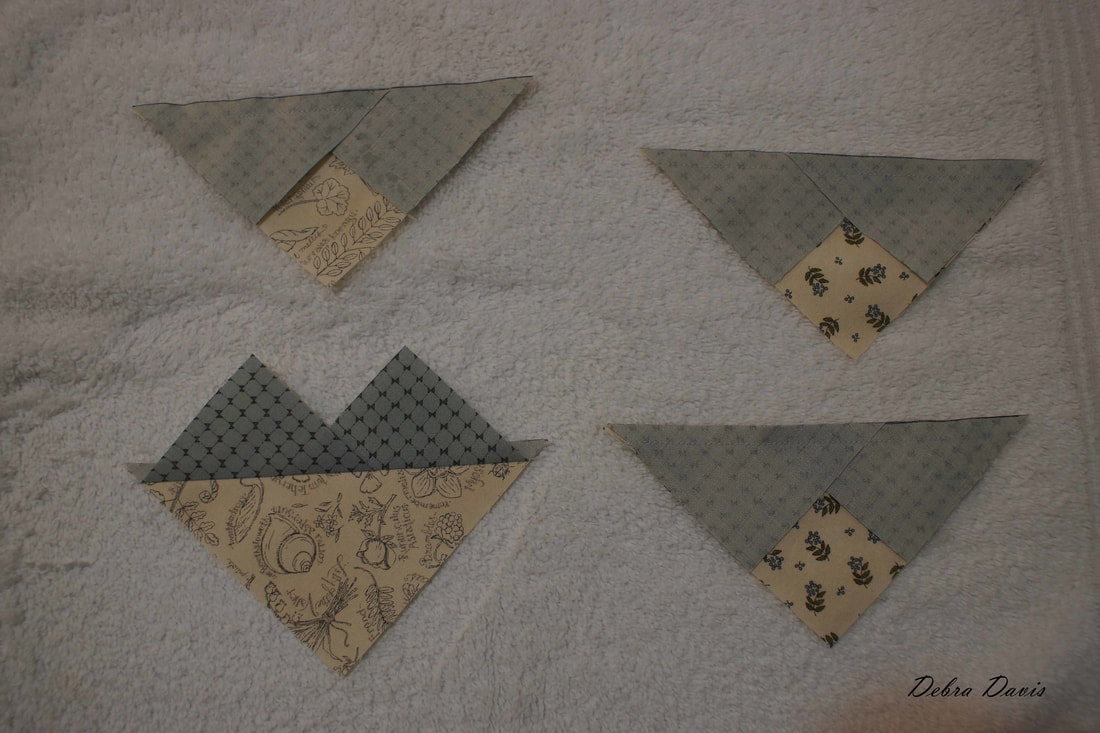
Next I lay out these half-square triangles with the C squares in the order I want them. 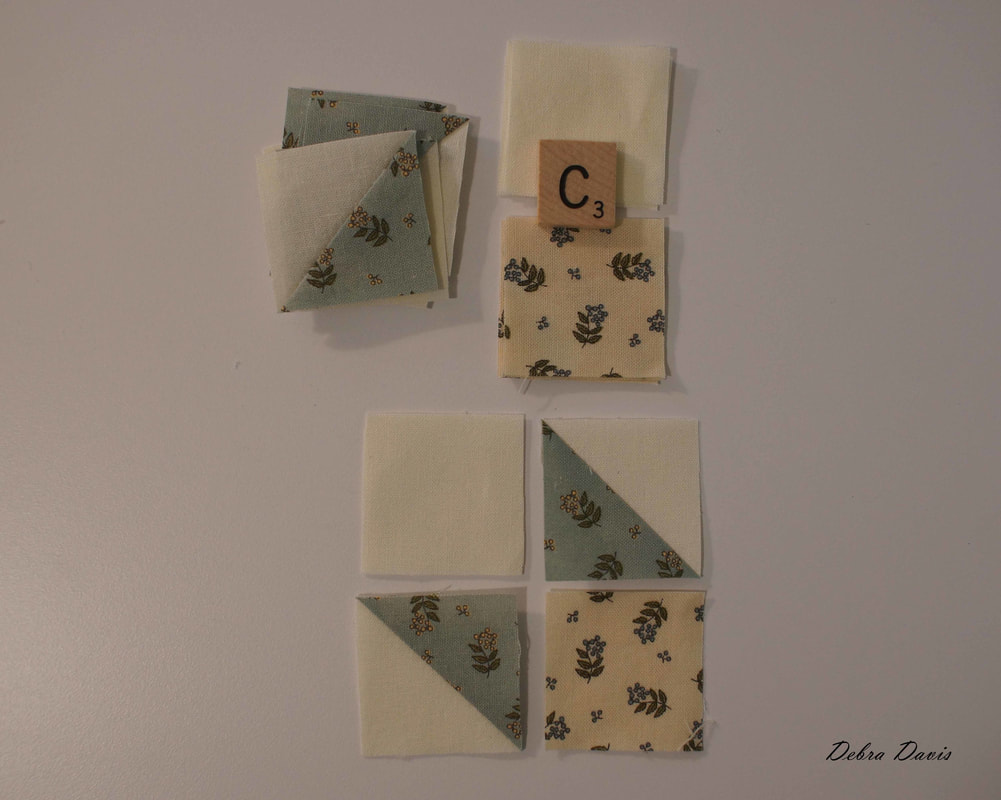 I sew these together in pairs and then press towards the C squares.
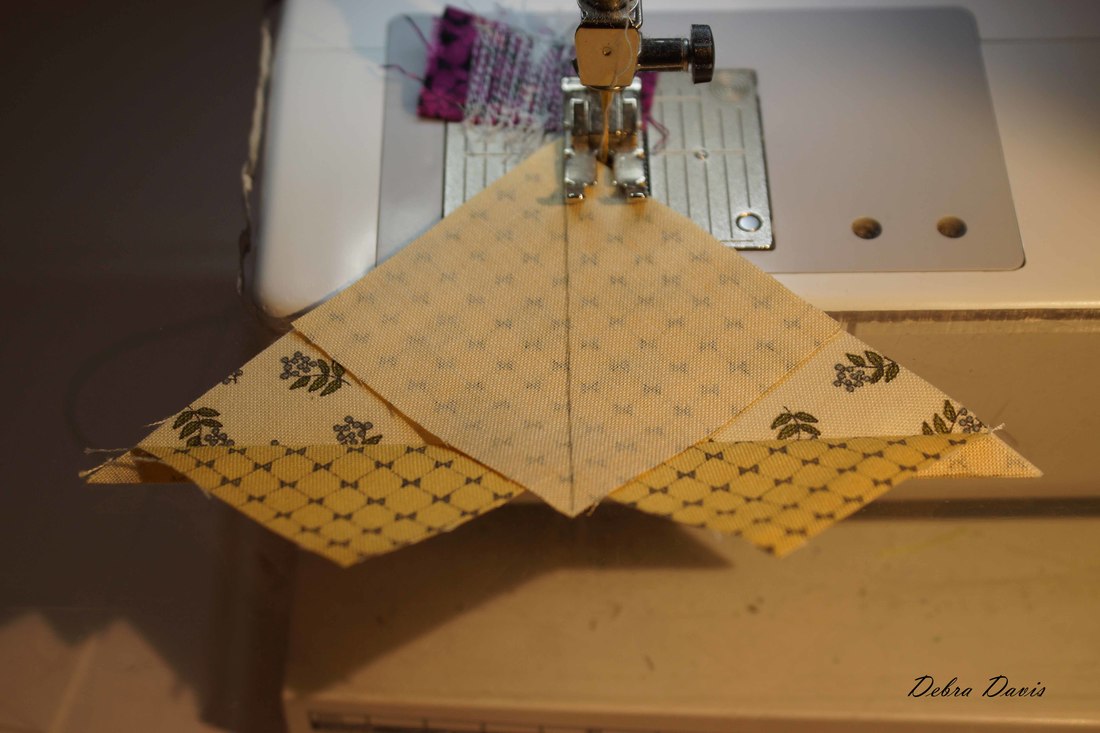
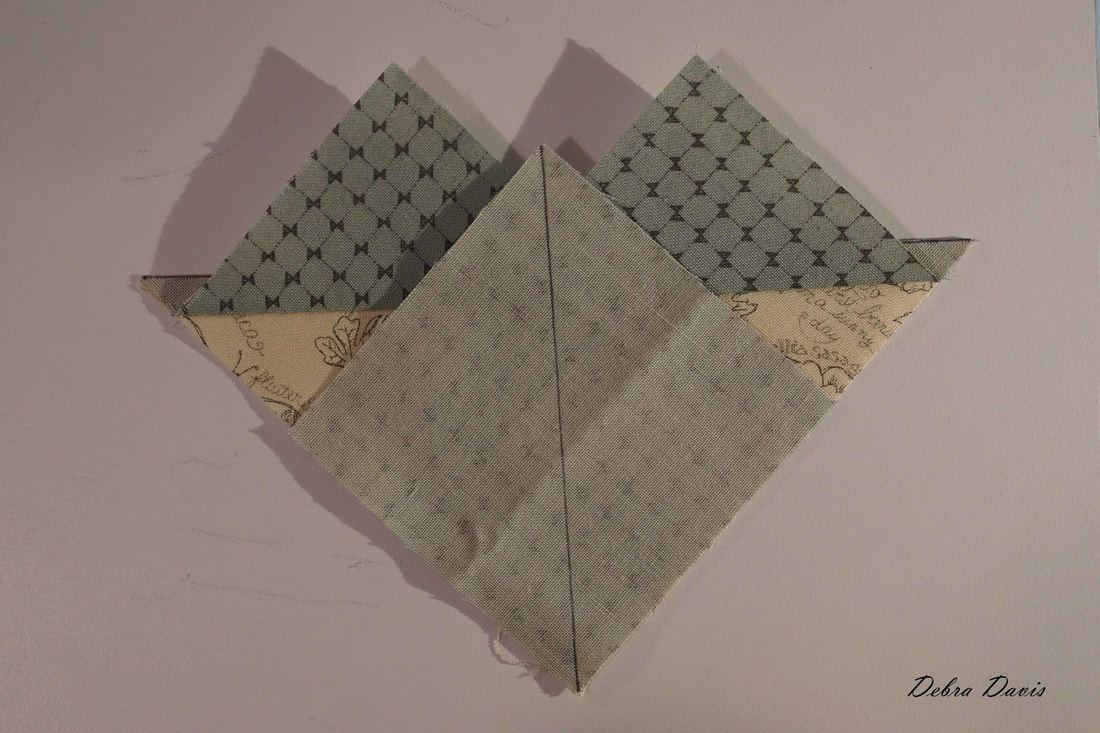
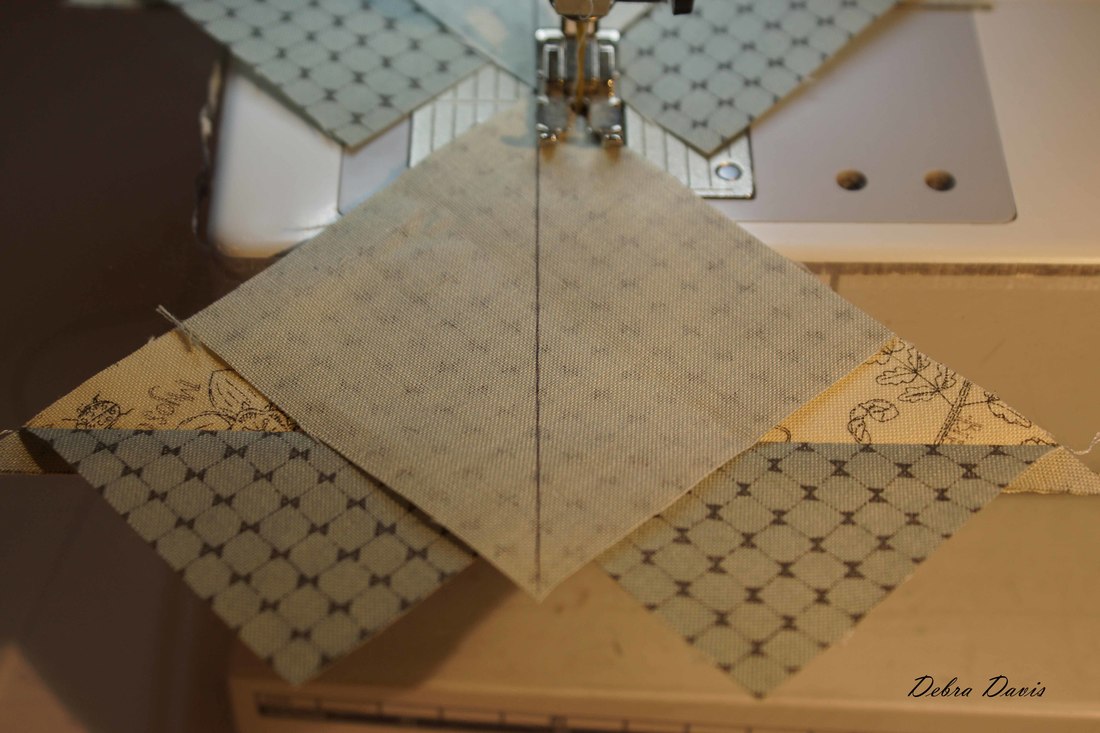
Two pairs ready to be sewn together in a four-path unit. 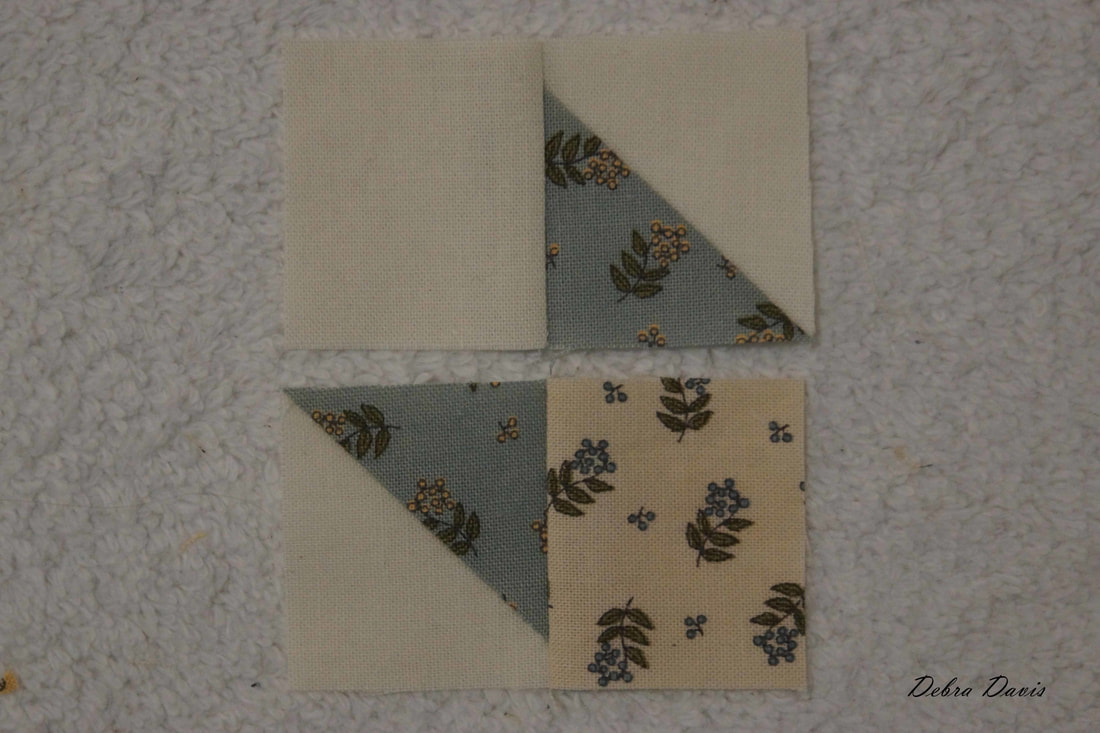 I like to sew these with the top seam pointing towards my needle, that helps to lock the seams in place without the need for a pin-but feel free to pin if it helps you match those seams. 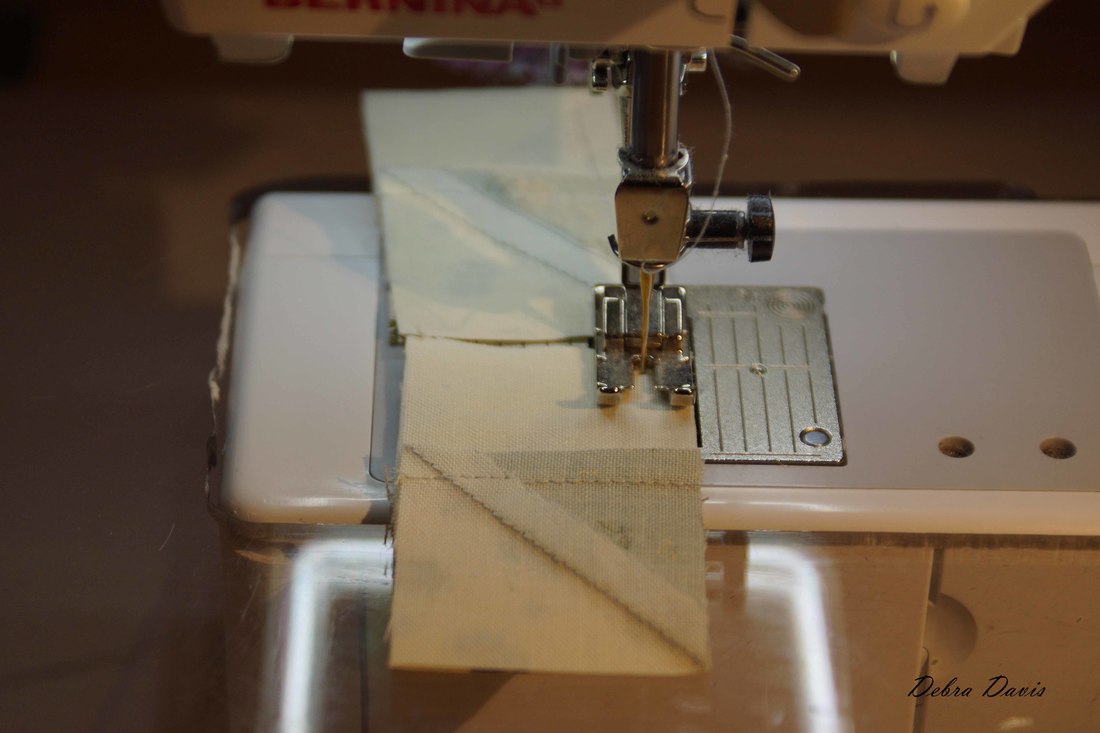 Ugh, had to take a break to fill some bobbins. Sometimes I am slow to the party. I heard a tip just last year about loading up several bobbins at a time so they are ready to go when you need them. I like that idea for piecing. Now that I have all of my bobbins filled I can get back to sewing those four-square units together. 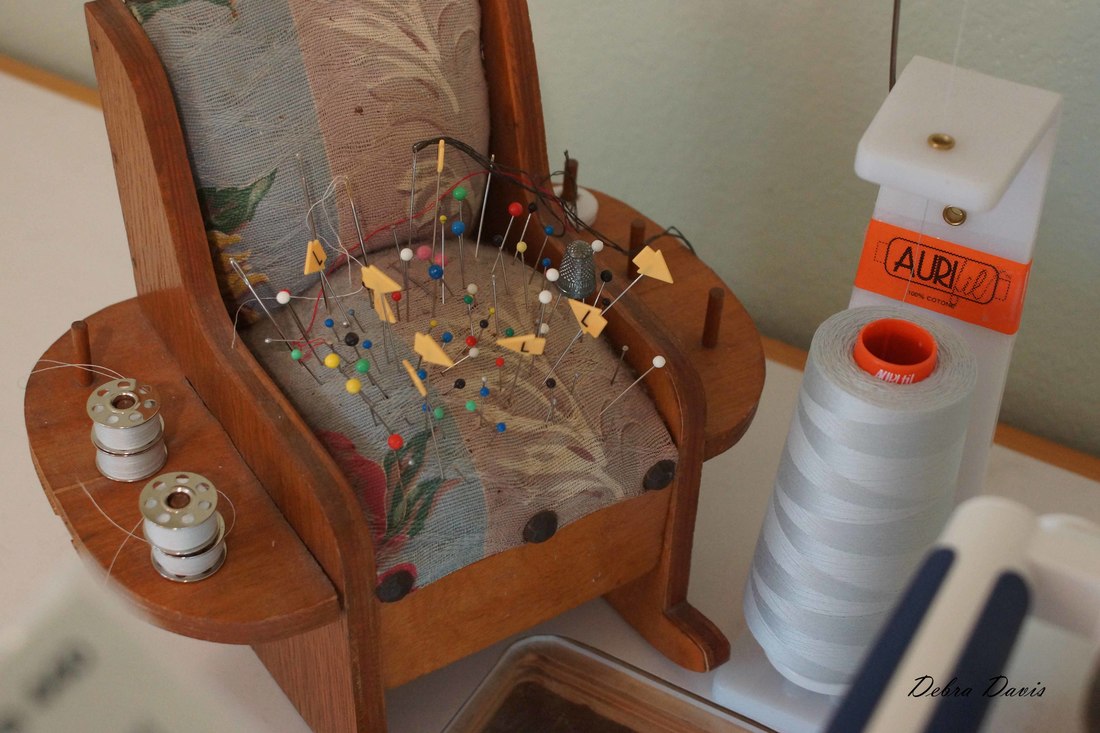 I pressed these towards the cream print C square side of the unit. Check to make sure you unit measures 2 1/2 inches before proceeding. 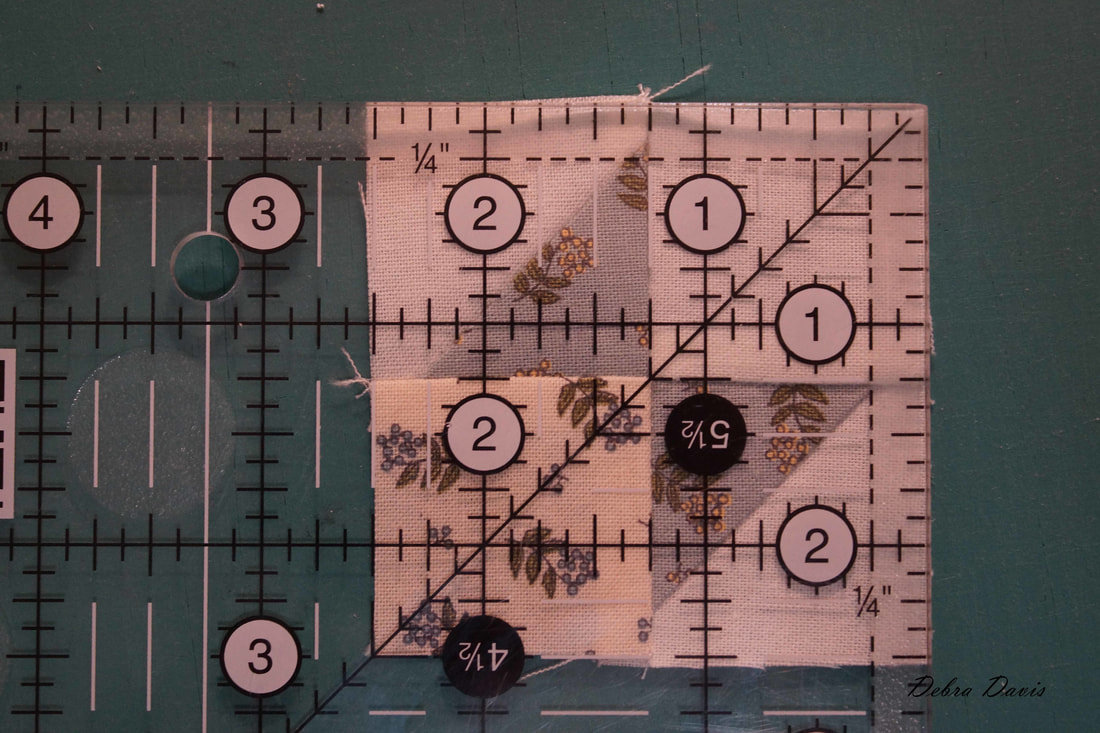 Time to make the Flying Geese-I have sure been doing a lot of these little guys lately. 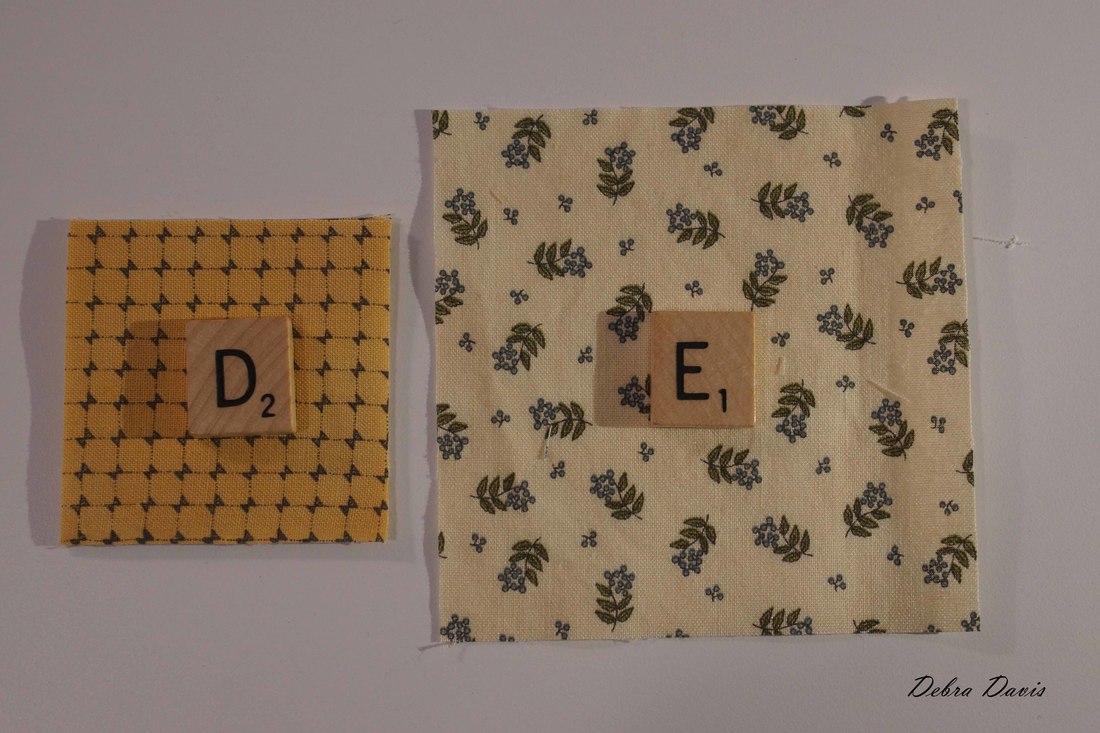 Lay two D squares on the E square-right sides together- and draw a diagonal line across both of the D squares. I went ahead at this time and drew lines on the remaining D squares as well. 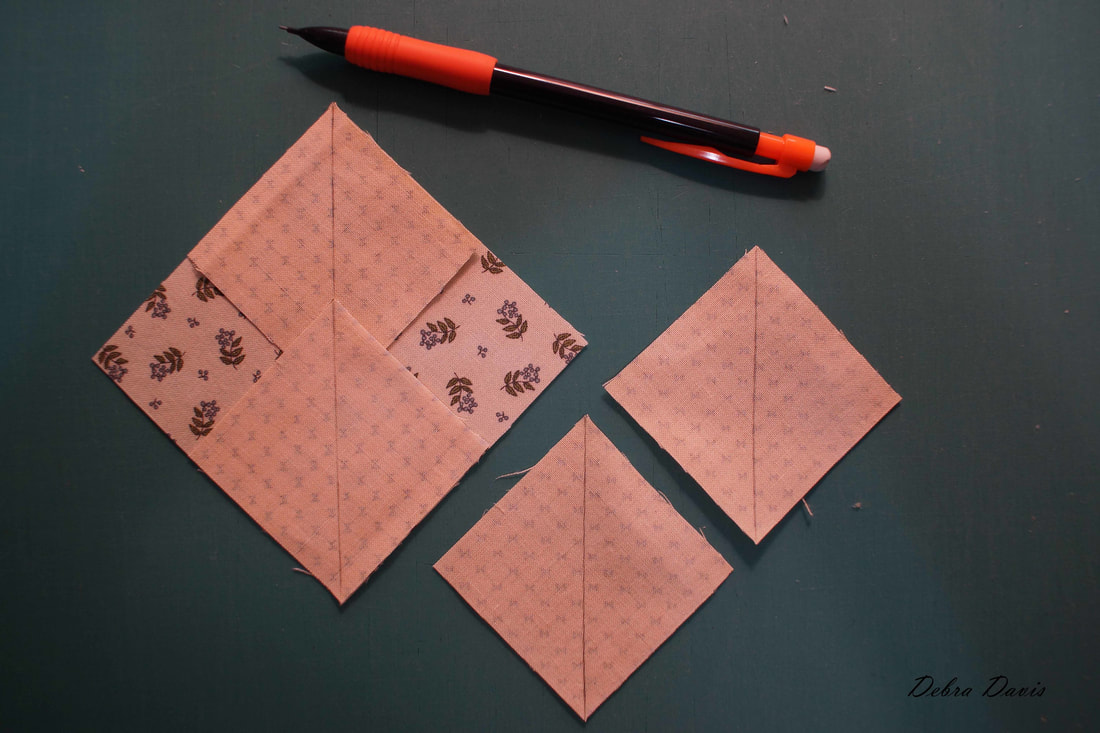 Stitch 1/4 inch from each side of the drawn line. I try to sew with tip of the top square pointing at me as I go.
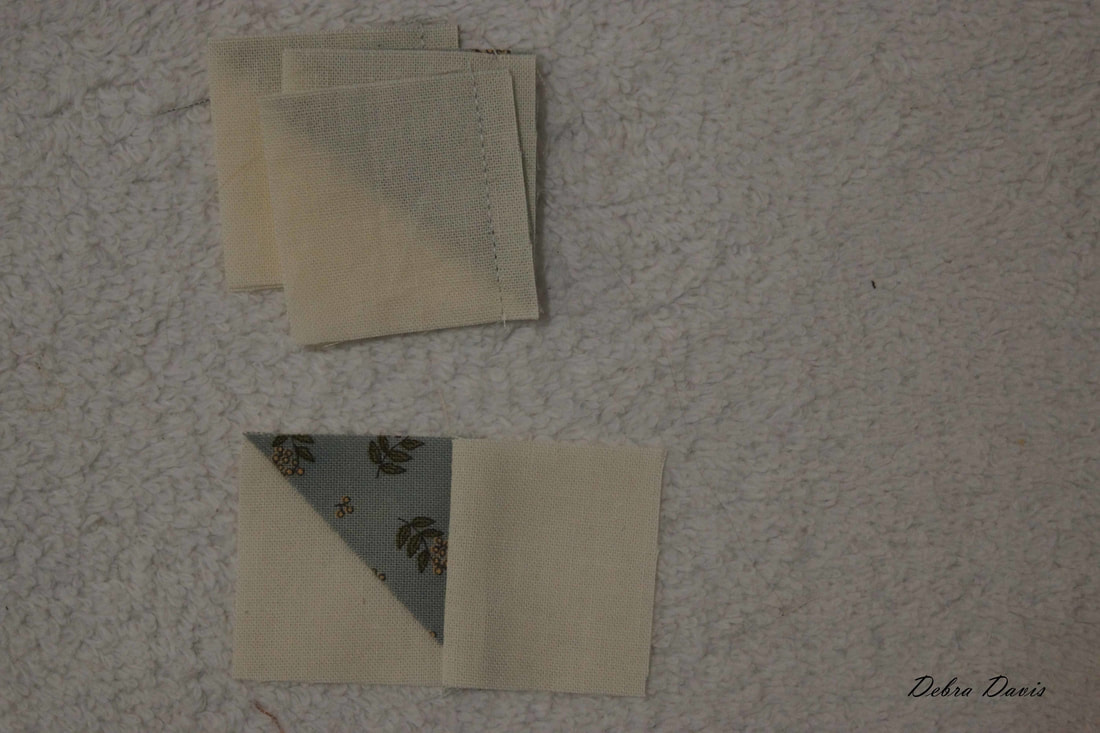
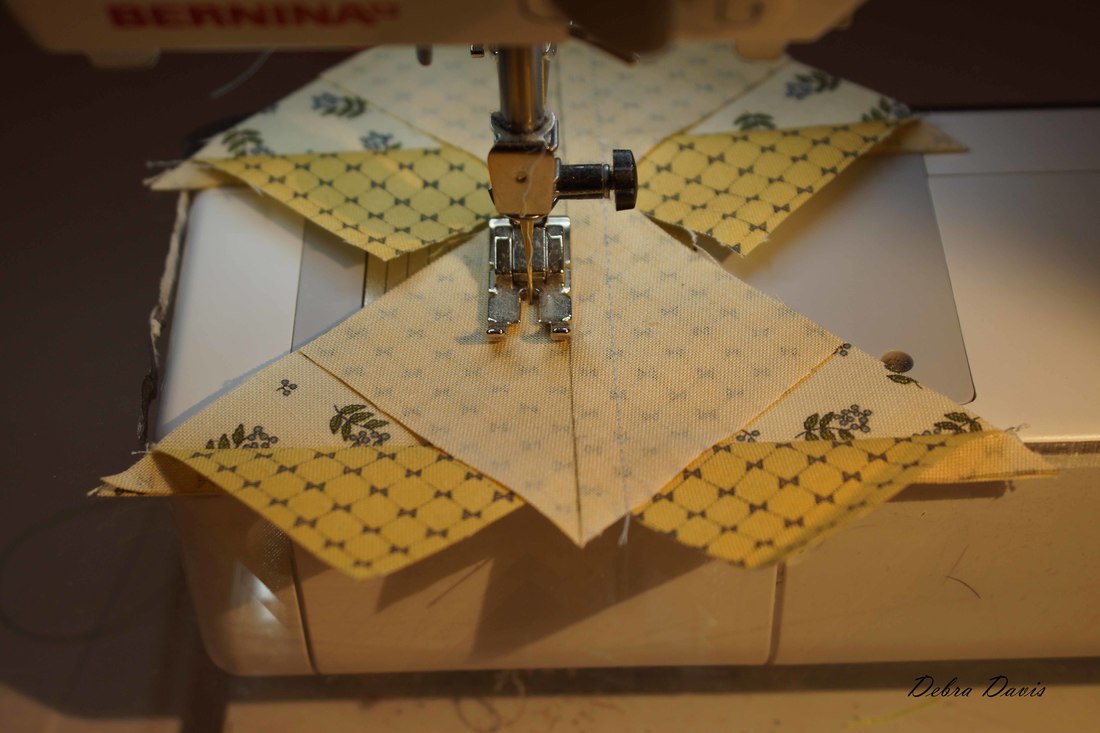
Cut these apart on the drawn line and press towards the small triangles. 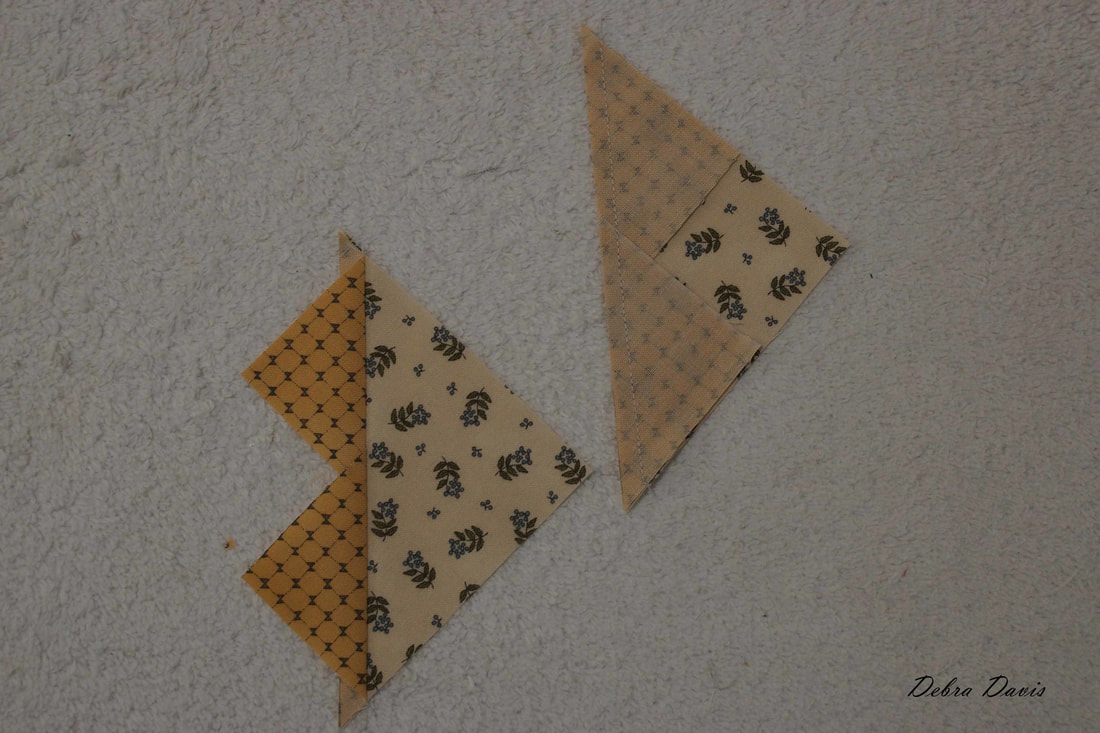 Place another D square on the unit. 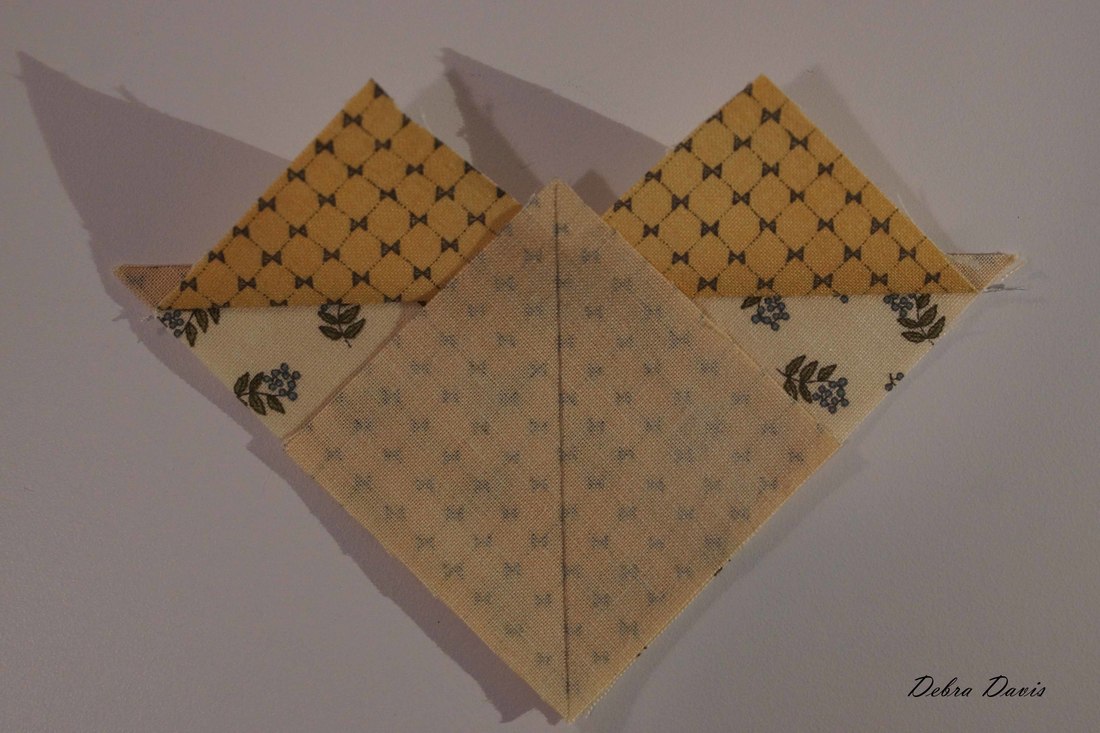 Once again, stitch 1/4 inch from each side of the drawn line.
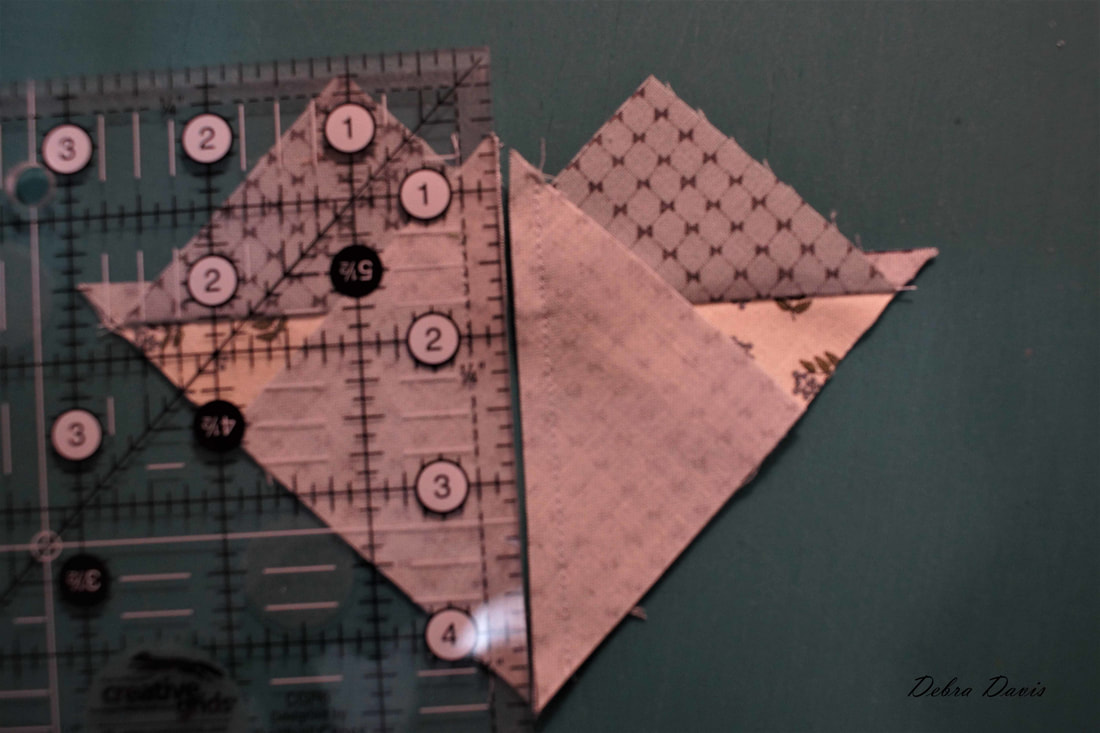
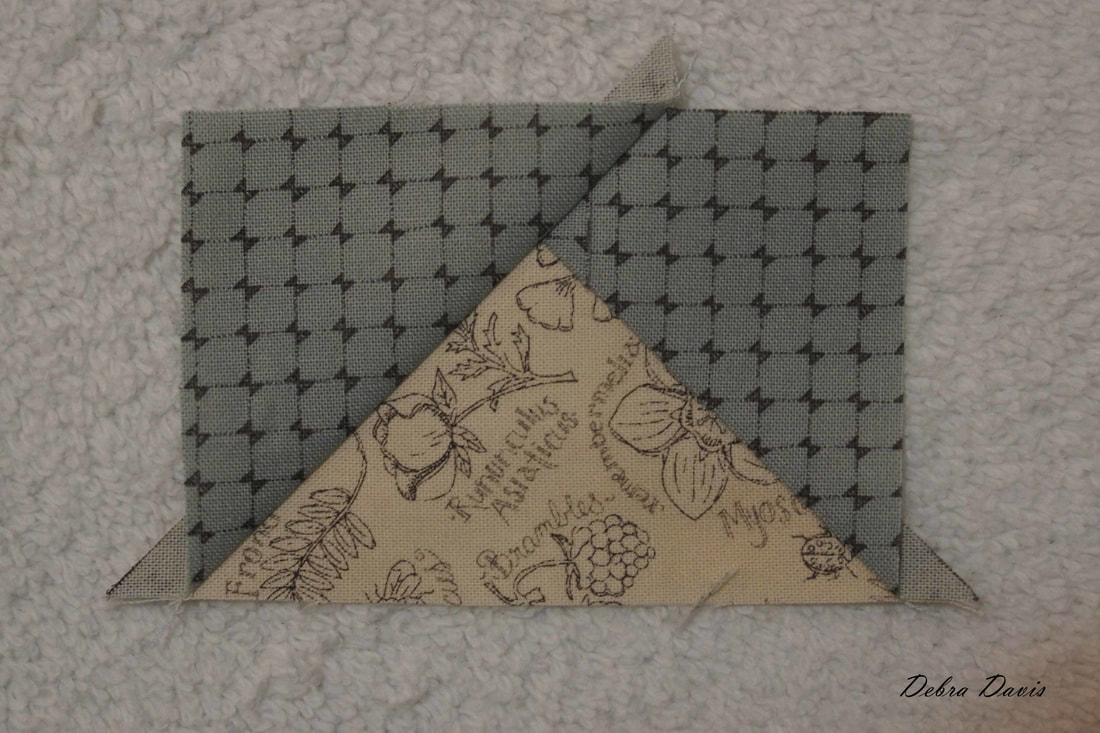
Cut on the drawn line and press towards the smaller triangle. 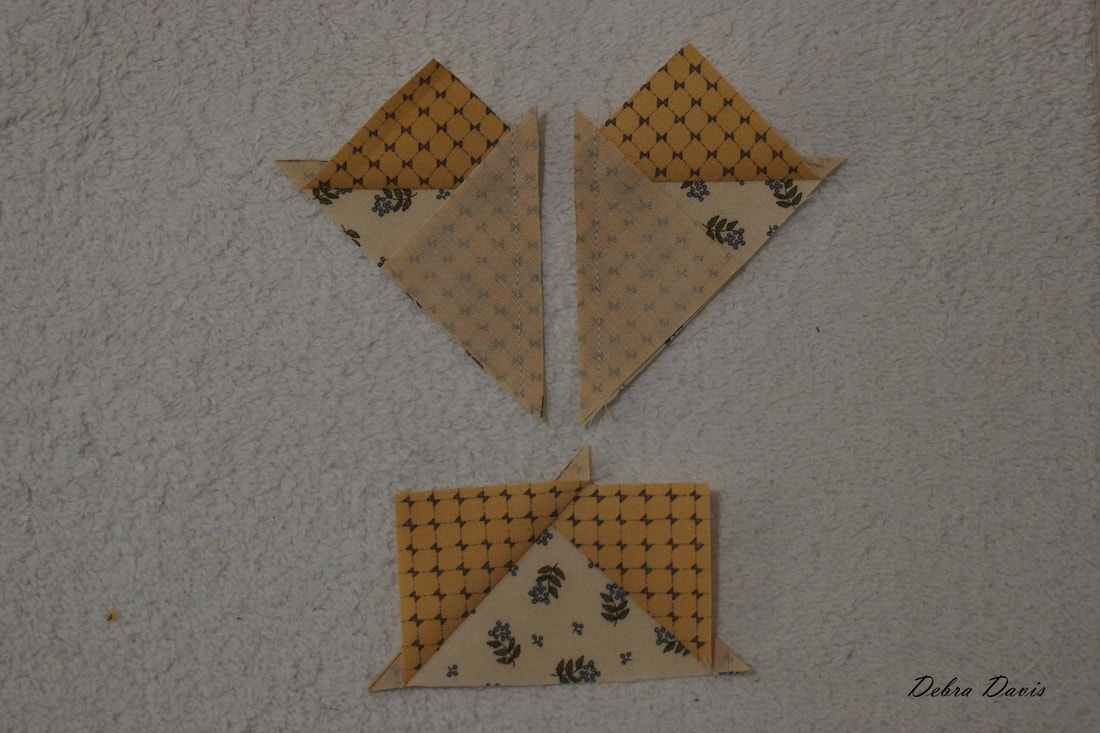 The Flying Geese units need to be trimmed to 1 1/2" x 2 1/2 inches. 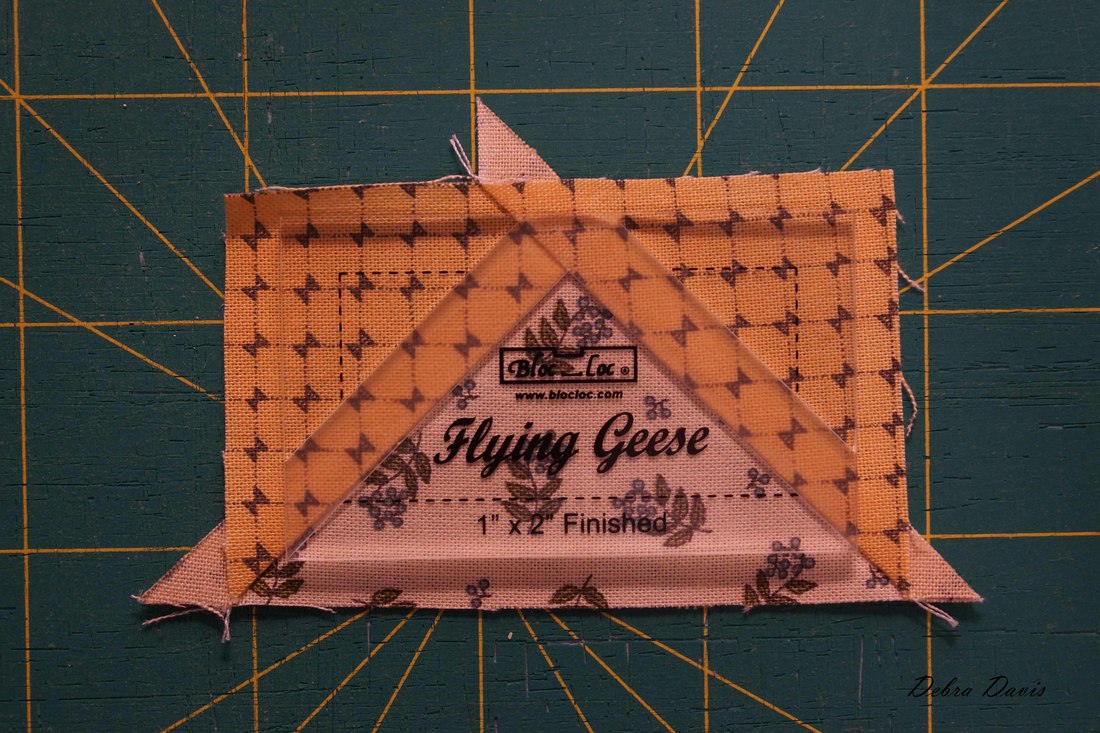 Next I add the F rectangles to the Flying Geese units. I have laid mine out as I have a directional fabric that I want to be sure I attach correctly. 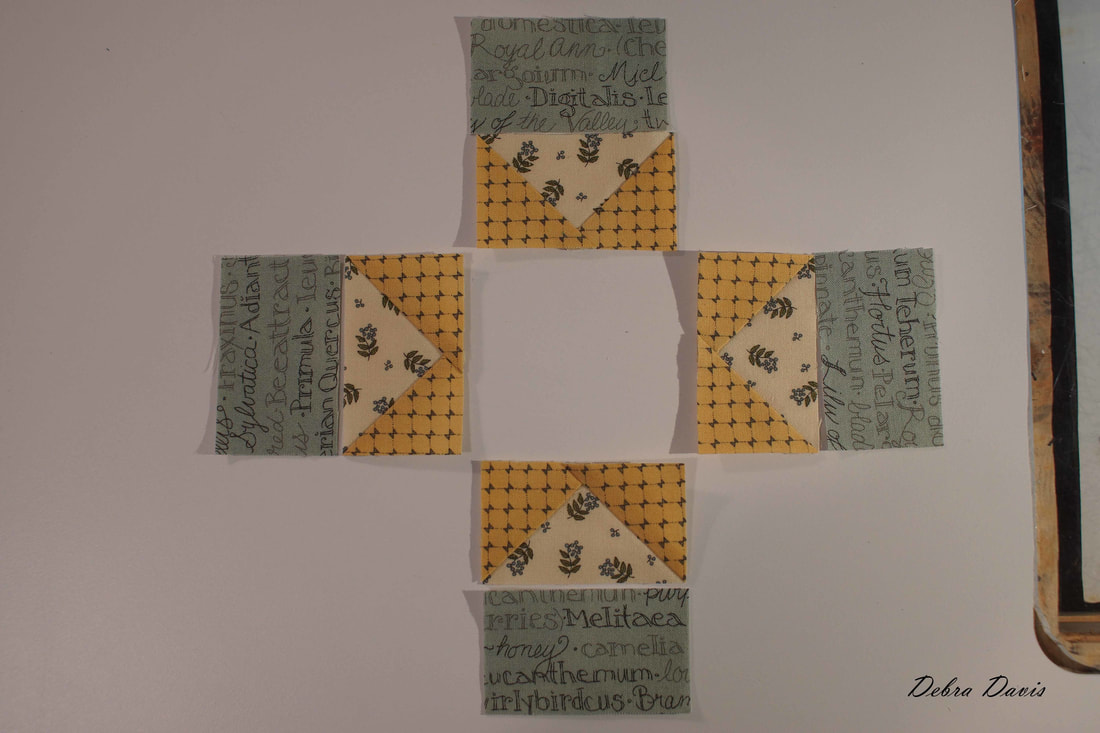 Now for the fun part-putting all of the parts together to make our Starz block. 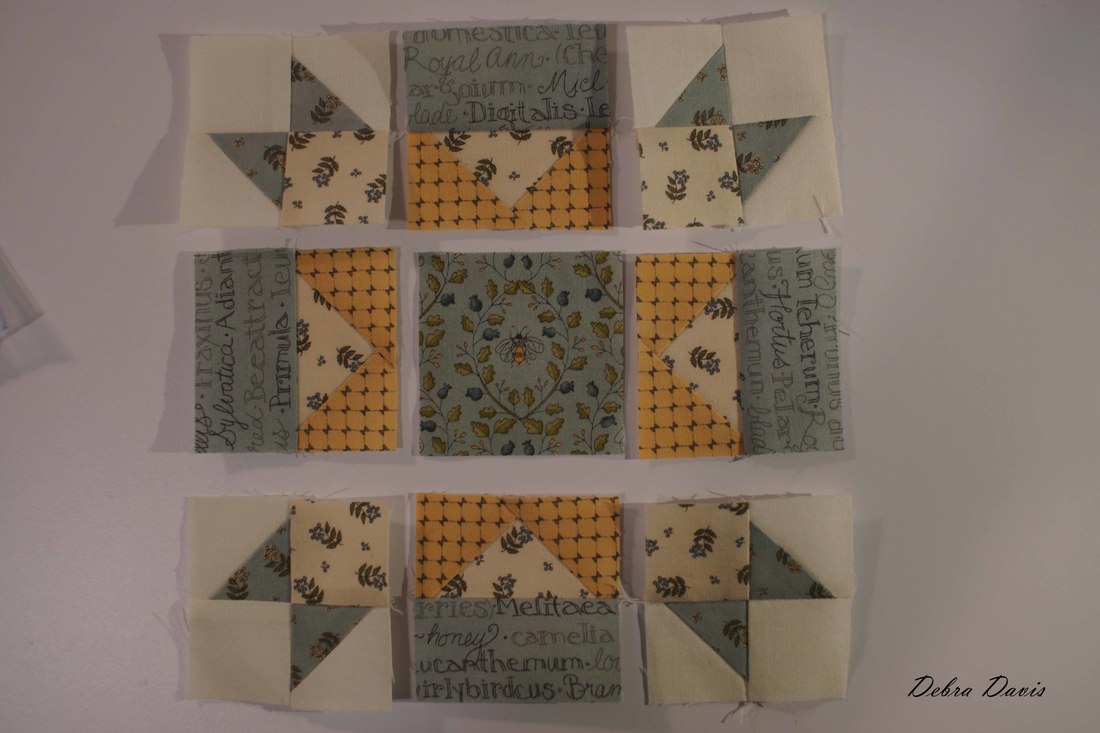 Some of the units will have the seam facing away from the needle-I will be sure and put in a pin in at the seam to make sure they stay lined up. 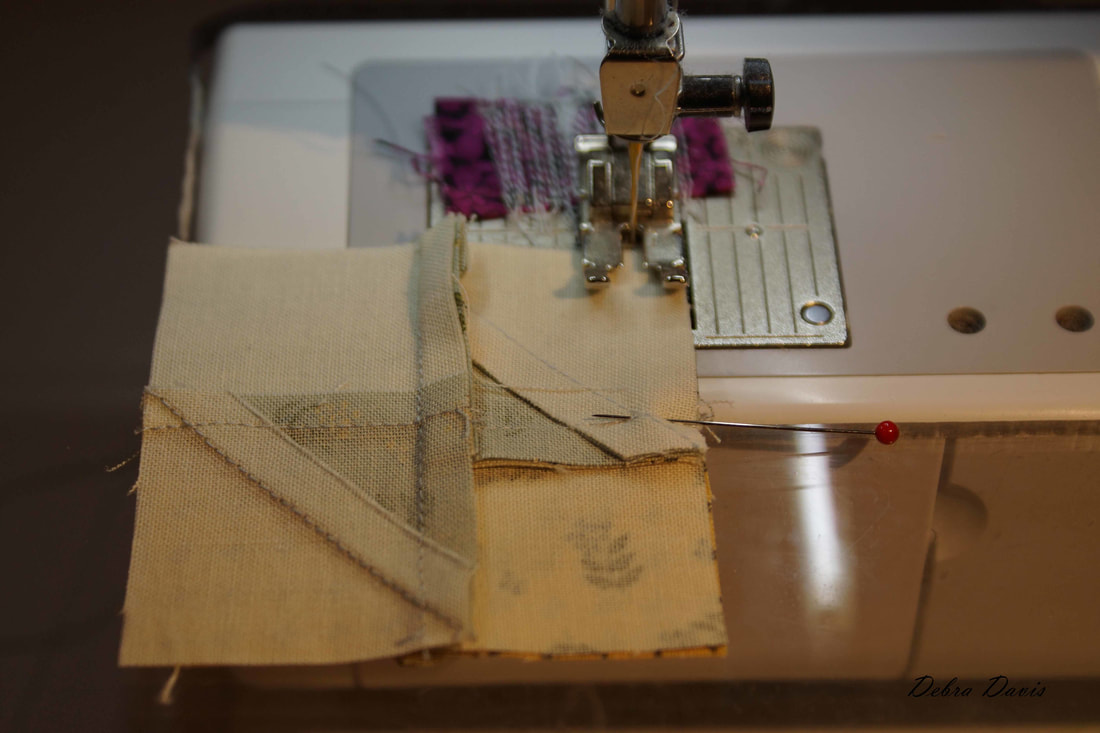 One of the things I am looking for as I piece these together are the tips of my triangles. I want my needle to go right over the top of that seam. 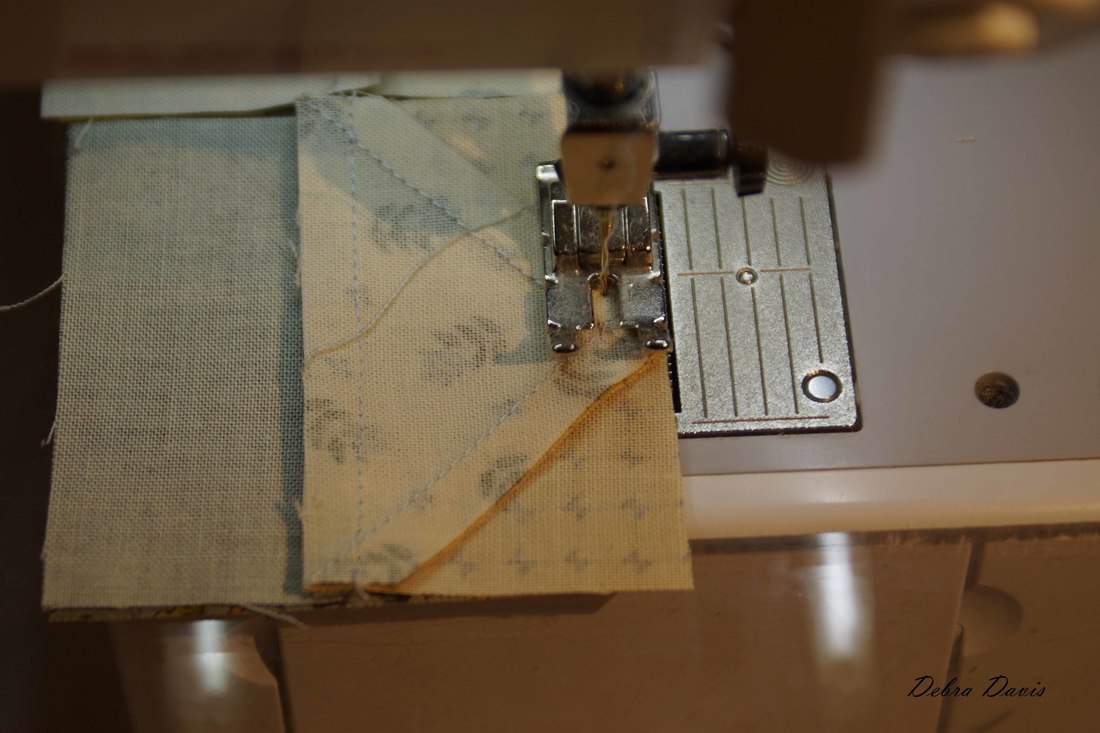 I can now join the rows and since there are quite a few seams to match I place a pin at each to hold them nicely in place as I sew. 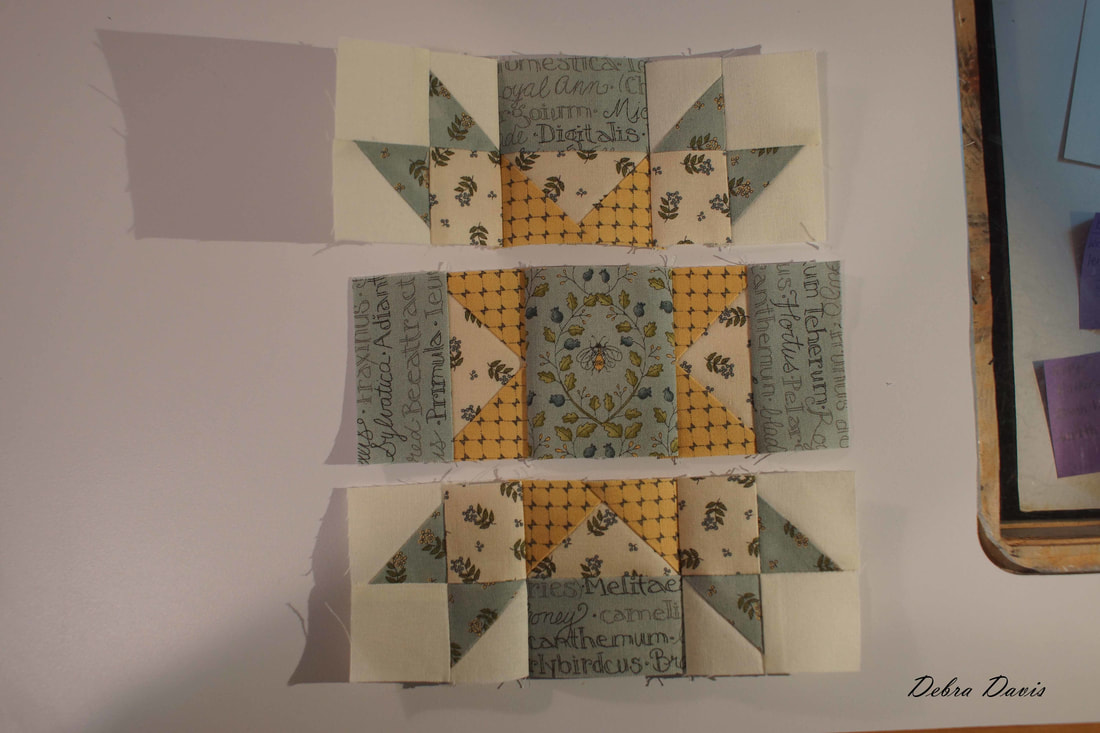 I am really pleased with how this block came out. 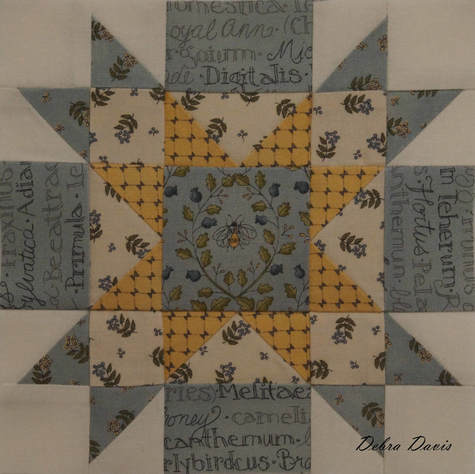 There is still time to enter my Giveaway for a Bloc Loc Flying Geese ruler-the same one I have been using for many of these blocks. On a whim I contacted Bloc Loc and asked if they would be willing to provide one ruler for this contest and they graciously agreed to do so. Thursday, October 19th is the last day to enter. Click here for Giveaway Until next time... Happy Quilting!! Debra This week Betsy Chutchian brings us Dutchman's Puzzle, a very old block that has been around since the late 1800's. You can find the pattern on Betsy's blog by clicking HERE. If you have looked on the Moda Blockheads Facebook group page you may have noticed there are some variations of this block popping up. I had fun playing with it myself and did two. Directions for both will follow. Since this block makes use of Flying Geese units I thought about the thousands of Snow Geese that will soon be arriving in our part of the country. I chose to flip my light and darks on this one to represent white geese against a blue sky. My second variation was just play with more of the fabrics from the Garden Notes collection.
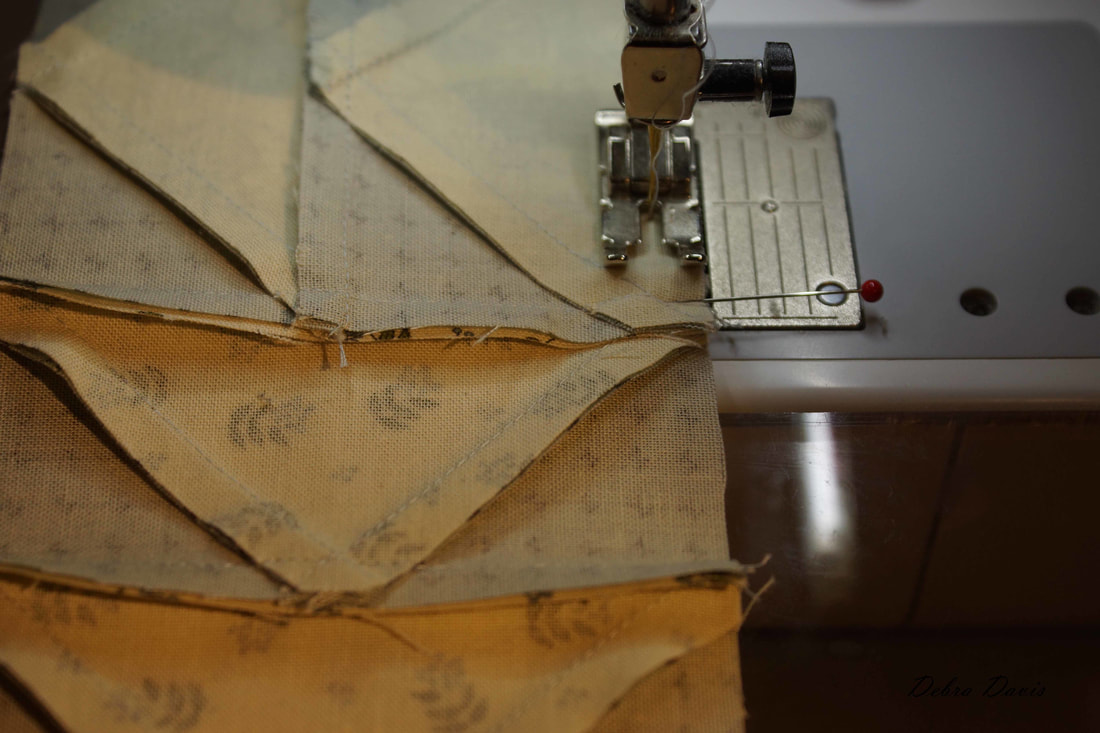
So let's start with version 1. I am going to use the No-Waste method for this one. I need 8 A squares cut 2 3/4 x 2 3/4 inches and two B squares cut 4 1/4 by 4 1/4 inches. 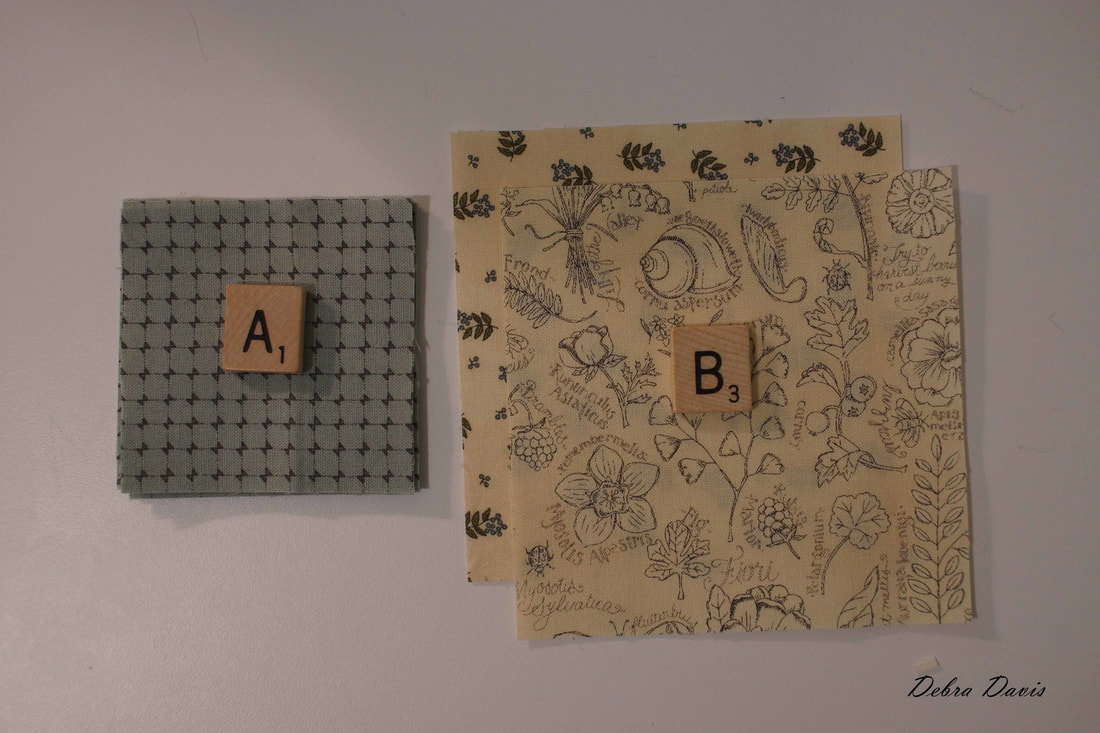 I lay two A squares on each of the B Squares and draw a diagonal line across them. 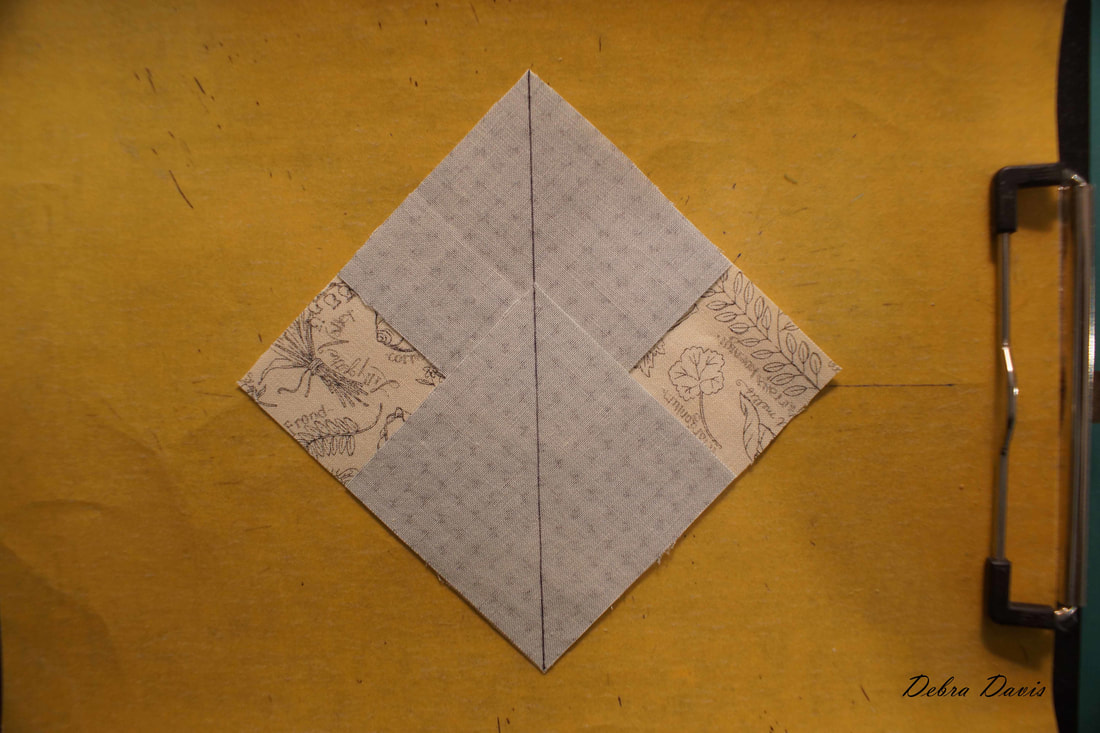 Then, since I already have everything out, I draw a diagonal line on the remaining A squares. 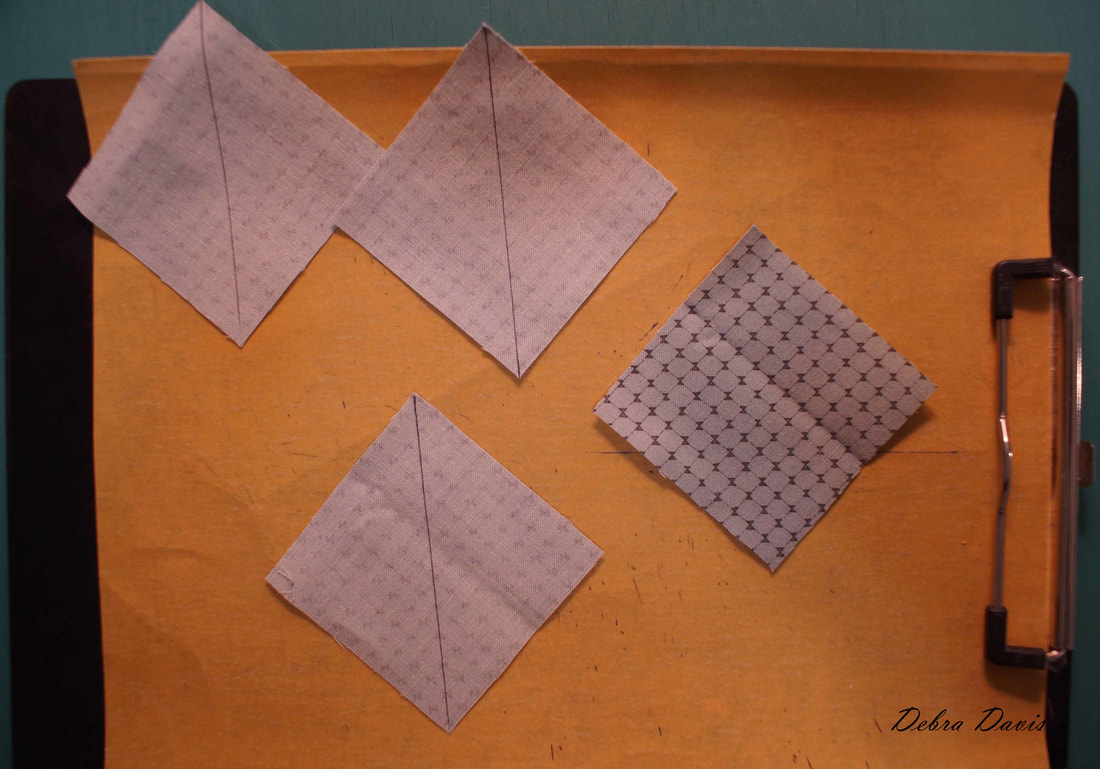 I stitch 1/4 inch from each side of the drawn line.
Cut along the drawn line and press towards the small triangles.
Next I add another A square and sew 1/4 inch from each side of this line as well.
After sewing, cut apart on the drawn line and press towards the smaller triangle.
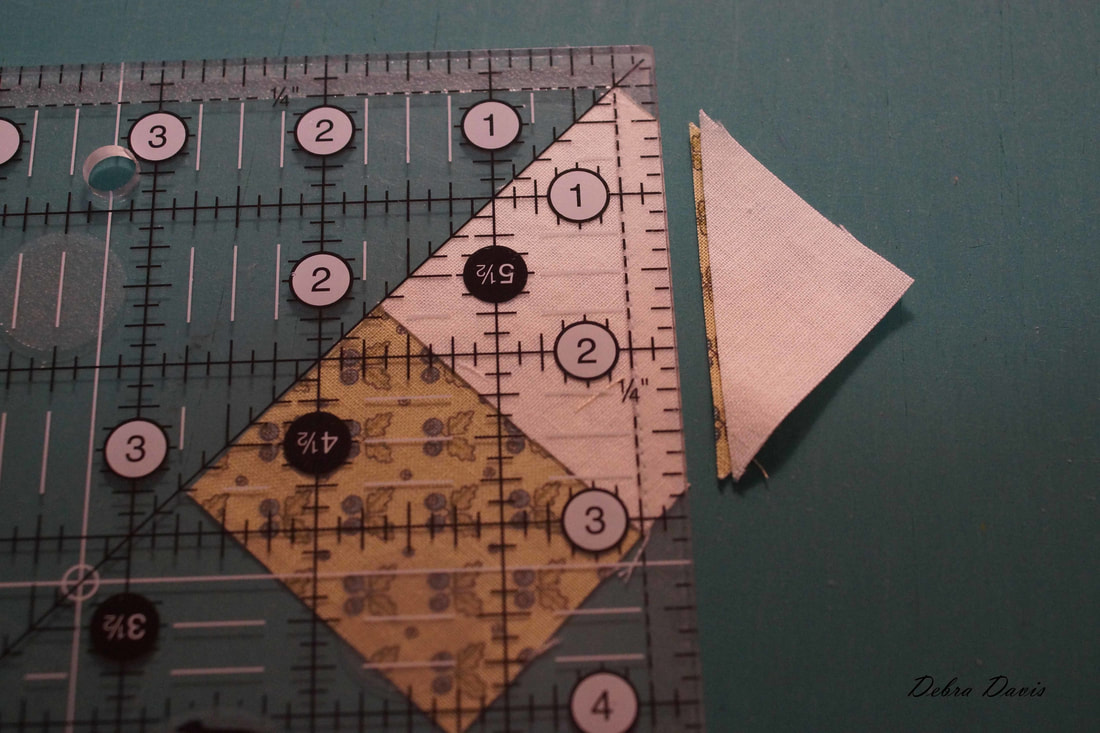
Now, all that remains is to trim it to size. I love how the Bloc Loc Rulers "lock" into place on the seam, making for a very accurate Flying Geese unit in the end. If you would like directions on how to trim these with a regular ruler click on the link for Block 19. 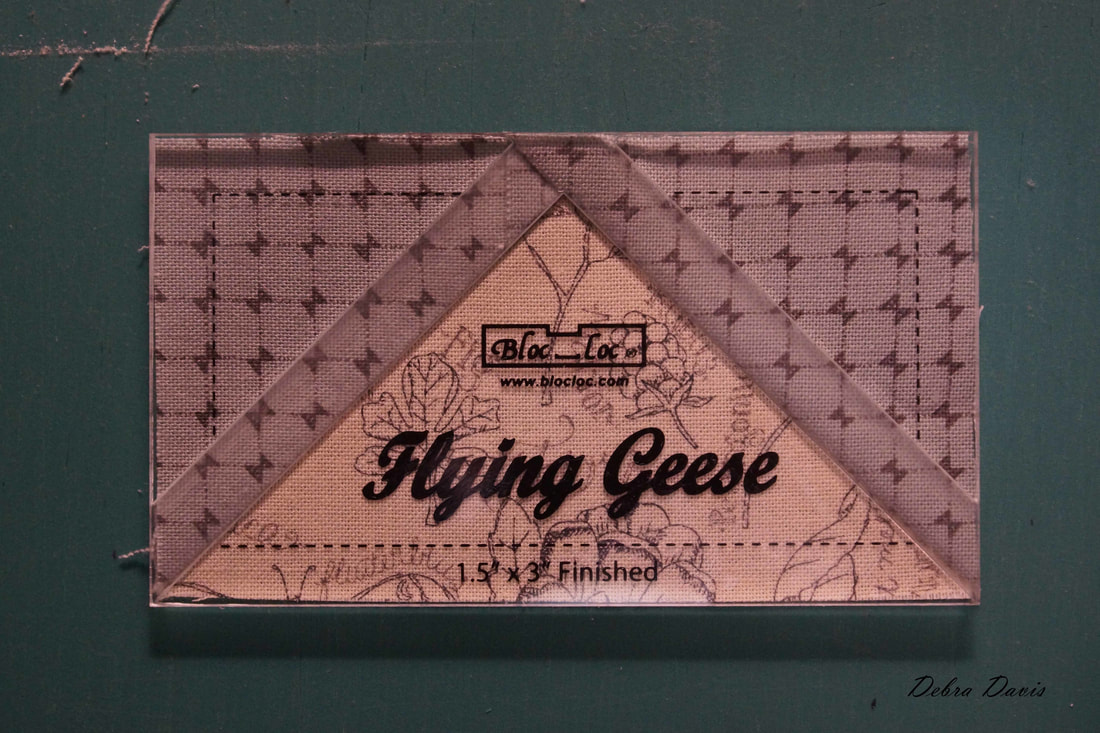 Once everything is trimmed I join two pairs of Flying Geese Units, for a total of four sets.
These units need to measure 3 1/2 x 3 1/2 inches. 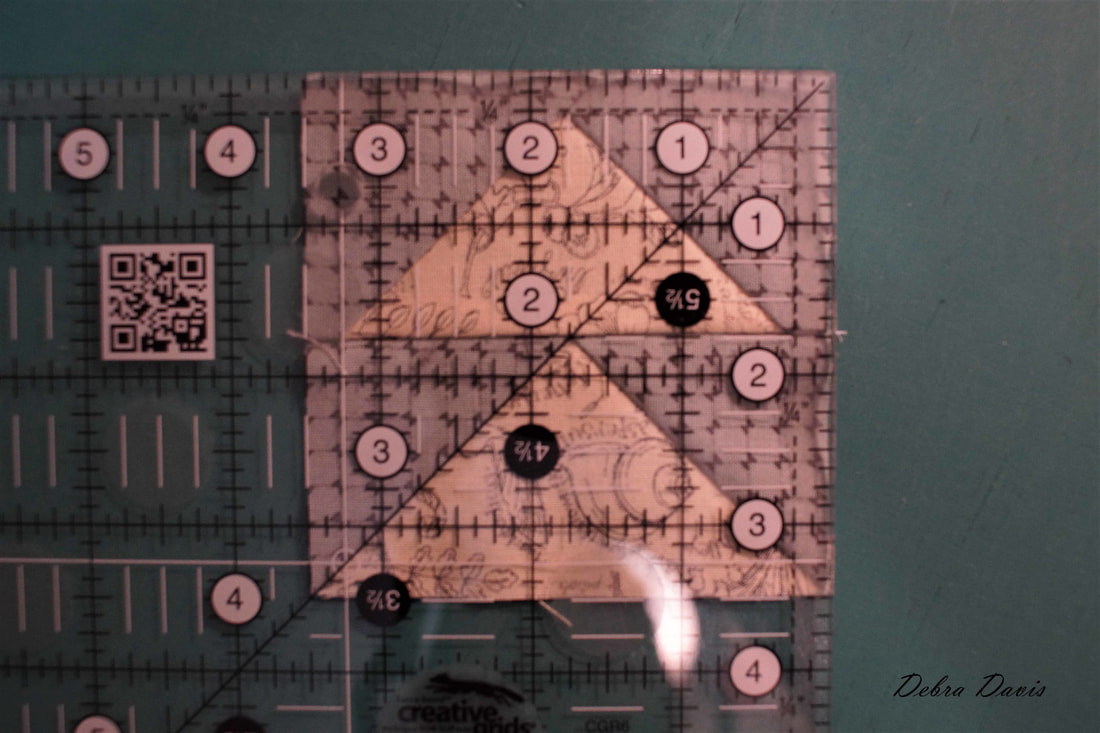 All that remains is to sew these sets together, making sure my geese are flying around the block in a clockwise direction. Press in opposite directions-I pressed towards the side without the points. 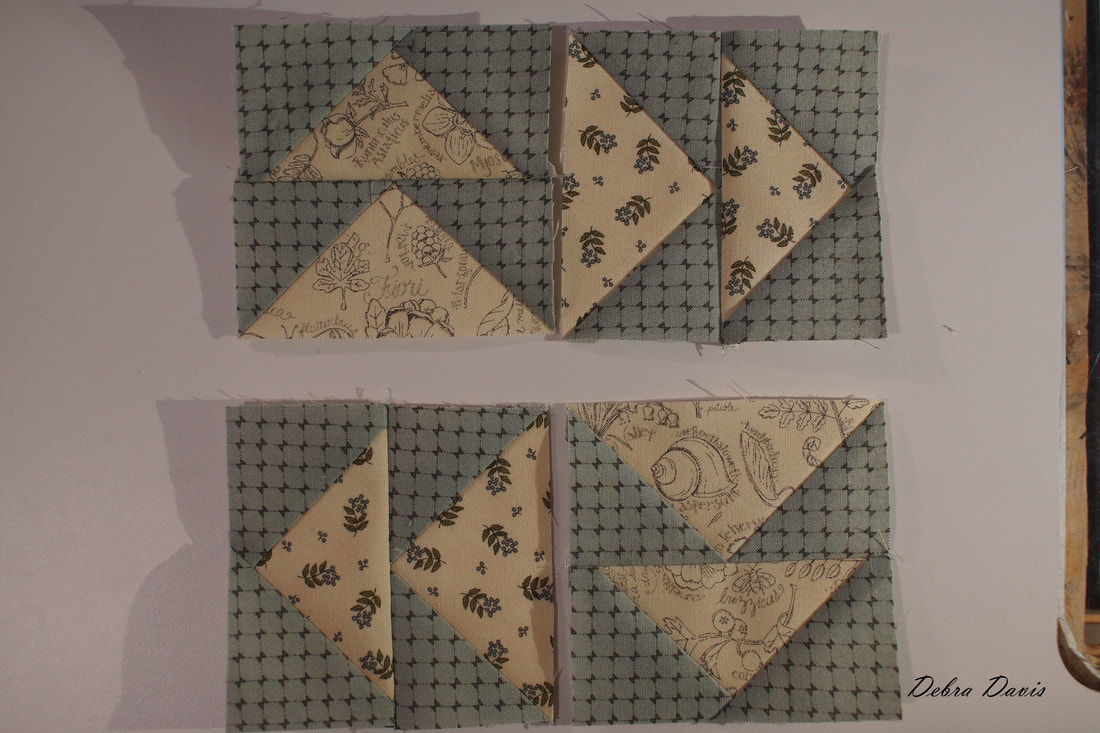 At this point I placed a pin where the seams join and finished the block.
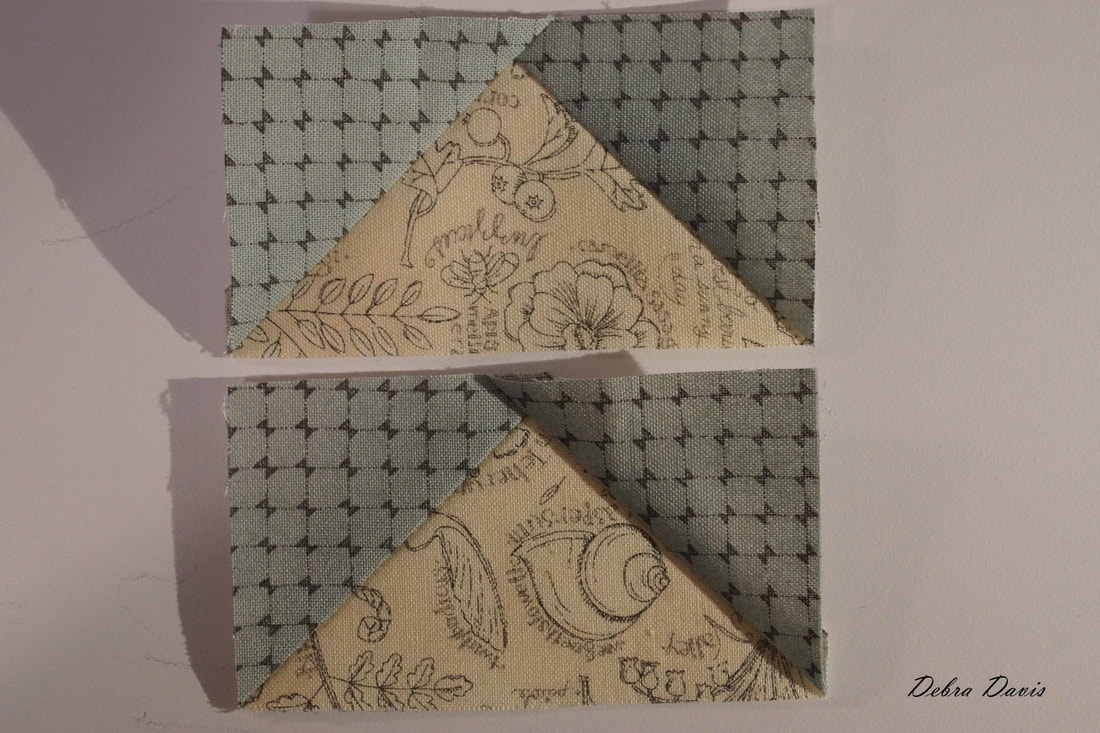
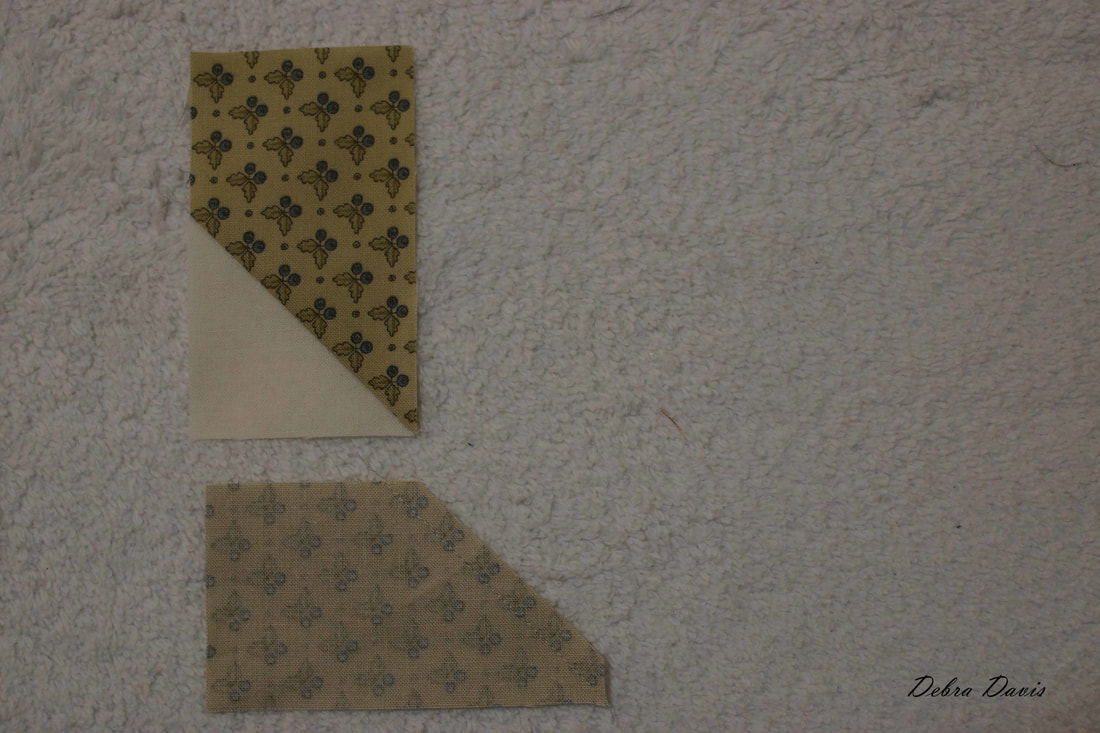
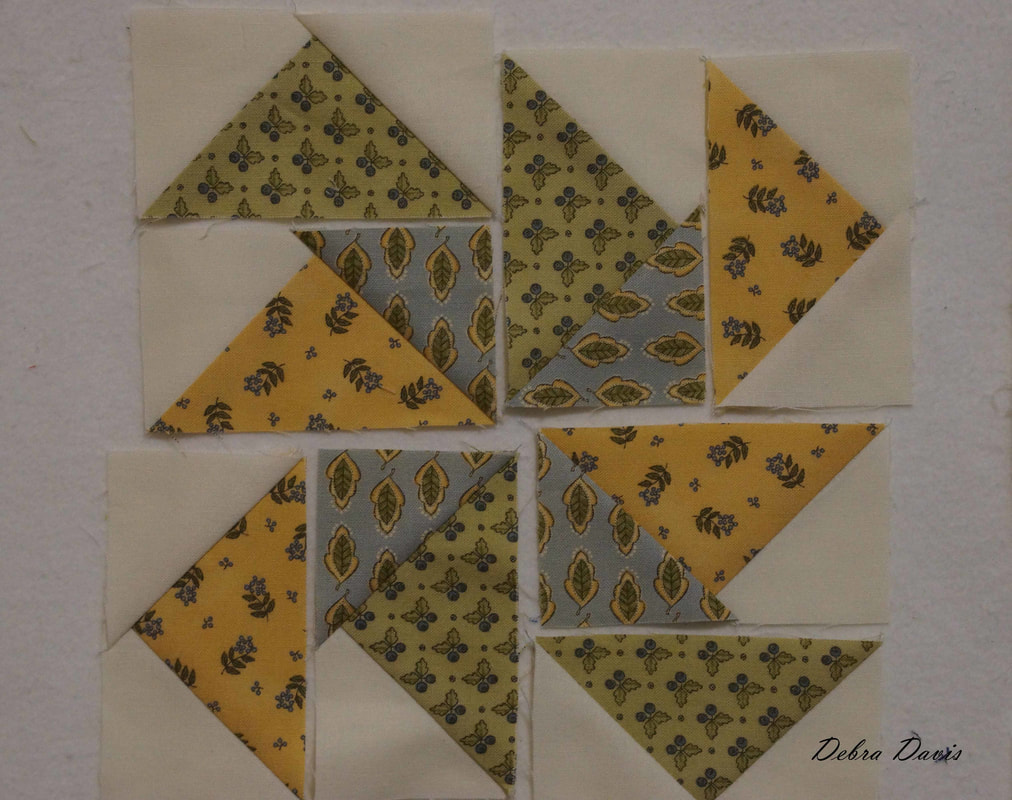
With the perfect trimming that the Bloc Loc ruler provides I find my points are all intact-I am extra excited about this after the struggles last week with Alternate 28. 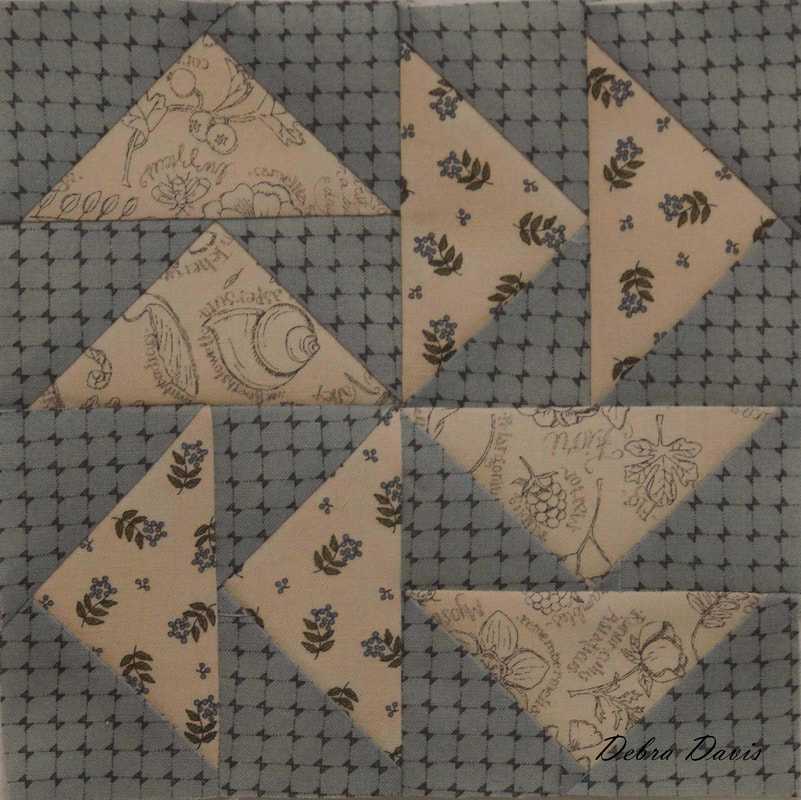 Onto my version 2. For this block I cut 12 cream A's and 4 Blue Print A's 2 1/4 x 2 1/4 inches, and 4 green B's and 4 Yellow B's 2 1/4 x 3 3/4 inches. 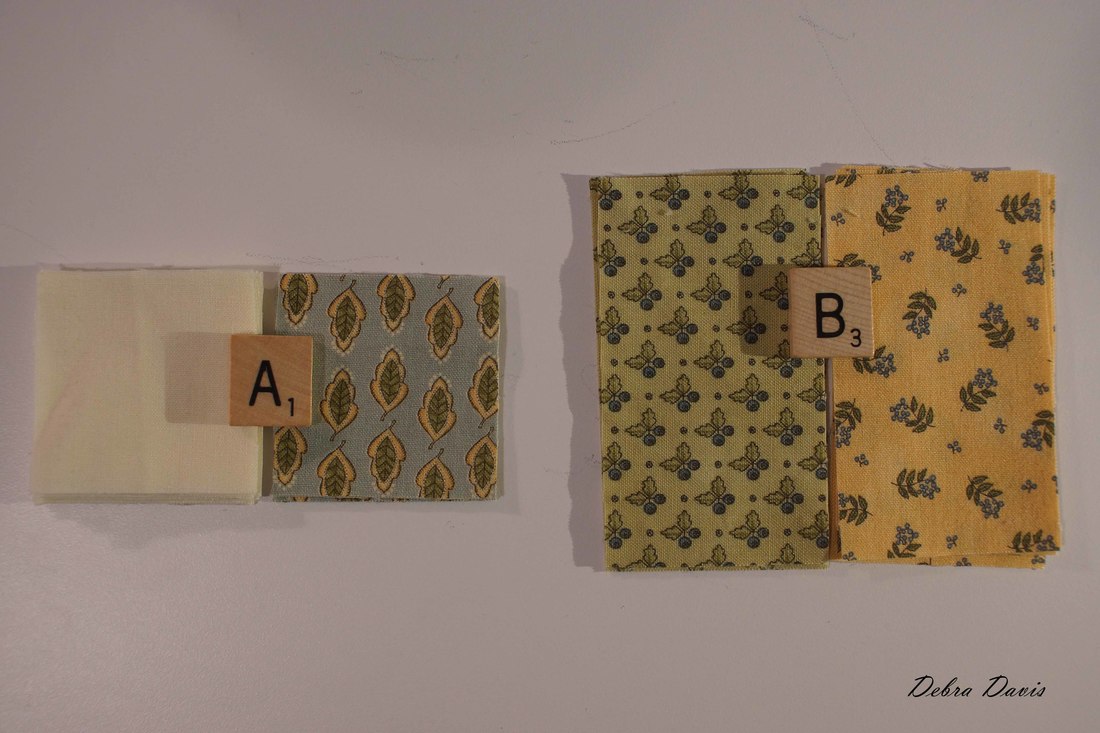 Since I am mixing things up a bit I need to use a different method for putting the Flying Geese units together. So I start by drawing a diagonal line on all of the A squares. 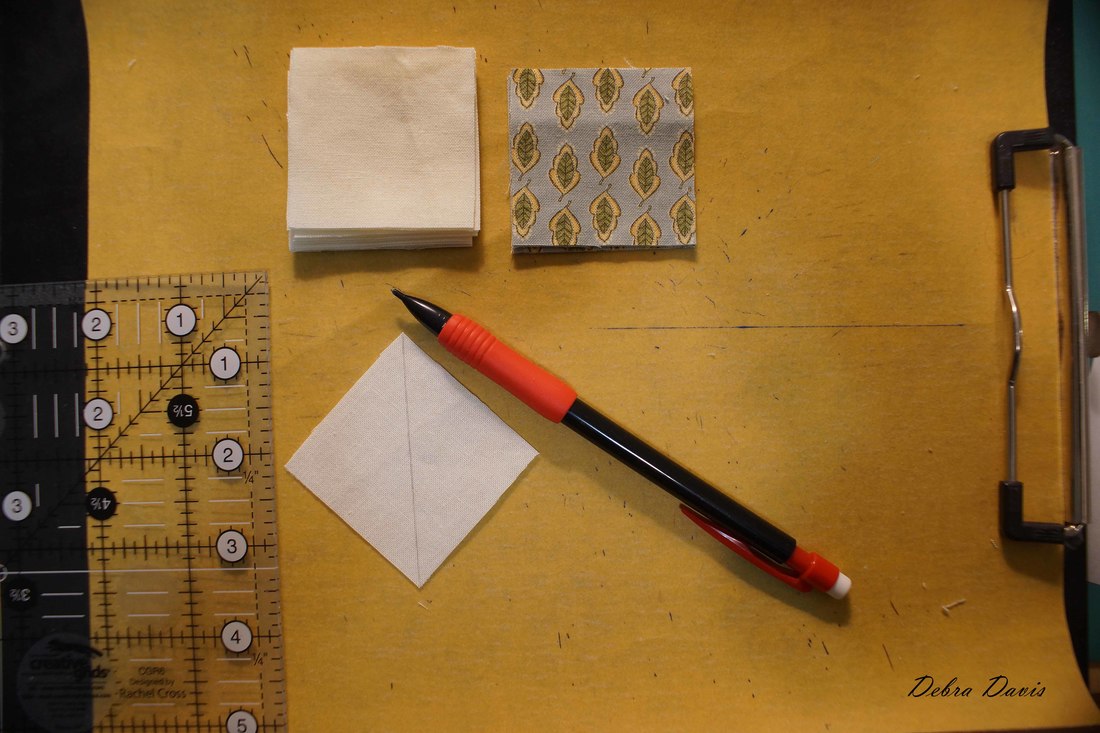 Place one cream A square on the left side of each B rectangle. 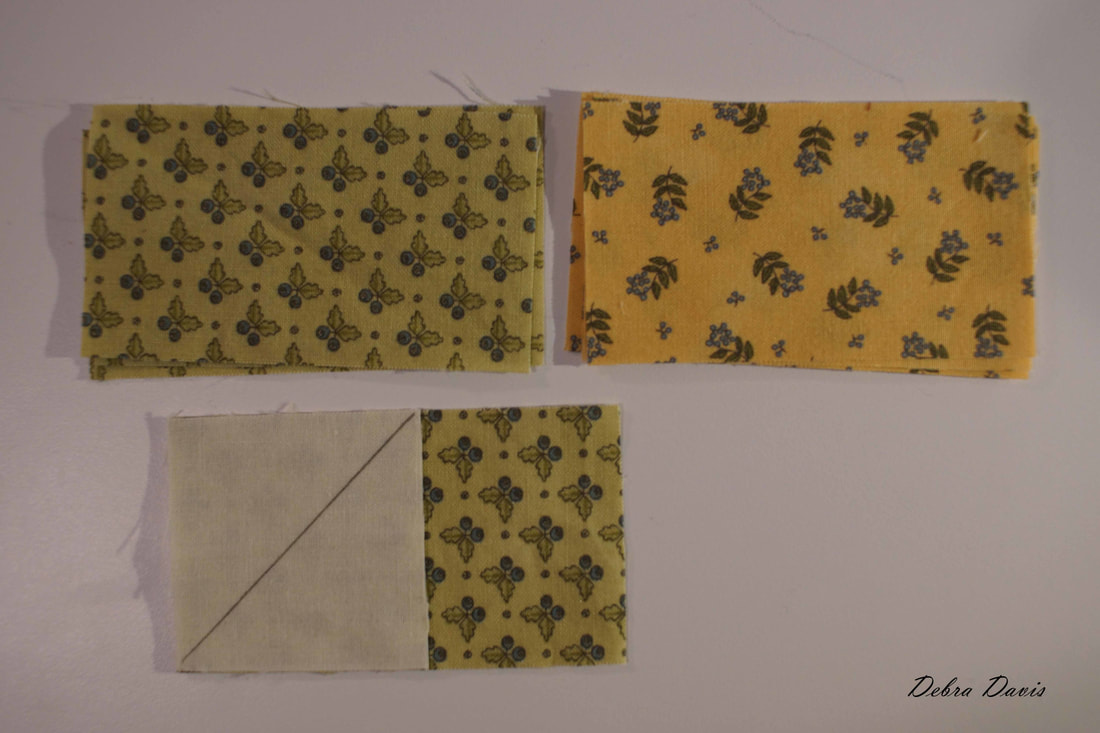 This time we are going to sew right along the line we drew. I find I sew just to the right of line, about a needles width, rather than right on the line. 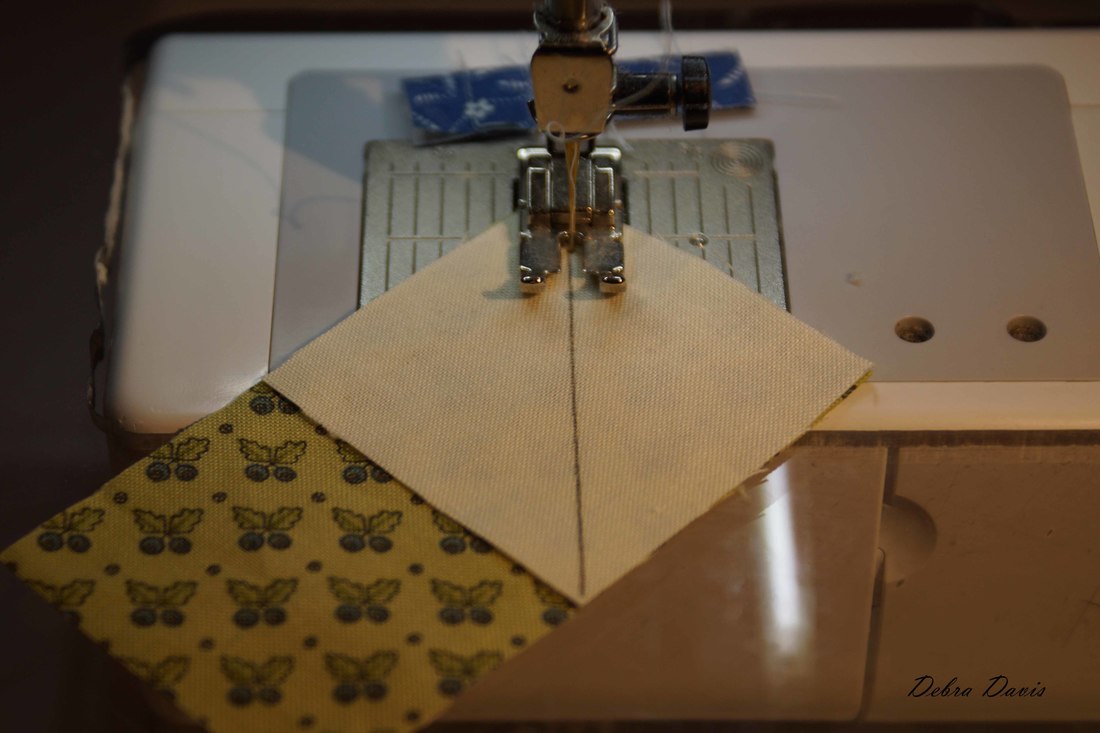 Trim away 1/4 inch from the seam line and press towards the cream triangle.
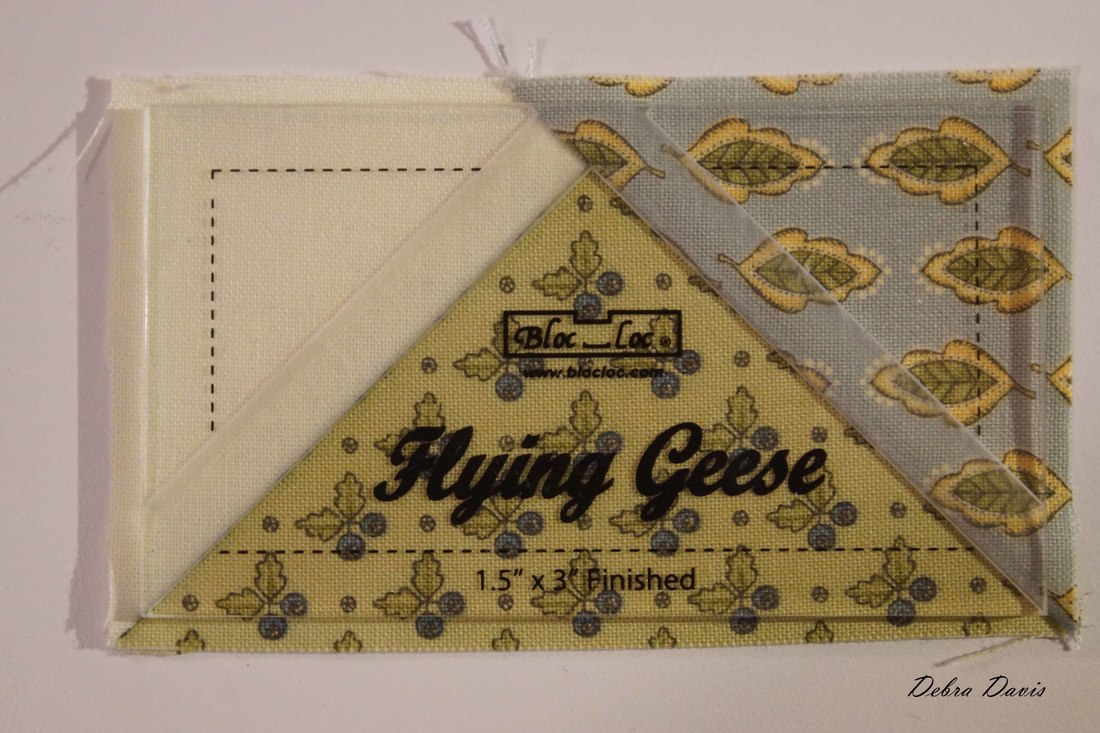
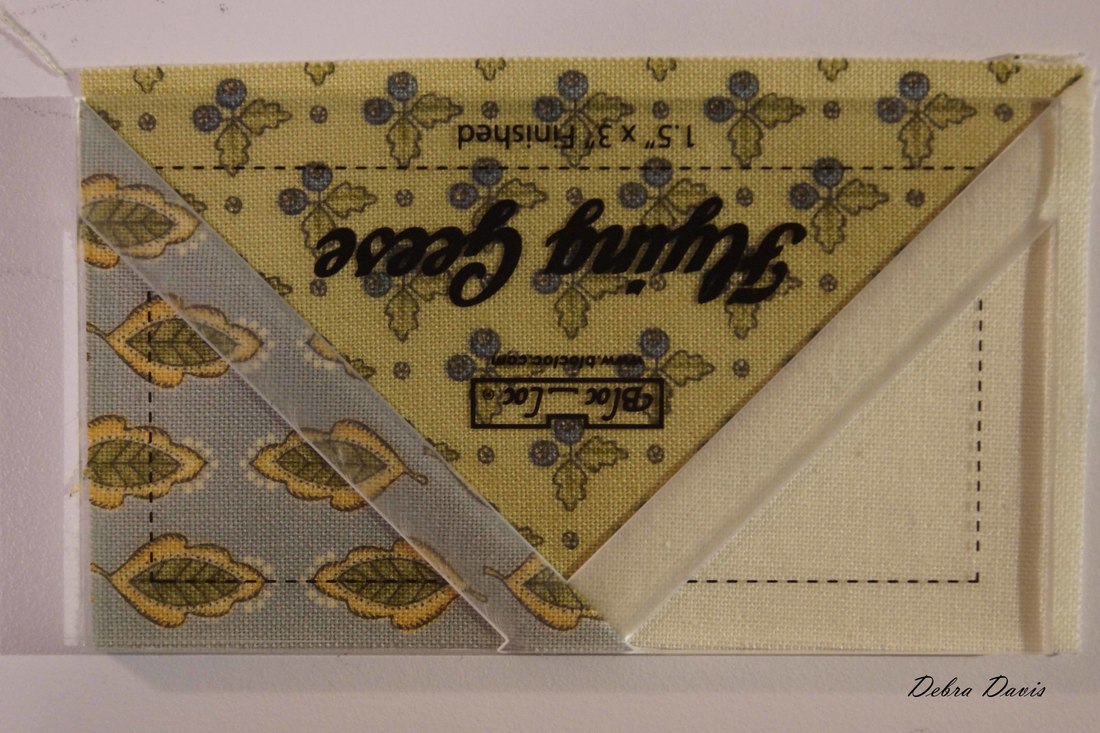
Add the remaining Cream A squares to the other side of the unit. (You will have enough to make four Flying Geese.) 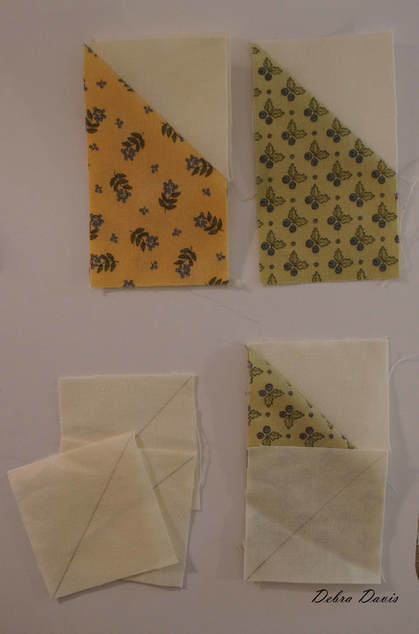 Do the same with the print A squares on the remaining units. 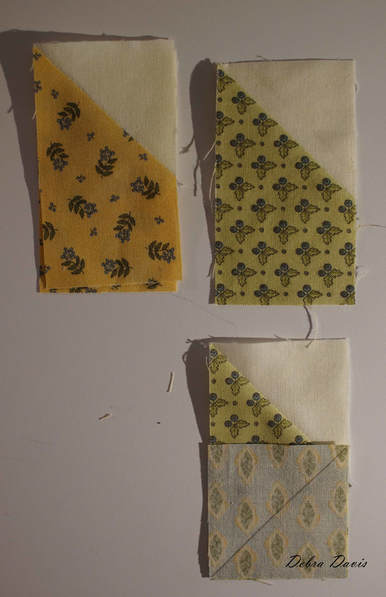 Once again, I get out my trusty 1 1 /2 x 3 inch Bloc Loc ruler and trim.
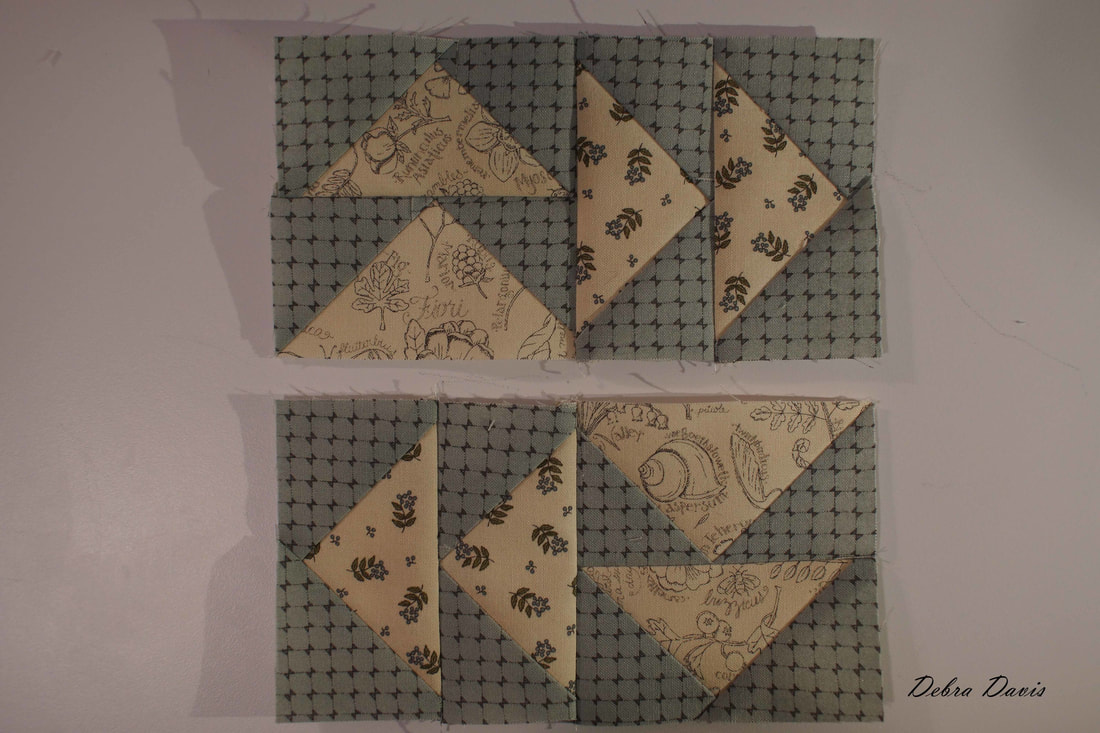
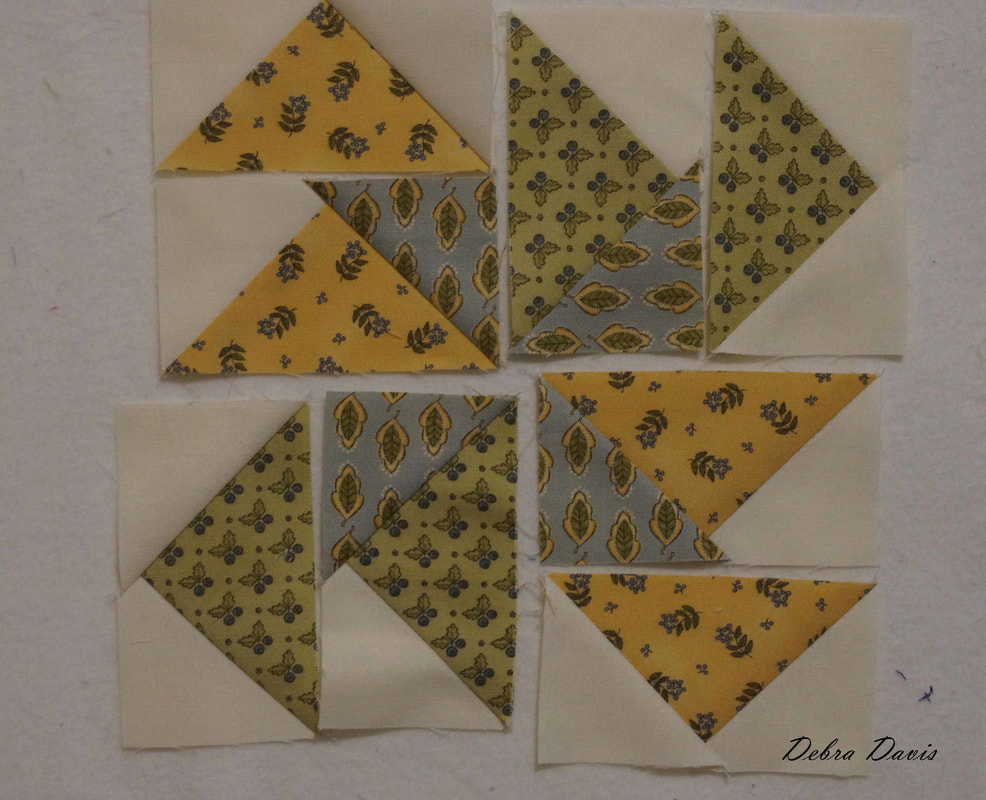
Now just play around with placement and see how many looks you get.
Once you have settled on a layout, sew the units together just like in Version 1. 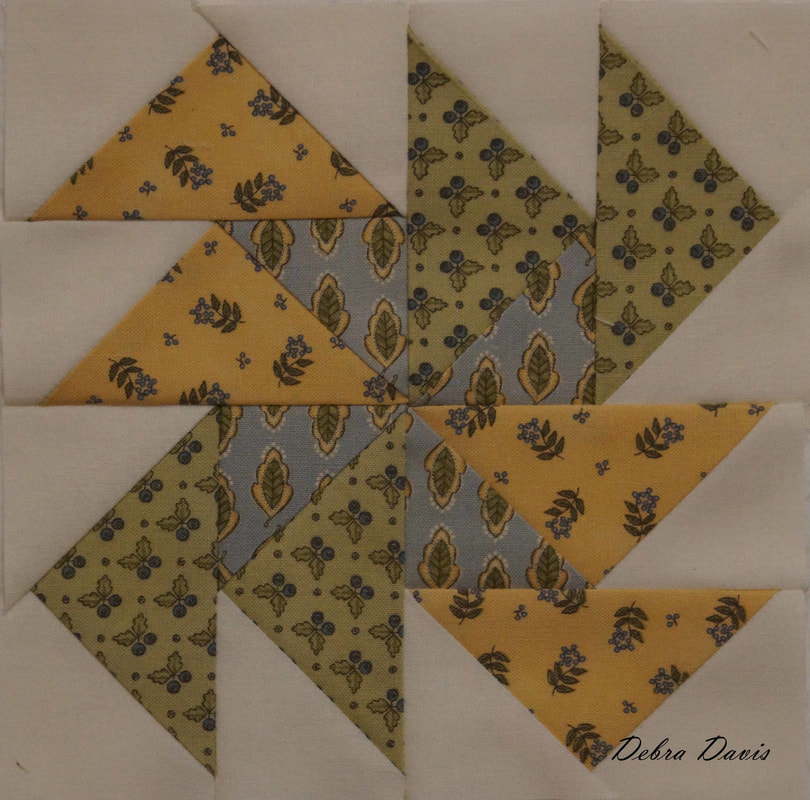 I am thrilled to announce that Bloc Loc is providing one ruler, just like the one I am using, for a giveaway on my website. Follow this link to be entered for your chance to win. Click Here to Enter Contest Until next time...
Happy Quilting!! Debra
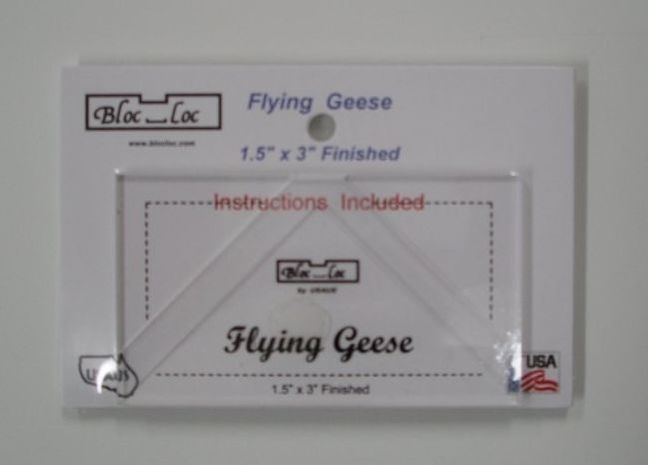
Let me take a moment to remind you why I love these rulers. They come with instructions to tell you exactly what size to cut your fabric. Once you have pieced your Flying Geese you just lay the ruler on top. There is a indentation on the ruler that fits perfectly along the seam line. Just hold it in place and trim around all four sides. 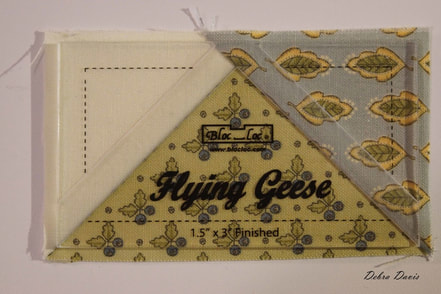 You end up with a Flying Geese unit that has perfect 1/4 inch seams and you know what that means....perfect points when you go to sew them together! 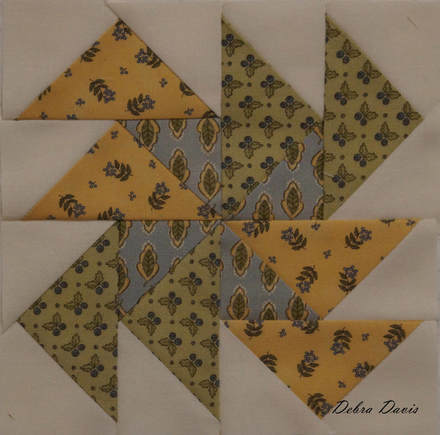 Any tool that lets me achieve that with ease is worth it's weight in gold! (I have not been paid by Bloc Loc or received any products from them-I just love, love, love their rulers.)
Now for the giveaway... Bloc Loc will be sending one lucky winner the ruler I have been using in my Moda Blockheads tutorials. It is for Flying Geese units that finish at 1 1/2" x 3" and sells for $22.50. The contest will be open from October 13-October 19, 2017. A winner will be chosen by random number generator and I will announce the winner on Friday October 20th. The contest is only open to residents of the US. (Sorry international friends, but Bloc Loc is covering shipping as well.) To enter, leave a comment telling me how long you have been quilting. You can get a bonus entry if you also leave a comment on my post for the giveaway on my Facebook page. Happy Quilting! Debra |

Welcome to the site of Debra Davis-a woman who loves the Lord and loves to quilt.
My other blog where I share about my walk of faith:
Sitting at His Feet 
|


 RSS Feed