|
This week Betsy Chutchian brings us Dutchman's Puzzle, a very old block that has been around since the late 1800's. You can find the pattern on Betsy's blog by clicking HERE. If you have looked on the Moda Blockheads Facebook group page you may have noticed there are some variations of this block popping up. I had fun playing with it myself and did two. Directions for both will follow. Since this block makes use of Flying Geese units I thought about the thousands of Snow Geese that will soon be arriving in our part of the country. I chose to flip my light and darks on this one to represent white geese against a blue sky. My second variation was just play with more of the fabrics from the Garden Notes collection.
So let's start with version 1. I am going to use the No-Waste method for this one. I need 8 A squares cut 2 3/4 x 2 3/4 inches and two B squares cut 4 1/4 by 4 1/4 inches. 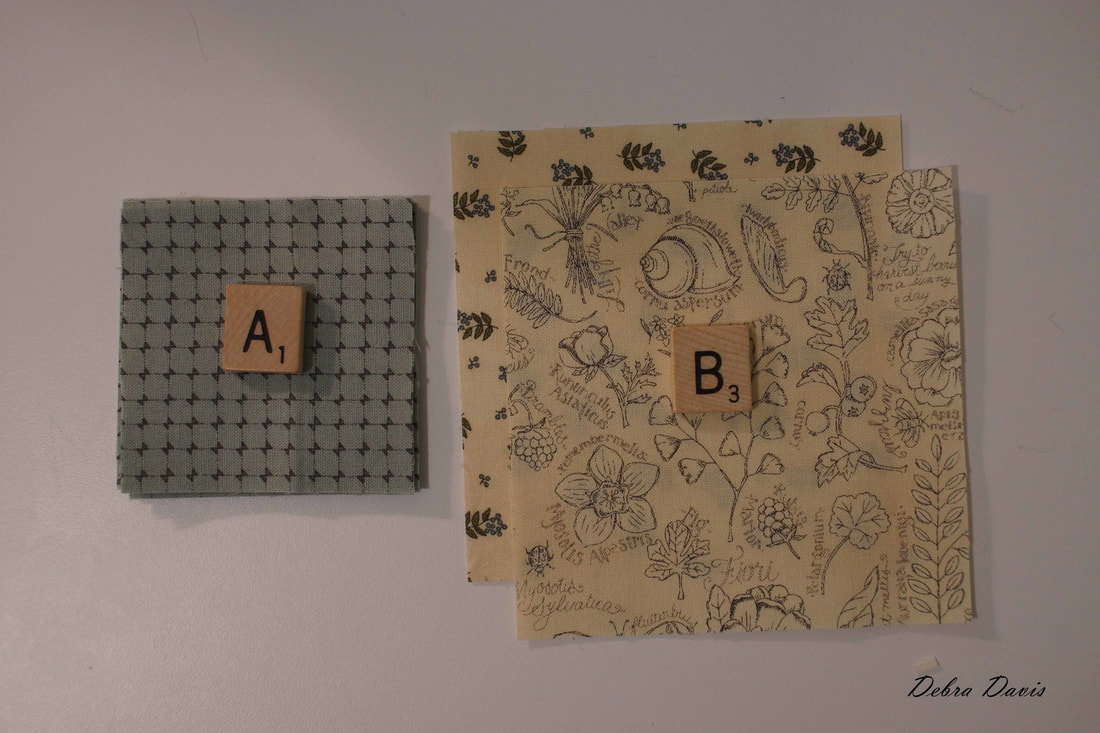 I lay two A squares on each of the B Squares and draw a diagonal line across them. 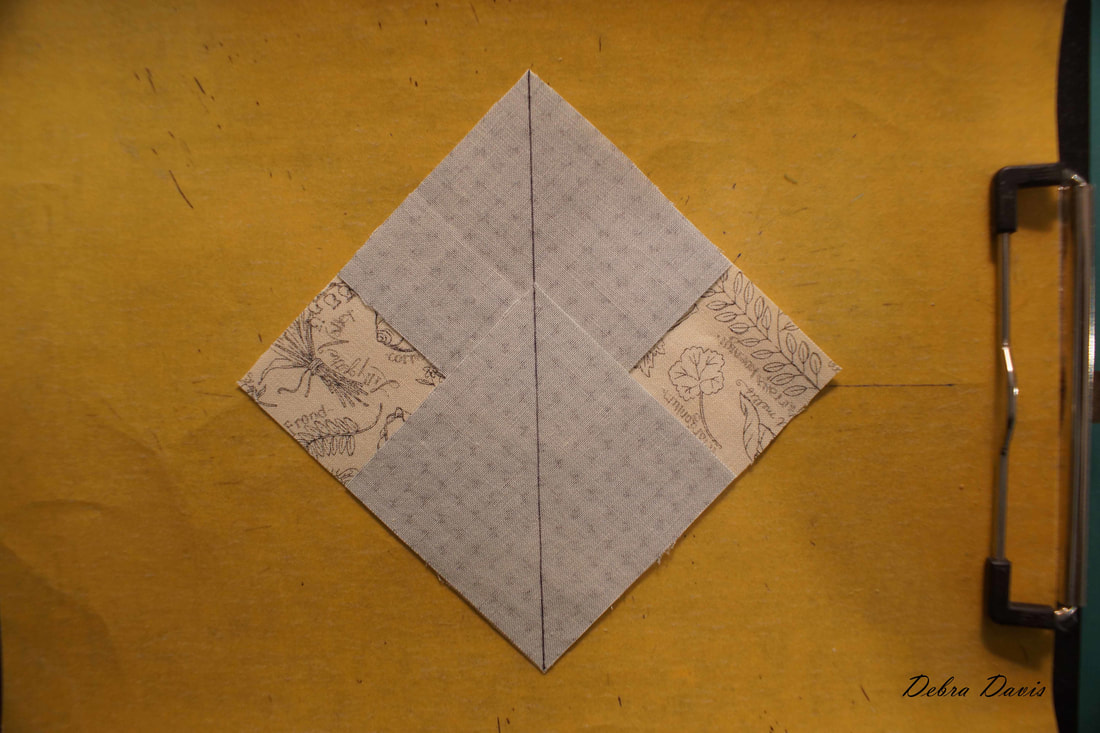 Then, since I already have everything out, I draw a diagonal line on the remaining A squares. 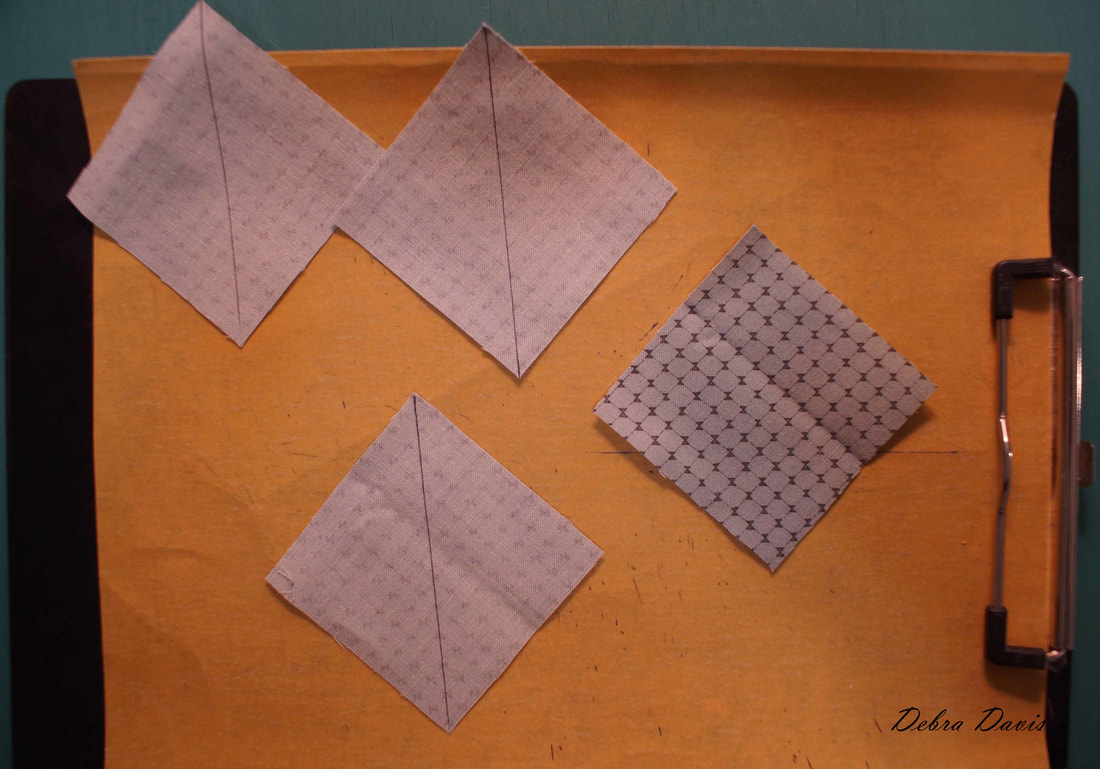 I stitch 1/4 inch from each side of the drawn line.
Cut along the drawn line and press towards the small triangles.
Next I add another A square and sew 1/4 inch from each side of this line as well.
After sewing, cut apart on the drawn line and press towards the smaller triangle.
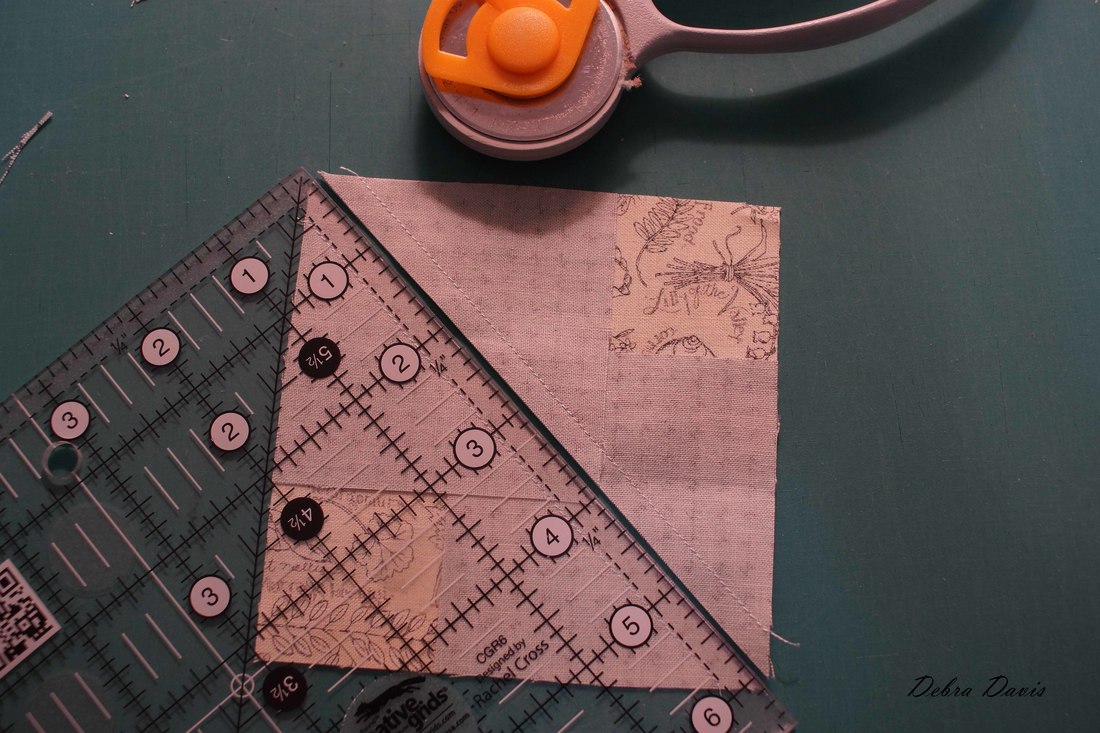
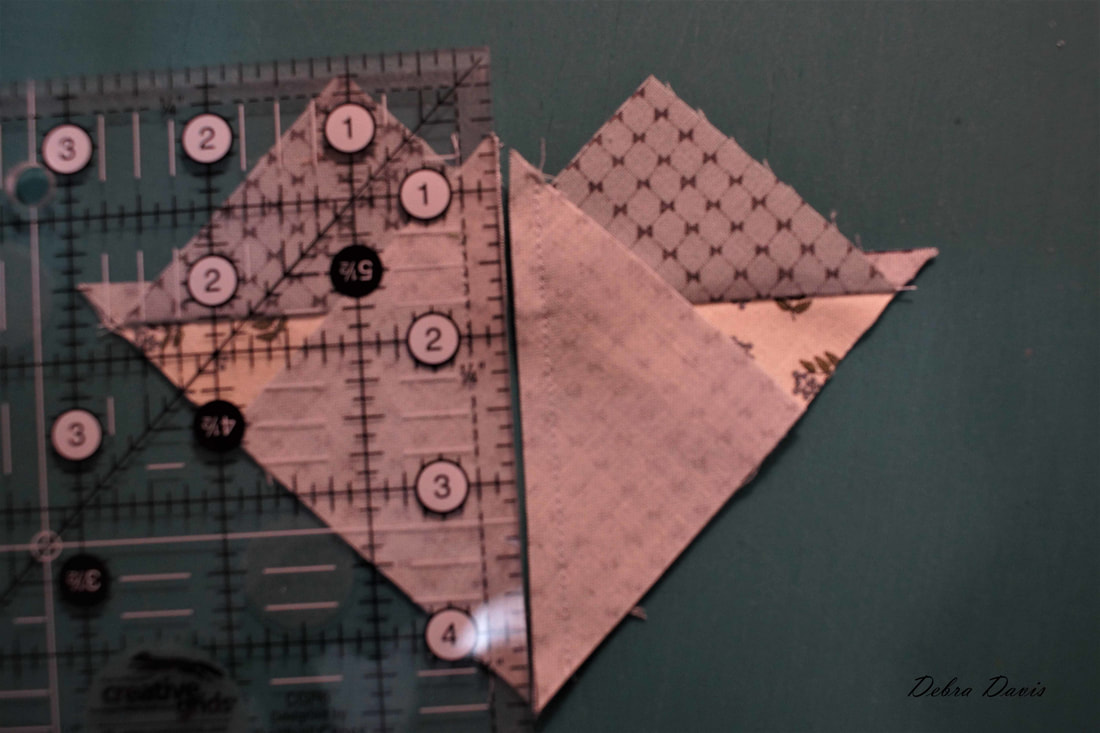
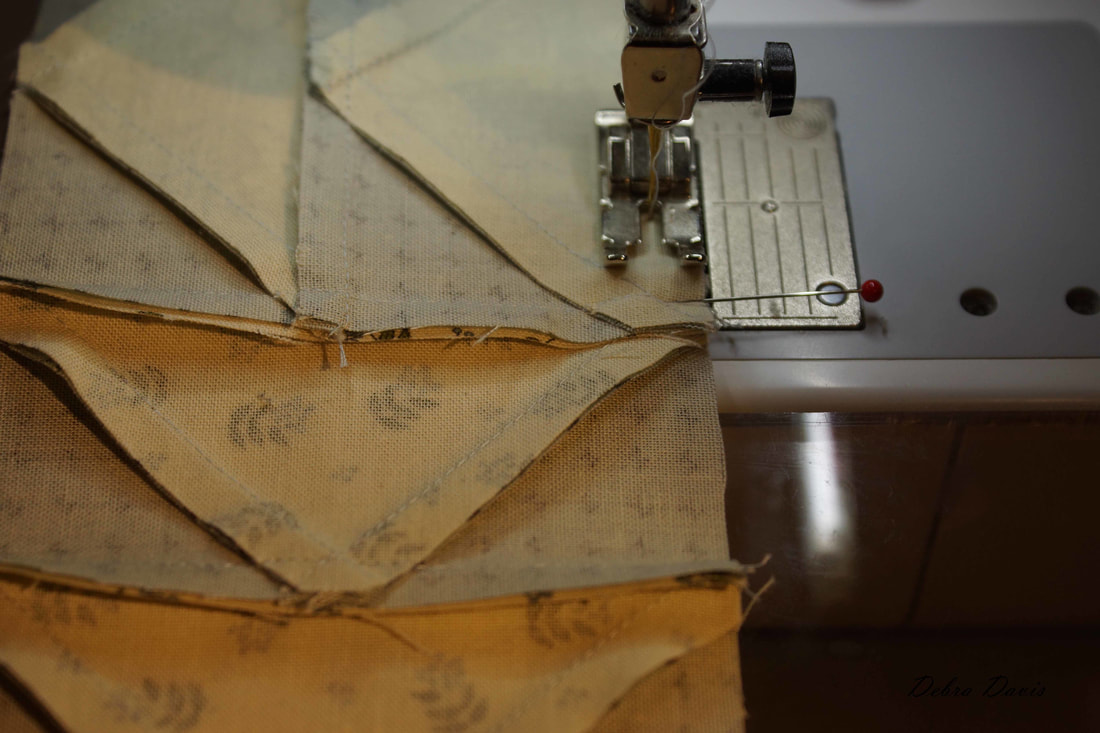
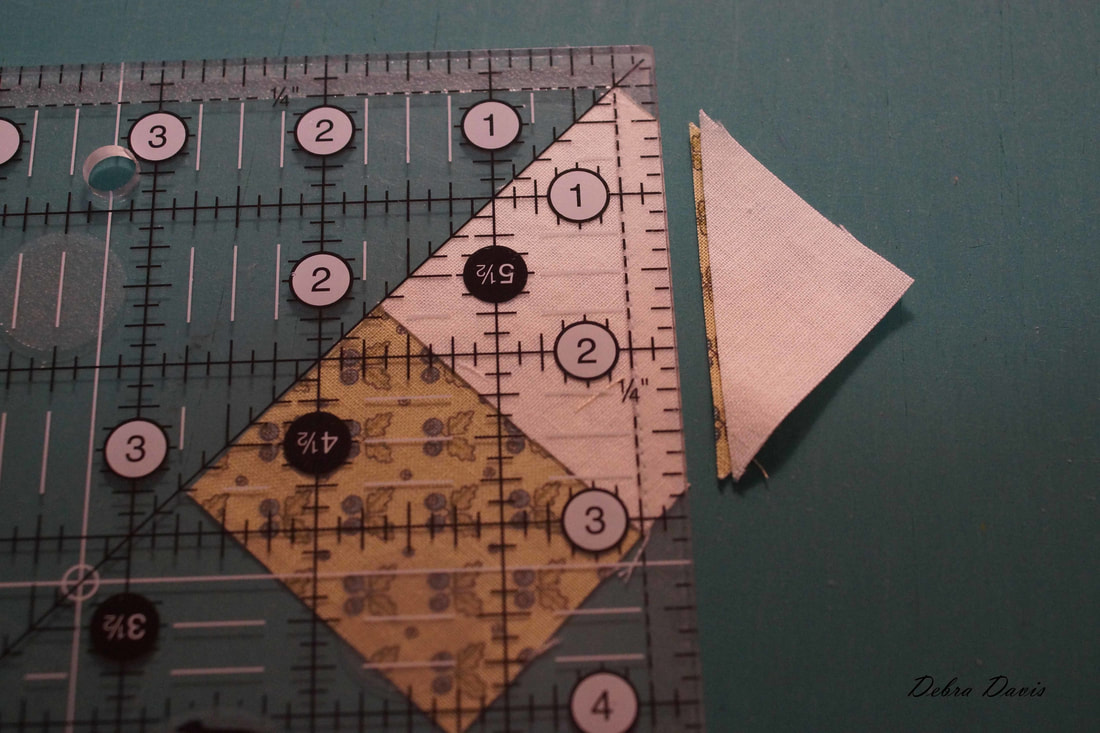
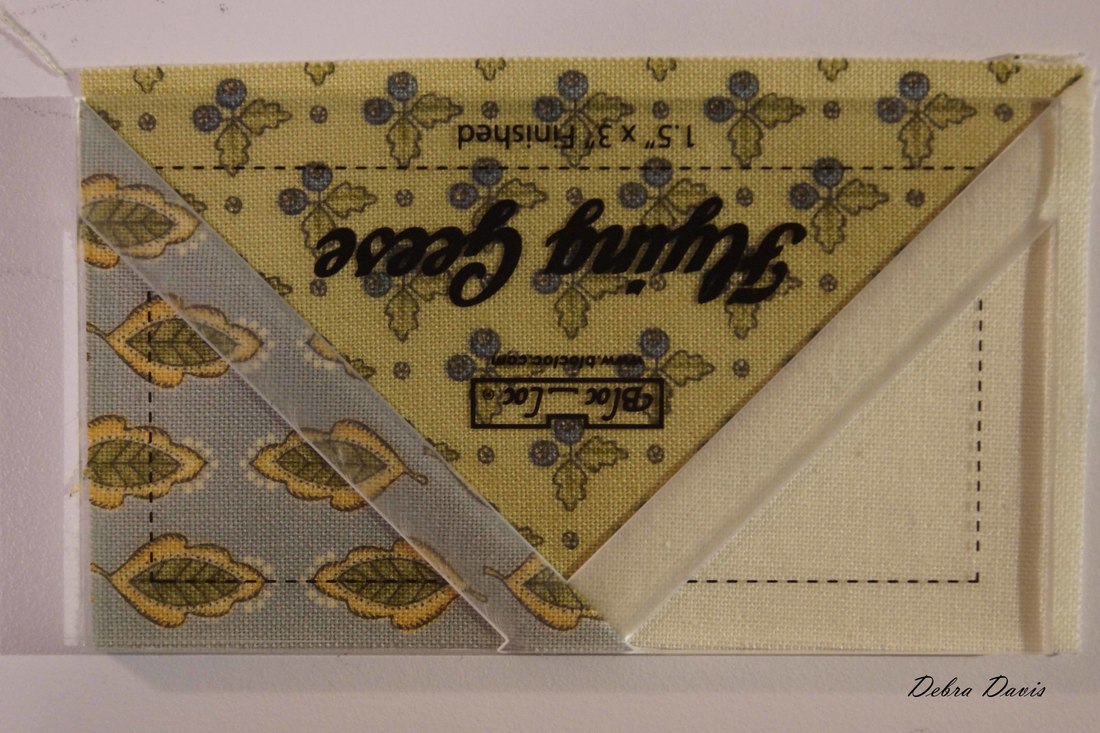
Now, all that remains is to trim it to size. I love how the Bloc Loc Rulers "lock" into place on the seam, making for a very accurate Flying Geese unit in the end. If you would like directions on how to trim these with a regular ruler click on the link for Block 19. 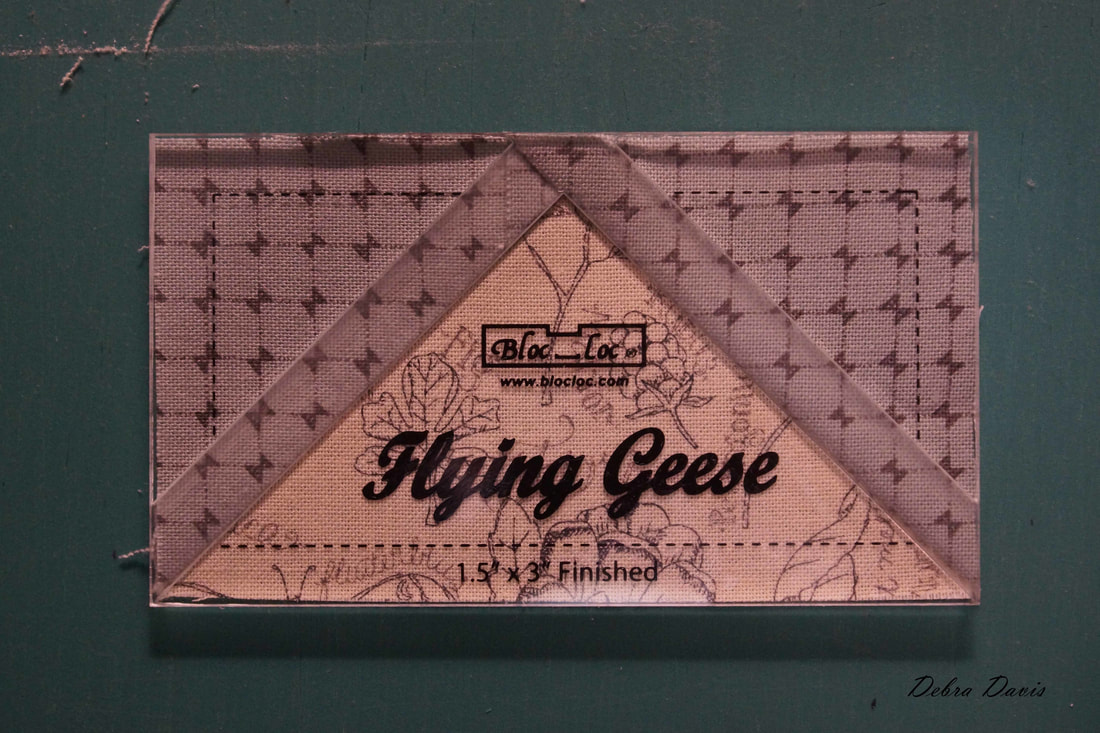 Once everything is trimmed I join two pairs of Flying Geese Units, for a total of four sets.
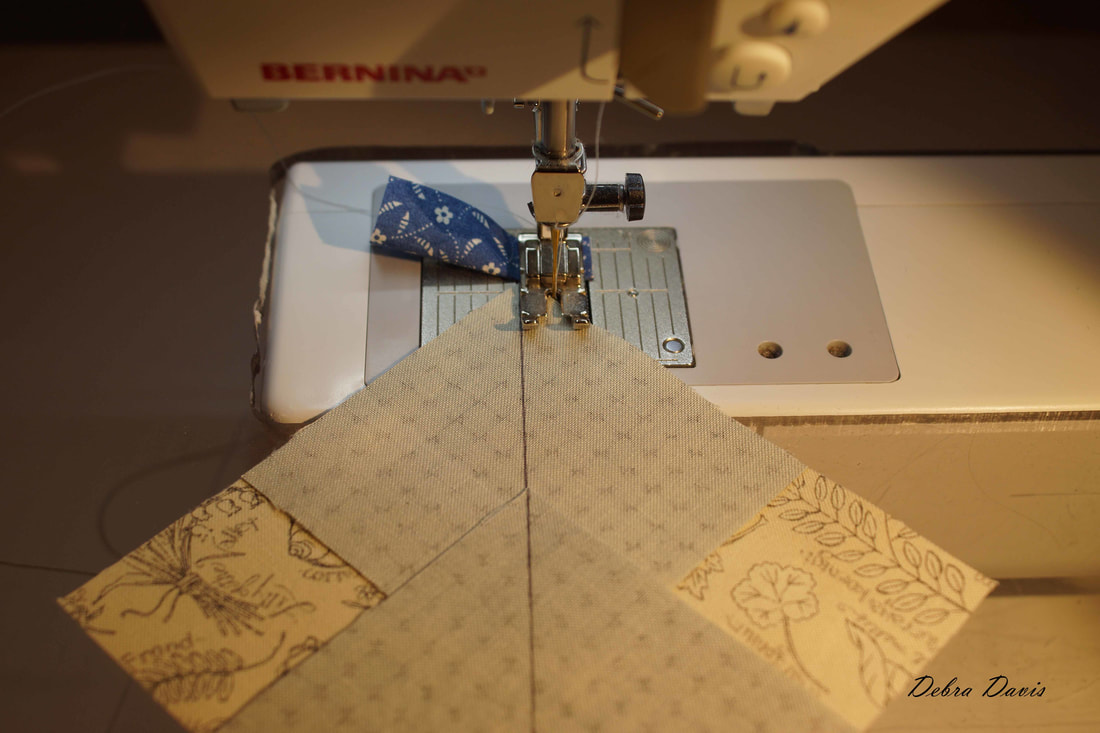
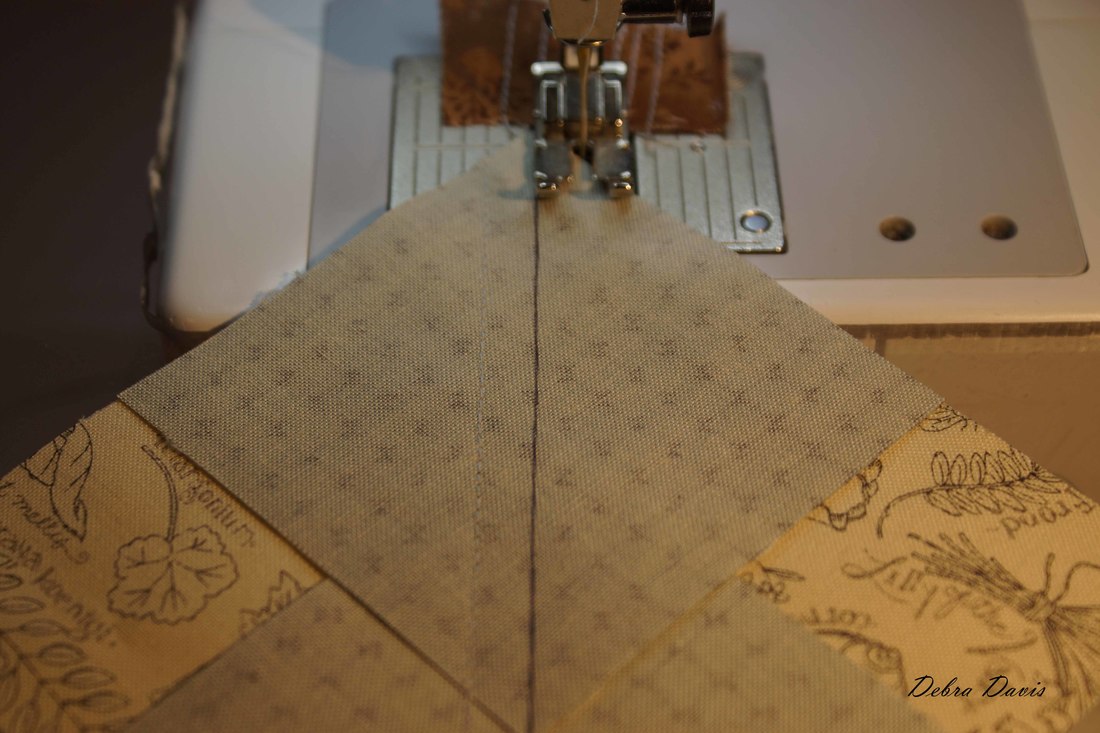
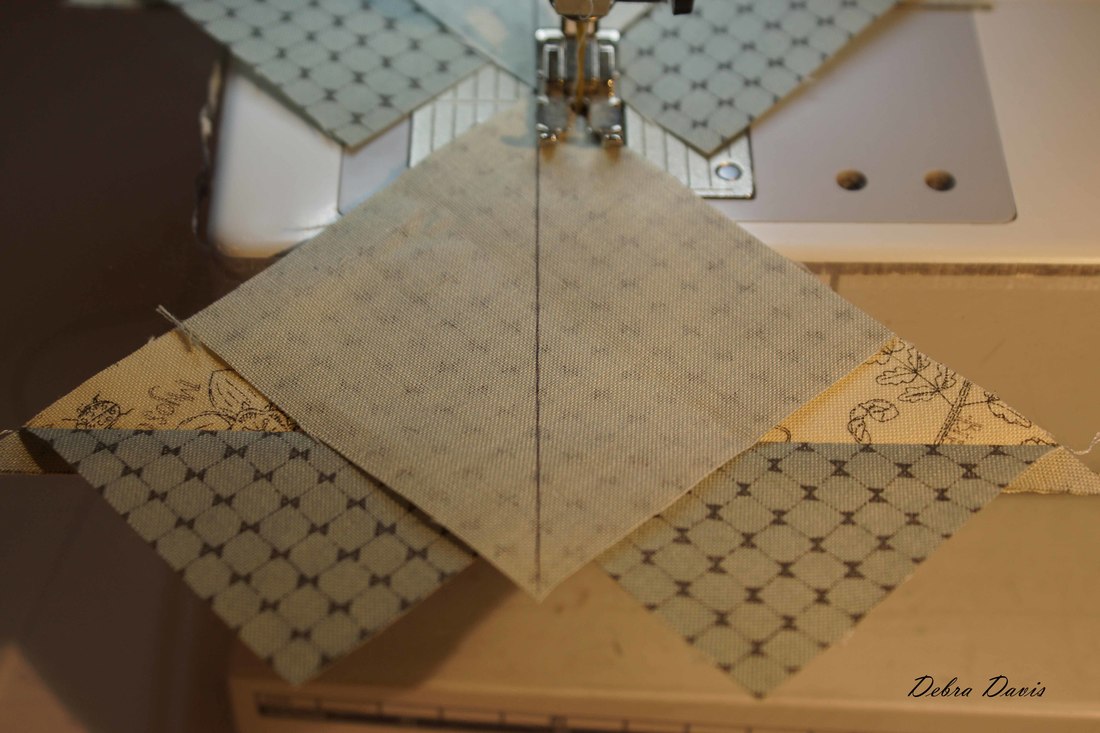
These units need to measure 3 1/2 x 3 1/2 inches. 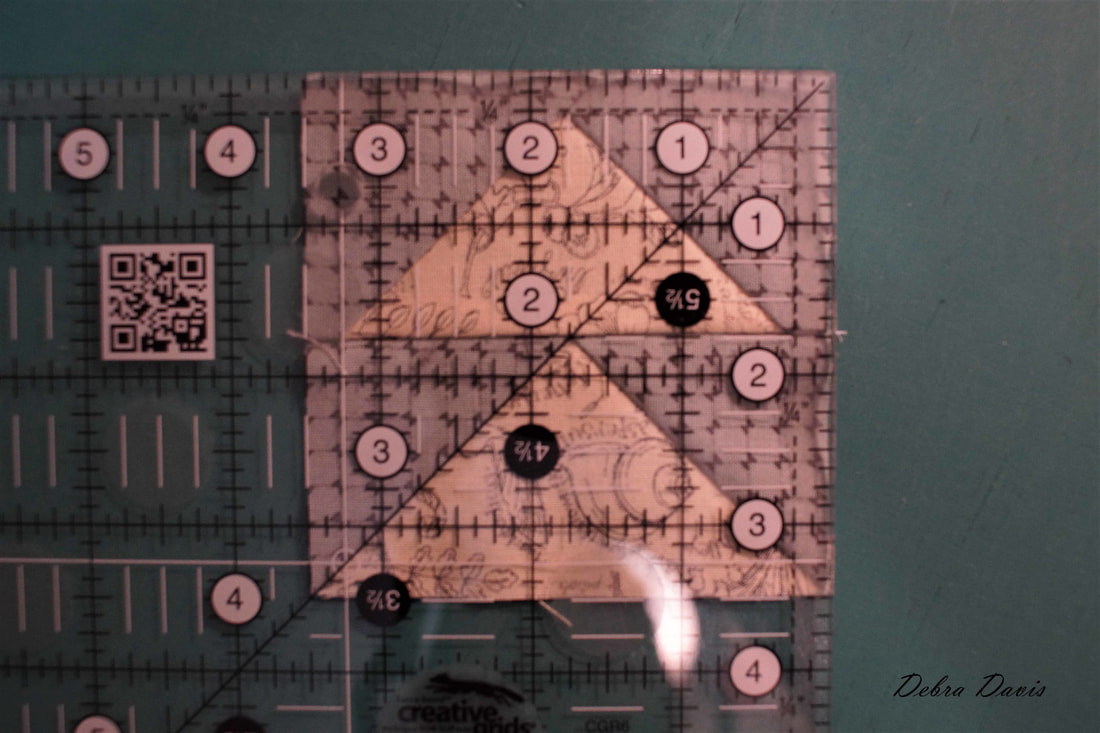 All that remains is to sew these sets together, making sure my geese are flying around the block in a clockwise direction. Press in opposite directions-I pressed towards the side without the points. 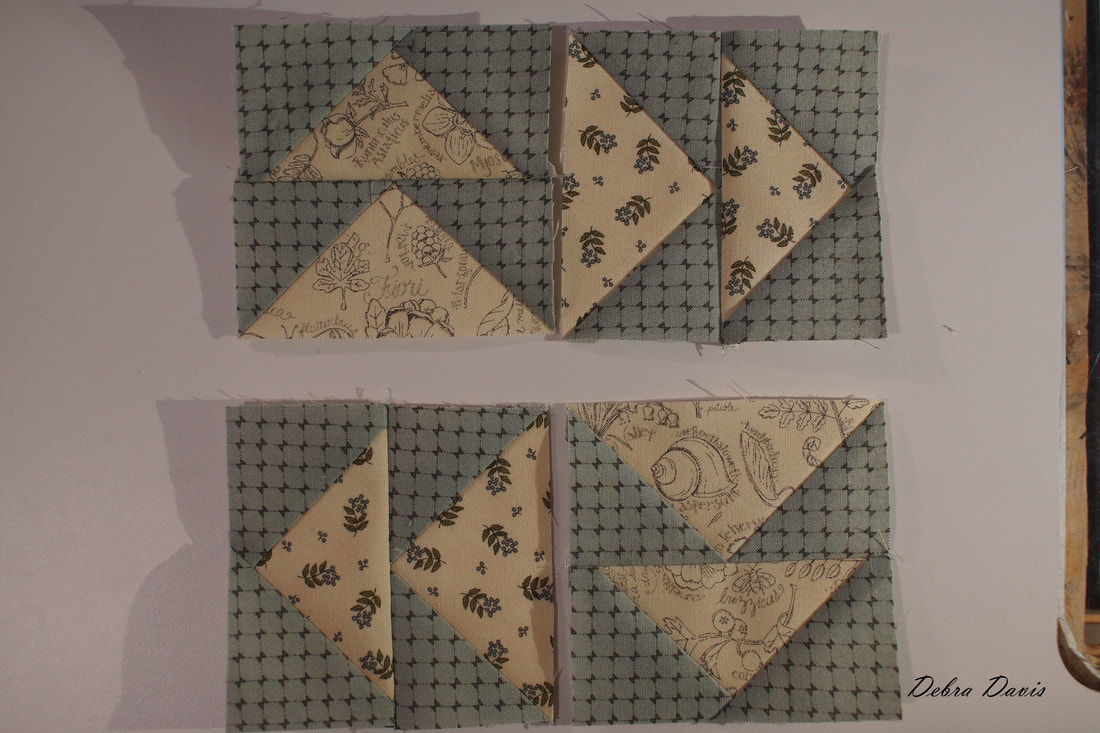 At this point I placed a pin where the seams join and finished the block.
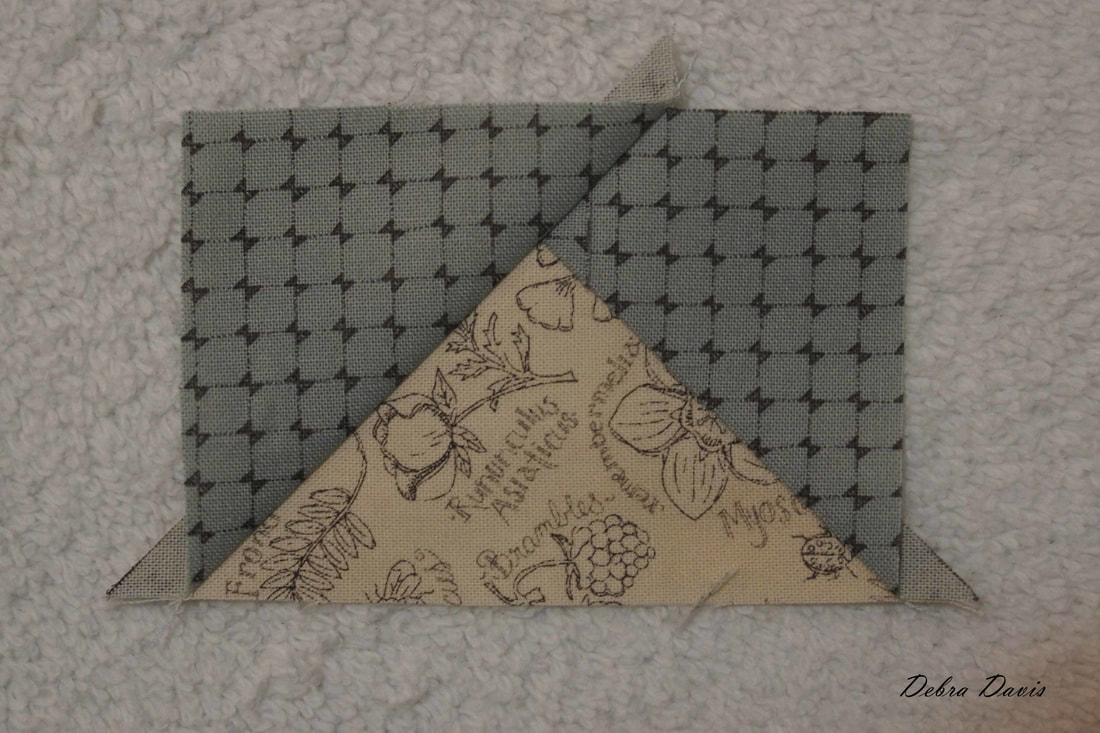
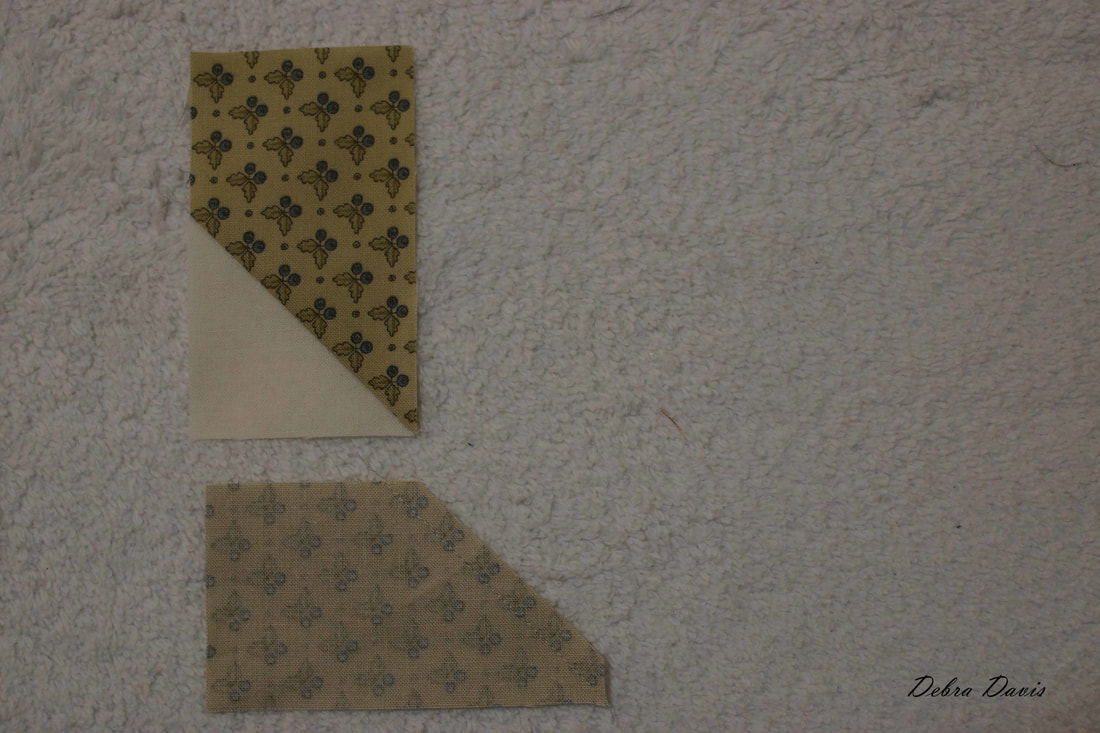
With the perfect trimming that the Bloc Loc ruler provides I find my points are all intact-I am extra excited about this after the struggles last week with Alternate 28. 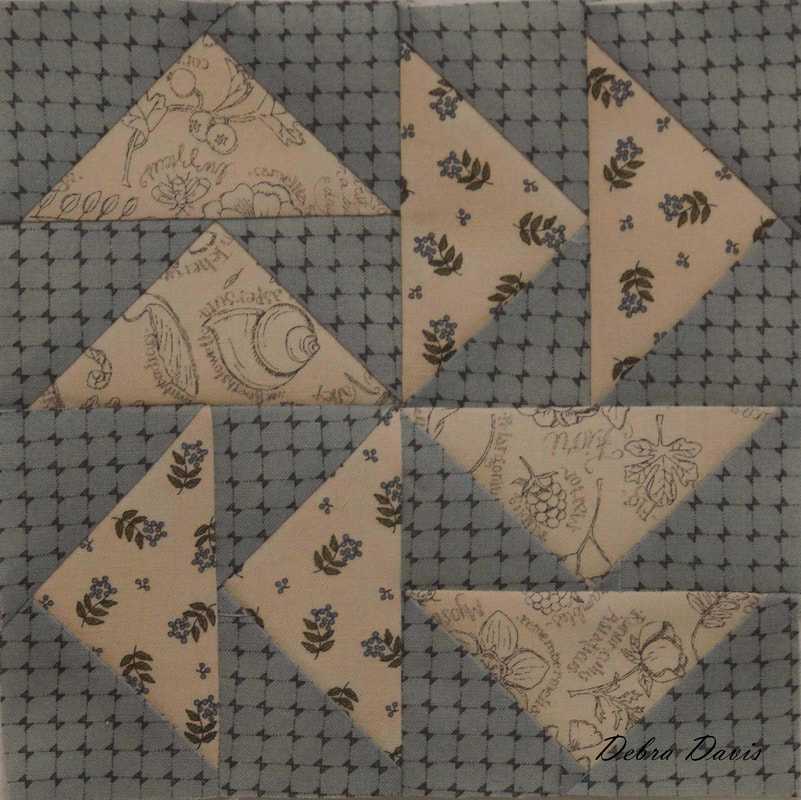 Onto my version 2. For this block I cut 12 cream A's and 4 Blue Print A's 2 1/4 x 2 1/4 inches, and 4 green B's and 4 Yellow B's 2 1/4 x 3 3/4 inches. 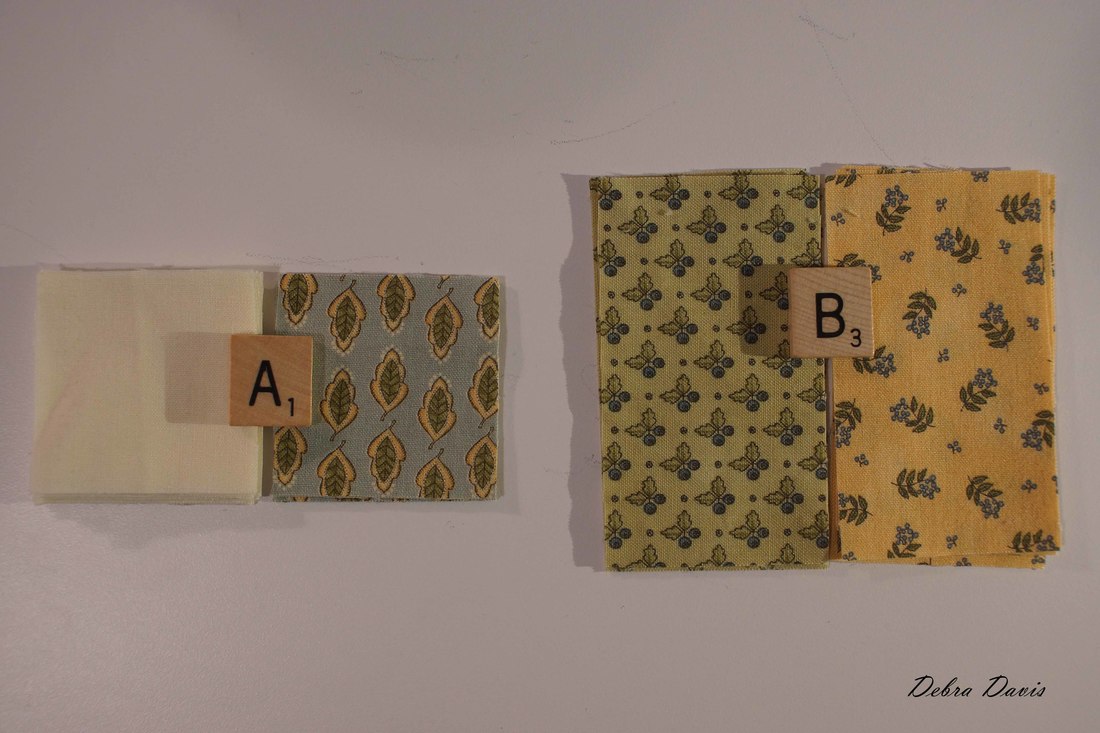 Since I am mixing things up a bit I need to use a different method for putting the Flying Geese units together. So I start by drawing a diagonal line on all of the A squares. 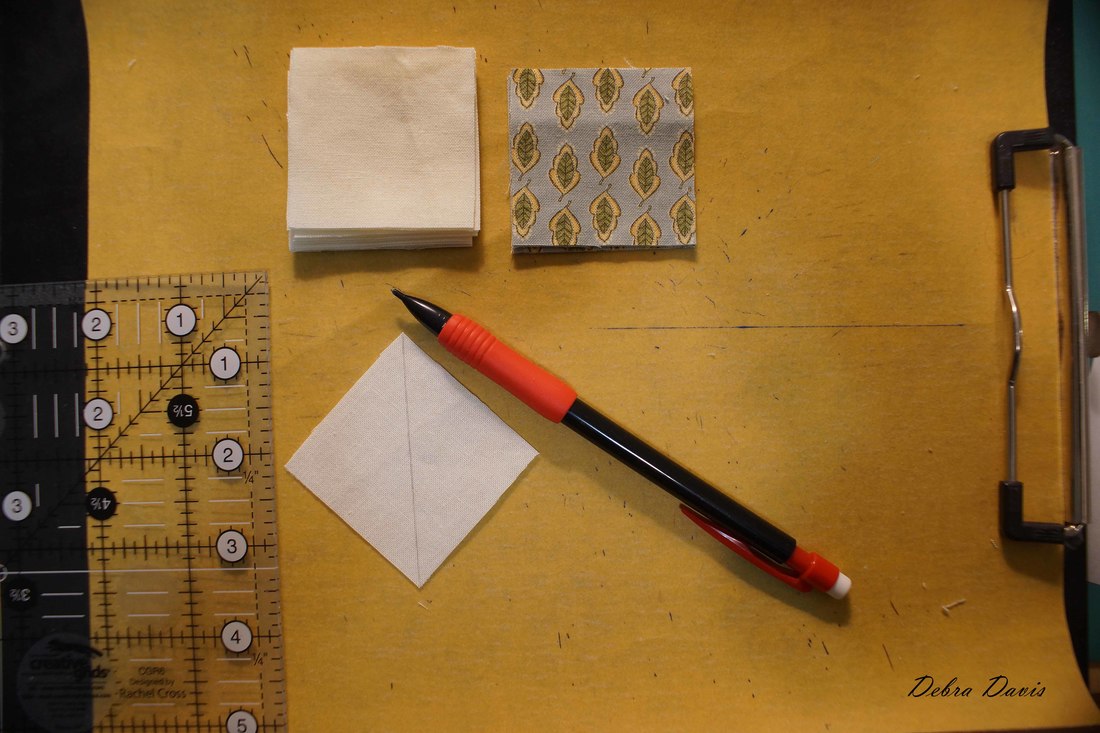 Place one cream A square on the left side of each B rectangle. 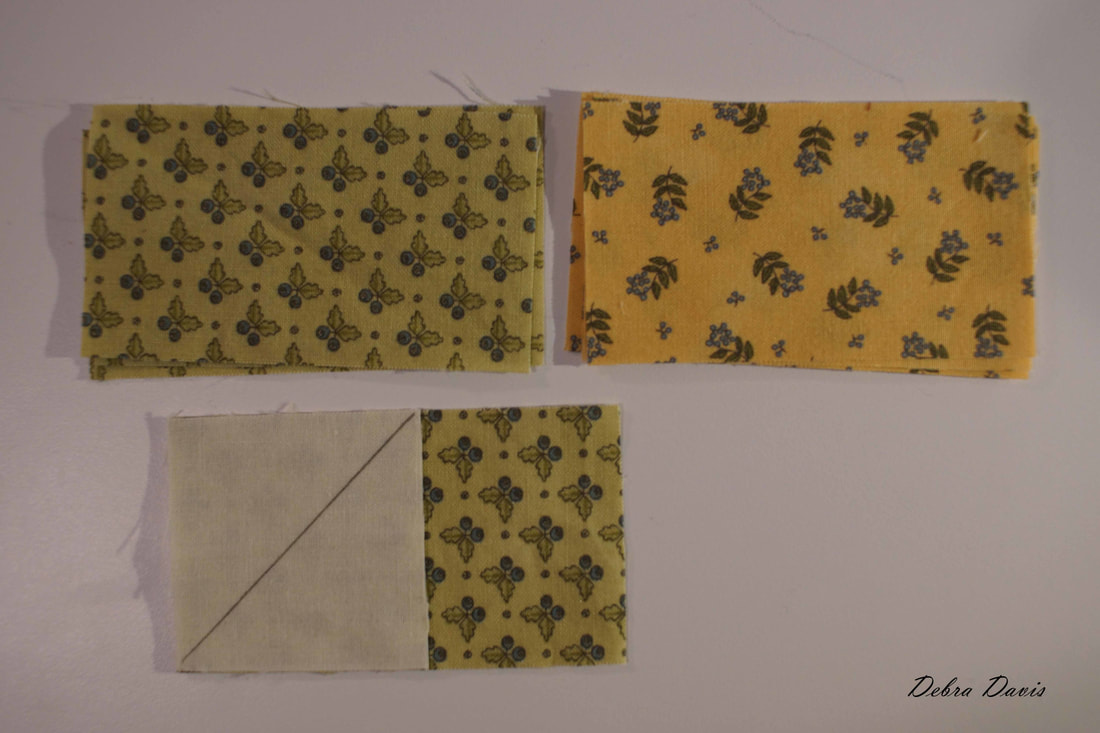 This time we are going to sew right along the line we drew. I find I sew just to the right of line, about a needles width, rather than right on the line. 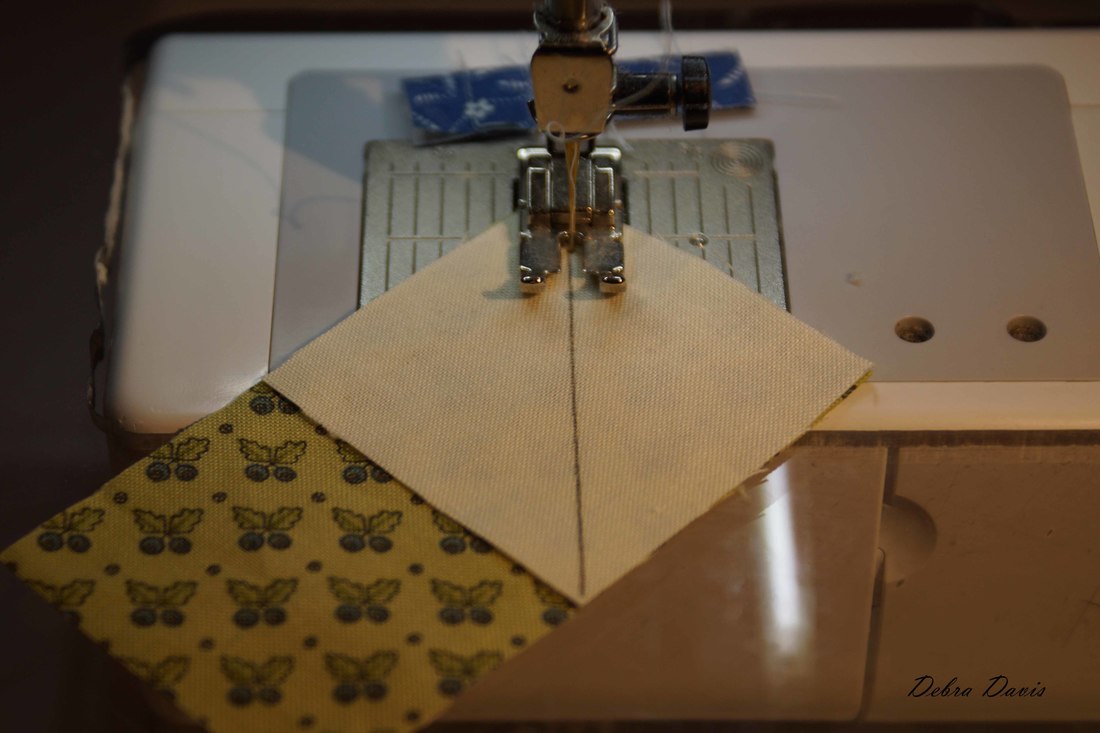 Trim away 1/4 inch from the seam line and press towards the cream triangle.
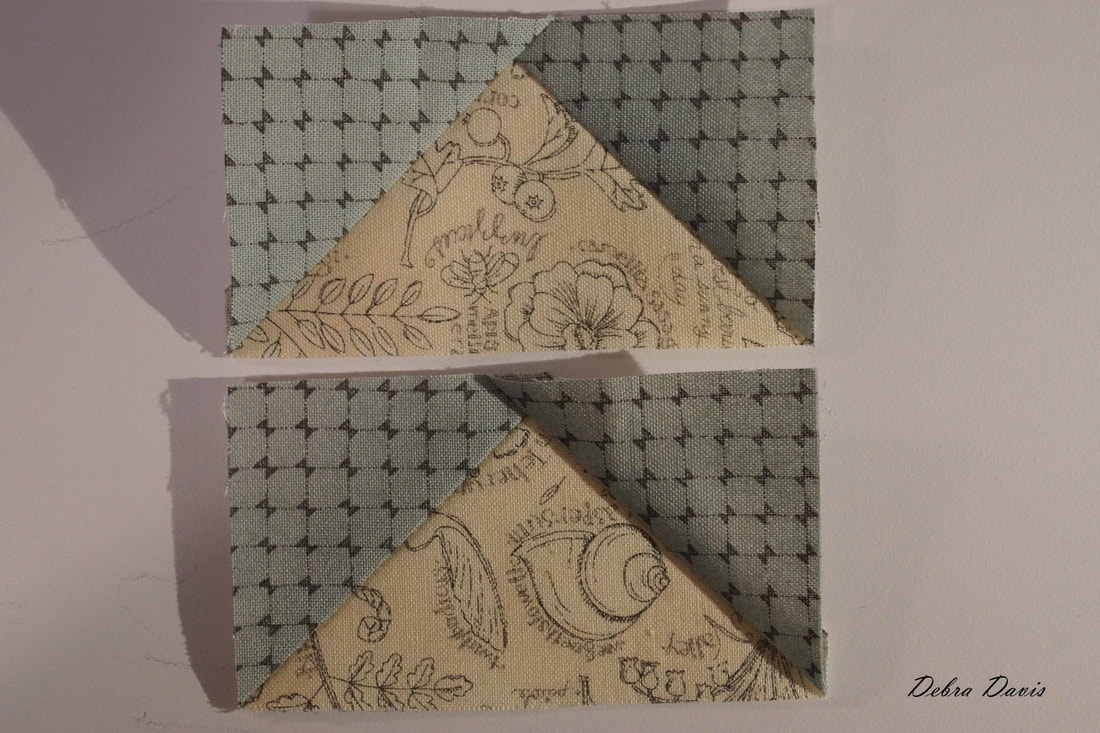
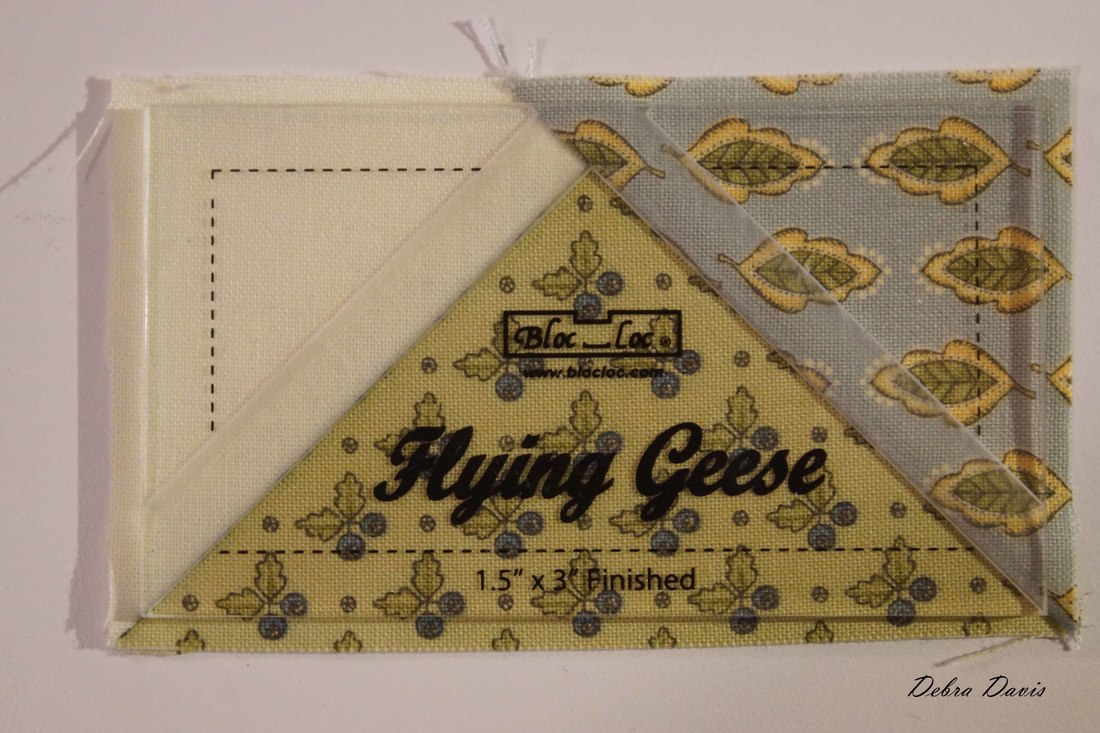
Add the remaining Cream A squares to the other side of the unit. (You will have enough to make four Flying Geese.) 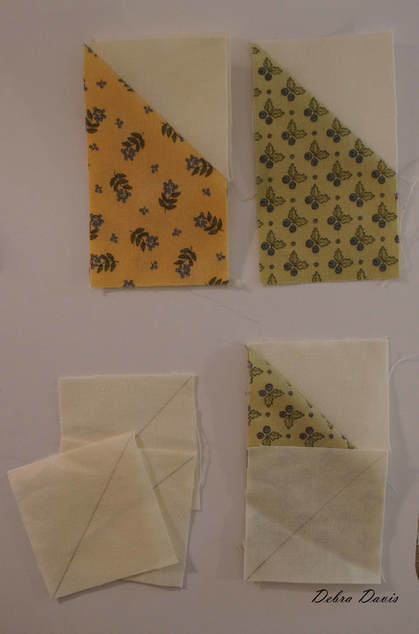 Do the same with the print A squares on the remaining units. 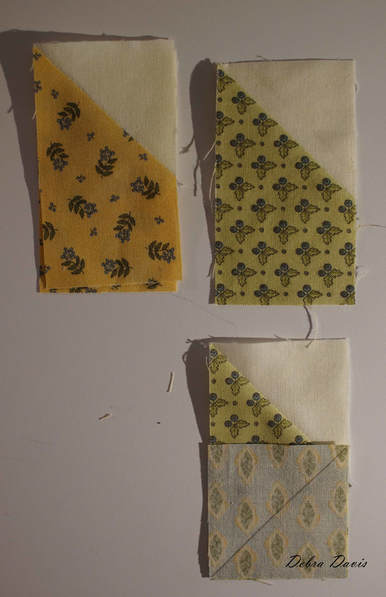 Once again, I get out my trusty 1 1 /2 x 3 inch Bloc Loc ruler and trim.
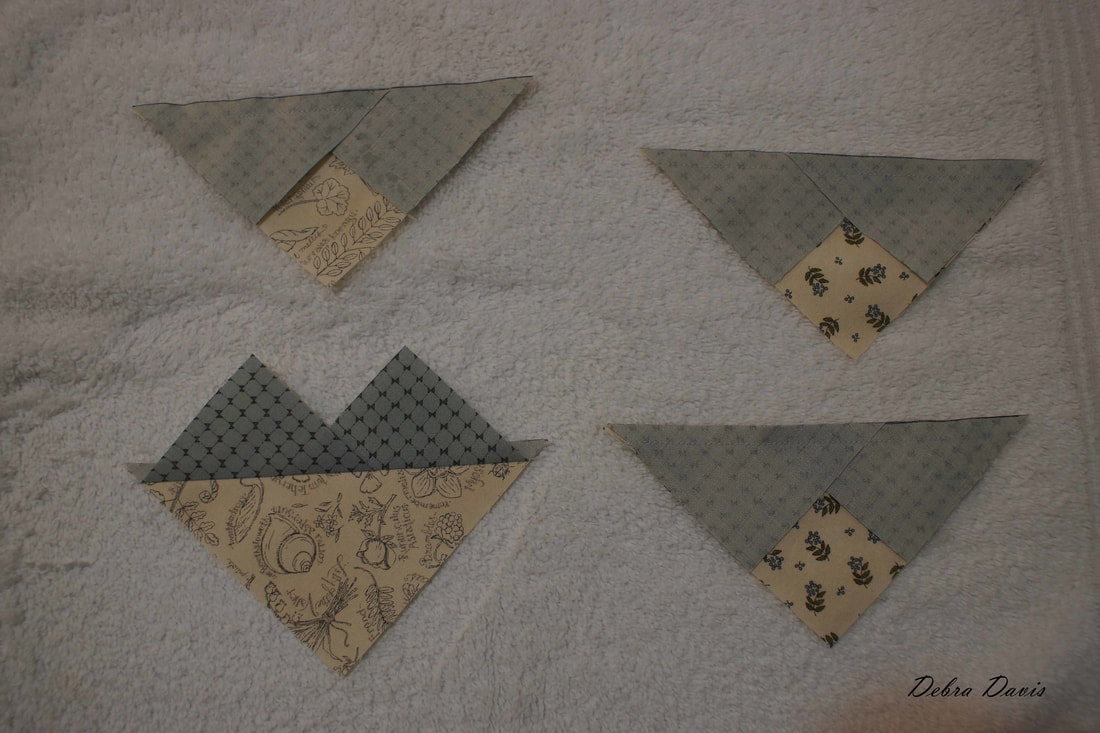
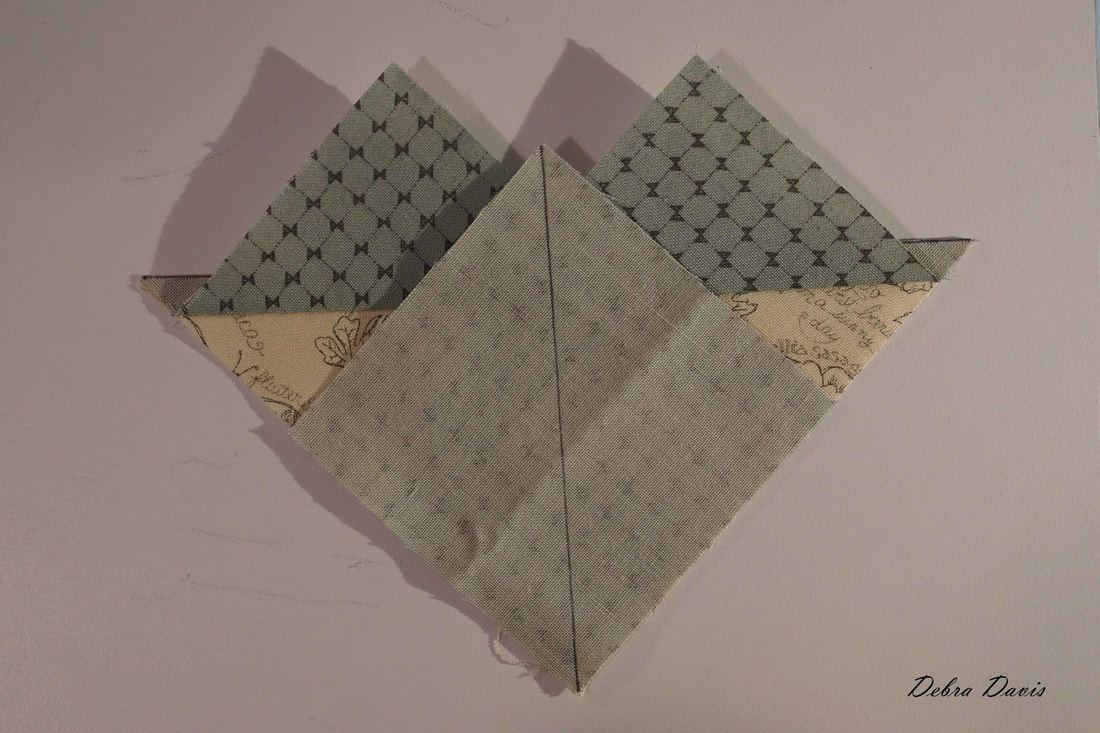
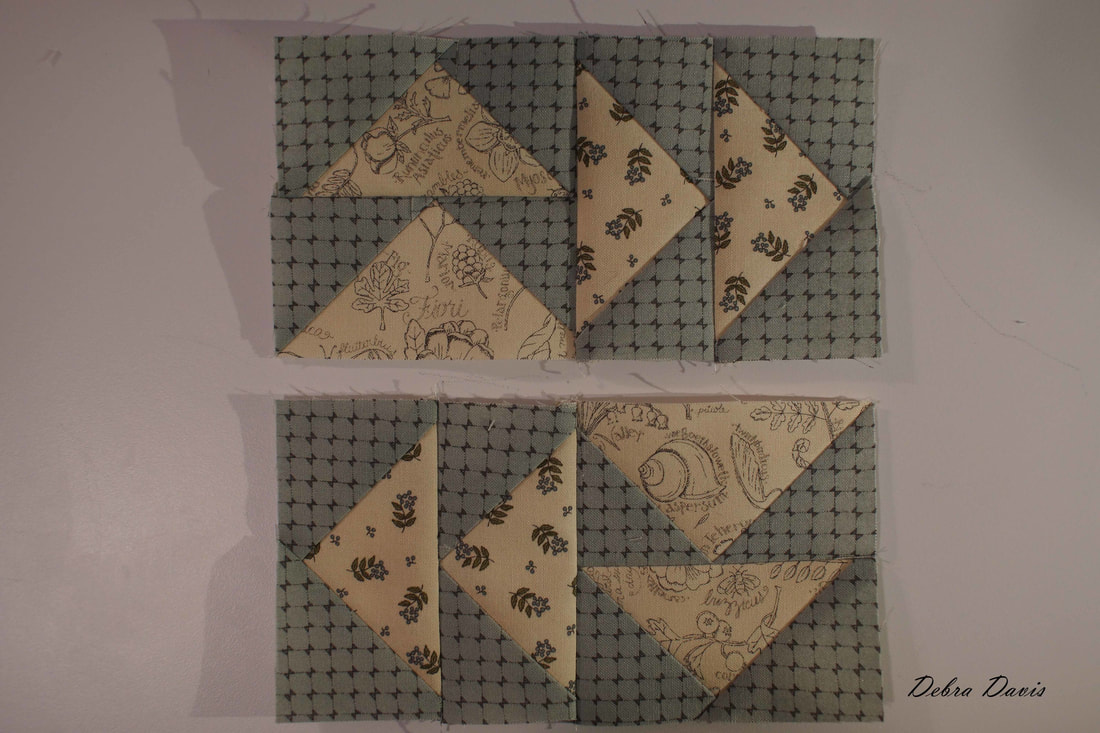
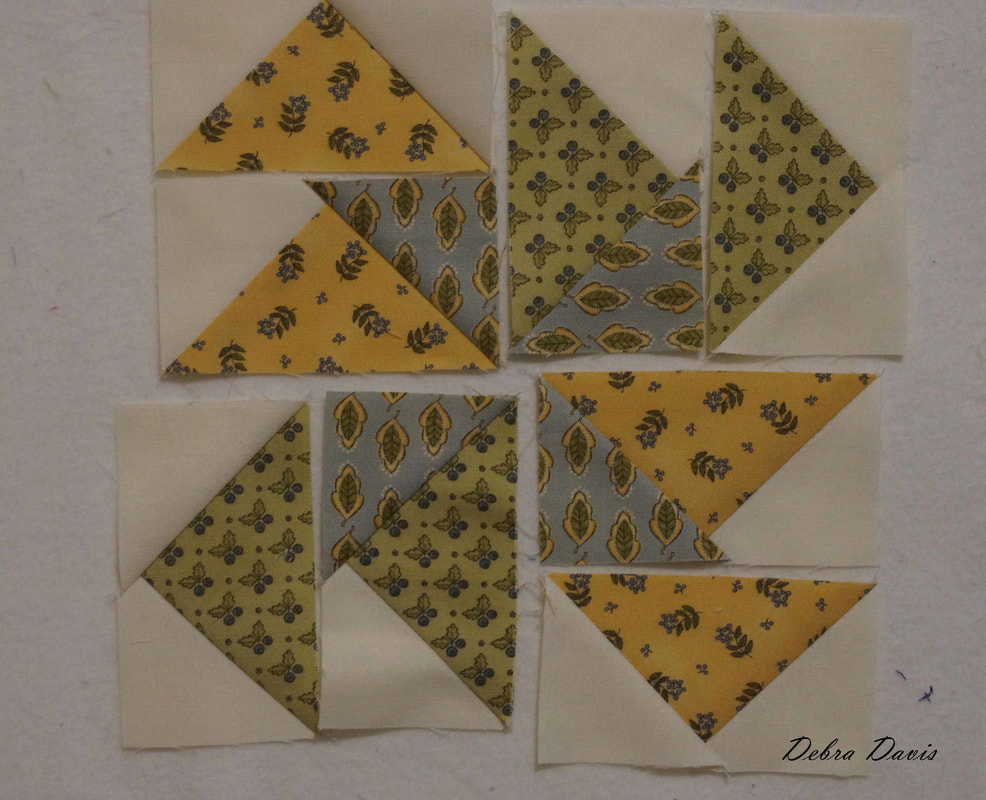
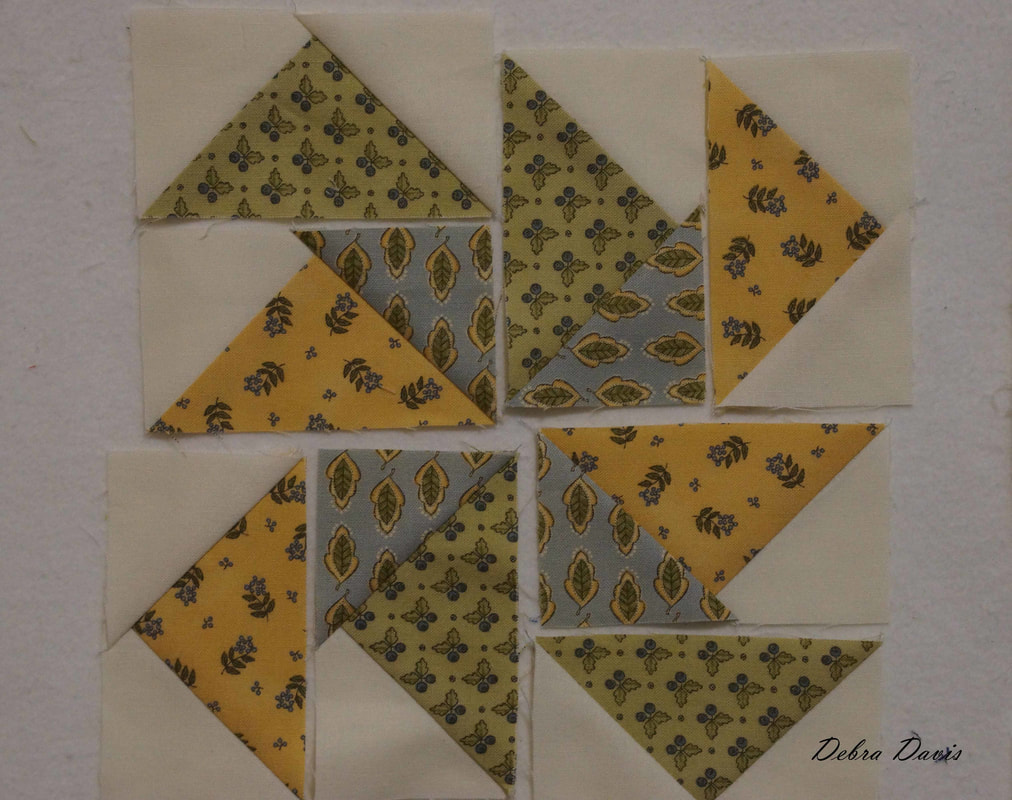
Now just play around with placement and see how many looks you get.
Once you have settled on a layout, sew the units together just like in Version 1. 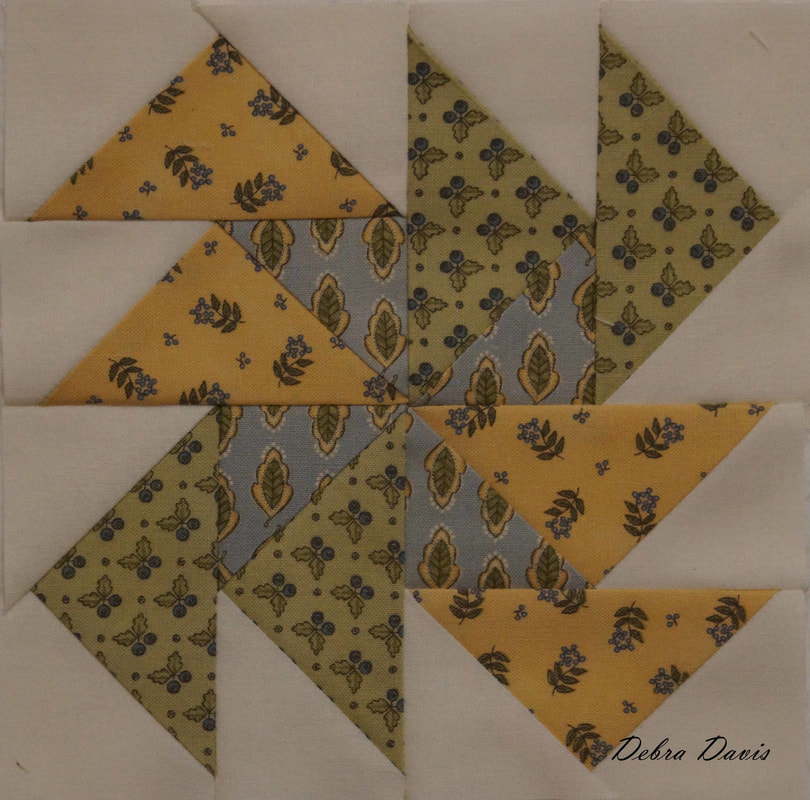 I am thrilled to announce that Bloc Loc is providing one ruler, just like the one I am using, for a giveaway on my website. Follow this link to be entered for your chance to win. Click Here to Enter Contest Until next time...
Happy Quilting!! Debra Comments are closed.
|

Welcome to the site of Debra Davis-a woman who loves the Lord and loves to quilt.
My other blog where I share about my walk of faith:
Sitting at His Feet 
|


 RSS Feed