|
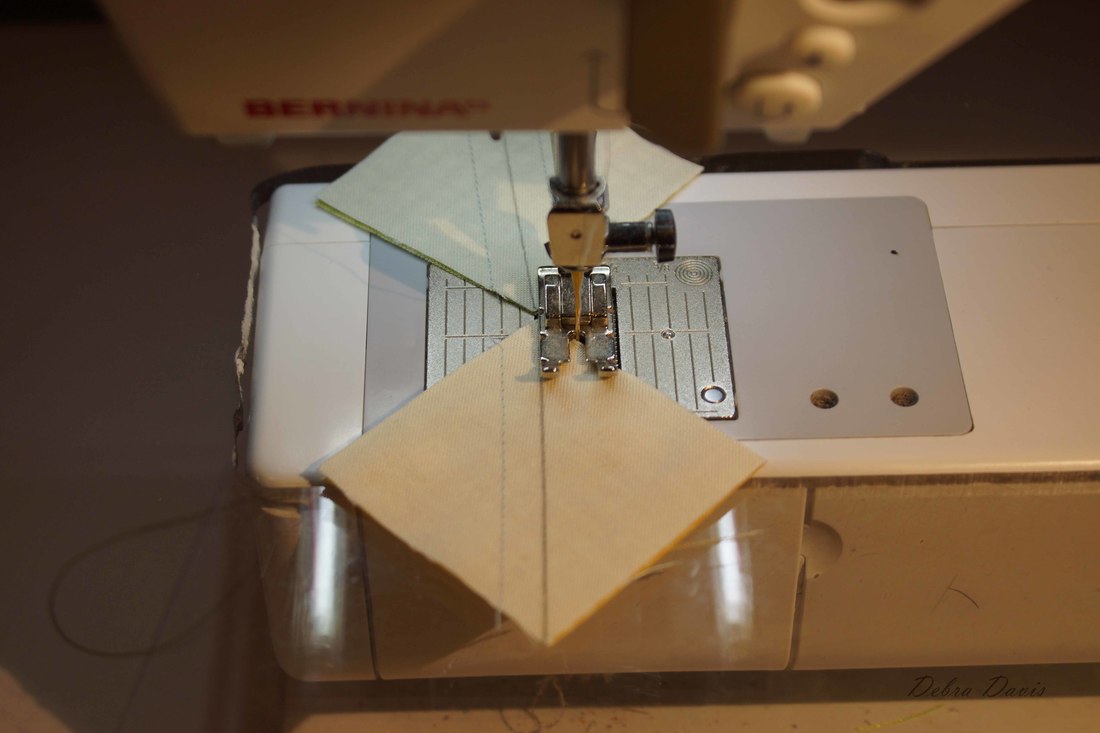
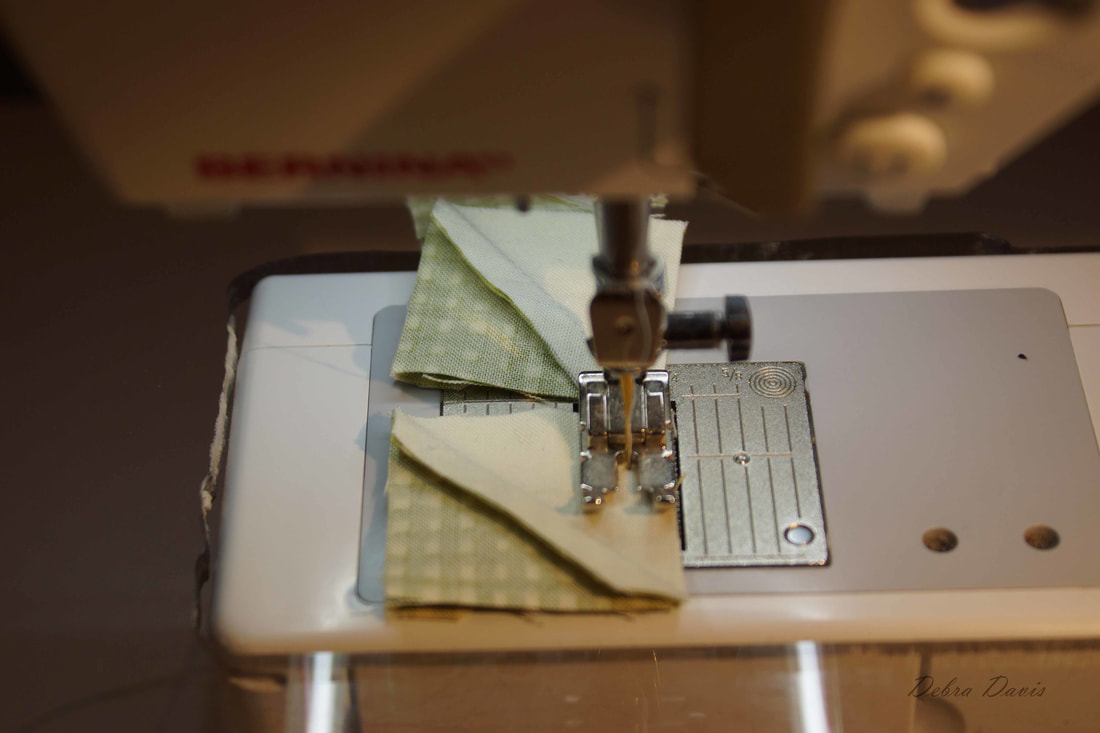
Block 24 is brought to us by Carrie Nelson, you can read more and get the pattern by clicking HERE. 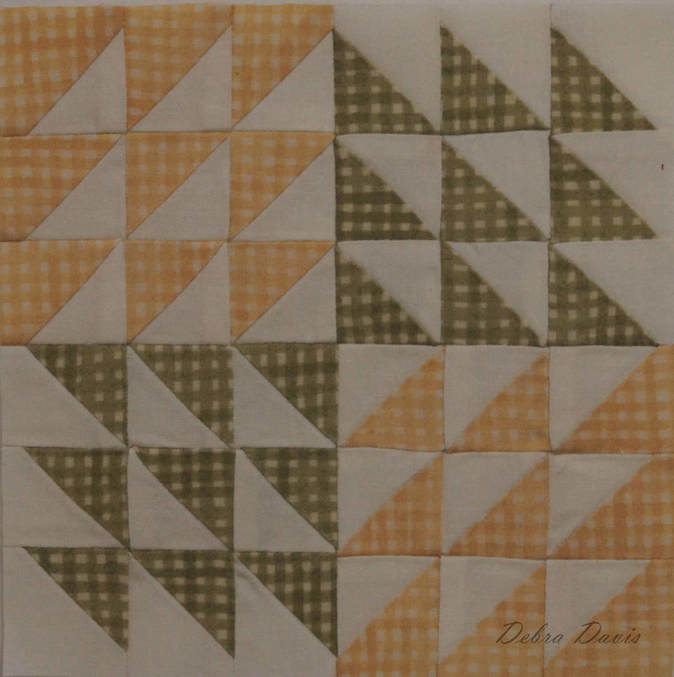 We are having a gorgeous fall here, made even more so with the first snow that fell last night. The golden colors of the aspens amidst the evergreens are the inspiration for my color scheme. 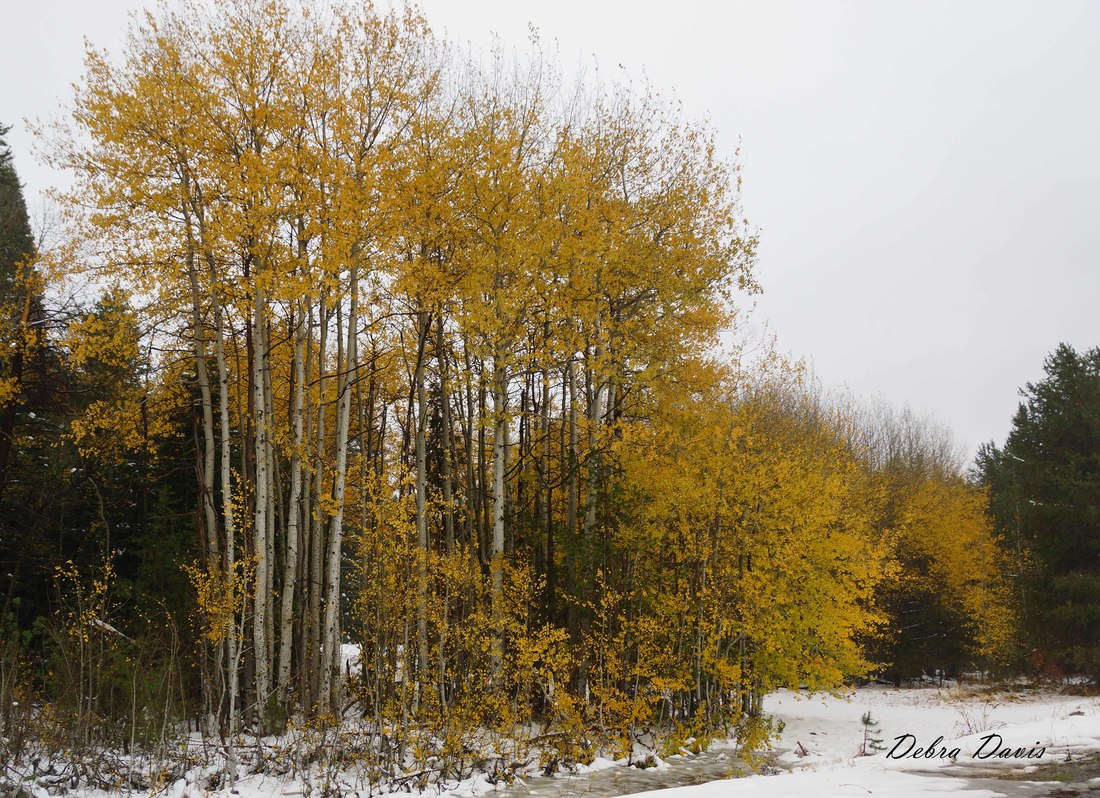 My first thought when I looked at Block 24 was, "Look at all of those Half-square triangles!" (HST's) Clearly this calls for a little short-cut method I often use when I do not want to cut a bunch of squares. The method I will share with you yields 8 HST's and as usual I am making them oversize and trimming. Since we need nine HST's for each section I still need to cut a few smaller squares as well. Here is what I did: Fabric A: (cut 2) 2" x 2"; (cut 4) 4 1/4" x 4 1/4" Fabric B: (cut 2) 2" x 2"; (cut 4) 4 1/4" x 4 1/4" (I am using two different fabrics so cut 2 large squares from each, and 1 small) Tip: If you do not prewash fabric I recommend you starch your fabric before cutting it out.) 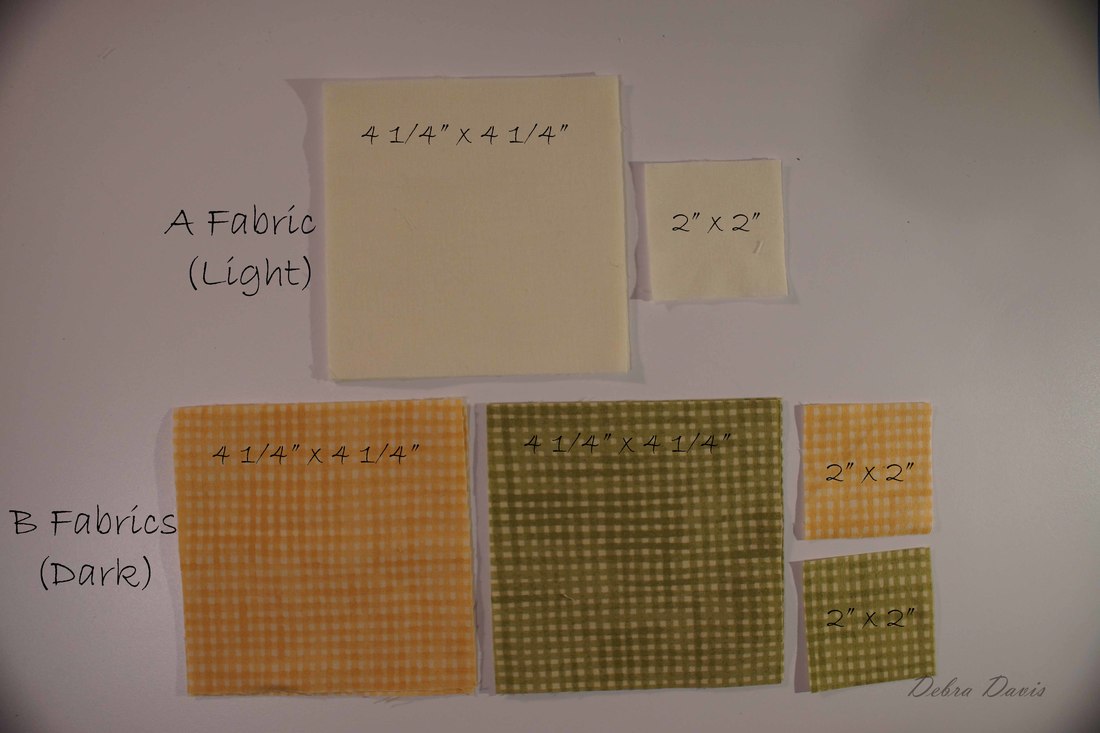 First thing I need to do is draw two diagonal lines on the large A fabric squares. 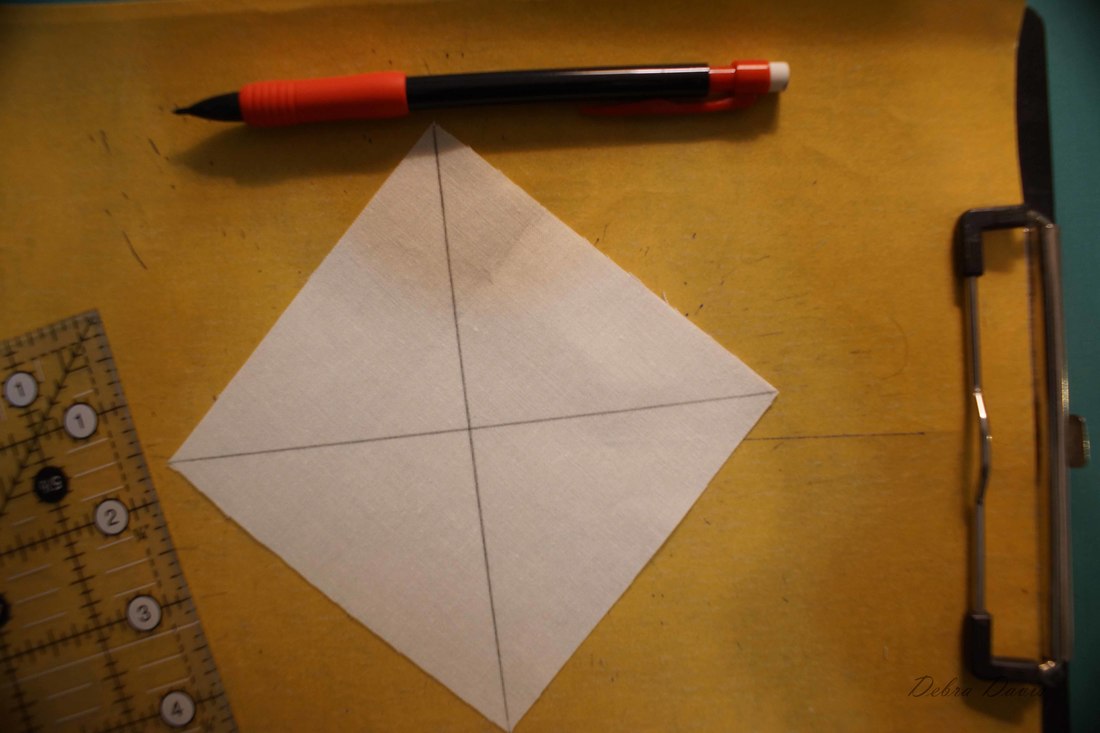 Since I have everything out, I also went ahead and drew one diagonal line on each of the smaller squares as well. 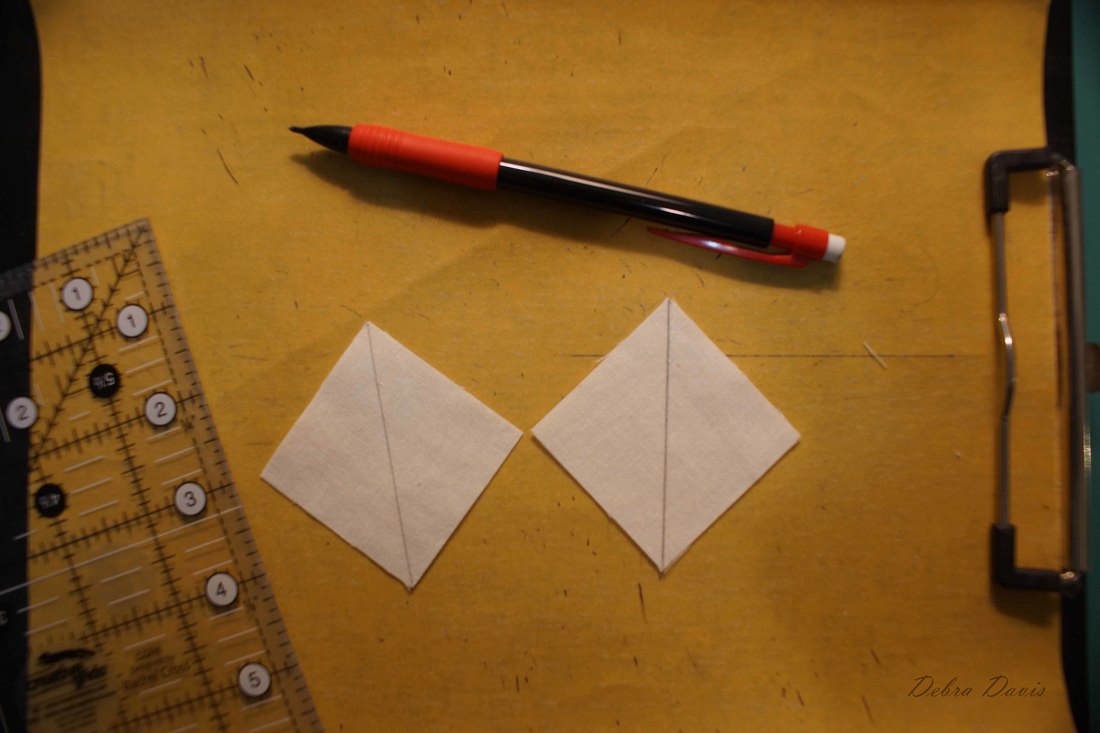 With right sides together I place one A square on a B square and stitch 1/4 inch from each side of both drawn lines. 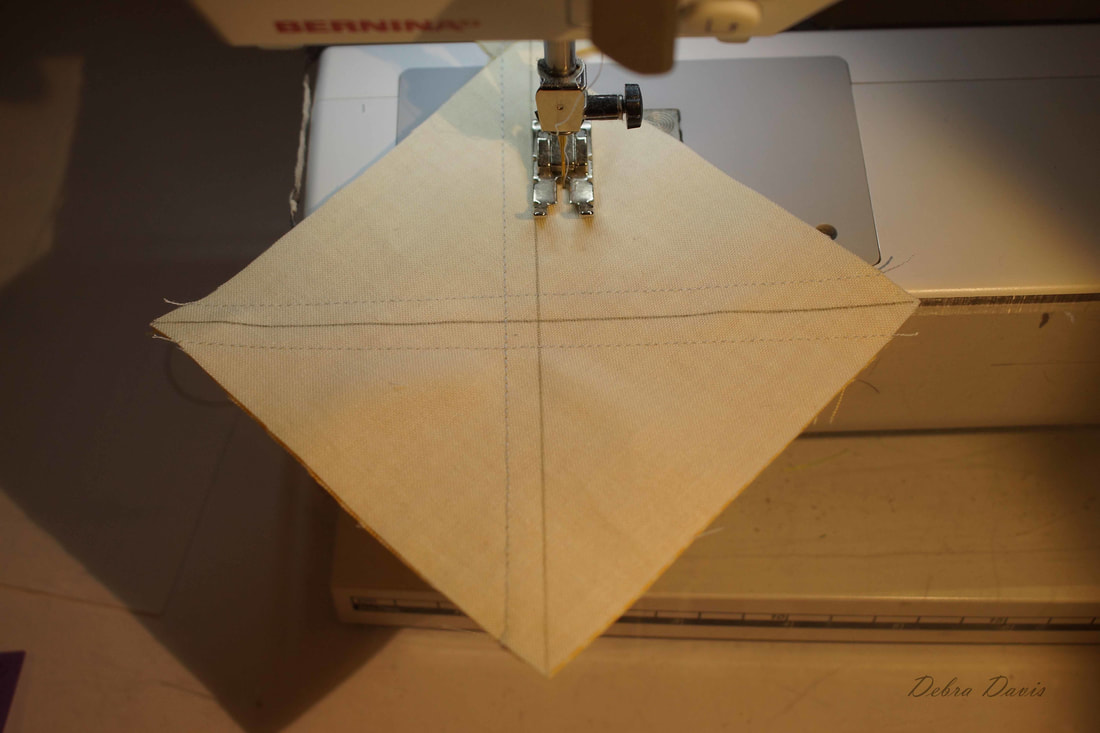 This method does benefit from a rotating cutting mat, but a small mat that you can turn works well also as we are going to make several cuts now. The first cut is done by lining up the ruler with that middle intersecting seam (the X) and making sure the 2 1/8" line on the ruler runs along the edge of the squares. Then simply cut, but do not move the pieces apart just yet. 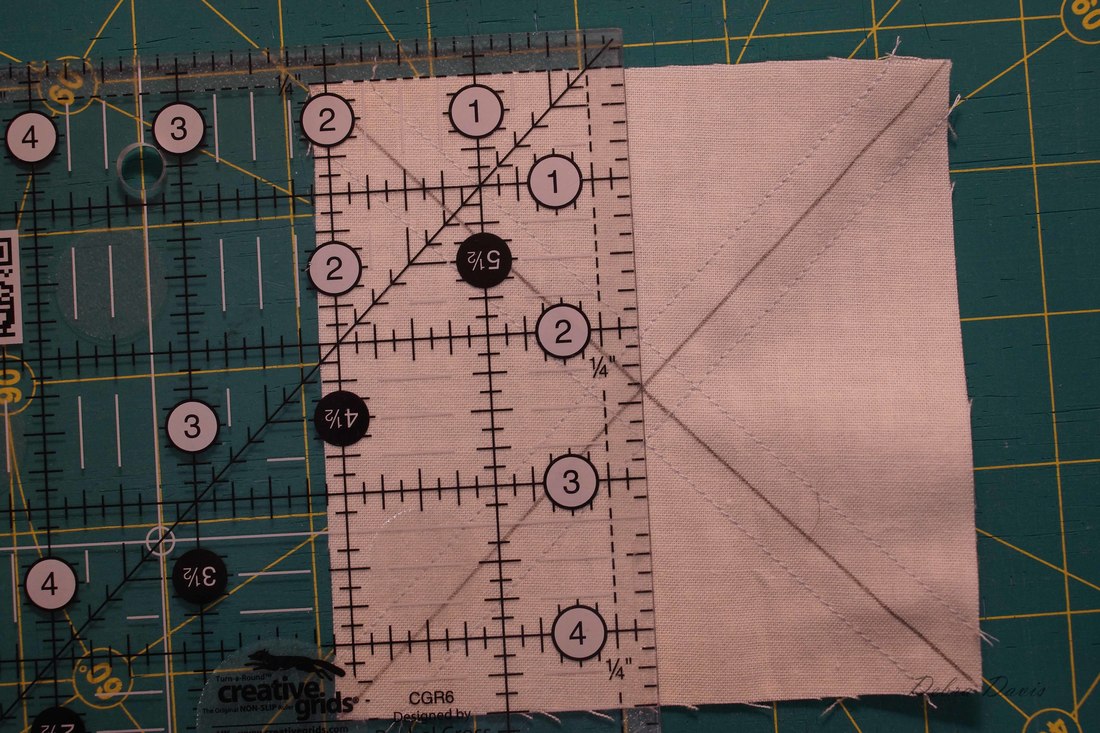 Rotate the mat without disturbing the pieces. 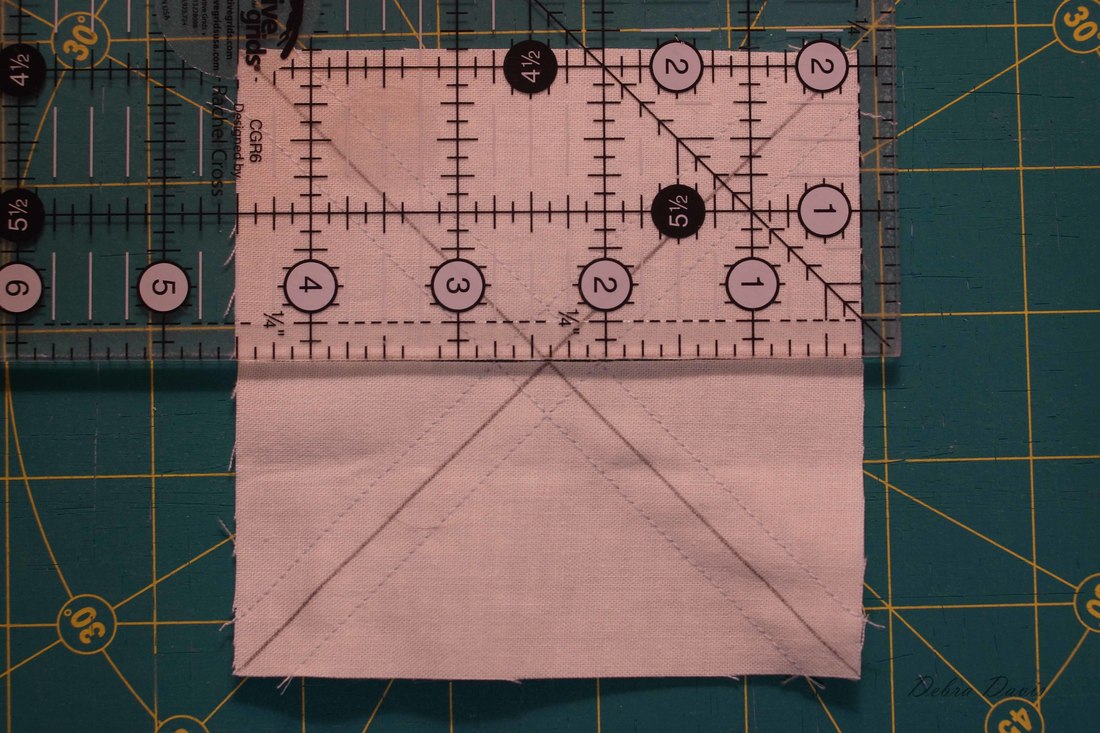 Carefully lift the ruler and place in down again as before to make another vertical cut across the square. 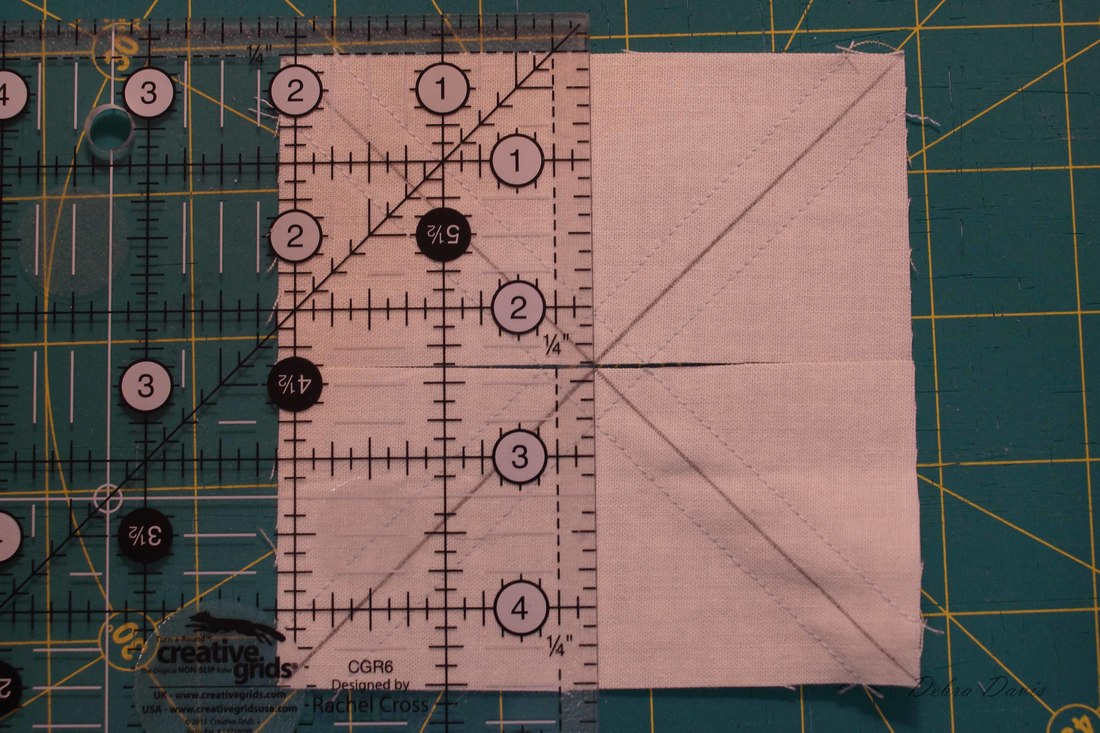 Rotate the mat again and cut along the diagonal line you drew. 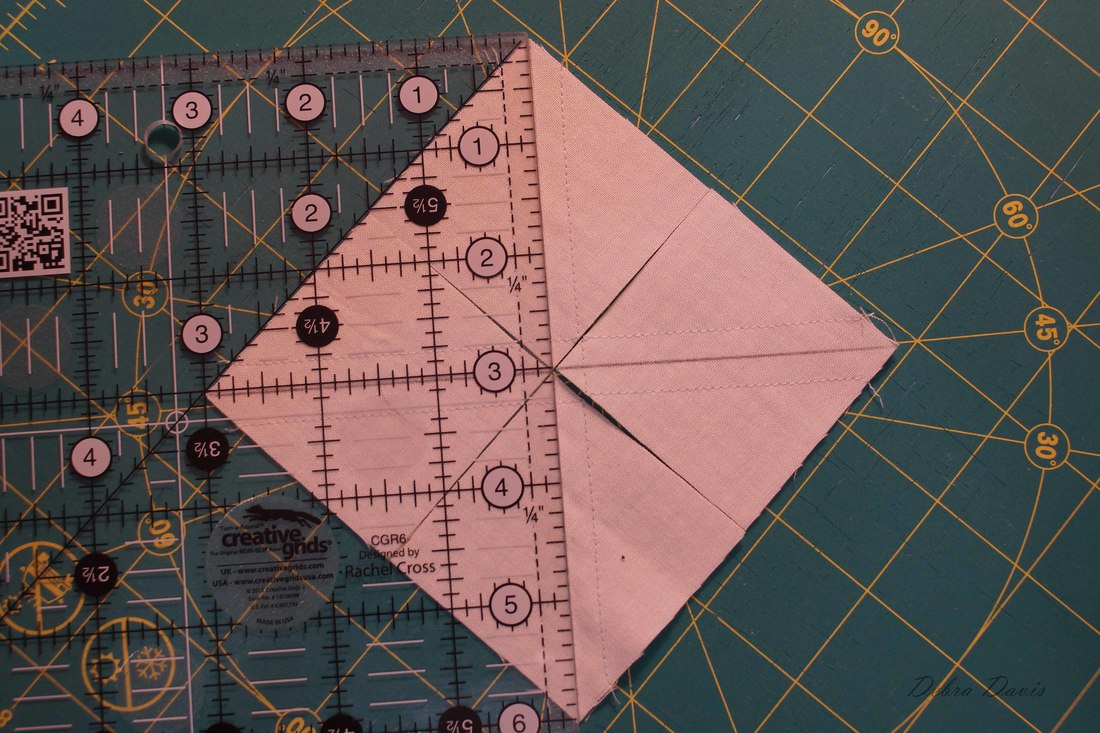 Rotate the mat again and make the final cut along the other diagonal line you drew. 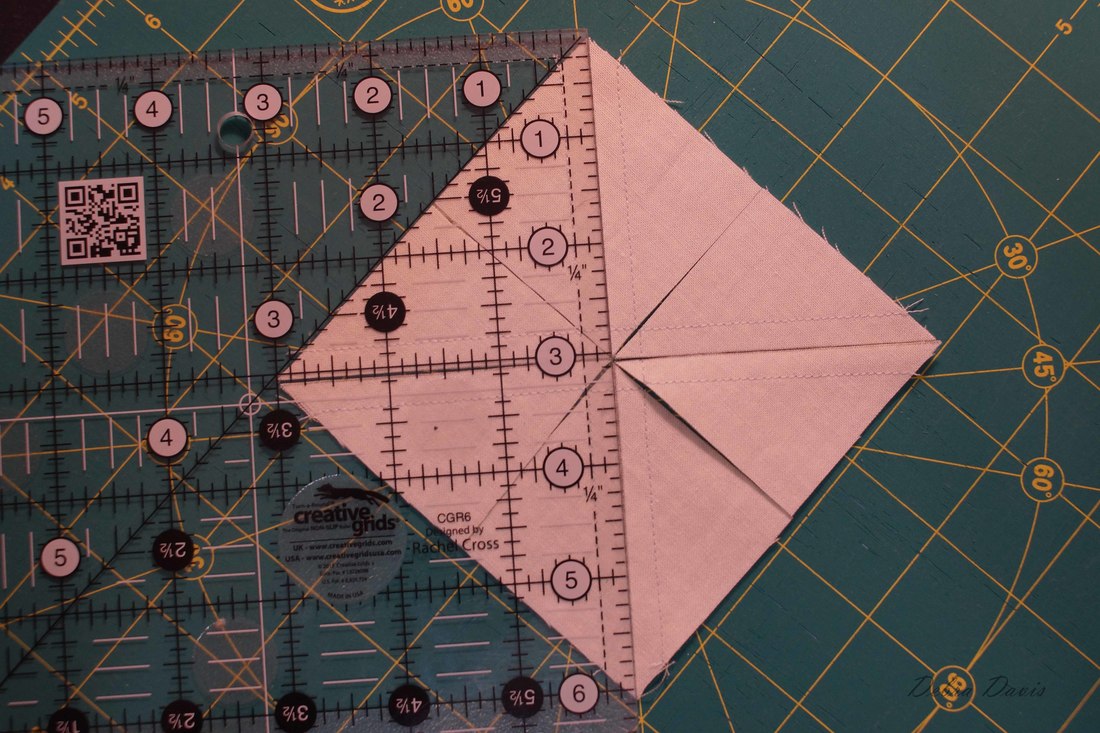 We now have 8 HST's that need to be pressed towards the dark side. I gave them a spray of starch at this time. (My fabric is prewashed so will not shrink in this process, but it you do not prewash fabrics then I highly recommend you starch your fabric before cutting it out.) 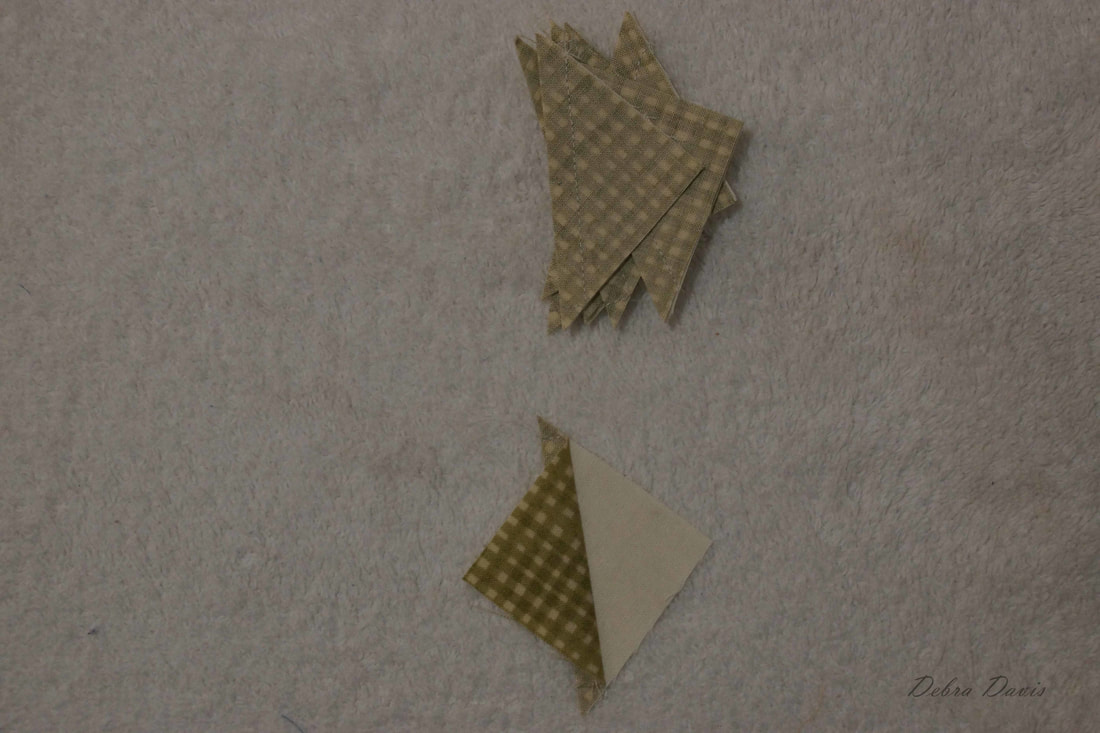 Now I am going to take a moment and stitch the smaller squares. These are also sewn 1/4 inch from each side of the drawn line.
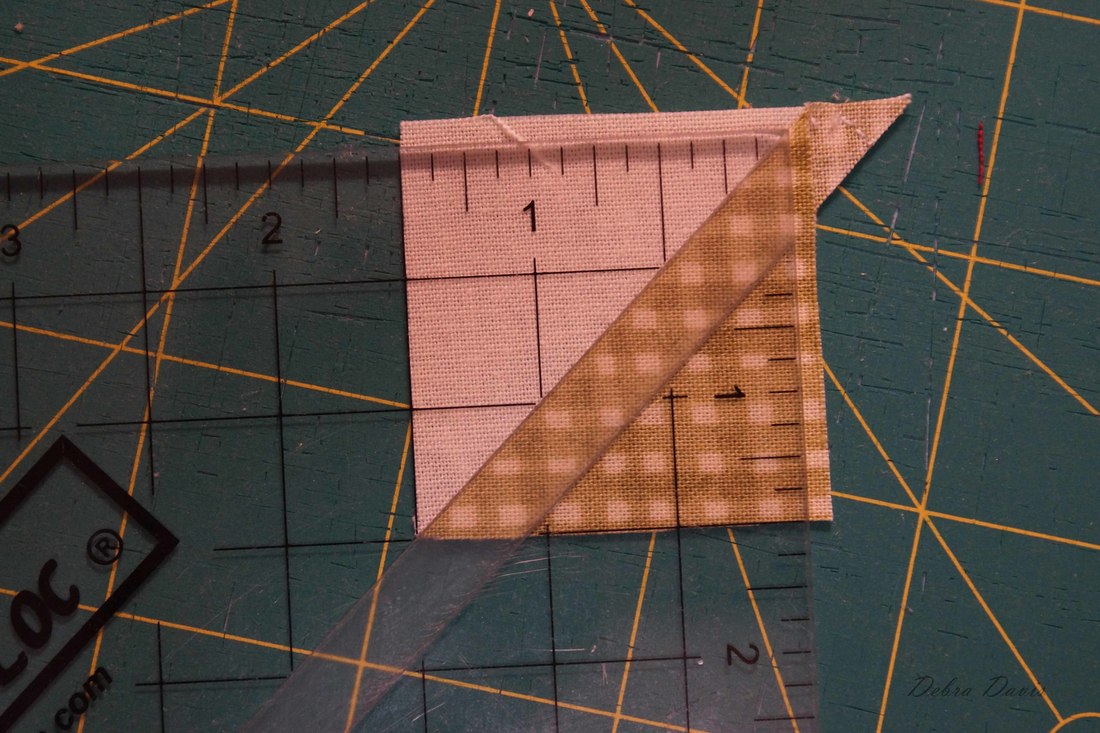
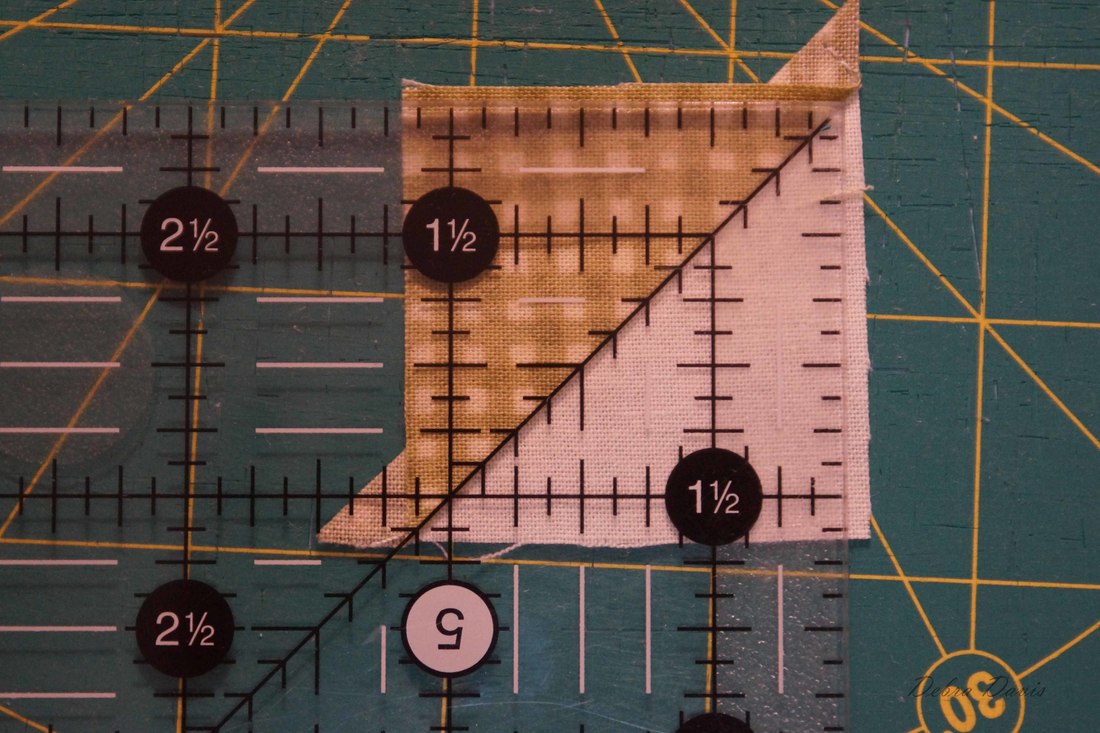
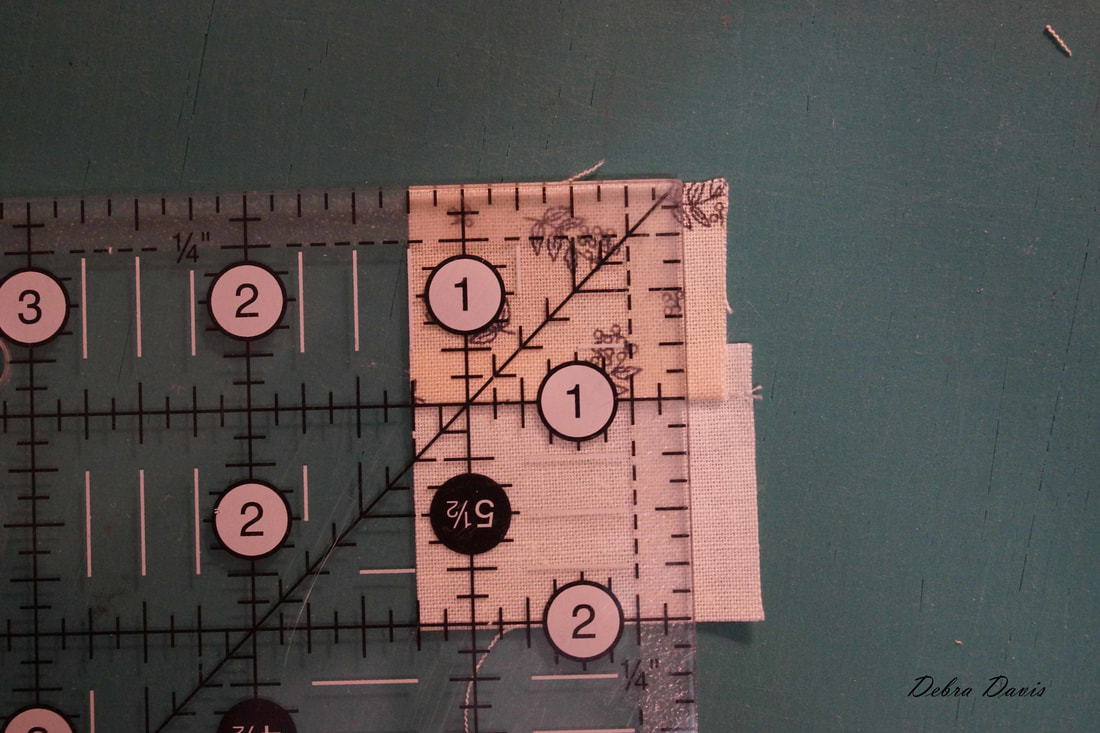
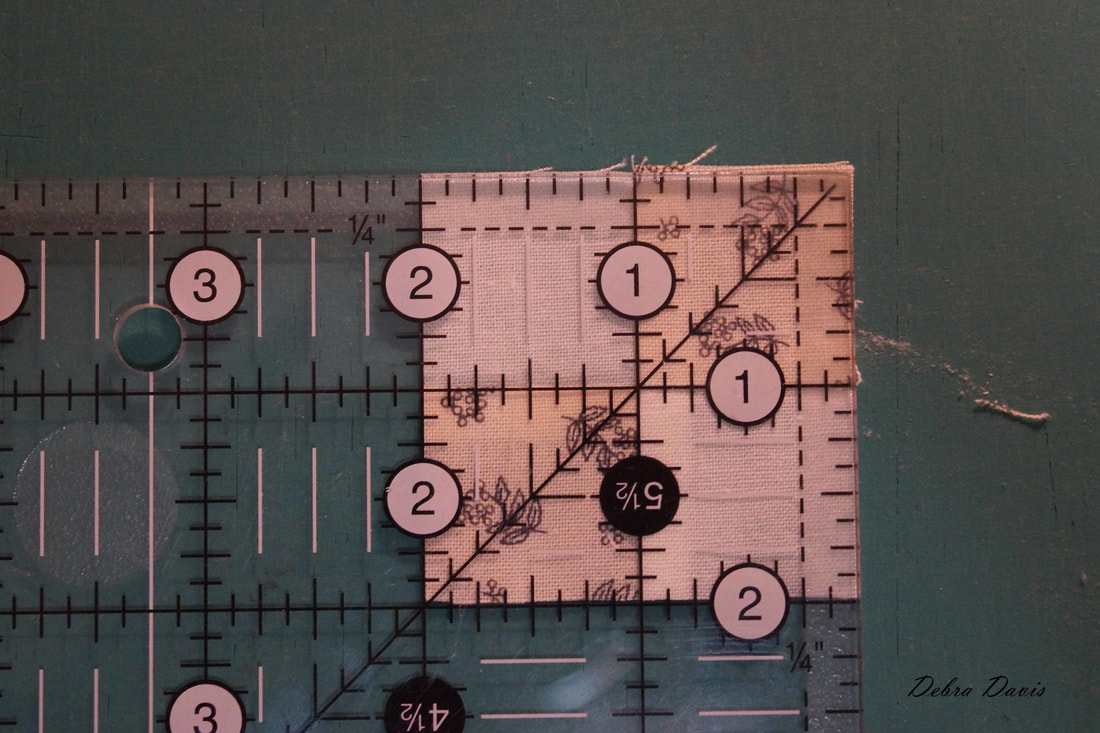
Cut apart on the drawn line and press towards the dark side. I gave them all a good spray of starch when I pressed. (Do not do this if fabric has NOT been prewashed.) 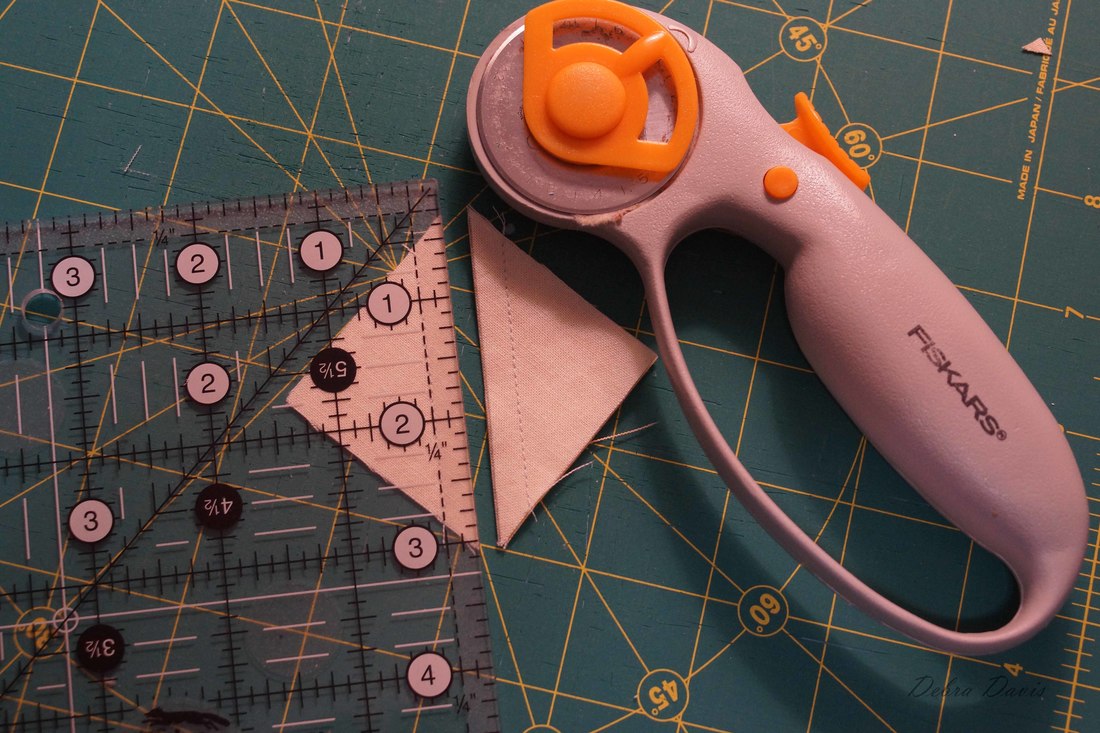 These Half-square triangles need to be trimmed to 1 1/2" I am using my Bloc Loc ruler, with a regular ruler be sure and line up the diagonal line on the ruler with the seam line. I get rather tired of trimming, so I trimmed nine and then pieced them together in a unit, trimmed the next nine and so on.
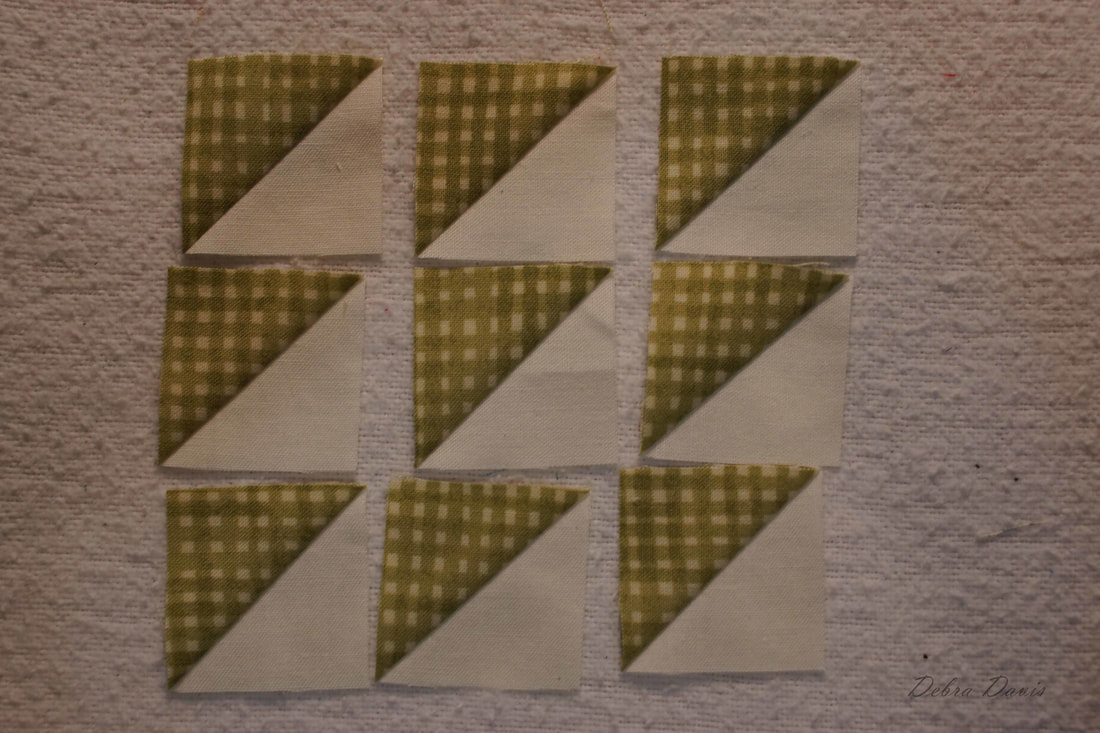
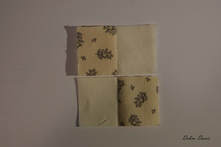
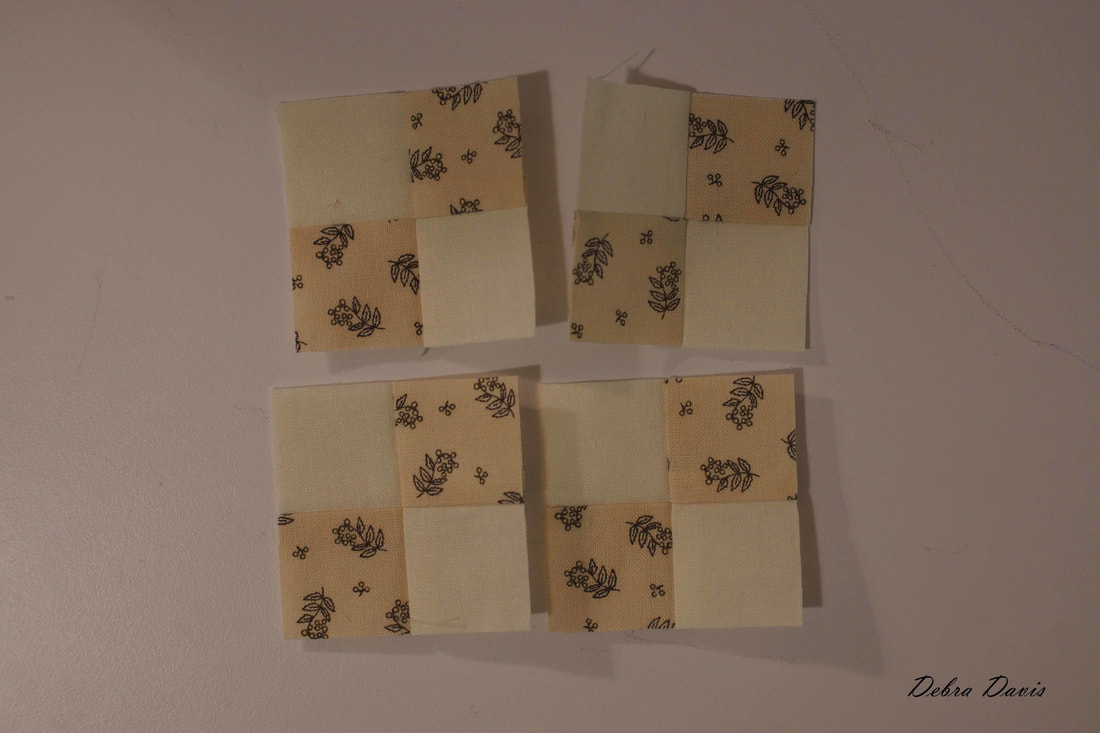
I lay out all of the HST's in the order they need to be sewn. Looks like a simple nine-patch block.
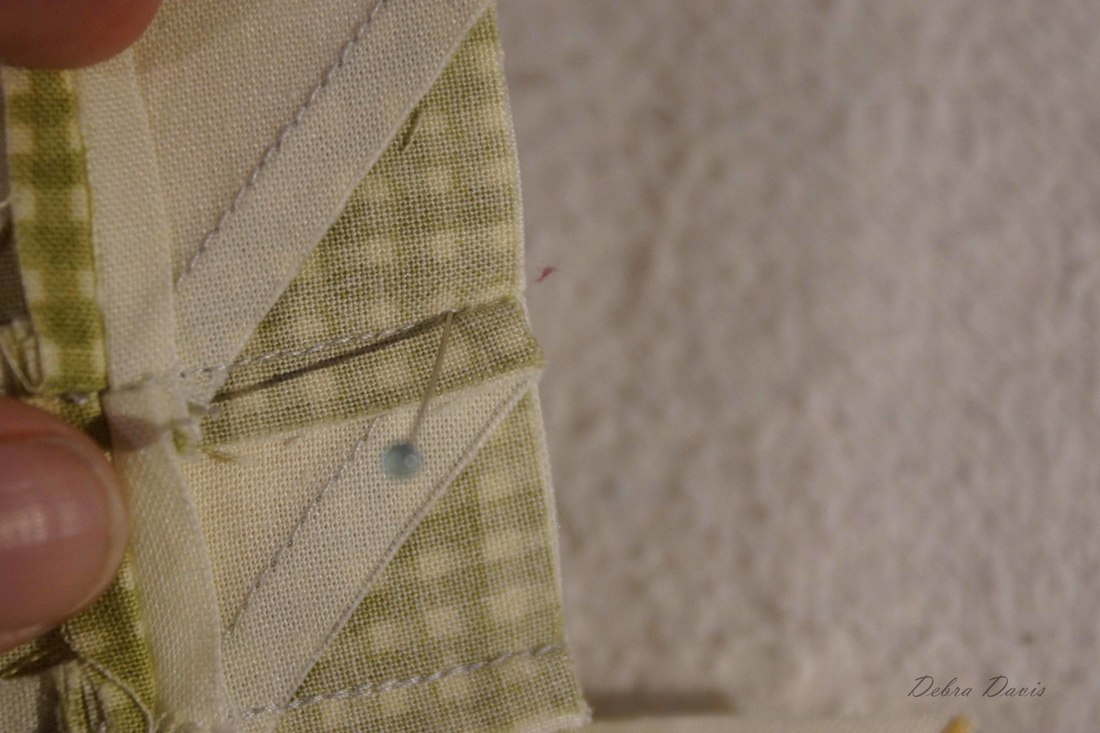
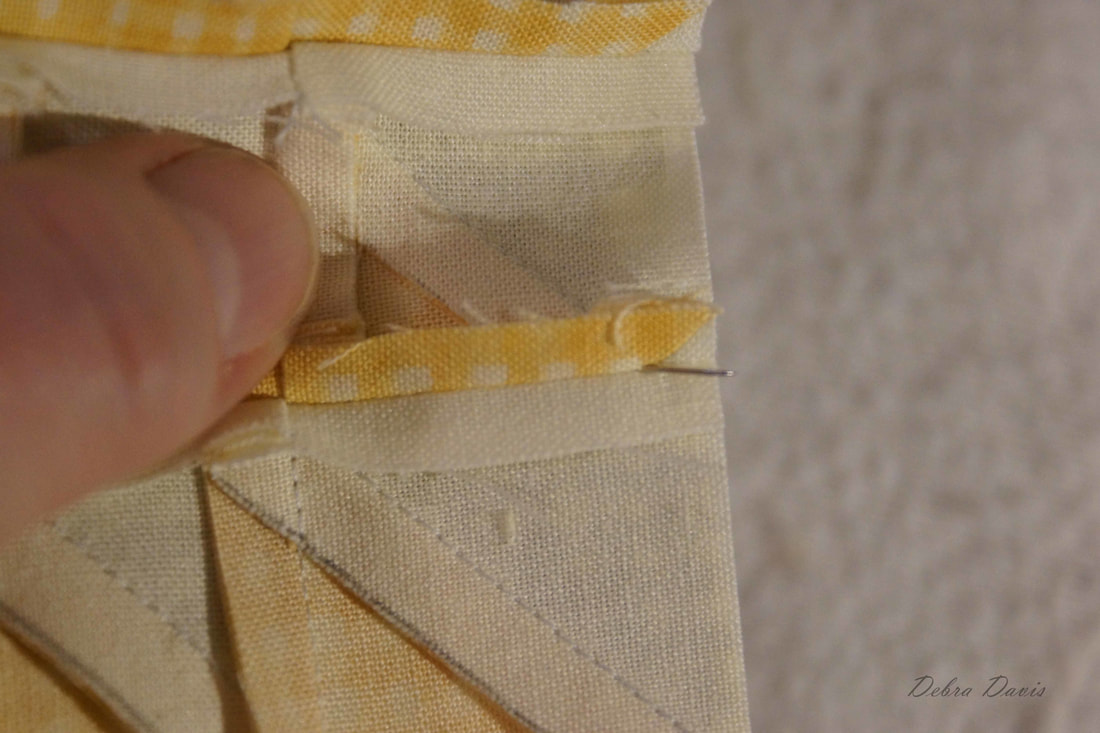
Press the rows in opposite directions. 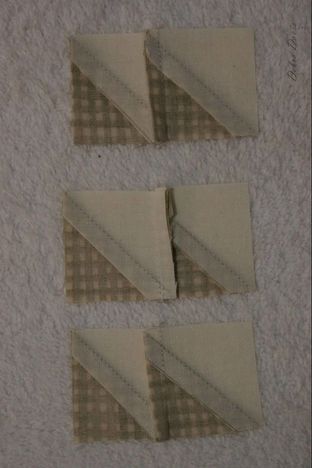 After adding the third HST to the row I like to check the accuracy of my seam allowance-making sure that the middle measures 1" means I am good to proceed. If I am off, even by a little bit, now is the time to resew to correct it. 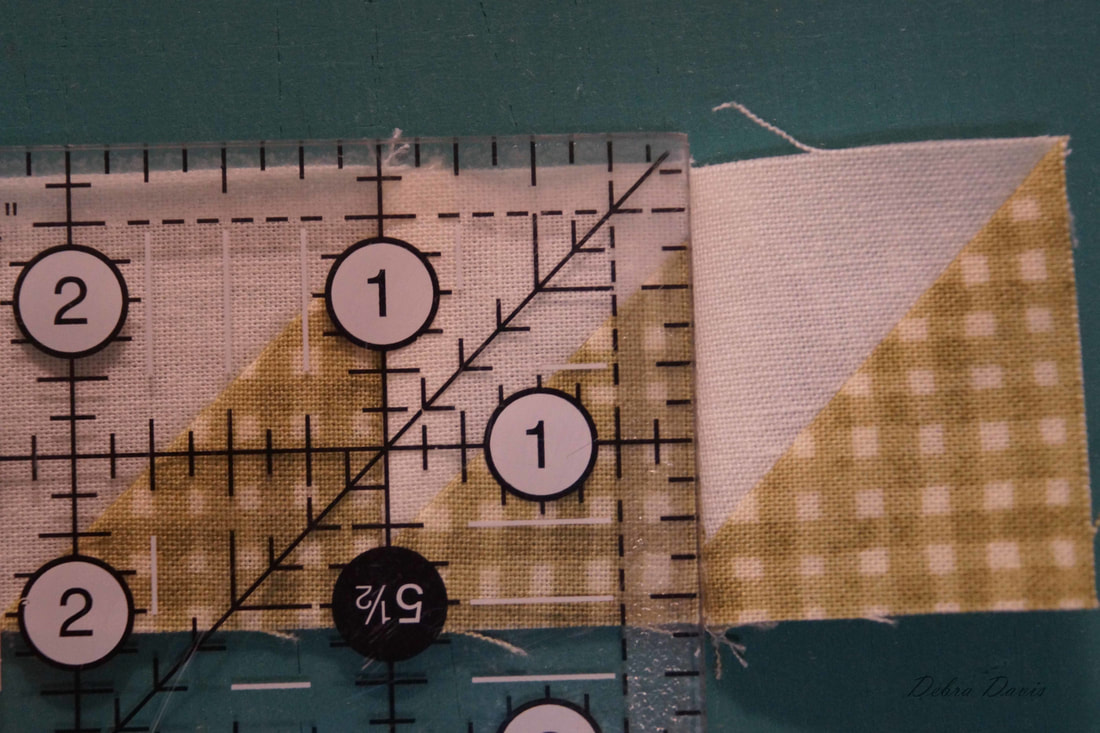 As I sew the rows together I am pressing the seams open. There is just so much bulk in these itty bitty pieces that it seems the best option. I also treated my units to another spray of starch. 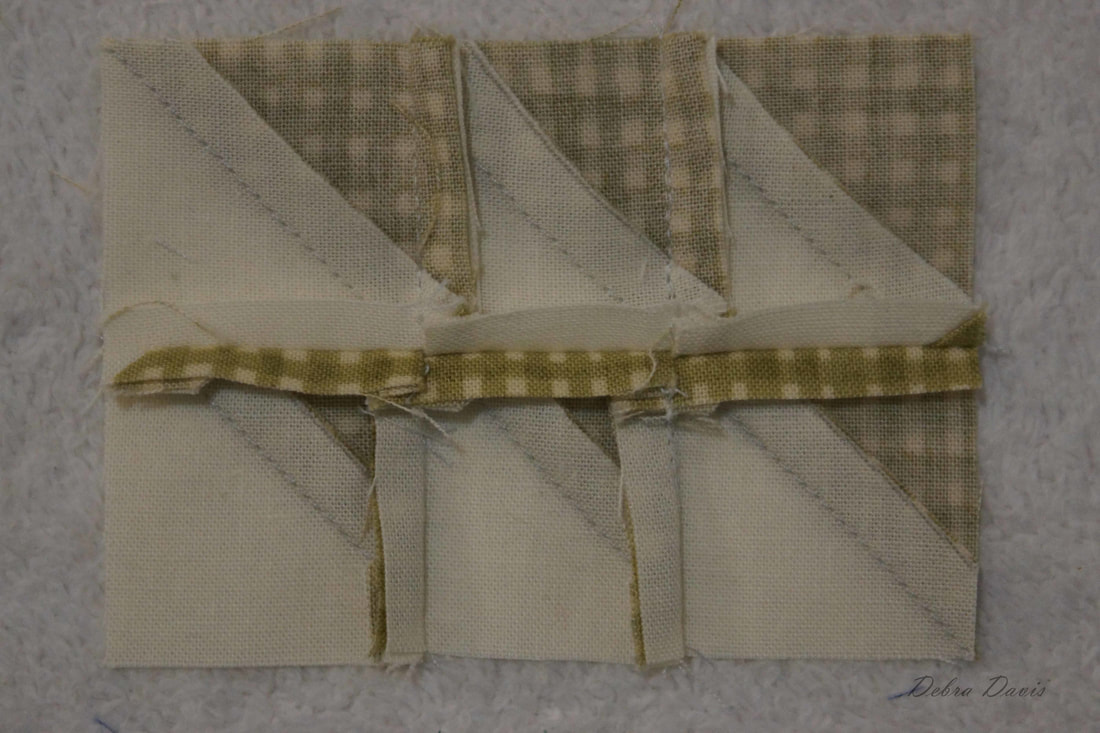 With my nine-patch unit put together I check to see that it measures 3 1/2" square. 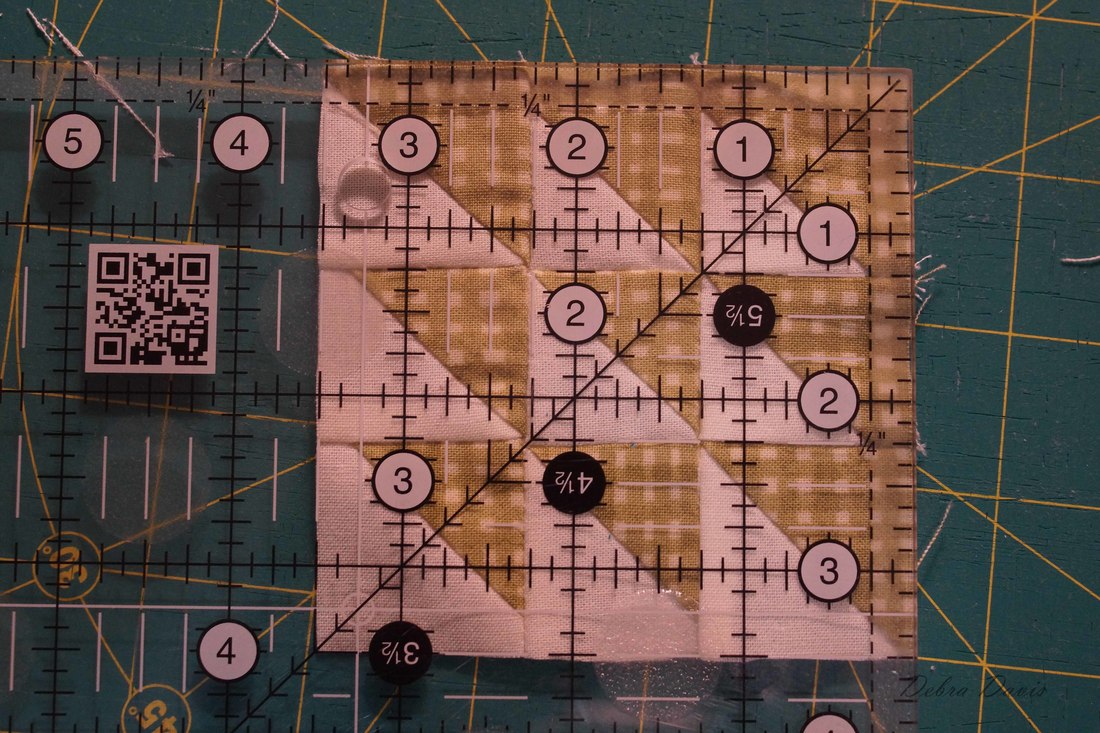 Once all four nine-patch units are complete it is time to put it all together. 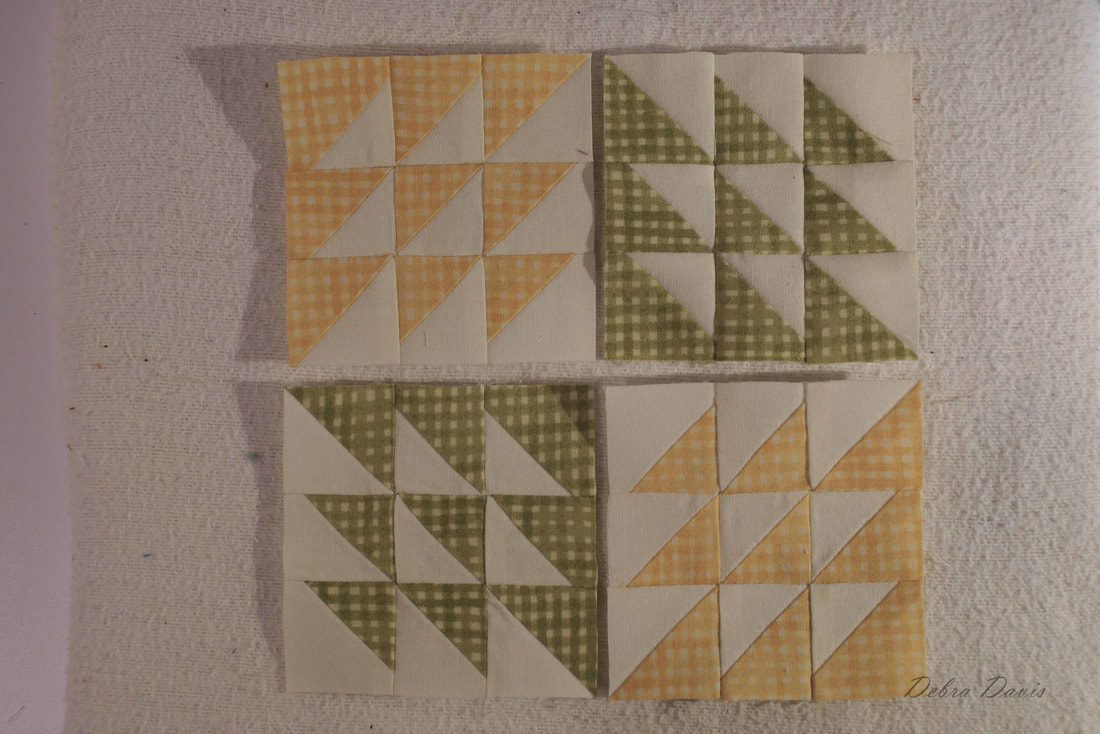 There are a lot of seams to match up here. One tip is to make sure that the pin goes through the seams on both the front and the back-this helps make sure they are lined up as I cannot lock the seams to well when they are pressed open.
Corn No Beans is ready to join my other completed blocks! 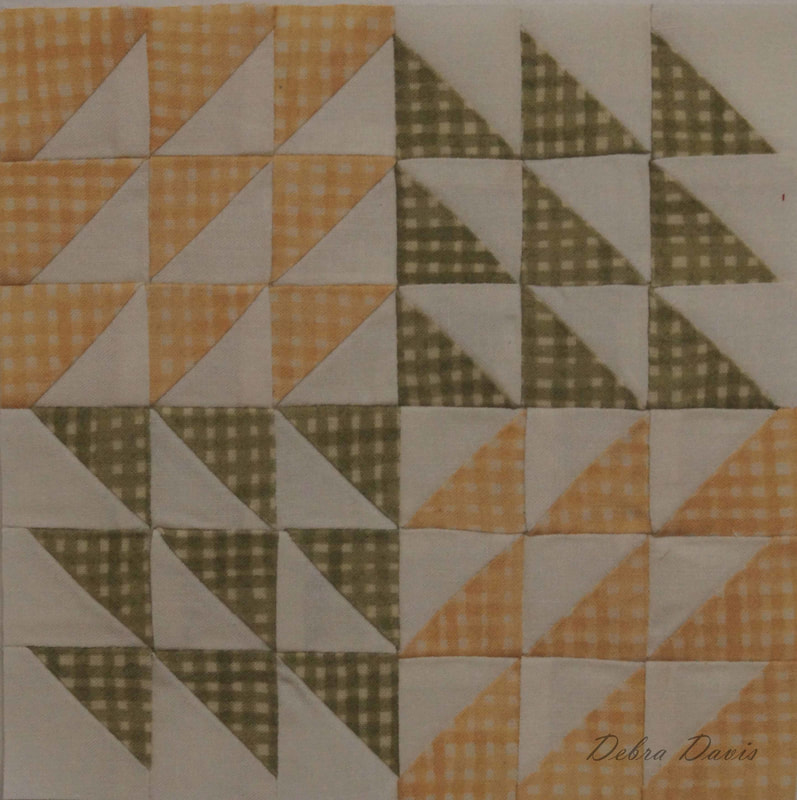 And just for fun another photo I snapped today-Loving the fall colors! 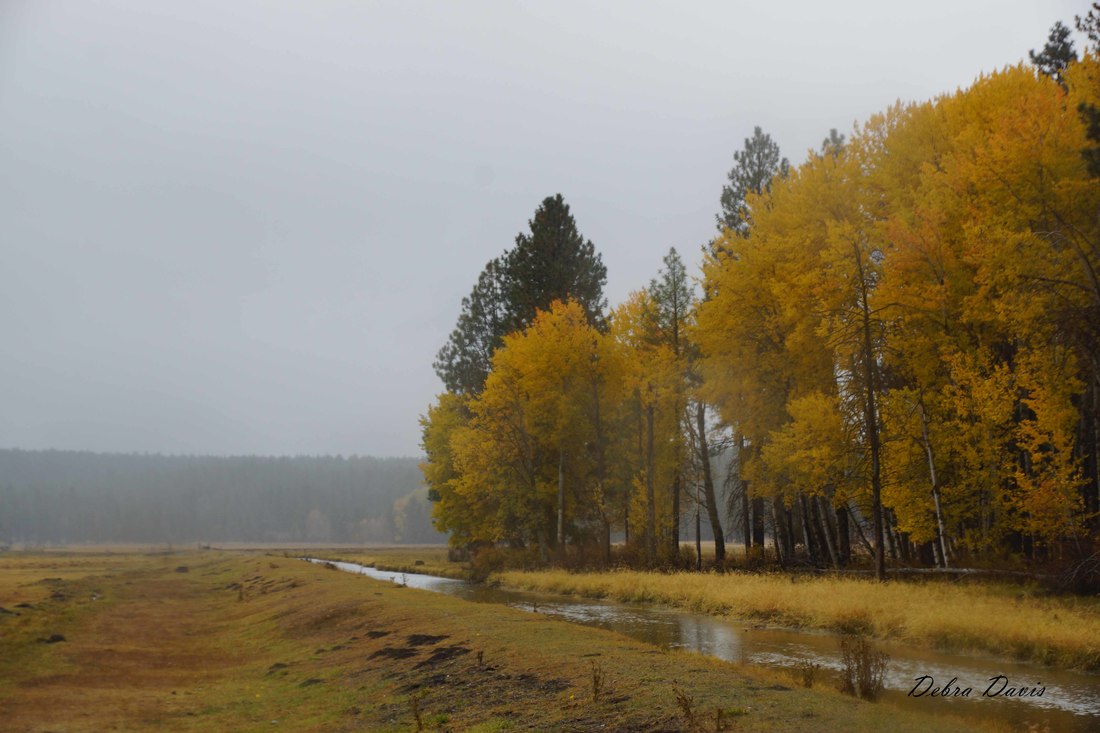 Until next time...
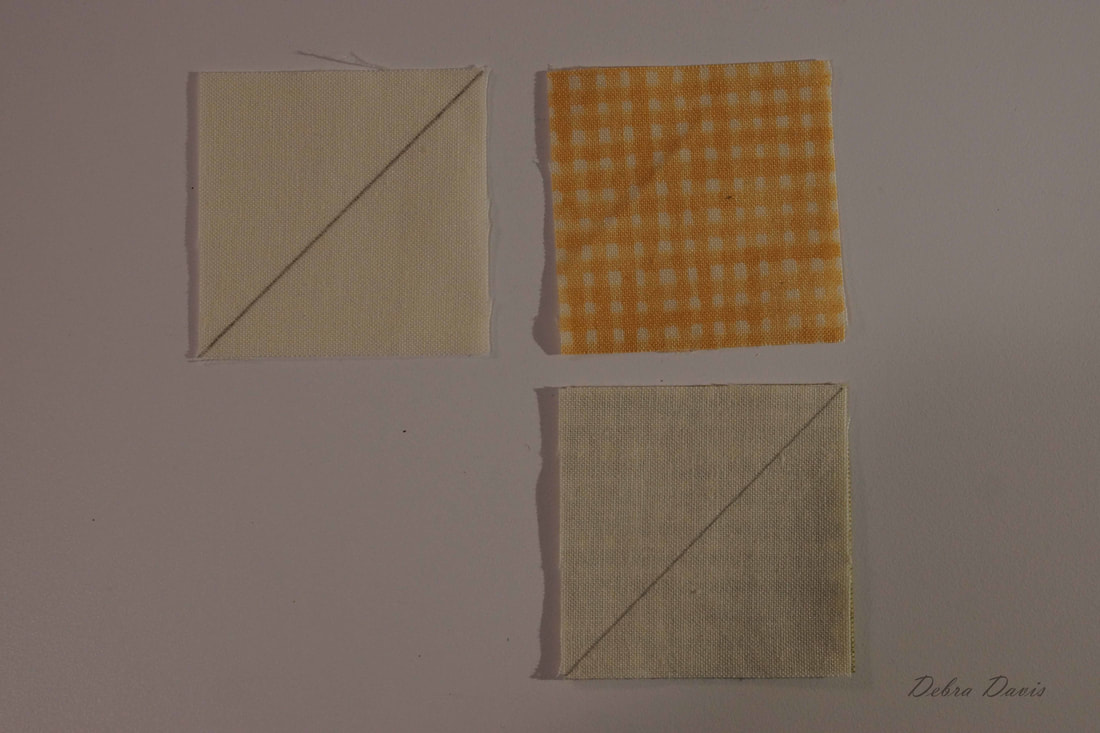
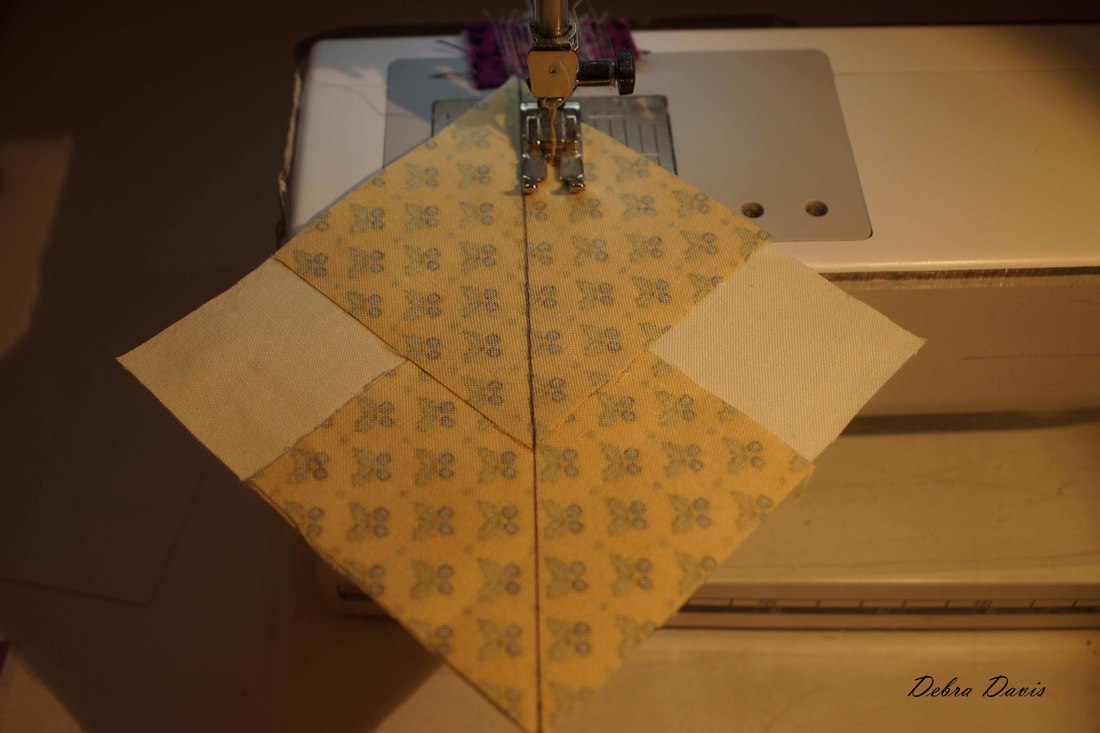
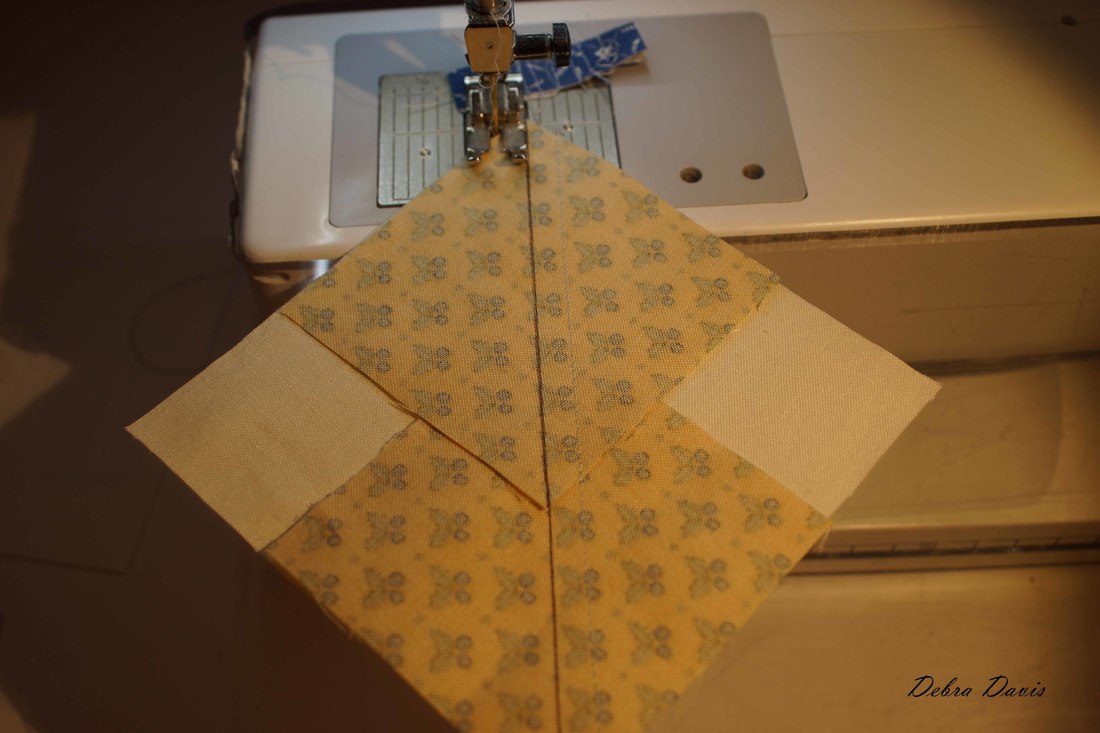
Happy Quilting!! Debra The pattern for Winneconne Star can be found on Lisa Bongeans's blog by clicking HERE. Another star block! And as I looked at it I decided I could simplify the process a bit with some strip piecing. Once again I see Flying Geese in my future-we should be getting really good at them by now-though they have not yet invaded my dreams. 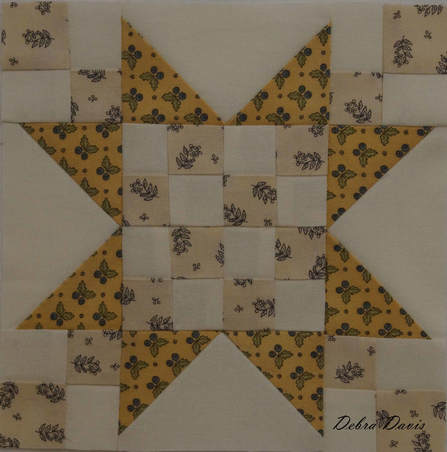 My cutting directions for this block: A-(Cut 1) strip of fabric 1 1/4" x 22" B-(Cut 1) strip of fabric 1 1/4" x 22" C-(Cut 4) 2 3/4" x 2 3/4" (sky in flying geese units) D-(Cut 1) 4 1/2" x 4 1/2" (Geese fabric) 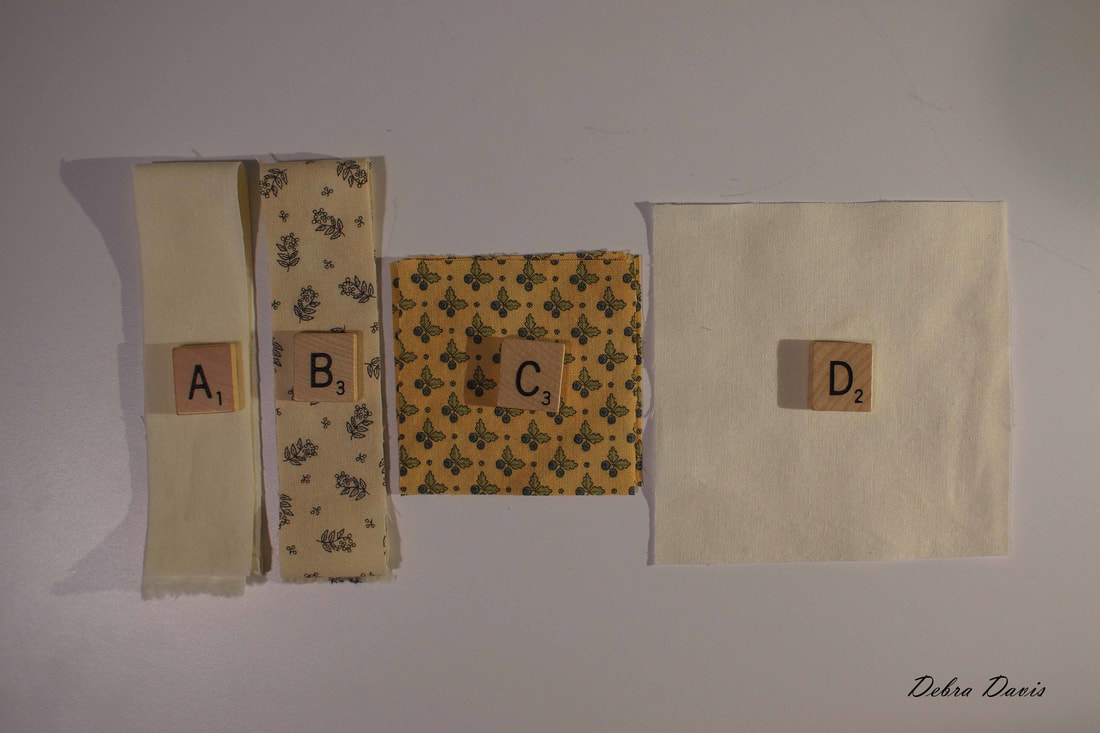 To make the Flying Geese units place two C squares right sides together on a B square and draw a diagonal line down the middle. 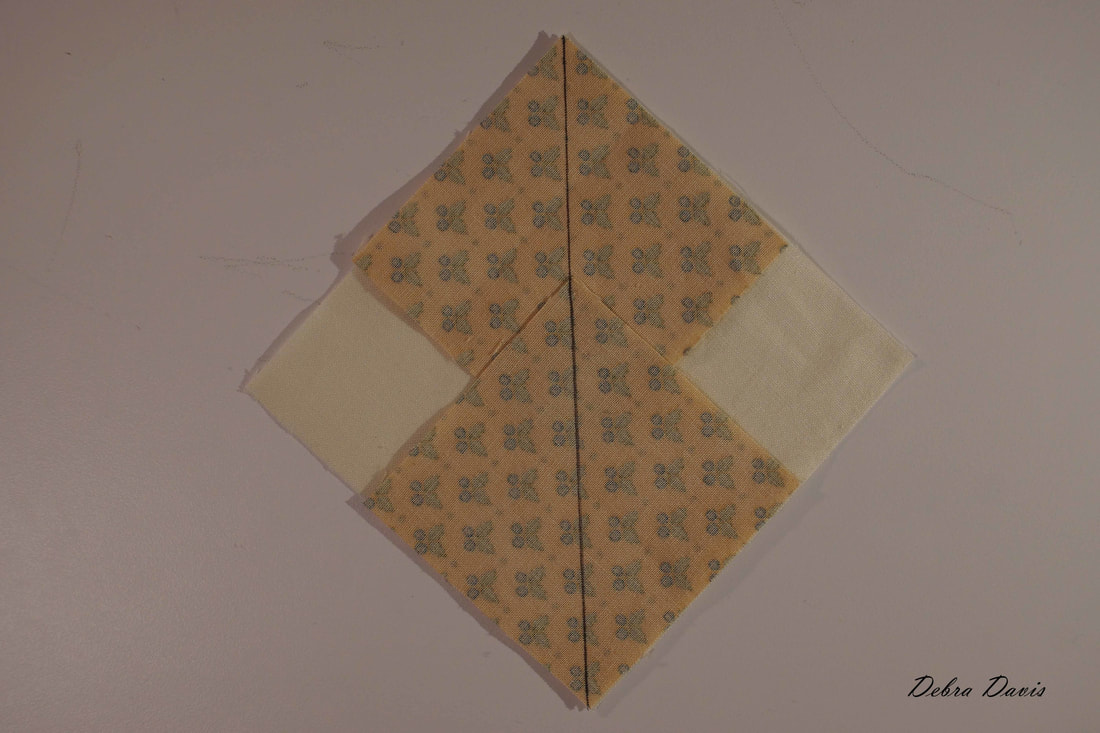 Sew 1/4 inch from each side of the drawn line.
Cut these apart on the drawn line and press towards the small triangles.
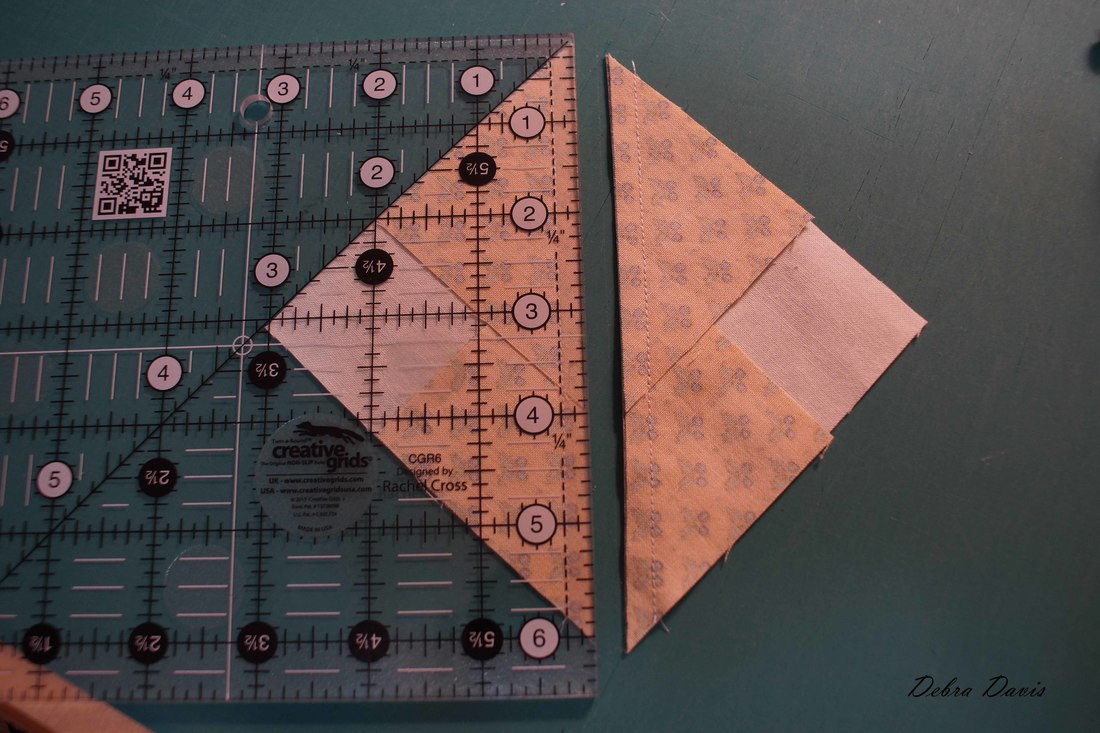
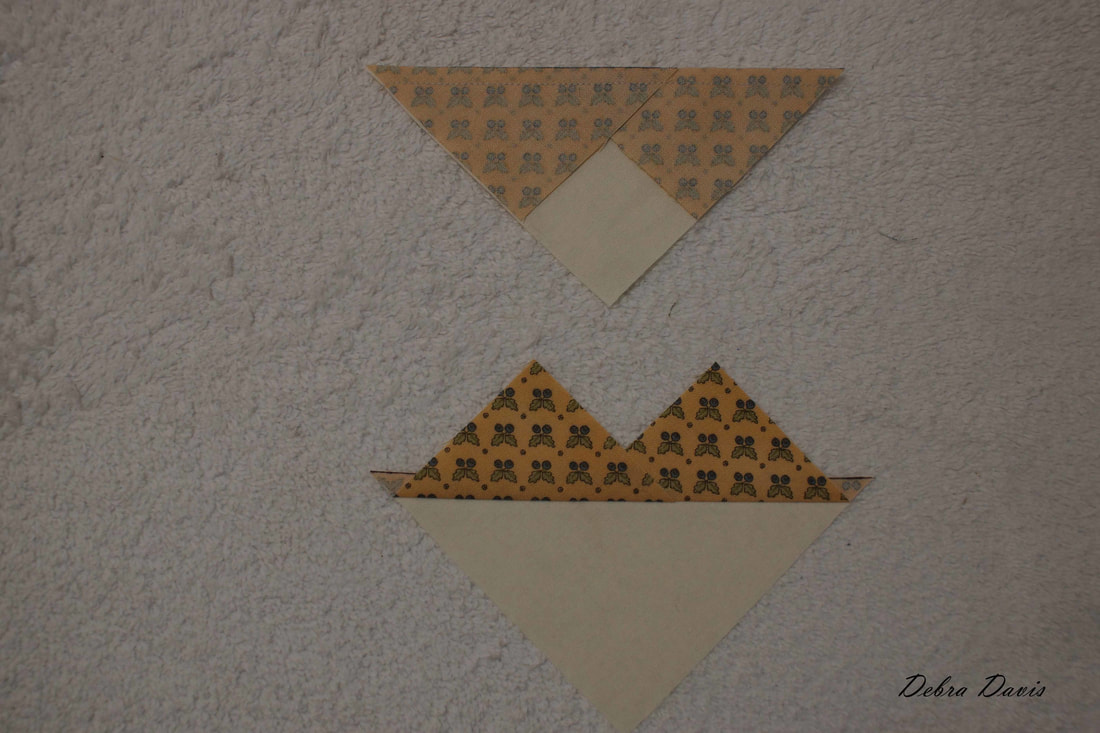
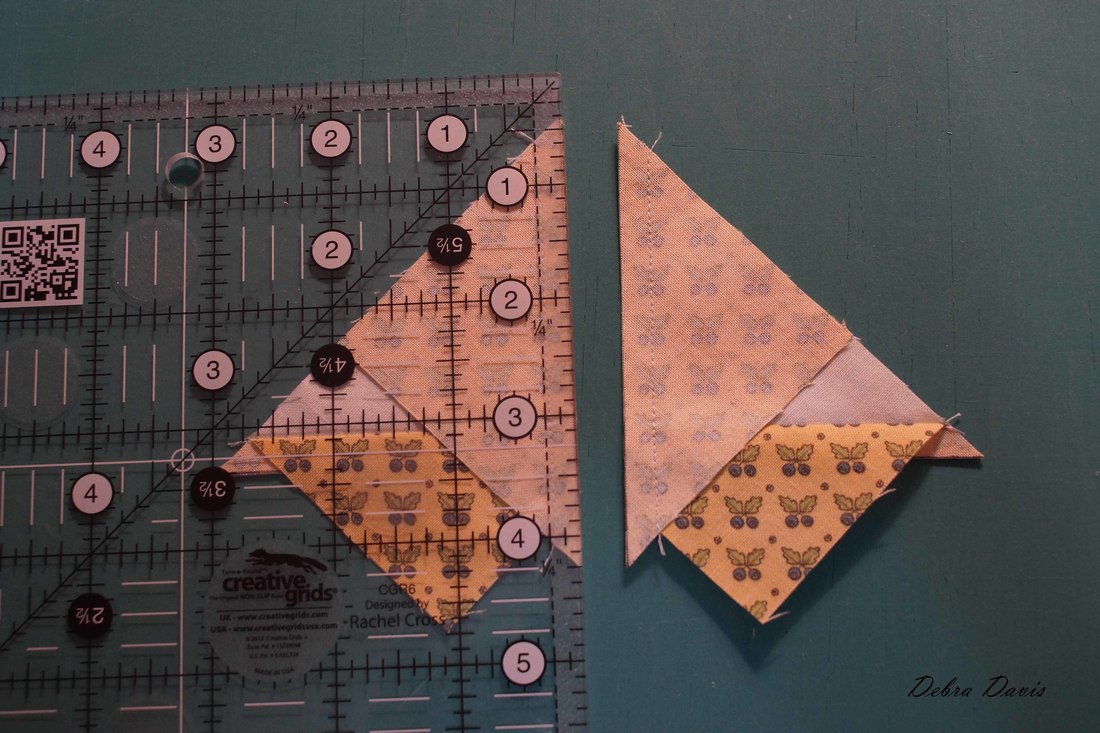
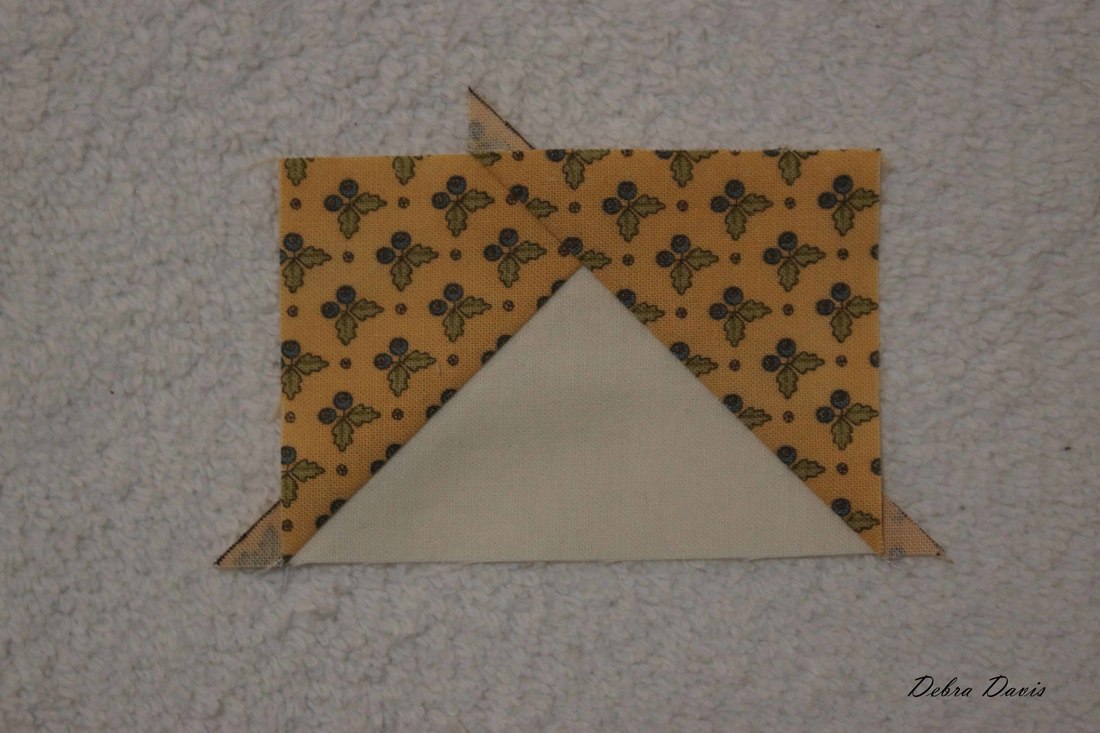
Draw diagonal lines on the remaining C squares and place one as shown on the unit. 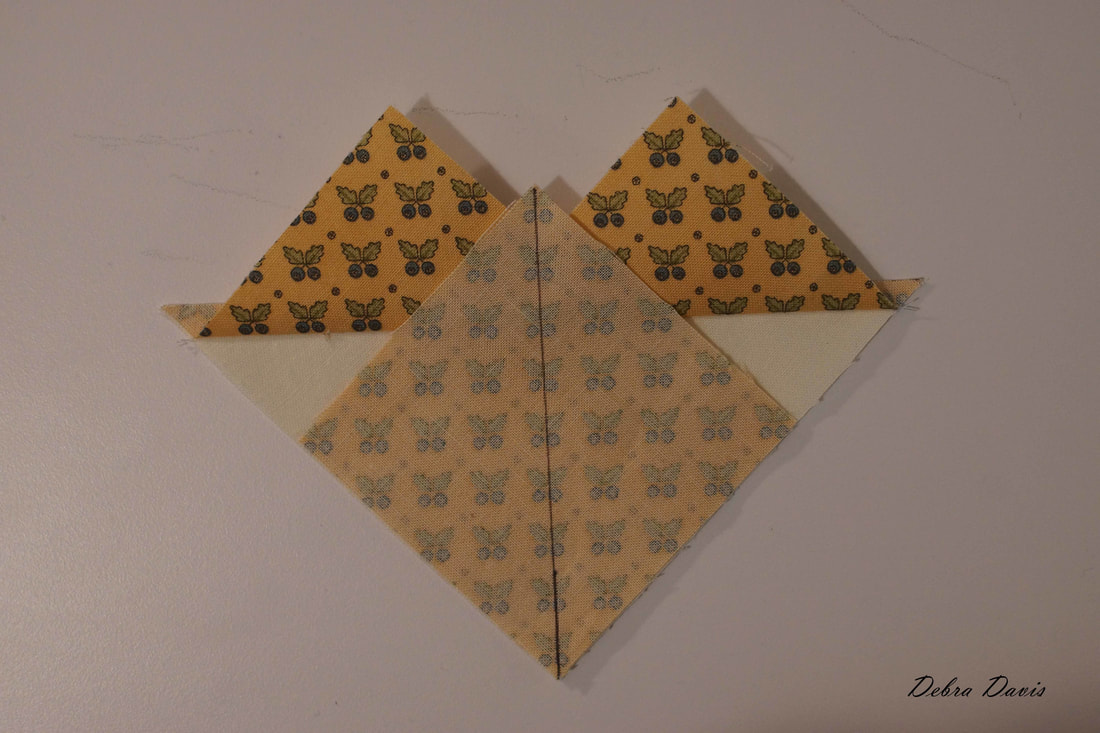 Just like before, sew 1/4 inch from each side of the drawn line then cut apart on the line.
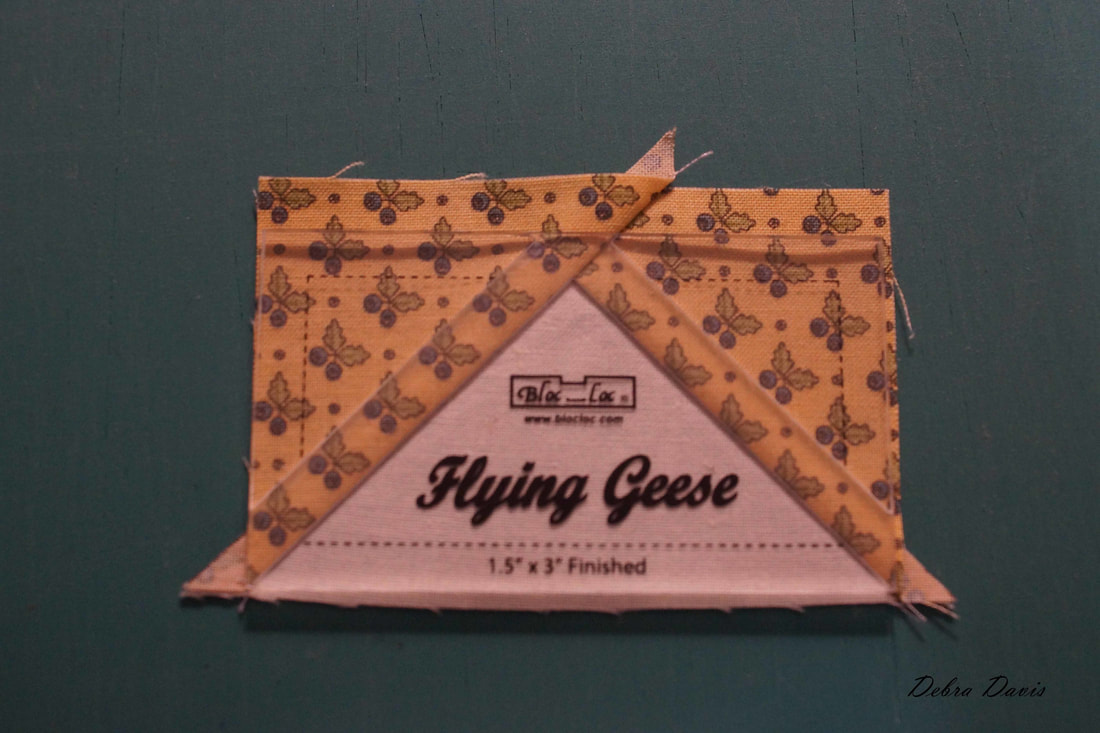
Press these open and trim to 2" x 3 1/2"-see my earlier tutorial for how to trim these with a regular ruler-here I am again using my Bloc Loc ruler.
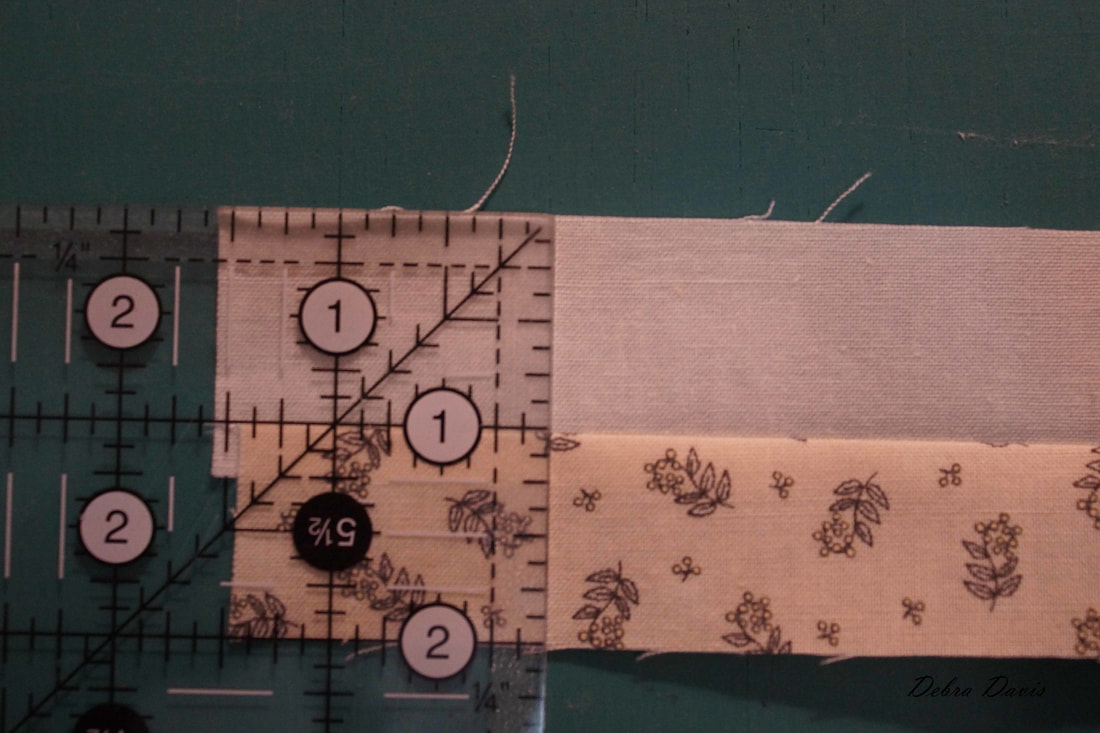
With the Flying Geese finished we move on to some strip piecing. Lay the two strips of fabric right sides together and sew a 1/4 inch seam along one side. 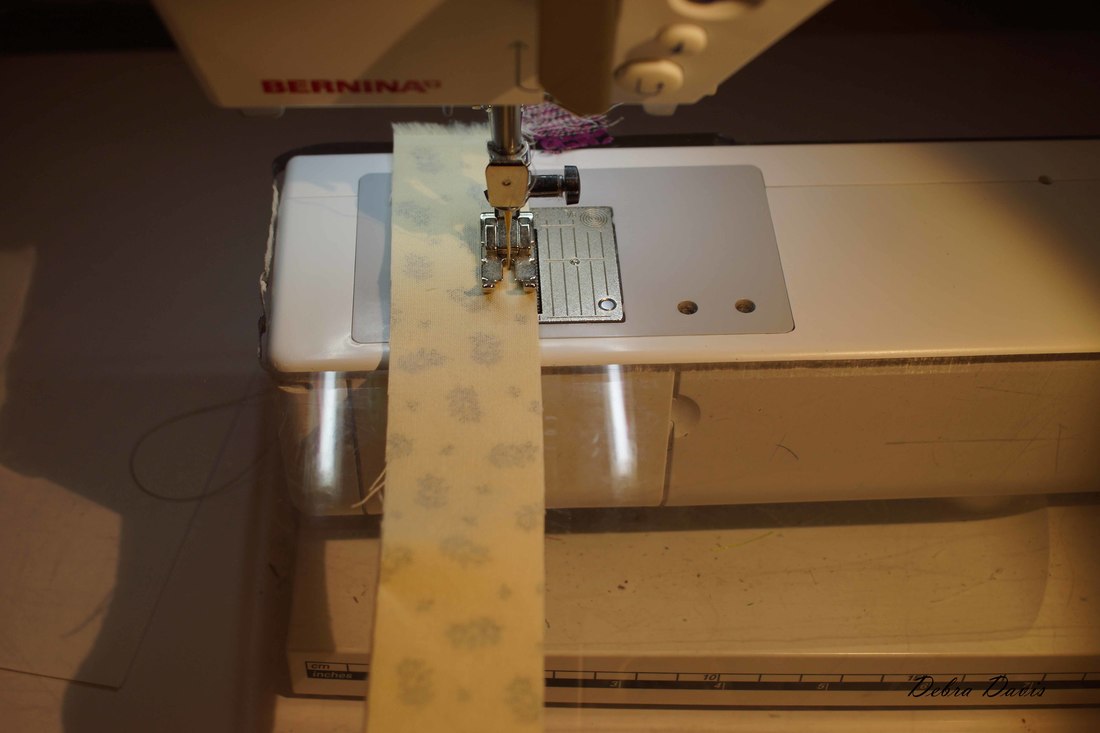 Press towards the dark side. 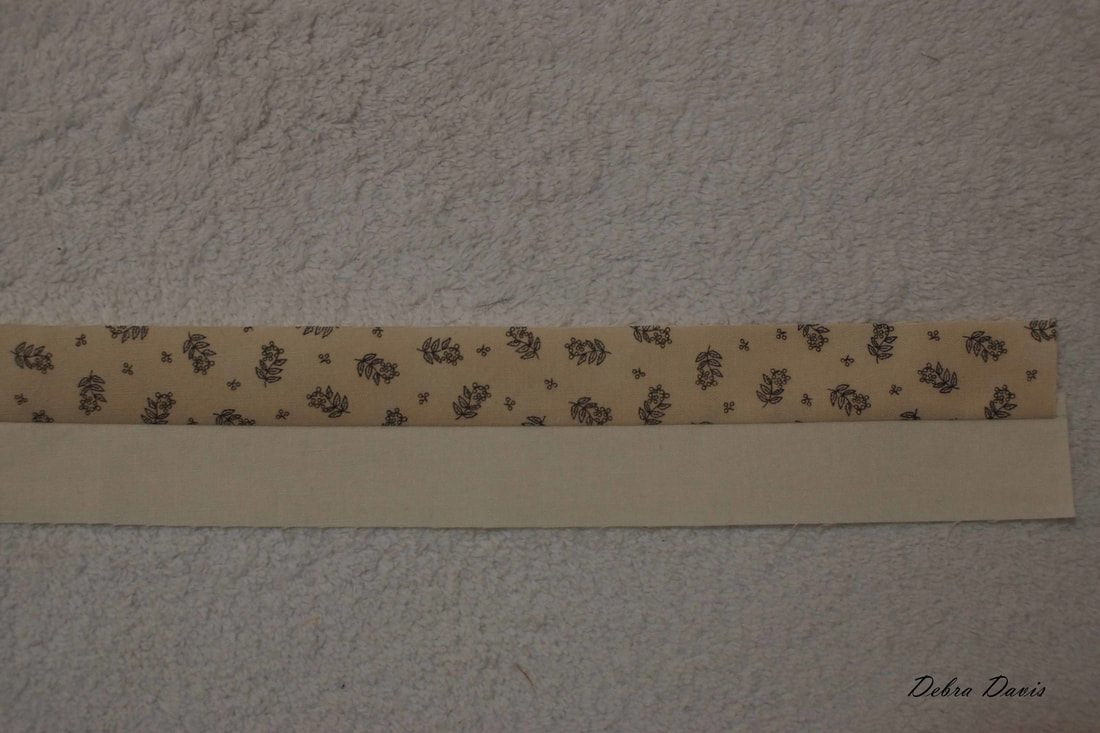 Lay your ruler with the 1 inch mark along the seam line and make sure that your strip now measure 2 inches across. 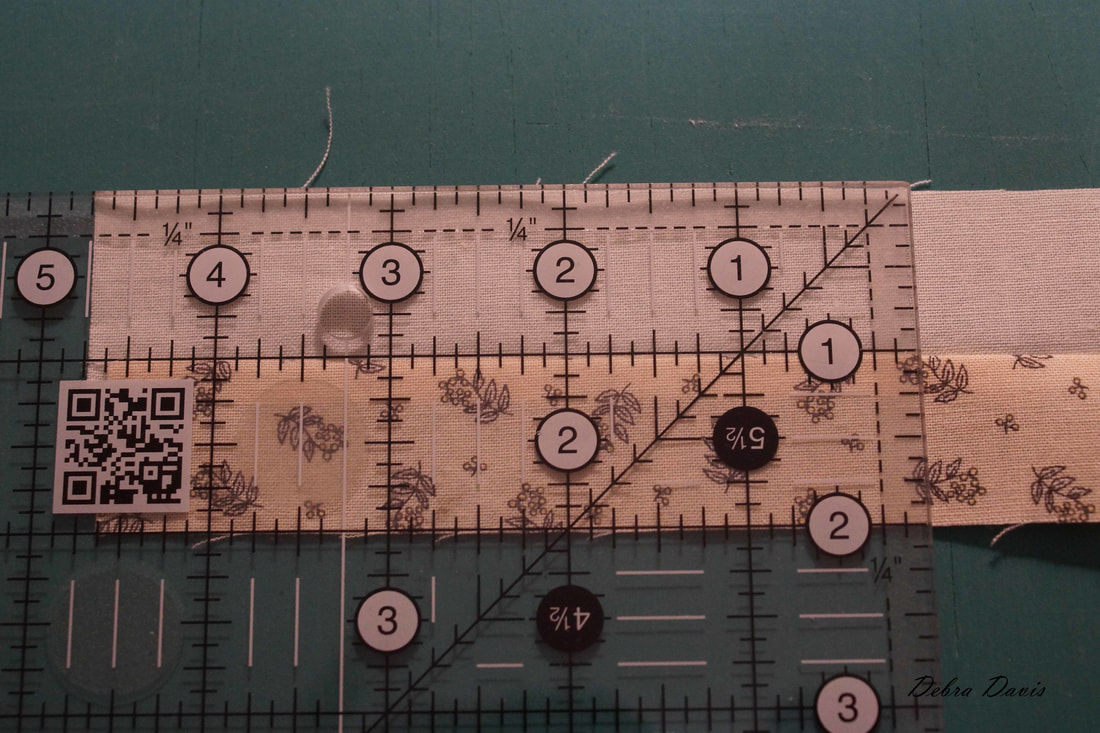 For some reason I did not square up my end first, but want you want to do is cut units that measure 1 1/4" from the strip set.
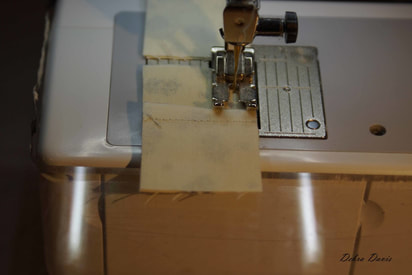
Look at that, you are halfway done with the four-patch unit already. Now just join two of these together, matching the seams, to create the Four-patch units. You can put a pin at the where the seams meet, but I do not find it necessary on these if I sew with the seam pointing up towards my needle
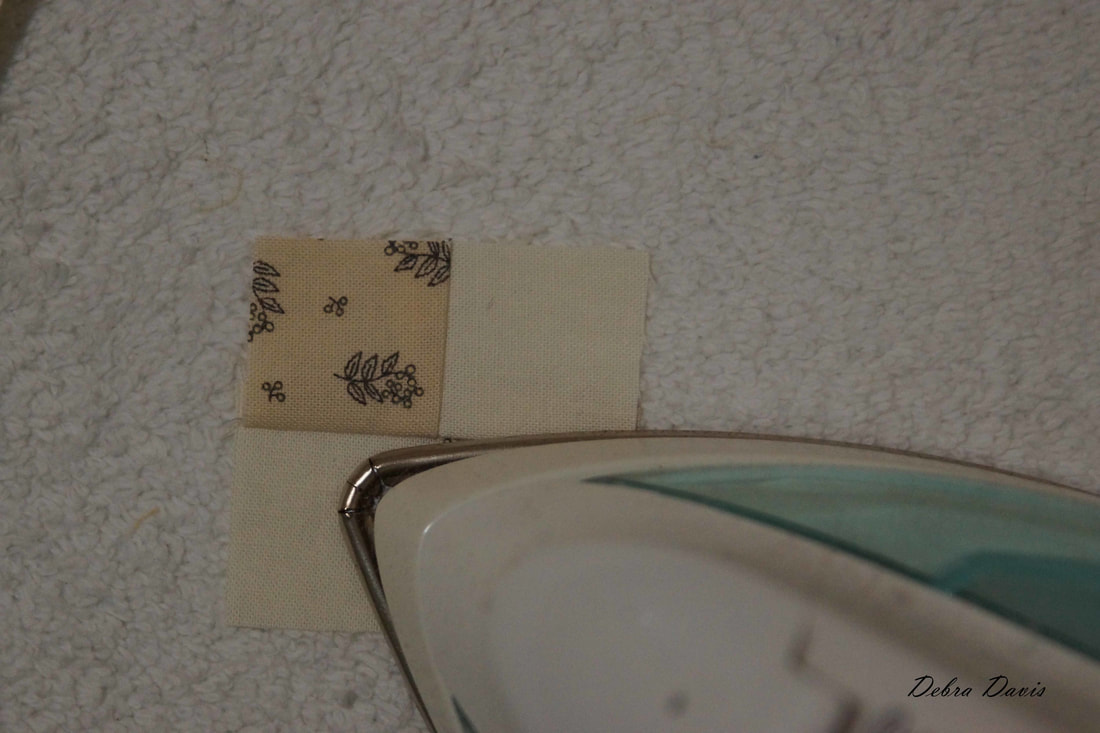
Press towards one side and check to make sure they finish at 2" square.
Four of these units will be used in the corners of the star block. 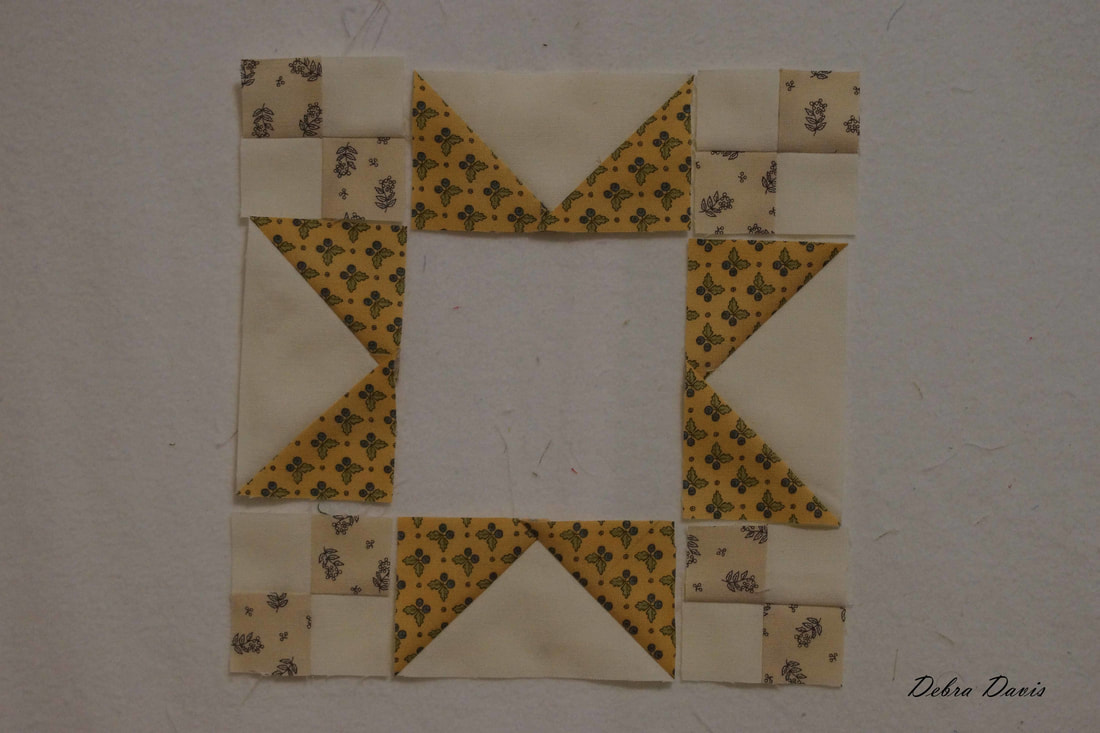 The other four need to be sewn together to create the middle section of the star. These four little Four-patch blocks will become one larger Four-patch. Join them just like we did before.
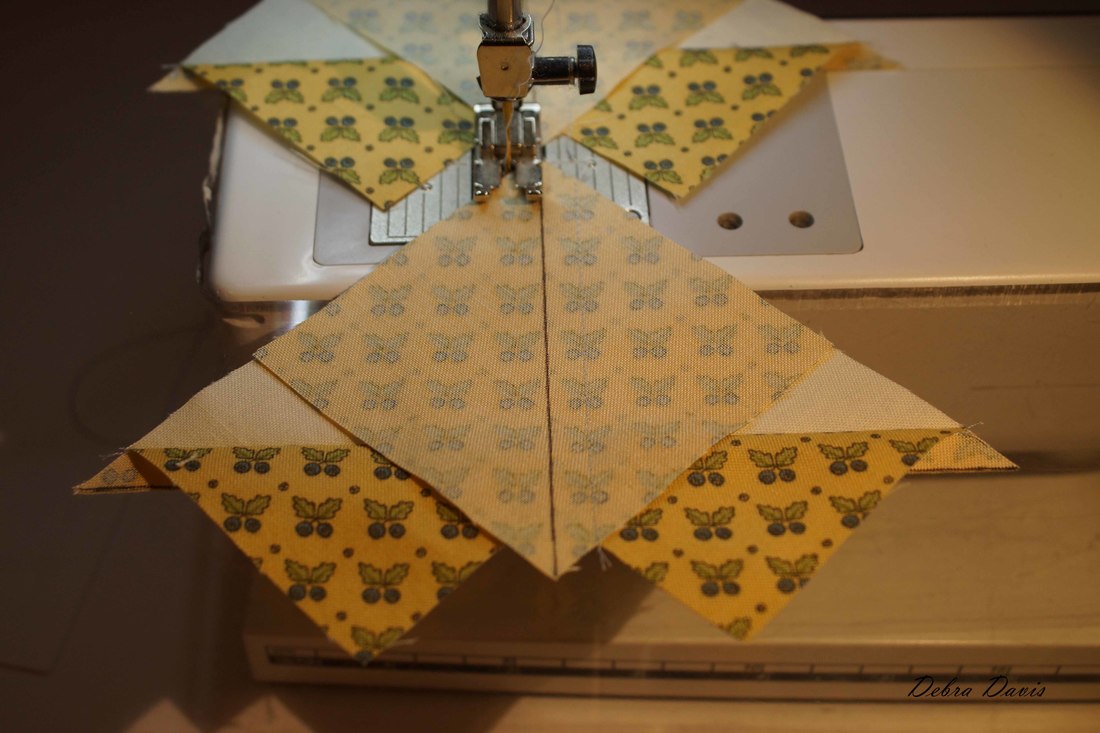
I made sure to press my seams in opposite directions after I joined the first two sections together. 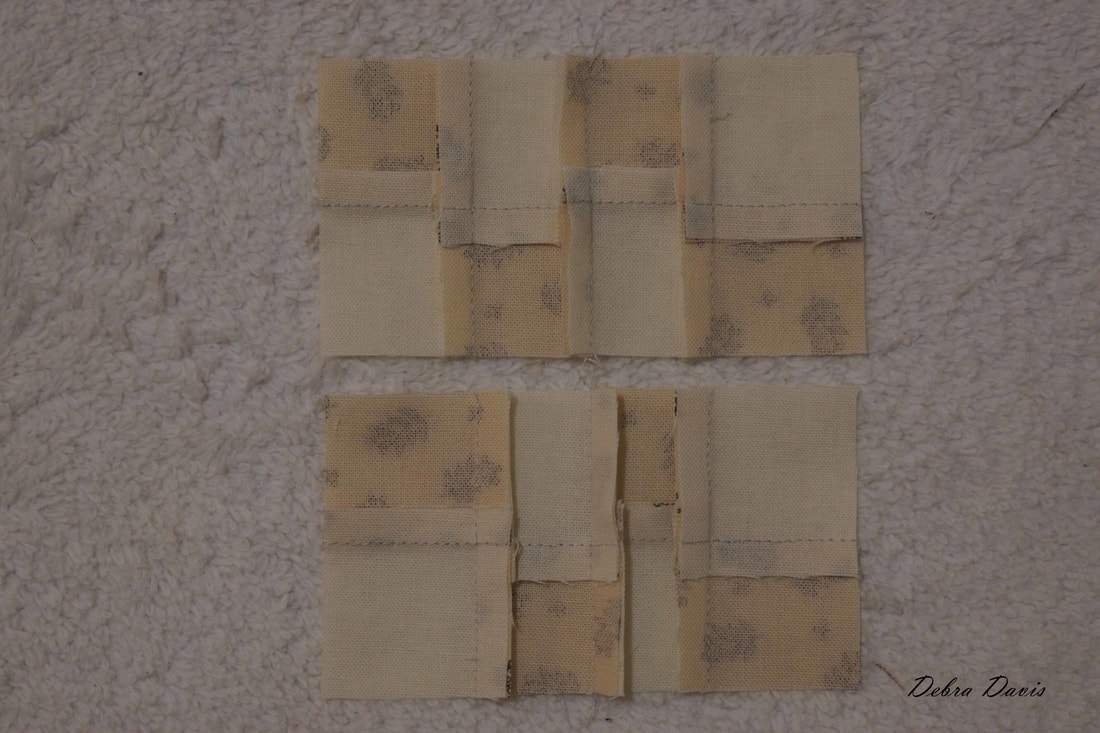 A few pins placed at the seams will help hold them together-while the opposing seams "lock" together, I like a little added assurance. If you look closely you will notice that I pressed my bottom seam the wrong way, so I just folded it over and pinned then will press it the correct way after I sew the unit. I was too lazy to get up and go back over to press it first-lol. 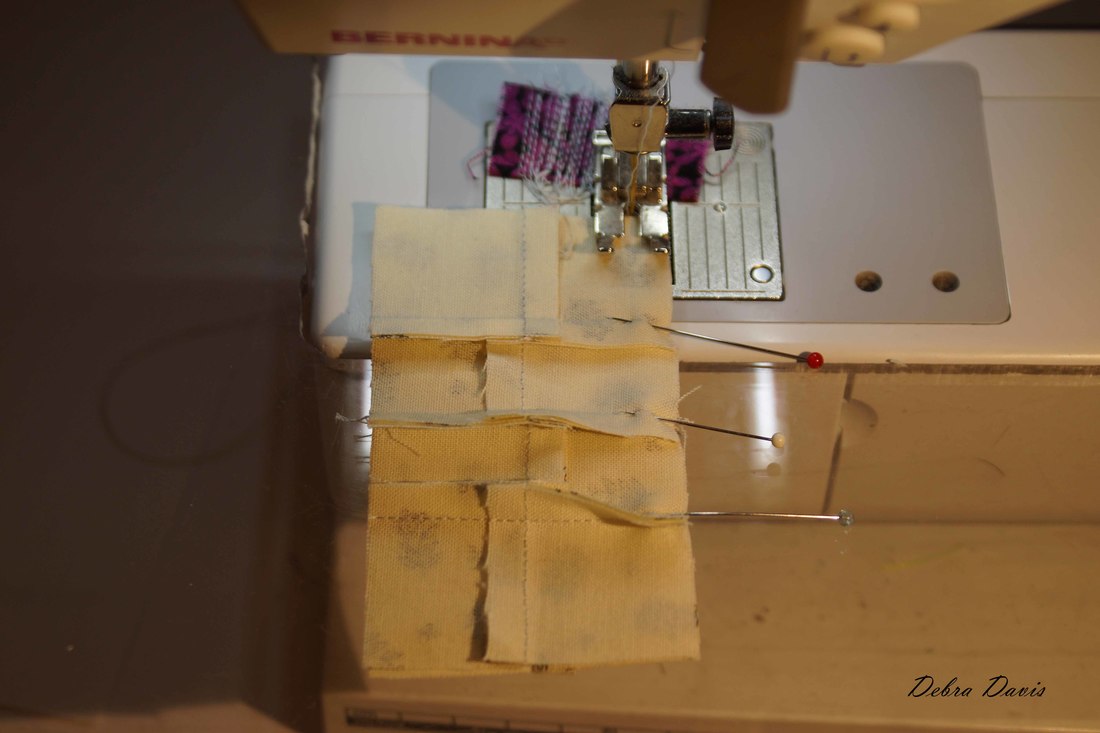 The center unit should measure 3 1/2 inches now. 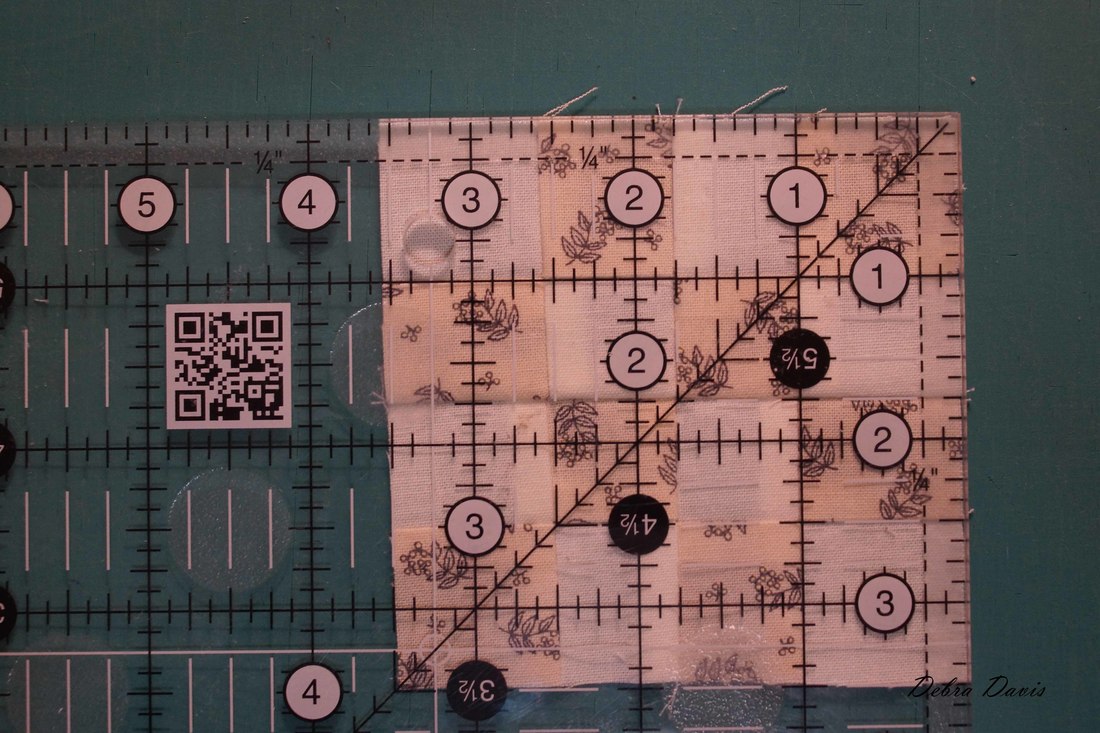 Lay out all of the pieces for sewing together-this is basically a nine-patch block now. 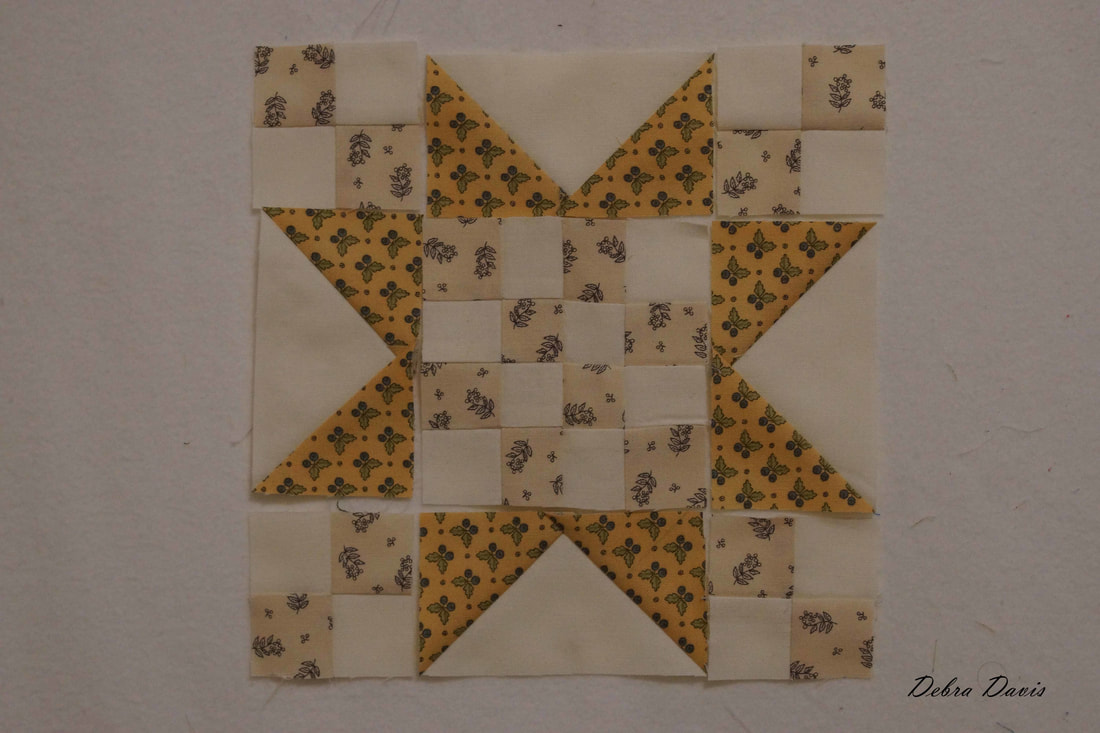 As you sew these sections together you want to try and have your needle land right at the tip of that triangle point. This will give you those sharp points, and where having a properly trimmed Flying Geese unit is so important-that 1/4 inch seam allowance is crucial for sharp points.  Almost done-just need to sew these rows together, pinning at the seams. I pressed the top and bottom rows towards the outside and the center section towards the middle. The seams get a little bulky so take your time as you sew. 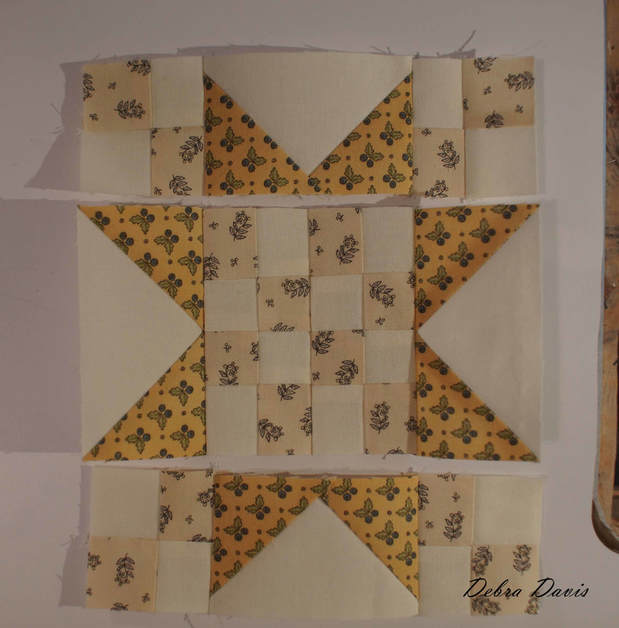 Another block is finished! Time for a cup of tea. 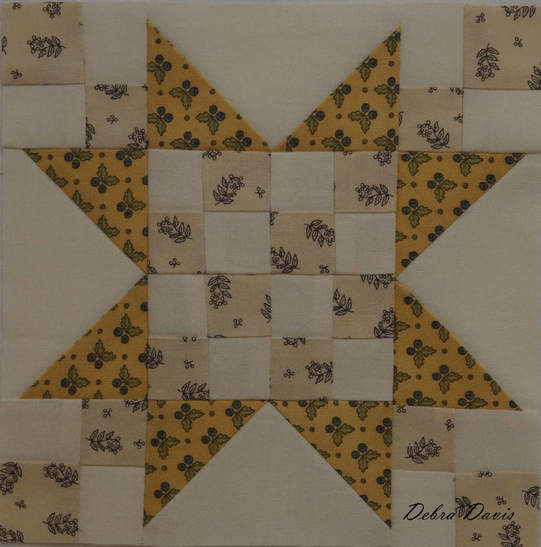 Until next time...
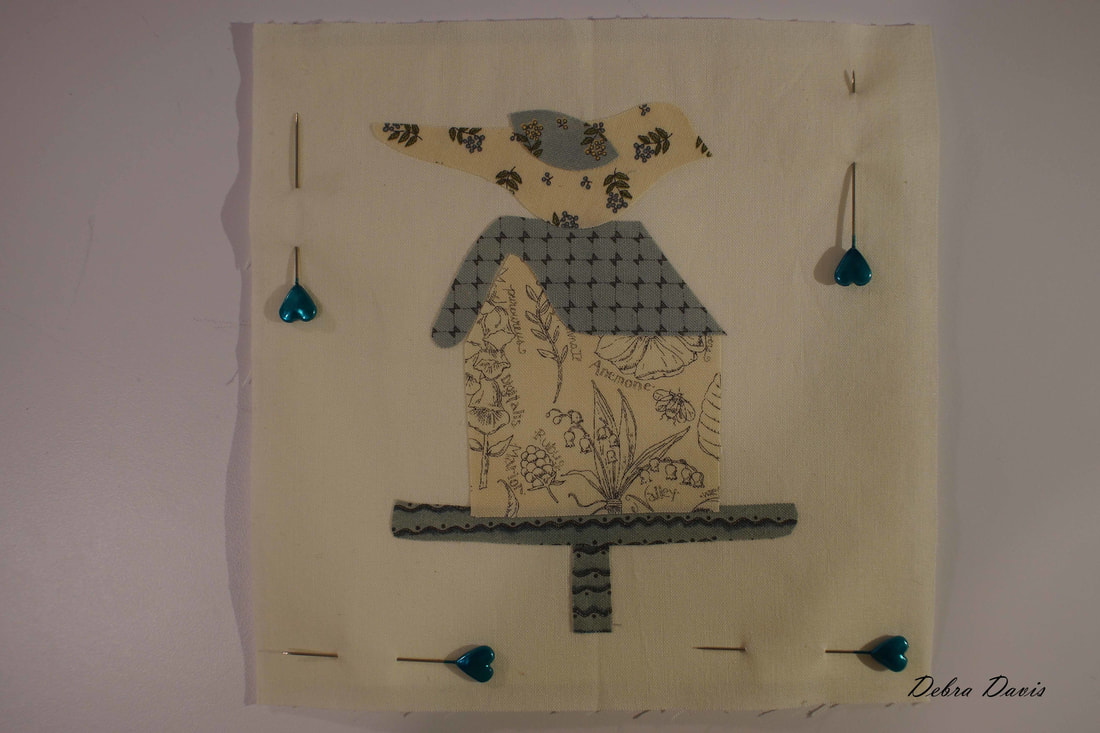
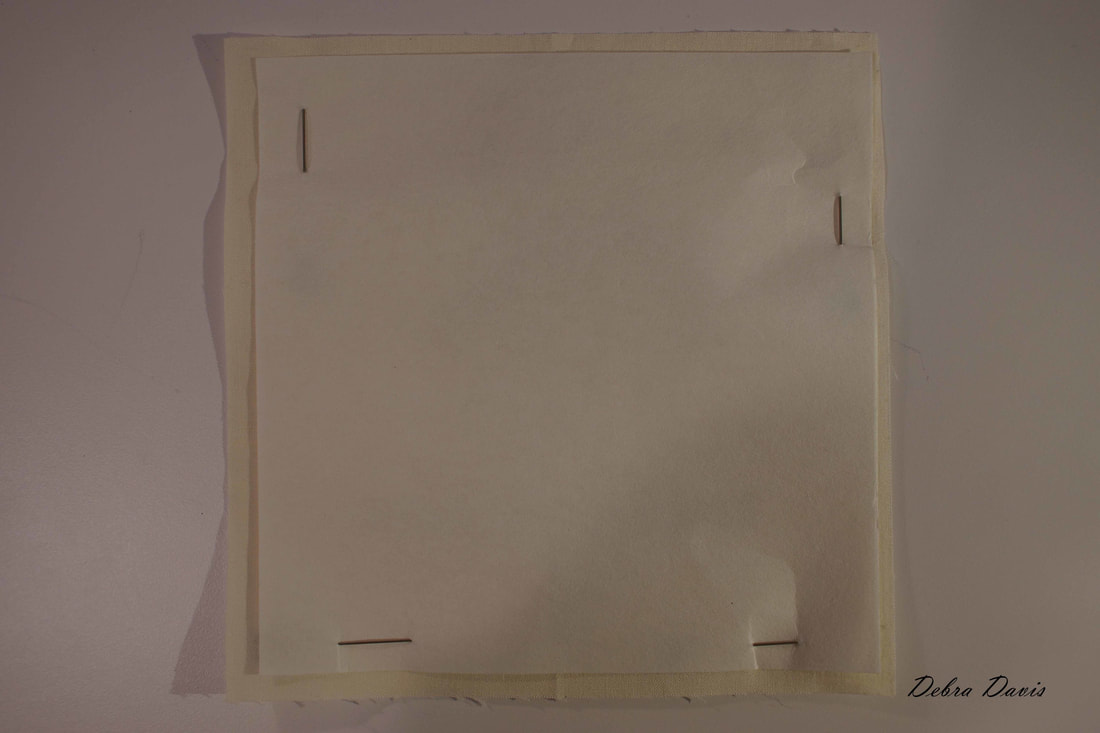
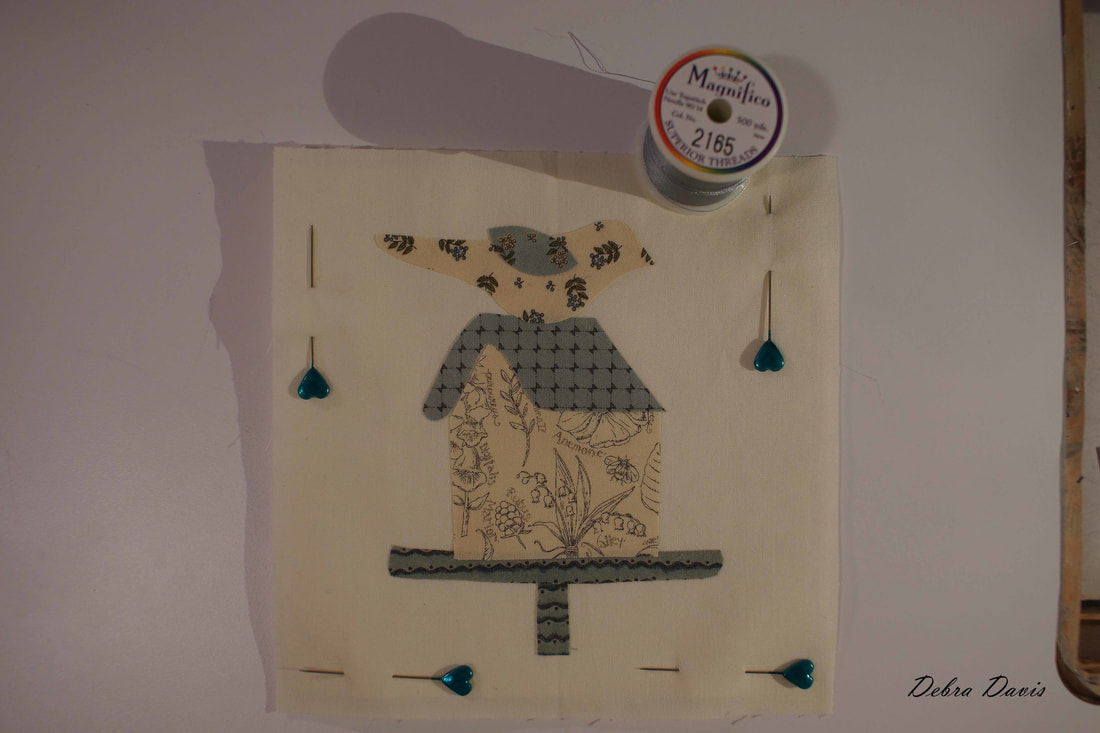
Happy Quilting!! Debra Jan Patek designed this cute little applique block for us. You can find the pattern on her blog, HERE This is one of the blocks I missed over the summer, so doing a little catch up. There is an alternate pieced block that I will be doing later on. You can find all of the tutorials I have done for the Moda Blockheads BOW at this link- Debra's Blockhead tutorials 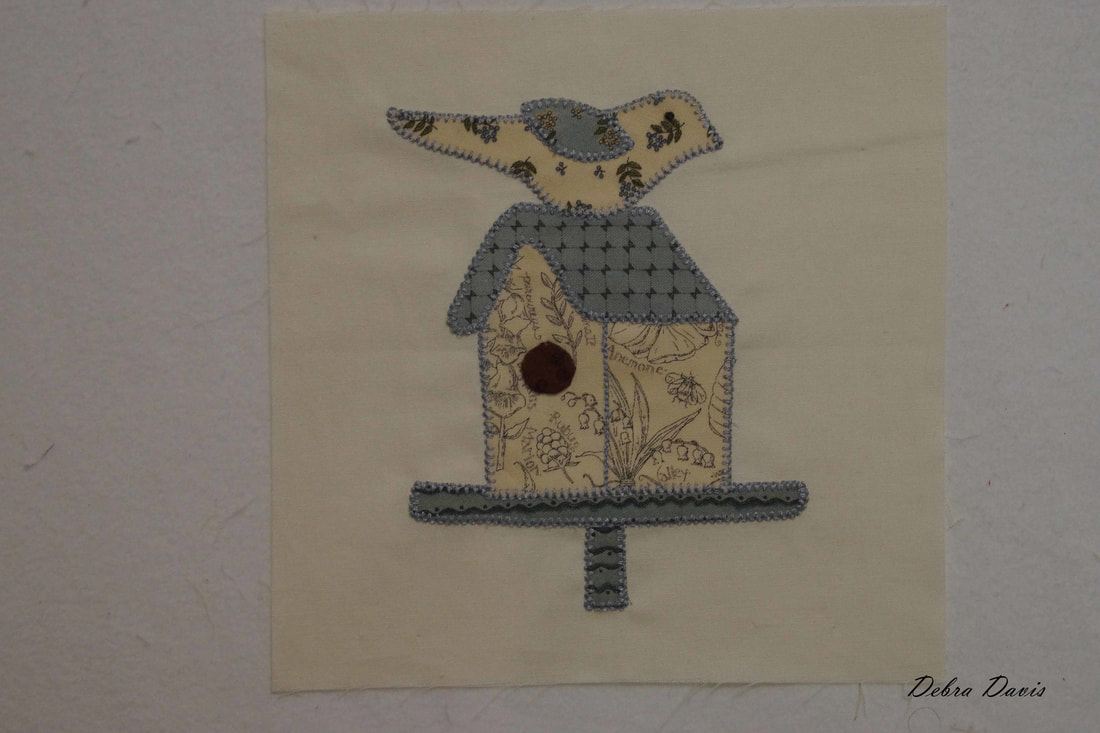 I am going to use the fusible applique method for this block. I begin by tracing all of the patterns in reverse onto the paper side of my fusible. (I am using Heat-N-Bond Lite) I cut them out leaving a little beyond the pattern lines, fused them onto the back of my chosen fabrics, and then cut out on the drawn lines. 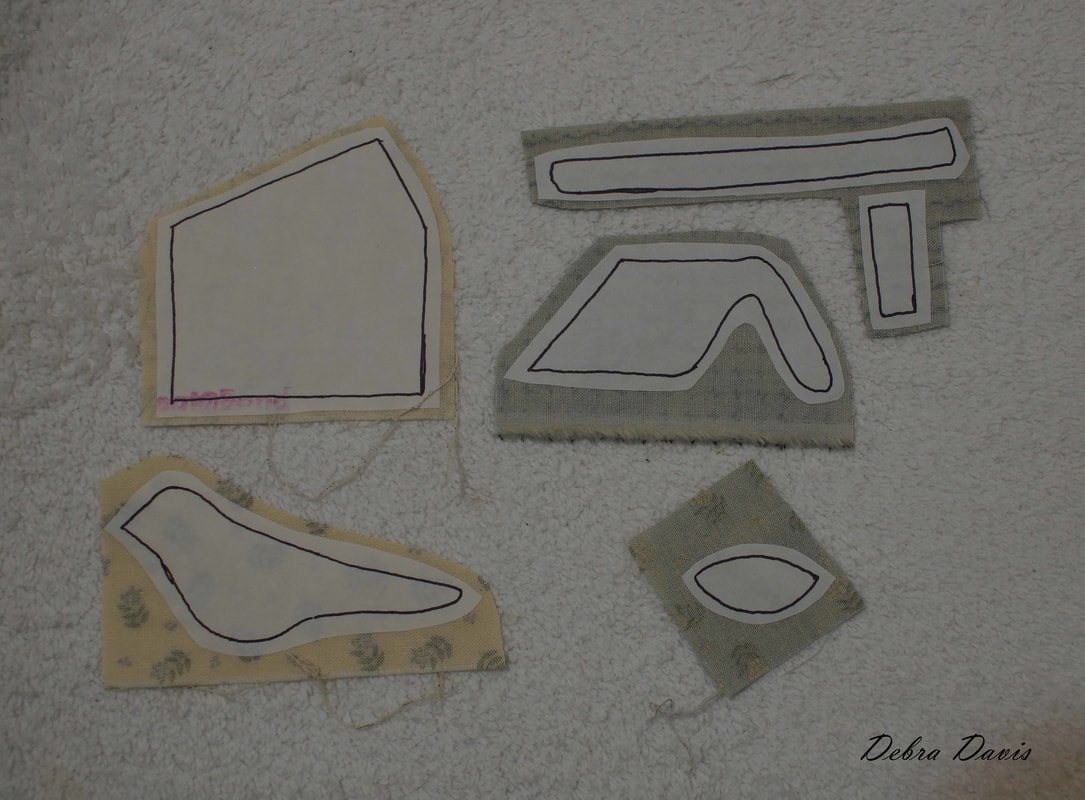 Next, I start laying the pieces onto my background fabric beginning with the piece that is in the back as I layer them on. I like to begin with a little larger background piece so have cut it 7" x 7" and will trim it to size after I am finished with the block. I have made fold lines in both the paper pattern and the background fabric to find the middle of the each and simply lay the fabric on top so the folds all line up. 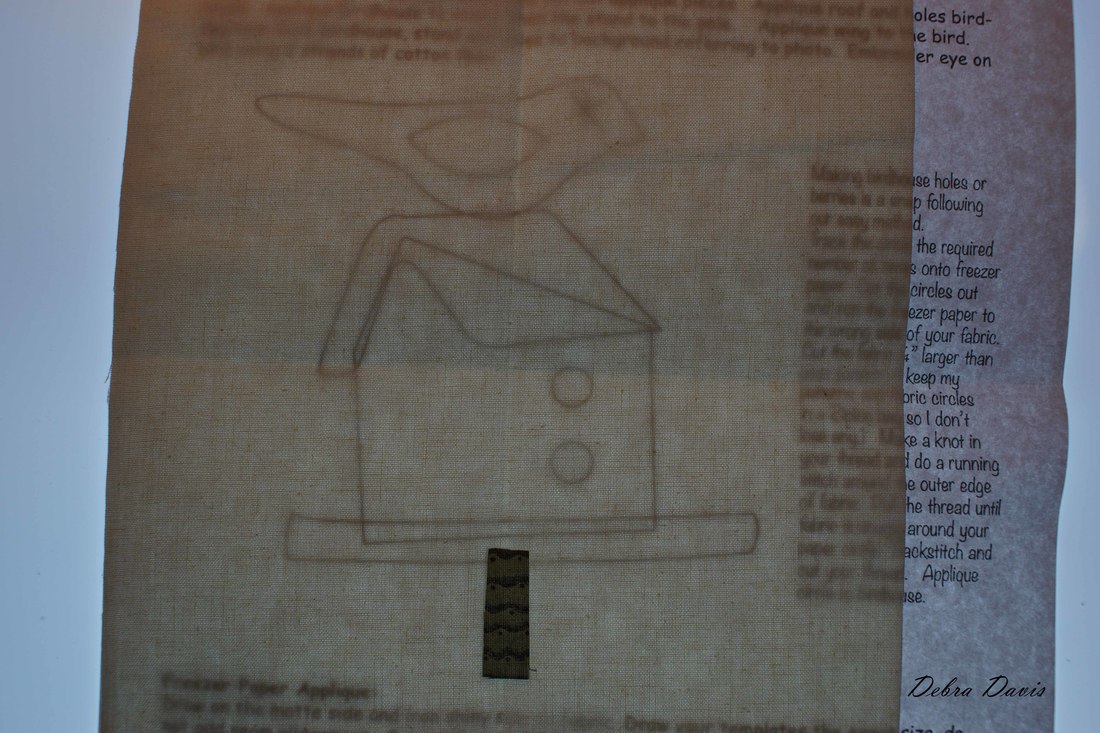 I keep adding pieces going from back to front of the design. 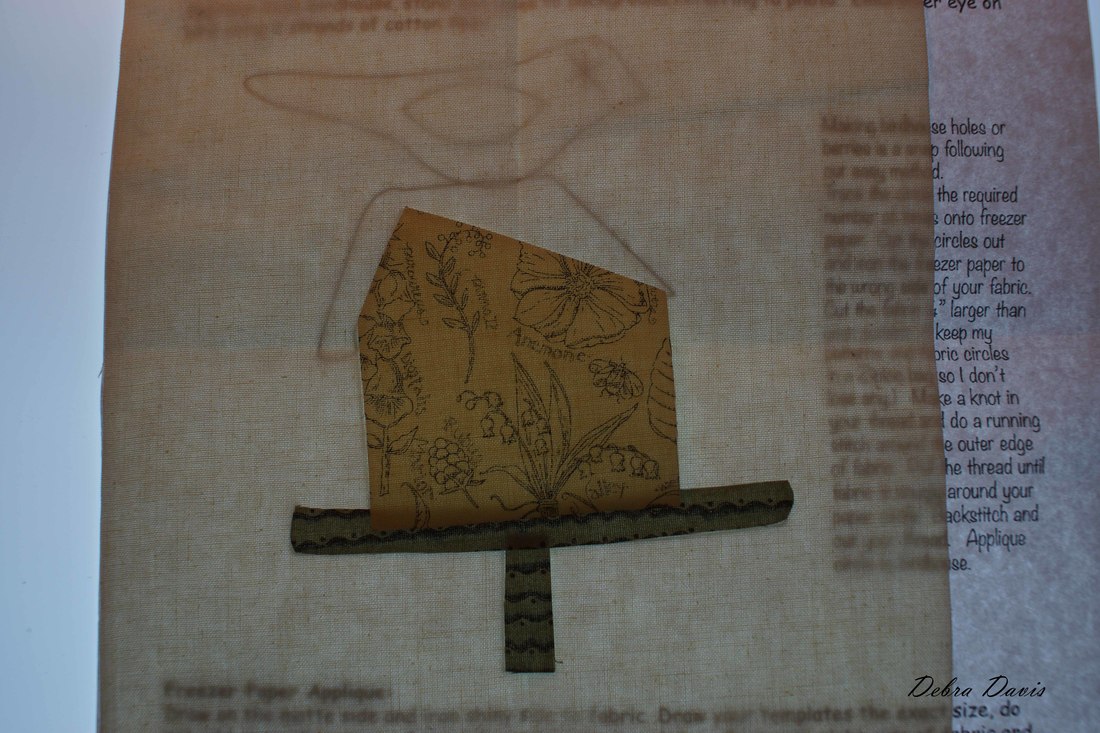 When everything is arranged as I like I use my iron to fuse them all to the background fabric. 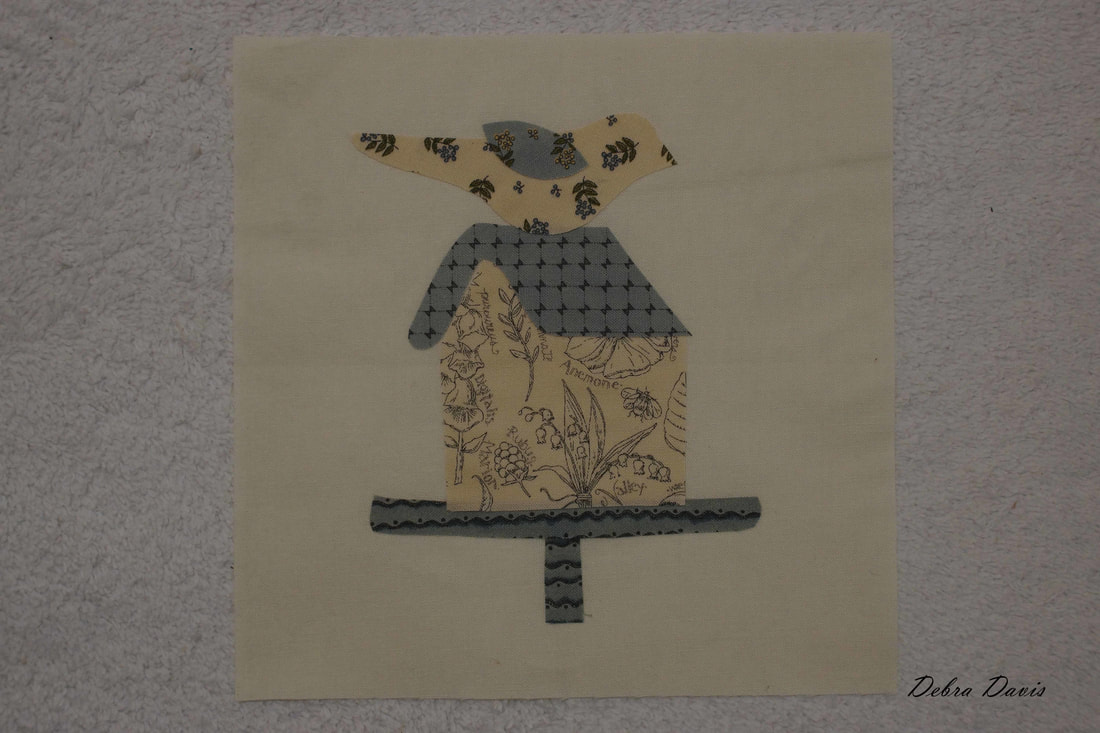 Before I begin sewing I pin a piece of stabilizer to the back of the block. I am using a stabilizer that washes away with water. Stabilizer really helps to keep my stitches even and smooth. It was one of the keys for me in achieving an end result that I liked.
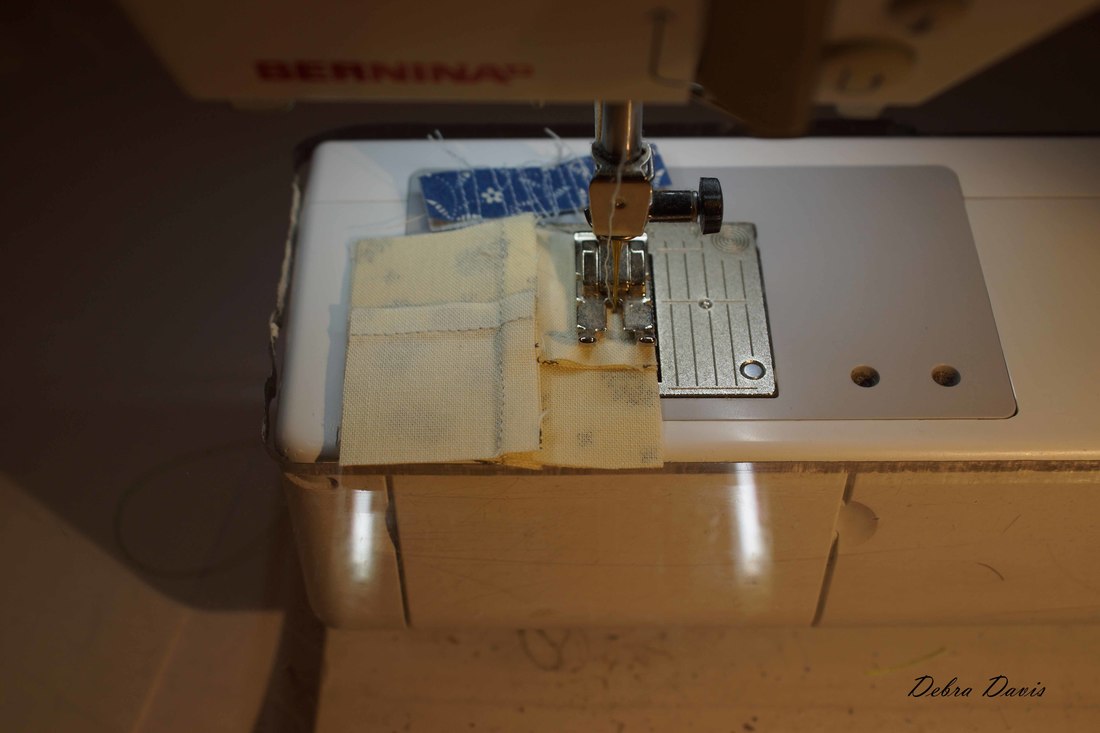
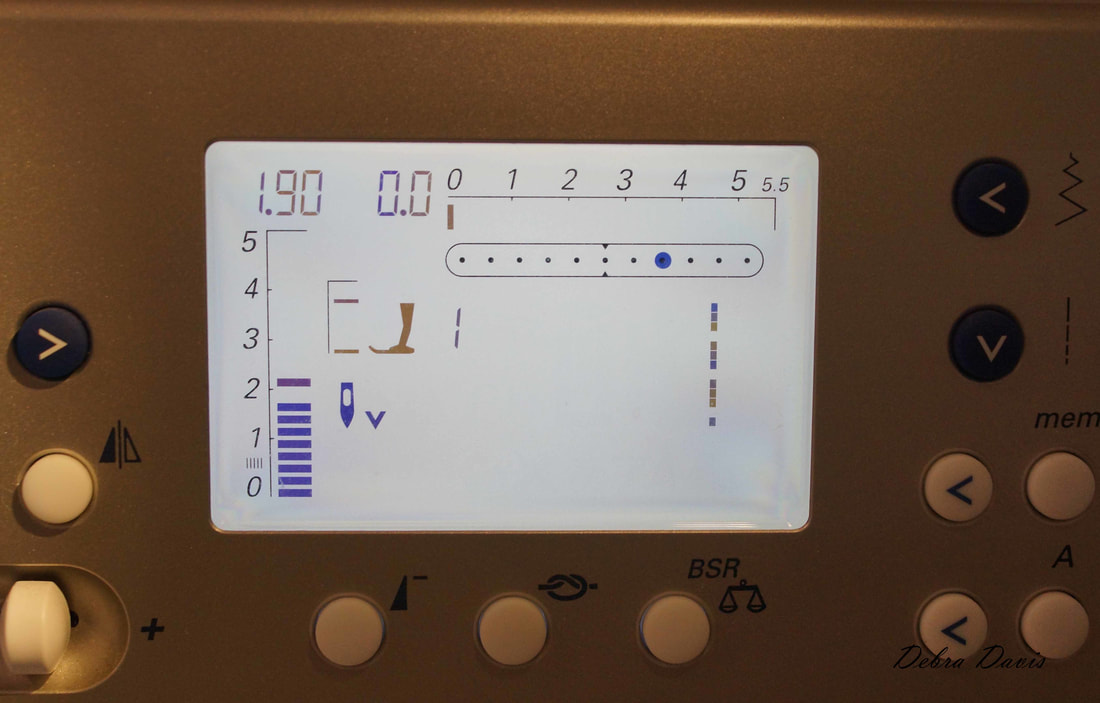
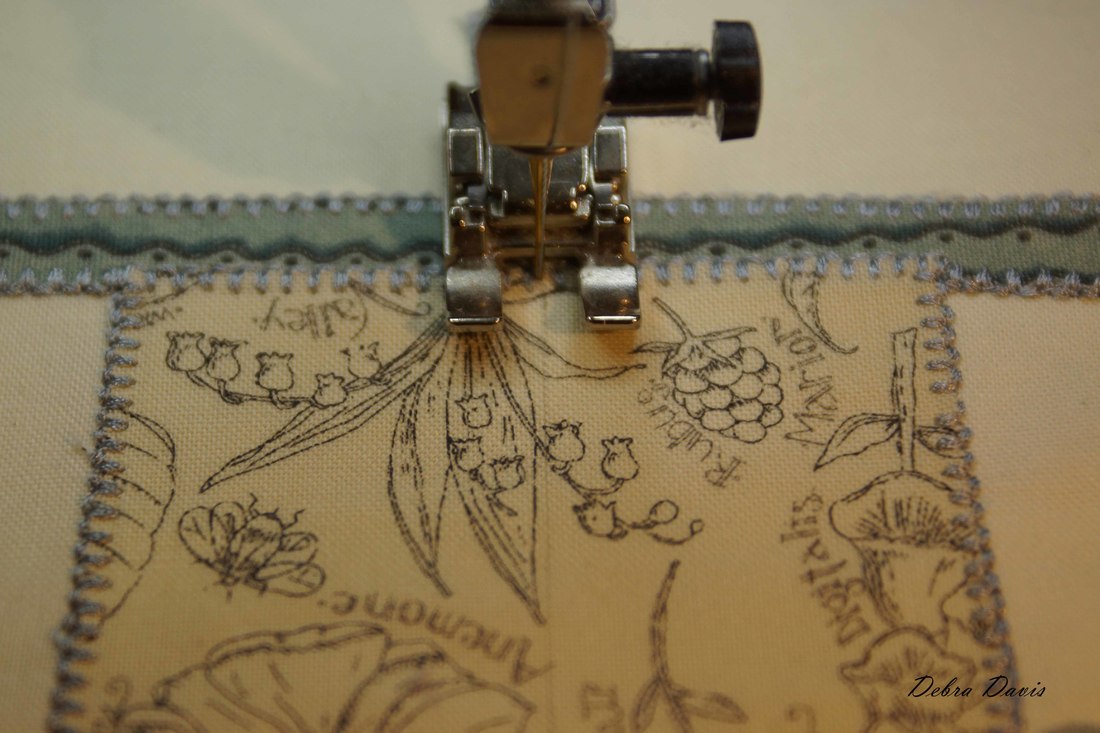
With my thread chosen and my wide embroidery foot in place on my machine I am ready to start stitching. I am going to start with a straight stitch with a length of 1.9, and always have my needle in the down position. Having the needle down is very important when making turns and adjustments. My machine has the ability to move the needle position and for this I stitch I have moved it to the right two positions.
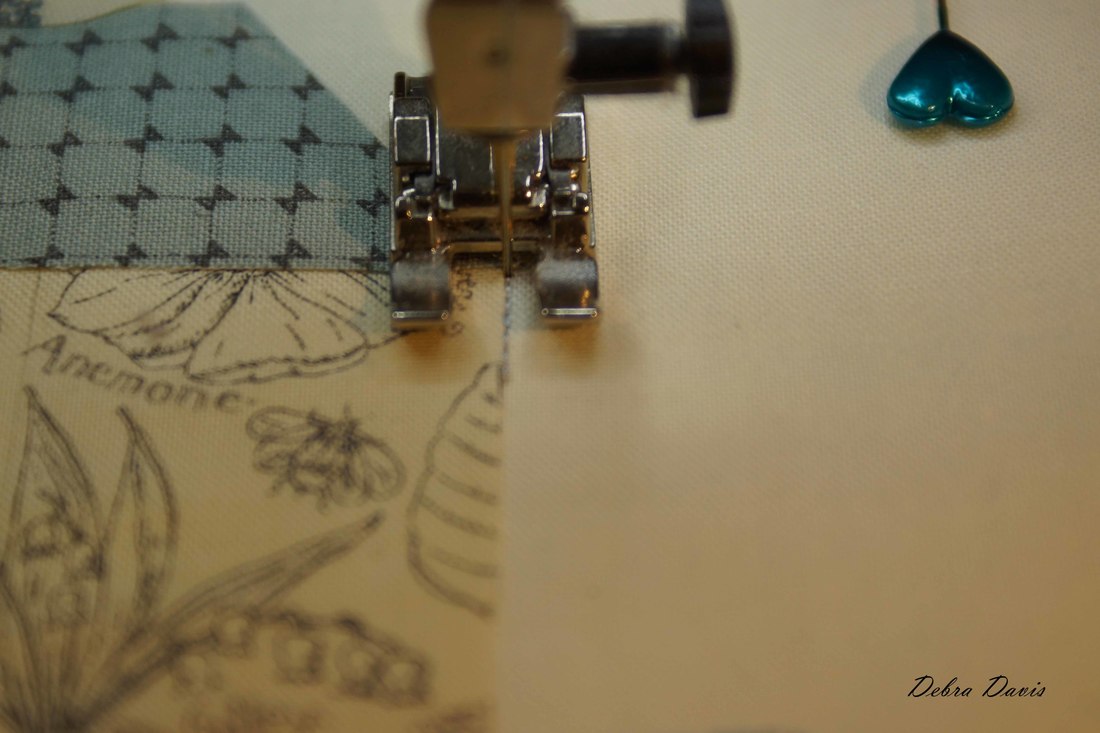
To begin I take a few straight stitches towards the point where I will begin my applique stitch. 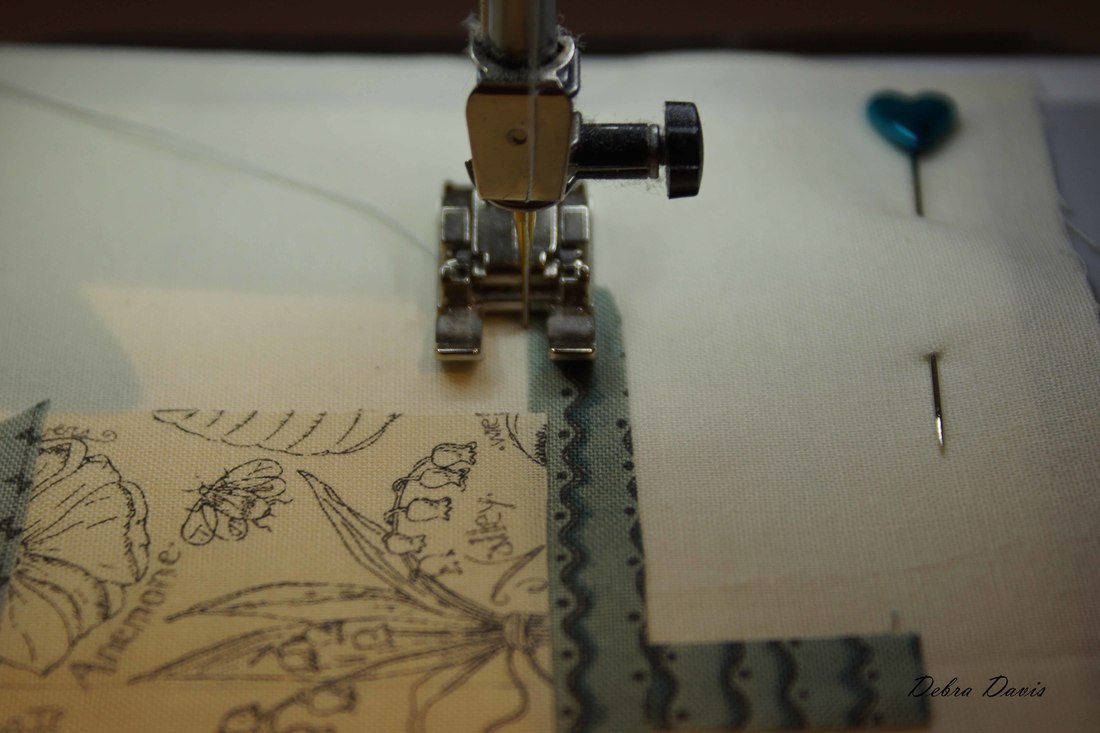 Once I reach my starting point I pivot my work to sew back over those straight stitches with the Buttonhole stitch I am going to use. This way I have no worries about my stitches coming out. 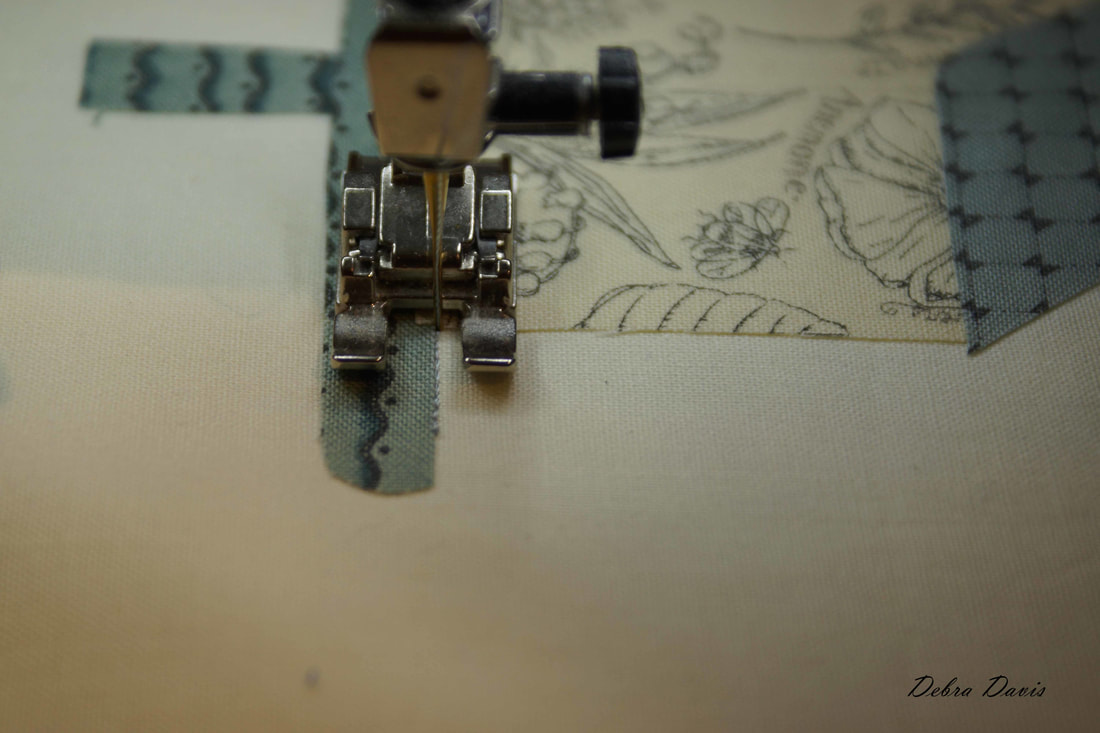 I switch to a Buttonhole stitch (I am using the double buttonhole stitch on my machine) and have set the length to 1.9-the same as my straight stitch length- and width to 2.0. My needle continues in the down position. This time I do not make any adjustments to the needle position. 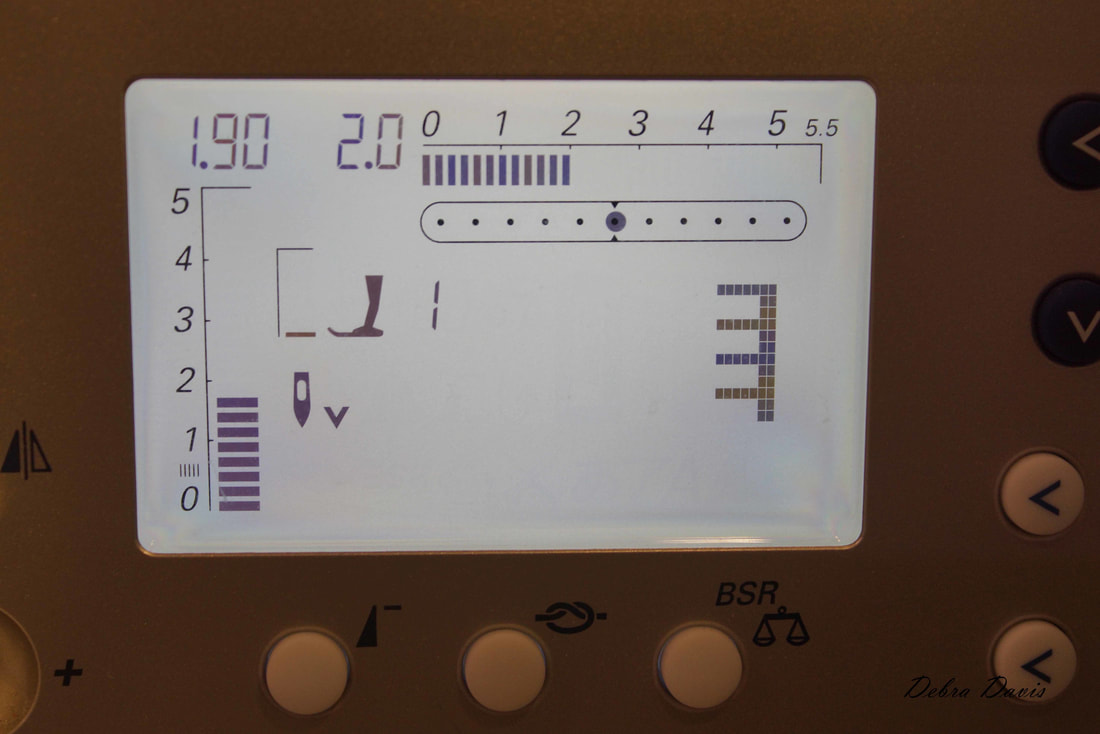 And away we go with the buttonhole stitch. 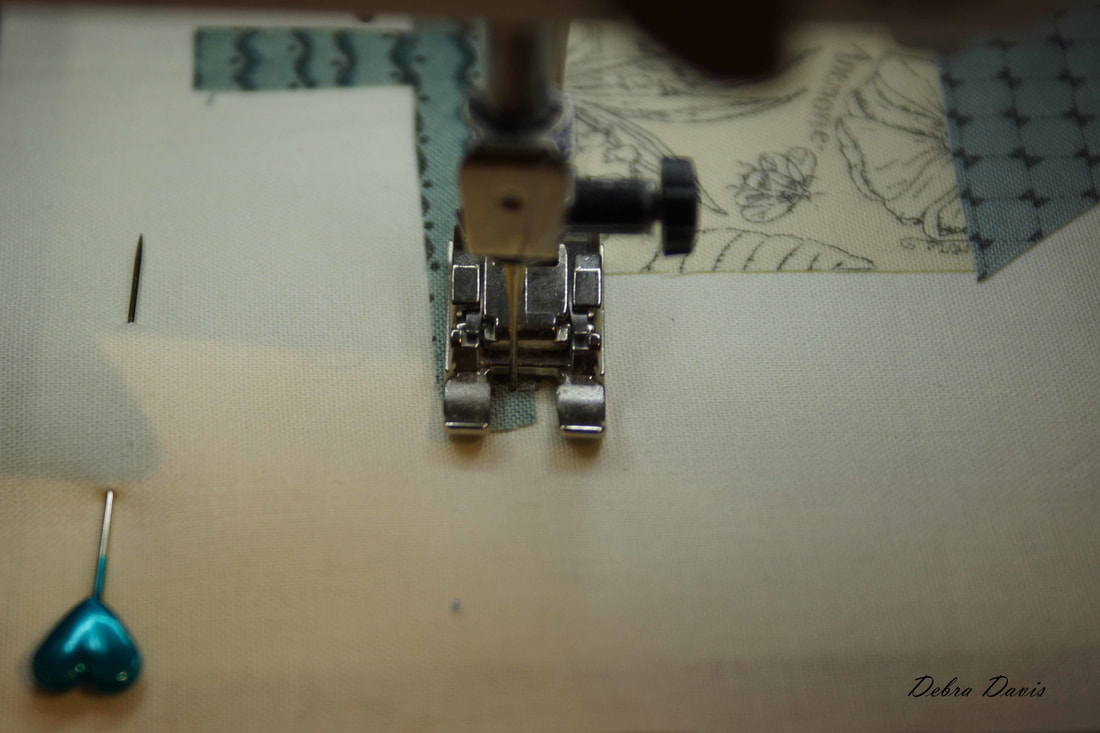 When I come to this corner I turn my work and will continue the buttonhole stitch around the post. 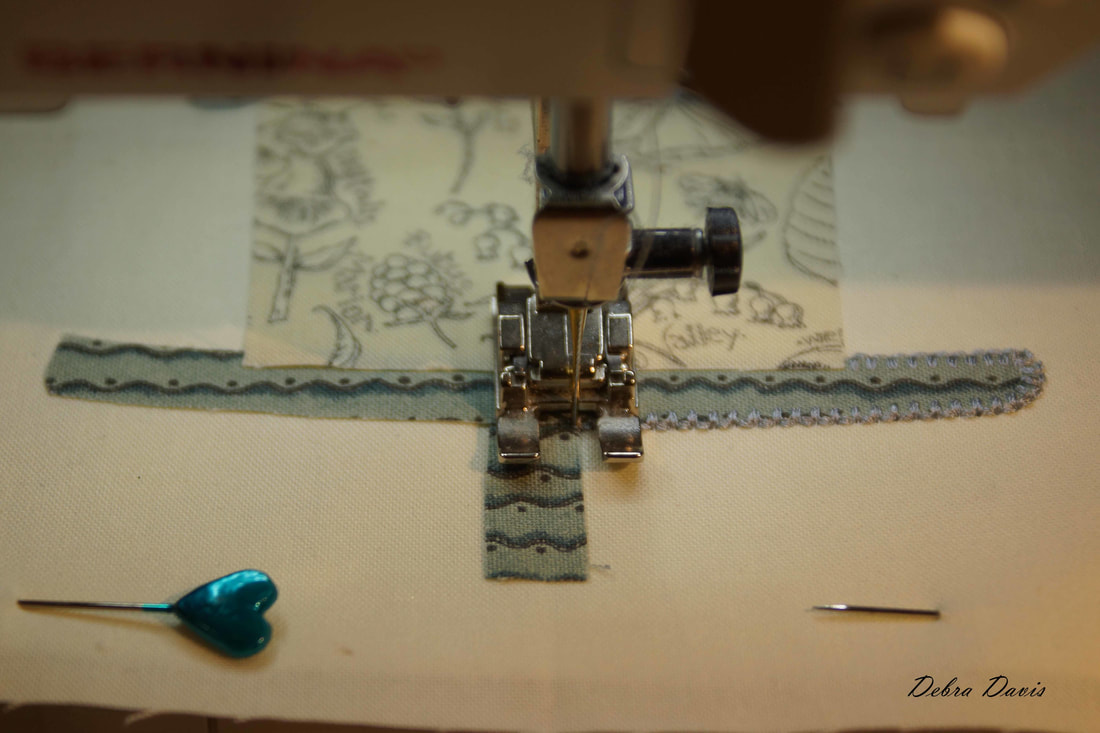 I pivot my work again and switch to the straight stitch (thankfully my machine remembers the settings I am using so I do not have to enter them in each time,) I will sew straight across to until I meet the stitches in the other end. 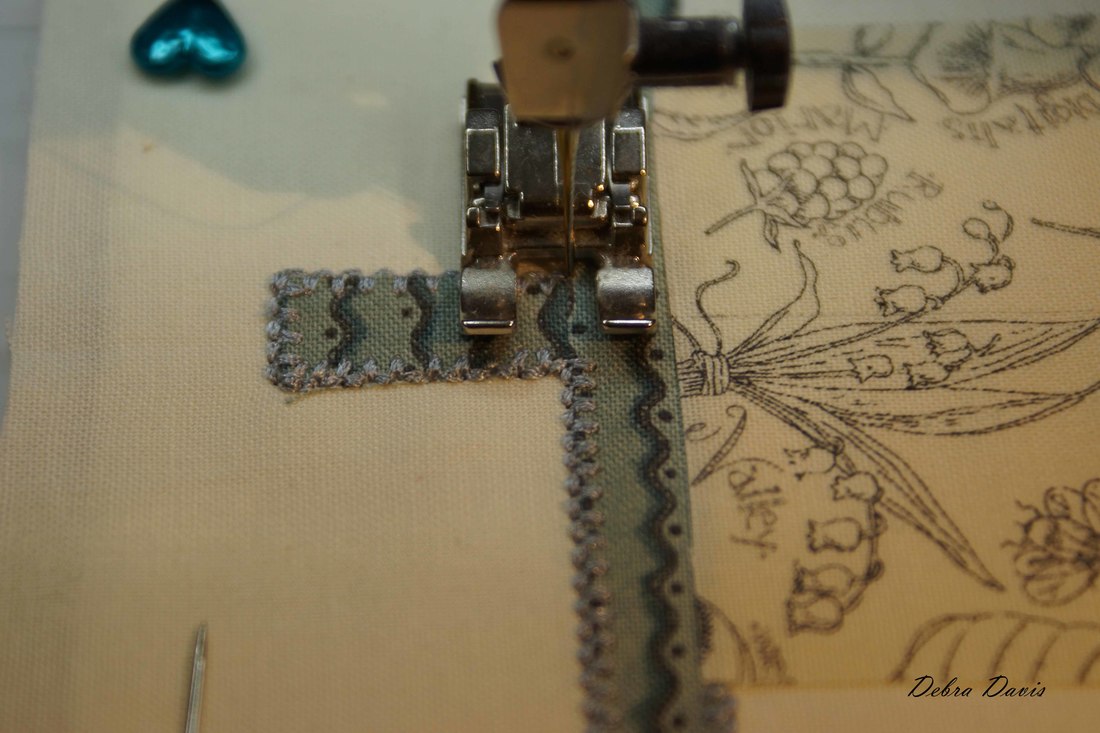 Now I pivot my work and will resume sewing with the buttonhole stitch. 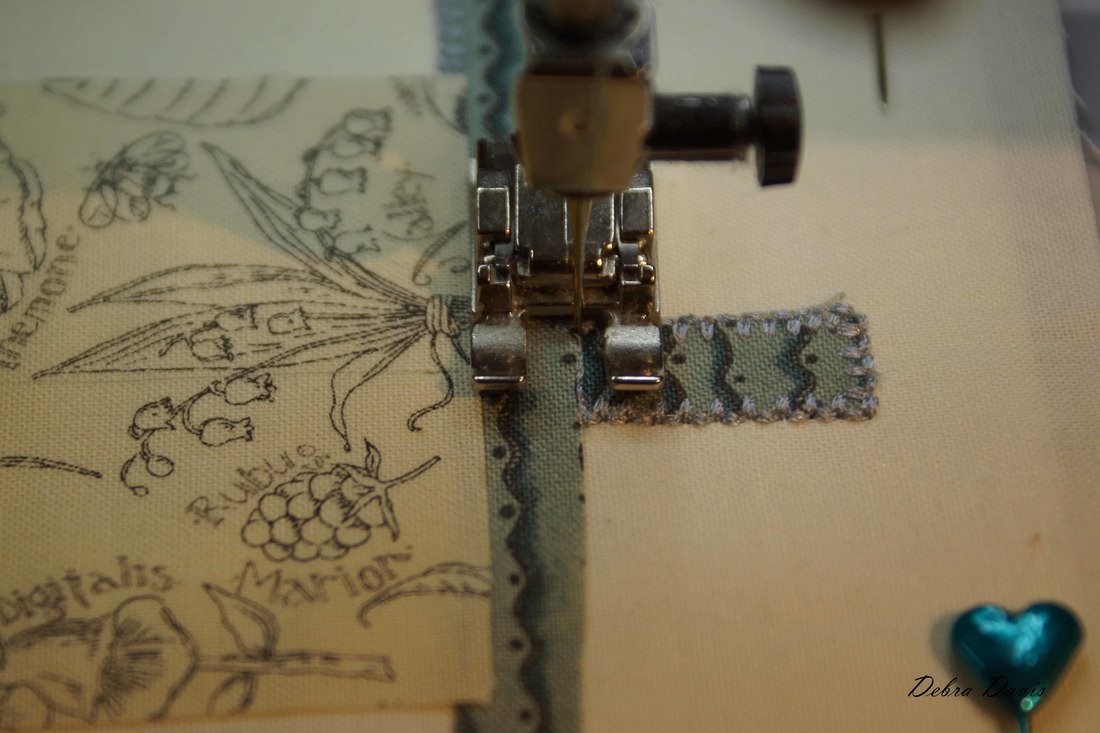 To finish off this section I turn my work and will do a few straight stitches back over the buttonhole stitches, ending with a locking stitch. 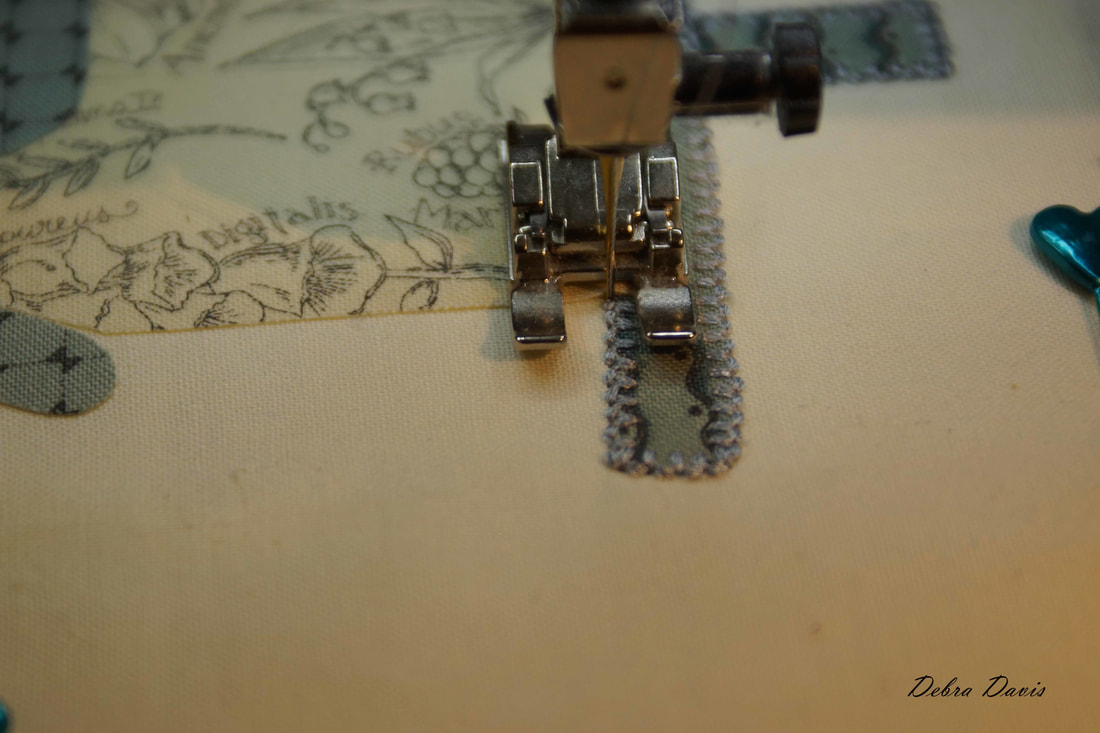 Now I just repeat this process as i work around the other sections, working from the back to the front of the applique pieces.
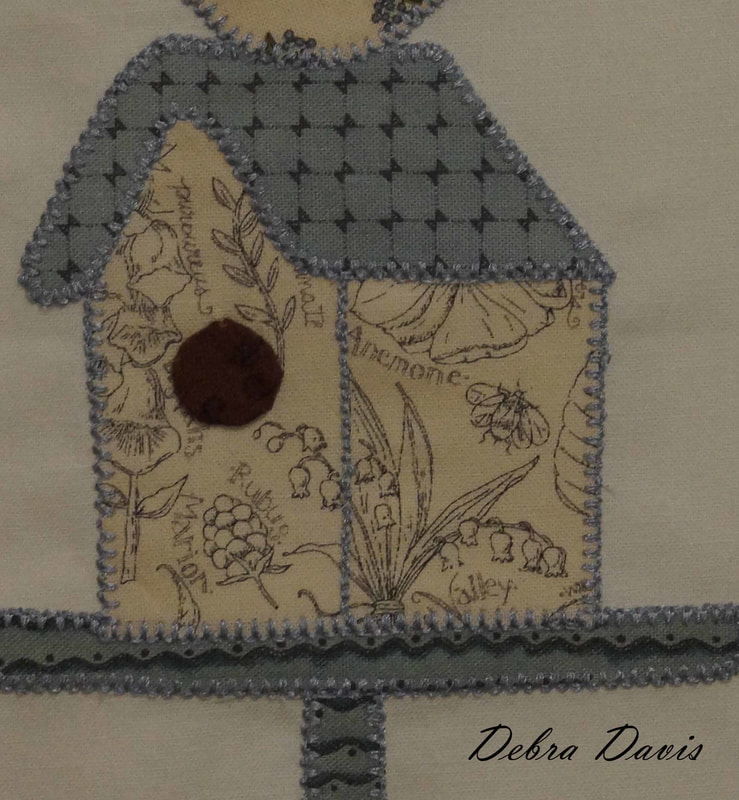
I decided I wanted a little more definition to my birdhouse and drew a faint line where I want to indicate the corner of the house. I used a straight type stitch and went up and back down over this line. I forgot to take a photo, but here is a closer look at the finished birdhouse where you can see the corner added.
The roof was done next. Then I moved to the bird. You can see where I started at the point where the wing and bird meet. That allowed me to go around the entire bird so that when I came to the wing I just turned and continued on around the wing. 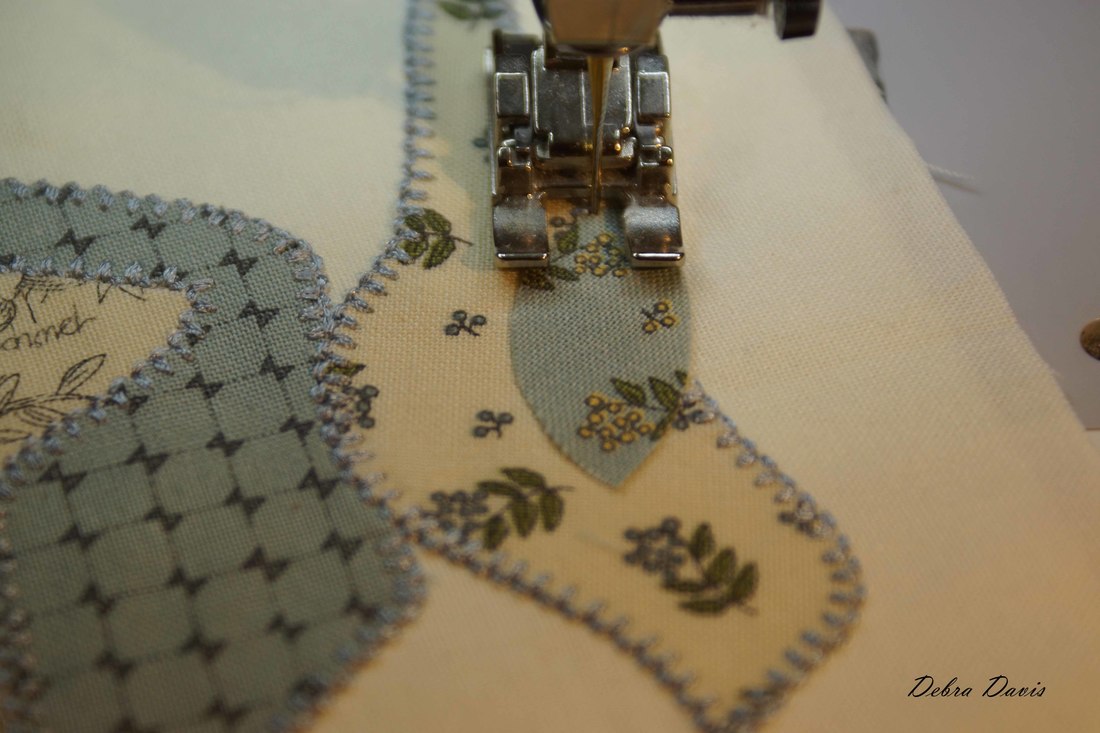 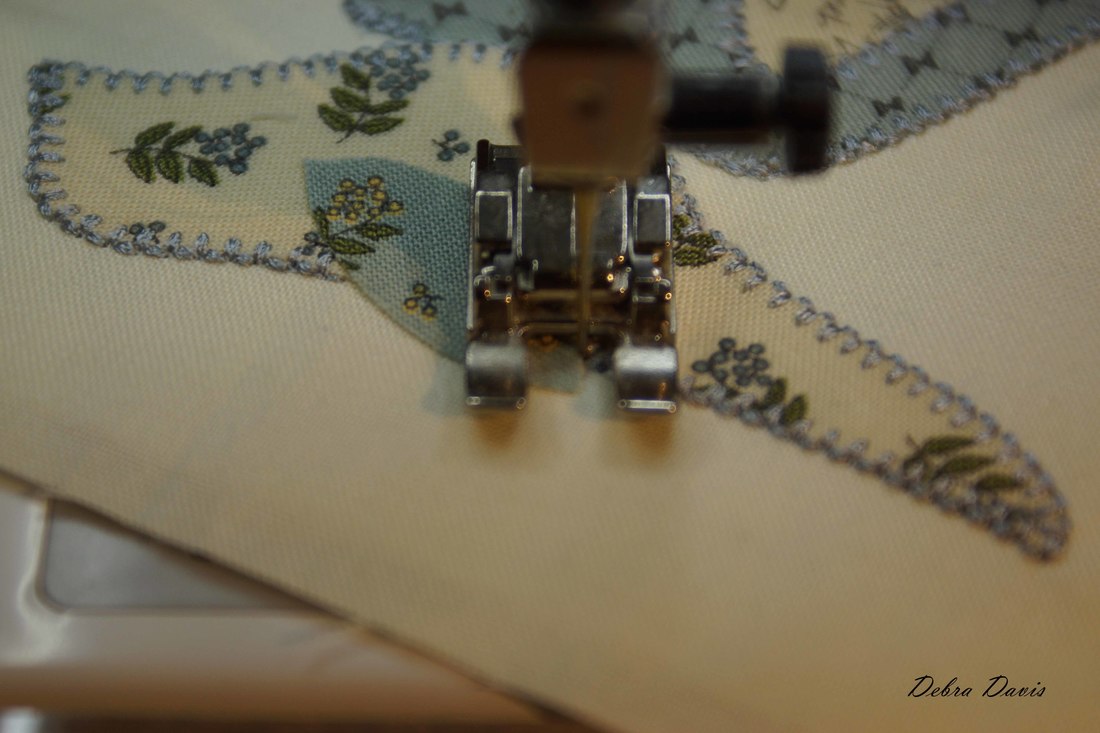 Once I made it all around the wing I turned and finished off with a few straight stitches back over the previous buttonhole stitching. 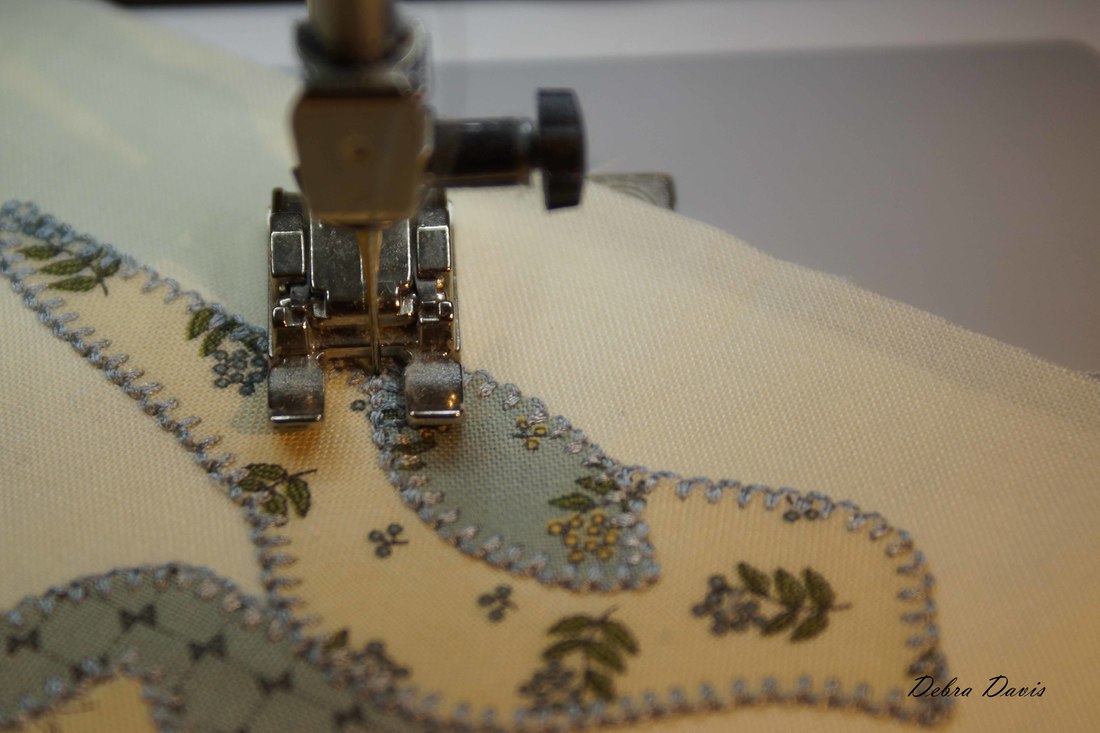 I decided I just wanted to do one of those tiny circles, so I made it a door and used these plastic circle templates to do a similar method as Jan showed on her blog. For my step by step directions for this click HERE.  I stitched the circle down by hand and then added a French Knot for a little eye using four strands of embroidery floss. It was nice to do a block that made me think of summer while having to turn on the heat as our temps dipped below freezing this week. Can there really be snow in the forecast for tomorrow? 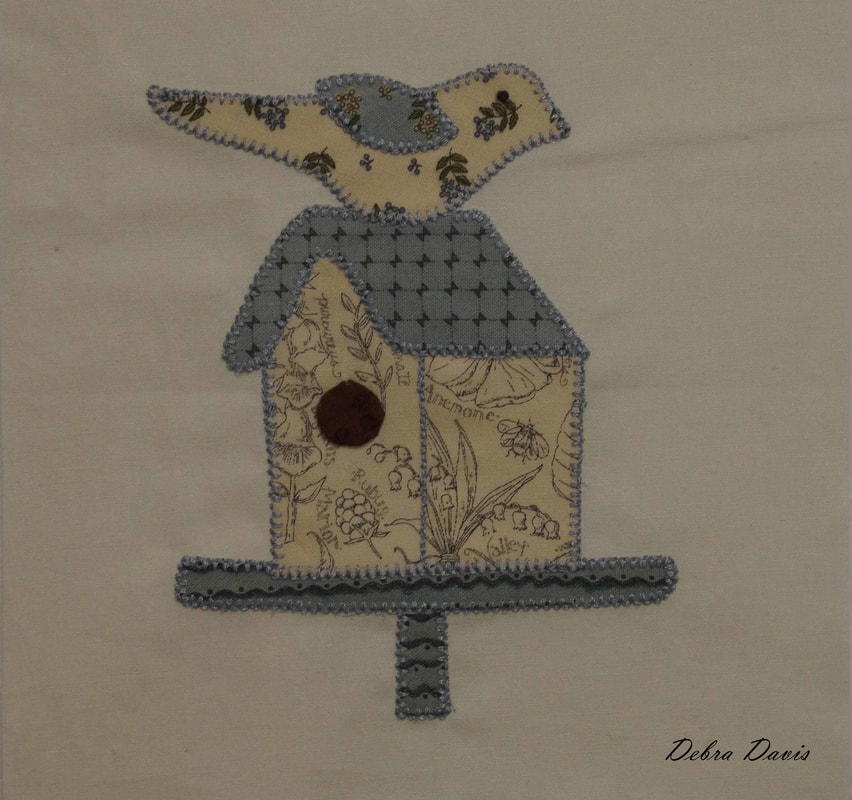 Until next time...
Happy Quilting!! Debra |

Welcome to the site of Debra Davis-a woman who loves the Lord and loves to quilt.
My other blog where I share about my walk of faith:
Sitting at His Feet 
|


 RSS Feed