|
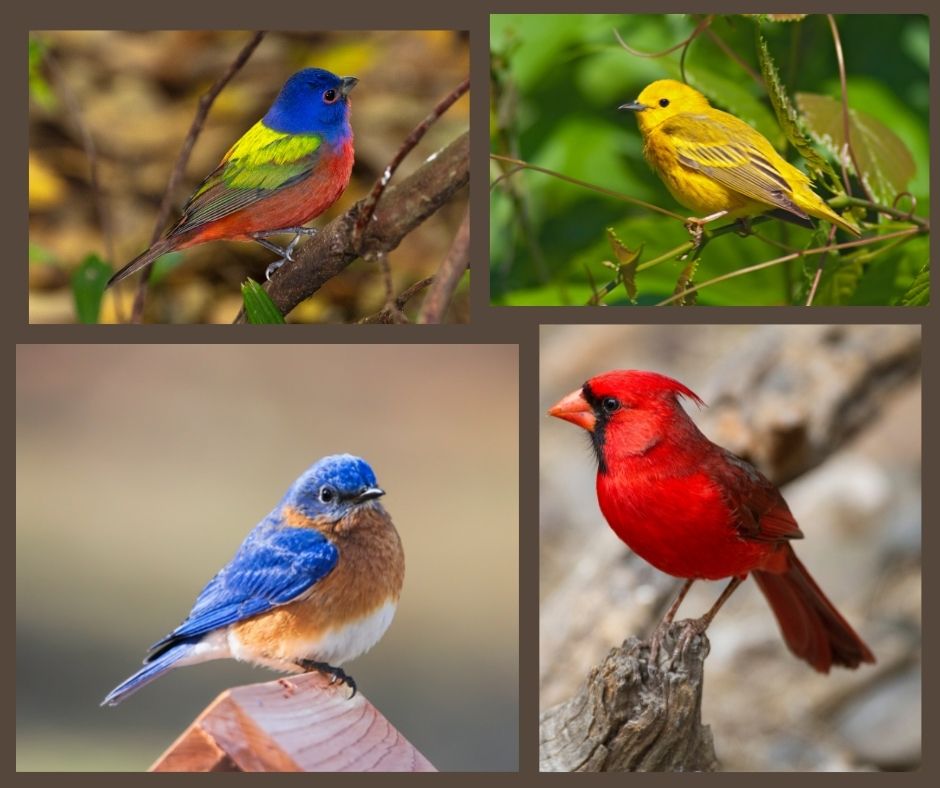
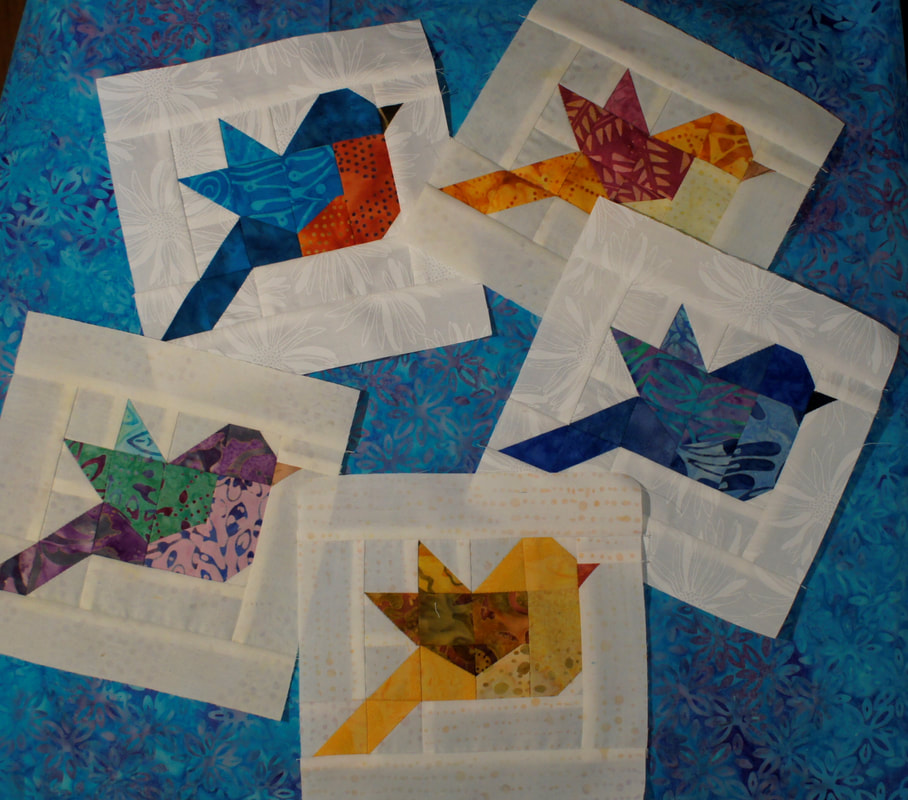
One of our favorite things to do around here is go out and see the birds. I've enjoyed getting to know them since I was a little girl. They always give me a little thrill whether in my backyard or out on a trail. This month's block captures that love.
Don't let the small size of some of the pieces in this block scare you. You can do this! My main tips for working with these smaller pieces:
1. Starch your fabric, especially if you prewash like I do. Starching makes an incredible difference. 2. Cut accurately. Take time to make sure you are cutting and trimming the exact size needed. 3. Slow down. Really. This is not a block to rush on, even when sewing along those straight seams. 4. Use a shorter stitch length. I dropped mine down just two places below my normal setting. 4. And, as always, read the directions carefully.
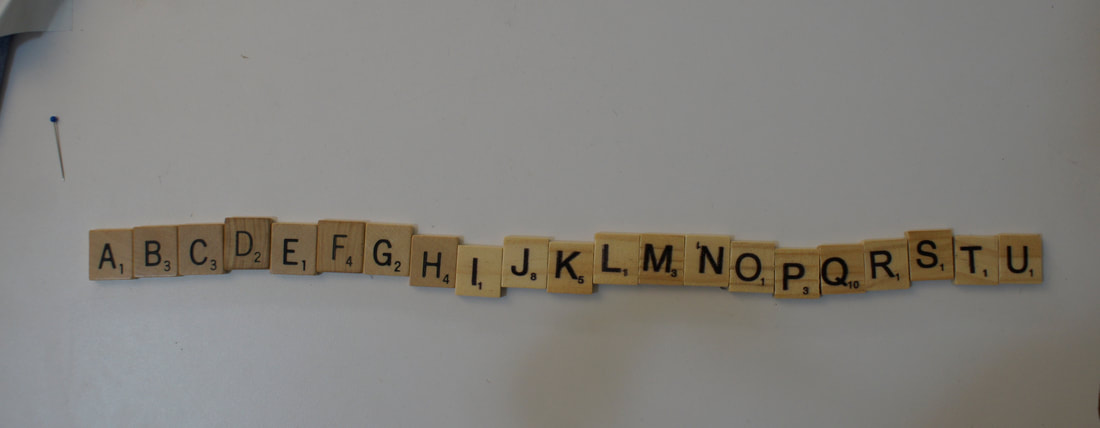
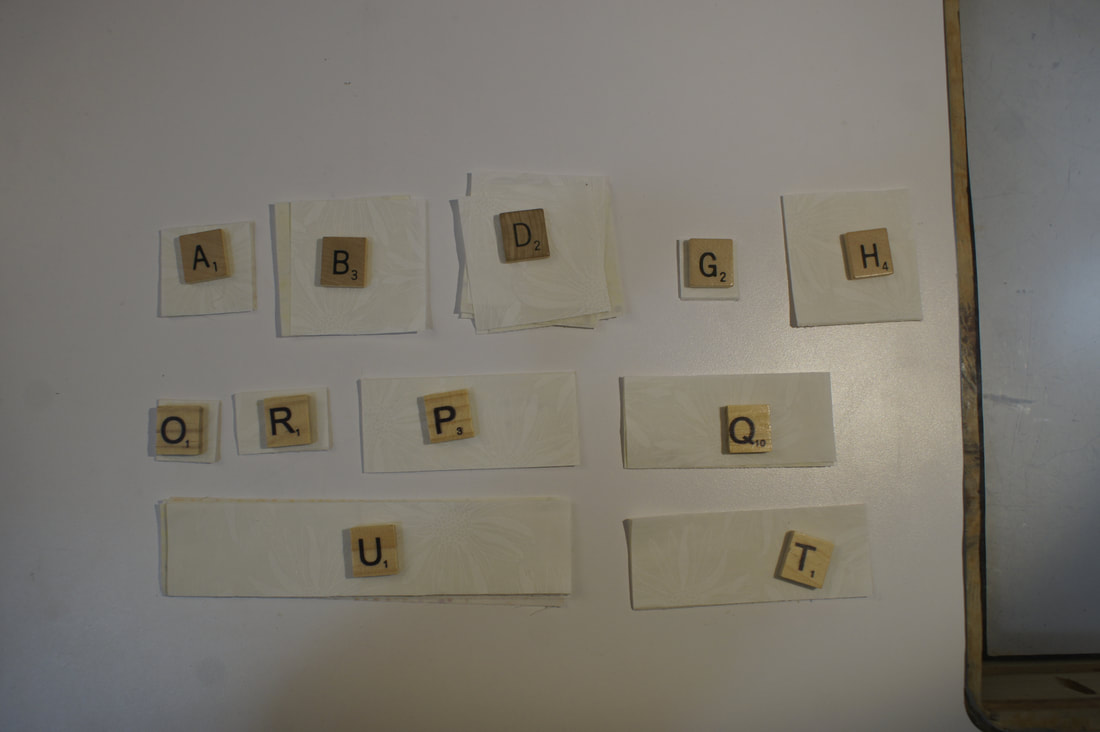
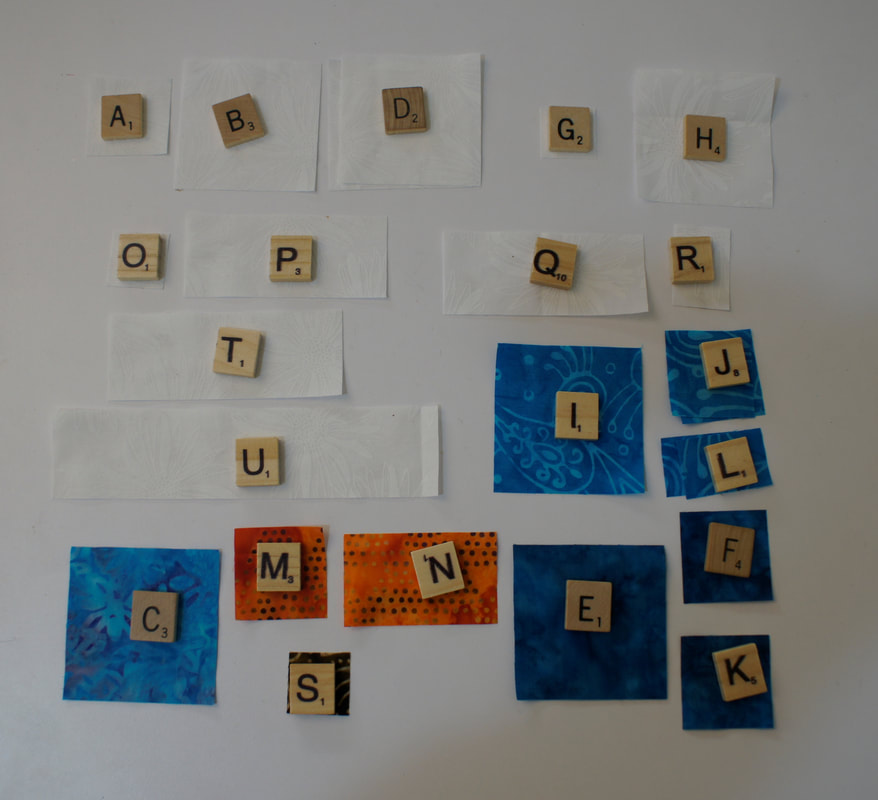
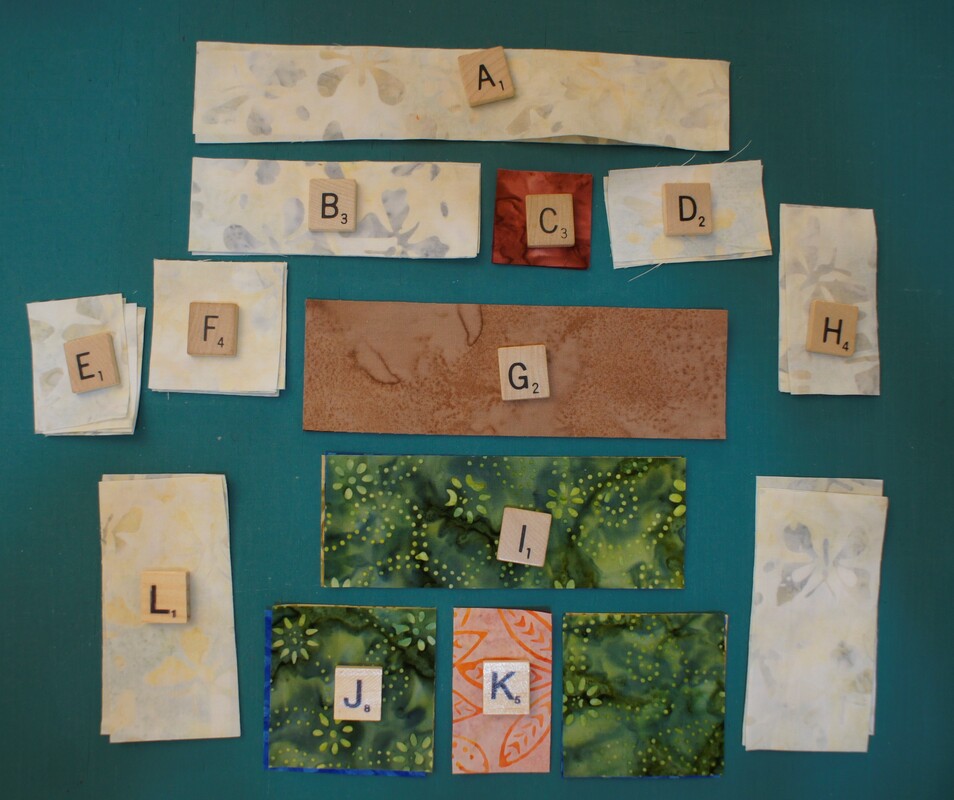
There are a lot of pieces in this block! I recommend that you find a way to label them as you cut them out. My personal favorite are scrabble tiles. You can pick up a multipack of them at the store, or even find old games in thrift shops. I like the ability to just set them on my fabric pieces and lift them off and on as needed.
I cut out all of my background pieces at once and then worked on the birds one at a time so as not to confuse myself as I put them together. Although, if your birds are identical that would not be an issue.
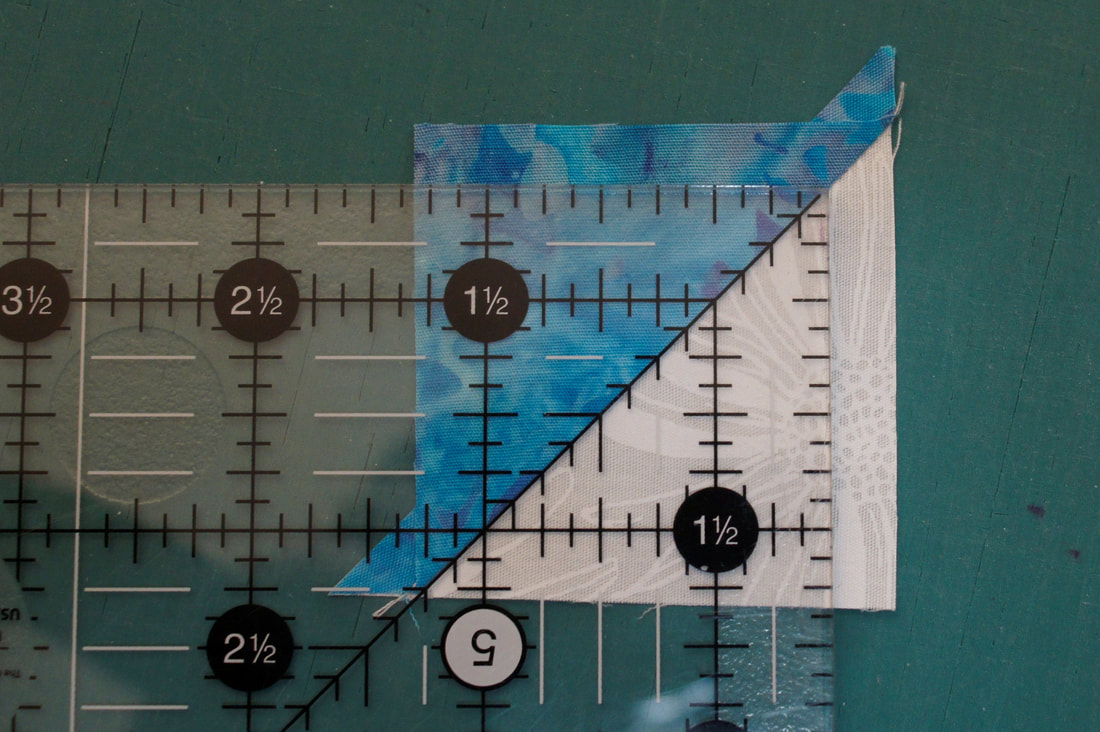
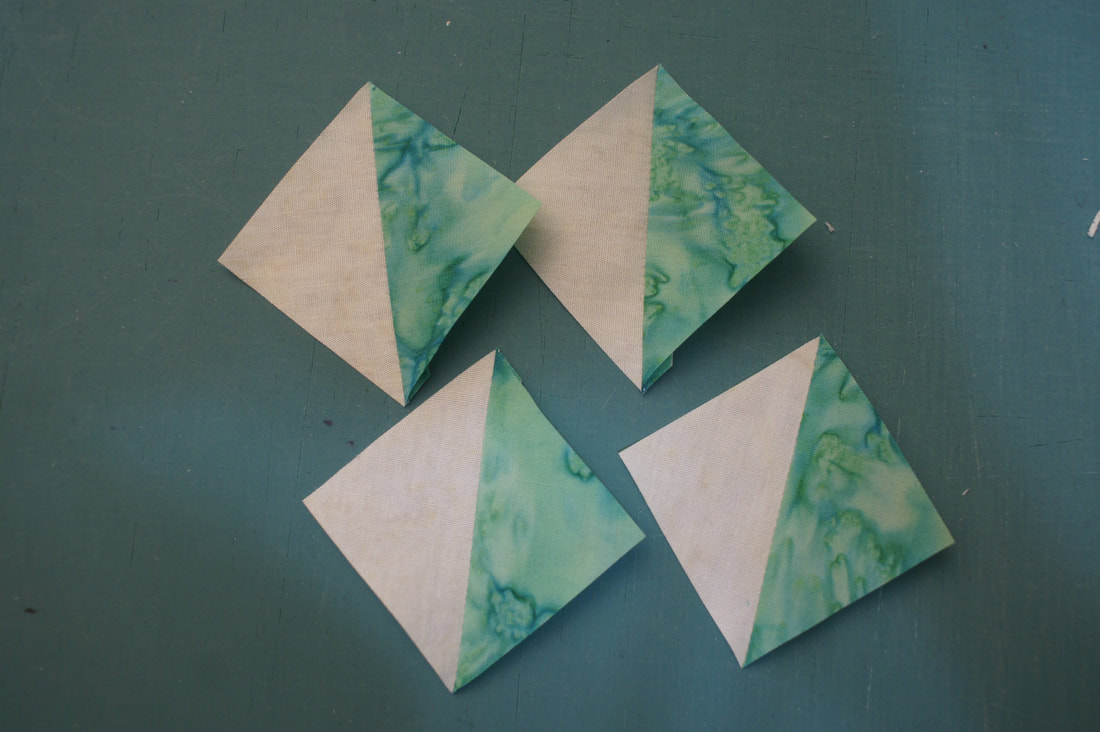
We get started by making several Half-square Triangles. We've made lots of these, but I just want to remind you to lay your ruler along the diagonal seam as you trim. I usually move mine up from the edges a bit as well and cut my piece out of the middle.
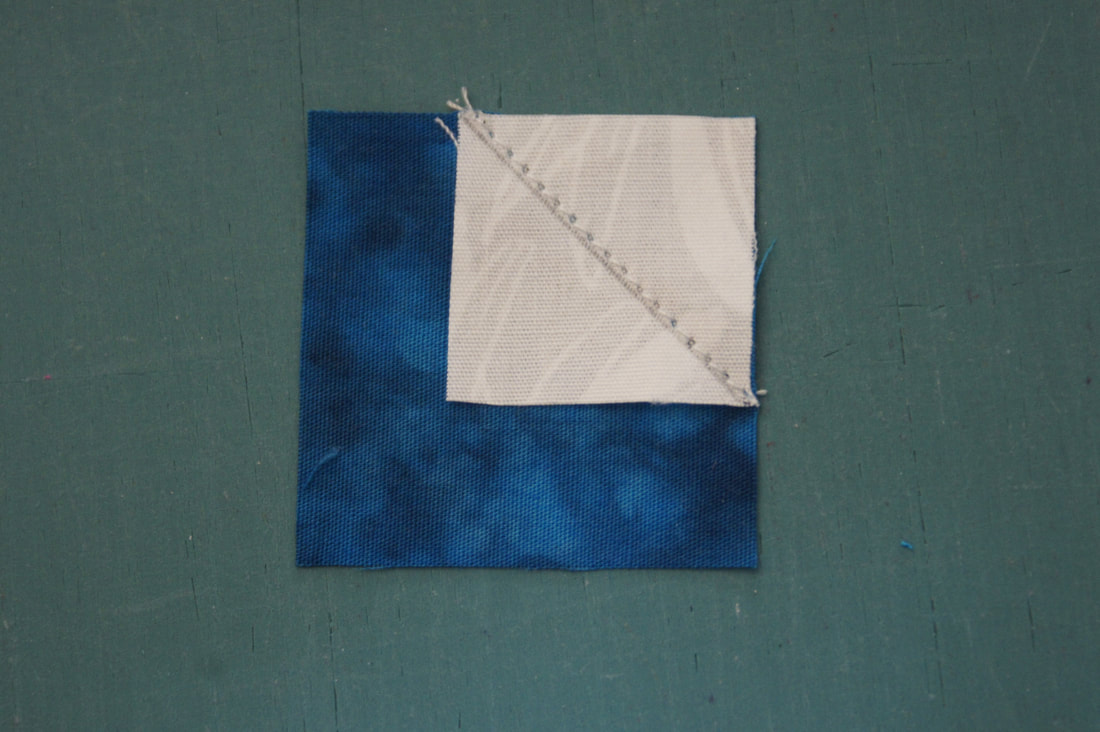
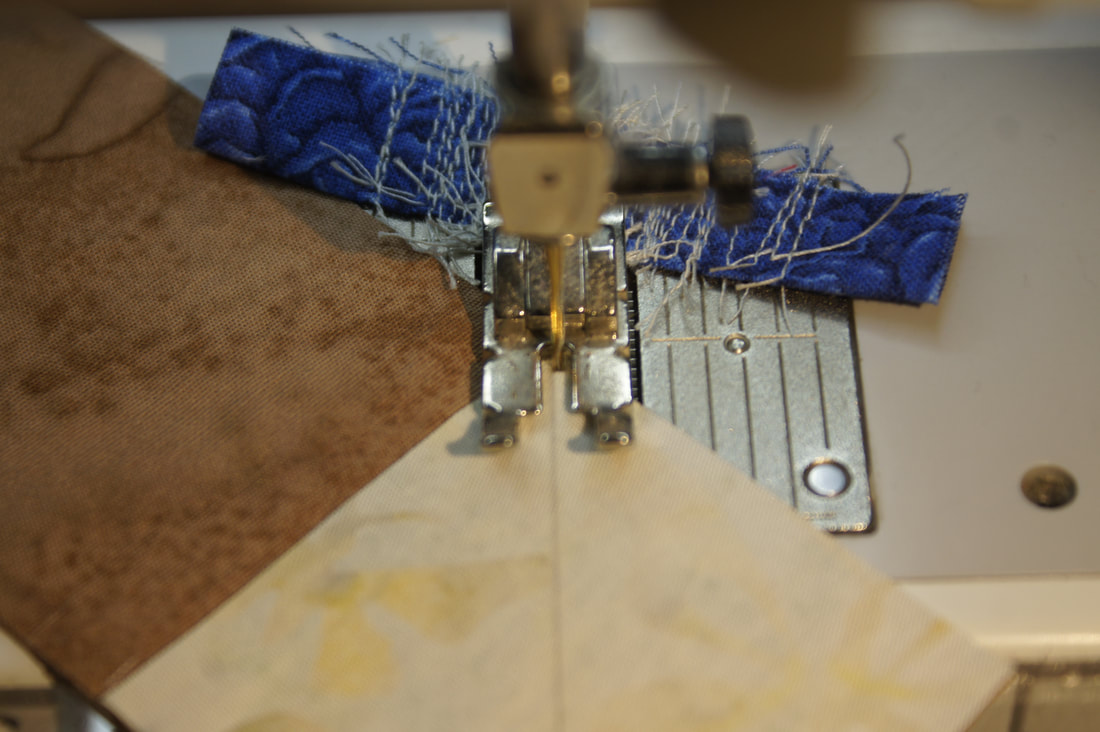
One technique we are going to use several times in this block is making a corner triangle with a square. I find that if I sew right on top of the line I've drawn that my piece is too small. By moving my needle just to the outside edge I end up with the perfect size needed.
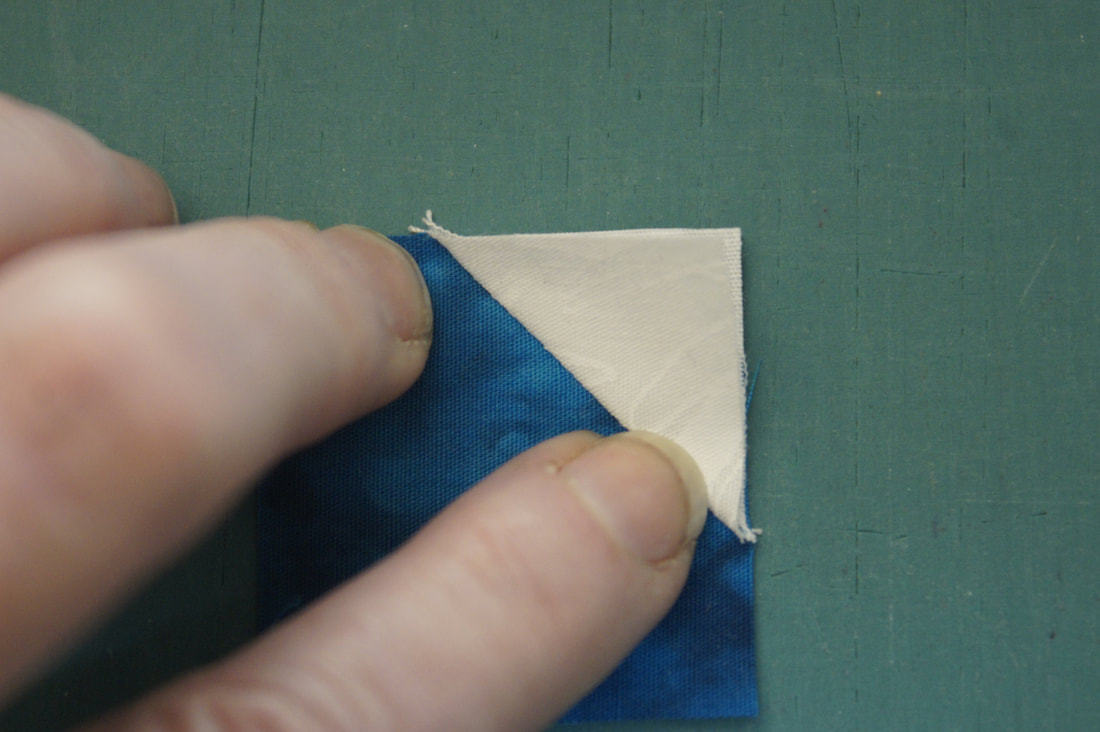
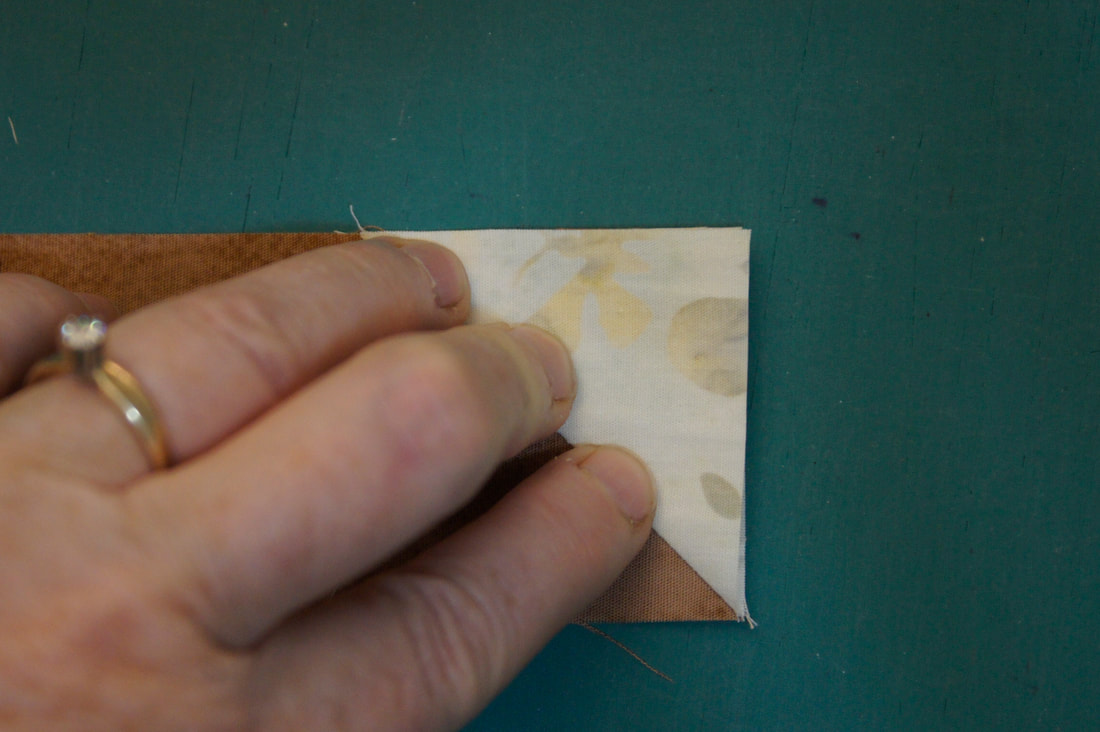
Before I trim these pieces I always flip the fabric triangle over to make sure it covers the main fabric underneath. It's okay if it is a little bigger as that can be trimmed away.
At this point we are ready to put the first row together. As you will notice we have two half-square Triangles whose seams are going to fight with another when you sew them together. This makes it really hard to get a sharp join at those points so my trick is to add a dab of fabric glue to hold them together as I sew. I ended up ripping out the first attempt as those seams just did not line up at all. SO....
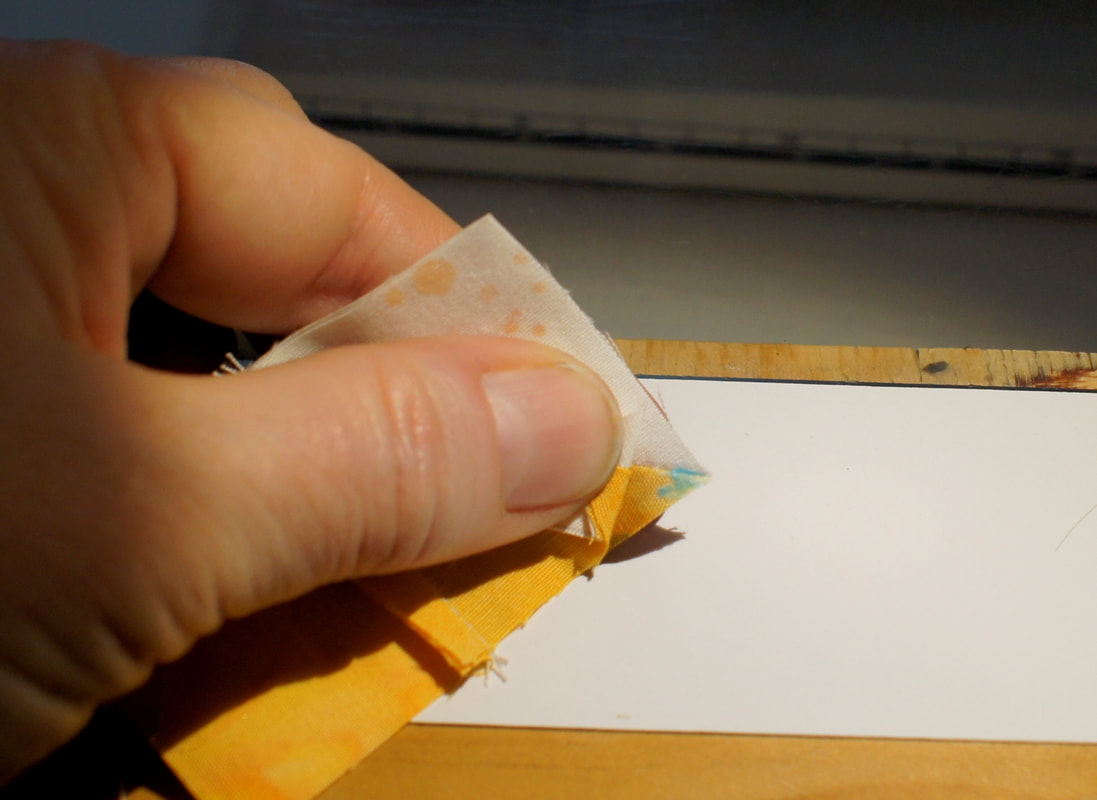
I love my Sewline refillable glue pen for this. (The photo of the glue showed up better on one of my yellow birds.) I just dab a little in the corner and line up the seams then press them together to hold while I sew.
Sometimes I do a little spot check before proceeding to sew the seam. They seam to be lined up pretty nicely.
This is soooo much better than my first attempt.
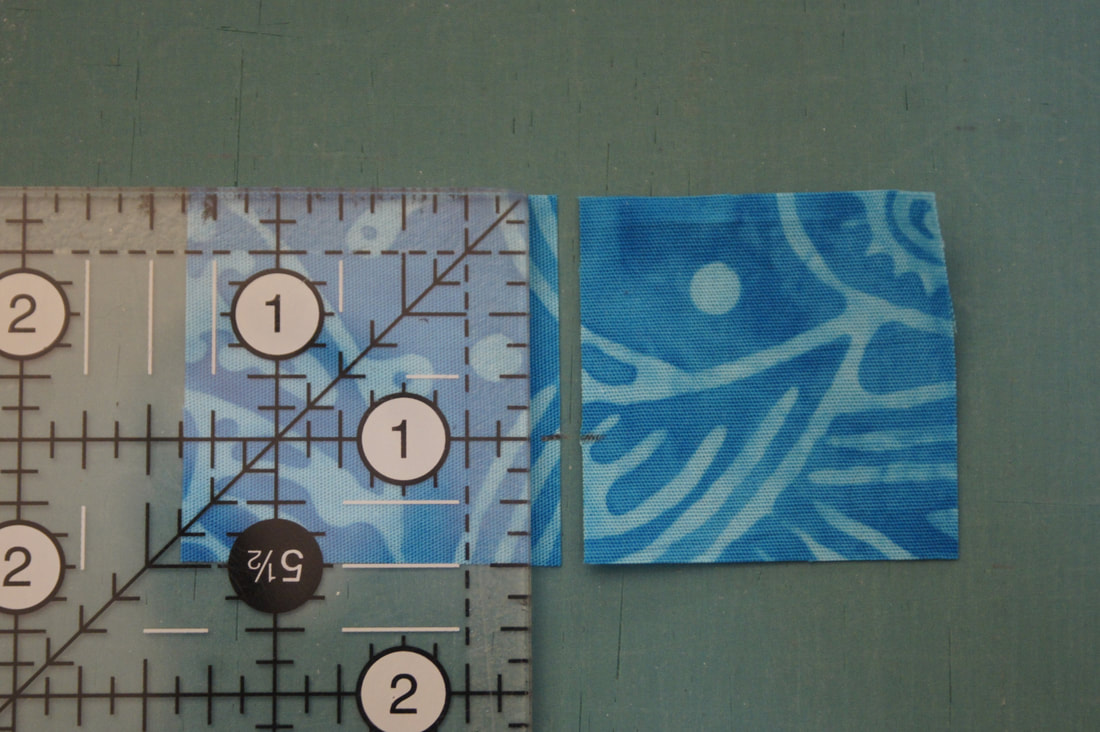
In this block we are dealing with an unusual angle. I still prefer working with squares rather than sewing triangles with their stretchy bias edges, so this is how we are going to deal with Steps 10-13 of our pattern.
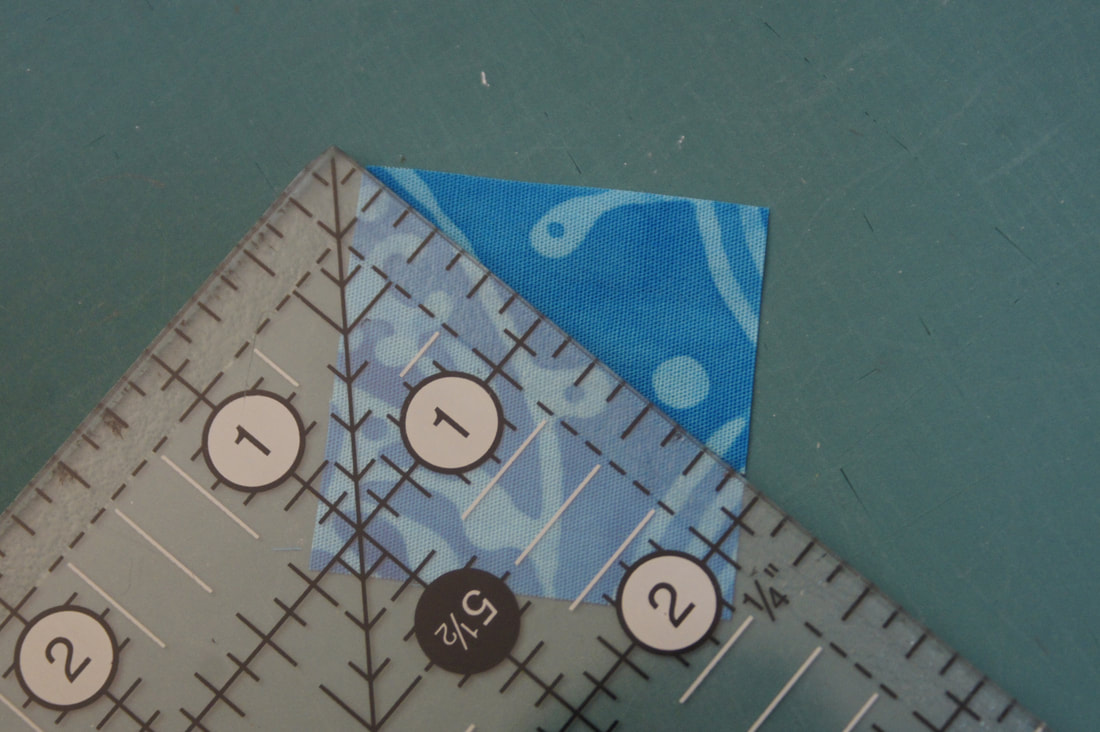
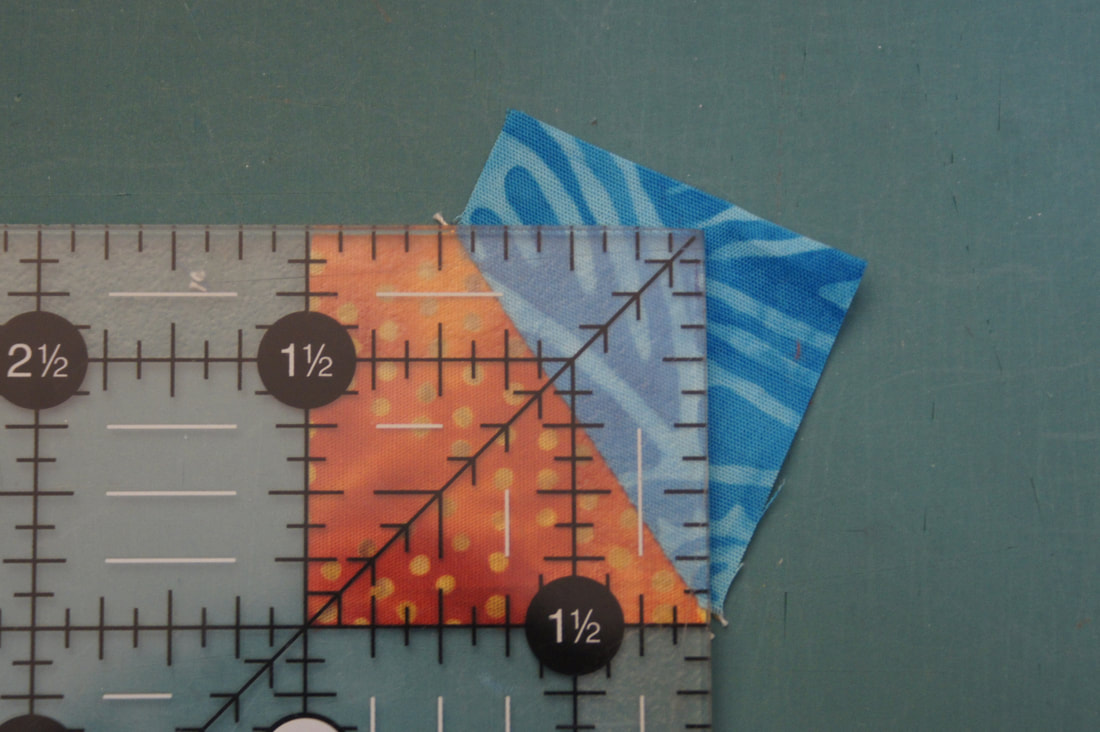
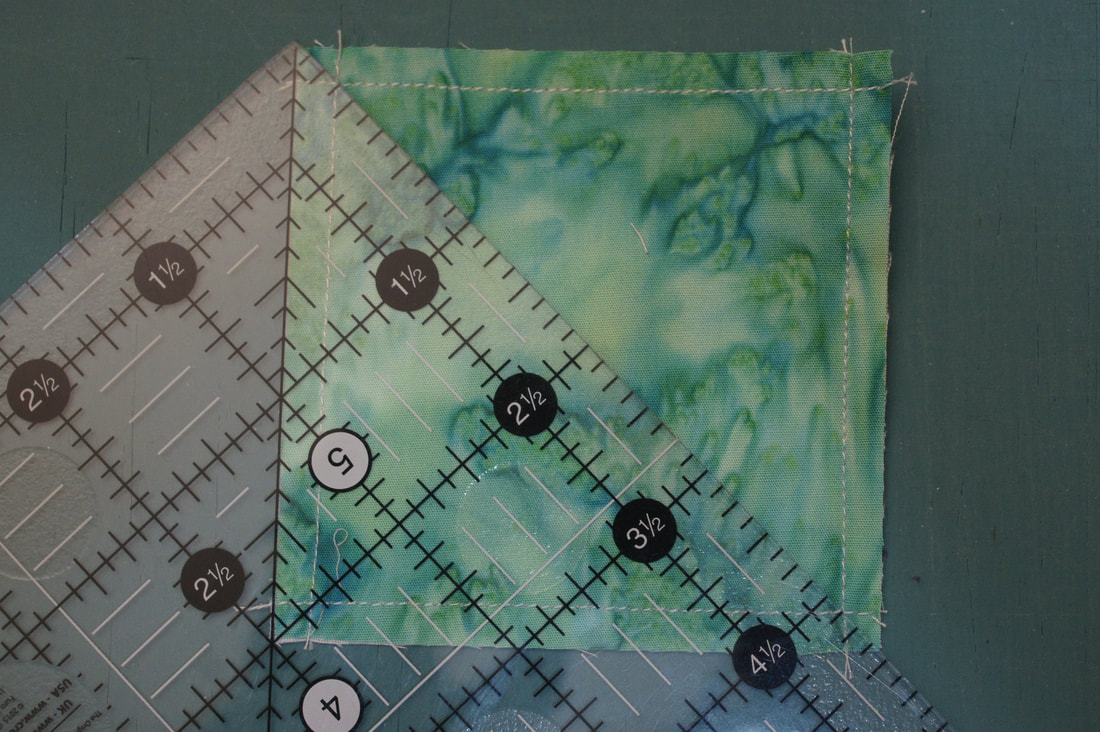
I first lay out the two L squares right next to each other, wrong side facing up. Then with my ruler I make a mark that is 1 inch down from the top on both L squares.
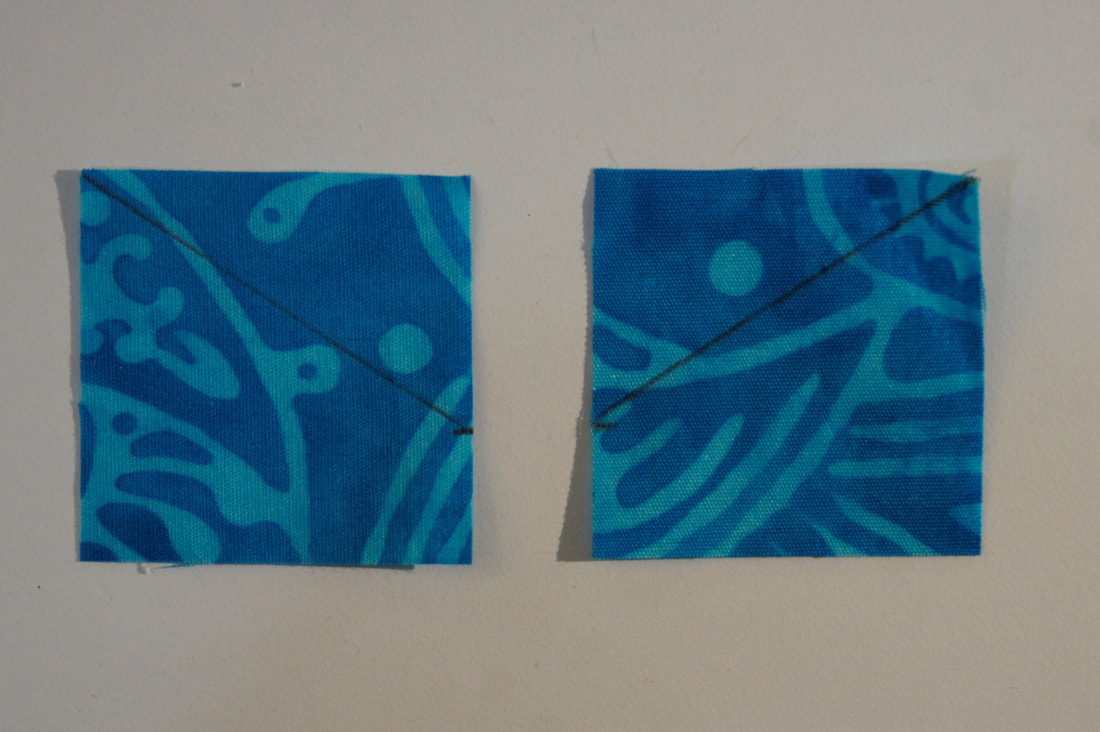
With my ruler I draw a diagonal line from those 1-inch marks to the upper corner of the square,
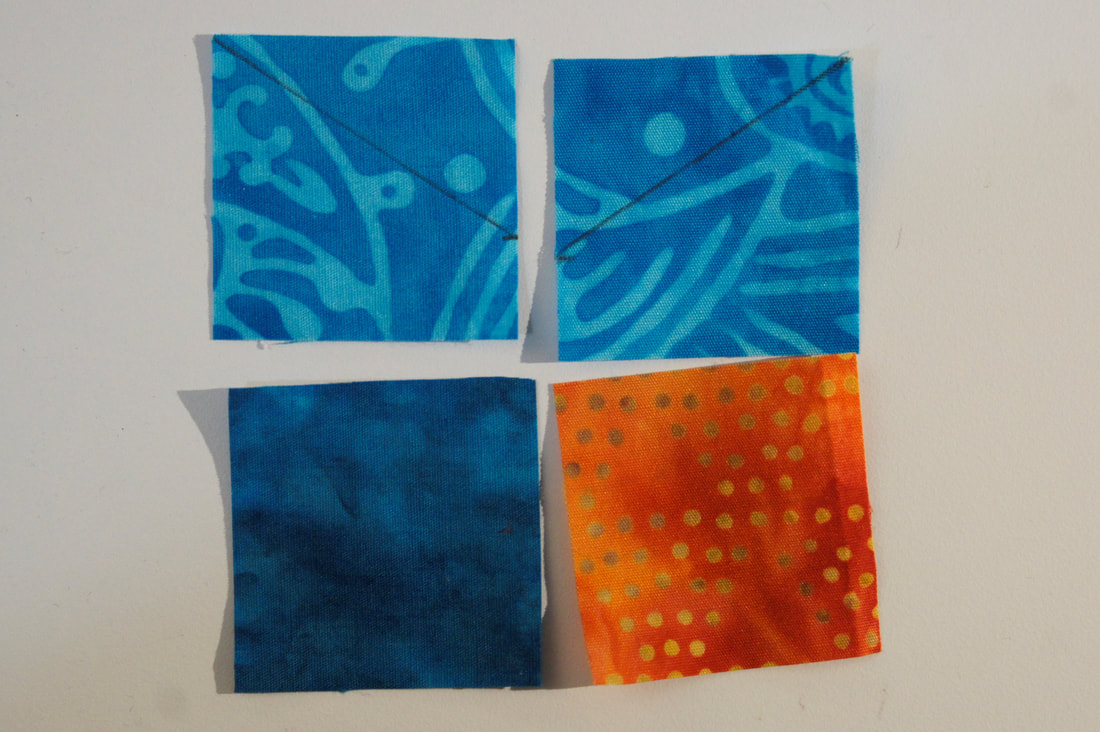
These marks are a mirror image of one another.
It is important here to add the correct L square to the K and M squares as the direction of the diagonal is very important to the finished look of our birds,
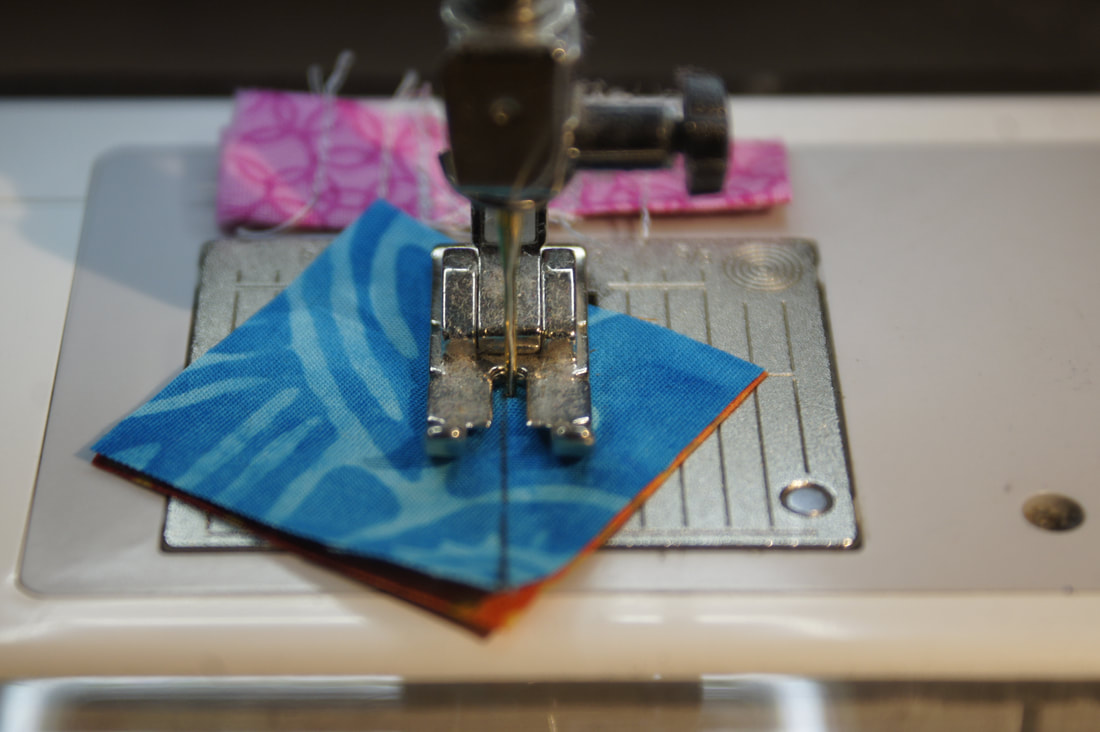
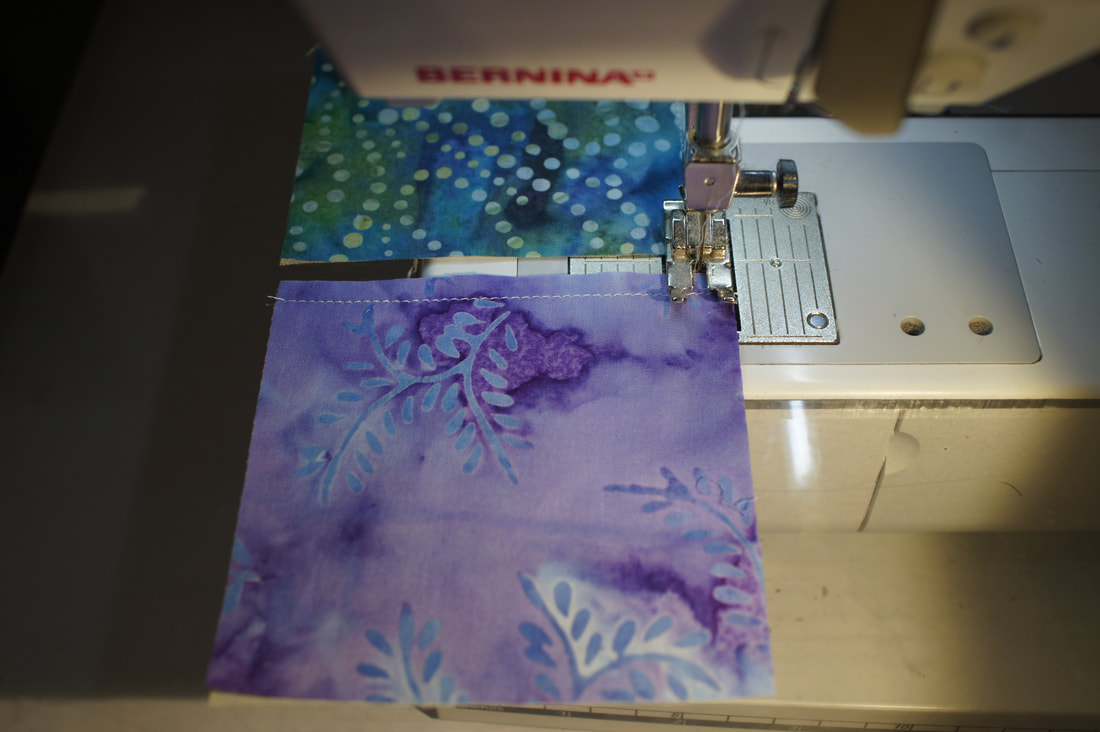
To sew I use the same technique of sewing a needle width to the outside of the square. I find if I sew slowly my machine handles those little angles very well, if I try to rush my squares got rather bunched up under my needle. So again-slow down here.
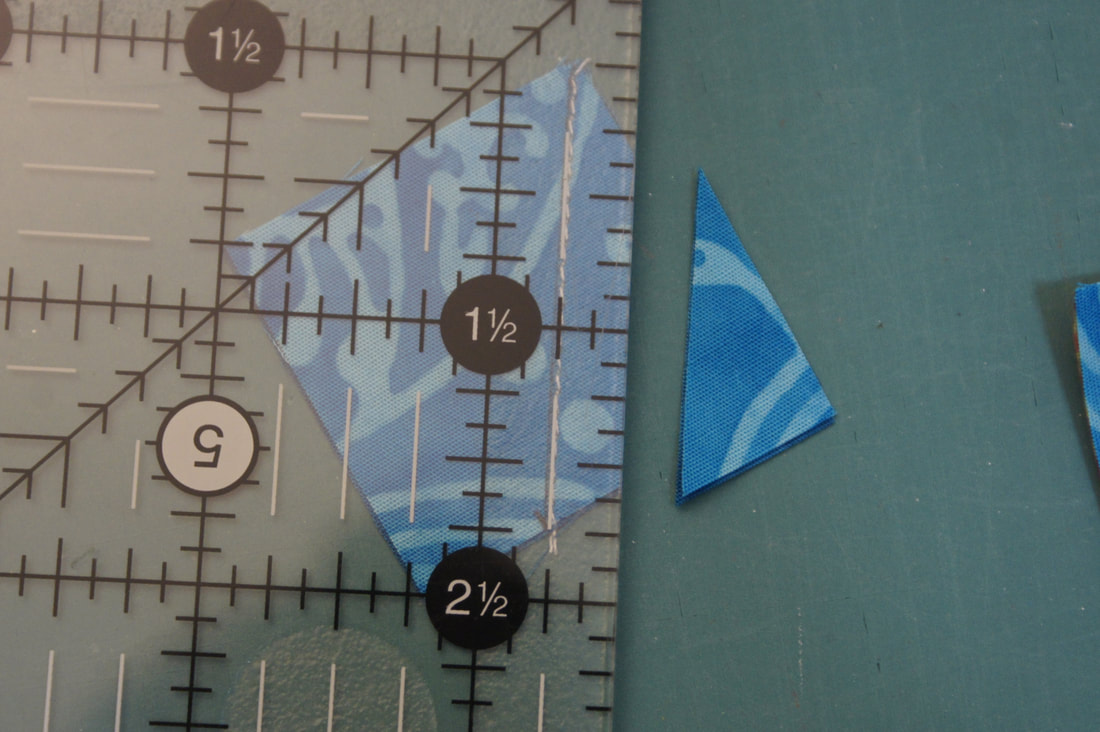
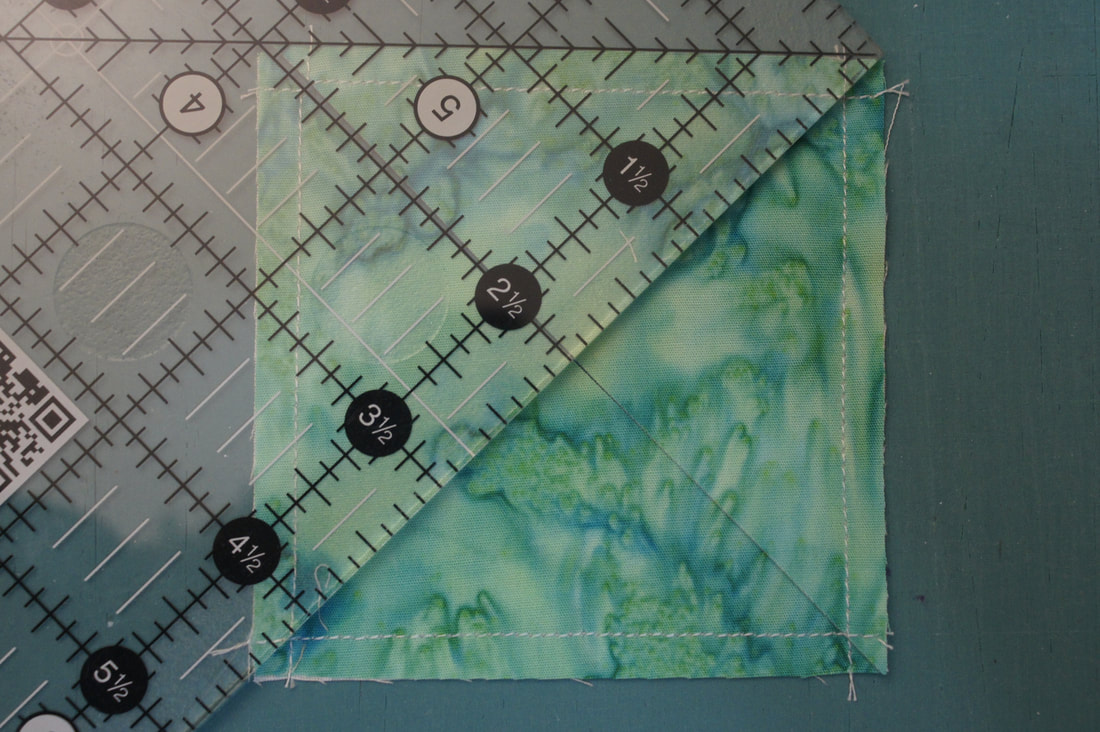
Once the pieces are sewn together I just trim away the excess.
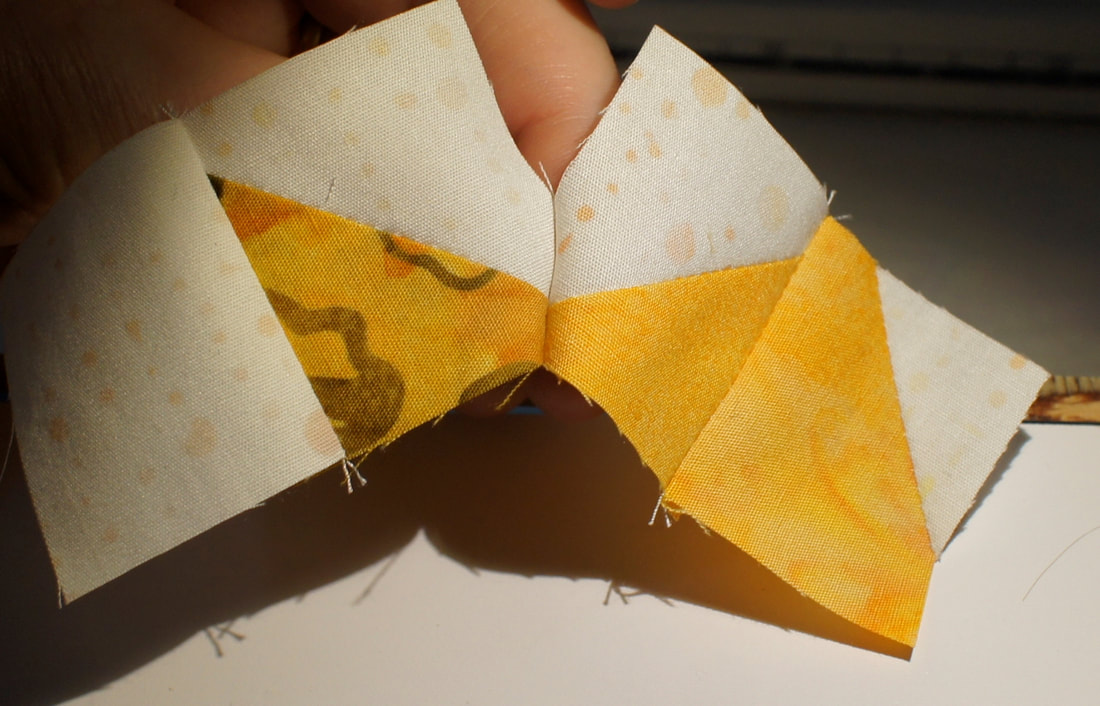
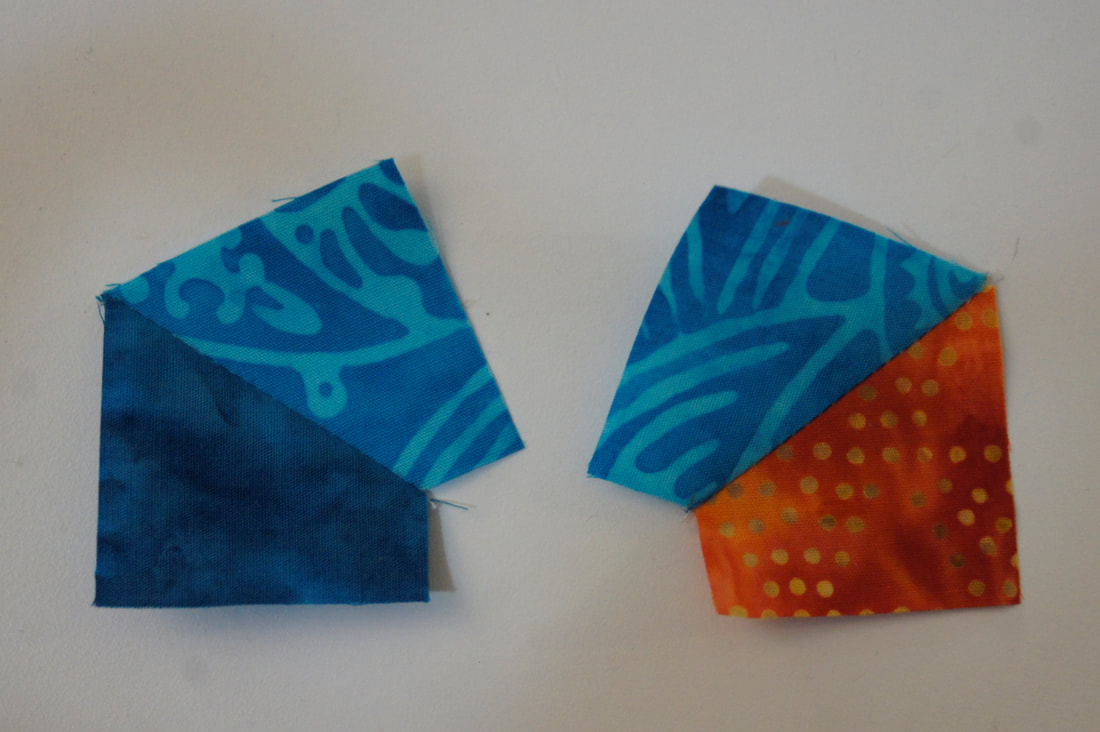
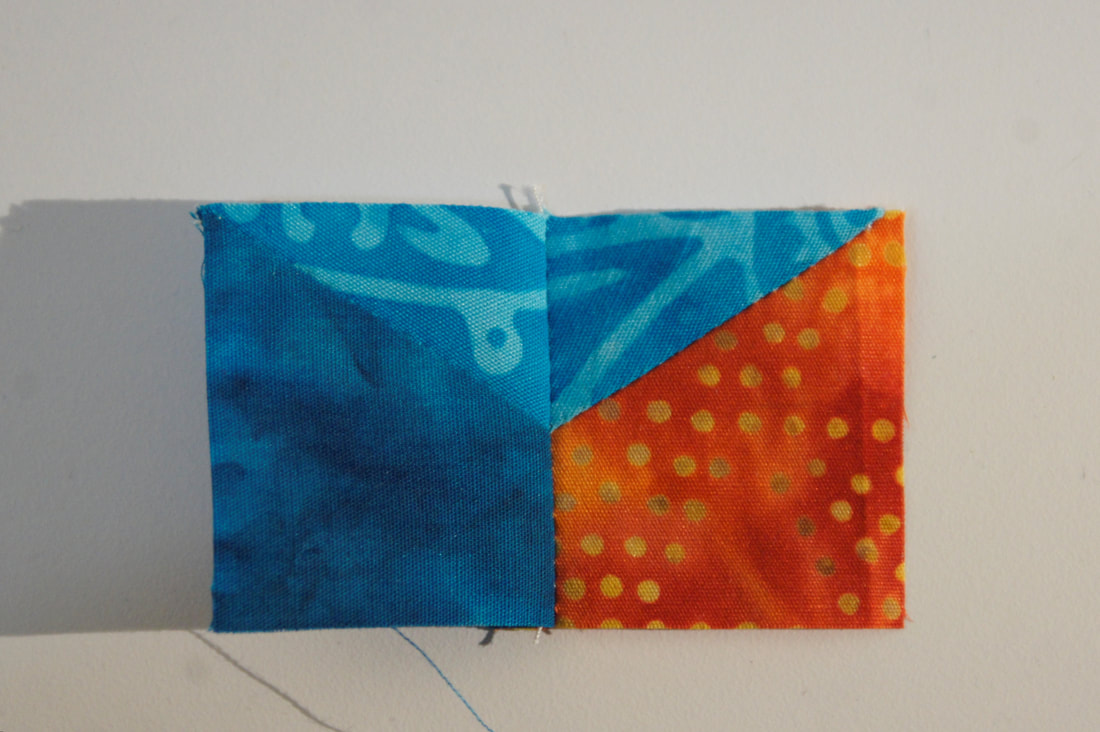
When pressing pay close attention to which direction the pattern says to press these. They look pretty funny at this point...
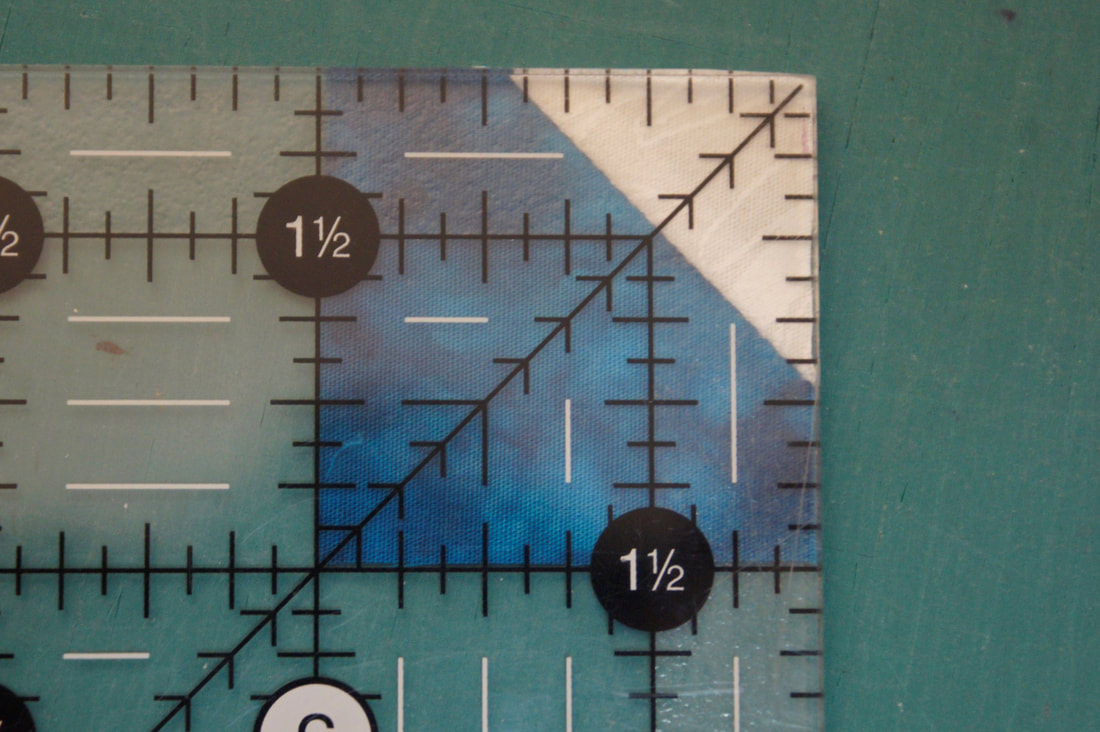
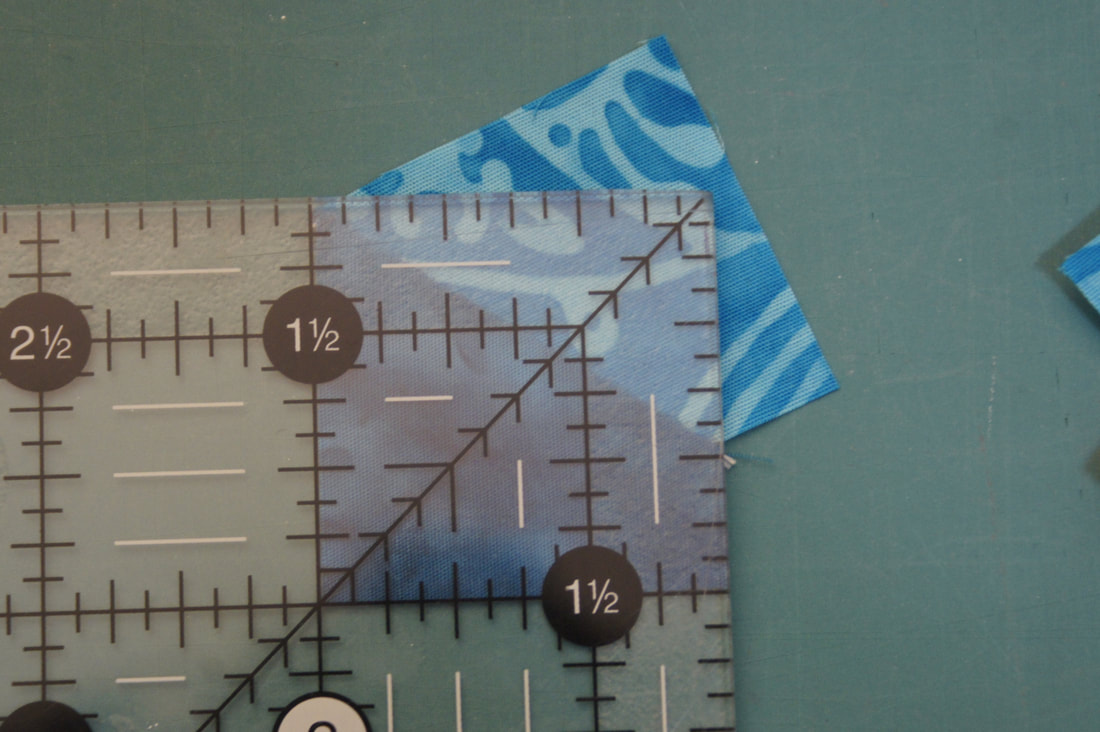
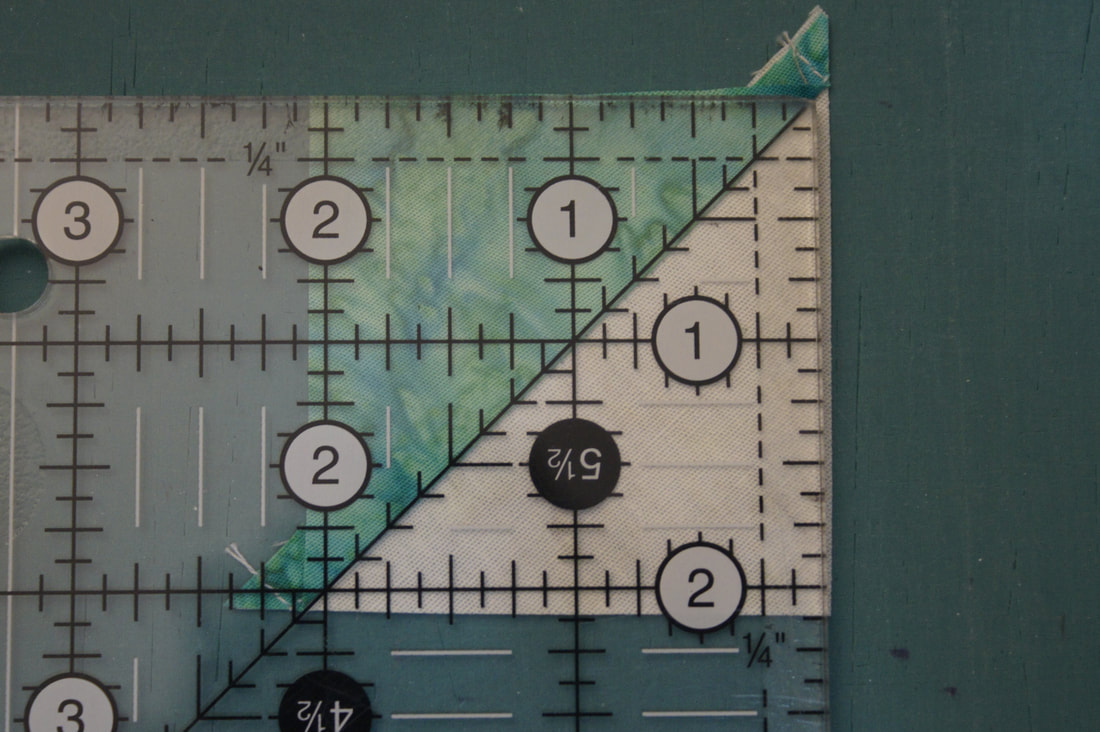
All that is left is to trim them to size. I do this by lining up my ruler with the corner edges of the K and M squares and then simply trim away the excess from the L squares
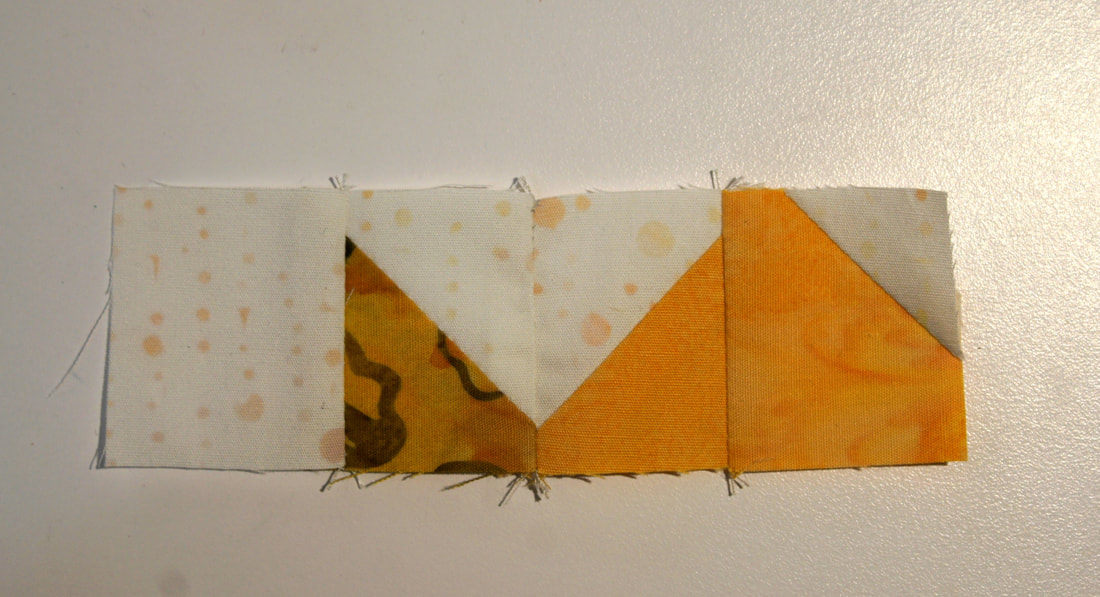
Since these were pressed in opposite directions they go together really nicely to form the bottom section of the bird's wing.
The rest of the block is simply putting everything together. Watch the direction of all of those Half-square Triangles and your beautiful birds will take shape. I am looking forward to seeing your flock so do come and share photos in my private Facebook Sew Along group.
Below you will find links to a couple of the things that I like for making this block. As apart of an Amazon program I do get a small commission if you use these links to make a purchase.
Happy Quilting!
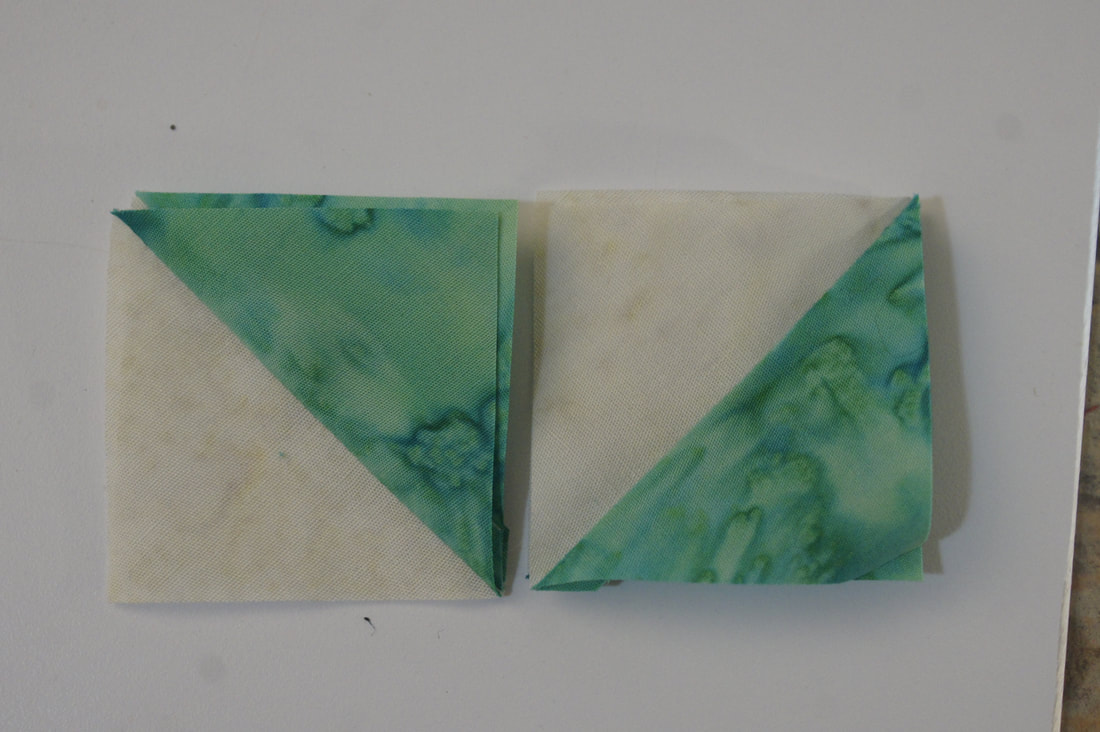
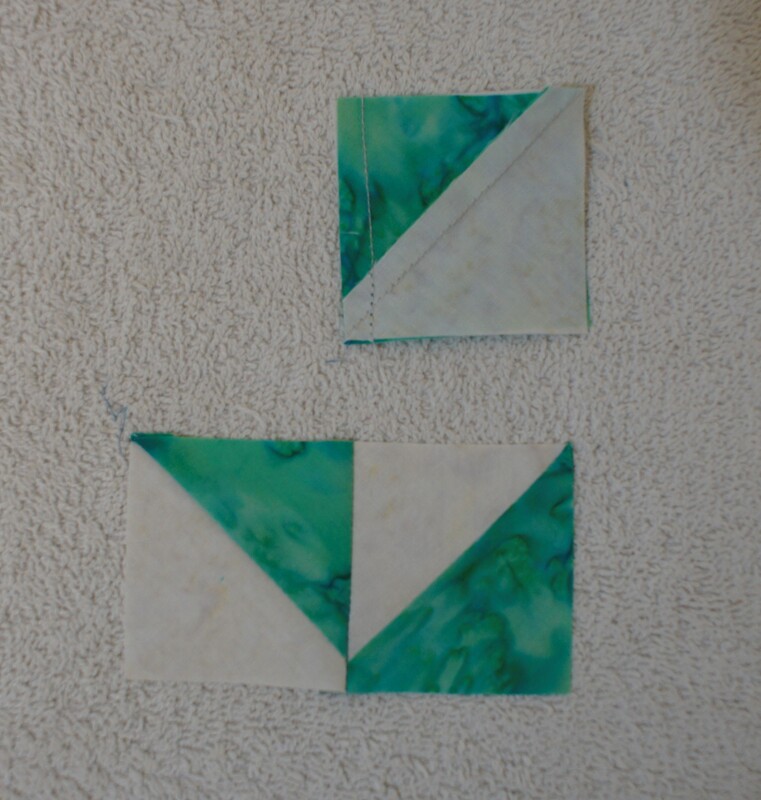
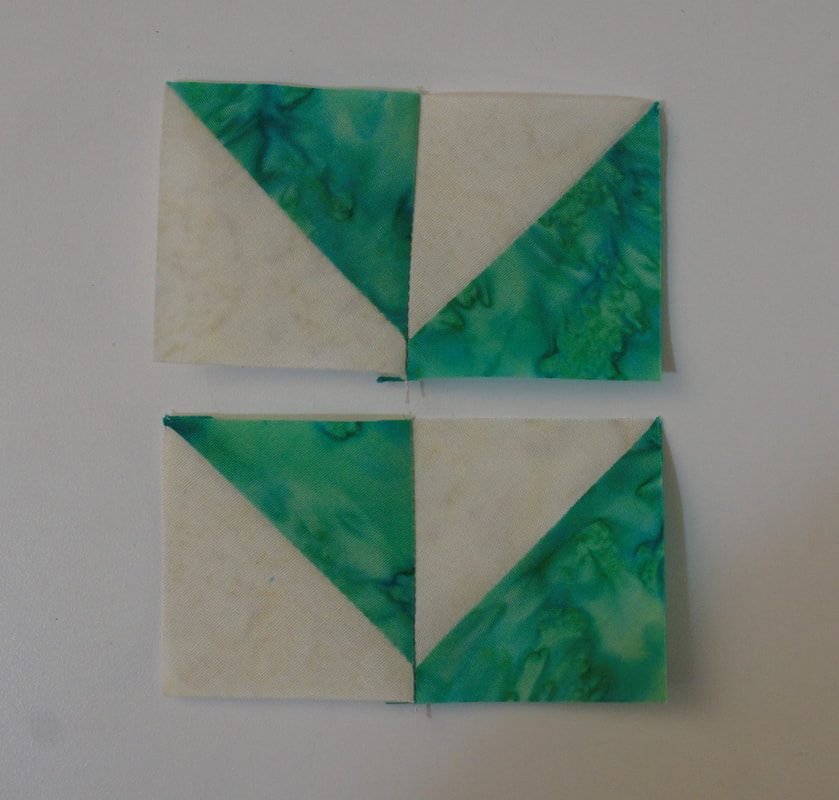
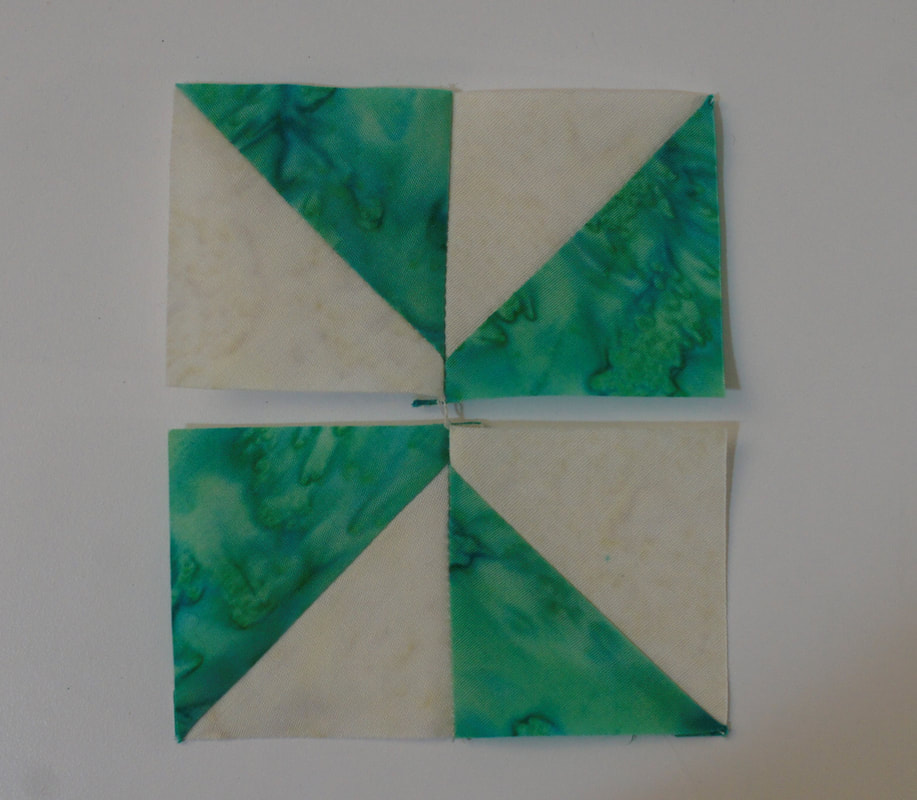
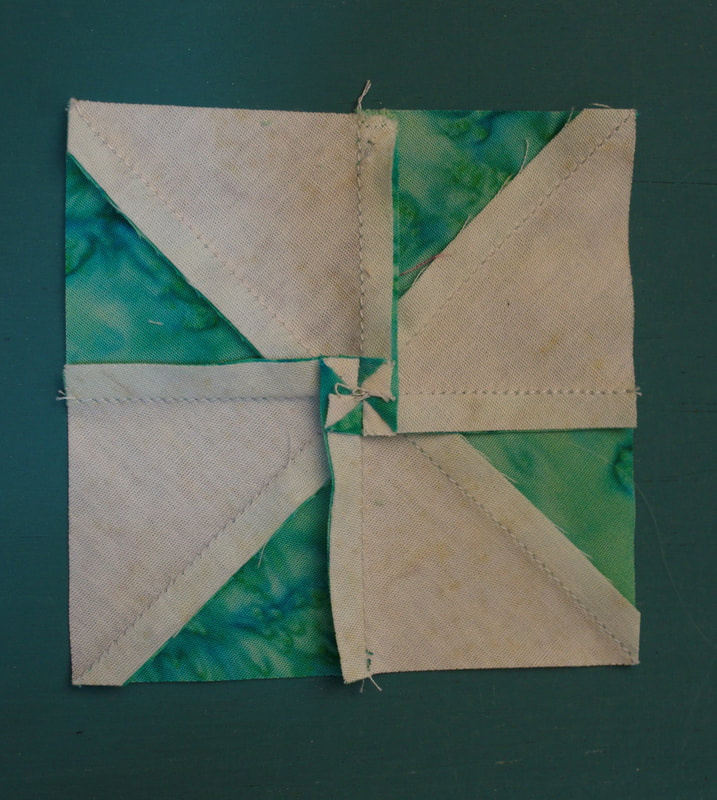
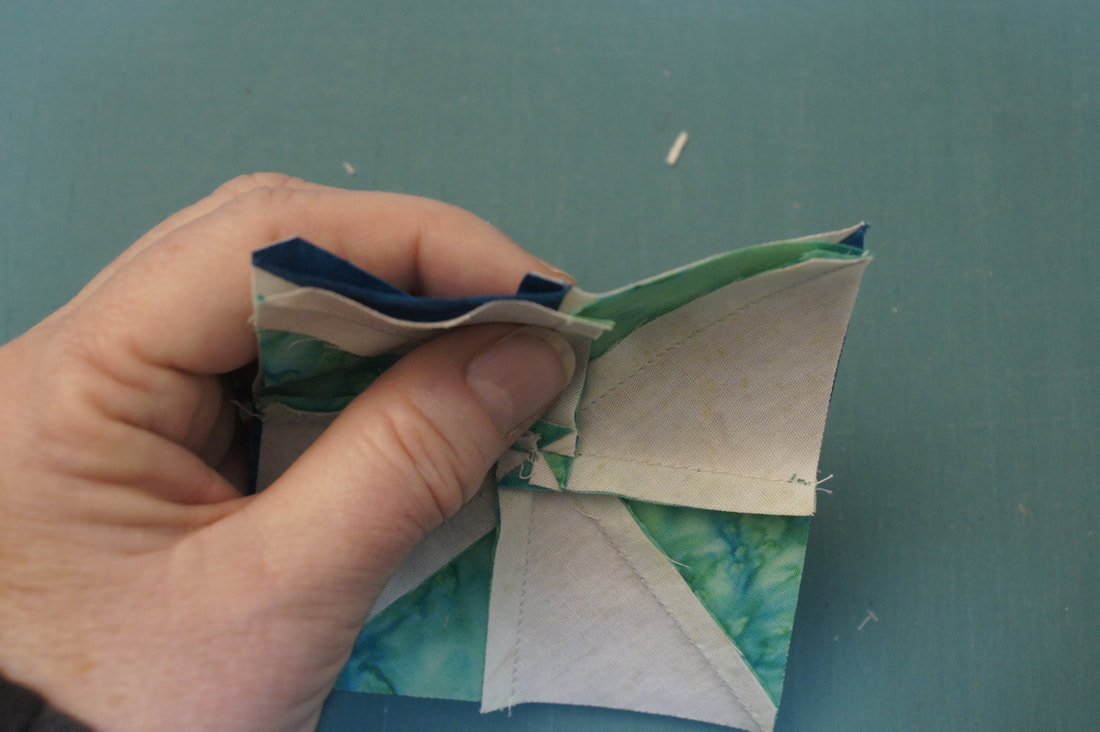
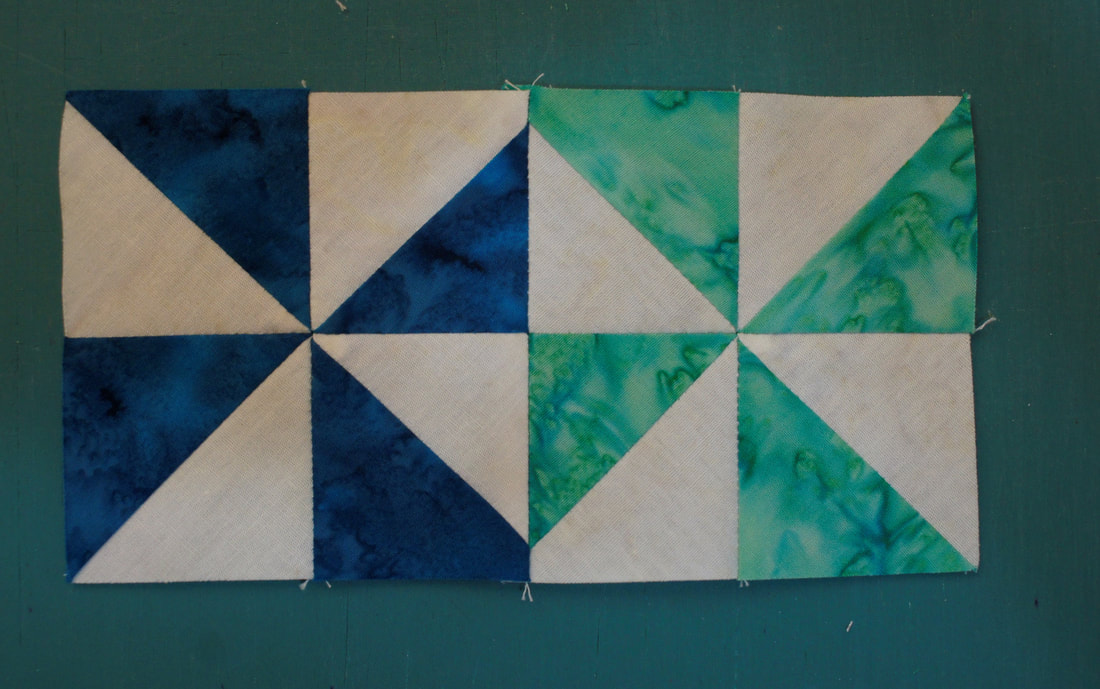
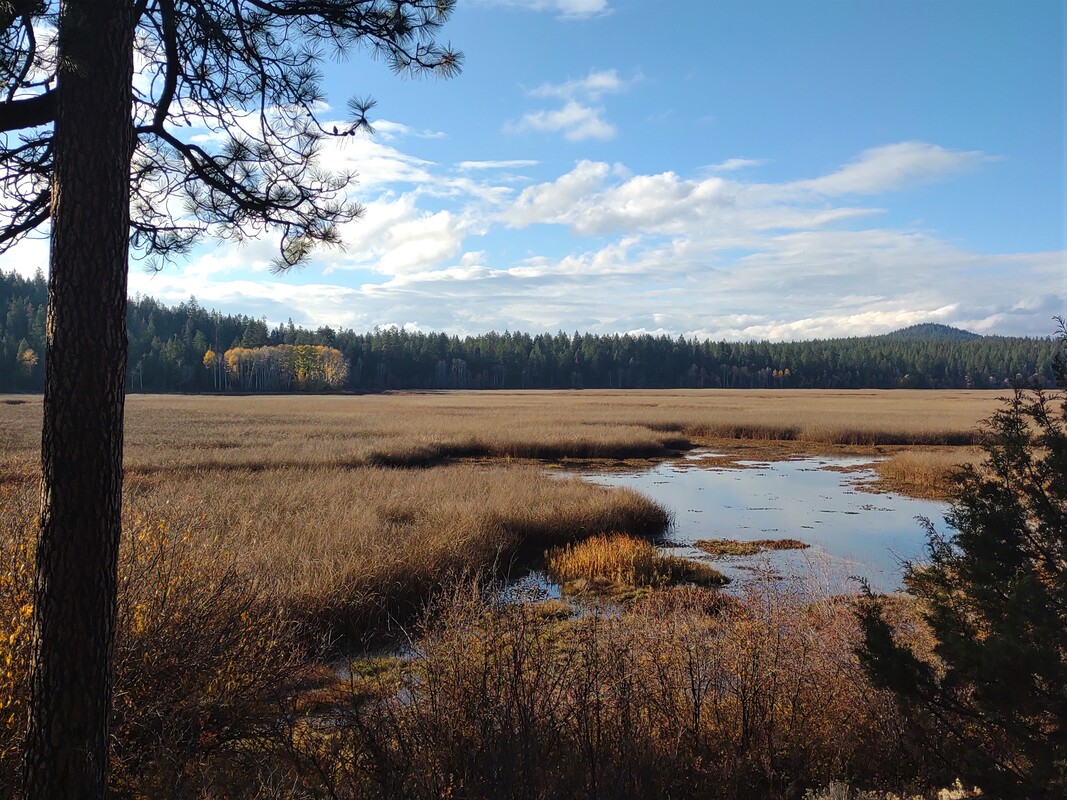
Debra There are still bits of color in the Aspens nearby so we decided to enjoy a Sunday drive after church yesterday. November! It's November. We finally have rain falling after months without. There is snow in the mountains which is a real blessing after last year's lack of it. The winter birds are arriving and their calls across the lake as we sat and just soaked in the feeling of fall gave me a bit of a thrill. (Okay, a huge thrill, as I really look forward to our winter visitors and the amazing birding opportunities that begin this month. It also means it is time for the next row in this years free BOM. This month we will be making Pinwheels. This is a block that goes together pretty quickly and I really love to incorporate into a lot of my quilts. Today I am going to share my process for making Pinwheel blocks that will give me 16 unique blocks for my row. I like to take advantage of chain piecing for making these HSTs. I simply sew down one side, right off of the edge, then line up my next A/B squares- making sure that I butt them up right next to the needle-and sew the next combination of squares. (notice that I put the seam that was previously sewn at the top.) I like to give the squares a quick press before moving to my cutting table. For this method I will be making two cuts. I do not move the squares after making the first diagonal cut but move the ruler instead. If you use a small mat you can rotate the mat to make it easier to make your two cuts without moving the fabric pieces. Once the HSTs are cut they need to be pressed and trimmed. Trimming is one of the keys to gettting sharp points in your finished Pinwheel blocks. By lining up the diagonal line on my ruler with the seamline I am assured of sharp points on my HSTs. So I find it best to line the diagonals up and trim the first two sides. Then I rotate the ruler and trim the second two sides. This technique results in perfect HSTs ready to us in my Pinwheel blocks. With my HSTs trimmed it is time to join them together. in my pattern I show you how to lay out all four for the block, but you can also just stack them in the same order for this step and it works out fine. Once the HSTs are joined they are pressed to the dark side, Now I have two units that look like this... All I need to do is rotate the bottom one and the Pinwheel is formed. All of the seams, even those diagonals, now line up perfectly for sewing together and I find I do not even need to use pins to hold things in place. This is a block that benefits from fanning the seam as you press. It really reduces the bulk in the center and helps the Pinwheel block to lay flatly. You know you have fanned the seam correctly when the mini pinwheel appears in the middle. Fanning the seam just means that I use my fingers to encourage one seam to go up and the other side to go down as I get ready to set my iron on the block for a final press. The other benefit of those fanned seams is how nicely the seams lock together when it is time to join the Pinwheel blocks to make the row. I love opening up my blocks and seeing those perfectly matched seams! I pressed my seams to one side and they are nice and flat, but of course if you like to fan the seams here go right ahead. Here is my completed row. I want to take a moment to remind you of the importance of checking the measurements of these units as you go. It is an easy step to skip but vital to having everything fit together in the end. You can find the pattern for this row by clicking on the link below: Thanks for sewing along with me. I have really loved seeing the beautiful quilts being shared on my Facebook Sew Along page. May you find joy in your journey!
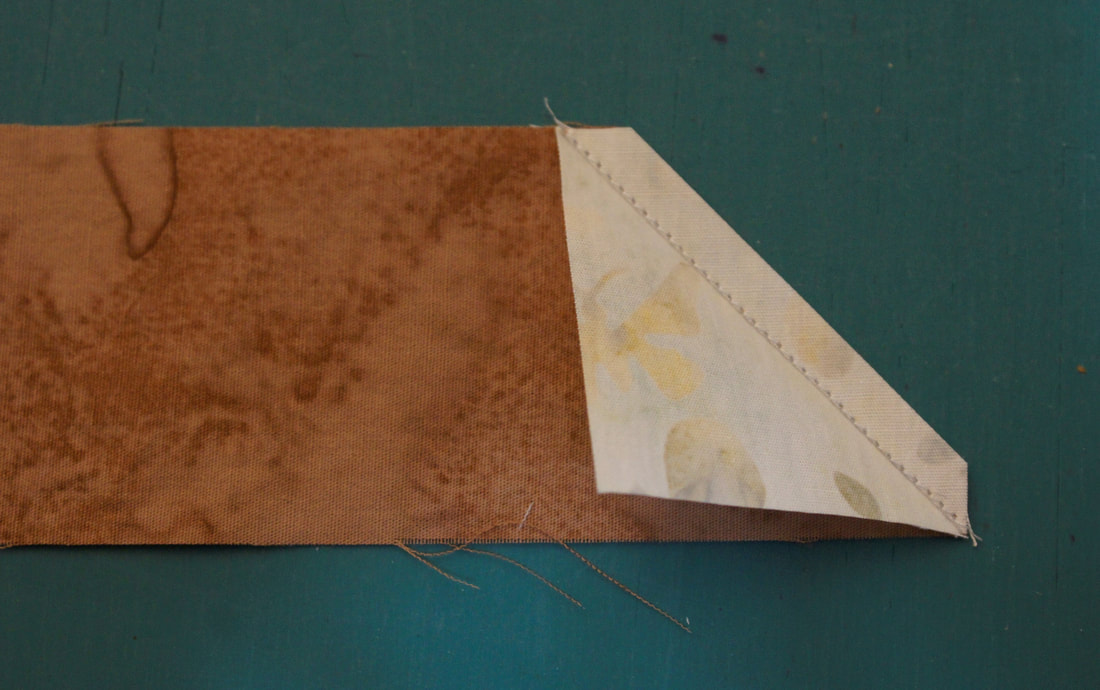
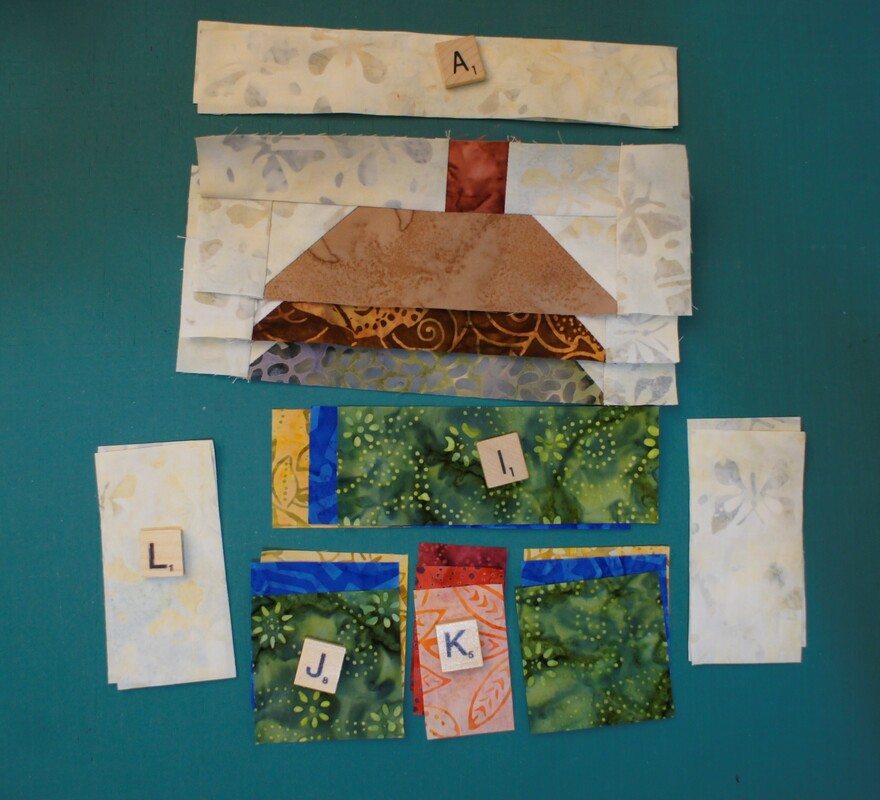
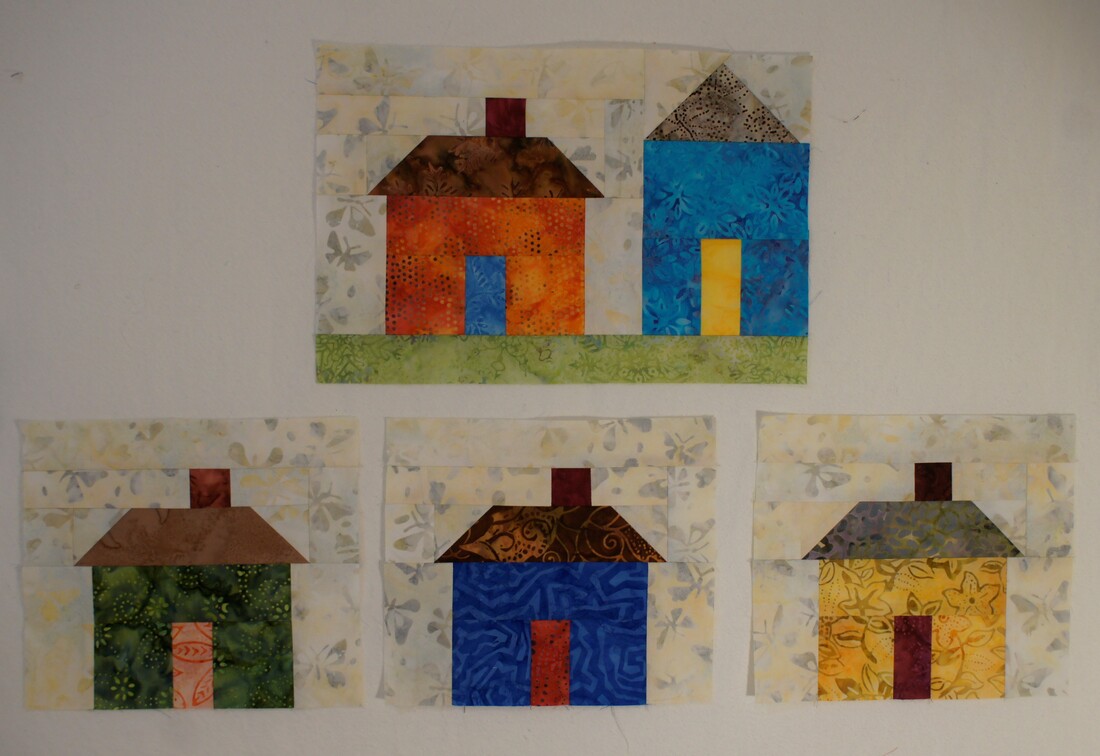
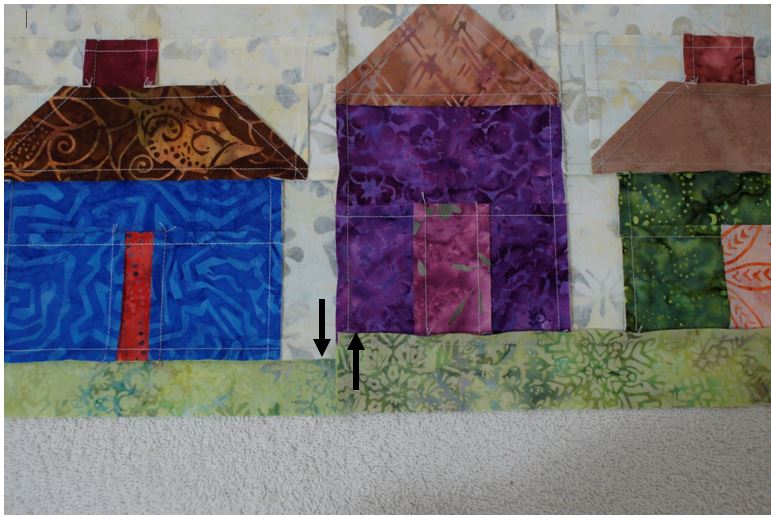
Happy Quilting!! Fall is in the air. I love this time of year when the maples are putting on their brilliant show along the river. We took an evening walk just to enjoy them. In a couple of weeks the whole forest will be vibrant with those yellows, oranges and reds that are just now making their appearance. Pops of color! That is what I was thinking when I put this month's row together. Row 8 I have named Block Party. This was a fun row to pick colors for and to put together. I do recommend that you label all of your pieces as you cut them. I stacked my fabrics for the various houses and sew all the same house units at one time. When sewing those squares on the roof pieces I mention in the pattern to sew just to the outside of the line. As you can see my needle is just right next to my drawn line. If I sew right on top of that line I lose just enough fabric that the finished size of this piece is too small by a fraction of an inch. That fraction is important though. After I have sewn these pieces I always flip over the triangle that is formed to make sure that it covers the main fabric underneath. If so, I know that it will be the right size when pressed. Before pressing I like to trim away the extra fabric. Here I have my roof units ready to go. And now my houses are coming together to make the block that will be used in this month's row. I tried to pick door colors that stood out from the house color. We have some pretty colorful doors in our neighborhood that inspired me. I am showing the back of my row here so that you can see how I have pressed the grass on each block to lay in opposite directions. (Notice the arrows.) This helped to line up that row of grass as the seams locked together nicely for sewing. That is really all I have for tips for you this month. I love how this row turned out. I do hope you are finding joy in your journey wherever it takes you this month. Click on the button below to download this month's pfd pattern. Happy Quilting!!
|
Welcome to the site of Debra Davis-a woman who loves the Lord and loves to quilt.
My other blog where I share about my walk of faith:
Sitting at His Feet This website uses marketing and tracking technologies. Opting out of this will opt you out of all cookies, except for those needed to run the website. Note that some products may not work as well without tracking cookies. Opt Out of Cookies |
Tuning My Heart Quilts by Debra Davis is licensed under a Creative Commons Attribution-NonCommercial-NoDerivs 3.0 Unported License.
Based on a work at www.tuning-my-heart.com.
Copyright 2010-2022 by Tuning My Heart Quilts, LLC. No part of this website can be reproduced without written permission from the author. All rights reserved.
Proudly powered by Weebly






 RSS Feed