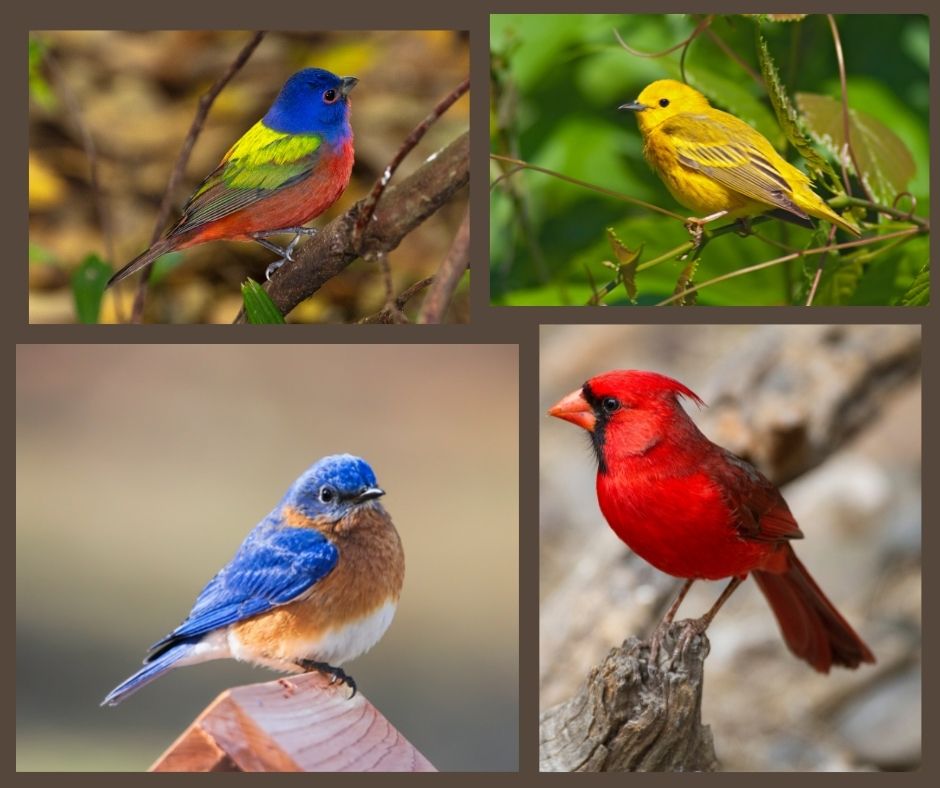
One of our favorite things to do around here is go out and see the birds. I've enjoyed getting to know them since I was a little girl. They always give me a little thrill whether in my backyard or out on a trail. This month's block captures that love.

Don't let the small size of some of the pieces in this block scare you. You can do this! My main tips for working with these smaller pieces:
1. Starch your fabric, especially if you prewash like I do. Starching makes an incredible difference. 2. Cut accurately. Take time to make sure you are cutting and trimming the exact size needed. 3. Slow down. Really. This is not a block to rush on, even when sewing along those straight seams. 4. Use a shorter stitch length. I dropped mine down just two places below my normal setting. 4. And, as always, read the directions carefully.
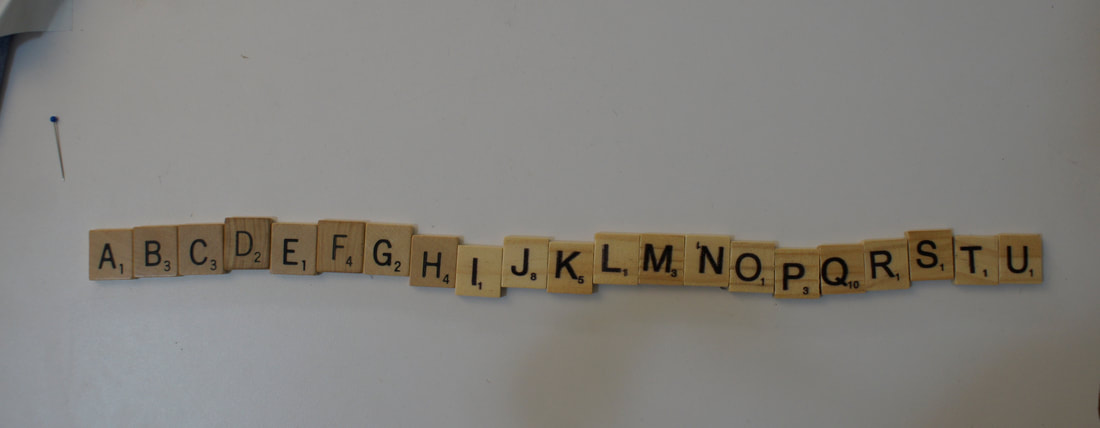
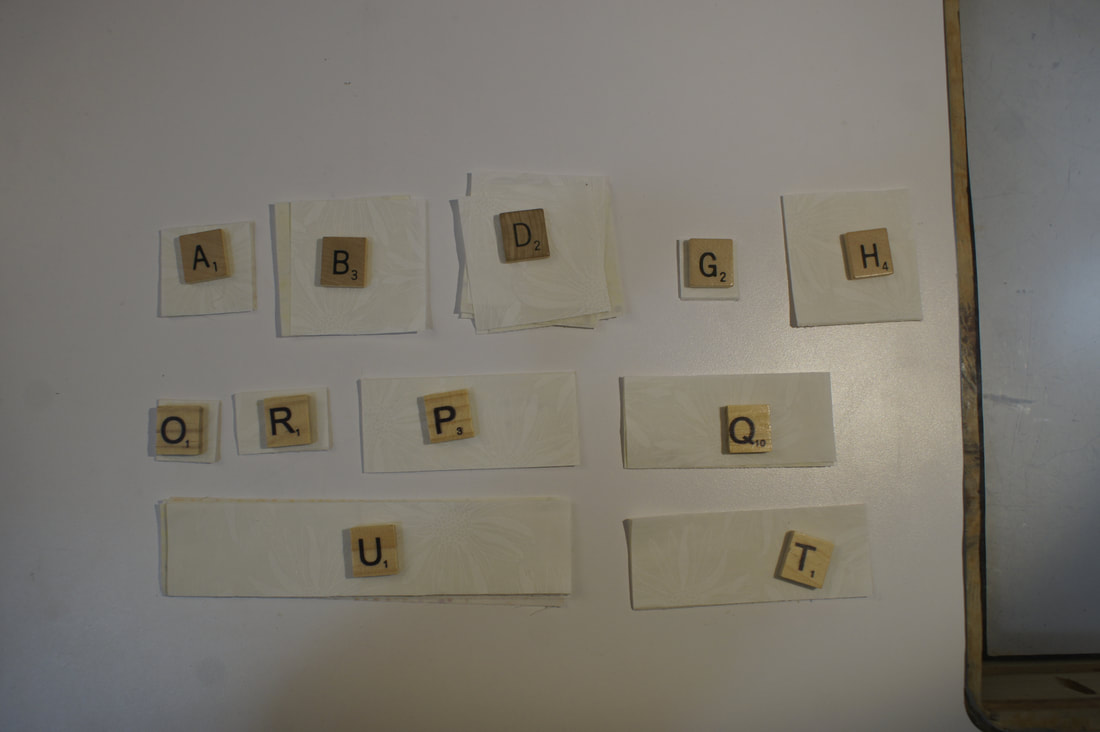
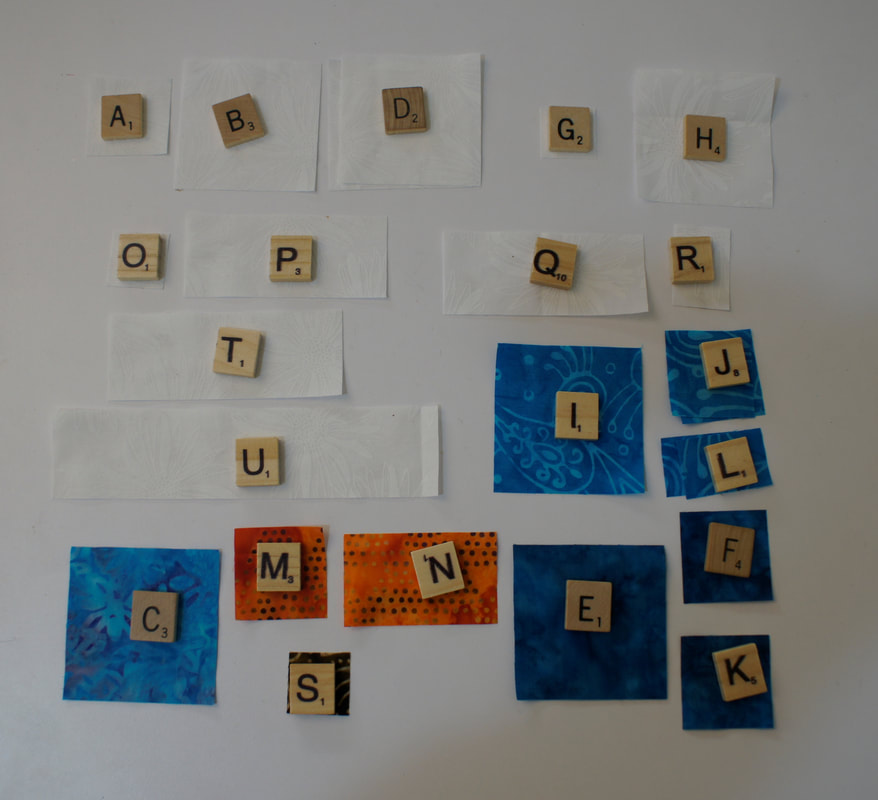
There are a lot of pieces in this block! I recommend that you find a way to label them as you cut them out. My personal favorite are scrabble tiles. You can pick up a multipack of them at the store, or even find old games in thrift shops. I like the ability to just set them on my fabric pieces and lift them off and on as needed.
I cut out all of my background pieces at once and then worked on the birds one at a time so as not to confuse myself as I put them together. Although, if your birds are identical that would not be an issue.
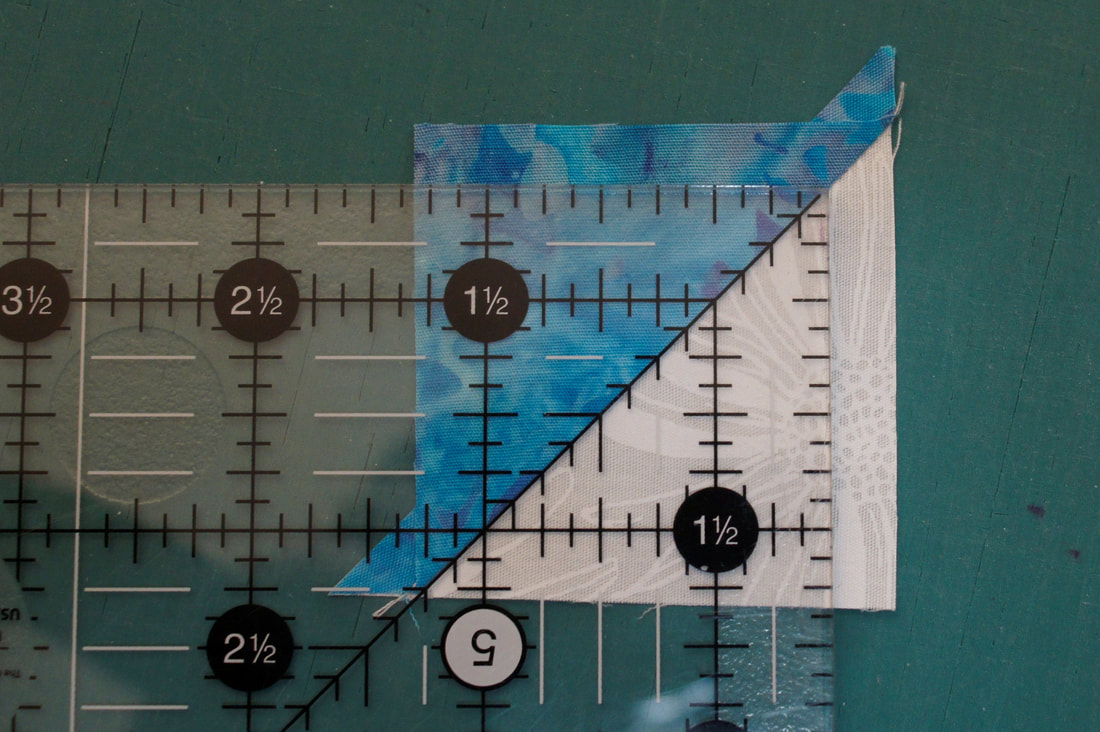
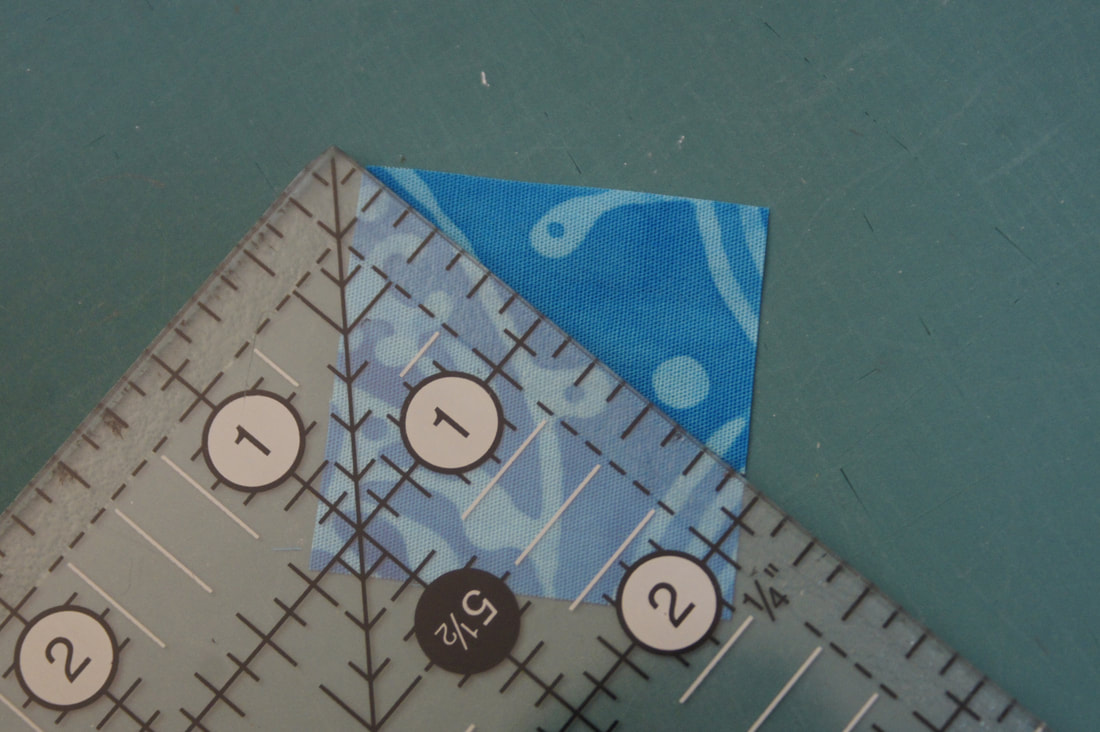
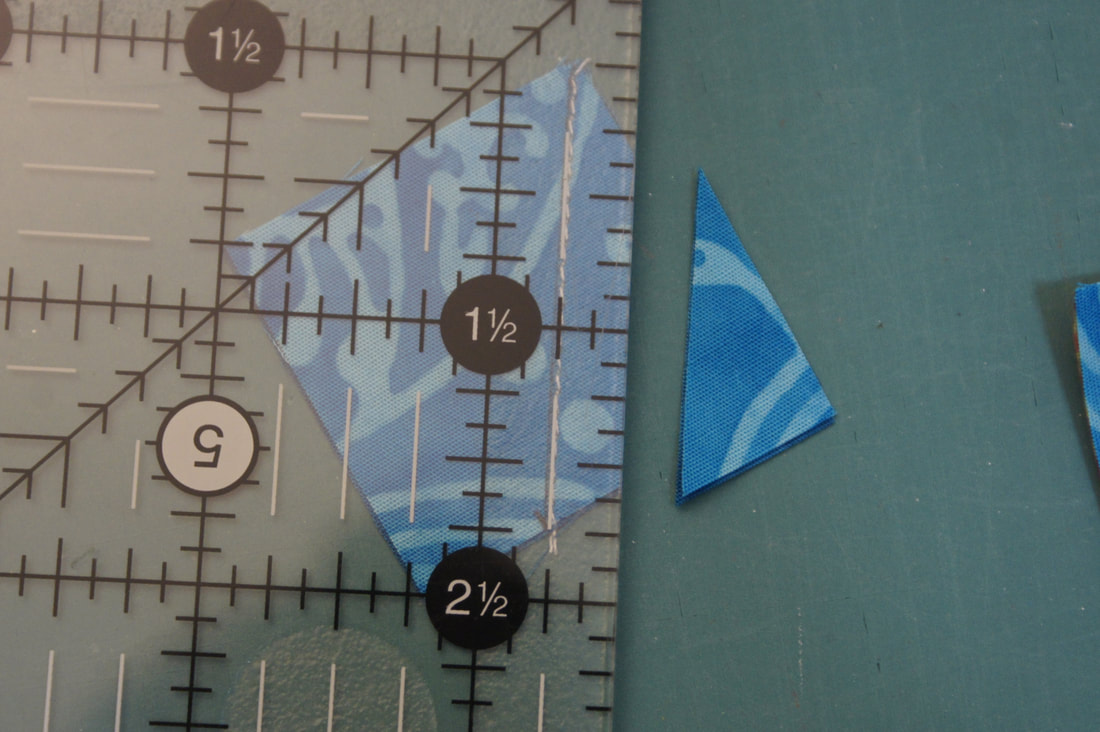
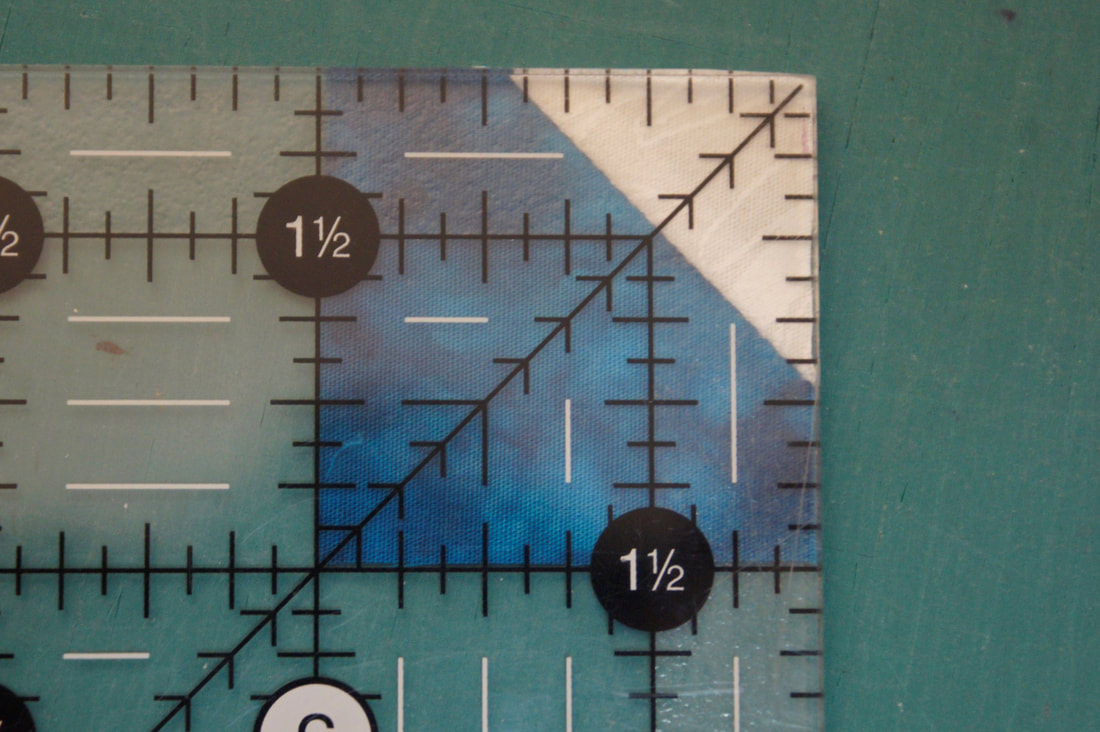
We get started by making several Half-square Triangles. We've made lots of these, but I just want to remind you to lay your ruler along the diagonal seam as you trim. I usually move mine up from the edges a bit as well and cut my piece out of the middle.
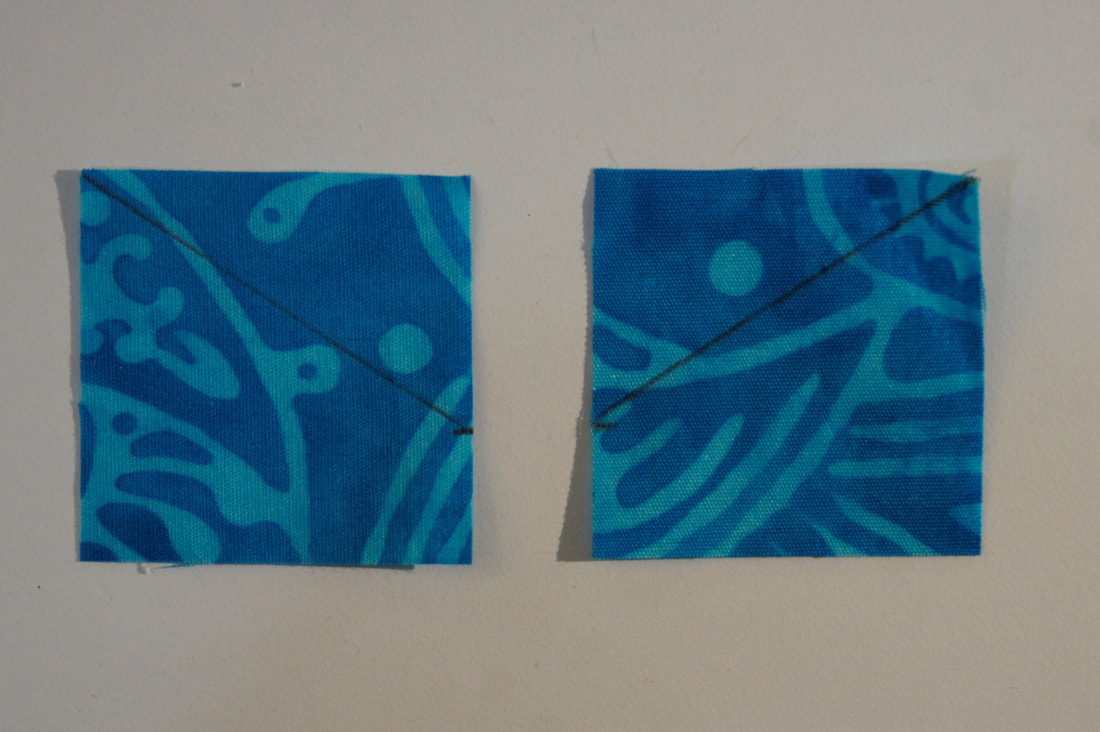
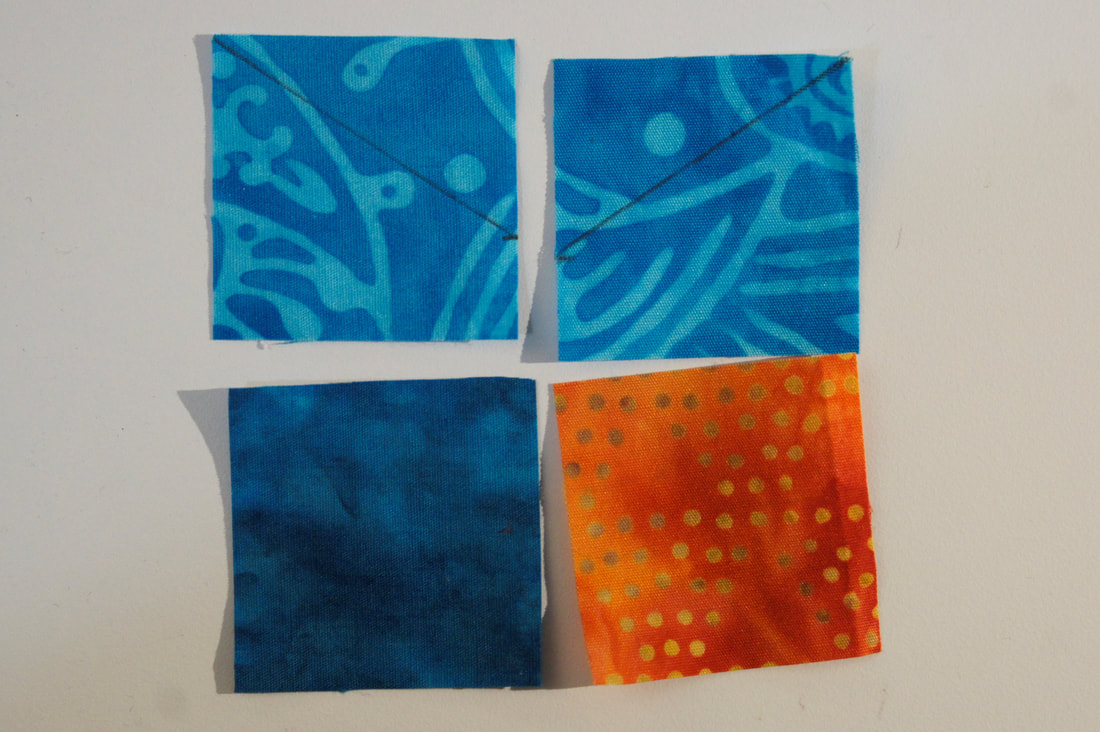
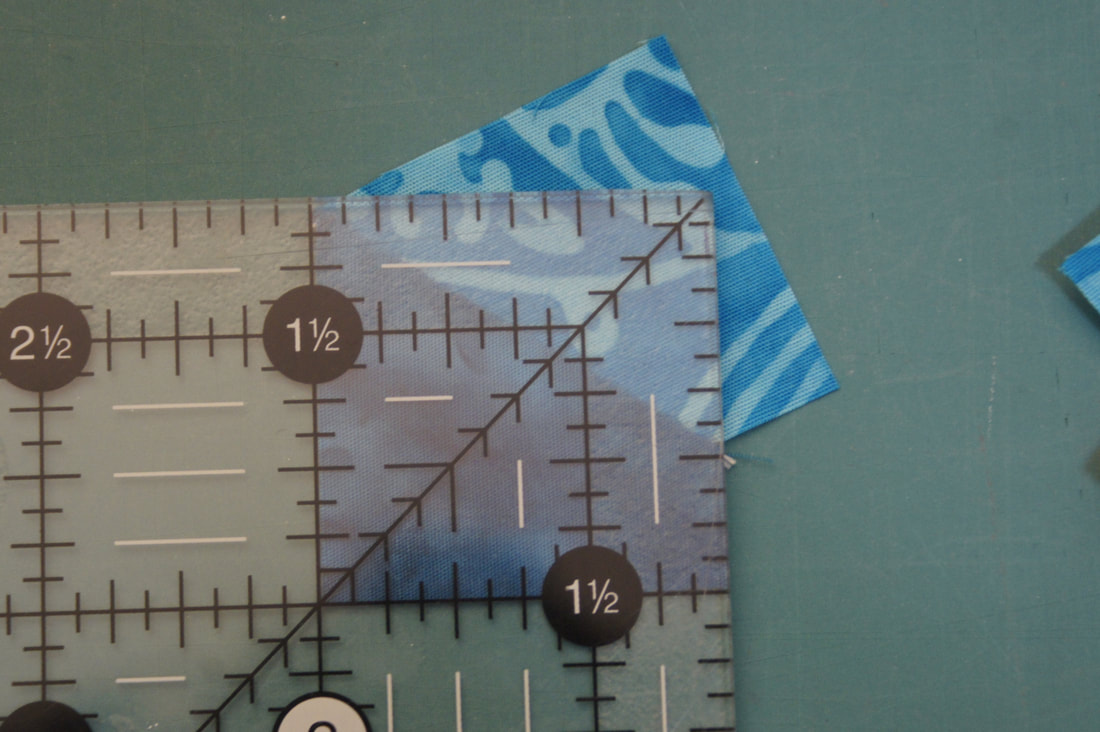
One technique we are going to use several times in this block is making a corner triangle with a square. I find that if I sew right on top of the line I've drawn that my piece is too small. By moving my needle just to the outside edge I end up with the perfect size needed.
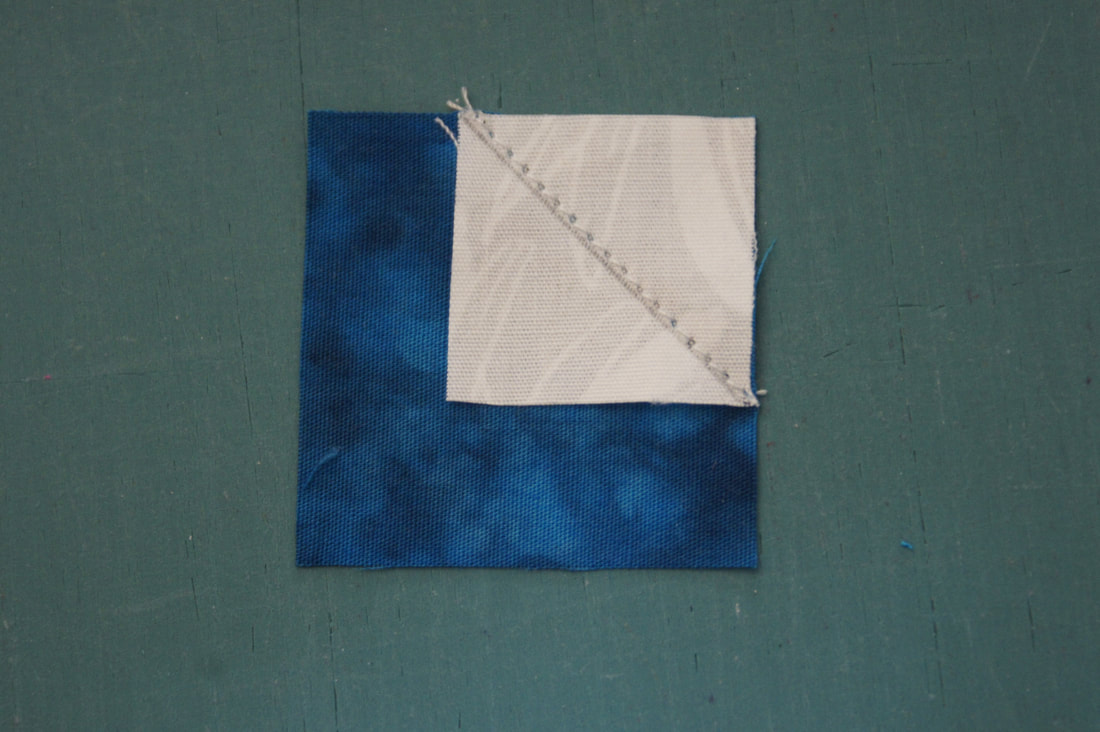
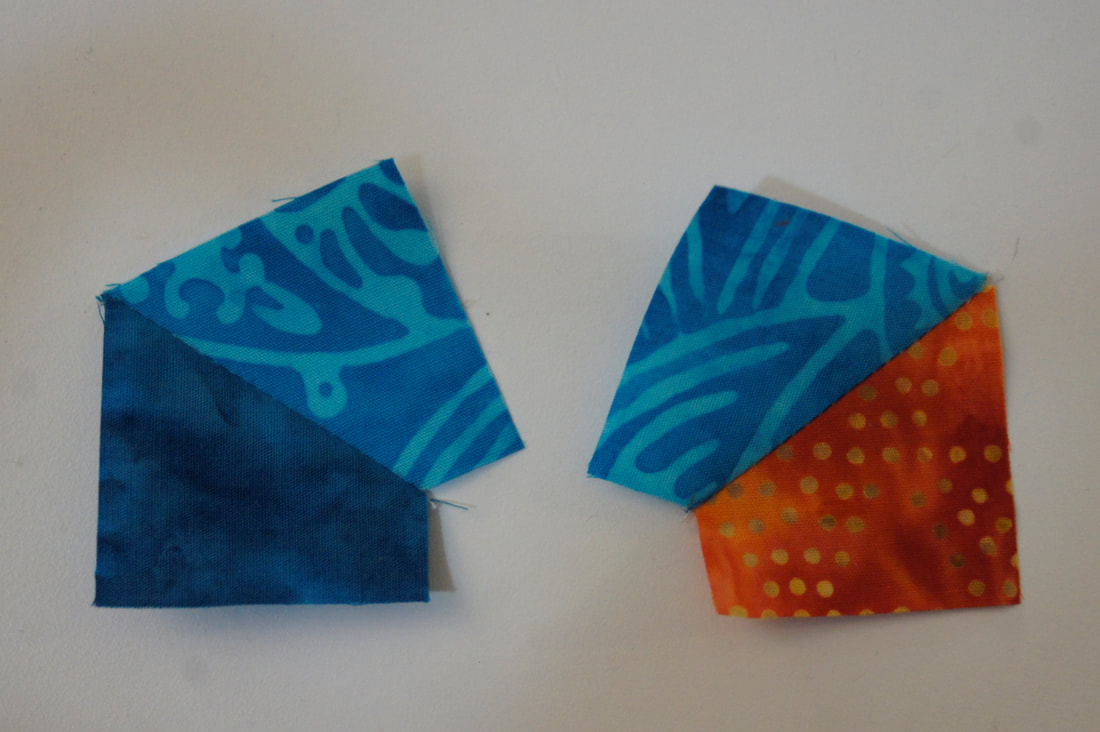
Before I trim these pieces I always flip the fabric triangle over to make sure it covers the main fabric underneath. It's okay if it is a little bigger as that can be trimmed away.
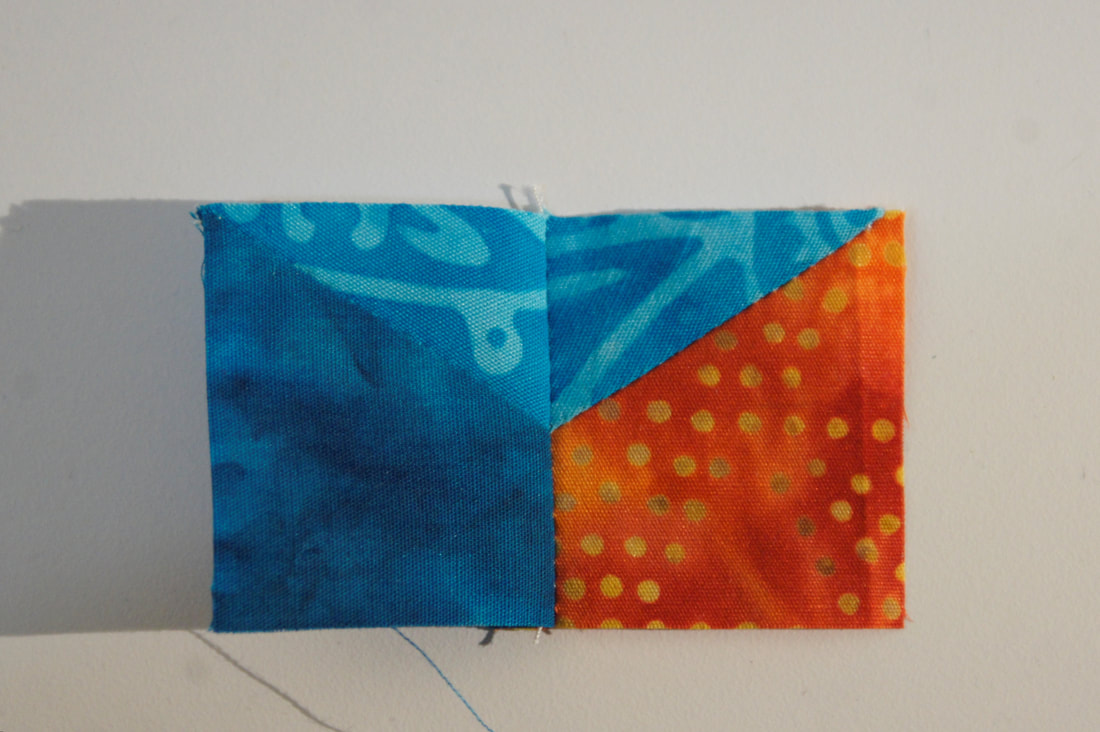
At this point we are ready to put the first row together. As you will notice we have two half-square Triangles whose seams are going to fight with another when you sew them together. This makes it really hard to get a sharp join at those points so my trick is to add a dab of fabric glue to hold them together as I sew. I ended up ripping out the first attempt as those seams just did not line up at all. SO....
I love my Sewline refillable glue pen for this. (The photo of the glue showed up better on one of my yellow birds.) I just dab a little in the corner and line up the seams then press them together to hold while I sew. 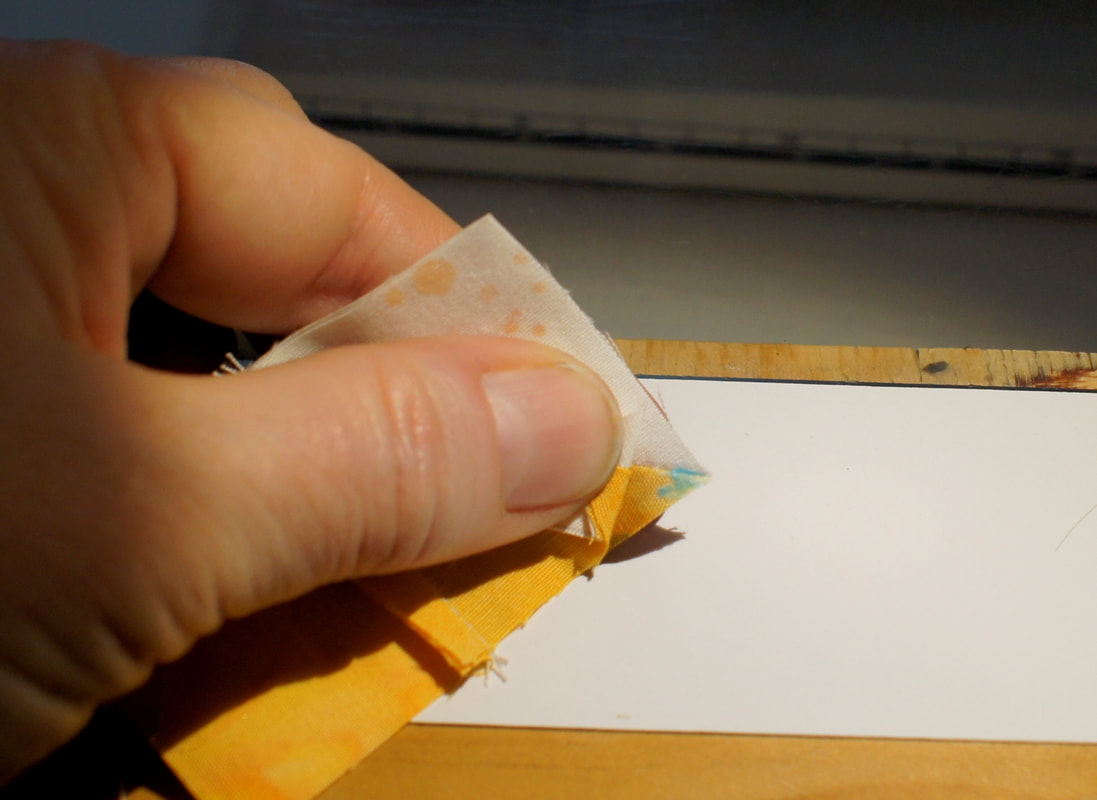
Sometimes I do a little spot check before proceeding to sew the seam. They seam to be lined up pretty nicely.
This is soooo much better than my first attempt.
In this block we are dealing with an unusual angle. I still prefer working with squares rather than sewing triangles with their stretchy bias edges, so this is how we are going to deal with Steps 10-13 of our pattern.
I first lay out the two L squares right next to each other, wrong side facing up. Then with my ruler I make a mark that is 1 inch down from the top on both L squares. 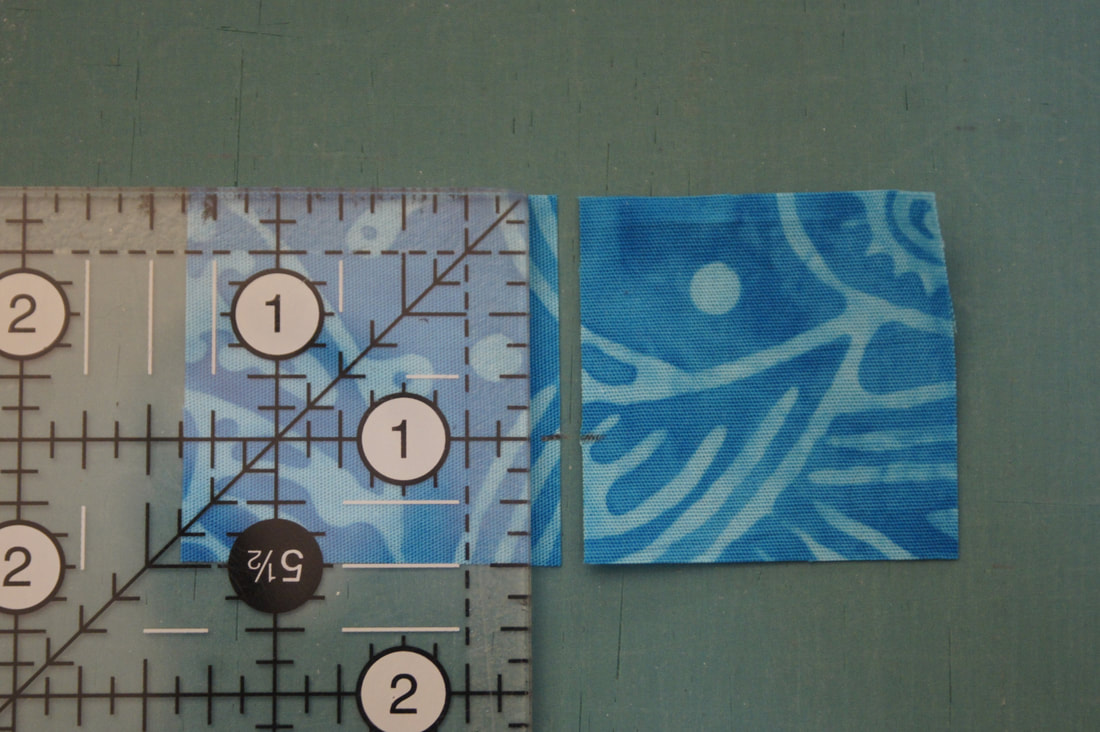
With my ruler I draw a diagonal line from those 1-inch marks to the upper corner of the square,
These marks are a mirror image of one another.
It is important here to add the correct L square to the K and M squares as the direction of the diagonal is very important to the finished look of our birds,
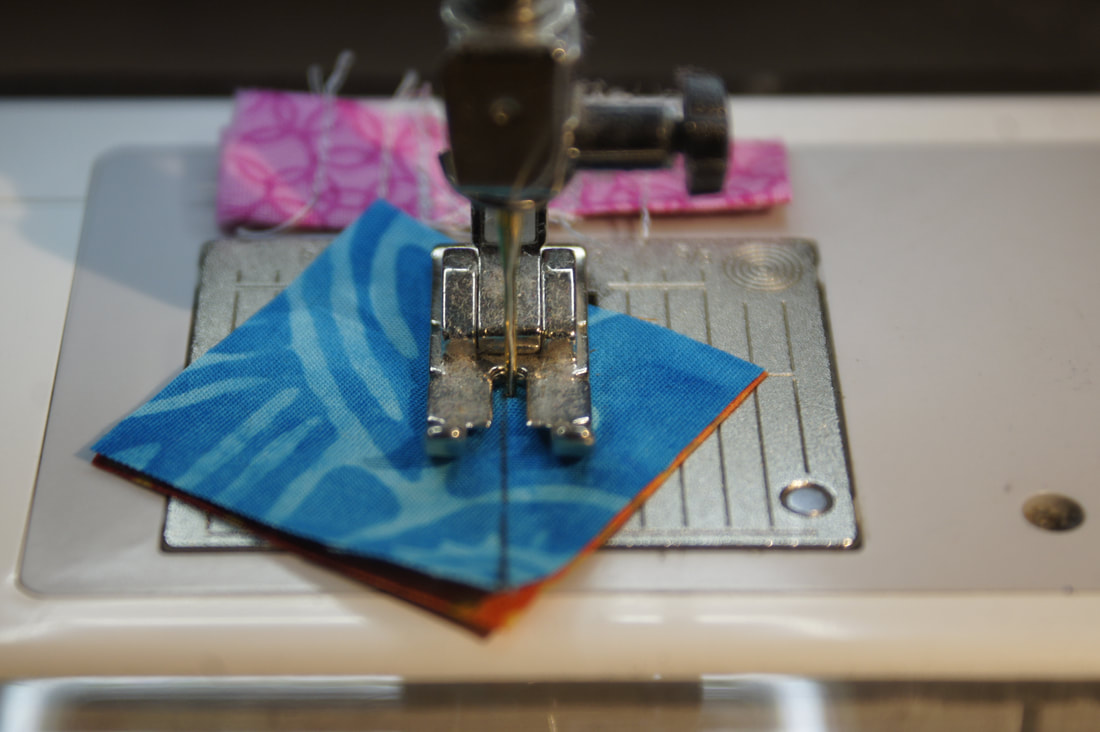
To sew I use the same technique of sewing a needle width to the outside of the square. I find if I sew slowly my machine handles those little angles very well, if I try to rush my squares got rather bunched up under my needle. So again-slow down here.
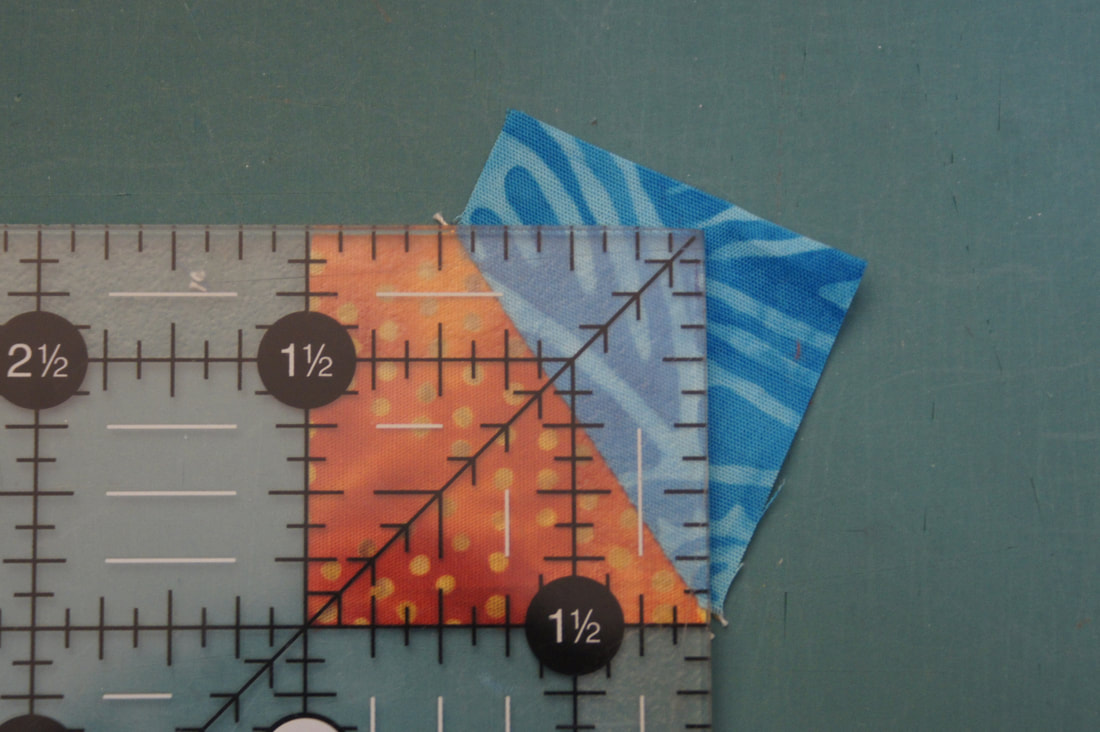
Once the pieces are sewn together I just trim away the excess.
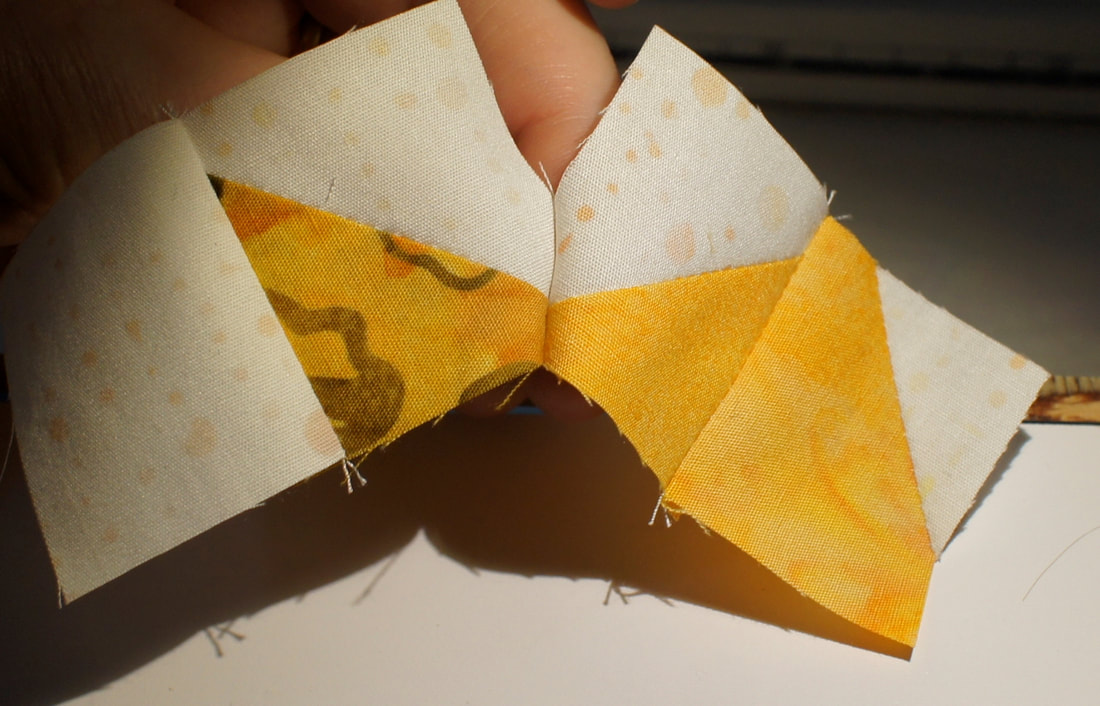
When pressing pay close attention to which direction the pattern says to press these. They look pretty funny at this point...
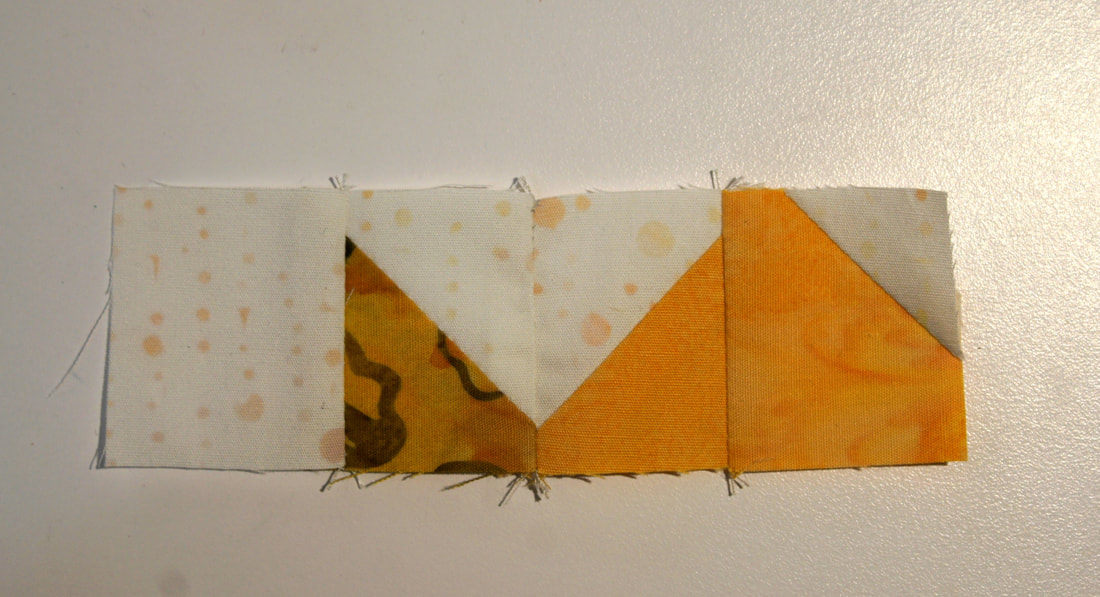
All that is left is to trim them to size. I do this by lining up my ruler with the corner edges of the K and M squares and then simply trim away the excess from the L squares
Since these were pressed in opposite directions they go together really nicely to form the bottom section of the bird's wing.
The rest of the block is simply putting everything together. Watch the direction of all of those Half-square Triangles and your beautiful birds will take shape. I am looking forward to seeing your flock so do come and share photos in my private Facebook Sew Along group.
Below you will find links to a couple of the things that I like for making this block. As apart of an Amazon program I do get a small commission if you use these links to make a purchase.
Happy Quilting!
Debra
Patti Howard
2/2/2022 08:49:23 pm
Thank you! Love all the colors you used with the birds.
KJ
2/3/2022 08:40:48 am
Such a fun row, and great directions. 3/5/2022 03:36:42 am
“The goal is to ensure that 100% jobs in government departments and different State government undertakings are crammed via Tamil adolescents,” said Finance and Human Resources Minister Palanivel Thiagarajan. Comments are closed.
|

Welcome to the site of Debra Davis-a woman who loves the Lord and loves to quilt.
My other blog where I share about my walk of faith:
Sitting at His Feet 
|


 RSS Feed