|
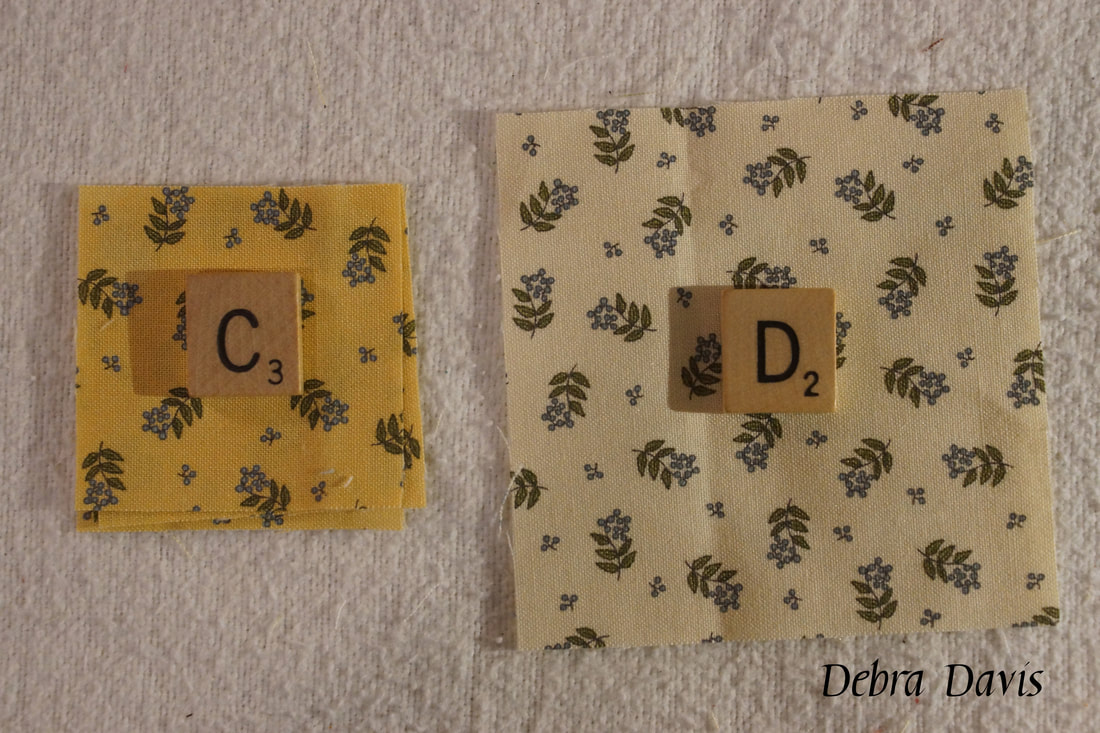
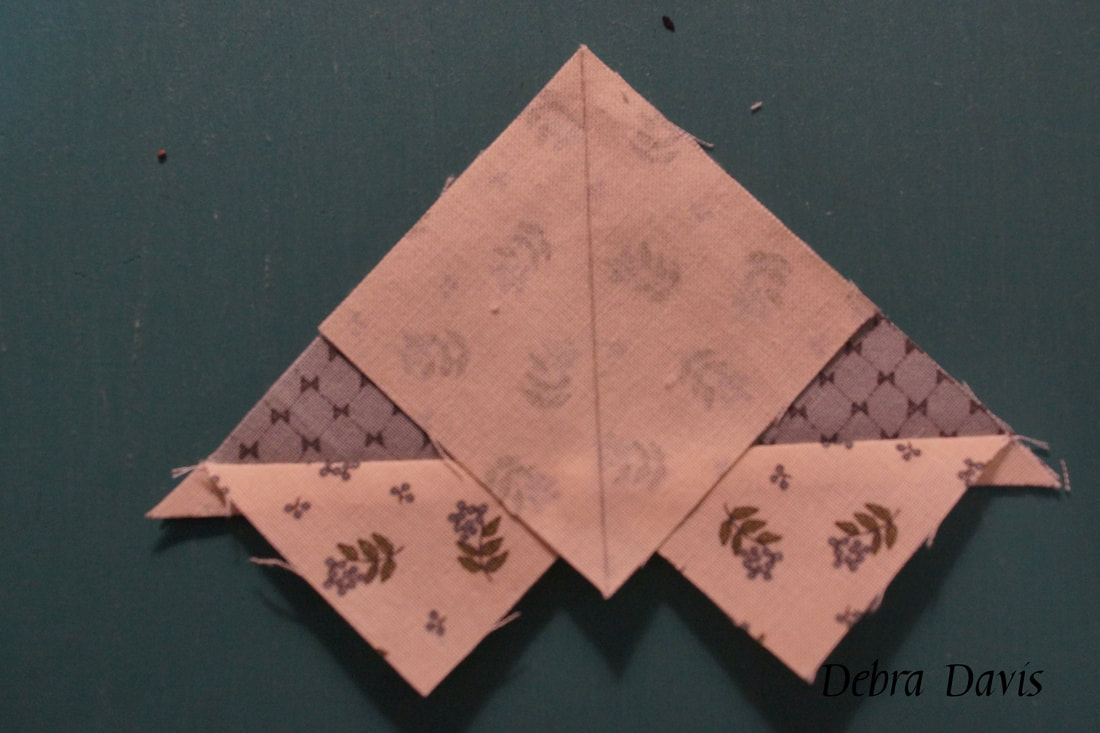
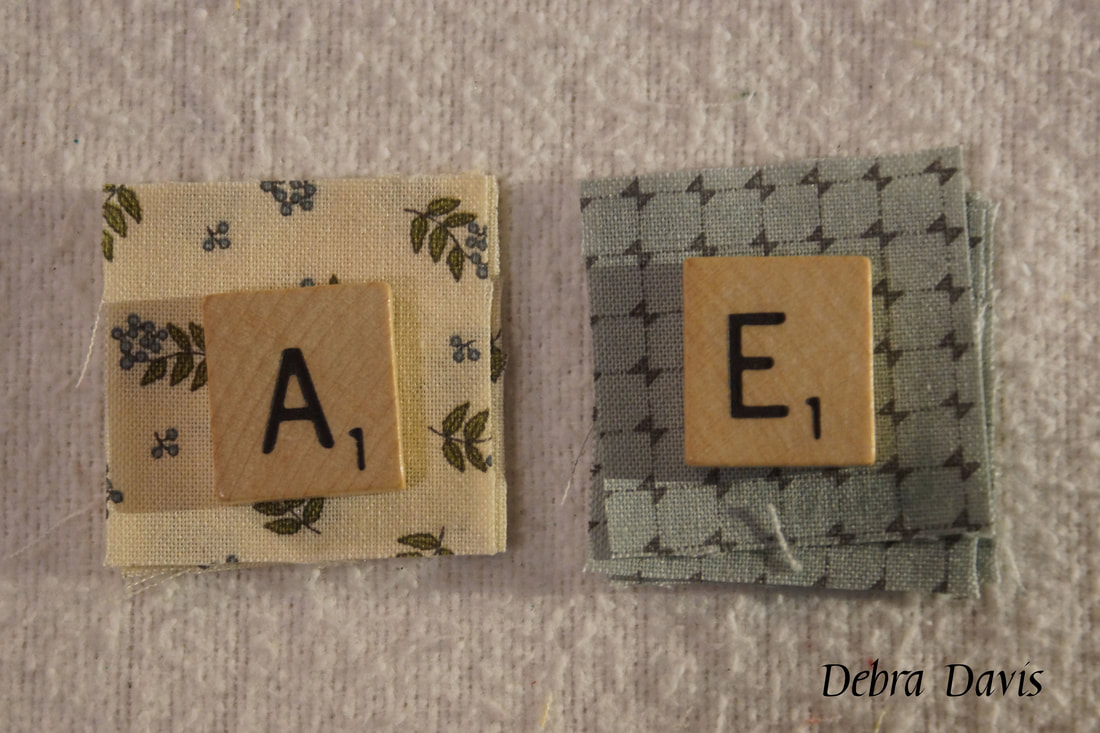
Another star block! I love how many star variations we are seeing in this project. Lynne Hagmeier designed this week's block and you can read about it on her Blog and get the pattern for the block as well. Lynne's Blog can be found HERE. Seems I always start with a yellow when it comes to these star blocks and this one is no exception. I debated about how I wanted the light and dark fabrics to play out and decided I would go with a darker background this time. Overall I am pleased with how it came out. (notice even the doll is oohing over this one-lol.) 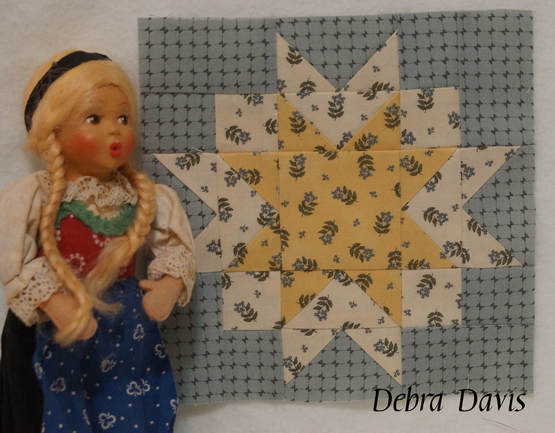 You may already have figured out I was going to change the cutting directions on this one. Did you see those Flying Geese? Yes, I am going to use the quick no-waste method for these. I hope it is not too confusing to have more than one size for the A and B fabrics. A-(cut4) 1 1/2" x 1 1/2" squares A-(cut 4) 2 1/8" x 2 1/8"squares (Sky for the Flying Geese) B-(cut 4) 1 1/2" x 2 1/2" rectangles B-(cut 1) 3 1/2" x 3 1/2" square (Geese for Flying Geese units) C-(cut 4) 2 1/8" x 2 1/8"squares (Sky for the Flying Geese) D-(cut 1) 3 1/2" x 3 1/2" square (Geese for Flying Geese units) E-(cut4) 1 1/2" x 1 1/2" squares F-(cut 1) 2 1/2" x 2 1/2" square 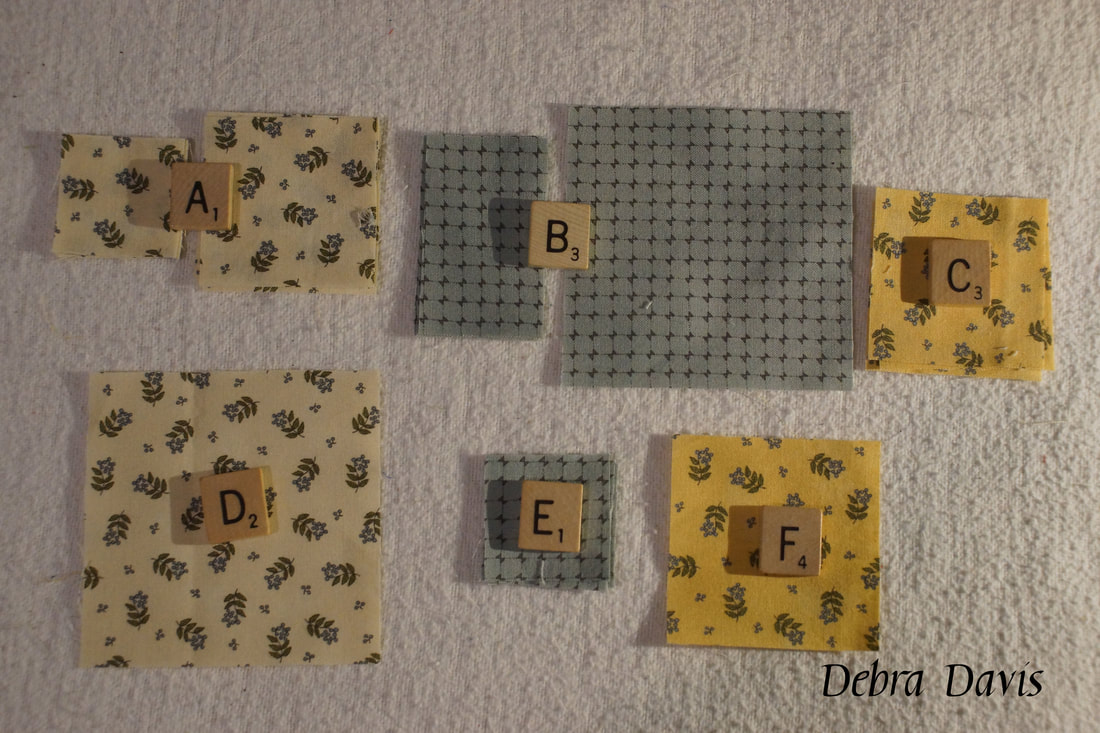 Starting with the largest A squares and the largest B square I am going to make the Flying geese units first. For this method lay two A squares on the B square and draw a line down the middle. 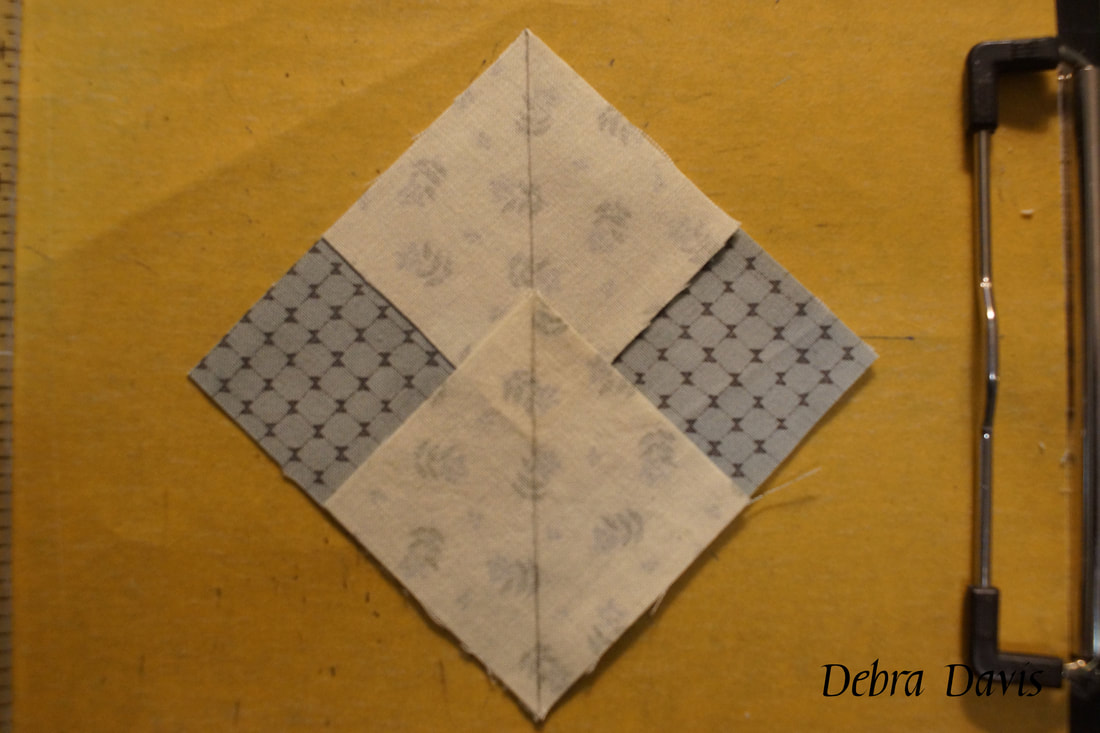 Since the C and D pieces are also used to make Flying Geese units I am going to make them at the same time. Once again I lay the smaller squares on the large square and draw a line through them.
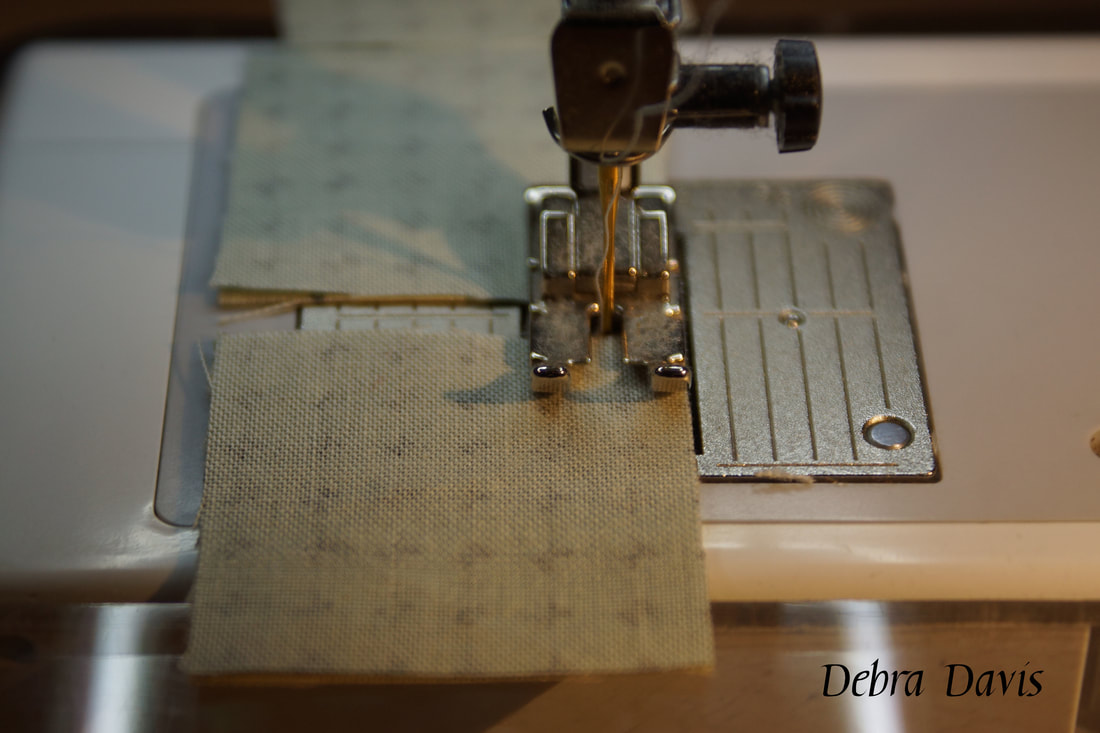
Next I will sew 1/4 inch from each side of the drawn line. 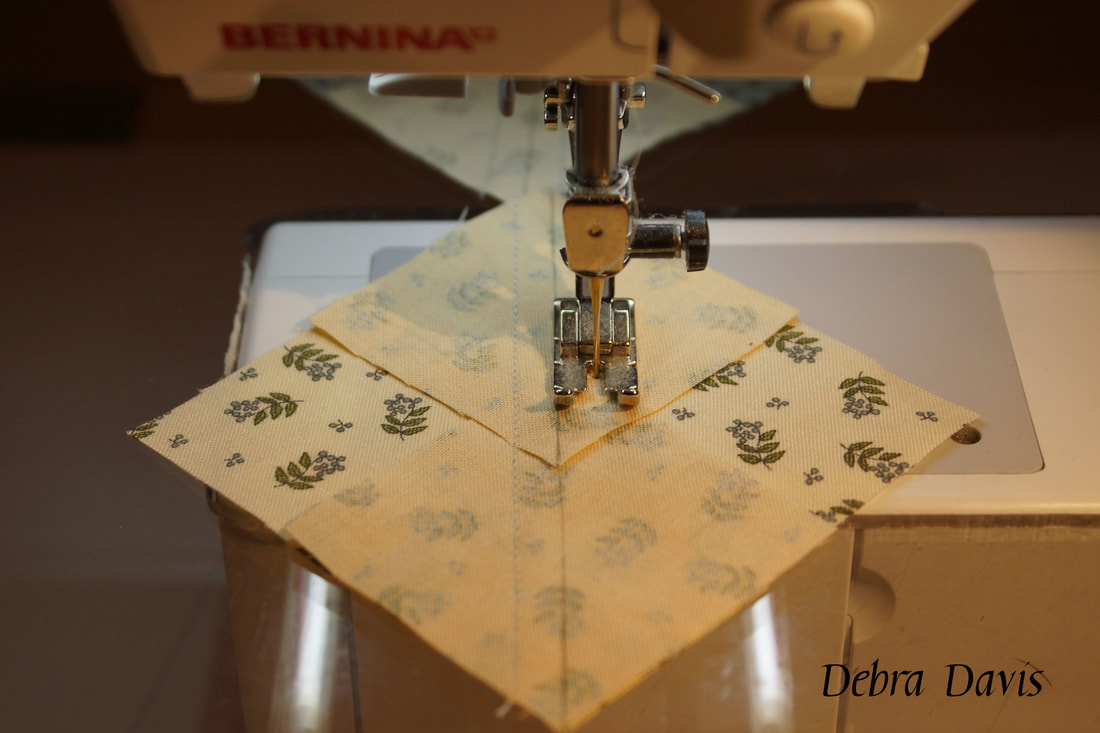 Once they are sewn I cut apart on the drawn line and press towards the small triangles. 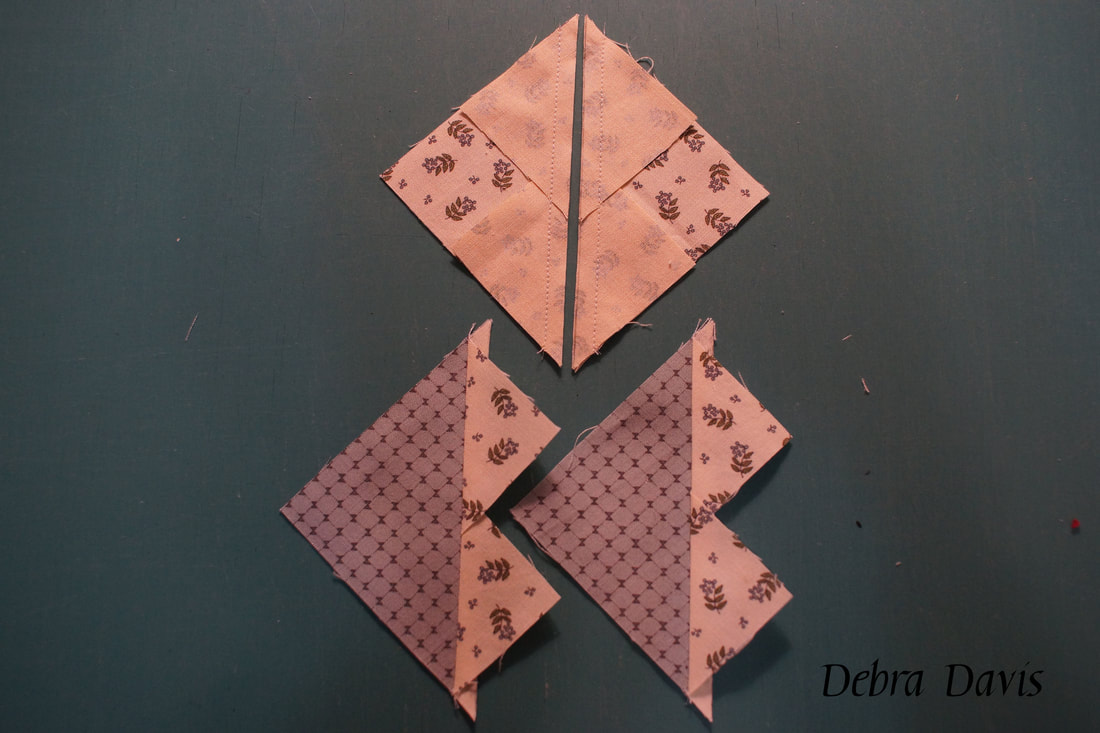 On the back of the the remaining 2 1/8" squares I have drawn another diagonal line. 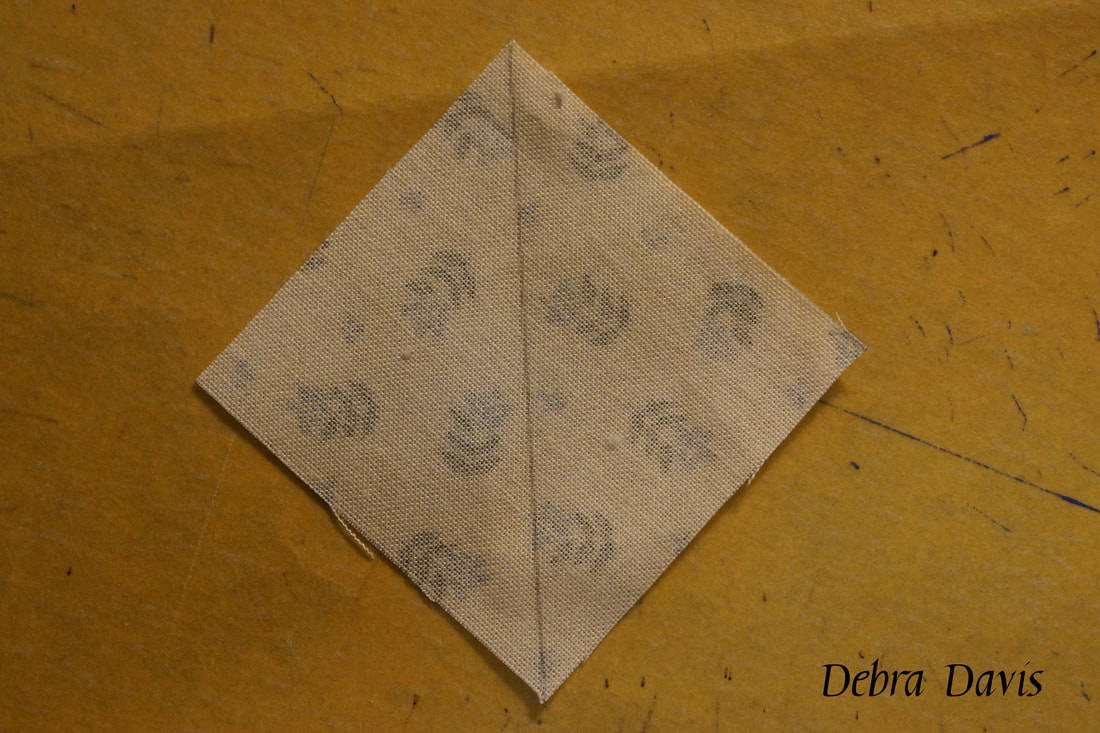 These are placed as shown and stitched 1/4 inch from each side of the diagonal line.
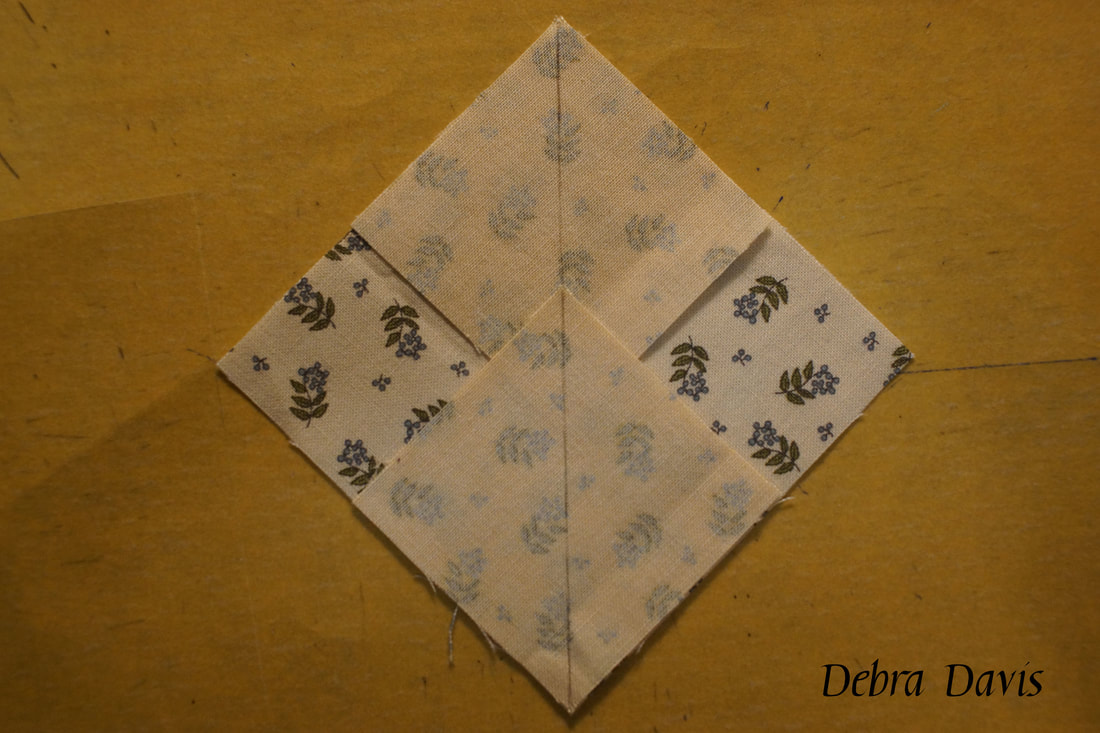
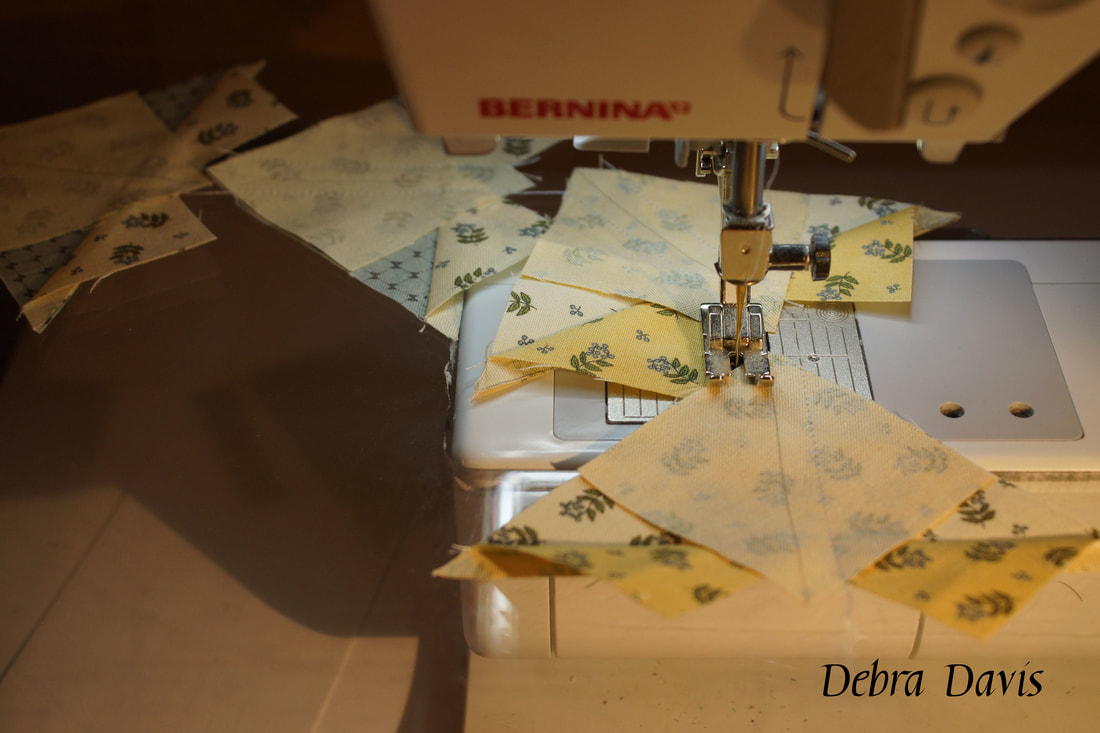
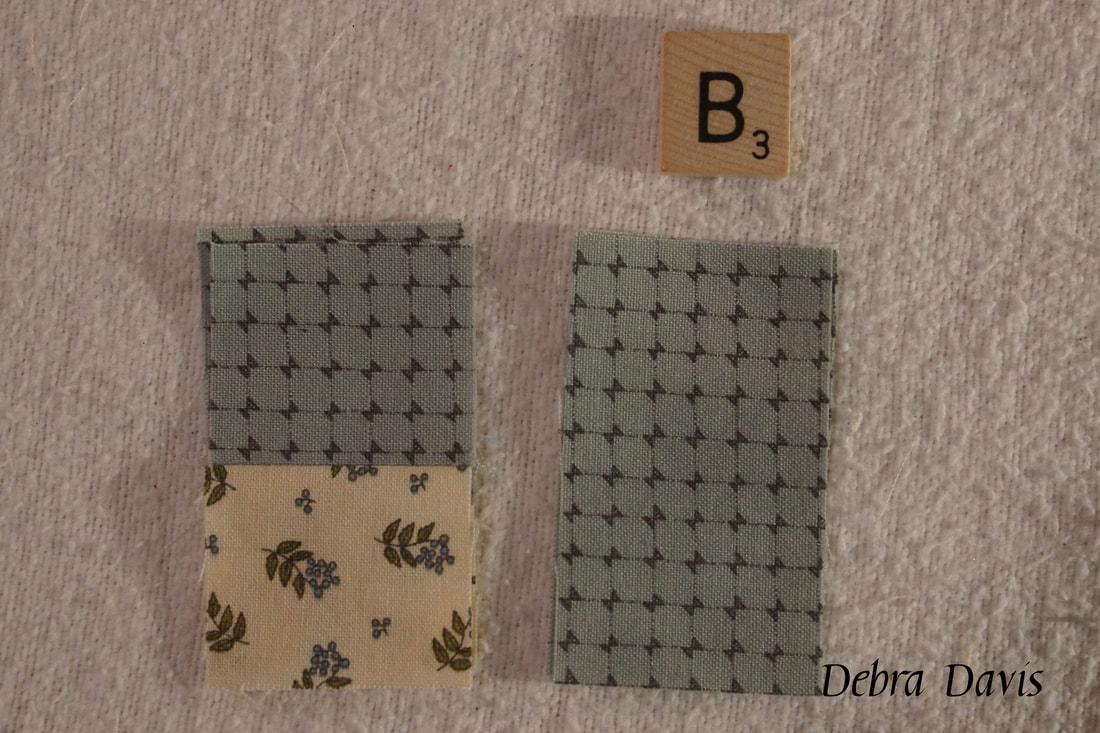
Once again I cut on the drawn line and press towards the small triangles. 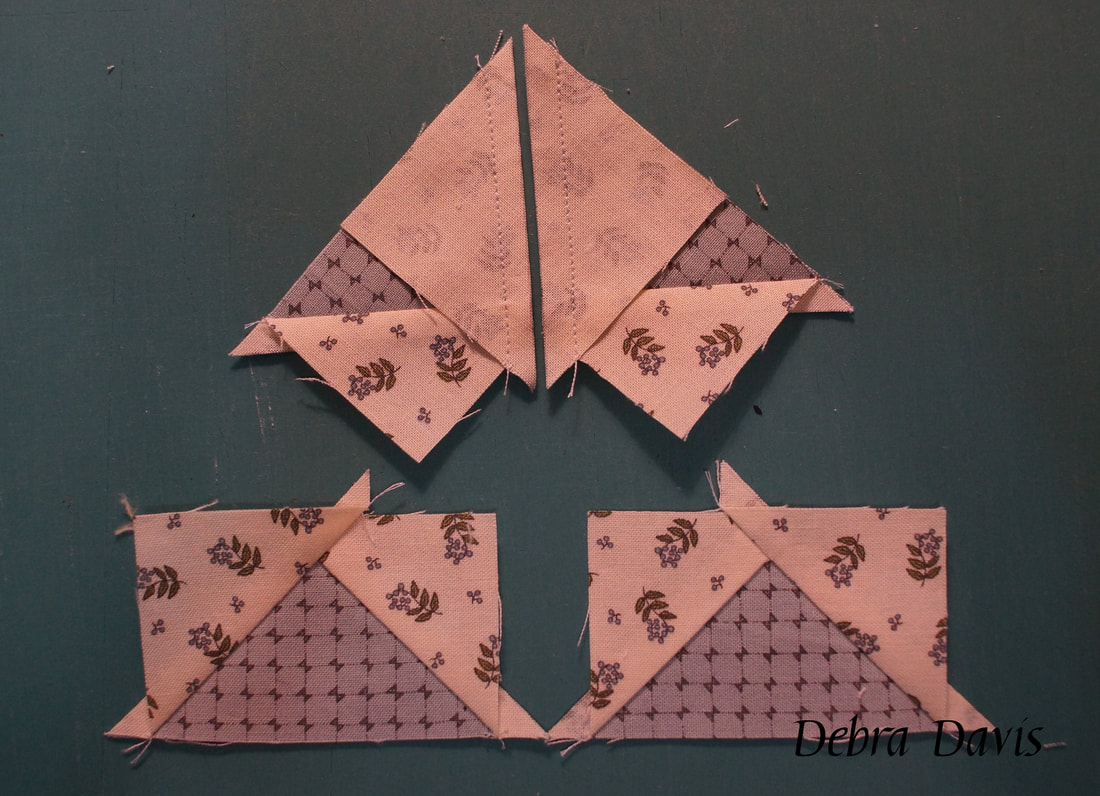 Now to trim the Flying Geese to 1 1/2" x 2 1/2" using my Bloc Loc Ruler. For directions on how to trim these accurately with a regular ruler see this previous post: www.tuning-my-heart.com/blog/moda-blockheads-block-15-t-block 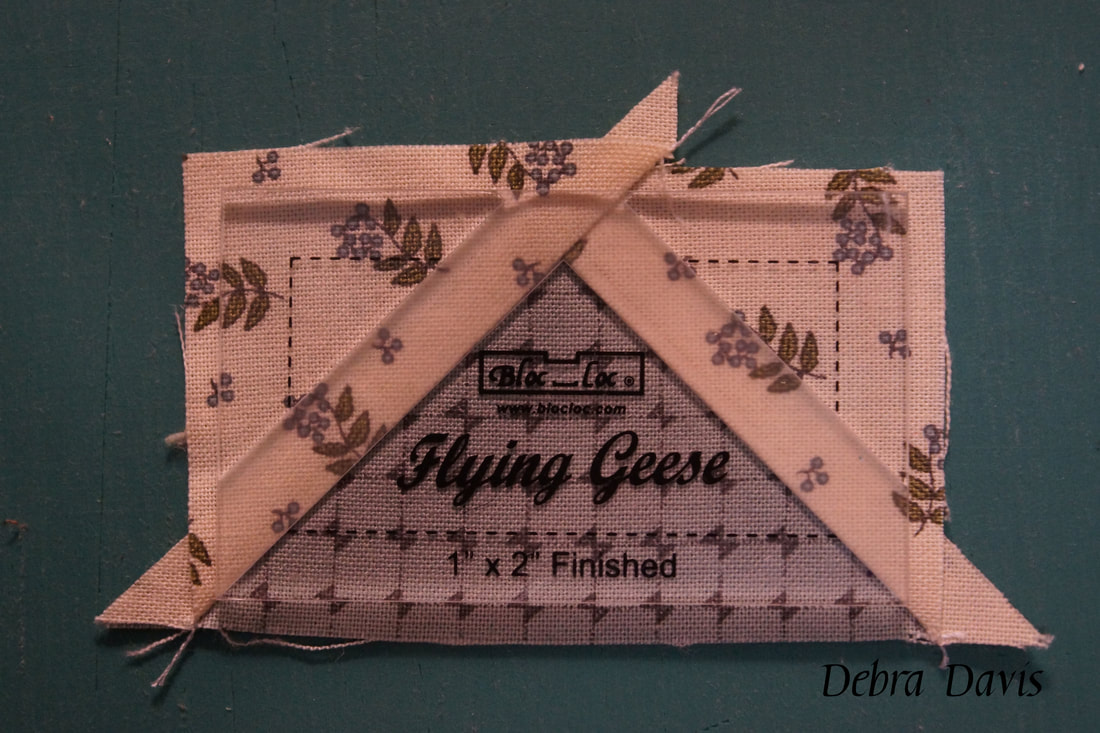 With the Flying Geese all trimmed to size I need to join them together-making sure the "geese" are pointing the same direction. 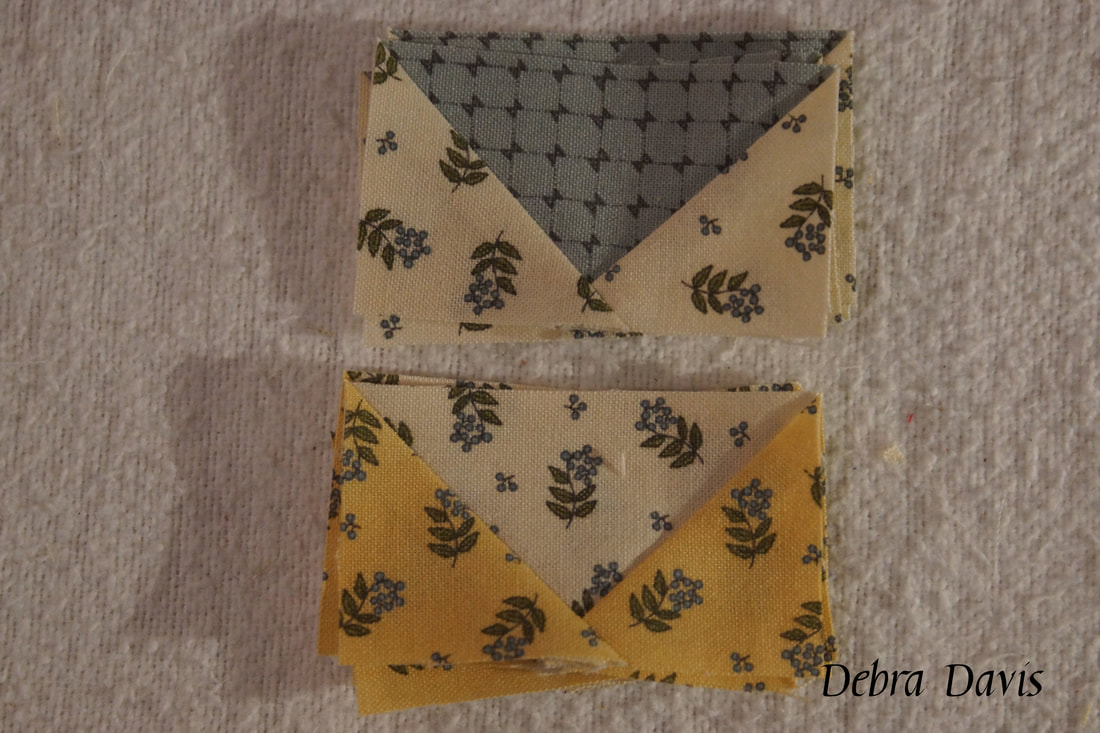 To ensure sharp points I want to aim for the middle of the "X" where my previous stitches cross one another. This point should be right in line with my 1/4 inch seam. A little tip for sewing that particular point-it is a bulky seam and will want to move on you as you approach that angular seam. Go slow and even lift your presser foot once or twice to get that seam to stay nice and straight under your needle. 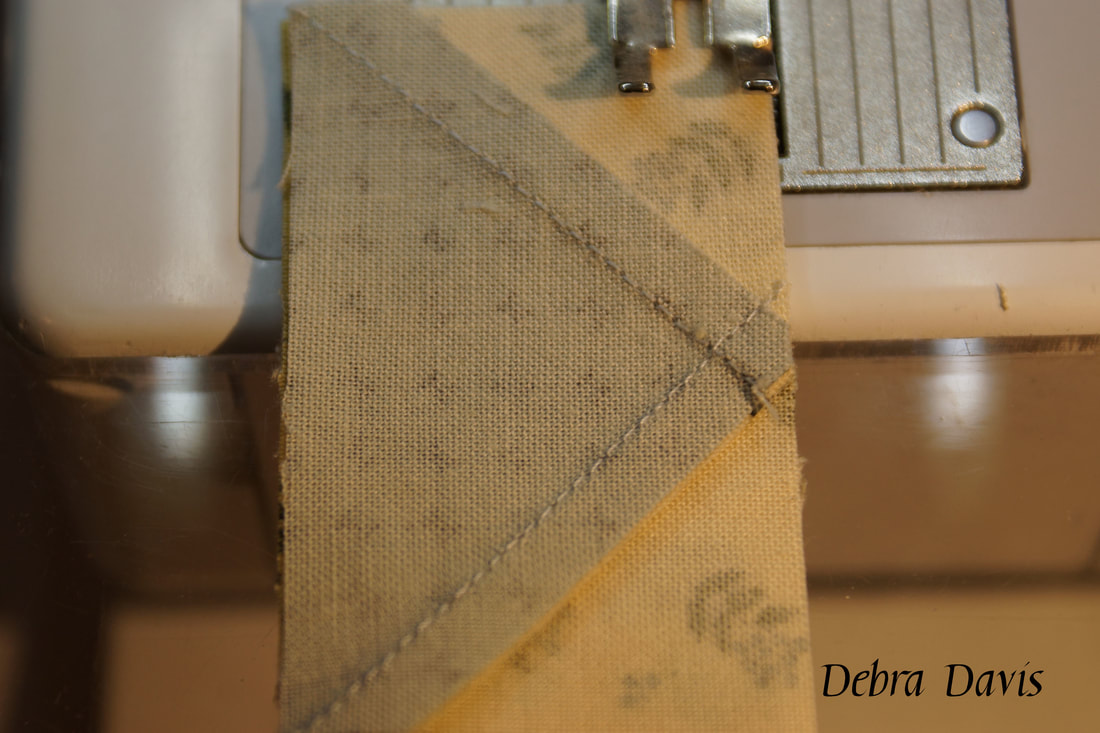 I pressed all of these towards the units made with the C and D squares. It is the direction this unit wants to naturally lay the nicest. 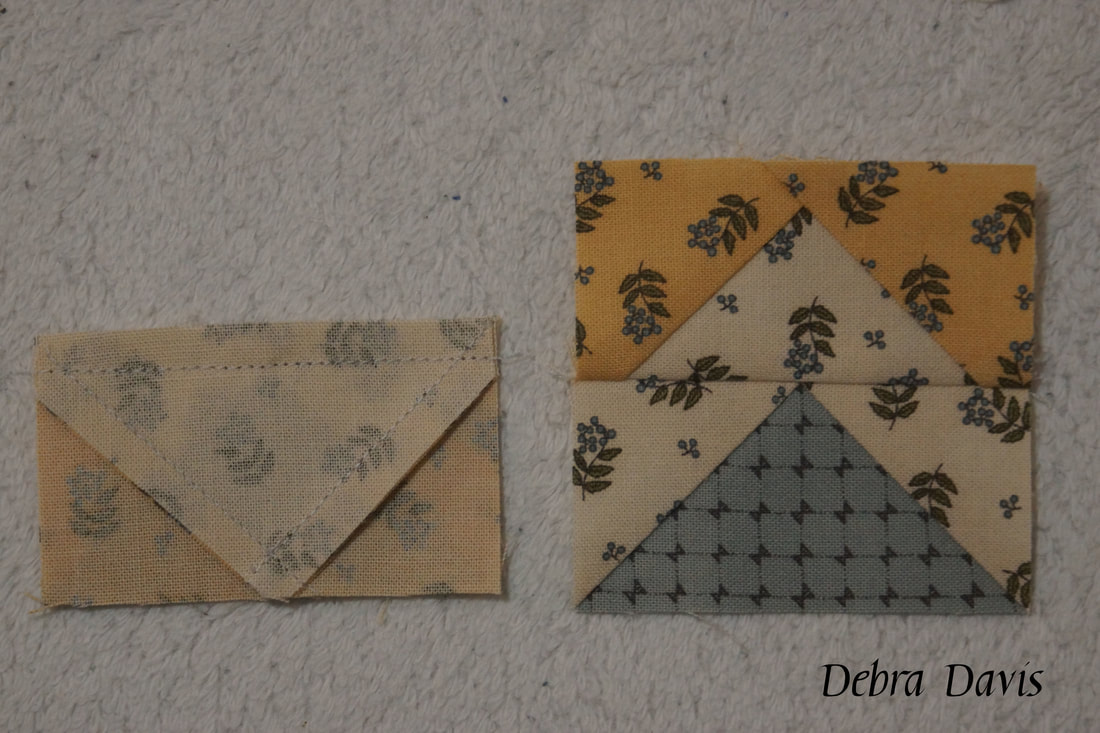 This next step seems like a piece of cake after all of that-just join the remaining A squares with the E squares.
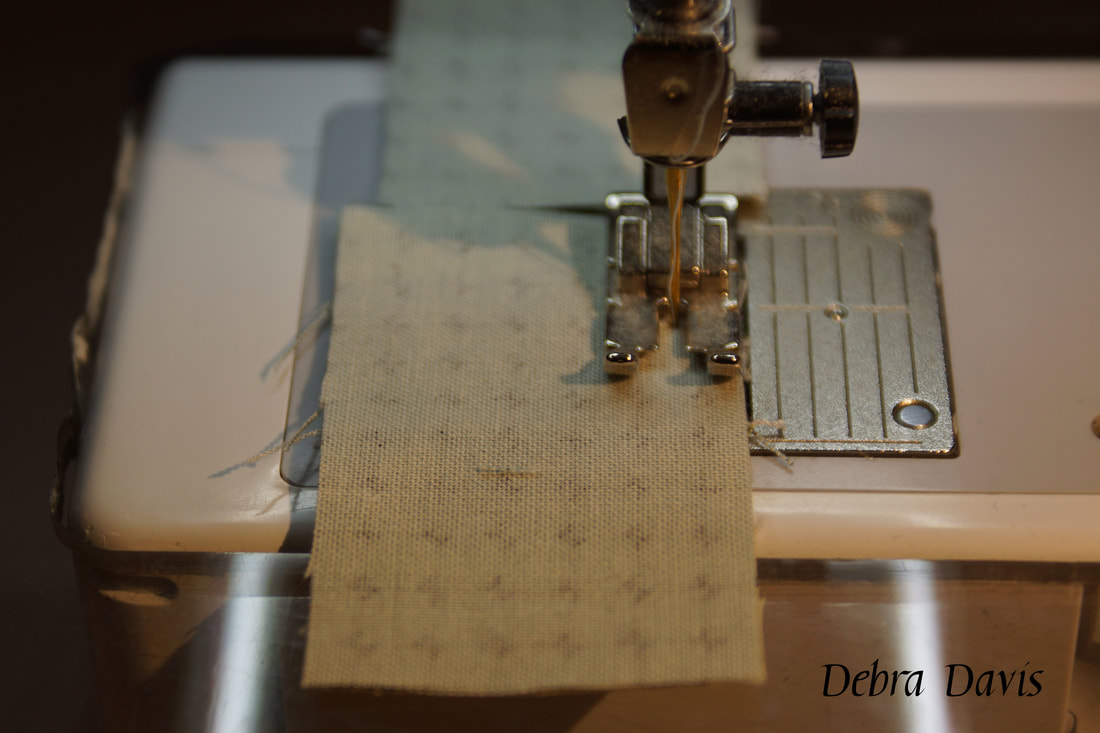
Lynne's directions call for us to press towards the A square. I am not really sure why. After putting the block together I would probably go ahead with the usual of pressing towards the dark side. Though it is not a big deal either way. 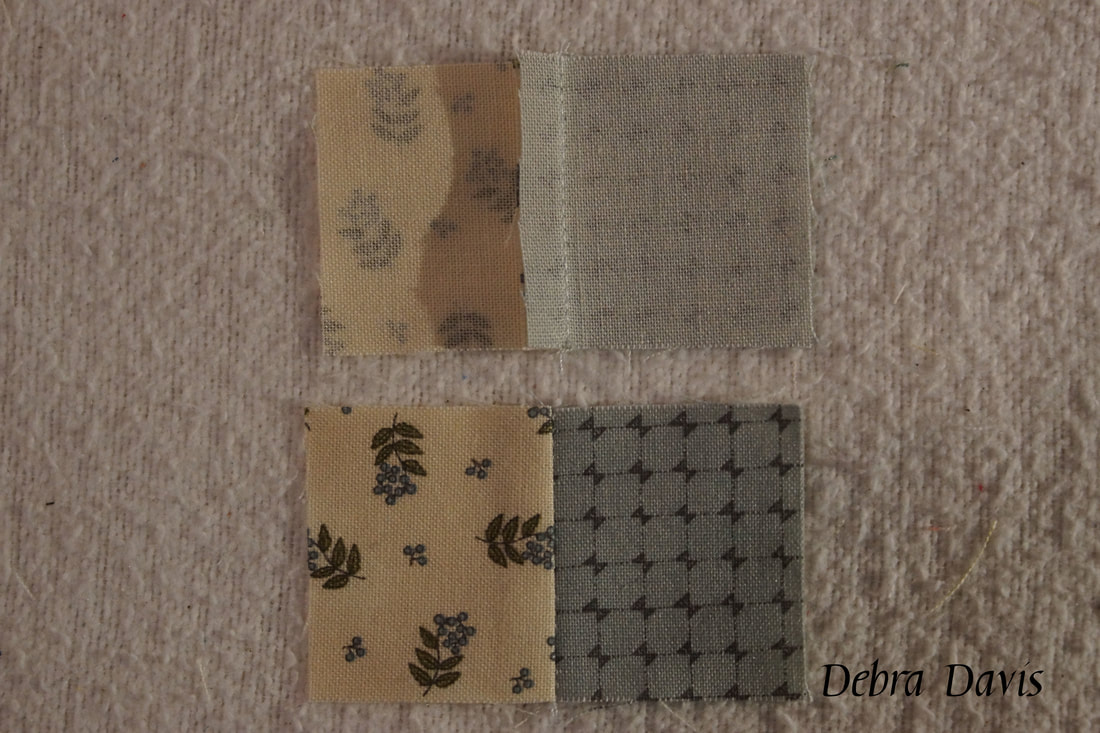 At any rate, next I need to add those B rectangles. And this is where I would have preferred pressing towards the E squares. When I lay these together to be pieced that seam is pointing up-I much prefer not to see that when I am sewing. So I flipped my pieces around so that I would be sewing with that seam facing down-away from the needle as it approaches.
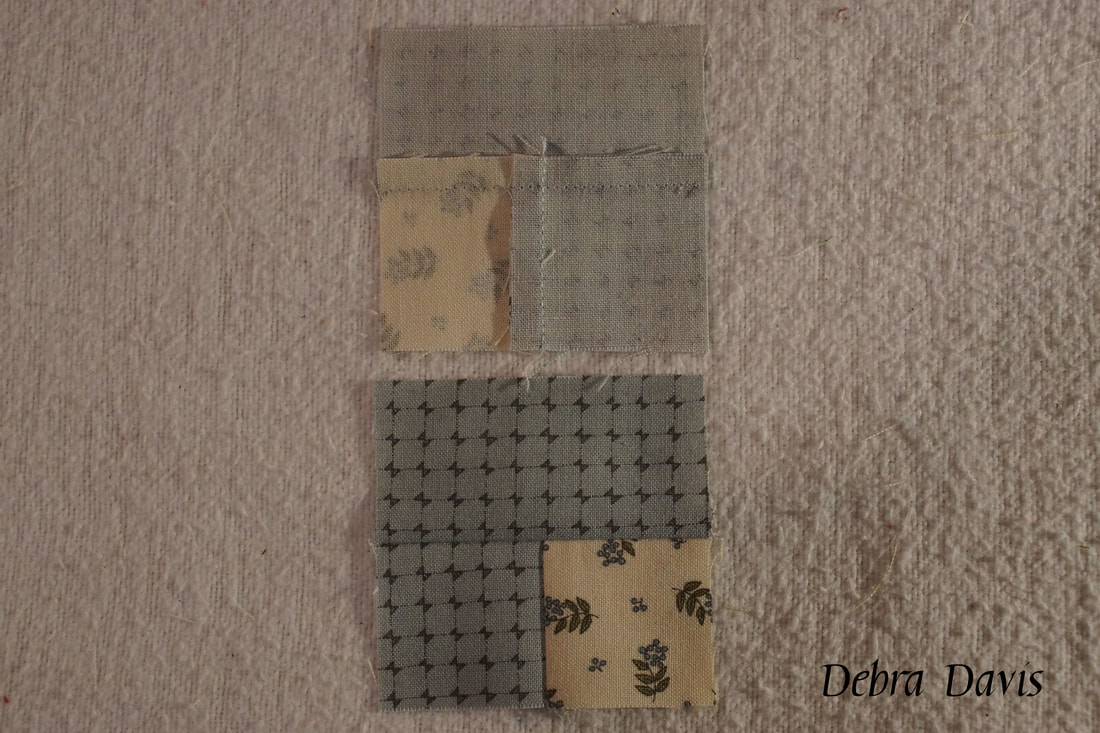
When I have these sewn together I press towards the rectangle.
I always get excited when it is time to put everything together as I finally get to see how my fabric selections are really going to look.  As I stitched the rows together I pressed the top and bottom rows towards the outside corner units and the middle row towards the center square. 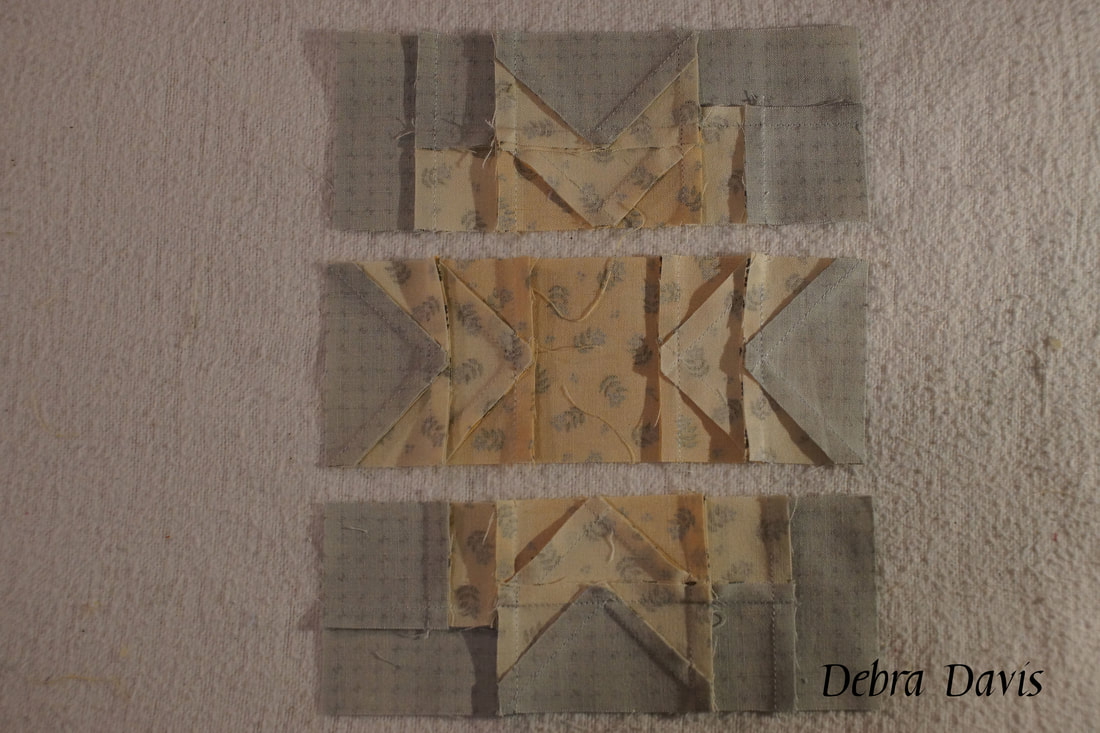 Sewing the rows together I placed pins at all the seam intersections. Not every seam will lock into place as some of them are going the same direction, but a carefully placed pin will hold them together. I find that if the pin is on the stitching line when I look at both the front and the back there is a very good chance the seams will line up nicely when I sew. I am also going to be watching that point of the Flying goose in the middle to make sure my needle hits the spot I want it to.  Double Delight Star was truly a delight to make! 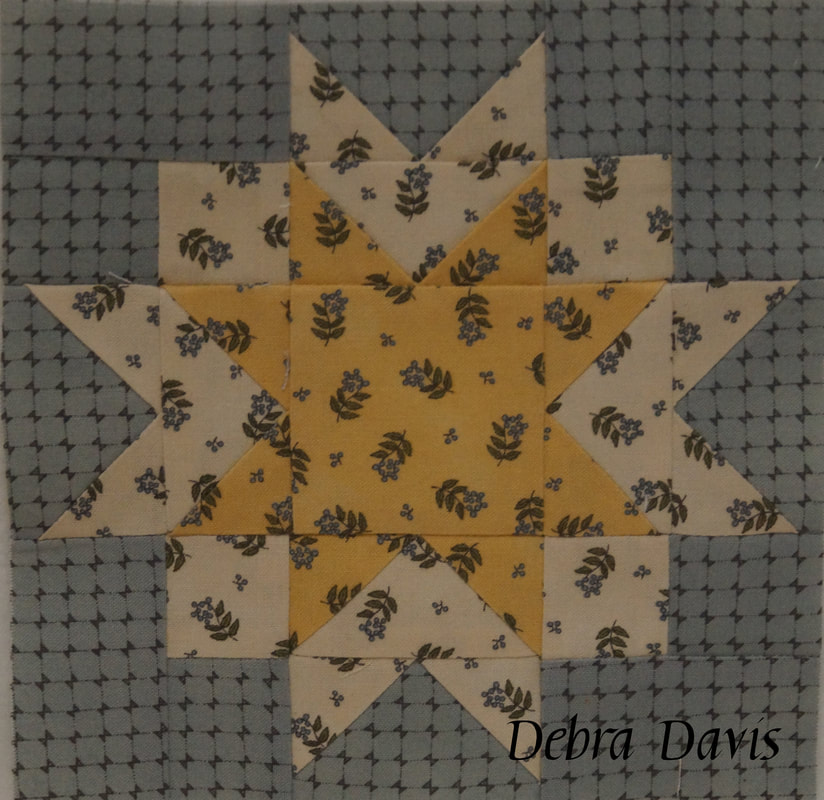 I hope you have fun with this one too. Until next time... Happy Quilting!! 
Sheryll Foye
11/18/2017 05:14:11 pm
You are a wonderful help! Thanks for taking the time to do these! Learn so much from your tutorials !
Debra
11/21/2017 11:00:32 am
That is so nice to here, Sheryll. Thank you!
Skeeter cramer
11/25/2017 08:04:53 am
Love your tutorials, thank you for each and every one of them. I am a new to quilting and learn so much from each new block. One question though, is it necessary to "set" each seam, and why do we do that? I figured where my points to are going---the same place my socks go in the dryer! Have a great day.
Debra
11/27/2017 09:35:35 am
LOL! Oh, Skeeter you have given me my laugh for the day-it makes perfect sense-our points are hanging out with the lost socks! Comments are closed.
|

Welcome to the site of Debra Davis-a woman who loves the Lord and loves to quilt.
My other blog where I share about my walk of faith:
Sitting at His Feet 
|


 RSS Feed