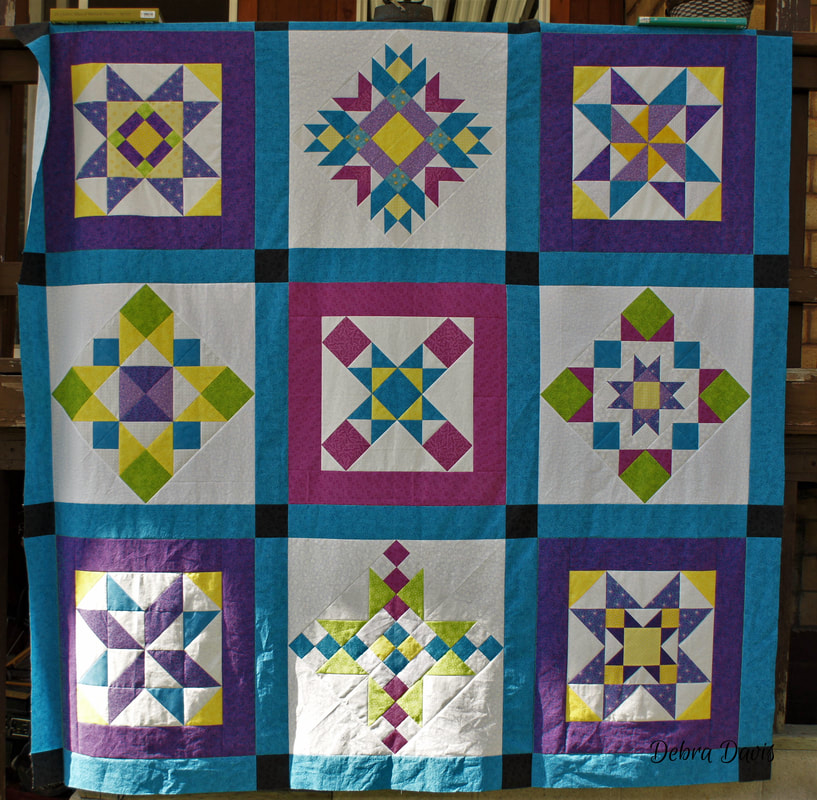
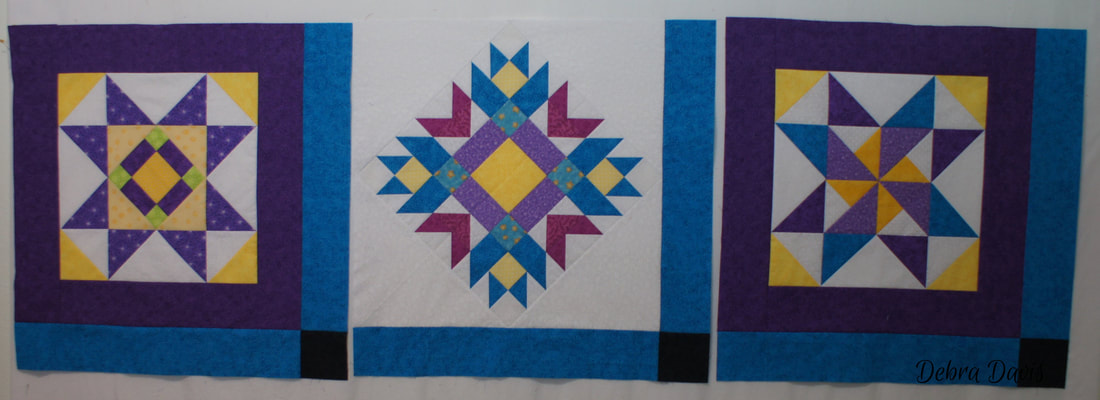
The final setting I am doing for my blocks is a combination of framed blocks and blocks set on point. I used a quilt program to design this setting and somewhere along the line in that process it way underestimated the finished size and some of the yardage requirements-I do apologize-this has been a learning process for me and I hope such mistakes can now be avoided in the future. Here is the updated information you need for this quilt.
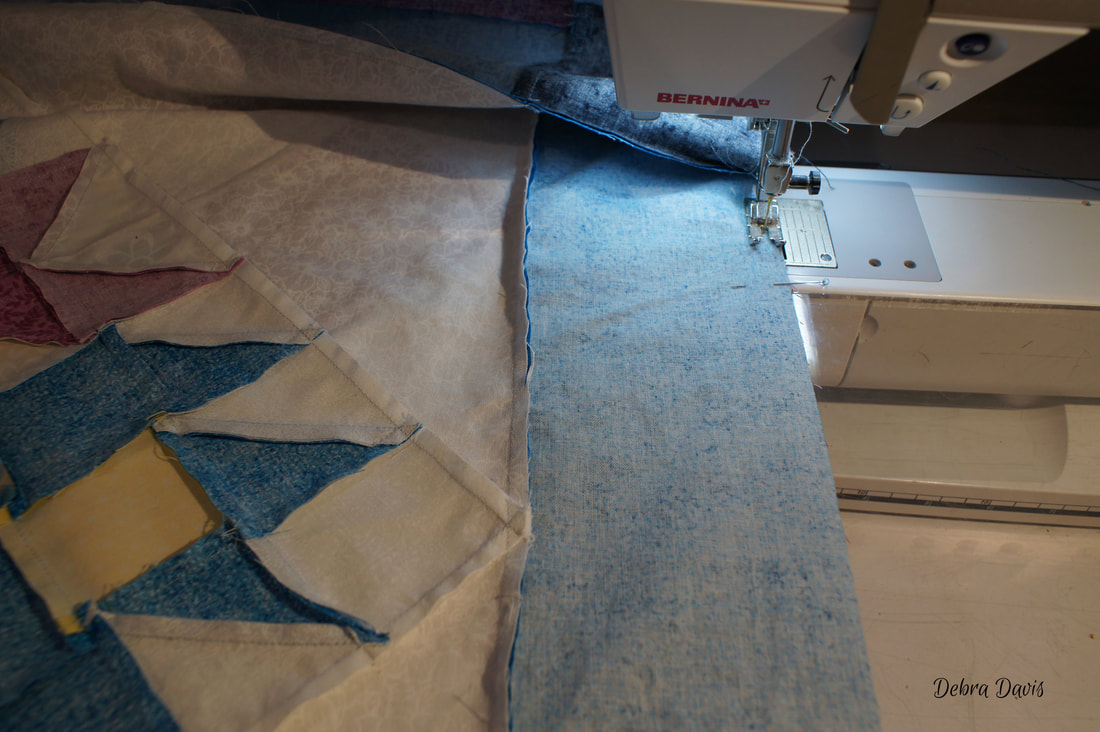
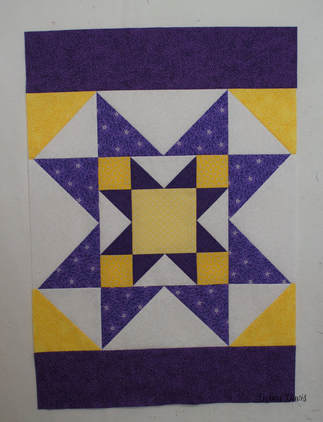
Red and White Version Color Scrappy Version This one goes together pretty quickly. The first step is to square up all of our blocks. I am using two rulers to do this as I do not have a ruler large enough for the block size we are using. So I lay my square ruler down first lining up the seam lines with straight lines on the ruler (I konw that the 10" marks will work on the edge to get the 16 1/2" size I need to trim to once I add my long 6 1/2" ruler that will be my trimming guide. You will have to figure out the ruler combination that works for you with the rulers you have. (I ordered a 16 1/2" Creative Grids ruler that came the day after I trimmed these, lol.) 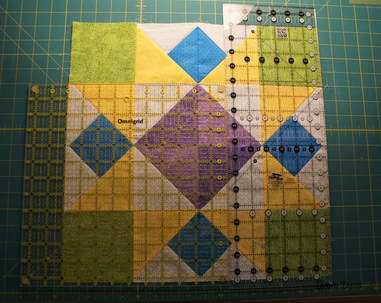
We do have some cutting to do before we can begin putting the blocks together.
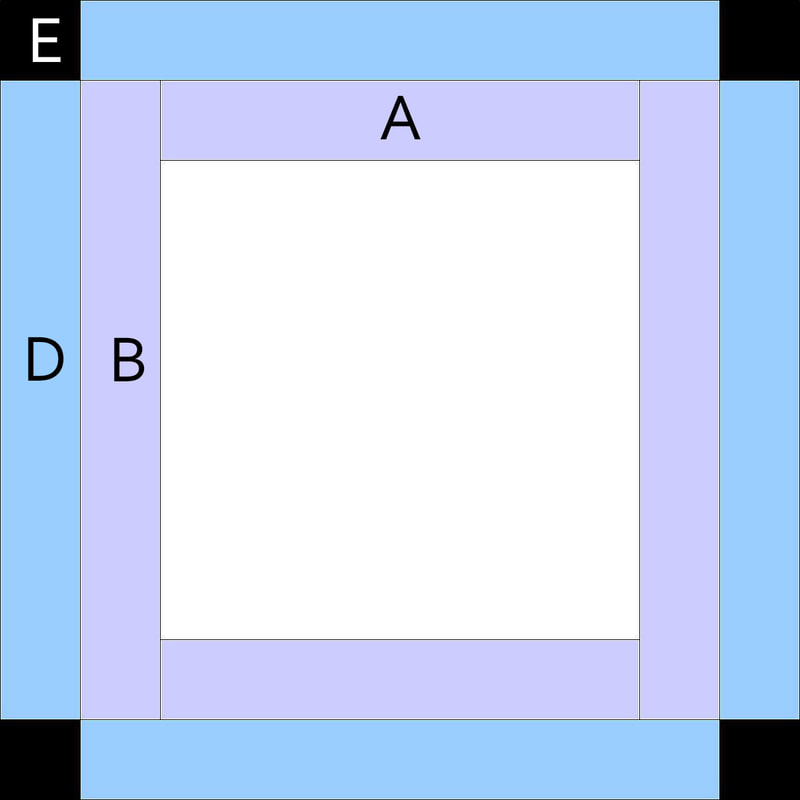
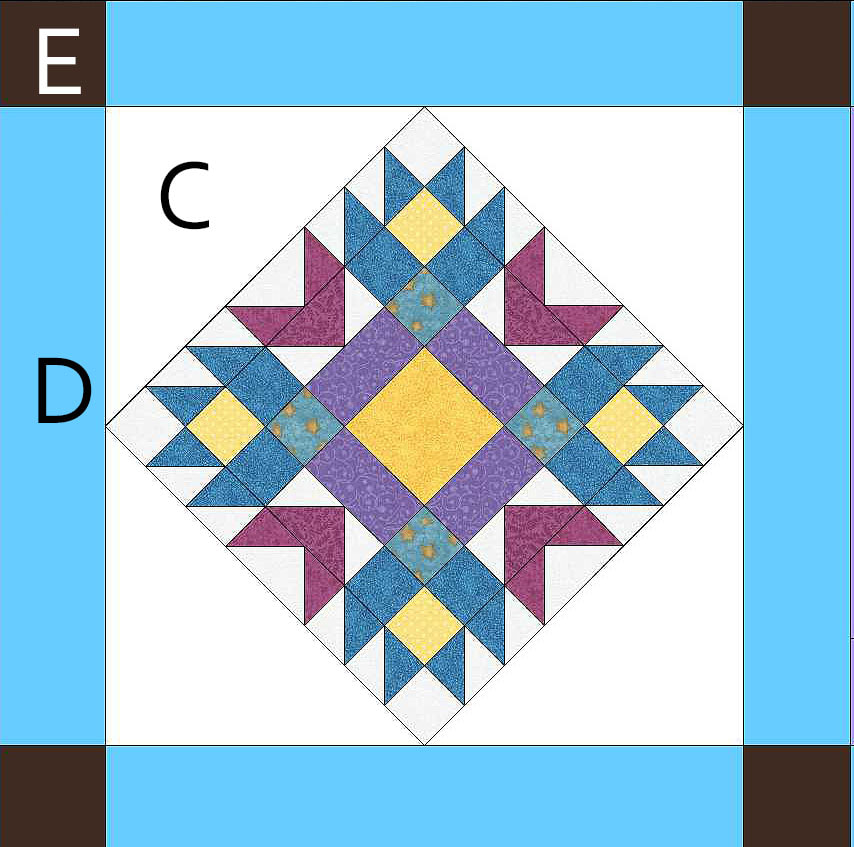
A-(cut 10) 4" x 16 1/2" See Note #1 B-(cut 10) 4" x 23 1/2" See Note #1 C-(cut 8) 12 1/2" x 12 1/2"- cut in half on diagonal ⧄ D-(cut 24) 4" x 23 1/2" cut on length of grain See Note #2. E- (cut 16) 4" x 4" Note#1: When I cut my A and B strips I cut one A and one B from each strip so that I had less fabric waste (16 1/2" x 23 1/2" =40" so I can get one of each from a standard 44" width of fabric) Note #2: To use my fabric efficiently and eliminate any stretching I cut these strips out on the length of grain rather than my usual crossgrain cuts. I measured out 25 inches and made a little clip on the fabric then tore it across the grain. Next I folded this in half along the length and again in half crossways which made it a length that worked with my 18 1/2" ruler for cutting the four inch strips. I cut these pretty much as demonstrated by this youtube video that Marti Michell did-I just folded my fabric in half so I would not have to reach so far to make the cuts. The second video is from Leah Day on how to make sure you square up your fabric before cutting-this is what I do when I fold my fabric in half and keeps the strips nice and straight.
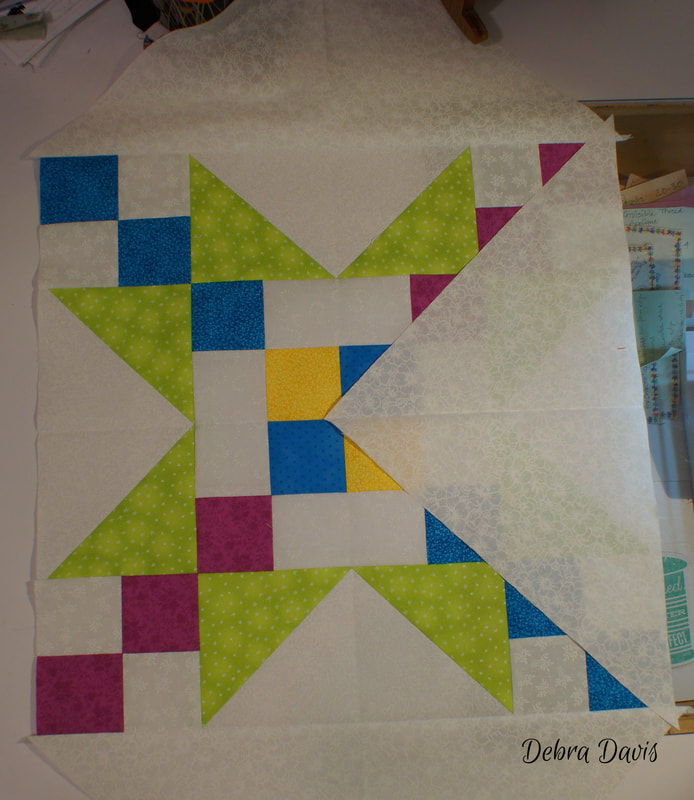
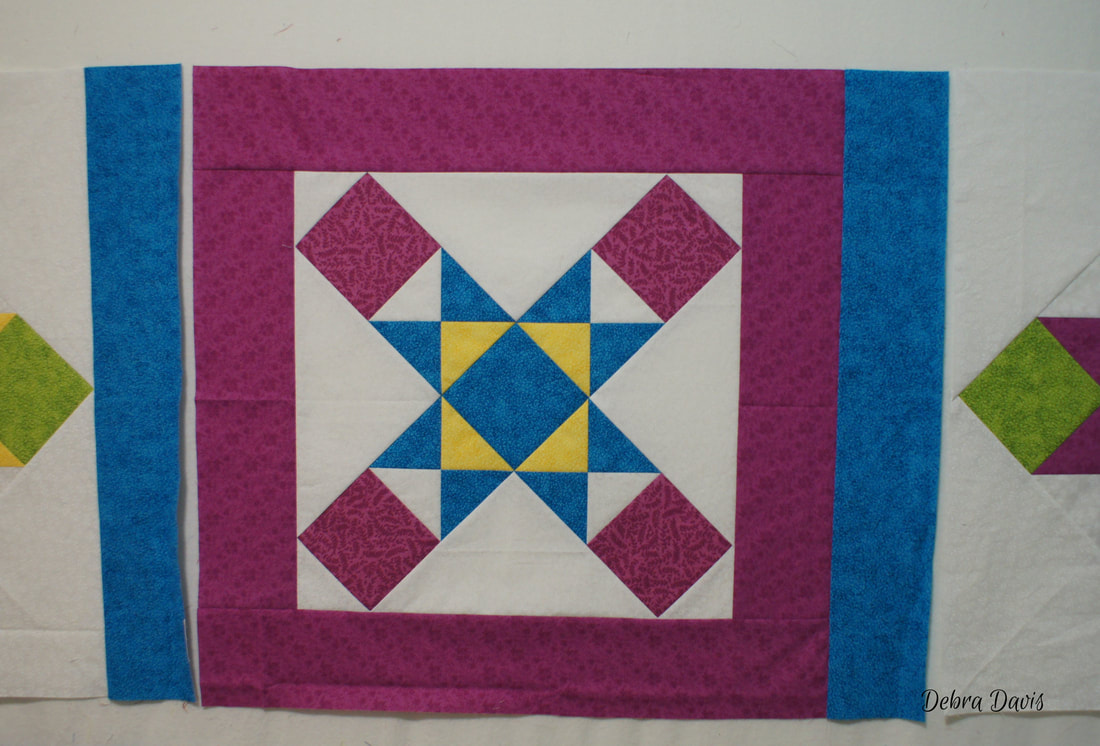
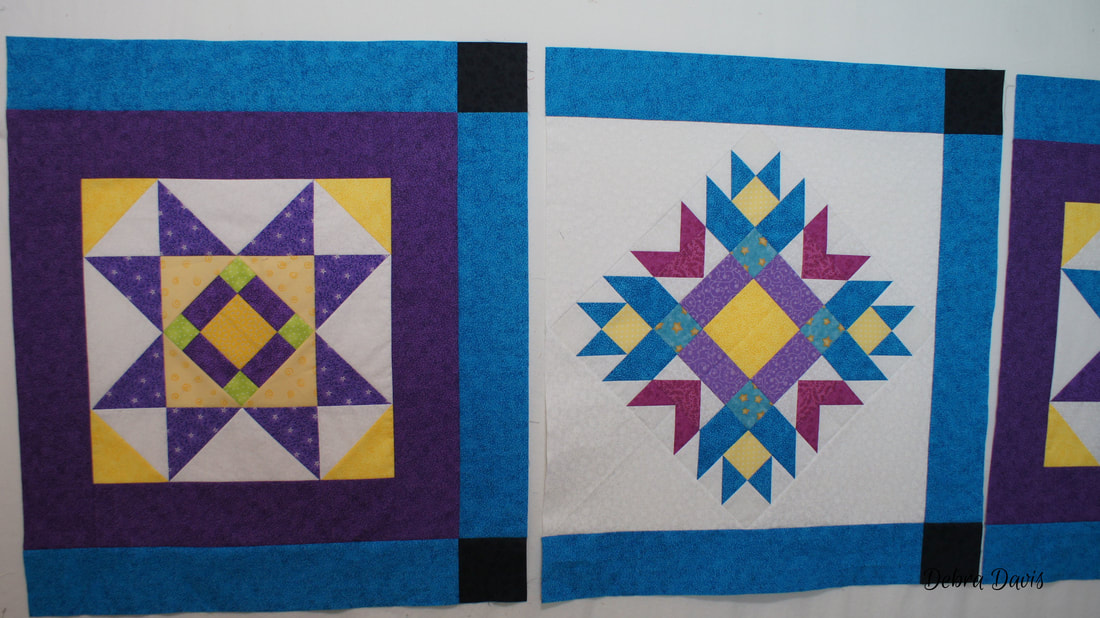
After laying out my blocks in the order I want them to be I began by adding the triangles to the four on-point blocks. To center them I pressed the block in half to get a fold line then pressed a fold into the triangles as well. Working on opposite sides I added the triangles to the block and pressed towards the triangles. Here you can see where I am adding the third triangle, having already done the first two.
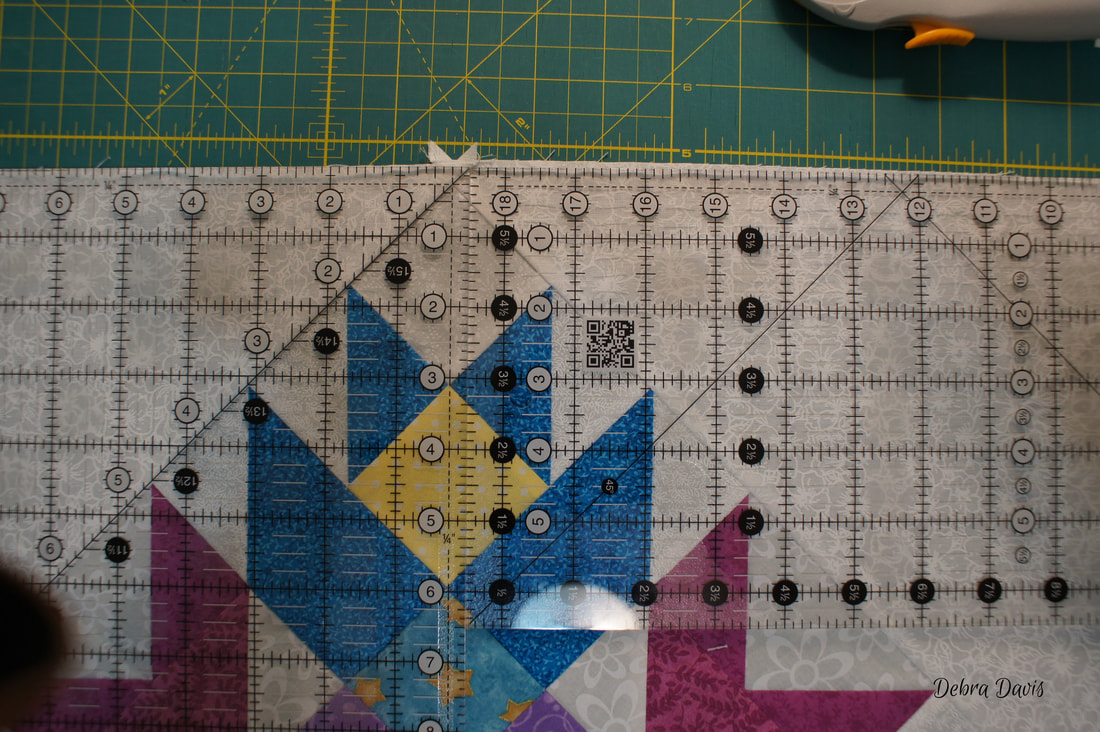
Then I make sure that my block is still square and trim off the little "tails"
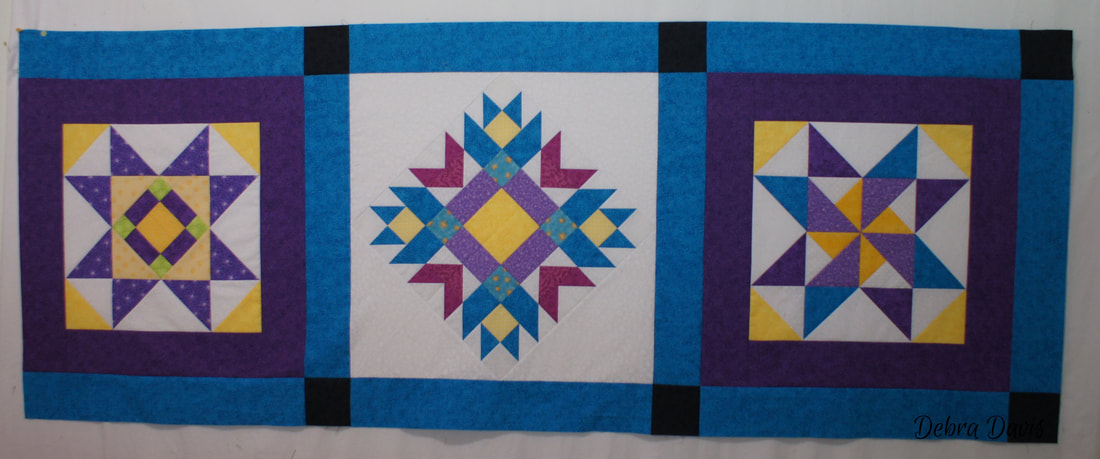
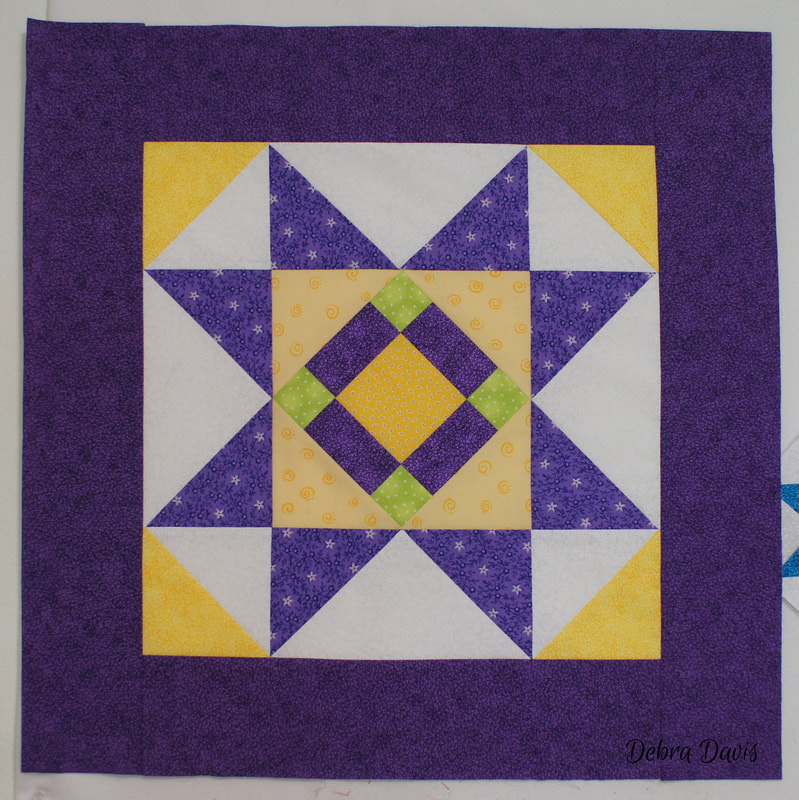
Now I move on to the remaining five blocks that I want to frame. I added the top and bottom strips first and then the last two to the sides. After completing the frames around these blocks I lay the out with the blocks on-point the way I want them for the quilt top.
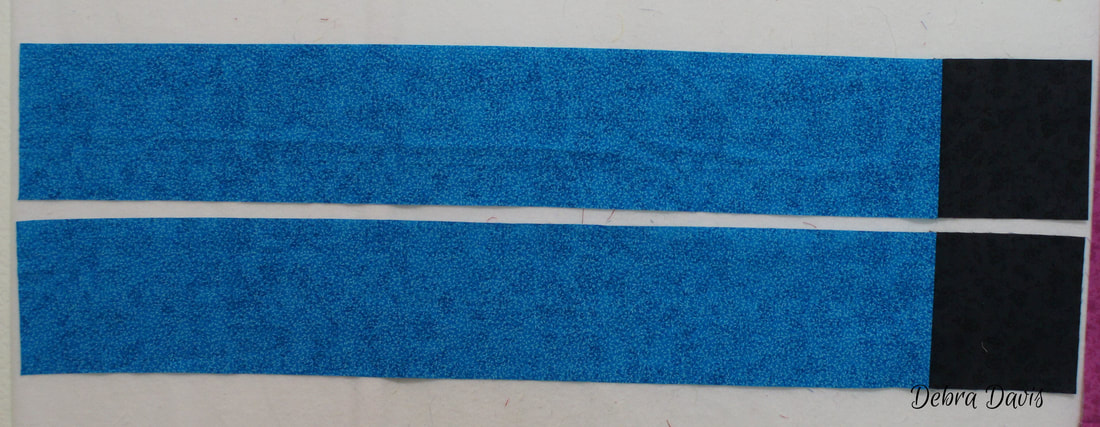
To add the sashing and cornerstones I sew one D strip to the right side of each of my blocks and press towards the D strip.
Next I add an E square to the right side of the remaining D strips and again press towards the D strips.
Working with just the bottom two rows for now I add one of the pieced D/E strips to the bottom of the blocks. Press the on-point blocks towards the D strips and the framed blocks towards the block so that the seams end up laying in opposite directions.
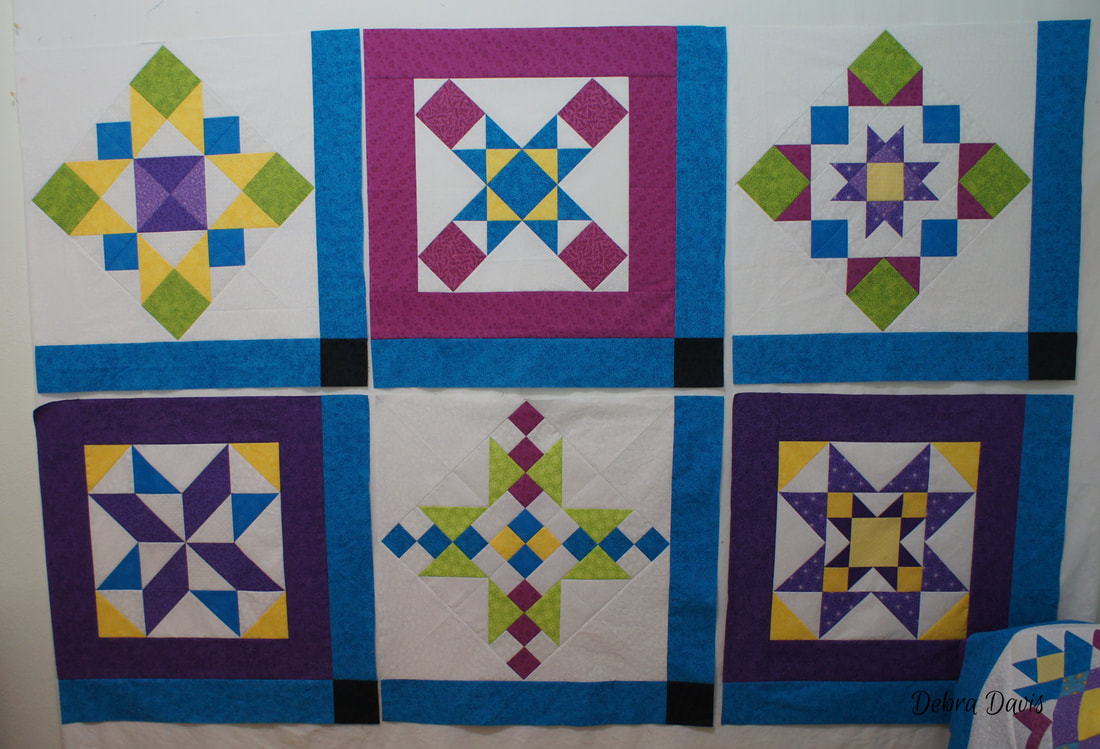
After joining the blocks together into the two rows I add another E/D strip to the left side of each row to complete it.
Now I join these two rows together, matching the seams and pinning as needed; press towards the D/E strips.

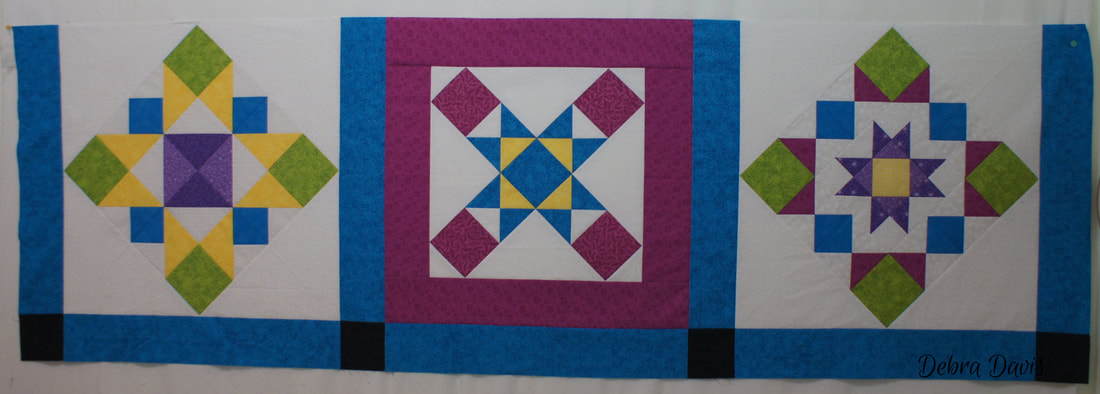
Now I am going to work on the top row, and I begin by adding a D/E strip to the bottom of each block-pressing as before in opposite directions.
Next I need to add a D/E strip to the top of my blocks-pressing in opposite directions as before.
I now sew these blocks together to form the top row.
The remaining D/E strip needs another E square added to the other end.


I add this strip to the left side of my row and it is now ready to be joined to the rest of the quilt.
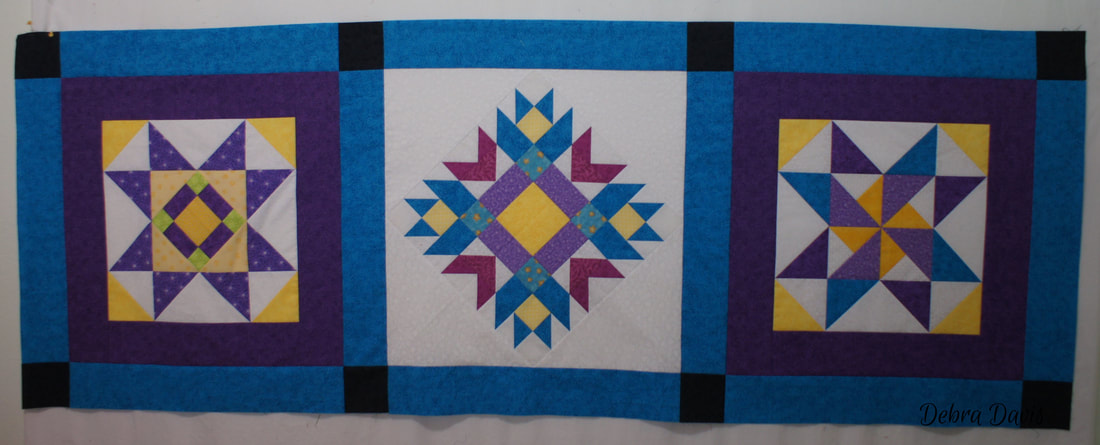
Make sure to keep your layers straight as you join the rows together-this will avoid sewing things together that you do not mean to.
My top is done-though I am considering adding a border around the whole thing...maybe.

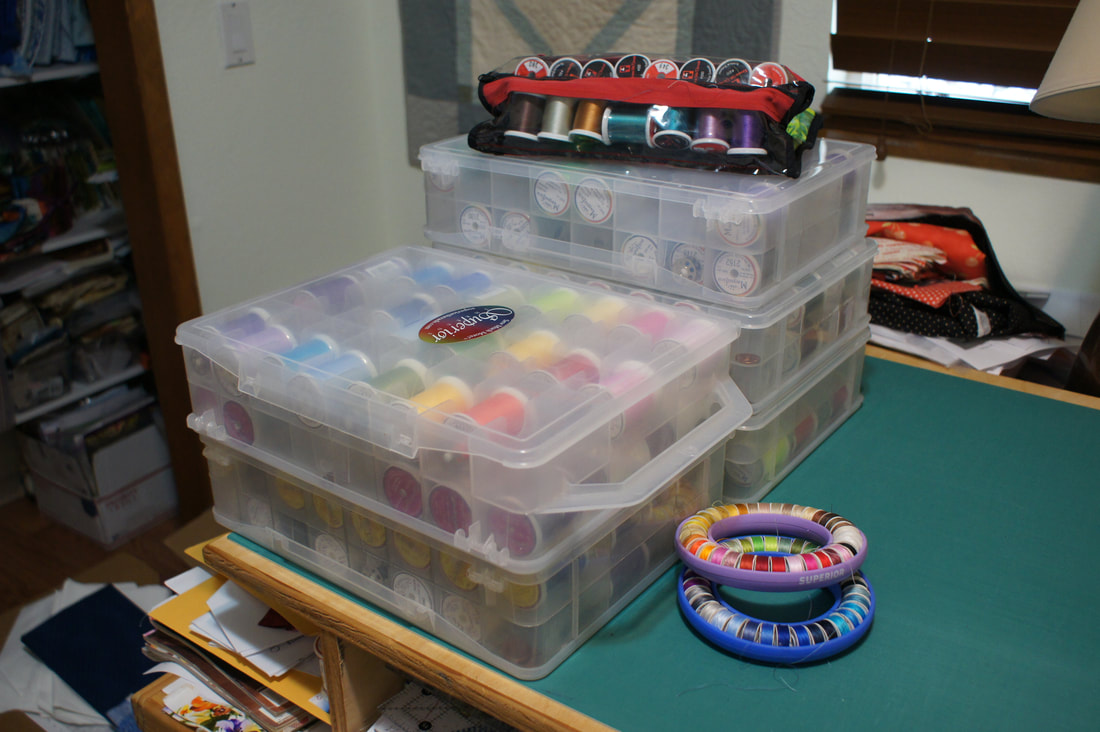
YOu may have seen in previous posts that I am having a contest as we finish our quilt tops. To enter you will need to have a photo of your quilt top-it does not need to be quilted, just the top sewn together is all you need to have done. Then just share your photo at the end of this blog post and be sure to use "#superiorthreads" when you share your photos. You can also add a photo to my Facebook Group page if you would rather. Superior Threads will be providing one $25.00 gift certificate to the winner who will be chosen by random drawing on May 25, 2018 from all entries. I am a fan of Superior Threads and use many of their lines for my quilting, piecing, and both machine and hand applique projects. I used to think any old thread would do, but there is a difference in both the end result, the ease of use, and how my machine responds when I use better threads. Superior Threads also has a ton of free information availbale on their site as education is an important part of their business model which I have linked to here. I first discovered Superior Threads after ordering a copy of Dr Bob's Thread Therapy-I learned more from this one video about thread than anything else I have ever seen. It is available to watch for free on their site here and I highly recommend it. I sound like a salesperson here, but I only recommend to you products that I use and love myself and you can see by my own collection that I do use and love their threads. I am not paid by them in any way, I purchase all of the products I use and as you can see from the photo below I have a lot of their threads..
Soon I will be getting out the information about our next sew along which will involve pieced and an introduction to machine applique too. I love combing the two into one block and I think you will too. In the meantime be sure and share a photo of your quilt top at the end of this post!

I have written a little tutorial in case you need help adding a photo for the contest which can be found here.
Genie Richez
6/1/2018 02:42:55 pm
Hi, just want to ask if you posted the third alternative sashing and border for the Under The Starts Mystery
Debra
6/1/2018 10:08:26 pm
HI Genie-so glad you are back to quilting! Yes I posted all three settings, I will give you the links for the other two: Comments are closed.
|

Welcome to the site of Debra Davis-a woman who loves the Lord and loves to quilt.
My other blog where I share about my walk of faith:
Sitting at His Feet 
|


 RSS Feed