|
This is my tutorial for one of the alternate settings I am doing with my Under the Stars quilt blocks. I think this may be the last time I ever set blocks this large on point again-trying to cut those very large setting triangles was a bit of a challenge-but I did eventually find a method that worked for me. I certainly like the fact that this quilt will finish large enough to go on our guest bed. Just wish I had thought to order the larger Creative Grid Rulers before now.
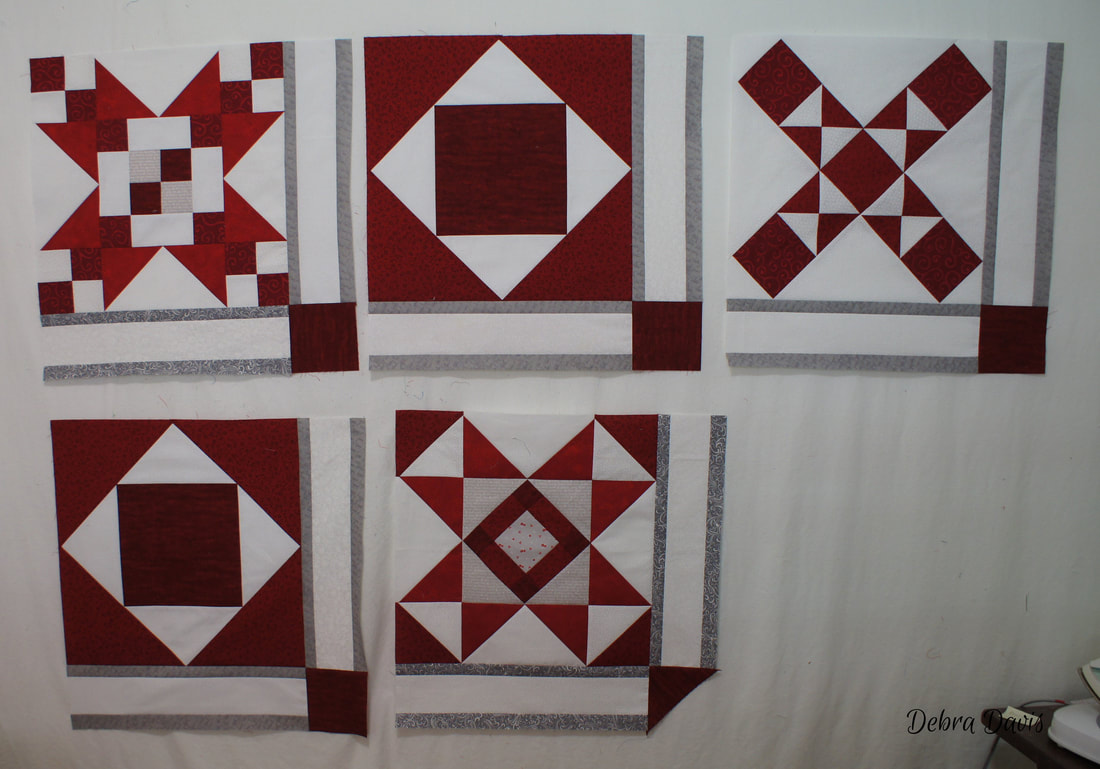
For this setting I need to make four more blocks. I cut my fabric as follows:
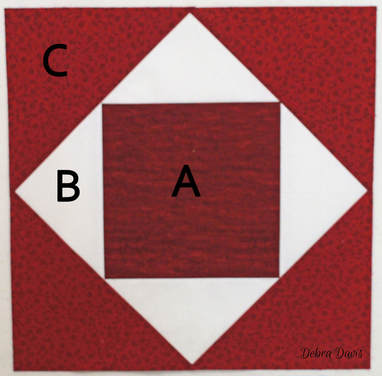
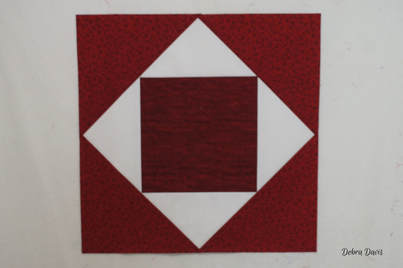
A-(cut 4) 8 1/2" x 8 1/2" B-(cut 4) 9 1/4" x 9 1/4" C-(cut 8) 8 7/8" x 8 7/8 "
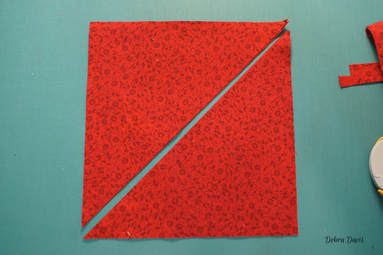
I then cut the B square on the diagonal twice to yield 4 triangles (16 total) A rotating cutting mat works very well for this, or a smaller mat that you can turn to make each cut without moving the fabric.
The C squares are cut on the diagonal just once to yield 2 triangles (16 total)
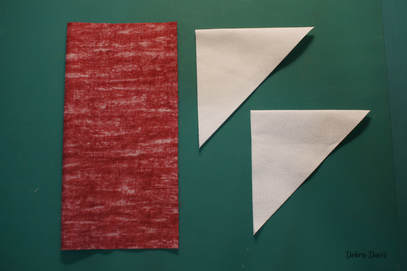
Before proceeding to sew I pressed all of my pieces in half to give myself a guide to follow; pressing the A squares right sides together and the triangles wrong sides together.
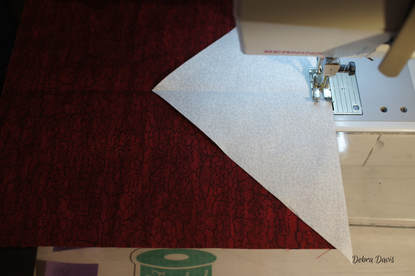
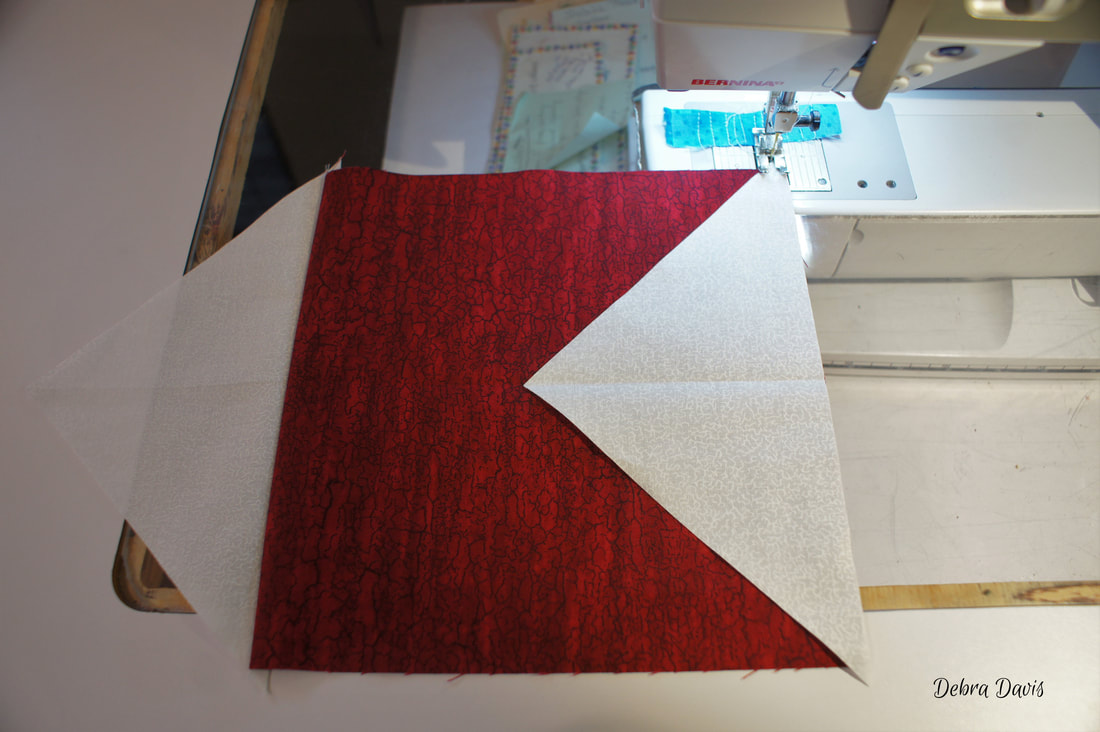
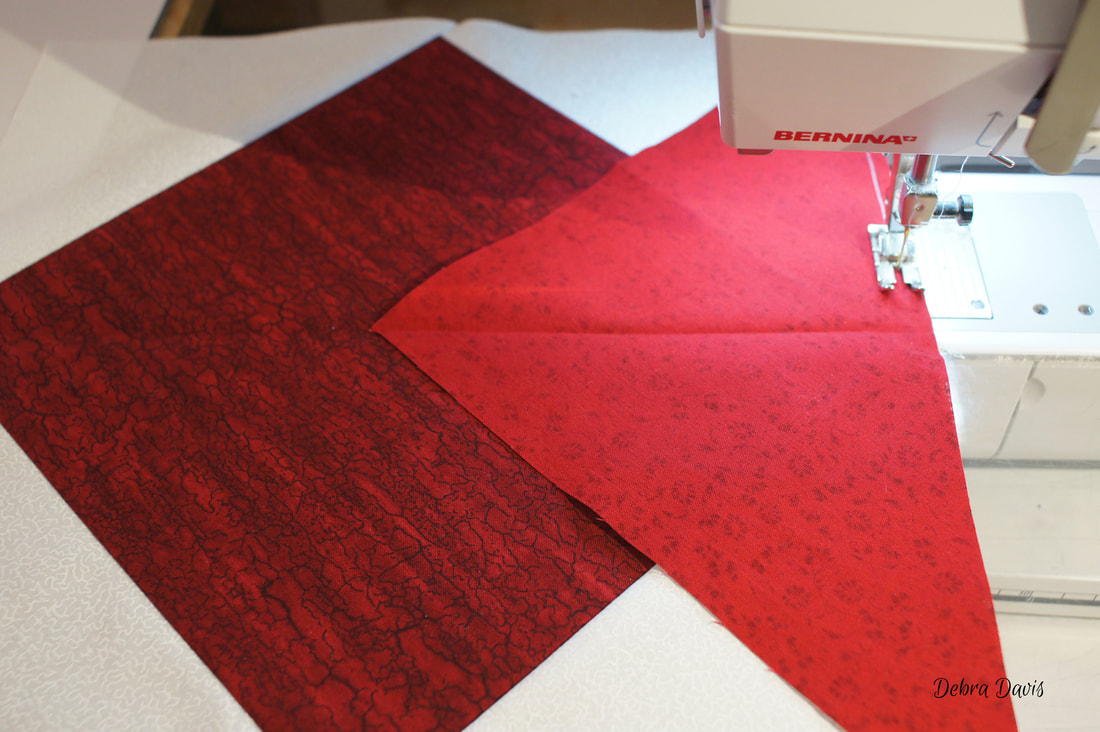
Using the fold lines as my guide for lining up the triangles I sew one B triangle to one side of each A square and press towards the A square. Then just repeat on the opposite side.
Next I add the other two sides, this time pressing towards the triangles. Before adding the C triangles I square up the block to 11 3/4" Mainly I try to make sure the block is square and the points of the A square have 1/4" seam allowance beyond them and it is important that the block not be smaller than 11 3/4", a little larger is okay, but smaller will not work.
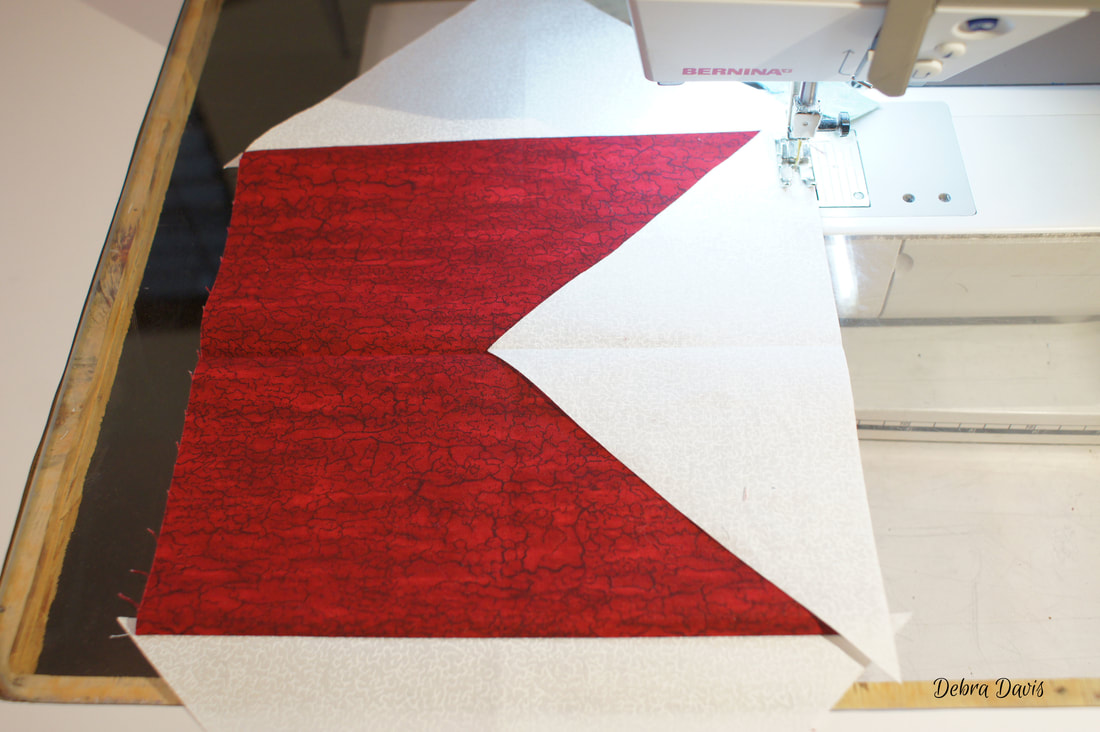
Once the blocks are squared up I add the C triangles in exactly the same way.
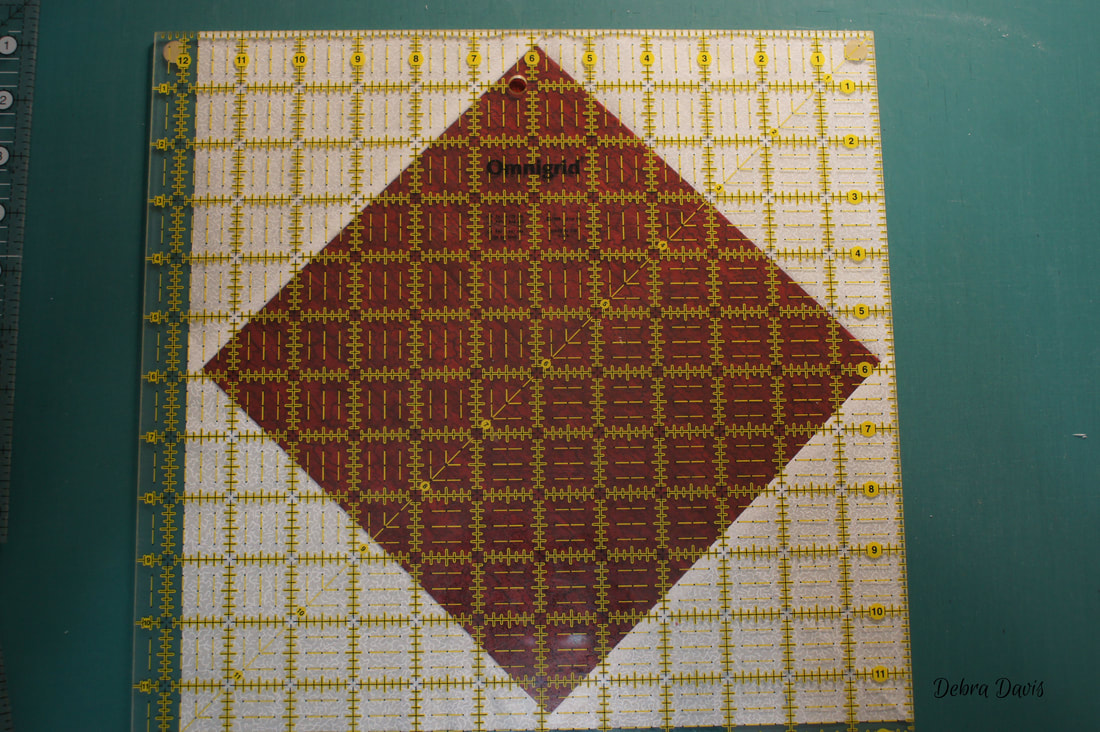
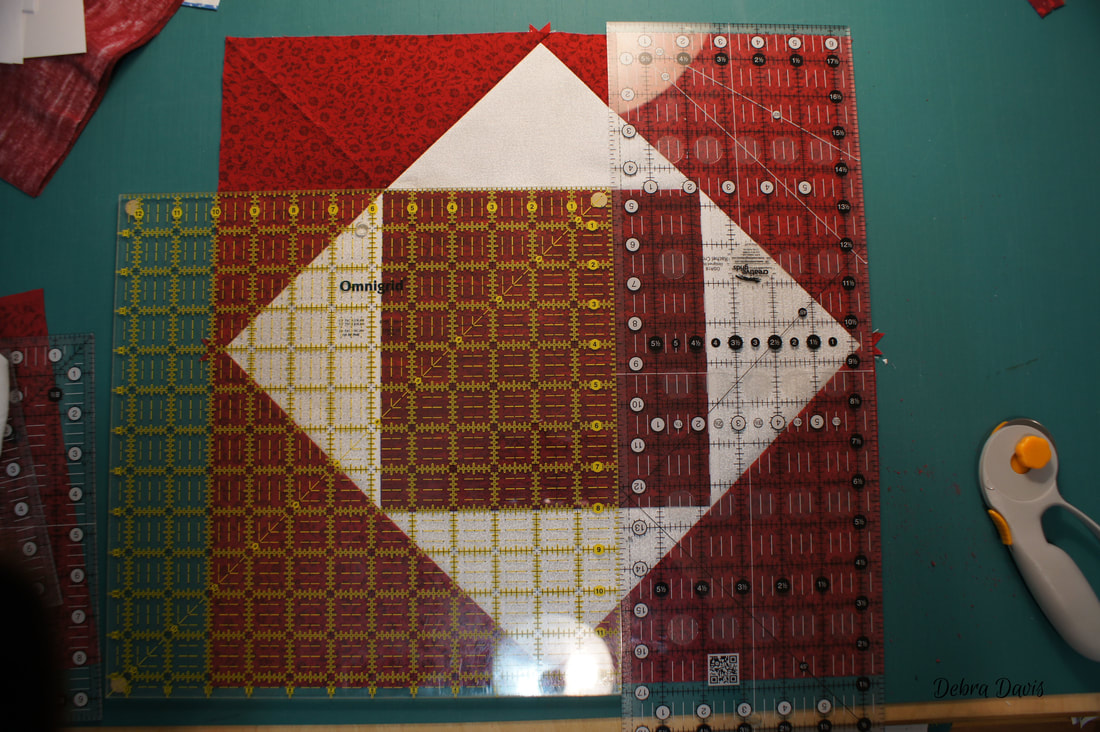
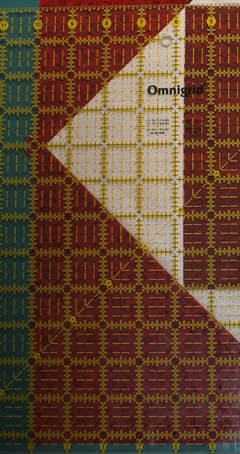
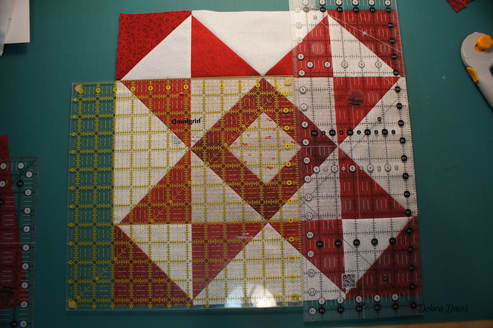
This block gets squared up to 16 1/2" As I do not have a ruler large enough I am using my little trick of placing a square ruler in the corner and a lonf ruler along the side I am going to trim. After each trim I rotate the block, lining up the square ruler first with the edges that have been trimmed to ensure that the block finishes square. Since my long ruler is 6 1/2" I know I need to lay my square ruler so that the 10 inch line is on the opposite side of the square. I do not worry about which line I use at the bottom of my square, only that is lying right along the edge of the trimmed square.
These blocks are now ready to be added to the others.
I need to make sure that all of my other blocks are square and measure 16 1/2" also. Since there will be sashing between the blocks there is a little wiggle room if the blocks are a tad small-say 1/8" off. These can be eased into the sashing so that everything will be the same size in the end as there is some stretch so the blocks.
Now that I have my blocks layed out in the order I want them it is time to cut the setting triangles.
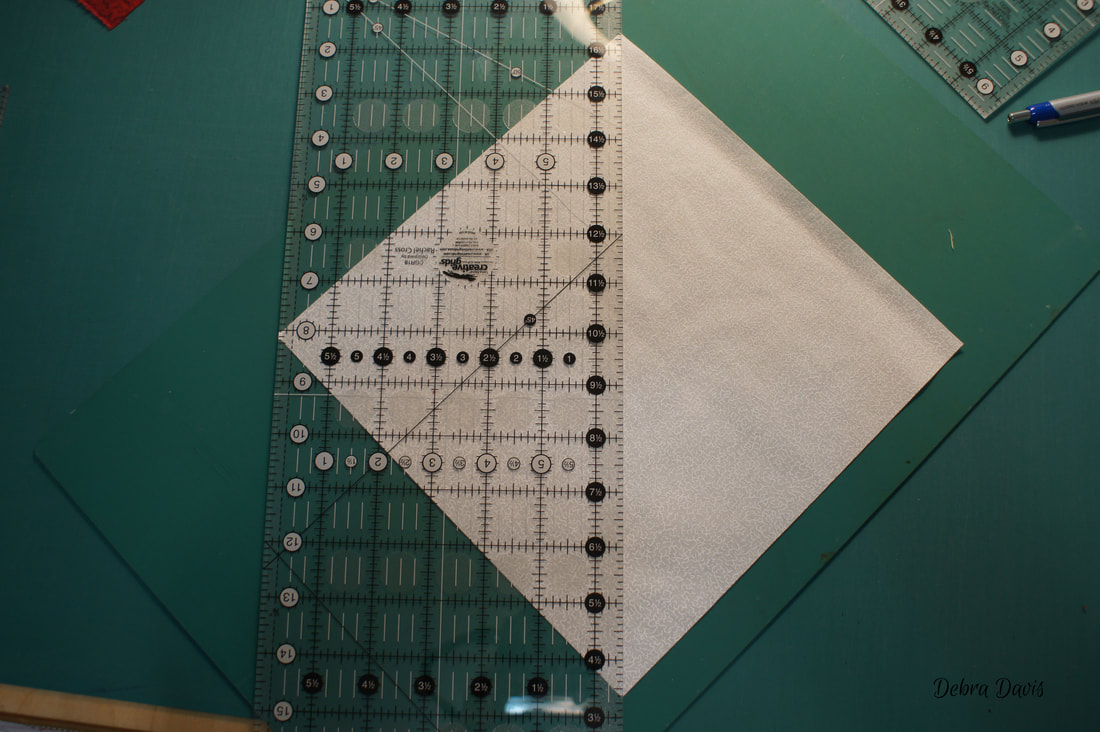
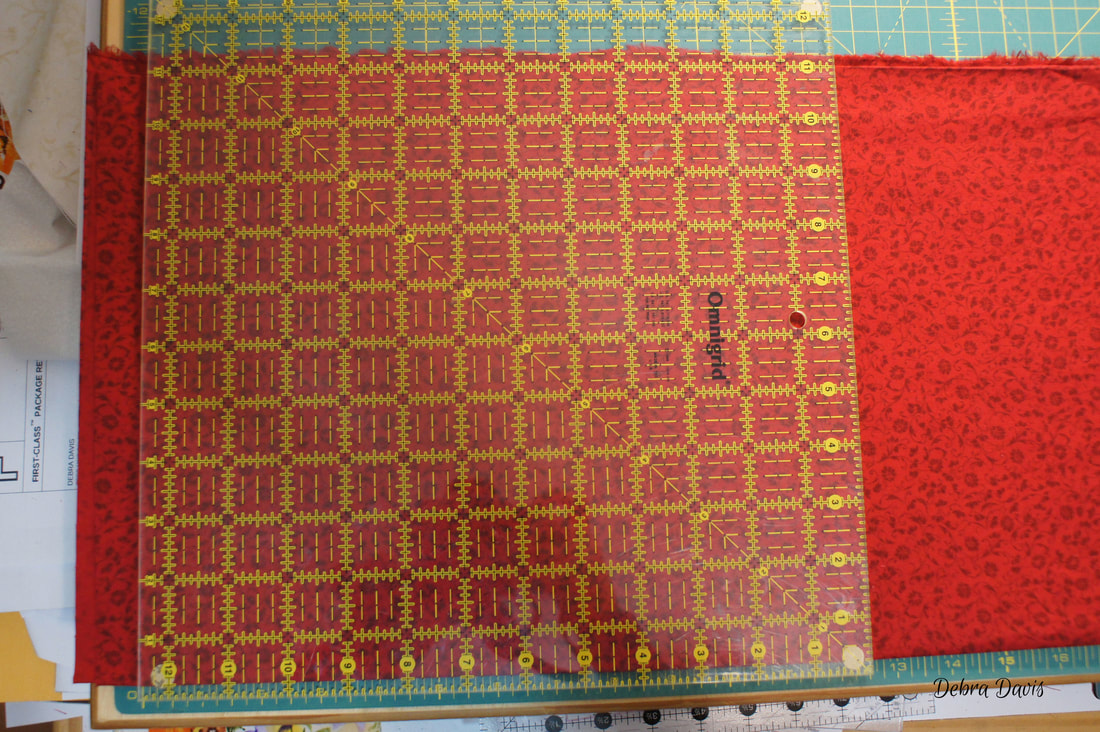
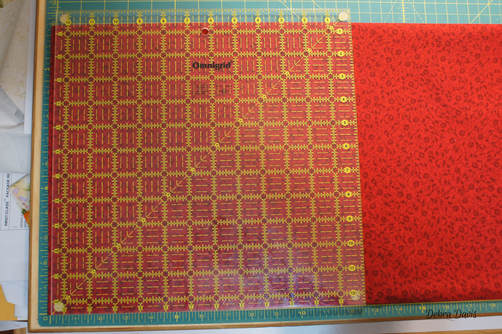
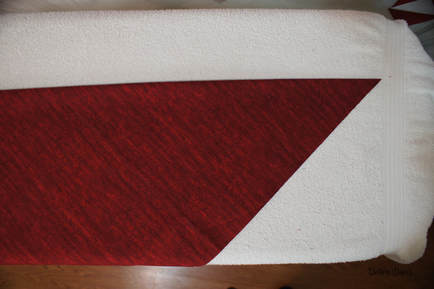
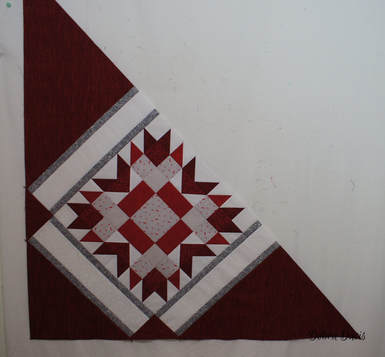
The setting triangles are cut from a square that measure 23 7/8" x 23 7/8" So how do we do that when our ruler is not that big? Here is what I did. I folded my fabric as normal for rotary cutting, flipped my mat so that I had the lines to use as guides showing. I laid the folded edge my fabric along one of the straight lines on my cutting mat and then placed my square ruler on top, lining it up with the fold of the fabric and "0" line on my cutting mat. I cannot see most of this line as it is covered by the fabric so judge by the top and bottom. I then trim at the point the left side of my fabric to give myself a straight edge from which to make the next measurement.
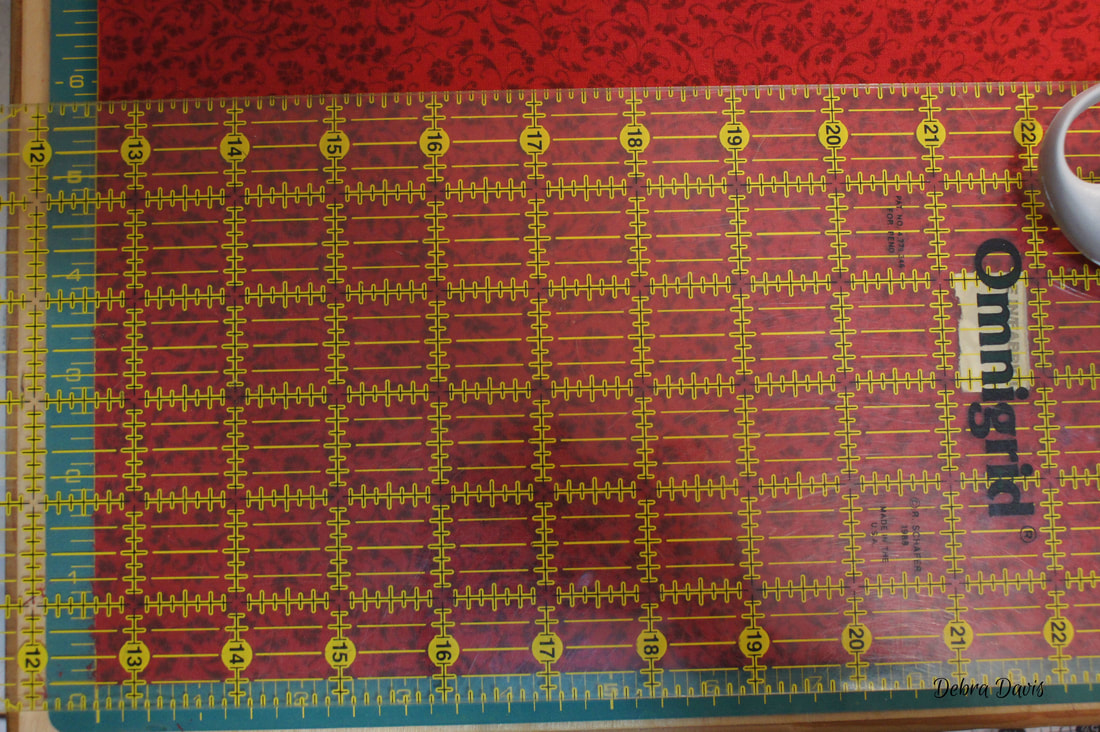
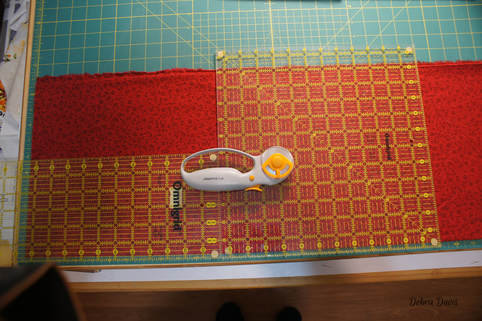
I am having to be creative with the rulers here so now lay my long rectangular ruler on the fabric lining up the line on my ruler that I need-in my case 12 5/8"
Next I place my square ruler(which is 12 1/2") right up to the other ruler. Now I can cut the right side of the farbic and will have my length of 23 7/8"
I fold the fabric the other way now and repeat the process I just did to get the square I need.
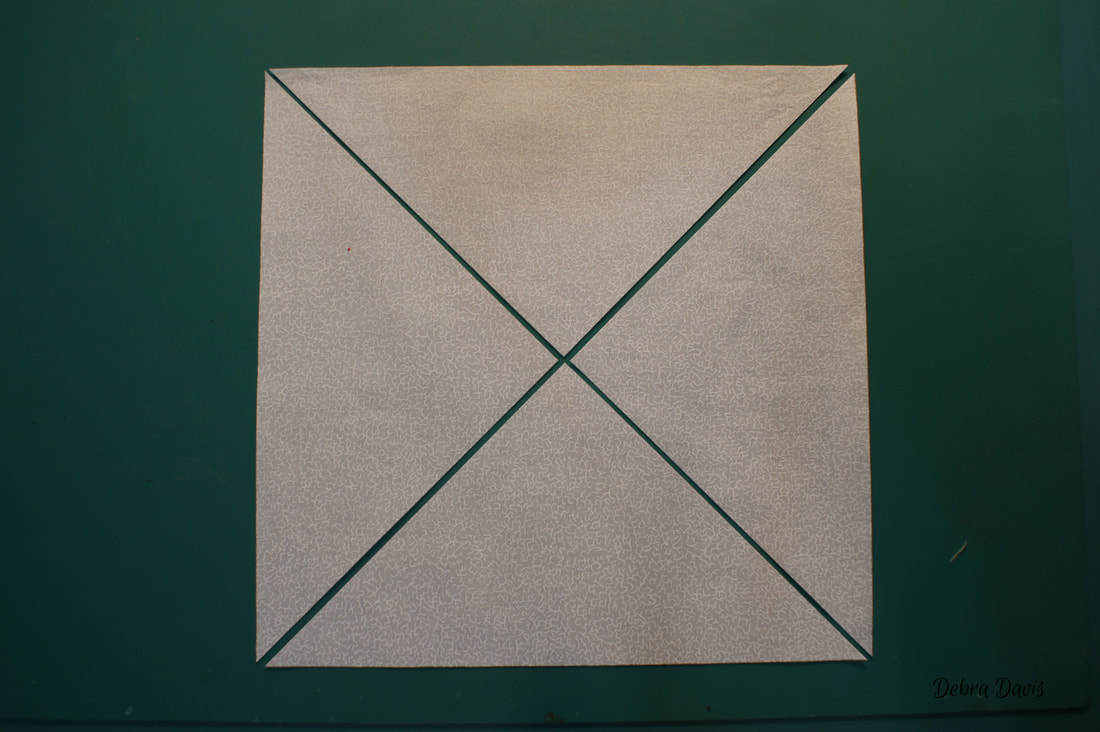
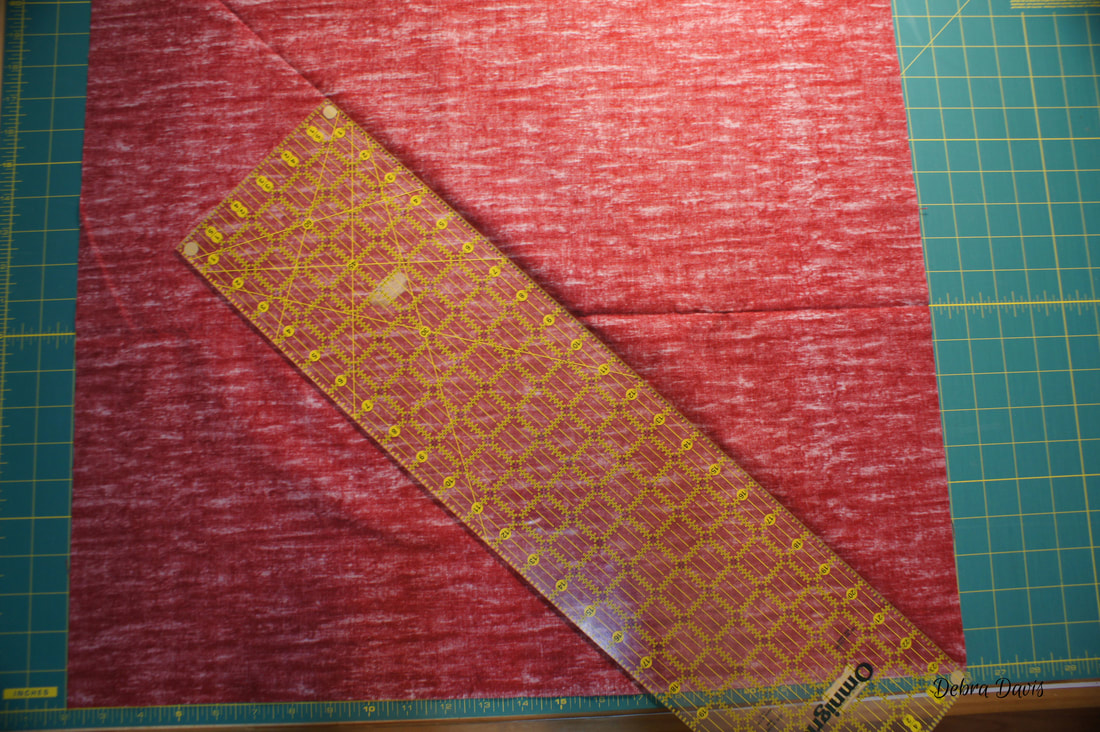
I need to cut this square on the diagonal now, but again, I do not have a ruler long enough so here is what I did. I folded the square on the diagonal and pressed to mark the middle.
Now I just use that fold line as a guide to lay my ruler and make my cut, moving the ruler as needed.
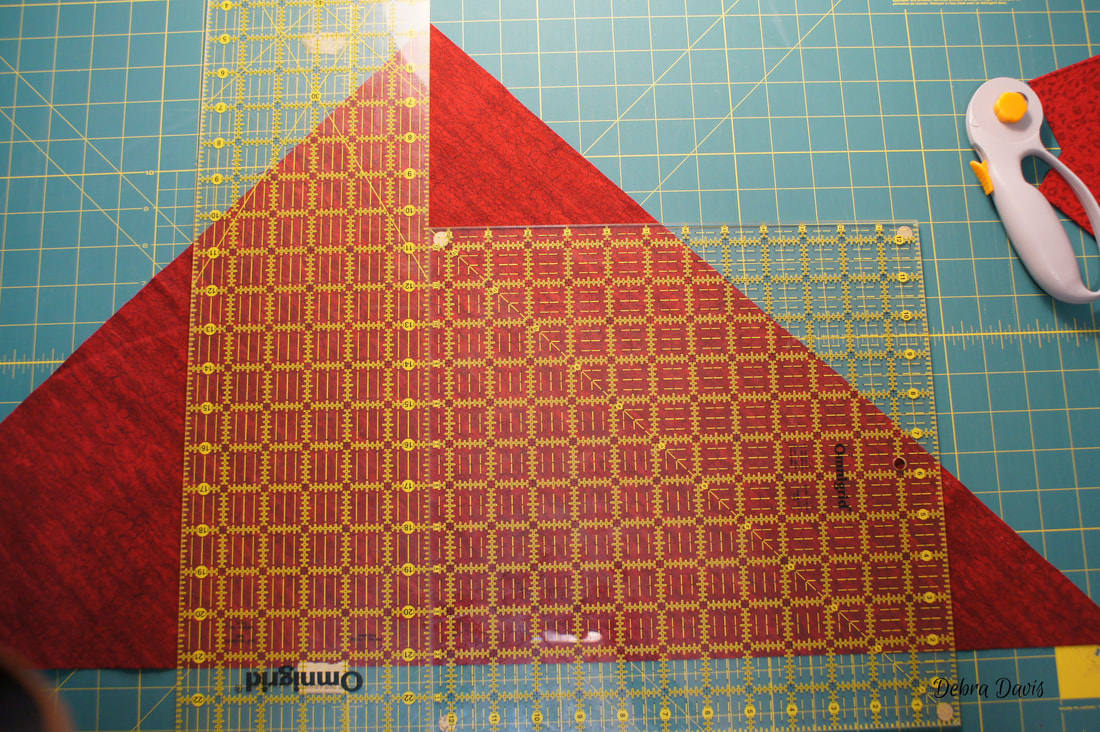
To make the second diagonal cut I placed my long ruler at the top point of the triangle and then made sure to line up the bottom of the triangle with a straight line on my ruler. I placed my square ruler just to be doubly sure I had things squared up.
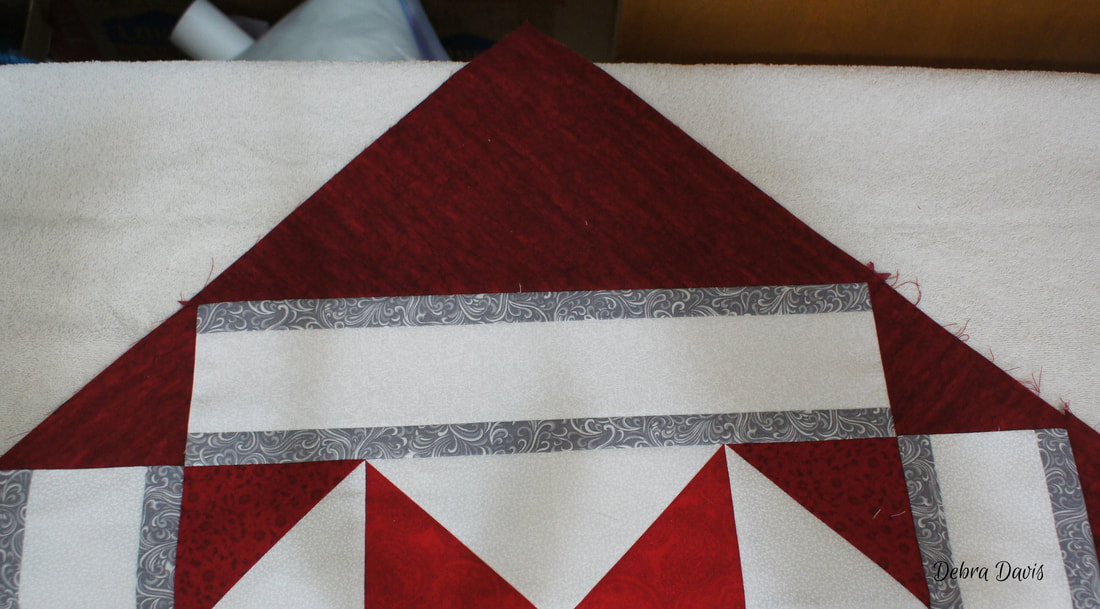
I placed my setting triangle with the other blocks and then cut my corner setting triangles-a much easier process!
Corner setting triangles-(cut 2) 12 1/8" x 12 1/8" then cut once on the diagonal. (It was so easy after the large triangles that I forgot to take any photos!)
For the sashing and cornerstones you need to cut the following:
A-(cut12) 4 1/2" x 4 1/2" (cornerstones) B-(cut 3) 6 7/8" x 6 7/8" then cut twice on the diagonal (half-cornerstones) C-(cut 36) 3" x 16 1/2" (center stripe on sashing) D- (cut 72) 1 1/4" x 16 1/2" (narrow stripe on sashing)
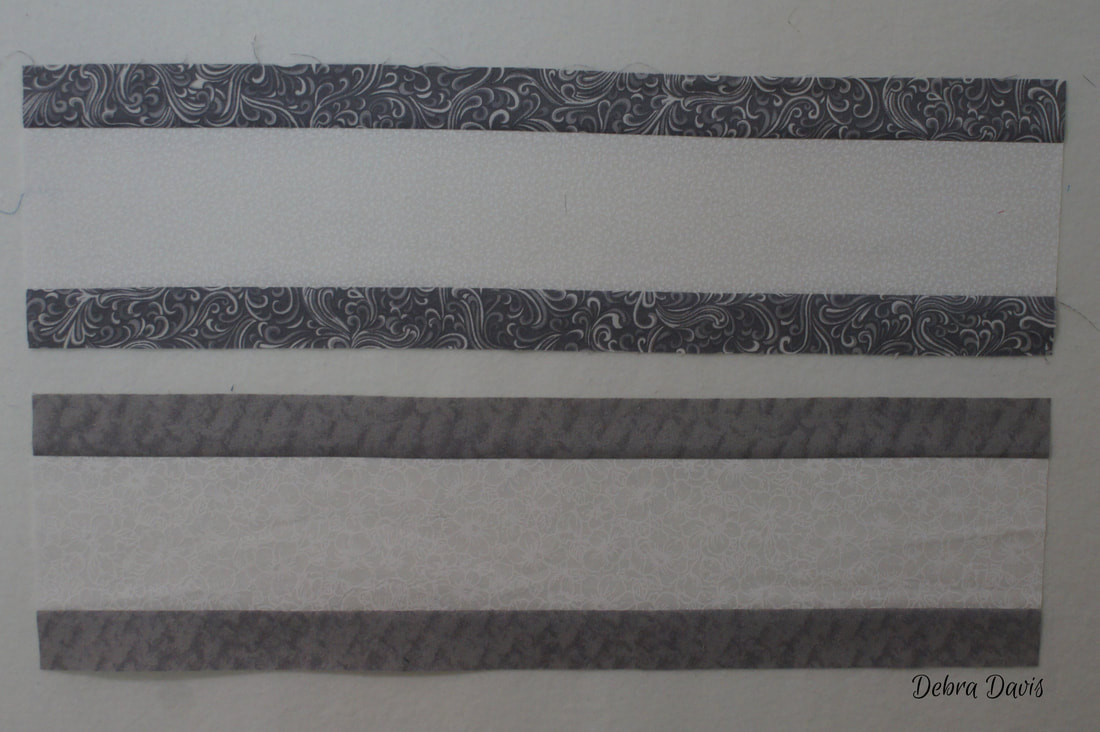
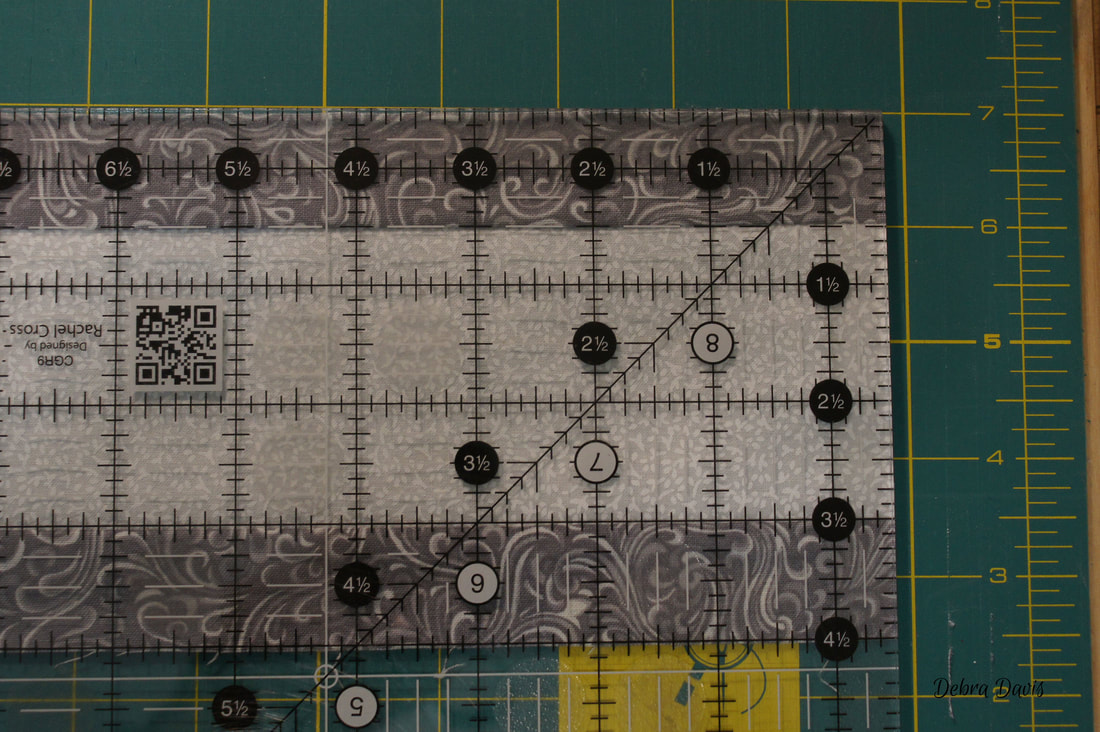
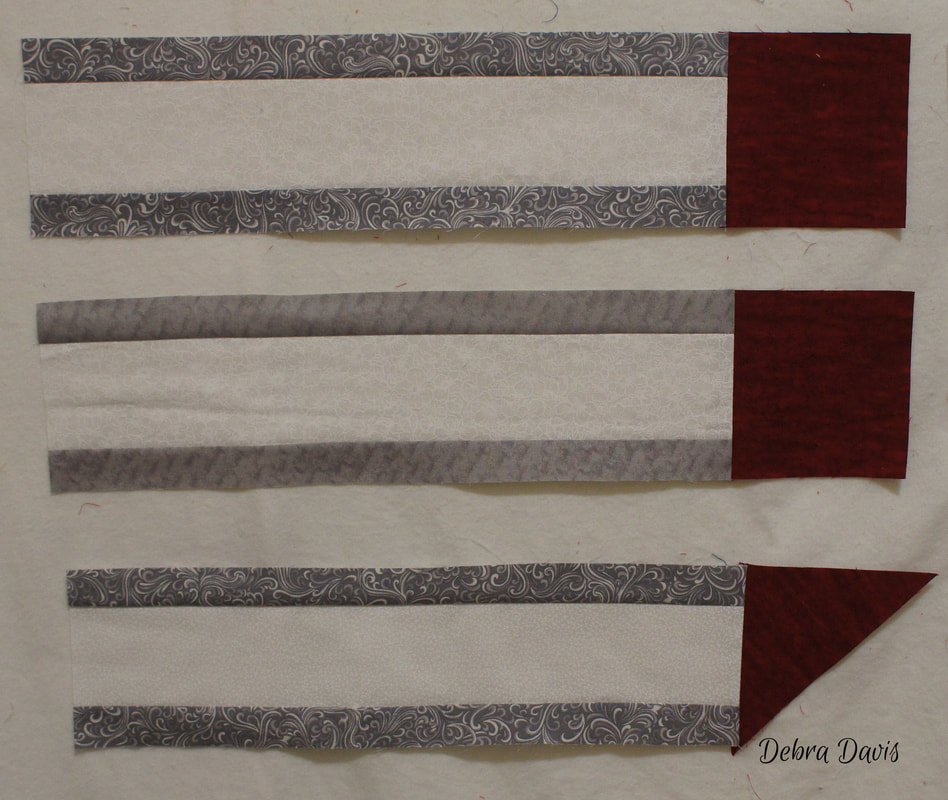
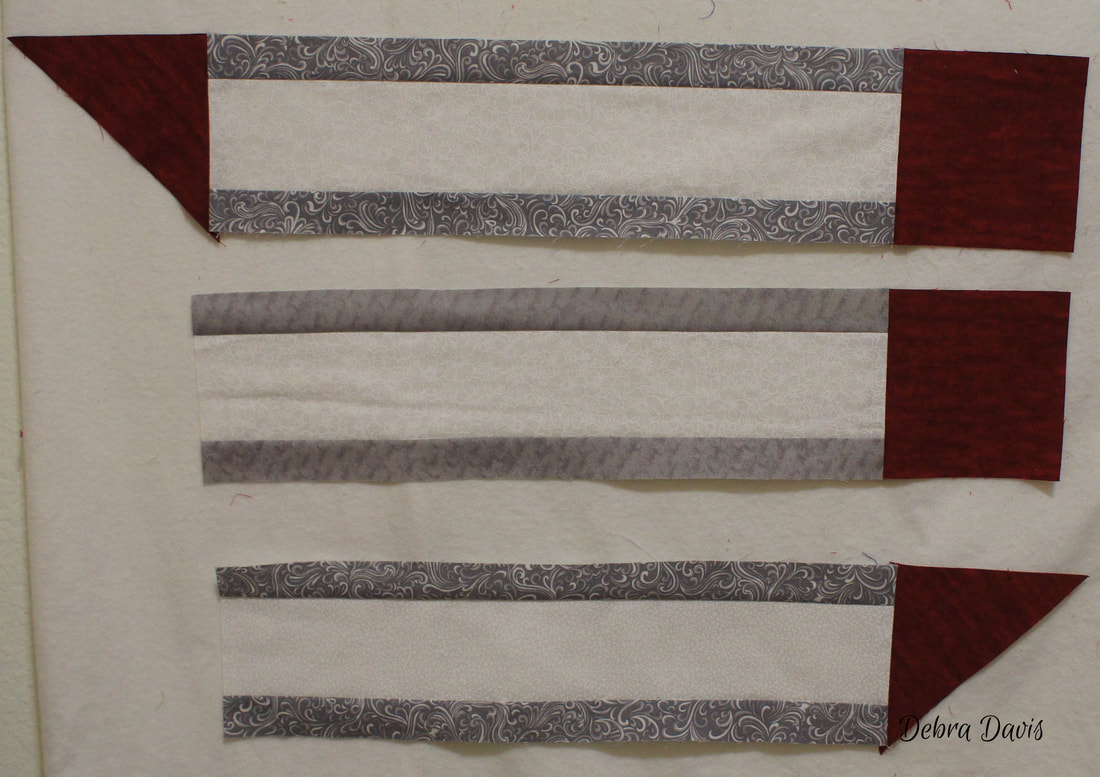
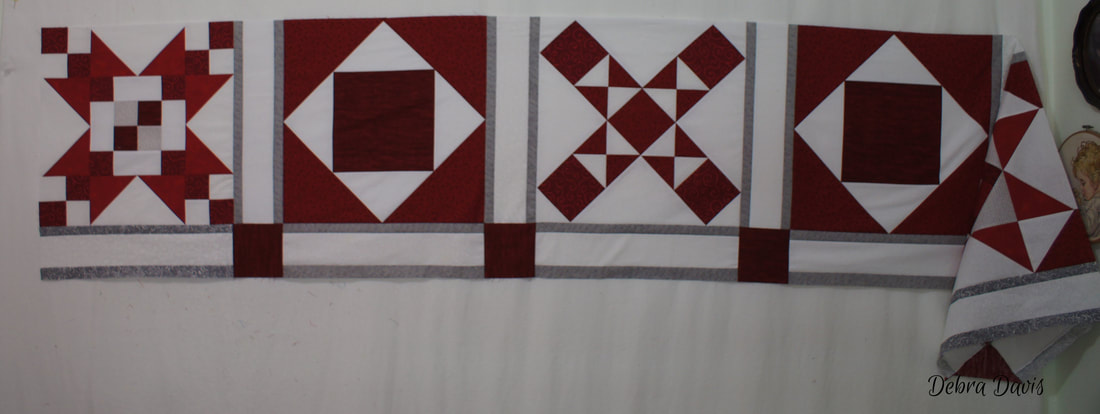
I have learned that when I have a lot of repetitive steps in my process I do better to break them up; so rather than sew all 36 of these sashing strips at once I am doing six at time. In between I am sewing a section of the quilt top together using the strips I have made. To make the sashing strips you need to sew 2 D strips to each side of a C strip. Since I am using up scraps in this project I have two different grays in my sashing, the darker ones will go around the outside blocks and the lighter ones will be for the blocks in the center of the quilt. The finished sashing strips need to measure 4 1/2" x 16 1/2"
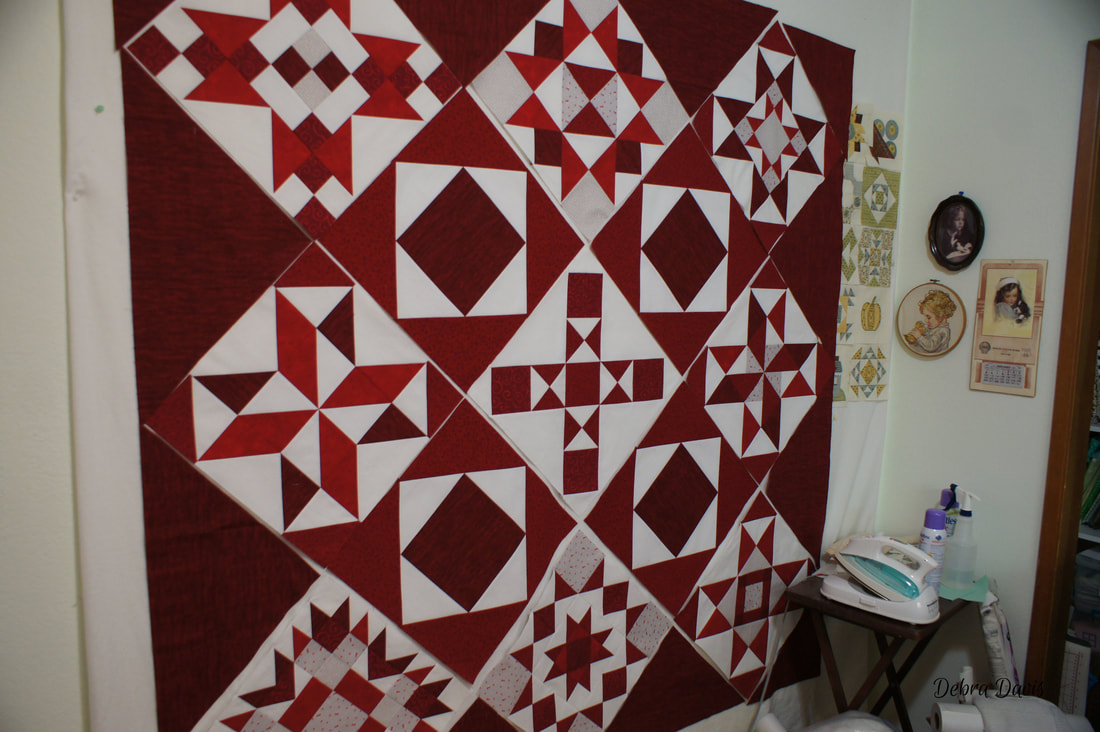
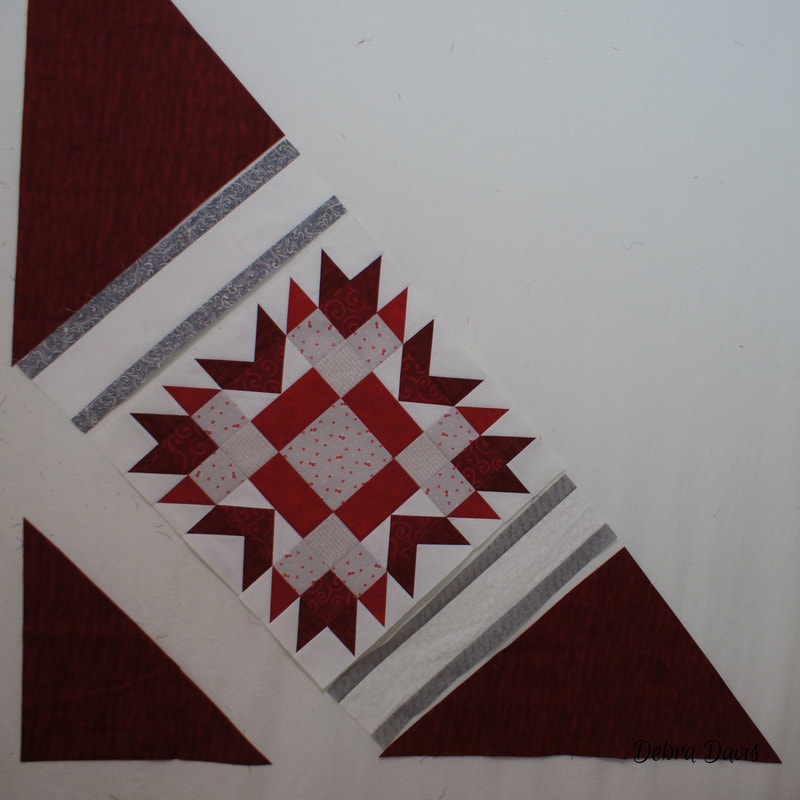
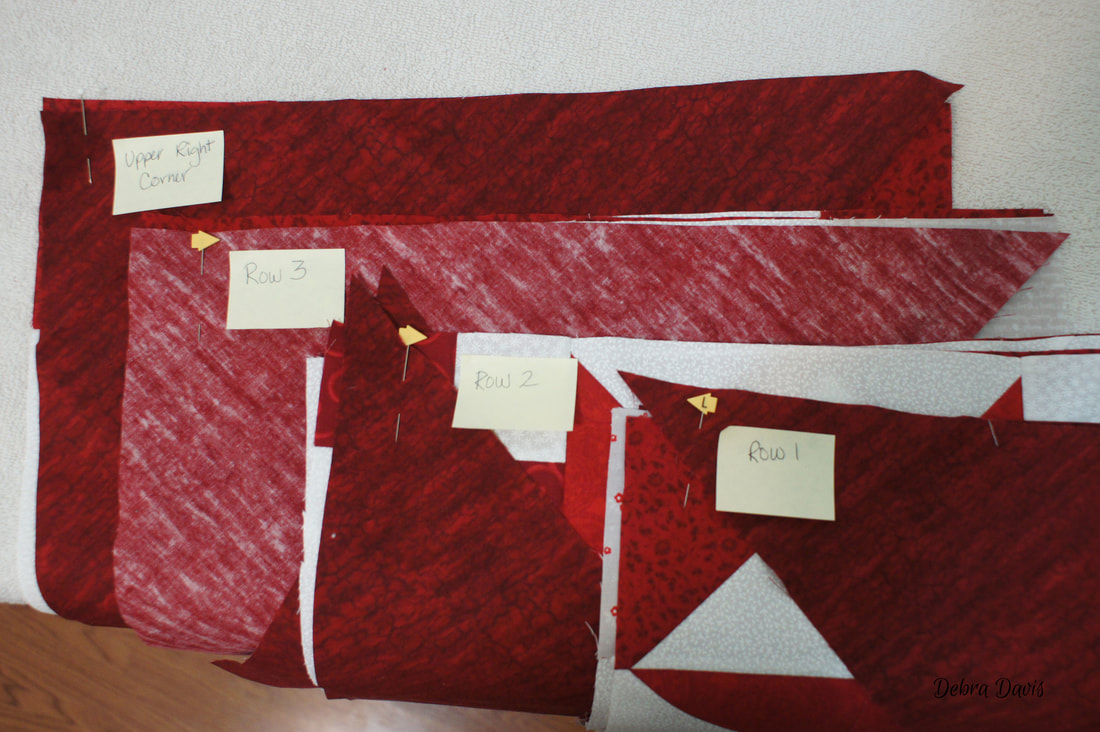
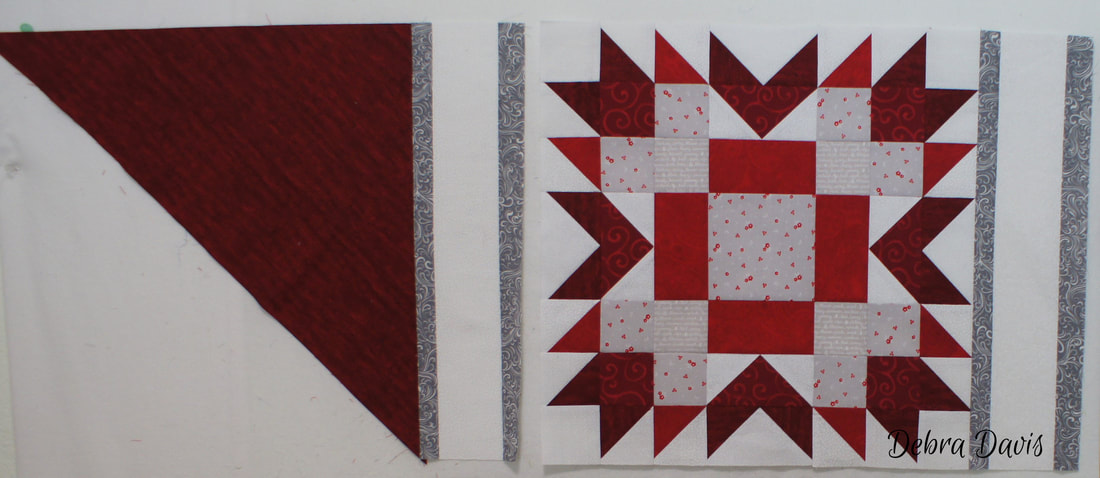
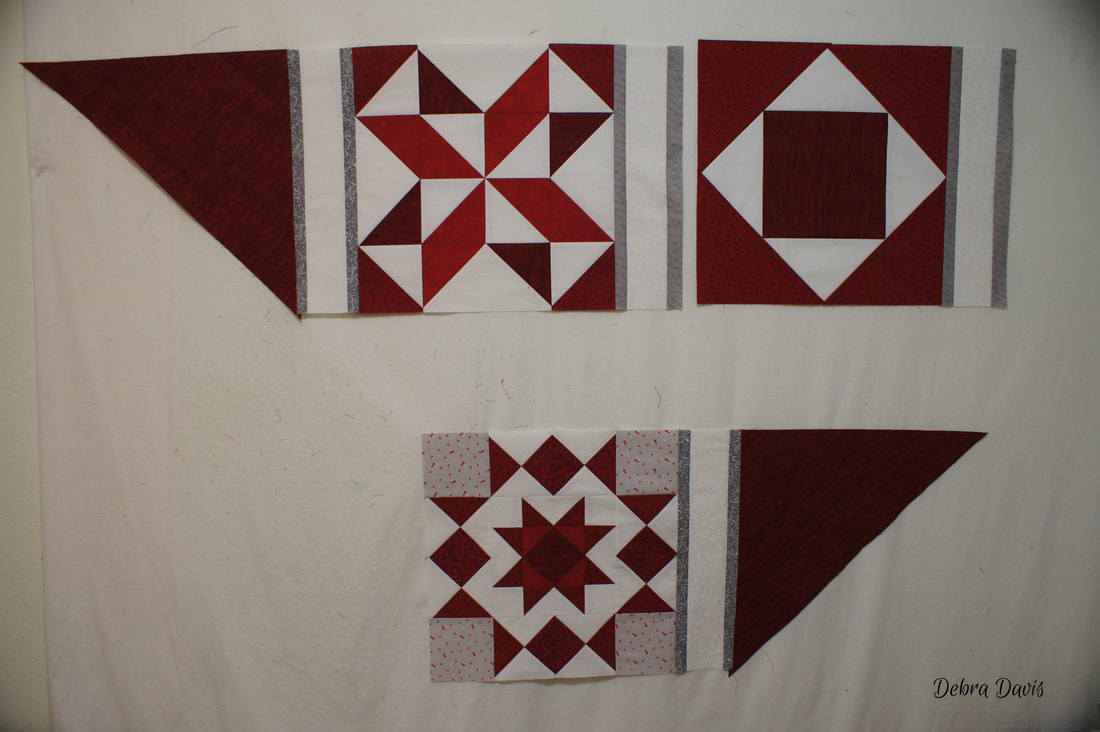
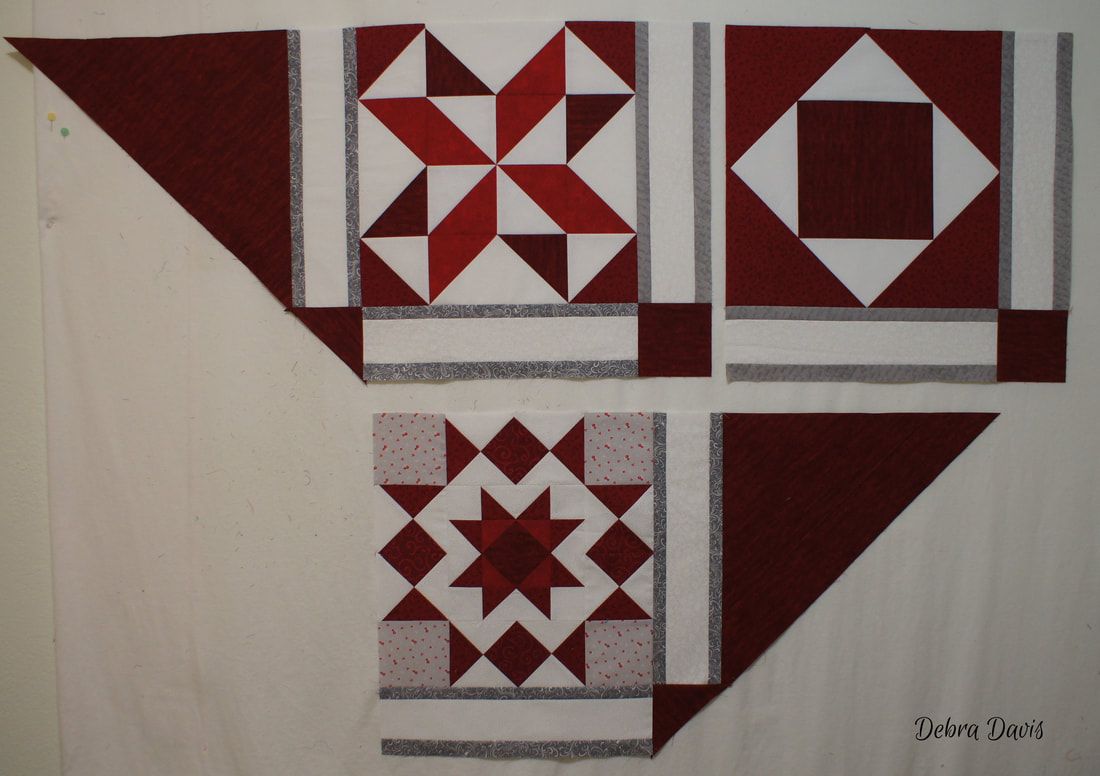
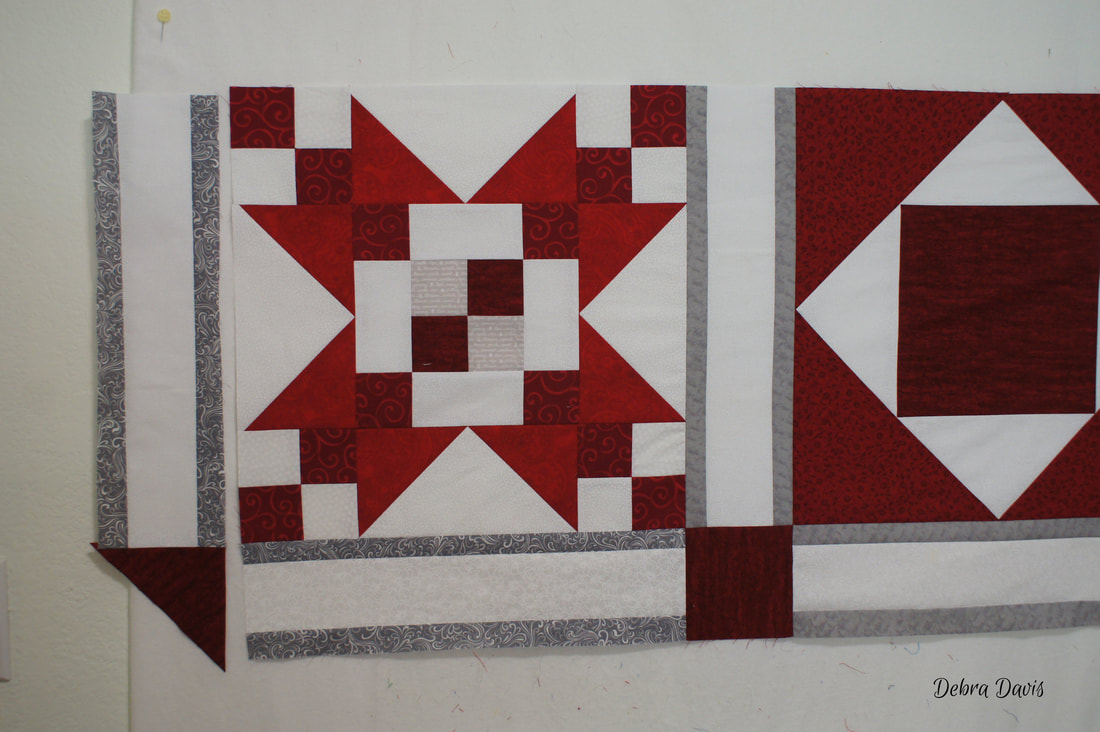
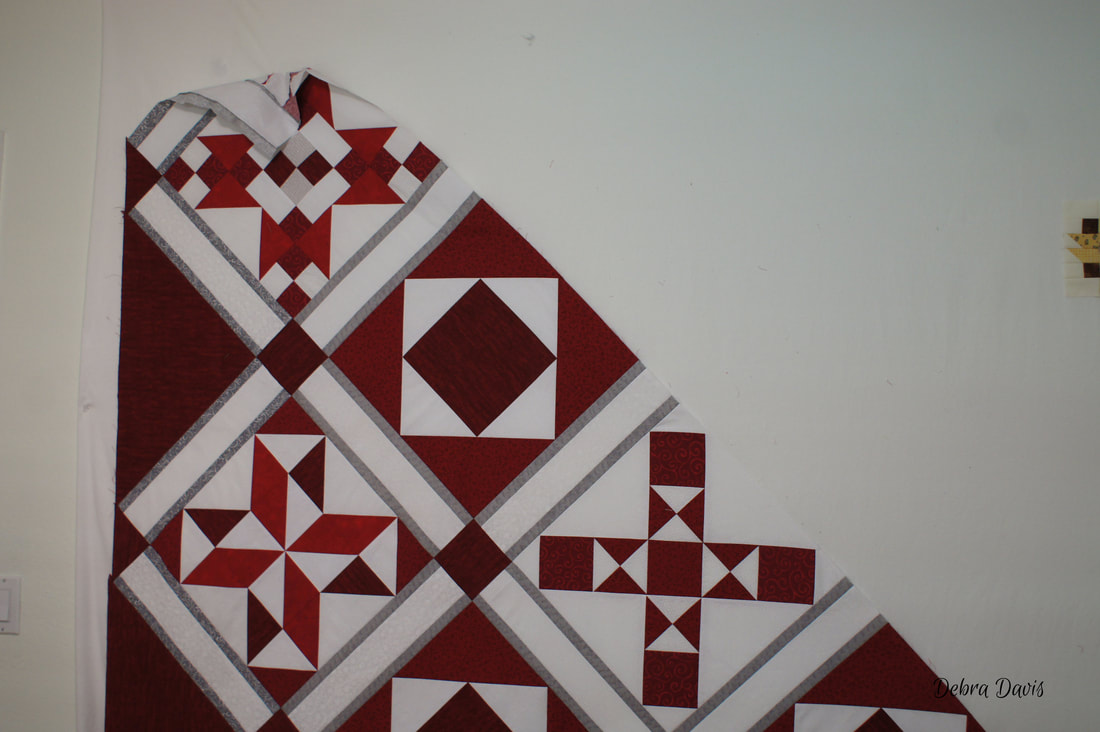
Due to the size of this quilt I am working on just a row at a time, starting with the lower left corner. I have placed sashing strips in between the block and the large setting triangles to get started. To keep things organized I have pinned together the blocks and setting triangles for the other rows and labeled them with a sticky note, and set them aside for now.
To get a sense of how I am going to add the sashing and cornerstones see last weeks post BOW:Under the Stars-Sashing and Cornerstones
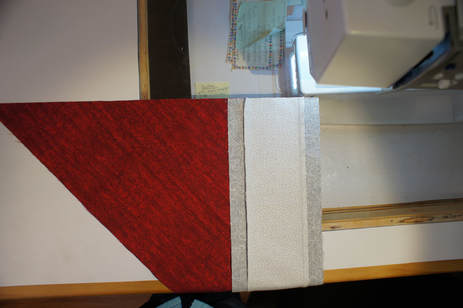
I need to attach a sashing strip to the right side of the first triangle as well as the block in this row. Just line up the edges of the sashing strip with the corner of the triangle to get started. Press towards the sashing strips.
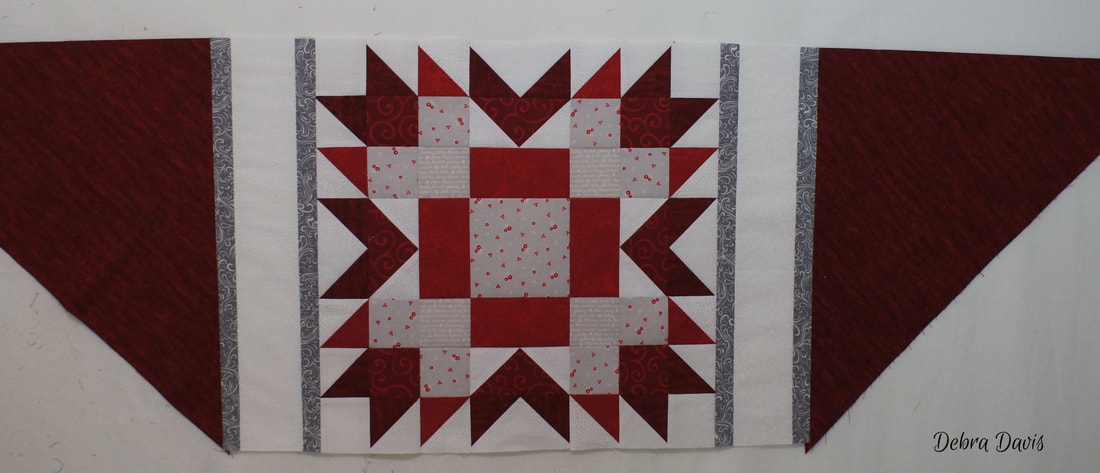
With the sashing strips attached I next sew these two units together, again pressing towards the sashing strips.
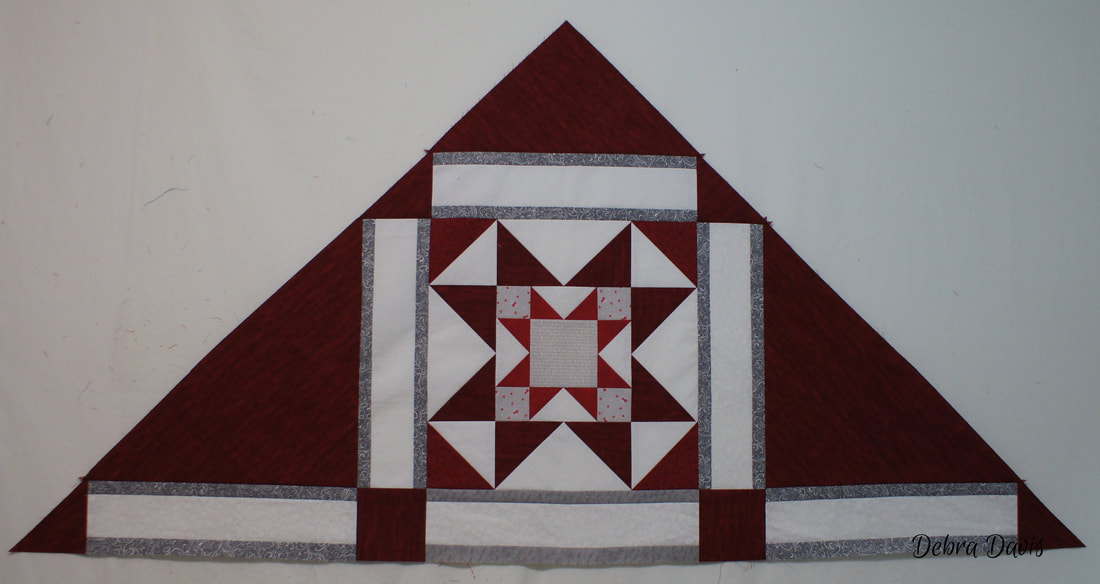
Add the other setting triangle to the right side of the unit to finish this row.
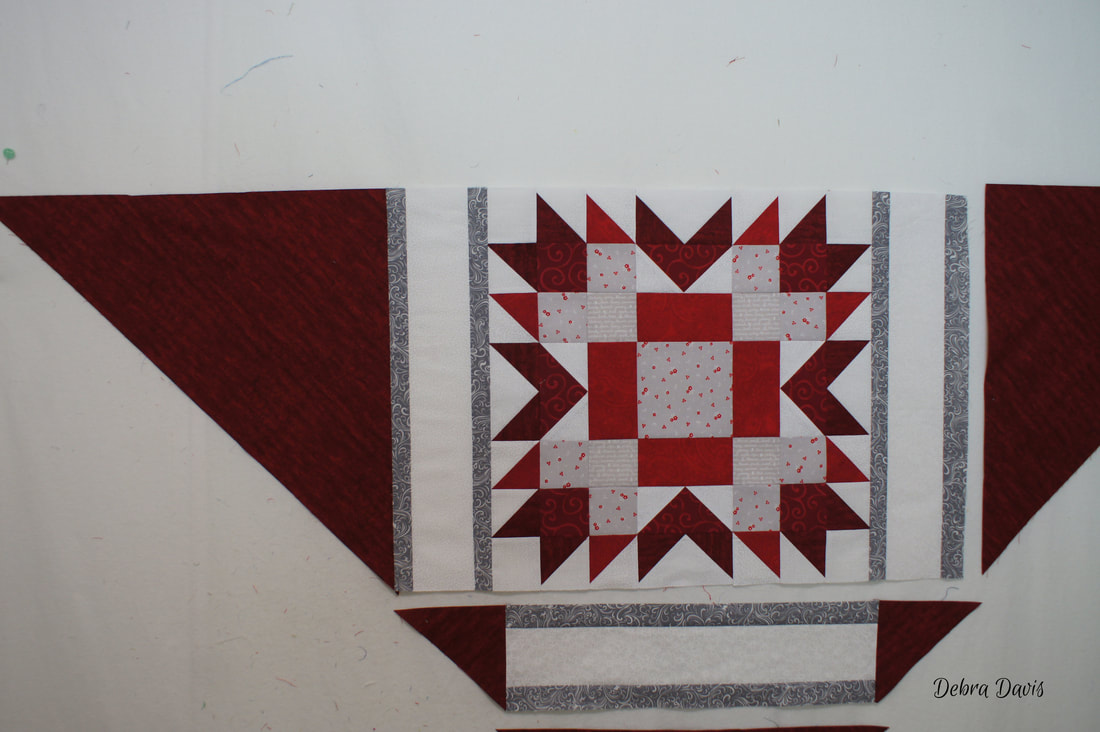
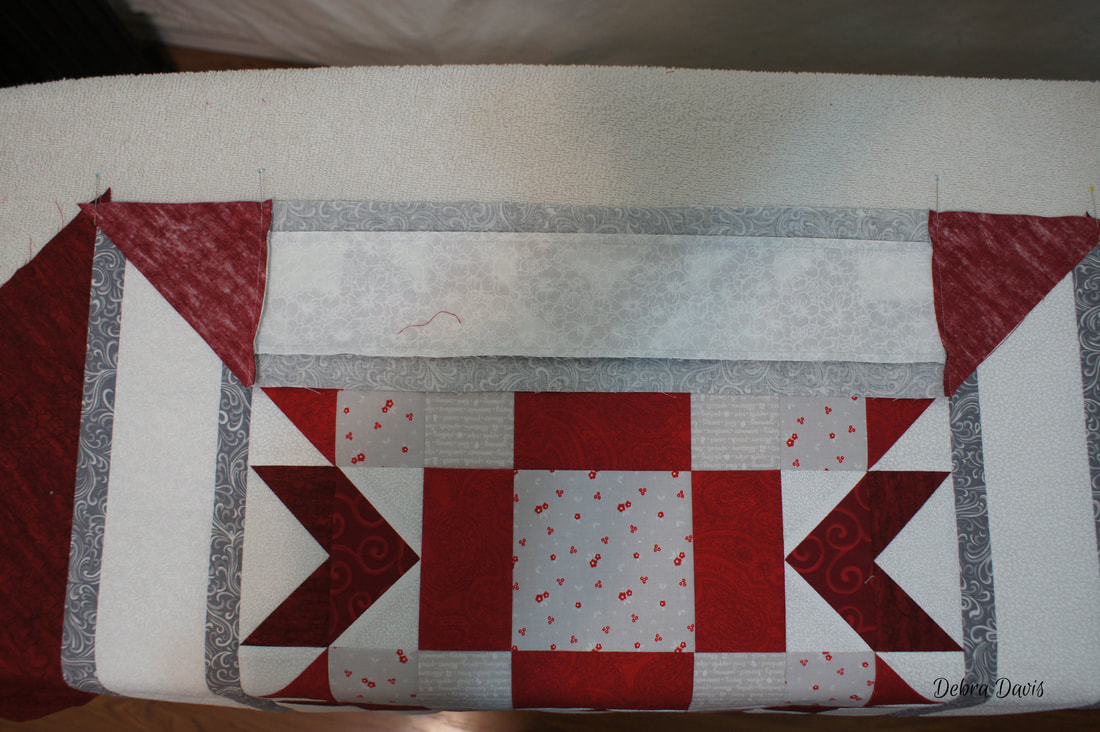
Now I need to add two of the B triangles to each end of a sashing strip. The one on the right I have laid in place ready to sew-just line up the corners and it is good to go.
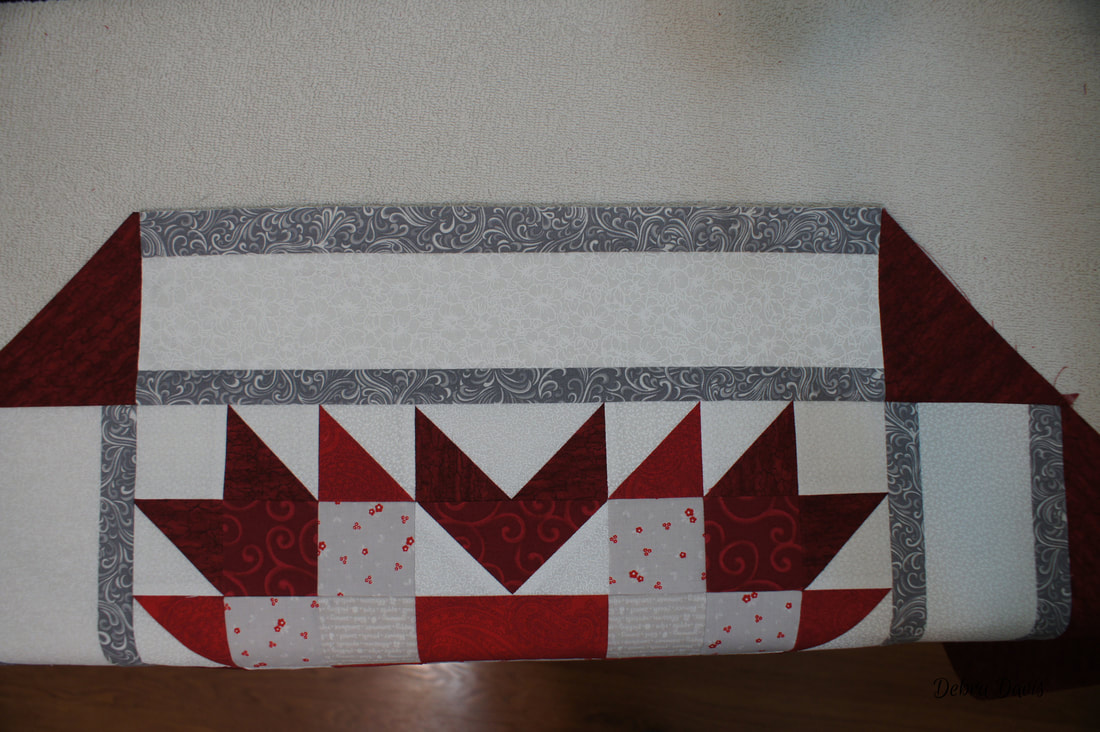
Next sew that strip to the bottom of this first row.
I placed a pin at the matching seams and also at each end to hold the tip of the triangle in place.
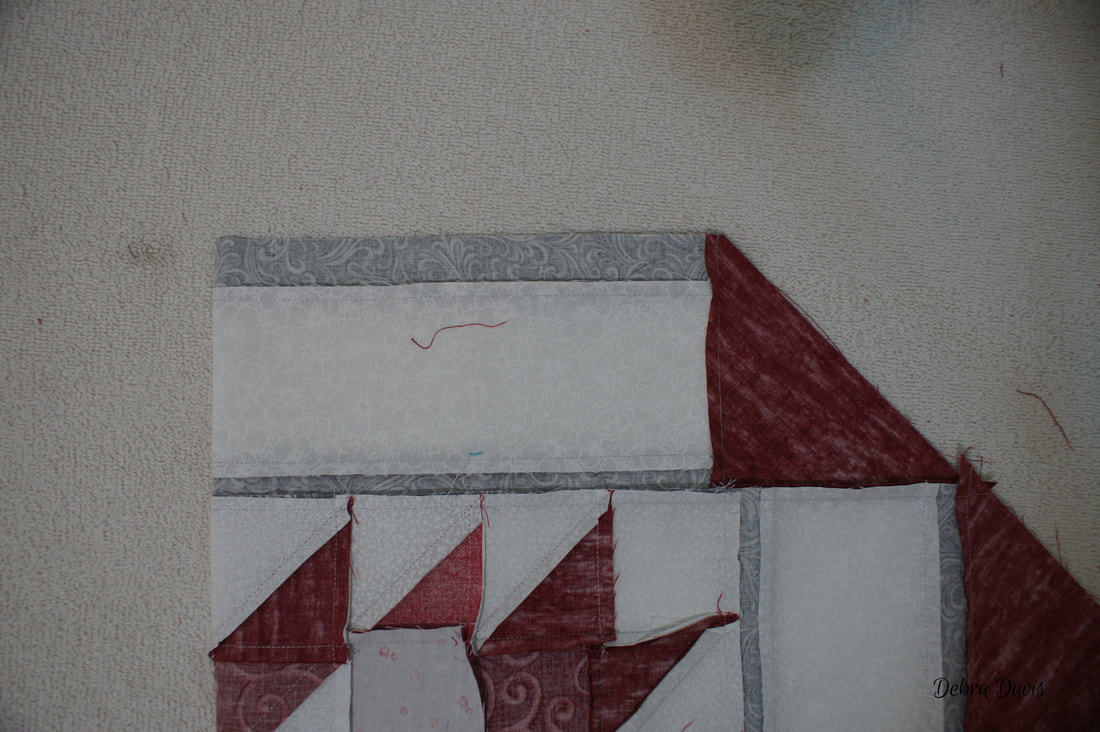
Press towards the sashing strip.
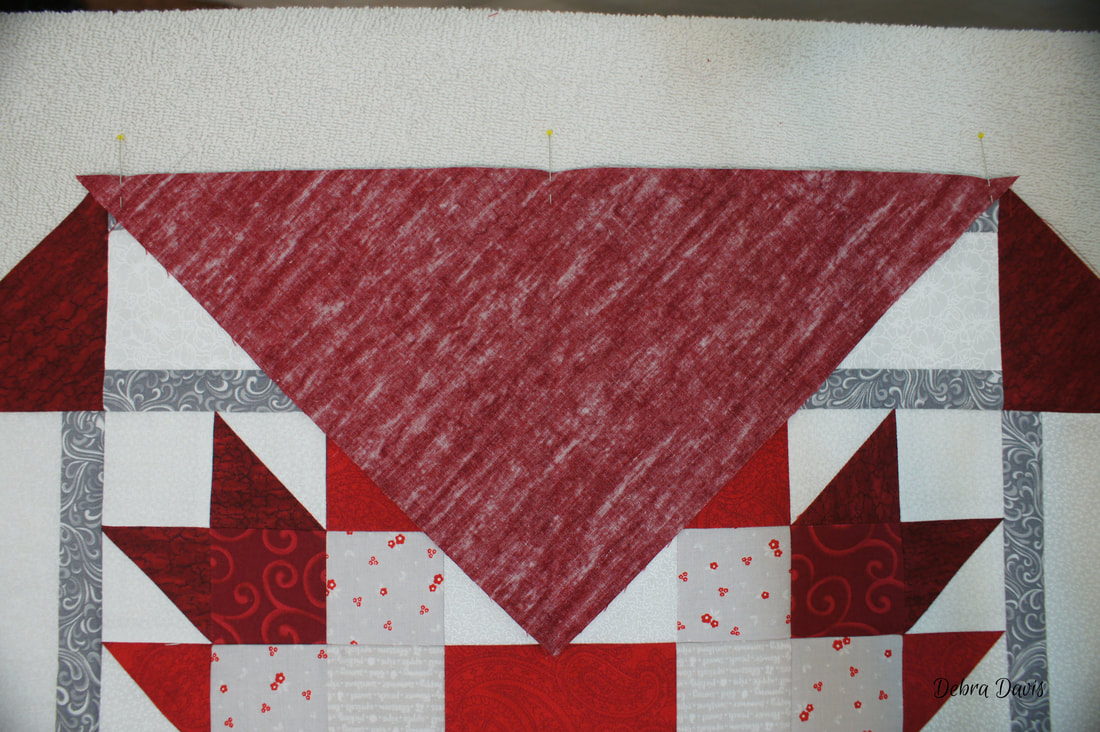
To make adding the corner setting triangle easier I have pressed a seam into the middle of the row. I have also pressed the corner triangle in half-just like we did with making the extra blocks earlier. This makes it easy to line up the middle of the triangle with the middle of the row.
And the first corner unit is finished... I think I am going to like how this turns out..
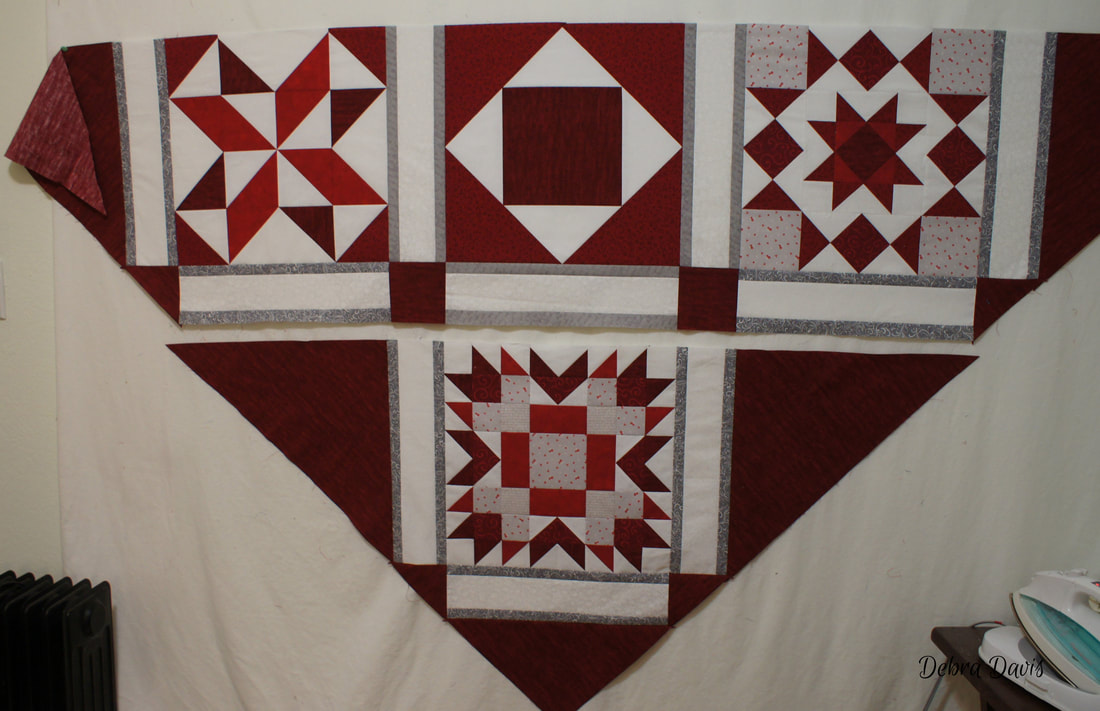
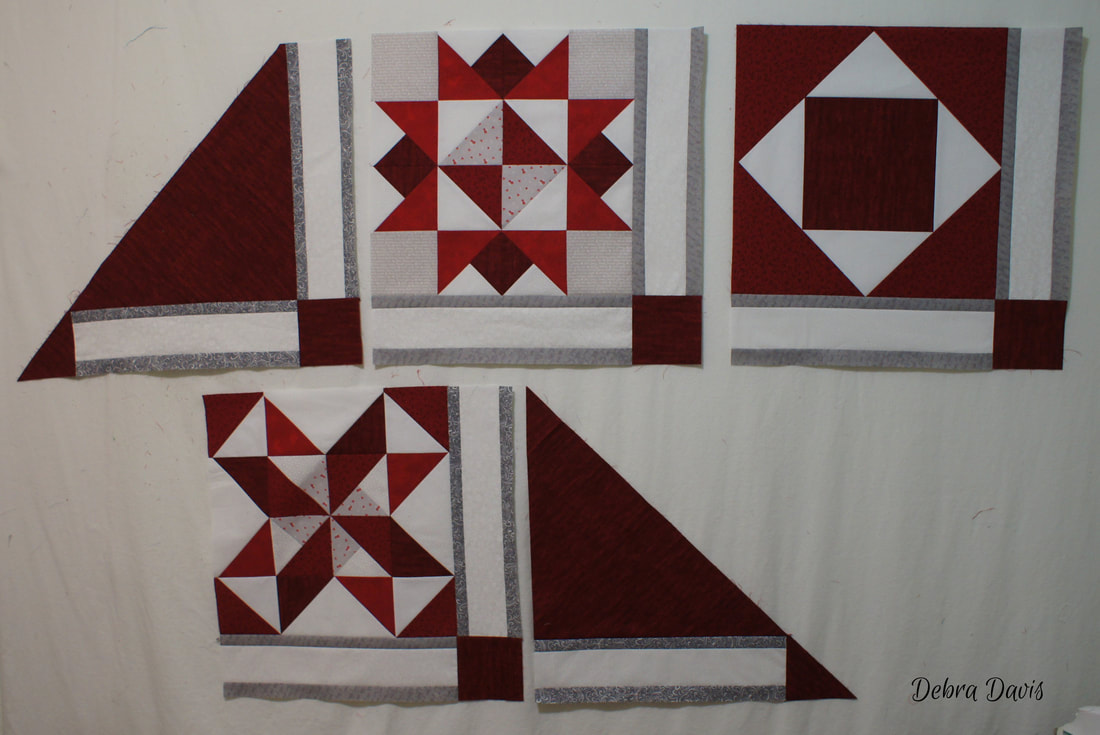
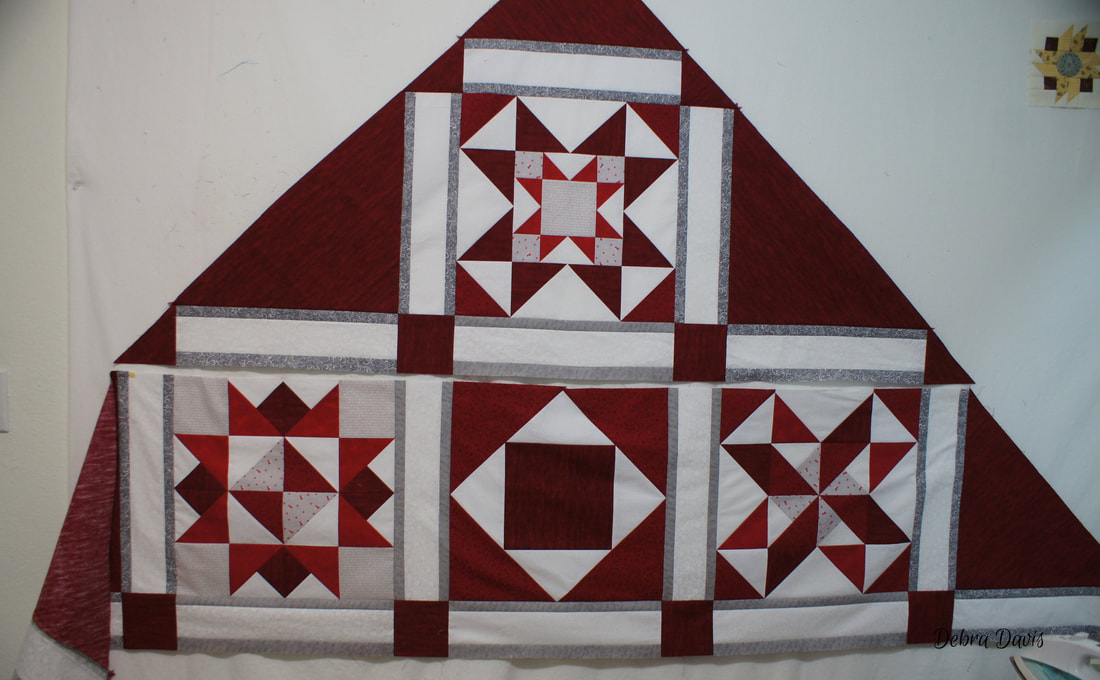
I pick up the next group of blocks and lay them out with sashing strips between each. First sew the sashing strips to the right side of each block an the large setting triangle on the left.
Join the second large setting triangle to the last block in the row and press towards the sashing strip. I have had to split the row up to get it to fit in a photo-and on my wall.
Sew a cornerstone to two sashing strips, and a half-cornerstone to the right side of a third. Add another half-cornerstone the left side of one first two sashing strips.
Now, add the sashing strips to the bottom of the blocks pressing the middle block away from the sashing.
Join the row together.
Next join this row with the corner unit-pinning where the seams meet. I find it helpful to place a couple of pins to hold them edges of the blocks together as I sew as well. Be careful to make sure not to fold the quilt under as you are sewing -check often to make sure that you are only sewing through those two layers as you join them. When working with large quilts it is so easy to end up with another part of the quilt top under your needle as you are sewing.
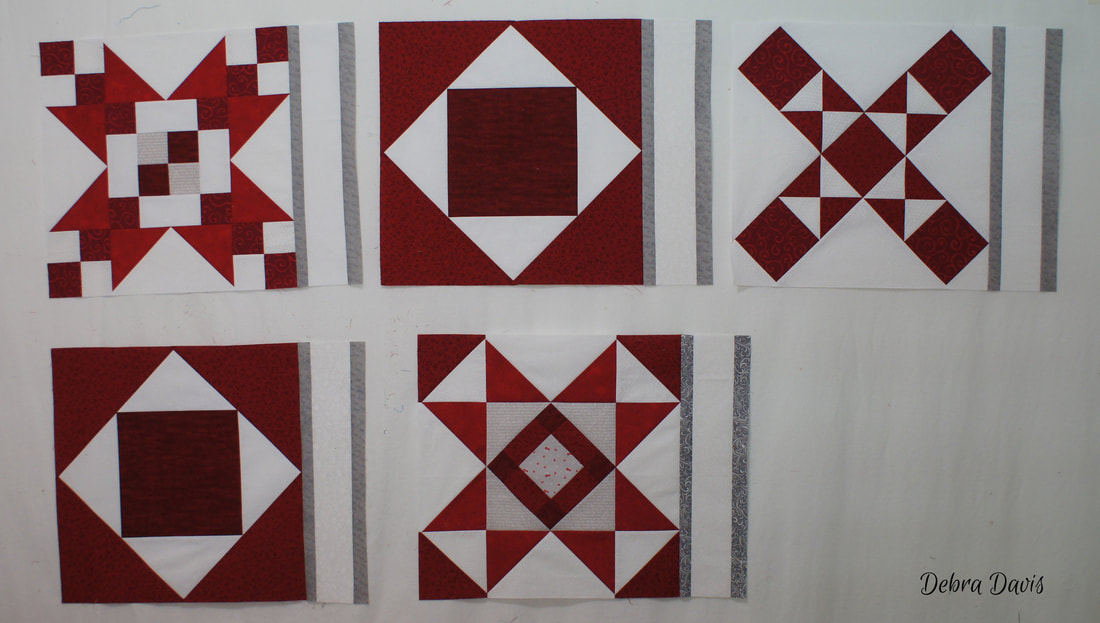
This next row is the big one. Lay out the five blocks and attach a sashing strip to the right side of each pressing towards the sashing strips.
Add cornerstones to the right side of four sashing strips-pressing towards the sashing. Add one half-cornerstone to a fifth sashing strip.
Sew these sashing/cornerstone strips to the bottom of the blocks matching the seams. Press blocks 1, 3, and 5 towards the sashing and press blocks 2 and 4 towards the block.
Join the blocks together-press towards blocks 2 and 4 and towards the sashing on the other.
We need to make another sashing strip for the left side of this row using a half-cornerstone.
The corner setting triangles get set aside for now-we will attach them after the rest of the top is sewn together. For now, just sew this row onto the previous section.
Join the blocks for the next row just like we did before-adding the sashing blocks to the right side and then the bottom-then sew them all together pressing in opposite directions. Do not add it to the rest of the quilt top yet. I do not want to wrestle with that large top any more than I have to so I will join this row to the corner unit we will make next before adding it to the top.
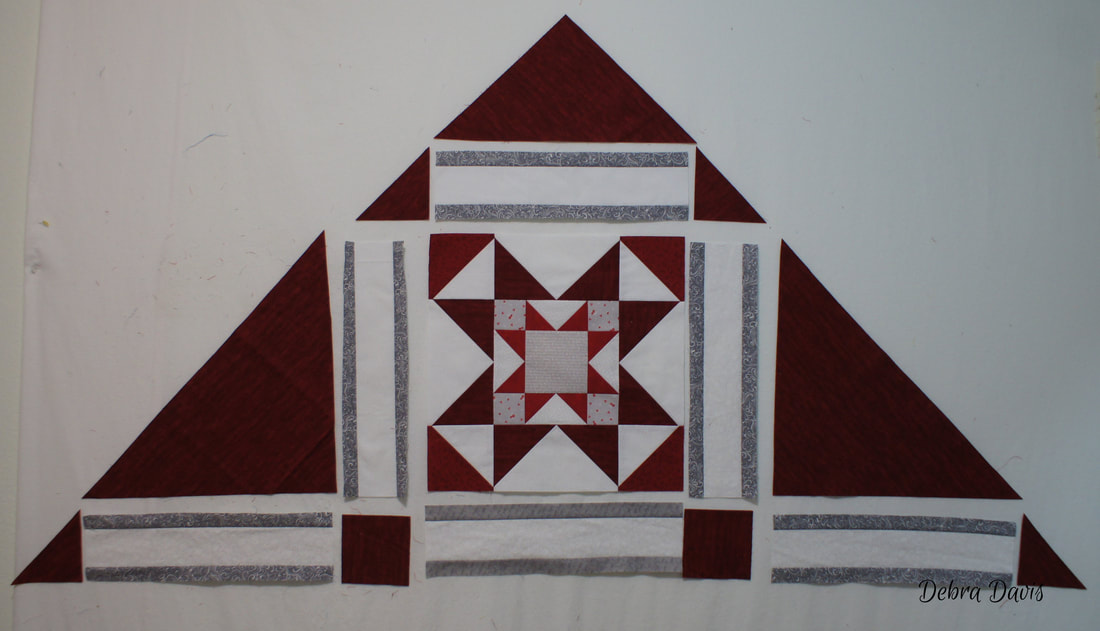
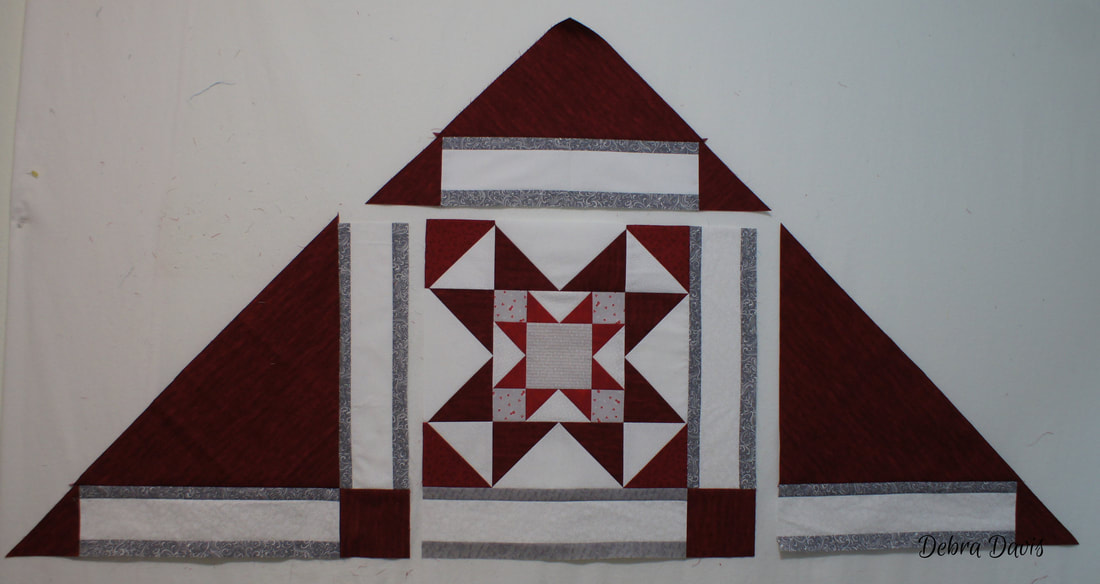
Lay out the pieces for the upper right corner section.
Add the sashing strips as before, pressing towards the sashing.
Join together to make the corner section.
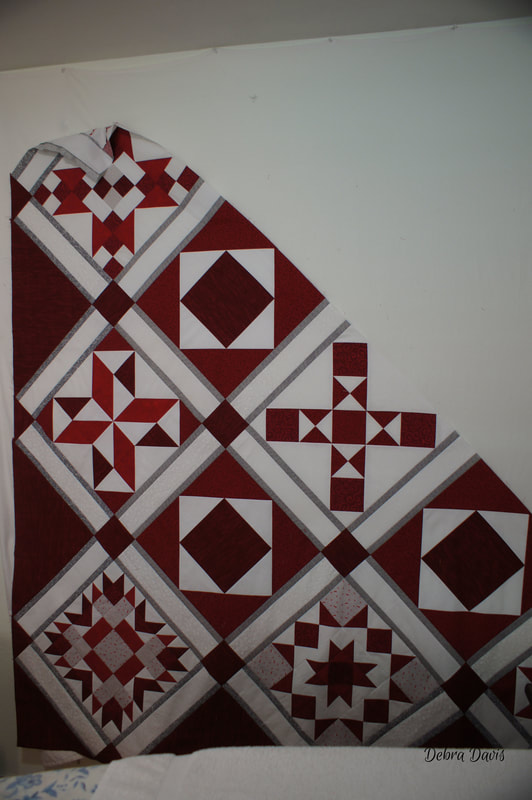
Join the corner section to the last row that was made. Add this section to the rest of the quilt top.
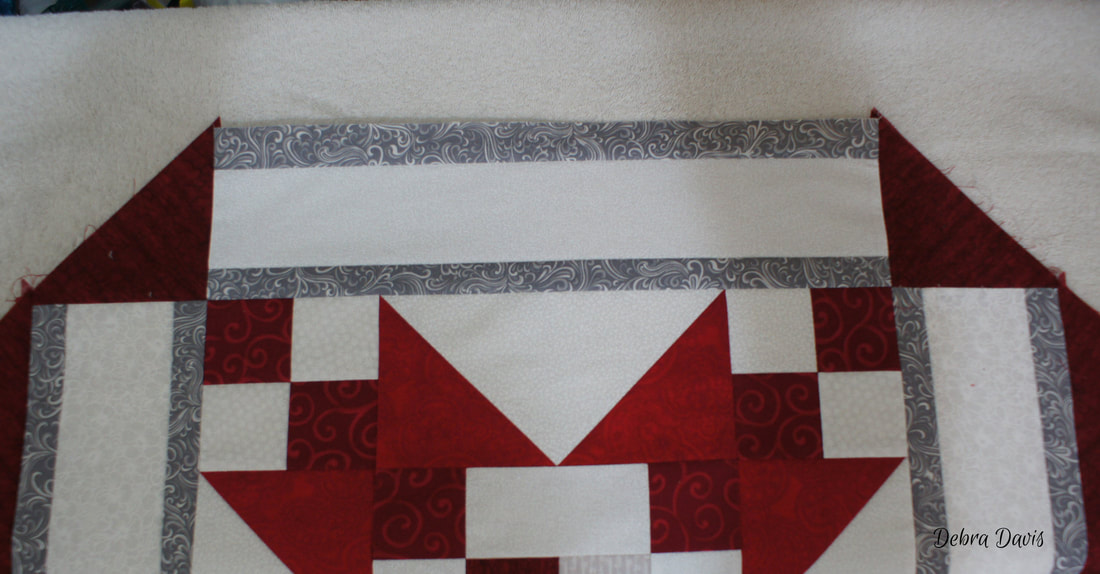
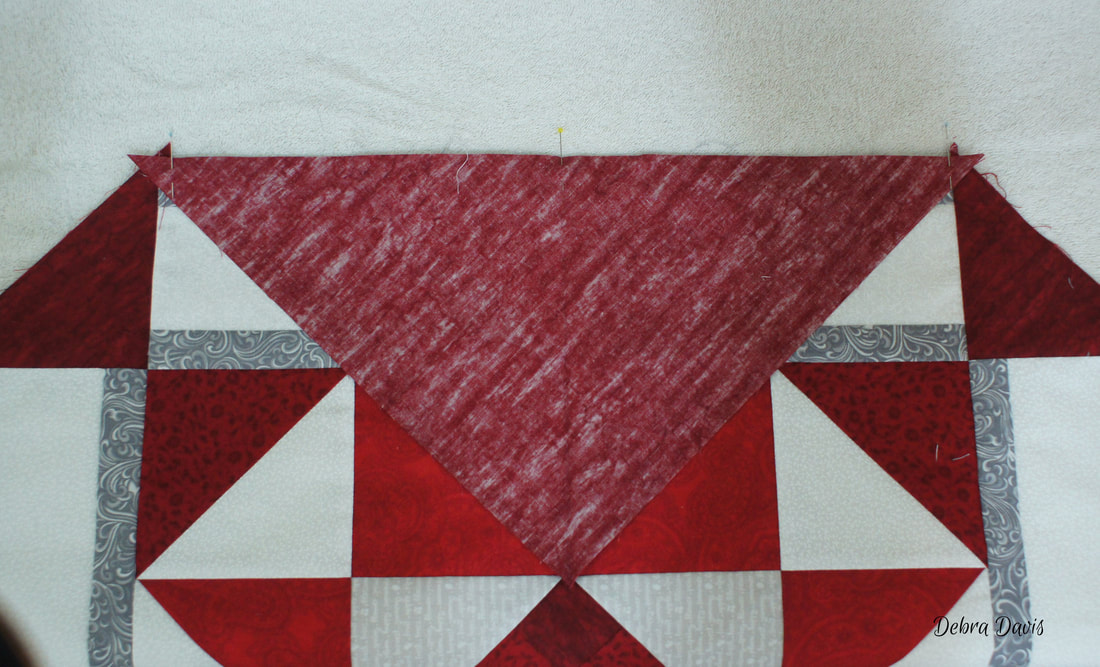
Now we need to deal with those two corner triangles that we left off earlier. I press a fold line into the middle of the quilt top. I do not fold the whole top in half, just this section I need to work with.
I pressed a fold line in the middle of the triangle and then matched up those pressed folds, but a pin in the middle and one on each side and sewed the corner triangle into place. Repeat on the other end.
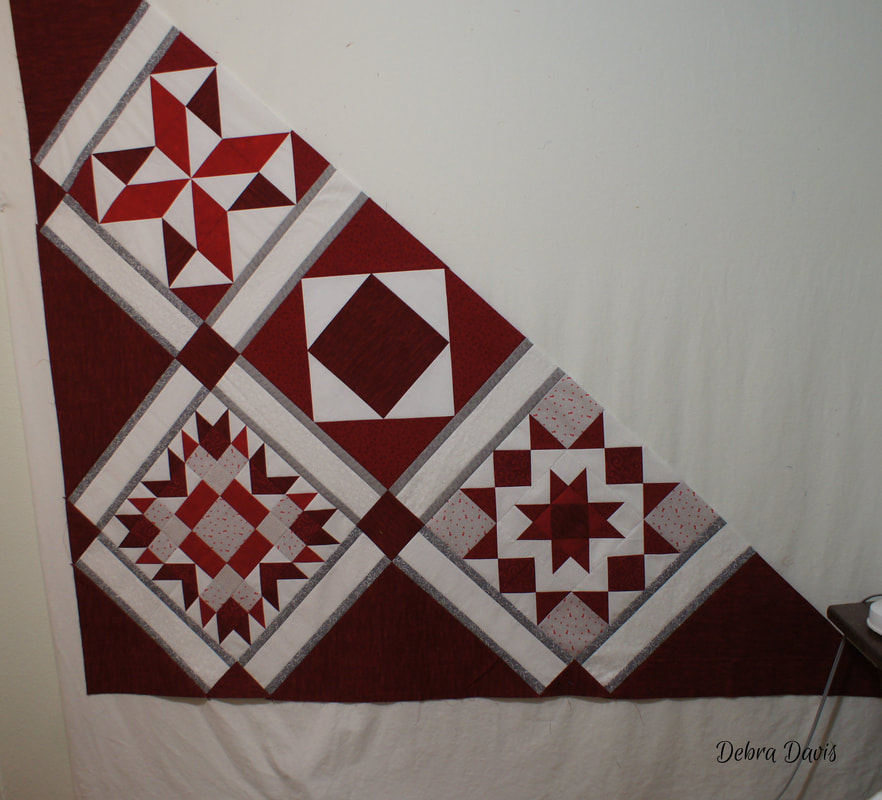
The just press towards the triangles and the top is finished!
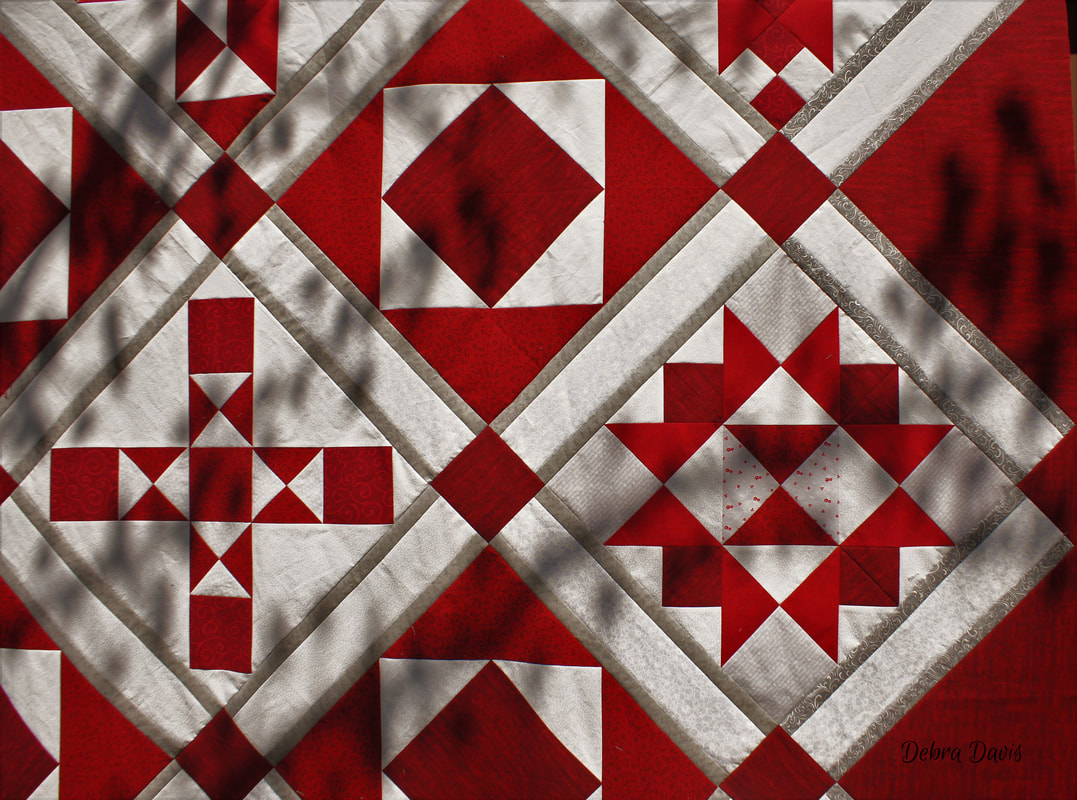
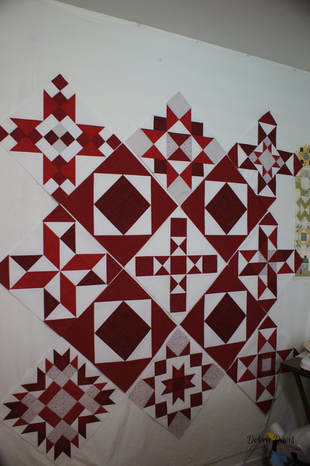
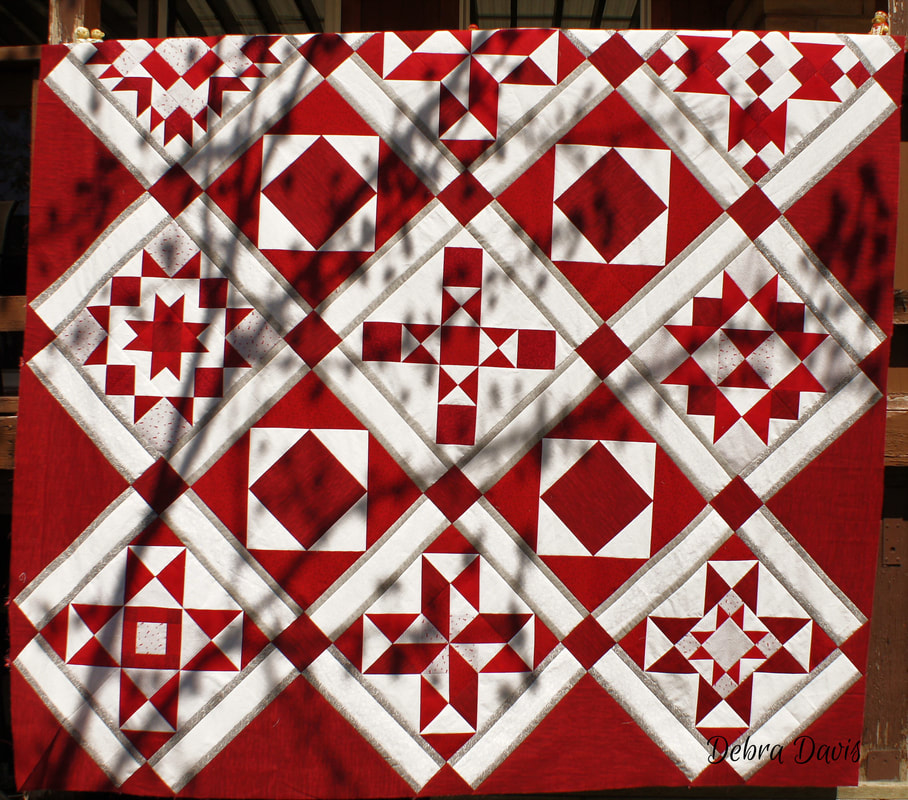
I had to take the top outside to get a photo. I am debating about adding a plain border to the outside, but I am just so happy with the finished top. And finally you get a much better sense of what my reds actually look like-though now my darkest red is not showing quilte as dark as it is-lol.
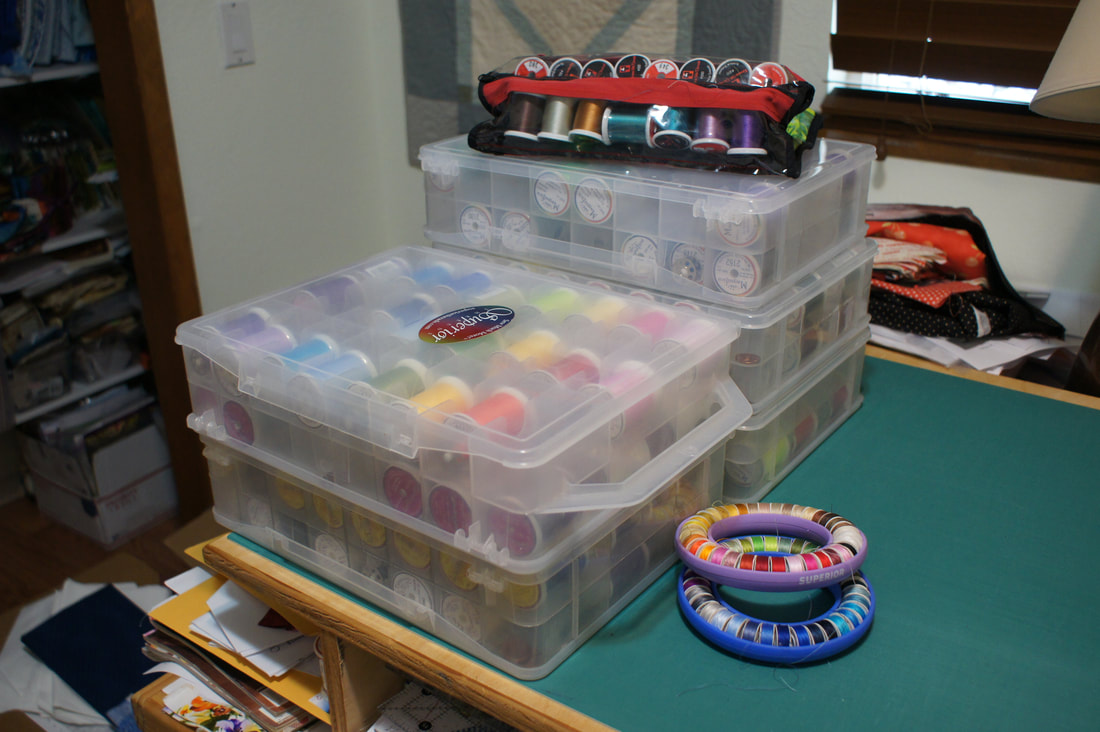
Just a reminder that there is a contest to enter: To enter you will need to have a photo of your quilt top-it does not need to be quilted, just the top sewn together is all you need to have done. Then just share your photo at the end of this blog post and be sure to use "#superiorthreads" when you share your photos. You can also add a photo to my Facebook Group page if you would rather. Superior Threads will be providing one $25.00 gift certificate to the winner who will be chosen by random drawing on May 25, 2018 from all entries. I am a fan of Superior Threads and use many of their lines for my quilting, piecing, and both machine and hand applique projects. I used to think any old thread would do, but there is a difference in both the end result, the ease of use, and how my machine responds when I use better threads. Superior Threads also has a ton of free information availbale on their site as education is an important part of their business model which I have linked to here. I first discovered Superior Threads after ordering a copy of Dr Bob's Thread Therapy-I learned more from this one video about thread than anything else I have ever seen. It is available to watch for free on their site here and I highly recommend it. I sound like a salesperson here, but I only recommend to you products that I use and love myself and you can see by my own collection that I do use and love their threads. I am not paid by them in any way, I purchase all of the products I use and as you can see from the photo below I have a lot of their threads..
And next week I will post the tutorial for the Alternate 2 setting-Be sure and add a photo of your quilt top to be entered into the contest!
Happy Quilting!
Alycia
4/26/2018 09:32:01 am
Oh, wow! That setting is stunning! I love it.
Debra
4/28/2018 09:13:51 am
Thanks, Alycia! I am really pleased with it too.
Vicki Johnson
4/30/2018 04:44:17 pm
What is the finished size when you use this layout?
Debra
4/30/2018 05:38:49 pm
It finishes at 87" x 87" Vicki. Comments are closed.
|
Welcome to the site of Debra Davis-a woman who loves the Lord and loves to quilt.
My other blog where I share about my walk of faith:
Sitting at His Feet This website uses marketing and tracking technologies. Opting out of this will opt you out of all cookies, except for those needed to run the website. Note that some products may not work as well without tracking cookies. Opt Out of Cookies |
Tuning My Heart Quilts by Debra Davis is licensed under a Creative Commons Attribution-NonCommercial-NoDerivs 3.0 Unported License.
Based on a work at www.tuning-my-heart.com.
Copyright 2010-2022 by Tuning My Heart Quilts, LLC. No part of this website can be reproduced without written permission from the author. All rights reserved.
Proudly powered by Weebly








 RSS Feed