|
For the next three weeks I am going to show you the three different options for setting your blocks together into a quilt. I am also making a couple of announcements at the end of this post so be sure to check them out.
This week I am doing the basic setting using sashing and cornerstones. The method I am using is my favorite and perhaps a little different from what you are used to. I have found this method gives me the best results overall. Note: It has come to my attention that I left out the amount of fabric needed for the sashing strips in this version. You will need 1 yard for the sashing.
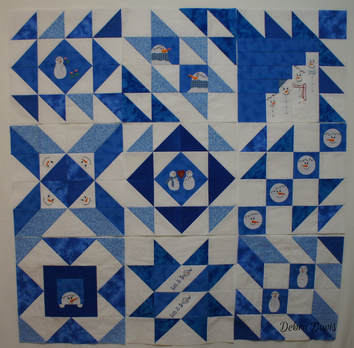
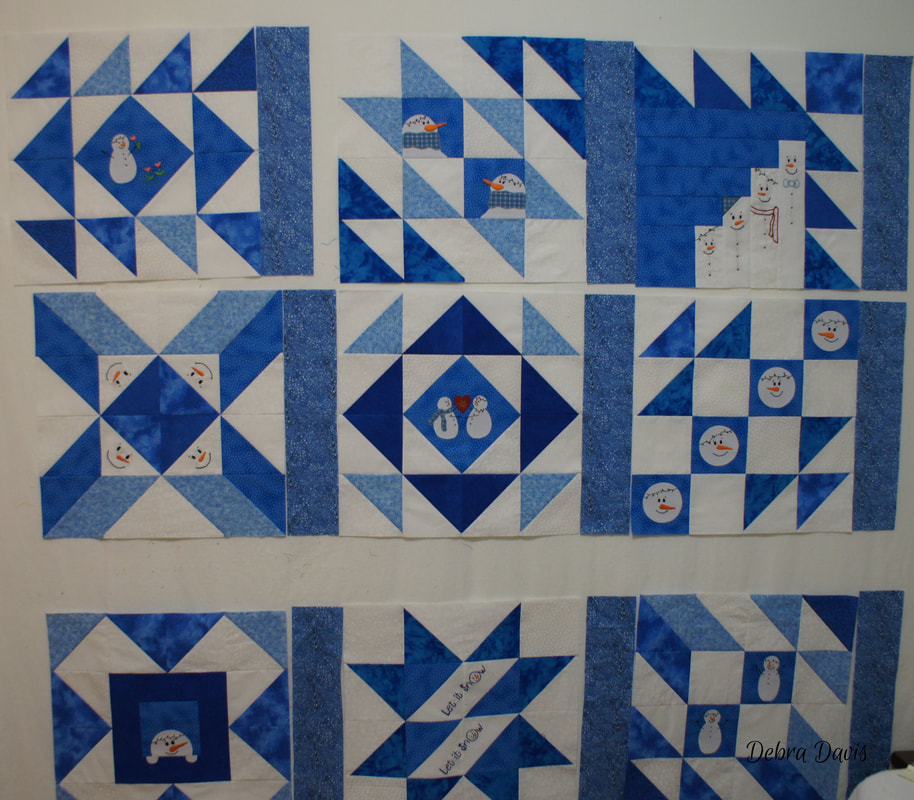
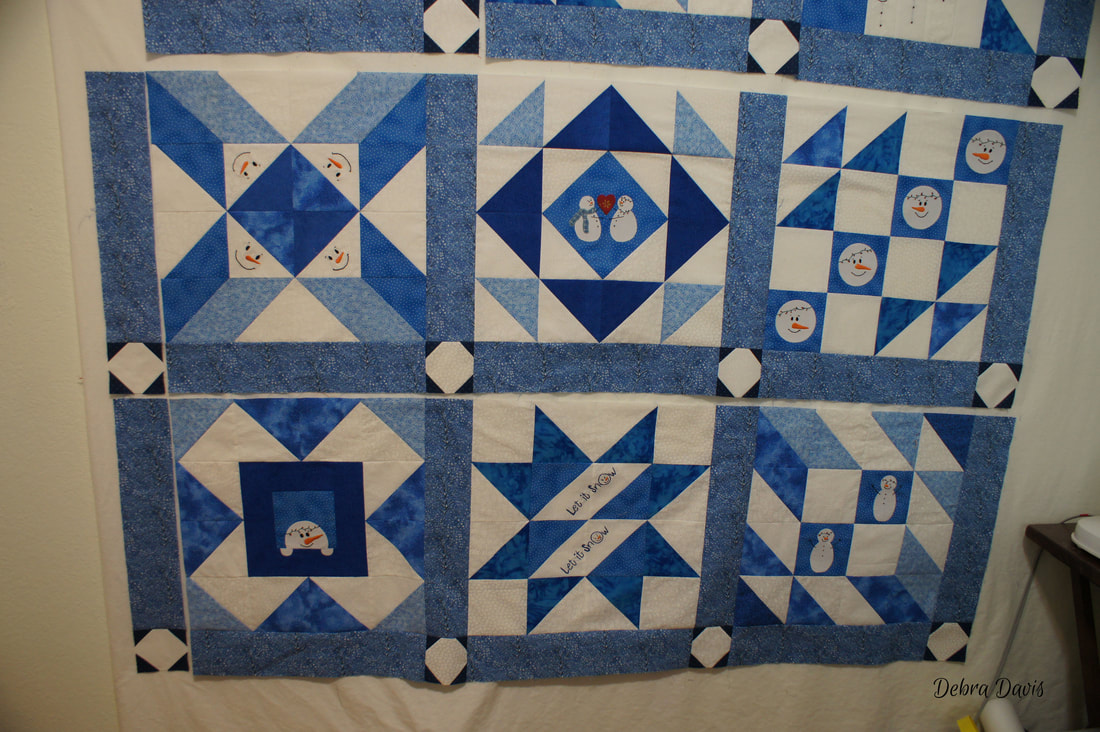
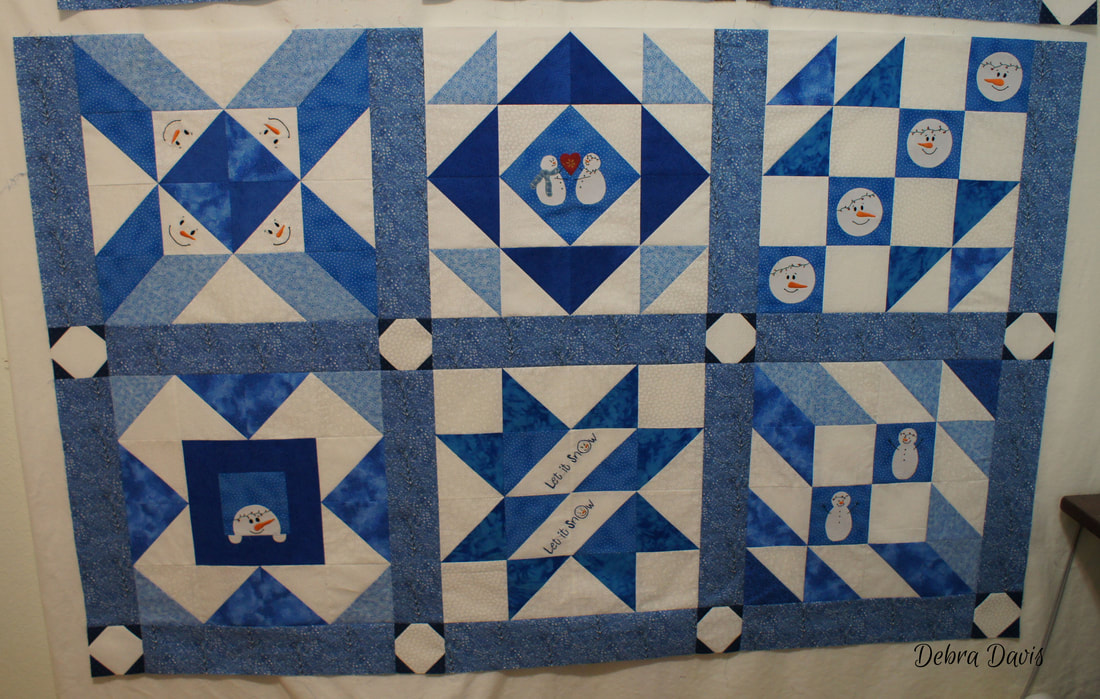
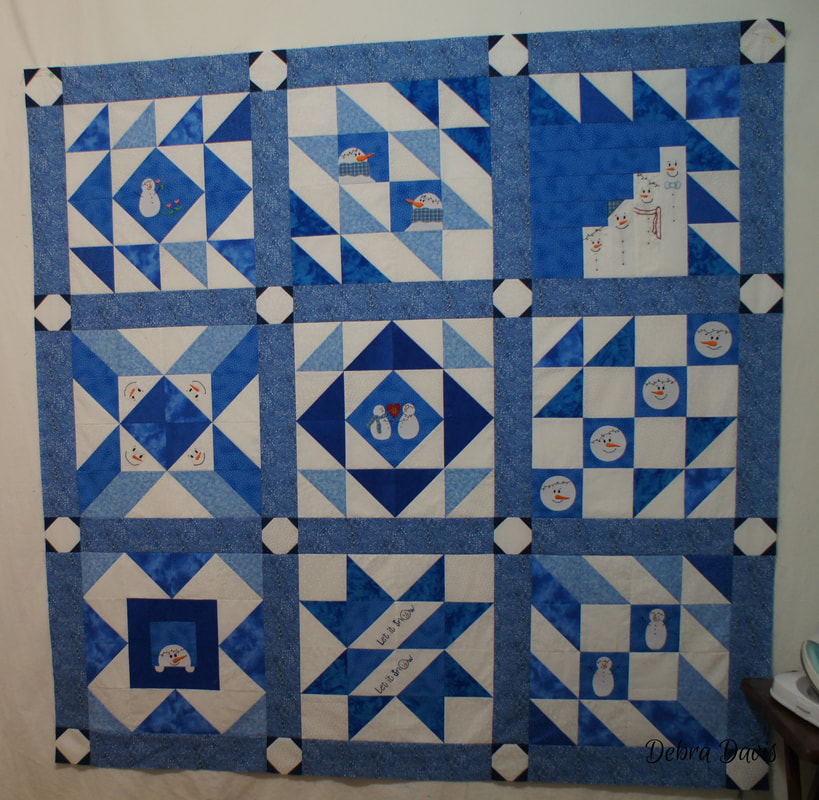
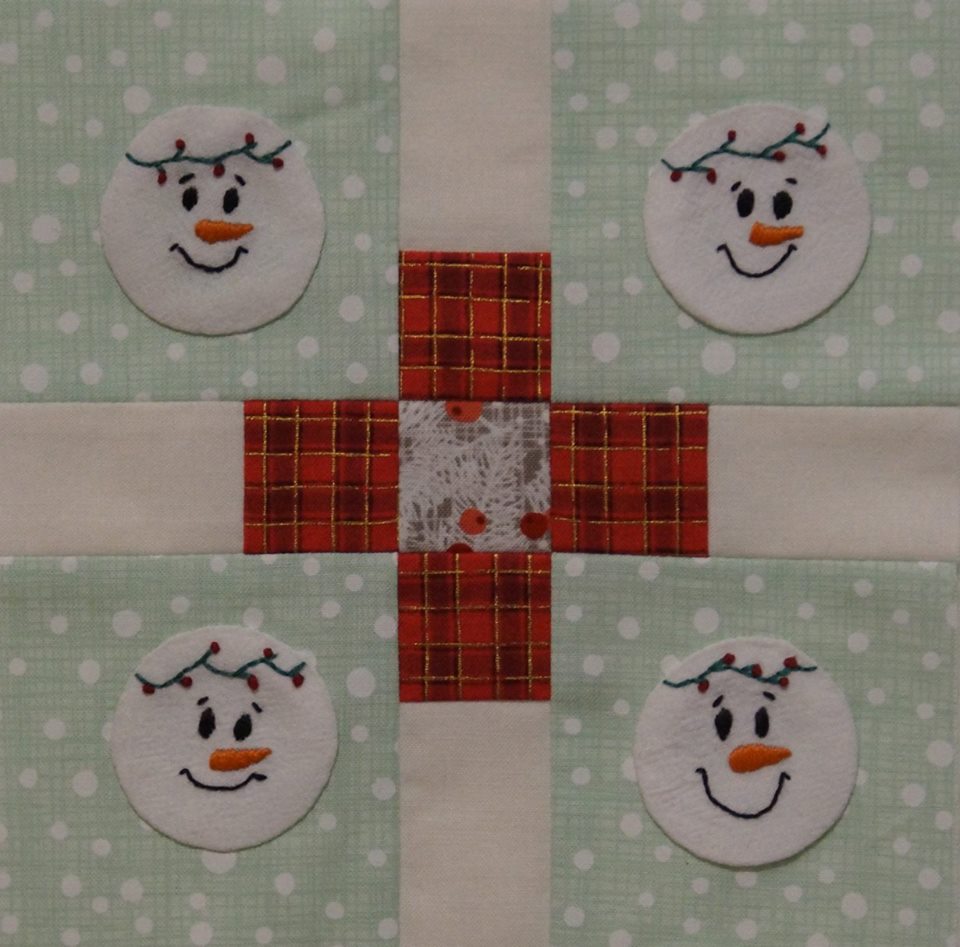
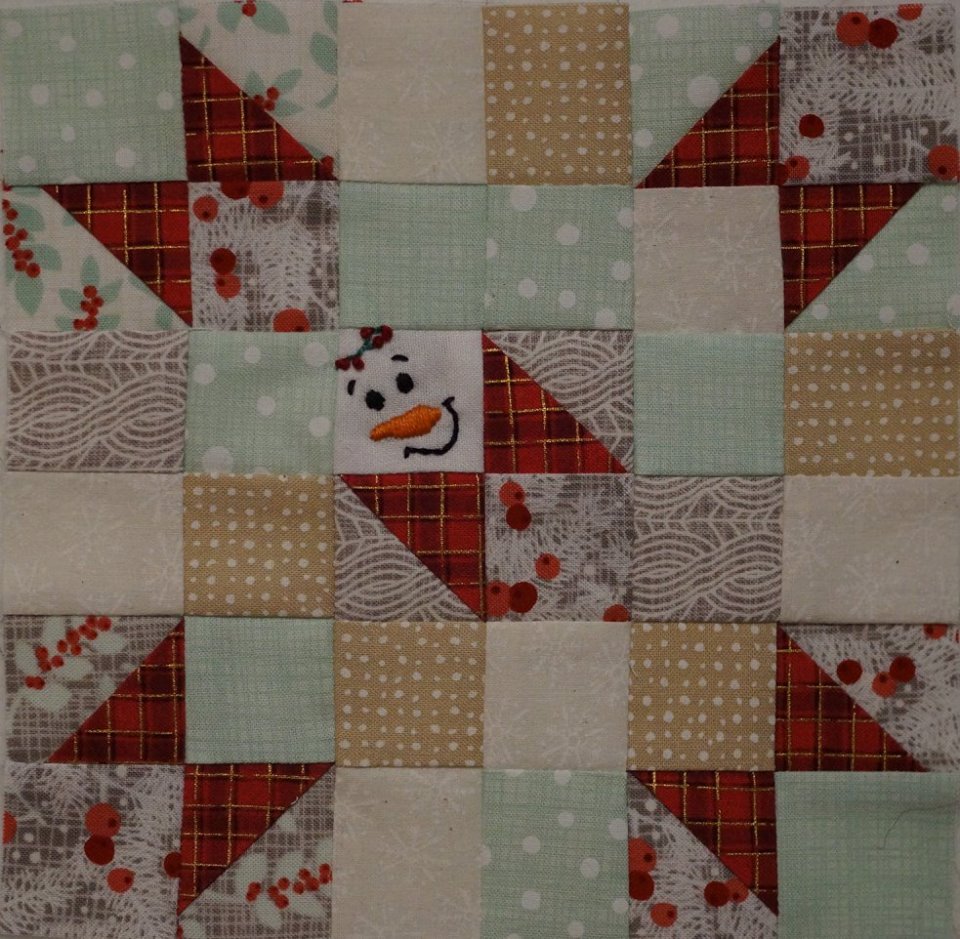
I will be demonstrating this setting using blocks I did for the NQC Quilt Challenge last year-my Snowman version that I never finished. Instead of using a plain fabric square for my cornerstones I have pieced snowball blocks to use in this quilt. That is one of the fun things about this setting-those cornerstones do not have to be just plain fabric squares-there are so many possibilites.
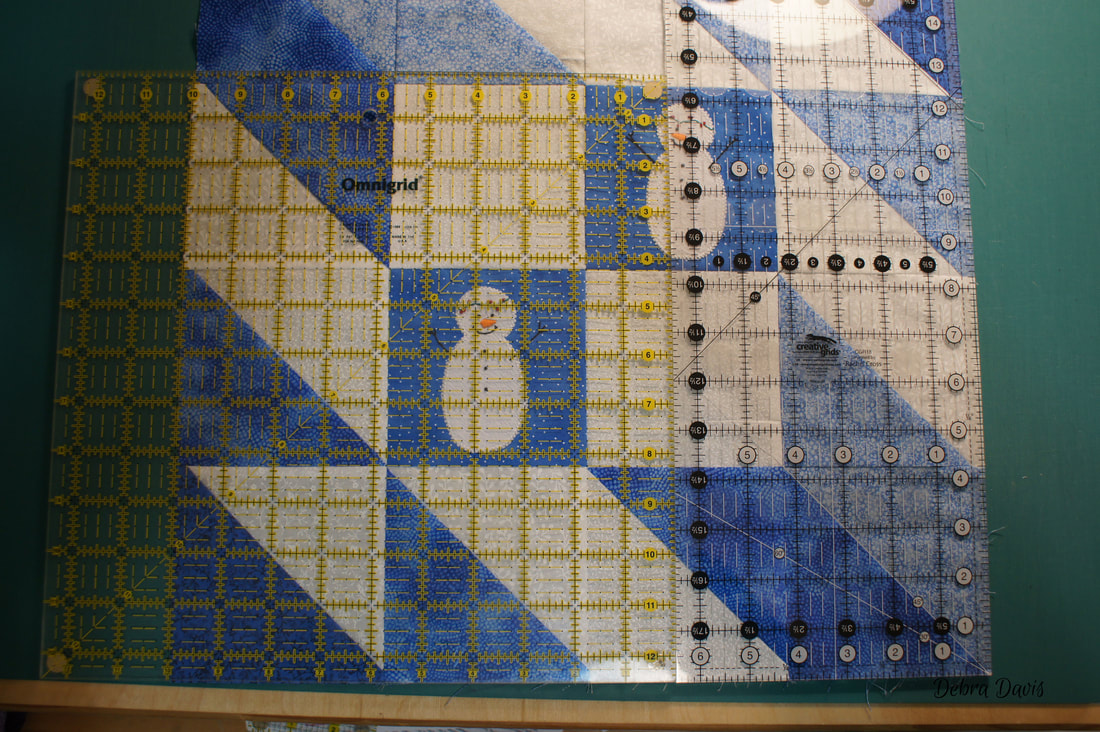
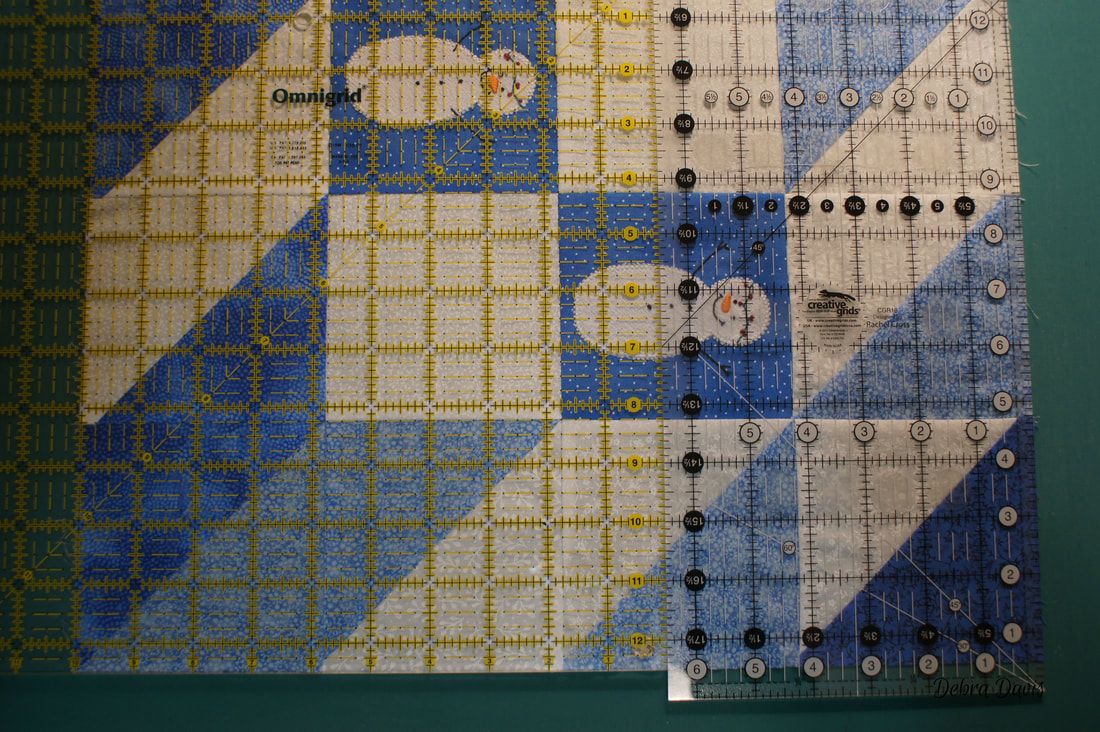
The very first, and very important first step is to square up your blocks. Since I do no have a ruler large enough for these 16 1/2 inch blocks I do a little improvising with my 12 1/2 inch square ruler and a 6 1/2 inch long ruler. Ideally I should get a larger square ruler as it would make the process much easier. As it is, I wil have to rotate my block four times to square up each side.
I place the square ruler first lining up the 10 inch mark with the left side of my block. I then look at those seams running vertically and horizontally across the block and make sure to line up the lines on my ruler with them. Since I do not know what size rulers you are using for this I am not able to give you any specific measurements that will work for everyone. In my case the middle of my block falls at the 1 3/4" (vertical line) and 4 1/4" (horizontal line) on my ruler so I use that as my guidelines for the vertical aand horizontal seams. Next I lay the long ruler right up against the square ruler and trim off any extra. A NOTE HERE: Before trimming any of your blocks take time to check the size of each. If they are not all pretty close to 16 1/2" you might need to adjust your finished size-maybe you have one or two that ended up 16"-it is best to trim your others to this smaller size. And if they are larger than 16 1/2" again, just trim so they are all the same size, if you trim too much off the sides you will certainly lose those points we are all so proud of, but it is very important that the blocks are all the same size before proceeding.
Rotate the block and continue around, trimming as needed. Since you now have a squared edge to work with be sure and line up your square ruler with the trimmed edge-This will ensure your block remains square as you trim each remaining side. If our sewing was accurate there should not be much trimming needed, but I always seem to have one or two blocks that are just a bit too large or too small.
For this setting you need to cut sashing strips and squares for the cornerstones.
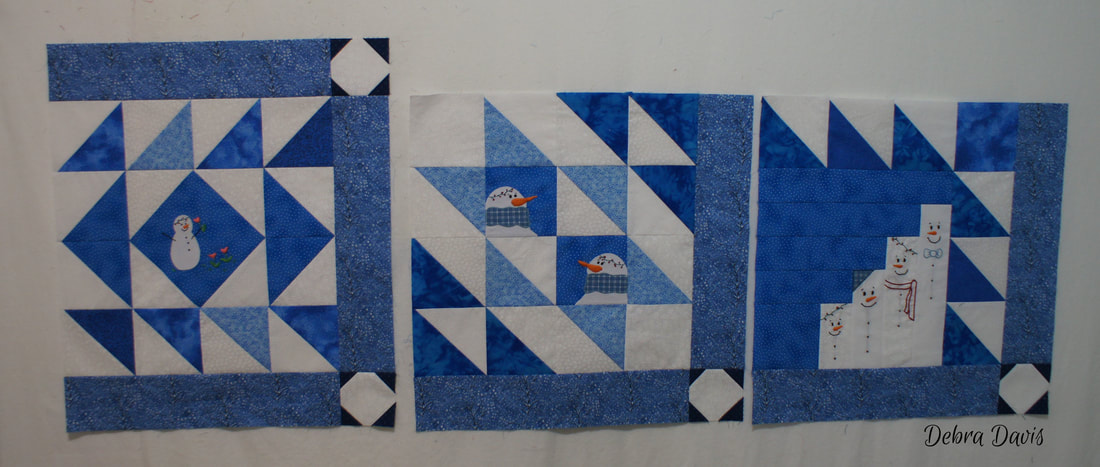
Sashing Strips-(cut 24) 16 1/2" x 2 1/2" Cornerstones-(cut 16) 2 1/2" x 2 1/2" NOTE: If your blocks are smaller or larger than 16 1/2" cut the length of your sashing strips to the size of your blocks. To begin I sew a sashing strip to the right side of each of my blocks after I have arranged them in the order I want my blocks to go into the quilt. This is important so that I can press seams correctly for joining them later.
Press towards the sashing. Looking good. I set my blocks aside for a moment.
Now with those remaining sashing strips I add a cornerstone to one side and press these towards the sashing strip as well.
Add the sashing unit to the bottom of each quilt block. Press the 1st and 3rd block in each row towards the sashing strip and the 2nd block in each row away from the sashing.
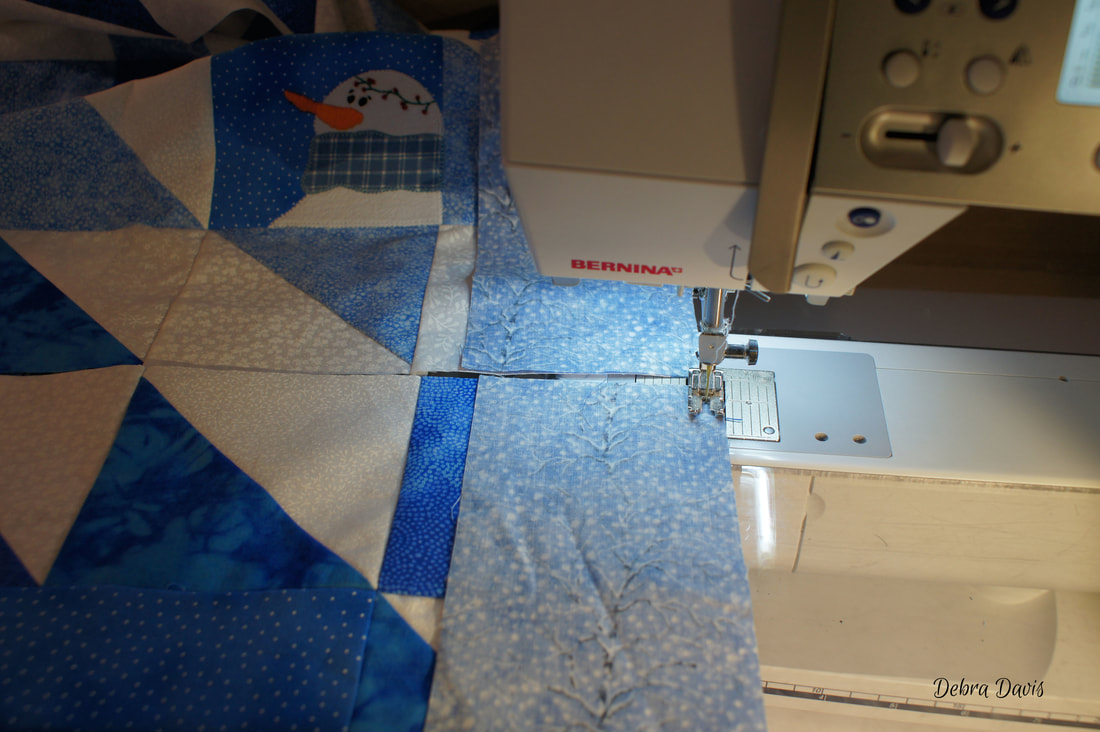
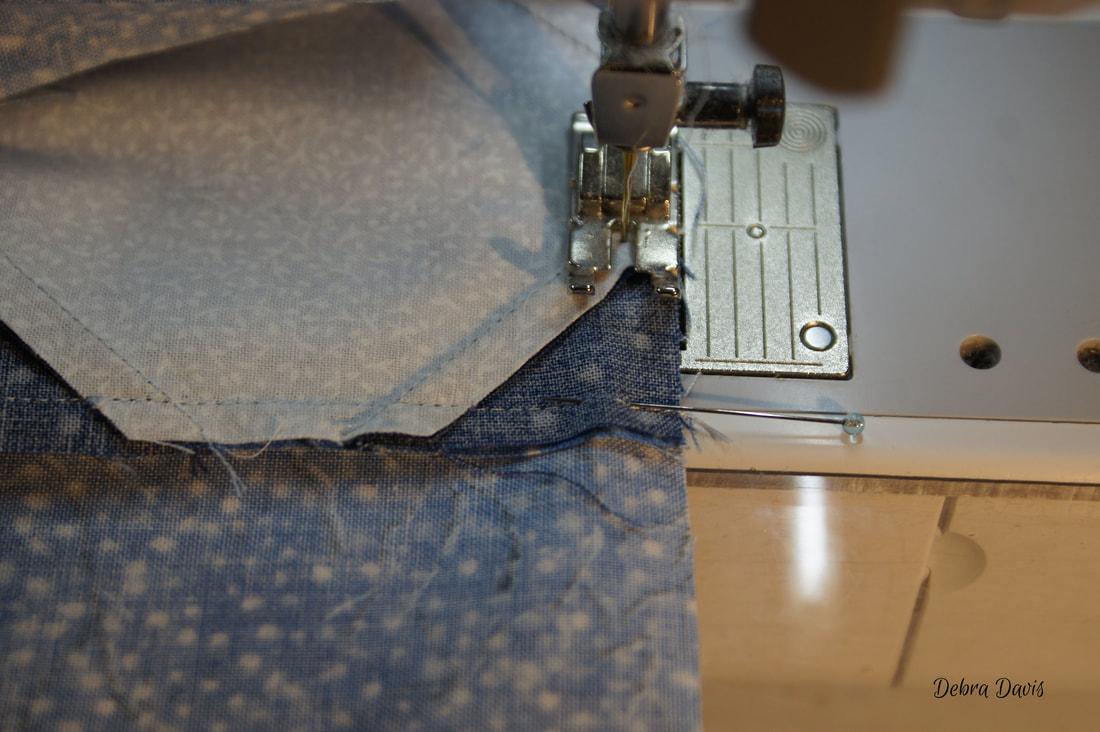
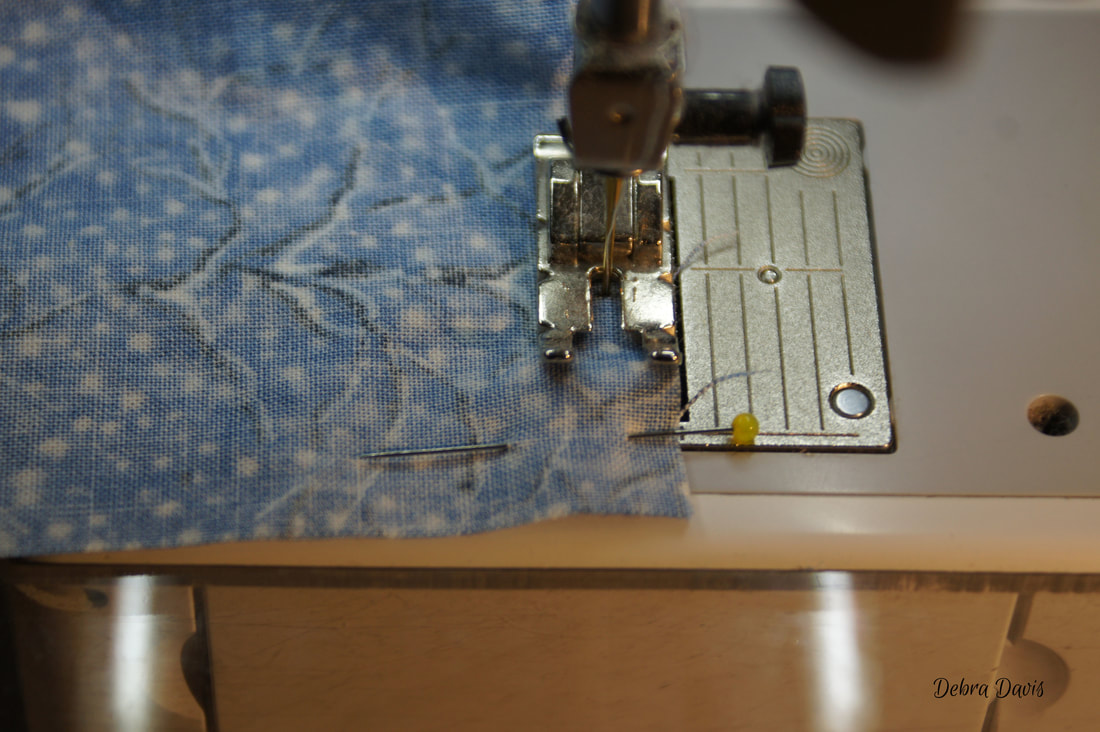
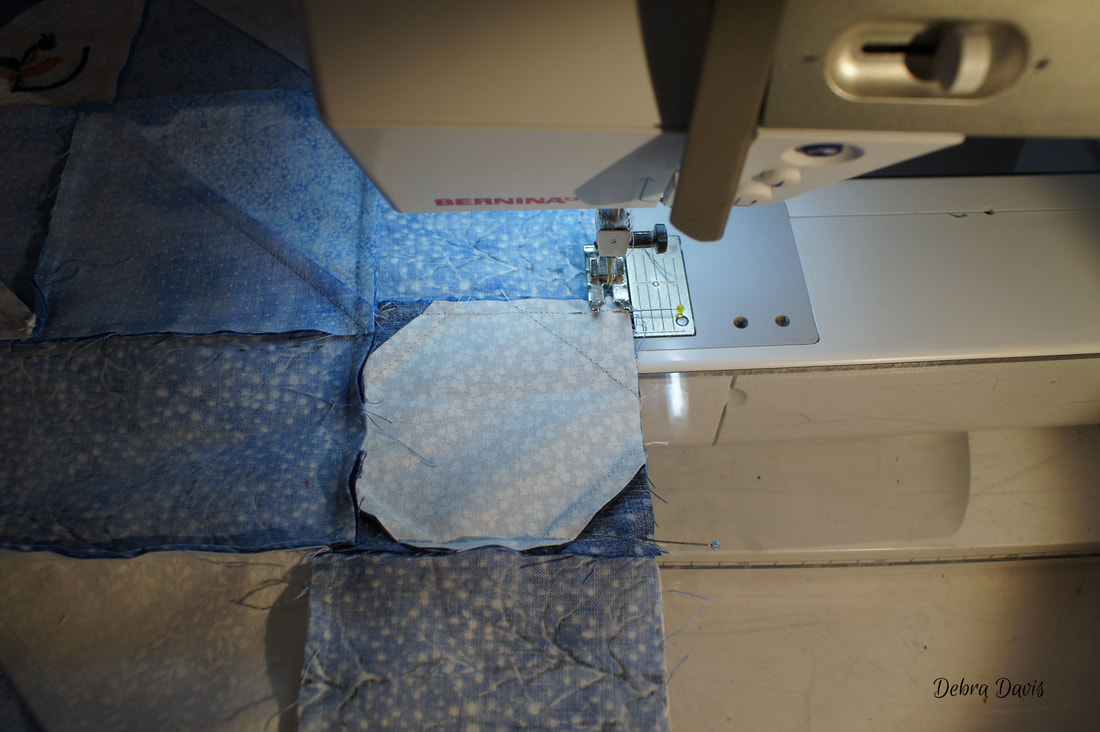
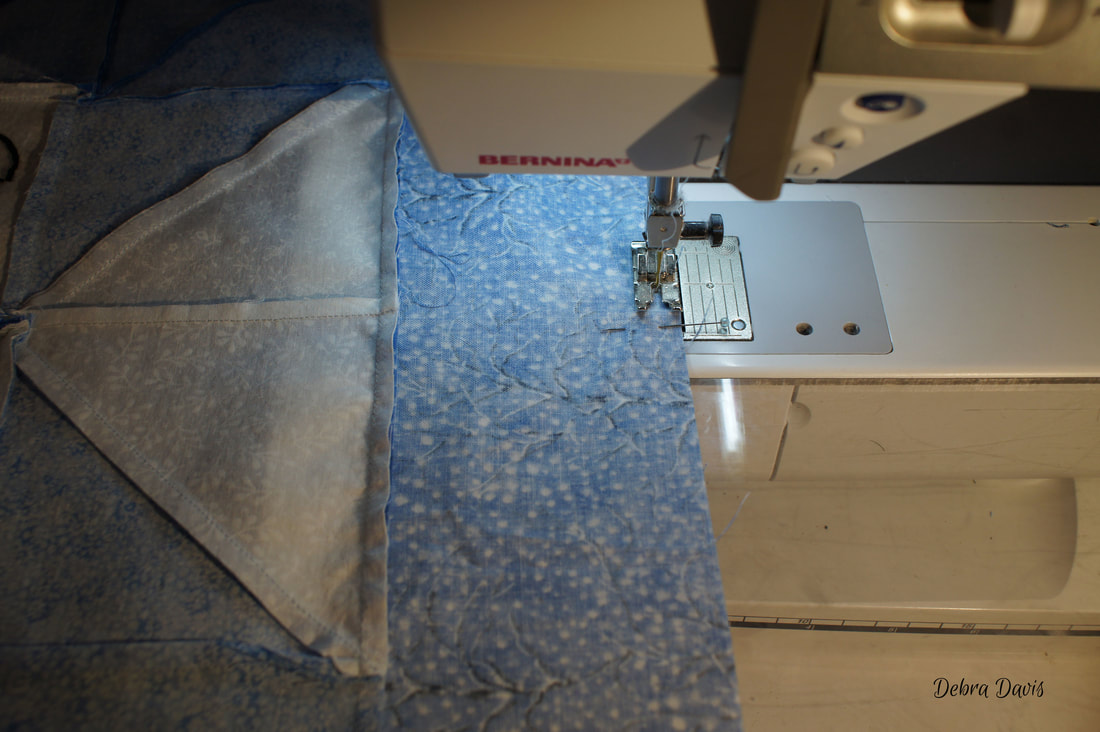
I used two pins for this process-one at the nesting seams and the other at the other end of the sashing strip.
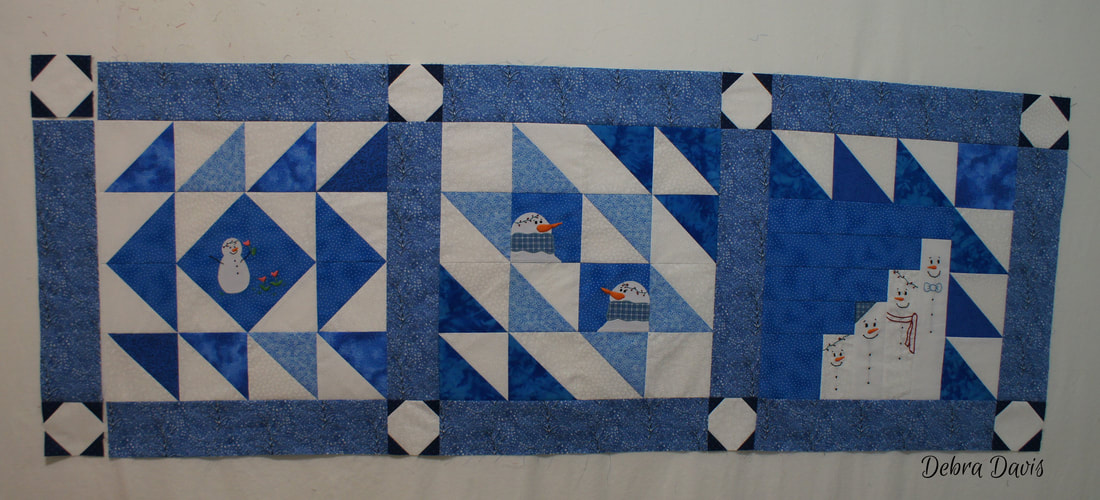
We are going to ignore the top row for now and join the blocks in the middle and bottom rows together.
Before we join the two rows together we need to add one of our sashing units to the left side of each row.
Once that is done the two rows can be joined together.
I again placed pins at the seams of the cornerstones and another in the middle of the block.
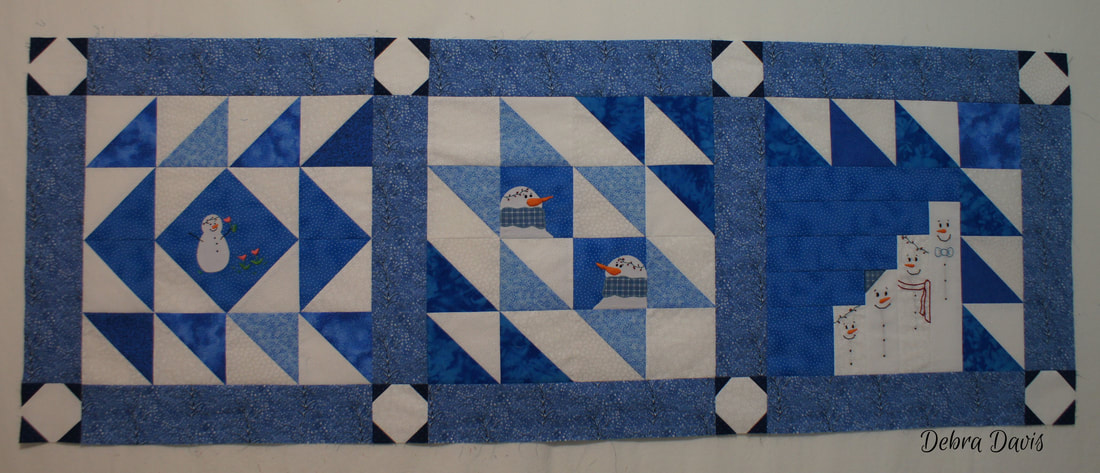
With the bottom section complete it is time to work on the top row. We need to add a sashing unit to the top of each of these blocks. After that is done they get joined together into the row.
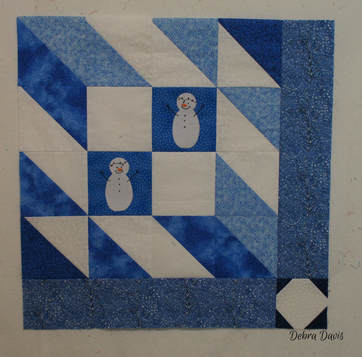
On the left we will need to add the last cornerstone to the other end of the sashing unit before we can add it to the row.
The top row is now ready to add to the bottom section.
And that is it for this top!
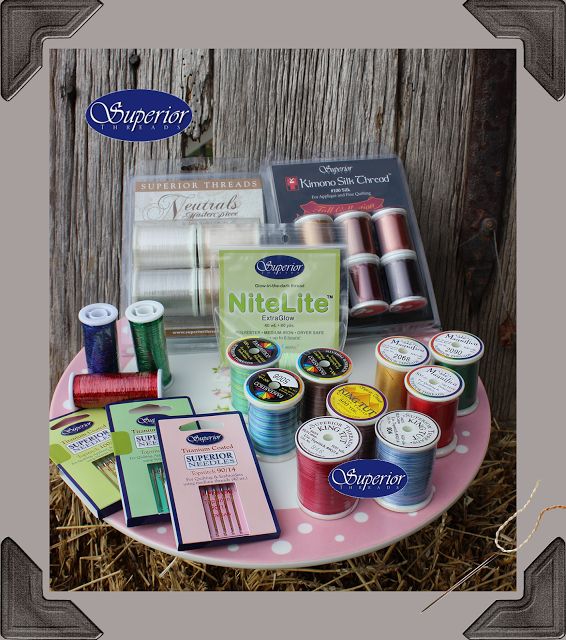
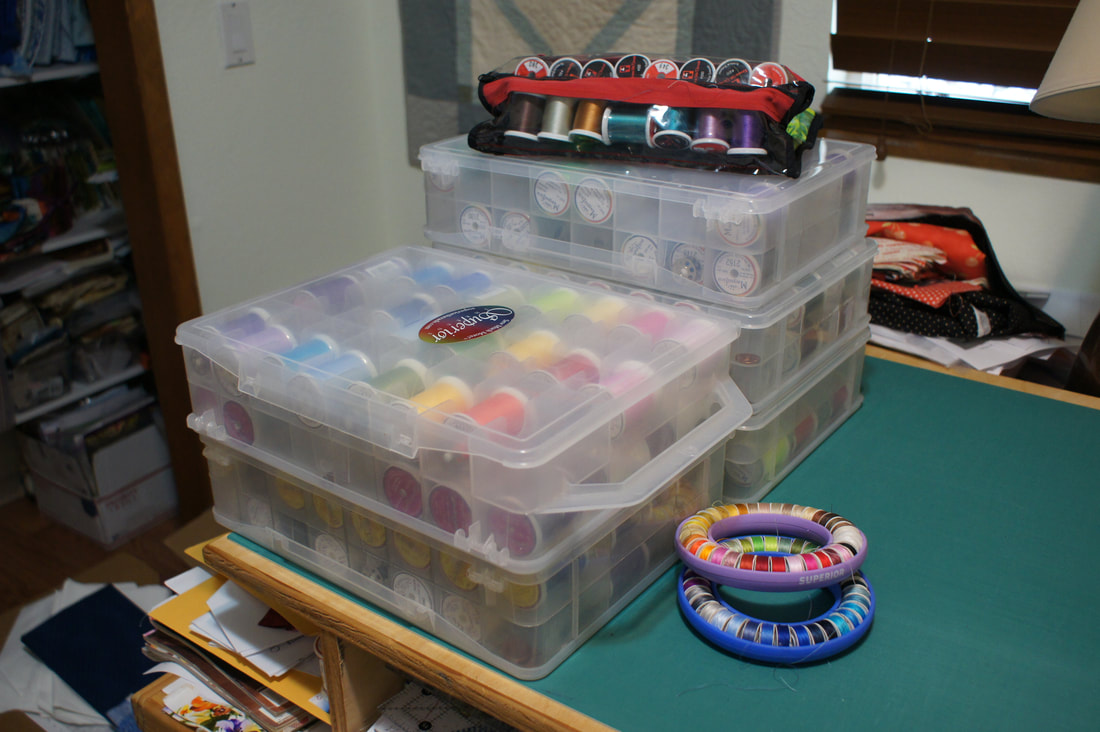
Now for announcement number 1. I am happy to share that I will be wrapping up this Sew Along with a contest. To enter you will need to have a photo of your quilt top-it does not need to be quilted, just the top sewn together is all you need to have done. Then just share your photo on either my Tuning My Heart Facebook page, my Facebook group page at Tuning My Heart Sew Along or here on this blog post and use "#superiorthreads" when you share your photos. I am excited to share that Superior Threads has said they will provide one $25.00 gift certificate to the winner who will be chosen by random drawing on May 25, 2018 from all entries. I am a fan of Superior Threads and use many of their lines for my quilting, piecing, and both machine and hand applique projects. I used to think any old thread would do, but there is a difference in both the end result, the ease of use, and how my machine responds when I use better threads. Superior Threads also has a ton of free information availbale on their site as education is an important part of their business model which I have linked to here. I first discovered Superior Threads after ordering a copy of Dr Bob's Thread Therapy-I learned more from this one video about thread than anything else I have ever seen. It is available to watch for free on their site here and I highly recommend it. I sound like a salesperson here, but I only recommend to you products that I use and love myself and you can see by my own collection that I do use and love their threads. I am not paid by them in any way, I purchase all of the products I use.
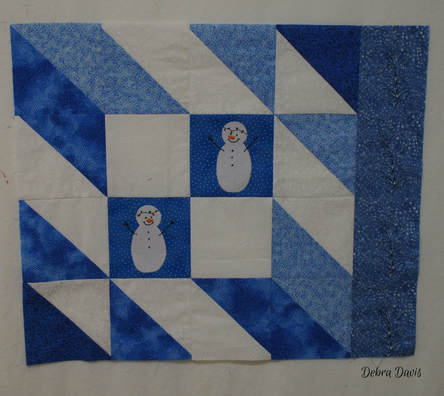
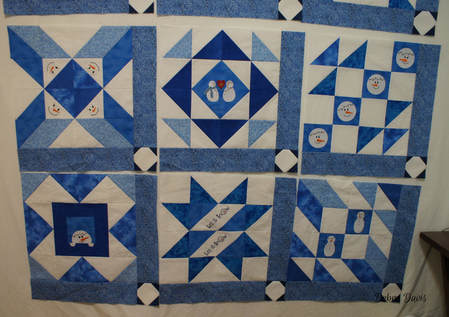
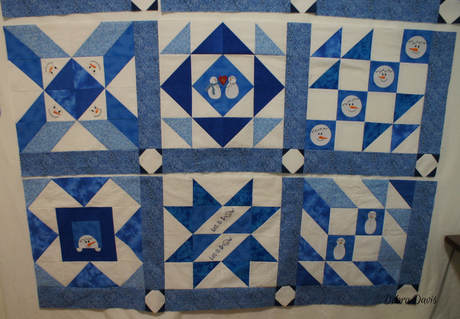
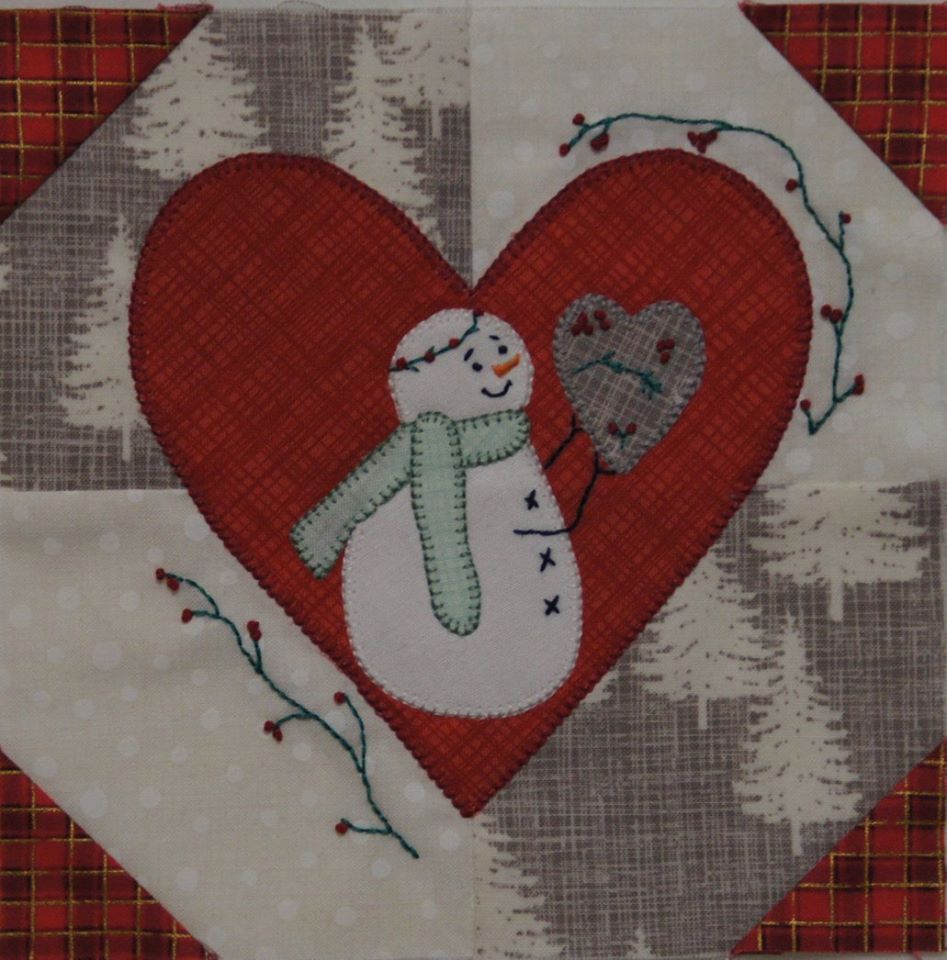
Now for announcement number 2. My next quilt will feature pieced blocks with snowmen added-much like the quilt I just showed in my tutorial. The snowman are a pretty basic shape and good for trying out adding applique to your quilts. I started making some of these types of blocks a couple of years ago and they are just addictive. Some of my earlier versions are shown below from when I was working on Splendid Sampler blocks and inspired by a wonderfully creative quilter I met through that group. This quilt will get underway in June. The blocks will finish at 12 inches and I have a plan to do 12 blocks. Unlike our current quilt-along this one will be a Block-A-Month. I find putting out a block a week leaves me no time to work on other quilting projects I would like to do-and there is another Spendid Sampler starting soon, and another Moda Blockheads, and then there is the Garden Mystery I tired to start, and on and on it goes-lol.
So happy quilting and be sure and share your photos to be entered in the contest.
Happy Quilting!
Alycia
4/19/2018 04:09:29 am
Hi there! A question for you on the sashing. In some of my quilt books, they put the right and left sashing on each block, and sew the rows together. Then, they instruct to make the horizontal sashing strips and do any piecing of cornerstones, keep it a plain sashing strip, or whatever you are doing, all in one strip. Then attach to the top, bottom, and in between each row of blocks. I like the way you showed to do it as, though it is more steps, if there is something "off" you're just unsewing individual blocks, rather than having to take off a whole row of sashing! On your squaring up "hack" because your square ruler isn't big enough, a rotating mat would be handy. I have an 18" one that I love. But I'll still have to use two rulers as my largest square ruler is 15". I am excited for the next project--the Snowman BOM! I really need to learn more about applique so I can do it better. I hope this is going to be applique by machine, right? I look at some of my first applique in Moda Blockheads 1 and what a mess! I'll have to do those again. I love snowmen and the less intricate body of a snowman I think will make improving my skills easier. Thank you for the links to everything you included in the post. I'll be sure and check them all out! Blockheads 2 fabric requirements and info comes out I think May 2nd! Sorry for the long post. I appreciate your tutorials, tips, and quilt a longs so much!
Debra
4/19/2018 09:26:44 am
Yes, Alycia, I learned to do the sashing strips the way you described and like this new method so much more for the end result and not having to deal with those long sashing strips to pin in place too. Comments are closed.
|
Welcome to the site of Debra Davis-a woman who loves the Lord and loves to quilt.
My other blog where I share about my walk of faith:
Sitting at His Feet This website uses marketing and tracking technologies. Opting out of this will opt you out of all cookies, except for those needed to run the website. Note that some products may not work as well without tracking cookies. Opt Out of Cookies |



 RSS Feed