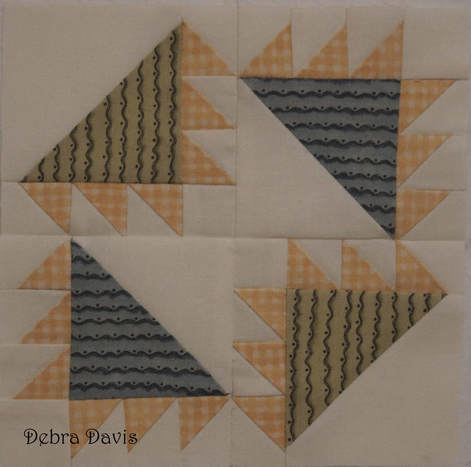
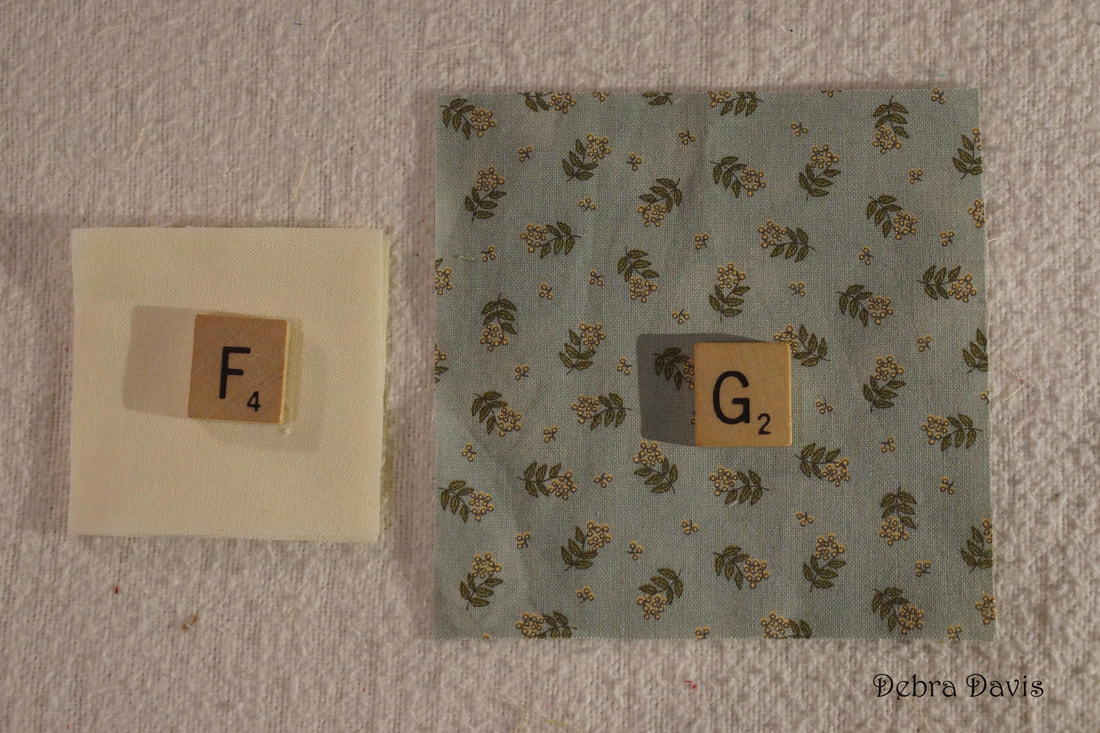
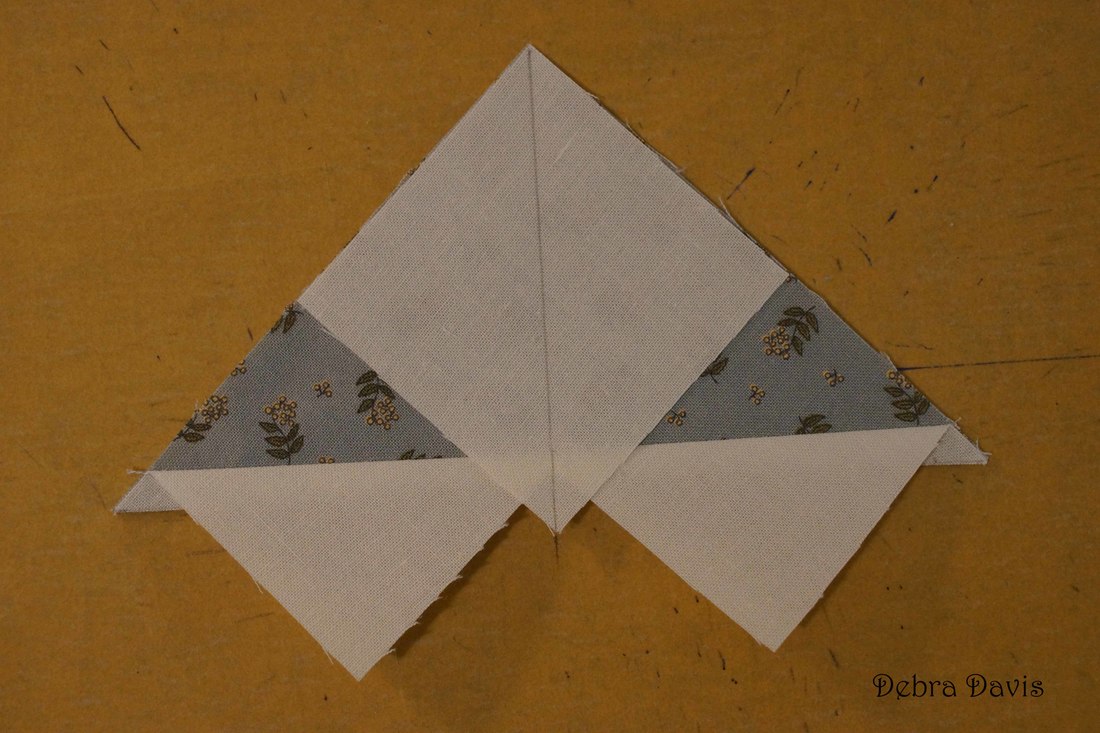
 I love this block as soon as I saw it. With big and little Flying Geese how can you go wrong? Double Dutch was shared with us by Jo Morton who has done a great job of walking us through it on her blog post which can be found HERE along with the pattern. This is another one where I starched my fabrics before cutting. I followed Jo's cutting directions to the No Waste Method of making Flying Geese and found that there was not much room for error. I am going to give you cutting sizes that give you a little more fudge room. Cutting Directions: Small Flying Geese Units- A-(cut 8) 1 7/8" x 1 7/8" from light "sky" fabric B-(cut 1) 3" x 3" for "goose" from medium fabric C-(cut 1) 3" x 3" for "goose" from dark fabric Half-Square Triangle Units- D-(cut 2) 2 3/4" x 2 3/4" light fabric E-(cut 2) 2 3/4" x 2 3/4" dark fabric Larger Flying Geese Units- F-(cut 4) 2 5/8" x 2 5/8" from light "sky" fabric G-(cut 1) 4 1/2" x 4 1/2" for "goose" from medium fabric 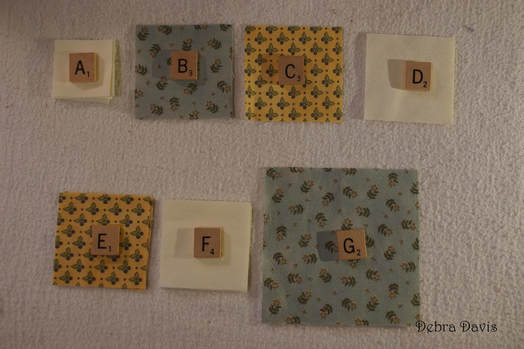 I am going to use the No Waste Method for making the Flying Geese. It is my favorite as you have seen in past posts. So let's begin with fabrics A, B, and C to make the small Flying Geese units. 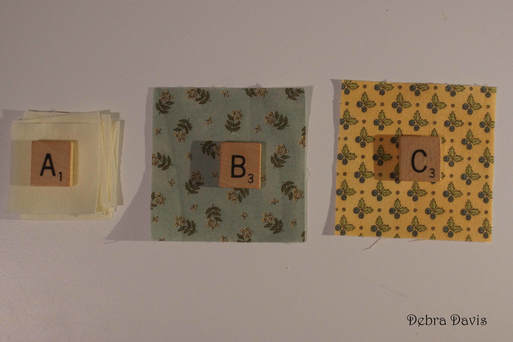 I have laid out my pieces on a clipboard with a very fine sandpaper attached to it. This keeps my fabrics from shifting when I need to mark a line on them. Here I have drawn my diagonal line through both A squares that were laid on top of my B square. I will do the same thing with my C square.
Just like I have done so many times before I sew 1/4 inch frmo each side of the drawn line. 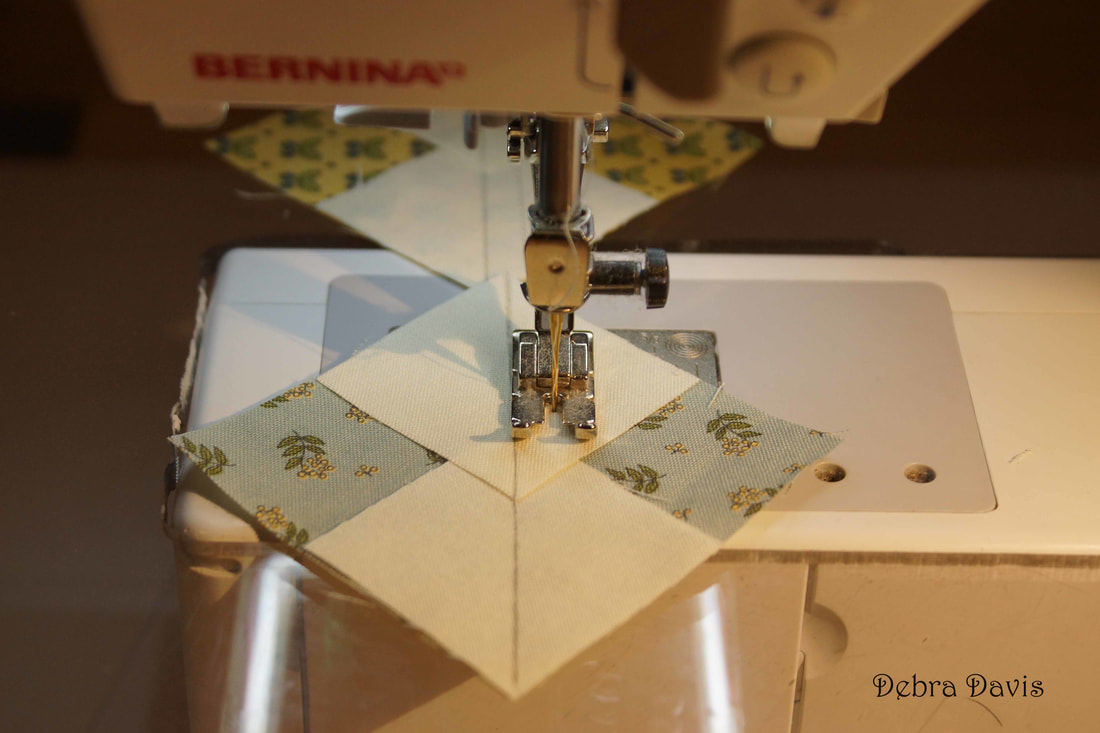 Once sewn I cut them apart on the drawn line. I followed the directions here and pressed towards B, but did not like how that worked out later so I recommend pressing towards the smaller triangles. 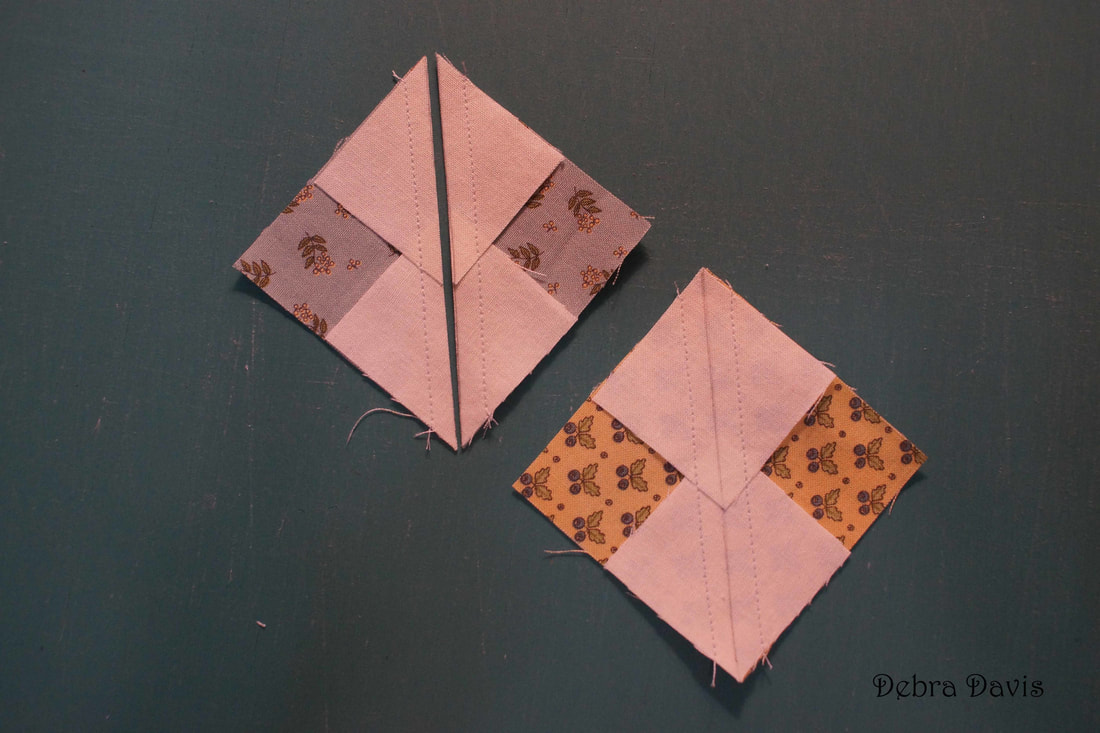 Lay the remaining A squares on the units and draw a diagonal line. Then sew 1/4 inch from each side of this new line.
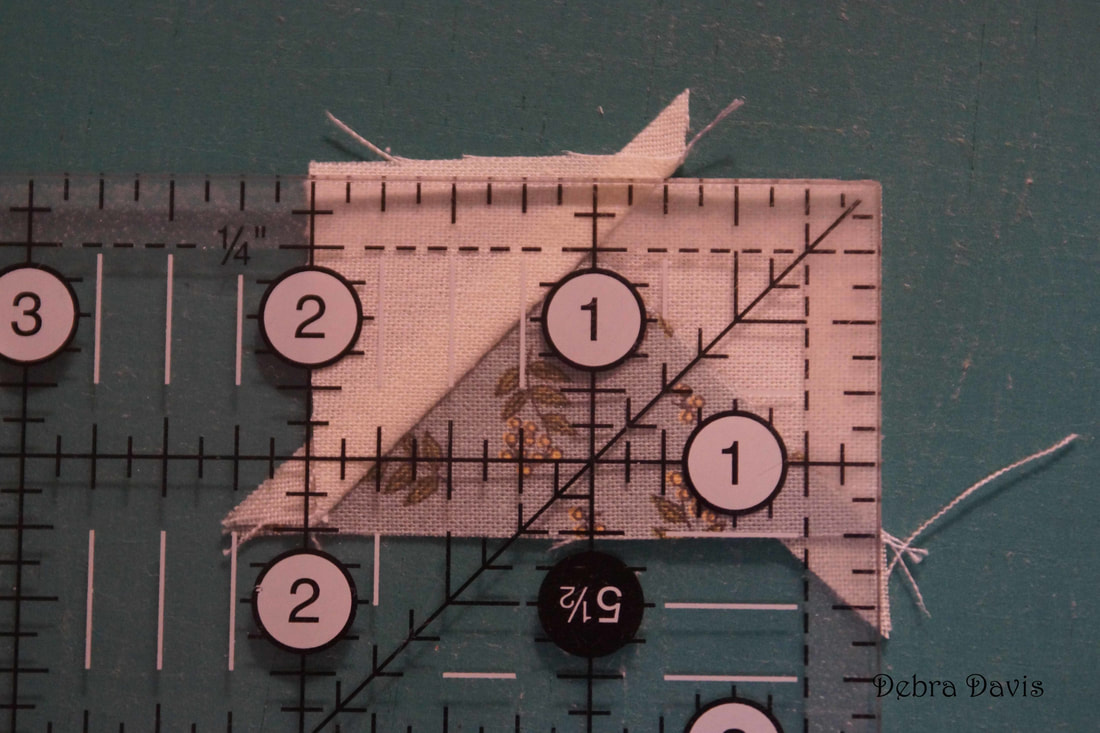
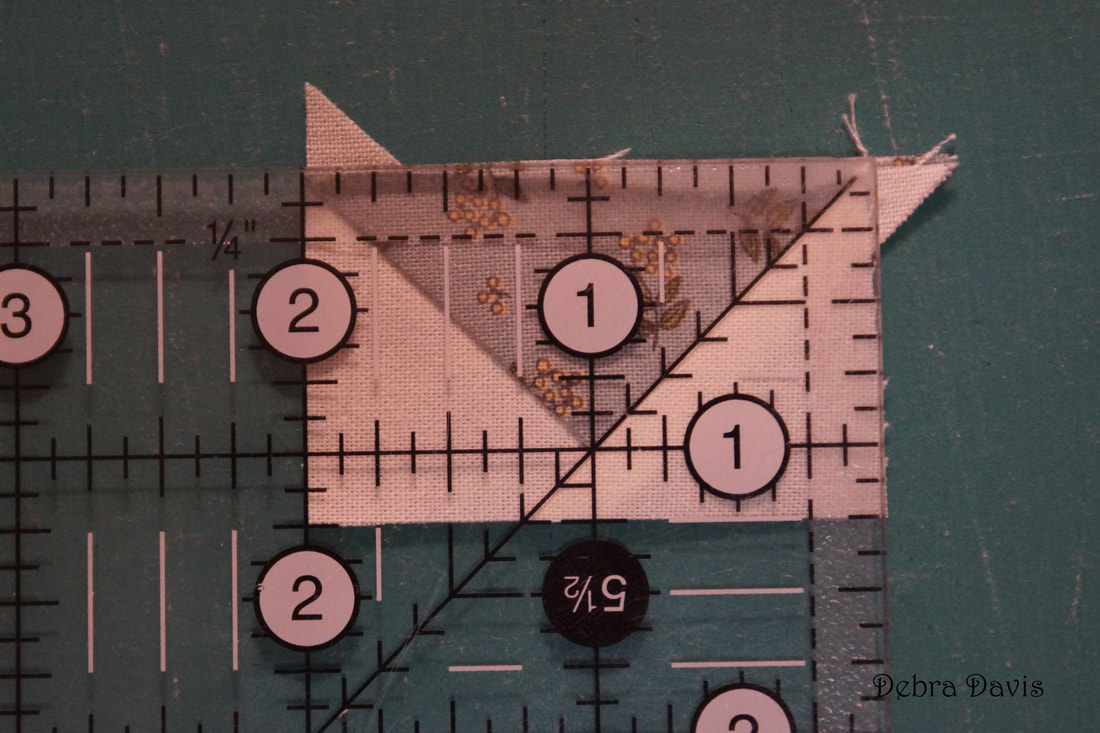
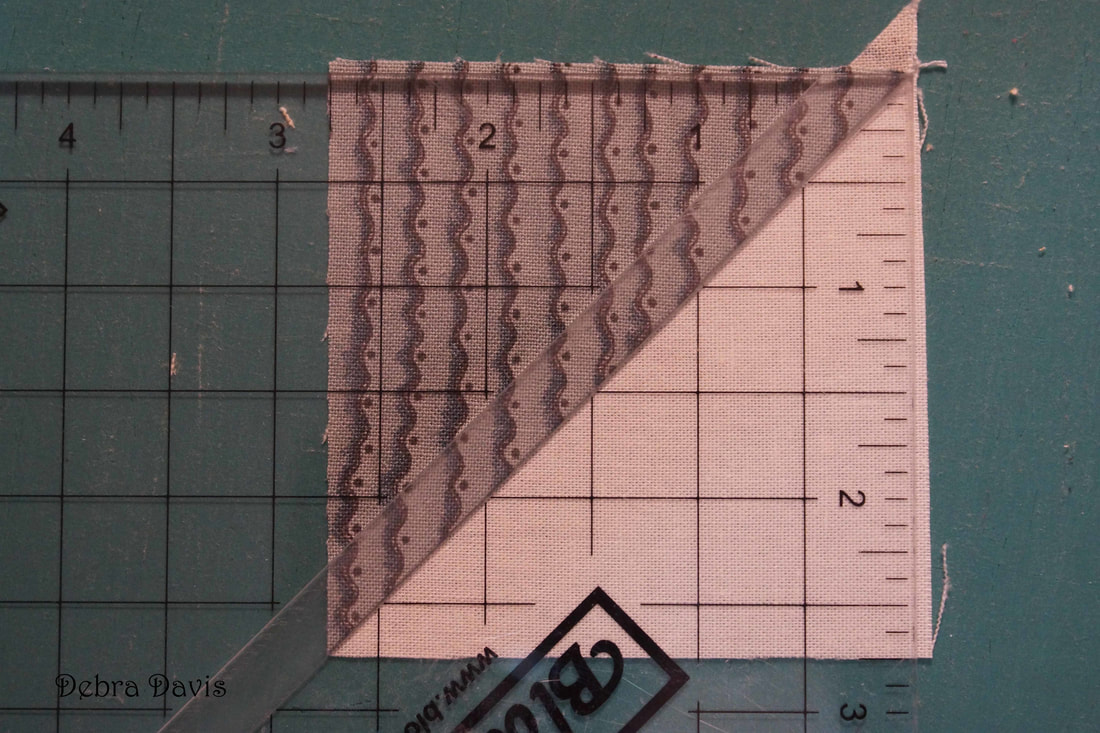
Cut these apart on the drawn line. Press towards the small triangle. 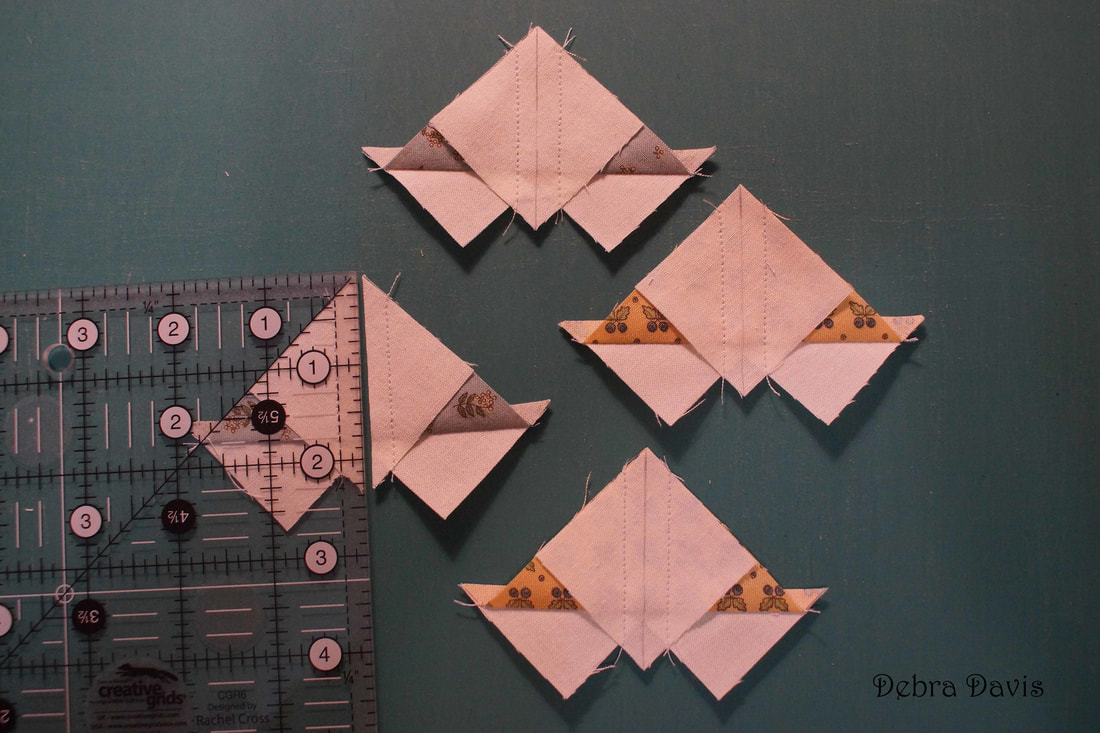 I do not have the Bloc Loc ruler for this size of Flying Geese so pull out my Creative Grids one which does not slip as I cut. I line up the 1" mark with the center of my "goose" bring sure I have 1/4 inch beyond the point. I also need to make sure that the width of my unit is 1 1/4" then trim the first two sides. (You can see how little room for error I had with Jo's cutting directions-that is why I gave more generous cutting directions.) After rotating the unit I place the diagonal line of my ruler on the diagonal seam and again make sure the 1" line is right at the tip with 1/4" inch extending beyond the point of the "goose." Trim the last two sides. These Flying Geese units should measure 2" x 1 1/4" now.
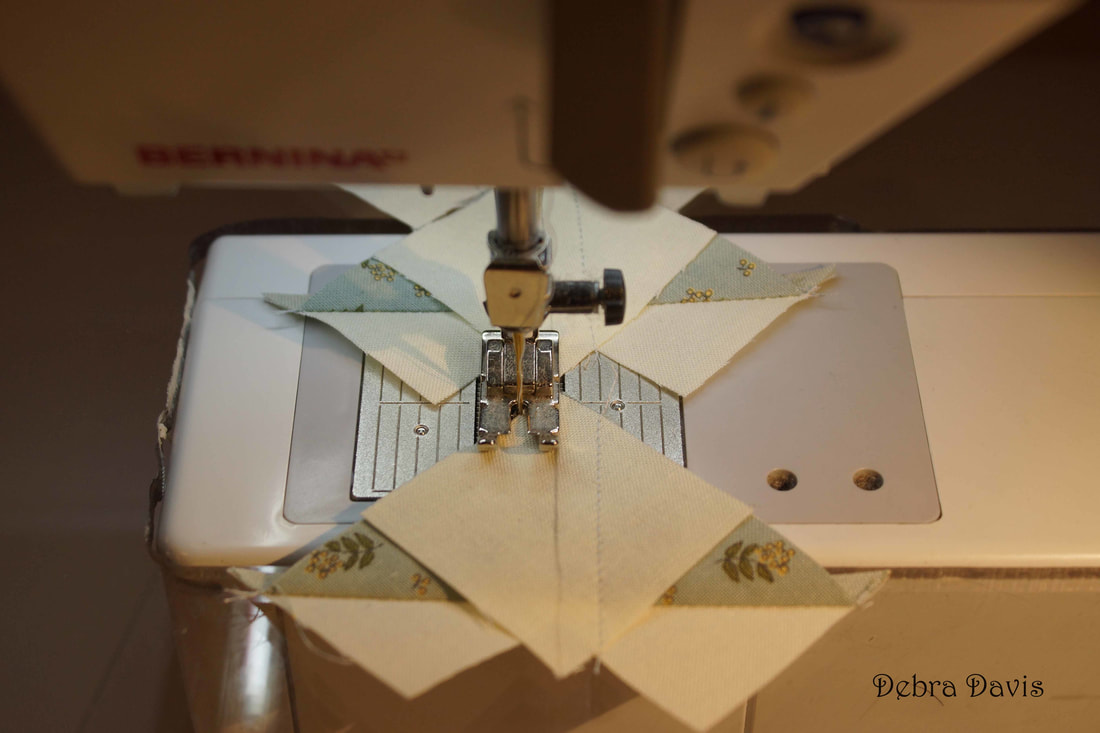
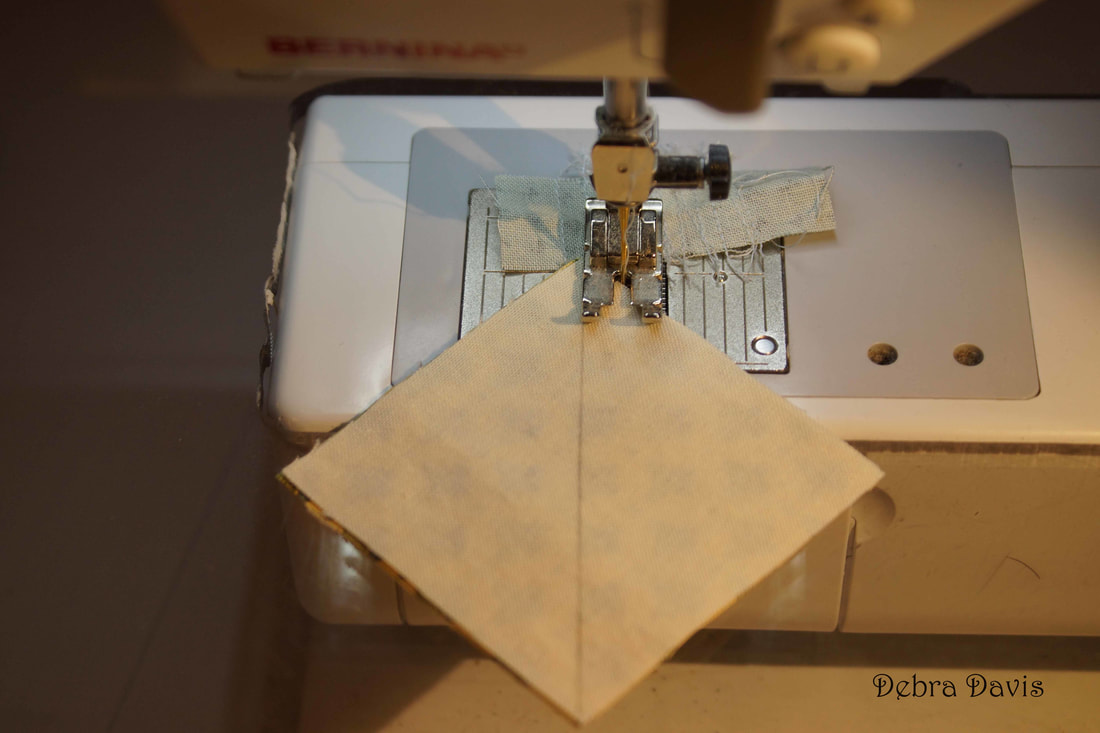
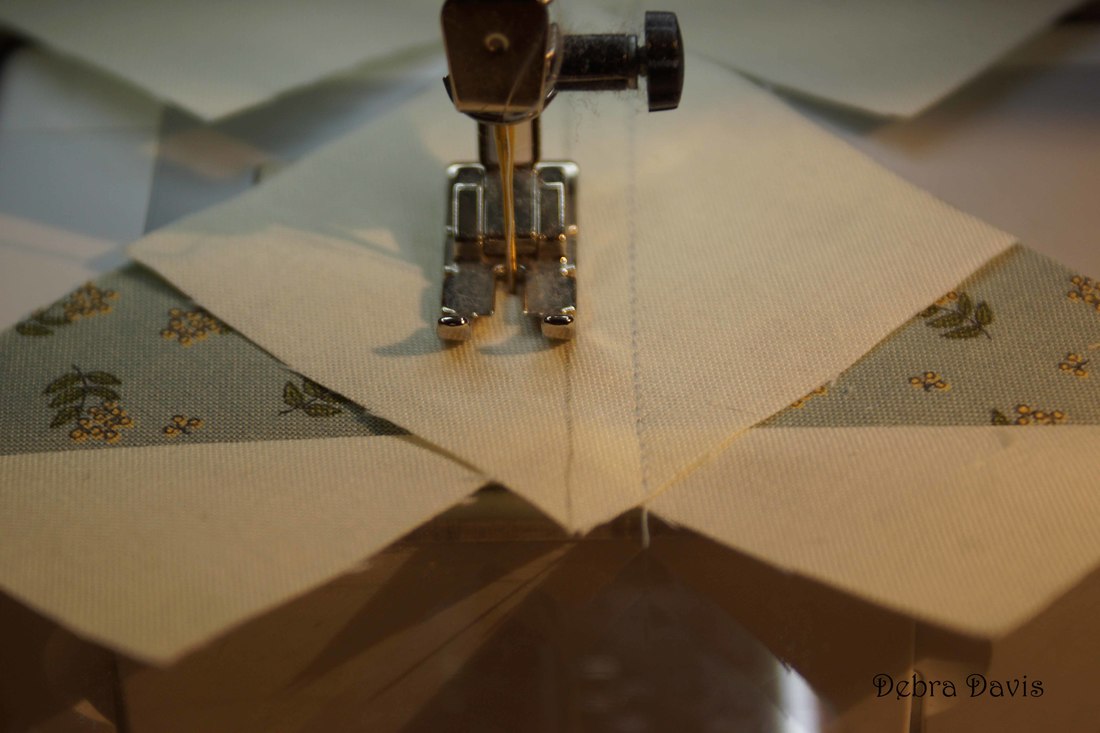
Before I set these aside I need to join the medium and dark Flying Geese units with the medium on top. 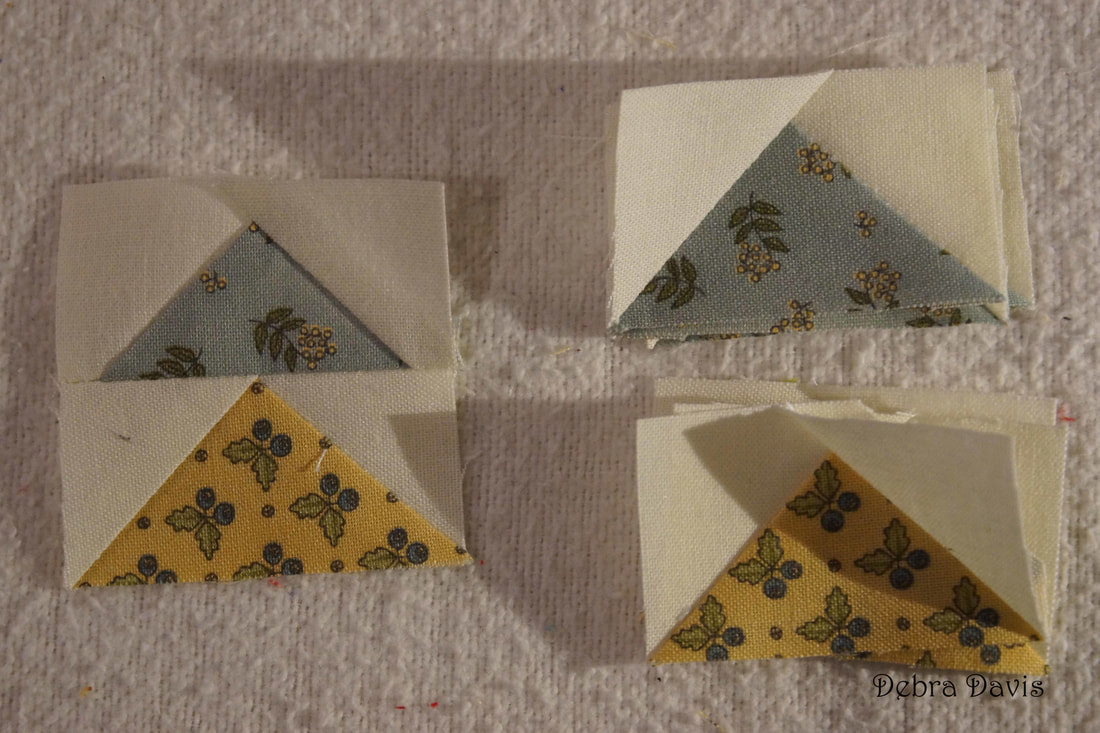 As I sew I aim for the center of the "X" made by my previous stitching. If I land to the left of that spot I will loose the point of my triangle. This is why making sure to trim these so that there is 1/4 inch beyond the tip of the "goose" is so important-I need to have that 1/4 for seam allowance if I don't want to chop of my points. 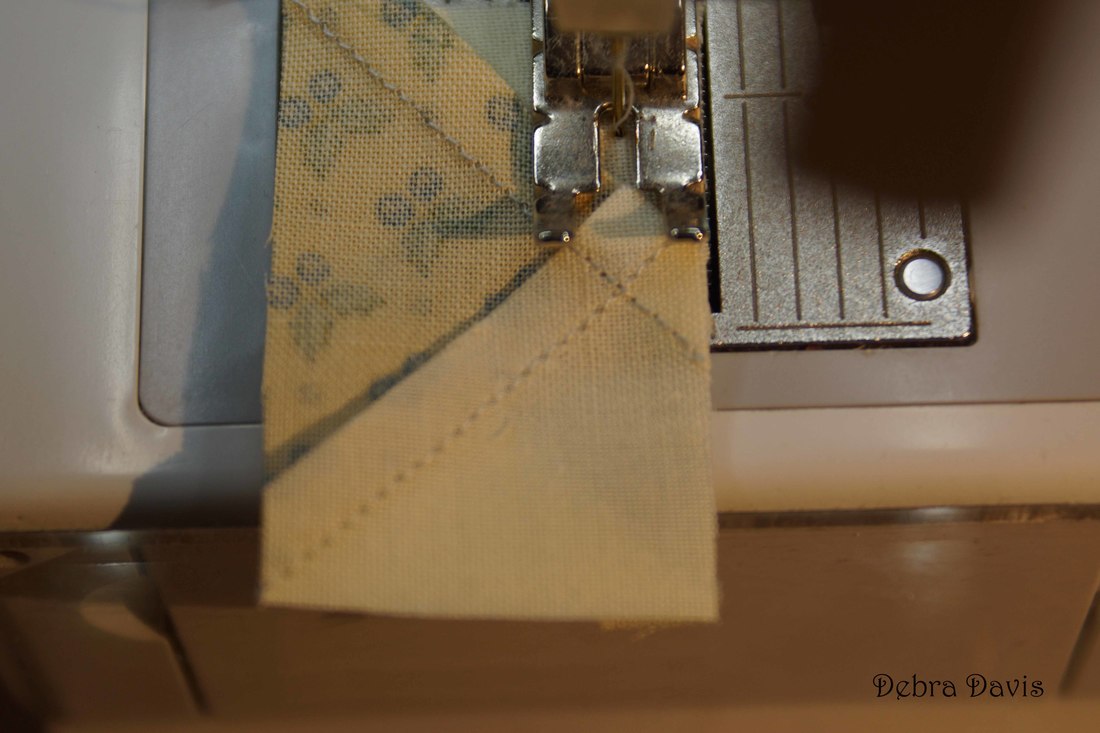 These units now get trimmed to 2" x 2" squares. 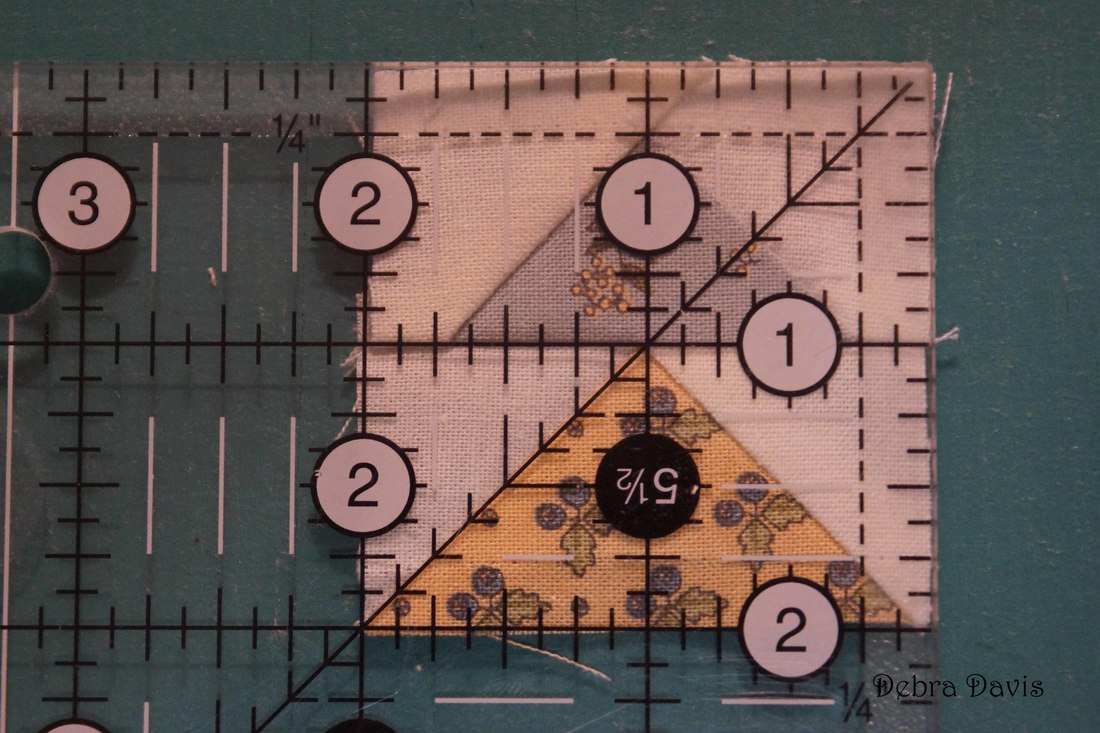 Time to move on to the D and E fabrics and make Half-Square Triangles (HST's) 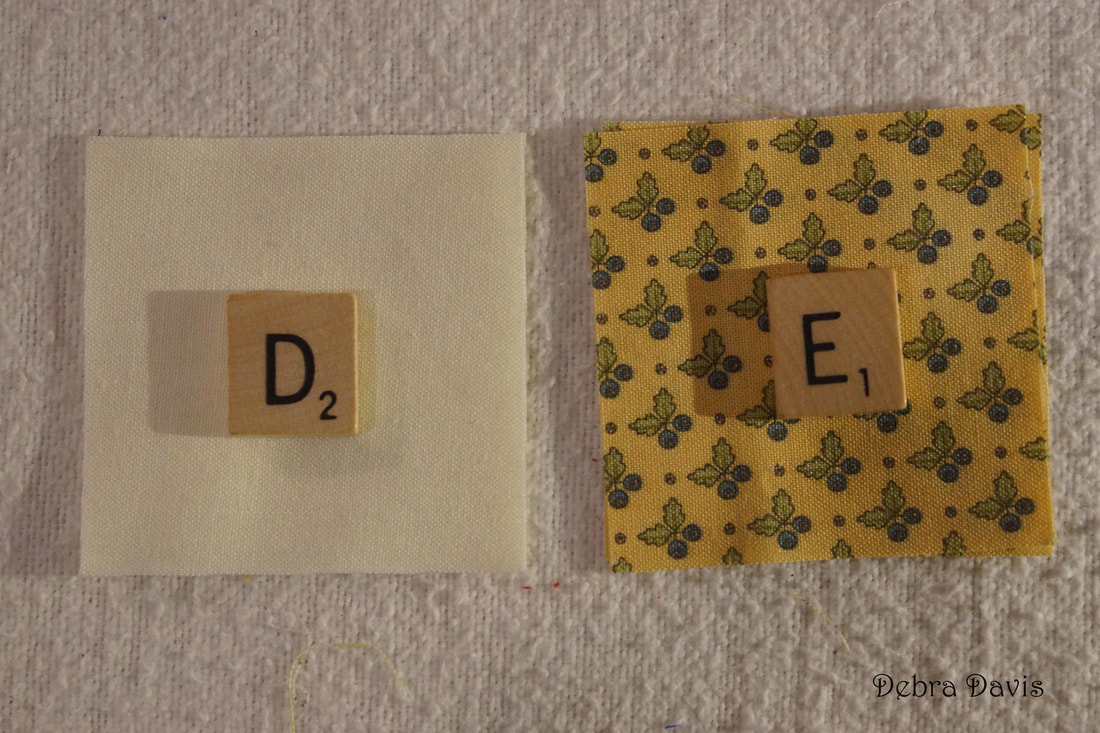 I ahve drawn a diagonal line on both of the D squares and then take them to my machine and sew 1/4 inch from each side of that line. Thesde then get cut apart on the line and pressed towards the dark side.
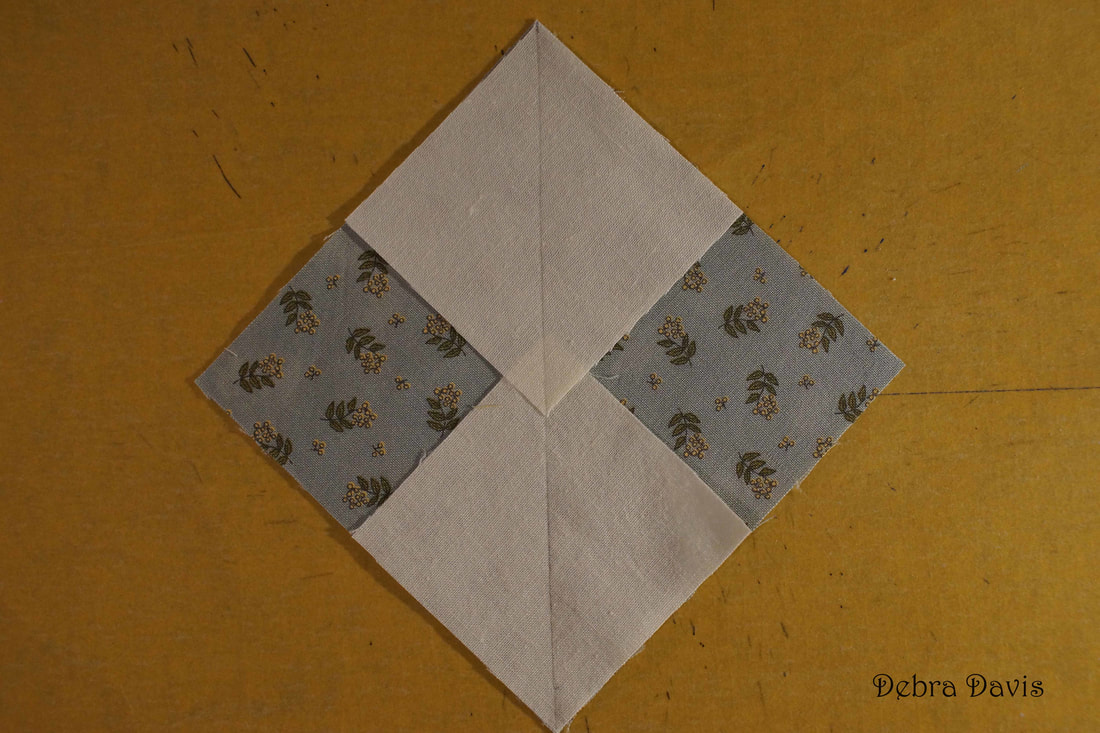
Using my Bloc Loc ruler I trim these to 2 inch squares. 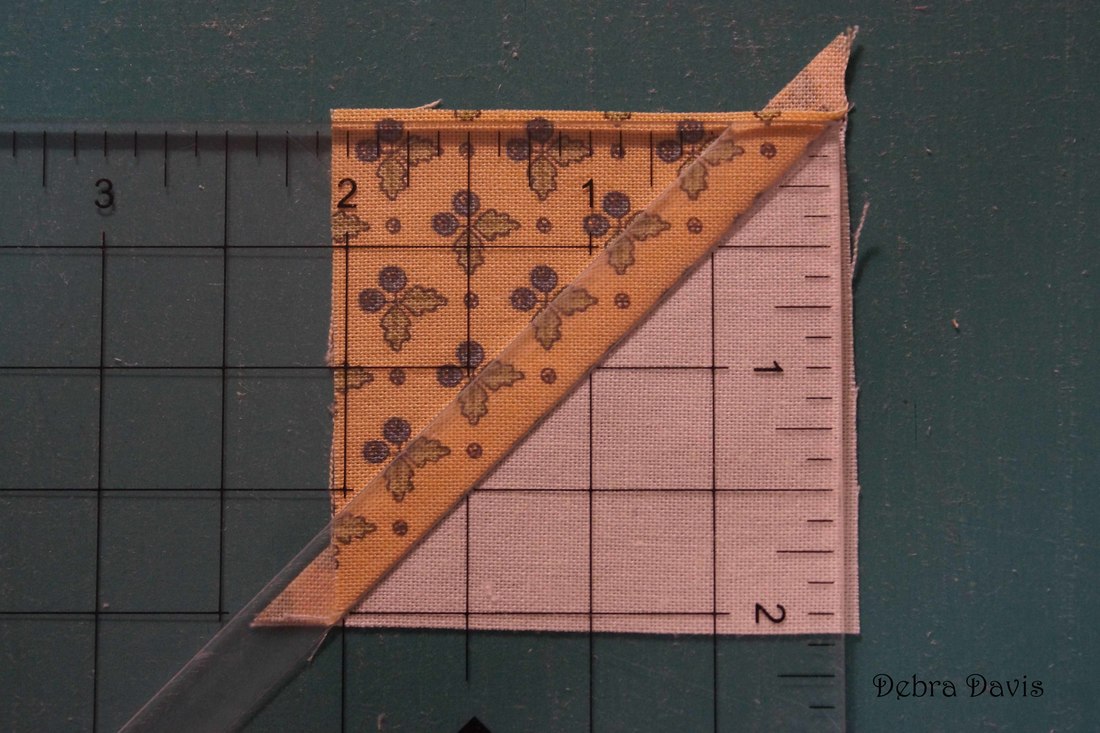 Time to work with the F and G fabrics to make the larger Flying Geese units. Lay out and draw a line down the center just like before.
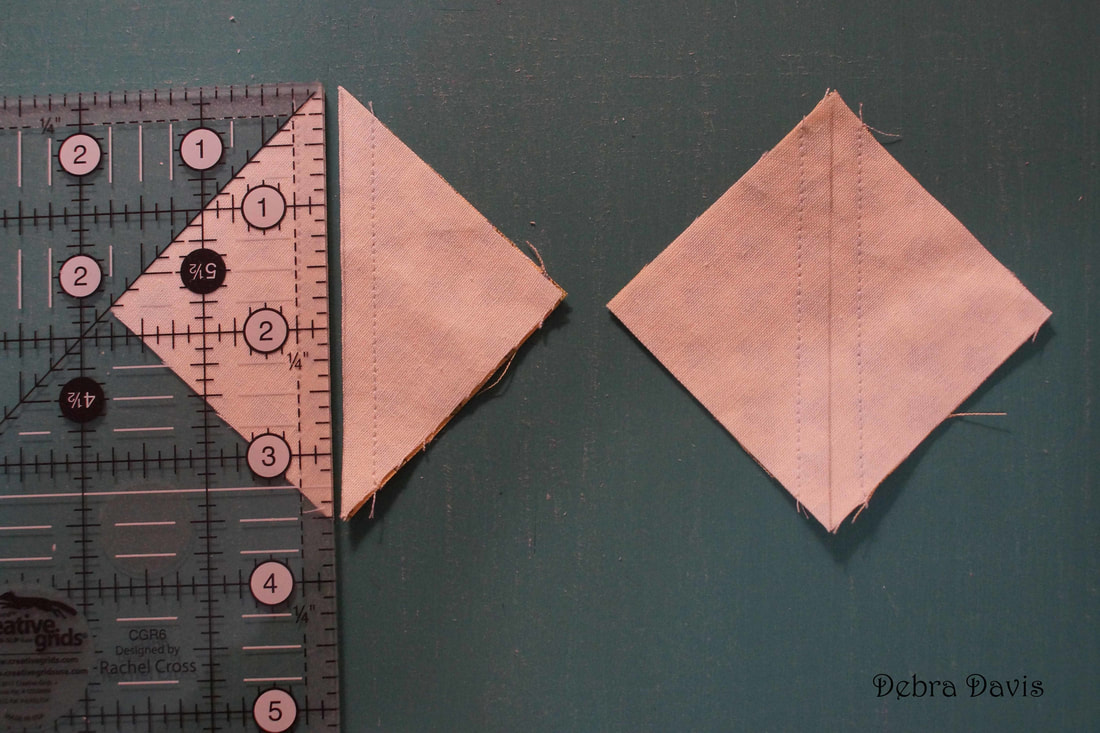
Sew 1/4 inch away from each side of the line. Cut apart on the line and press towards the F triangles.
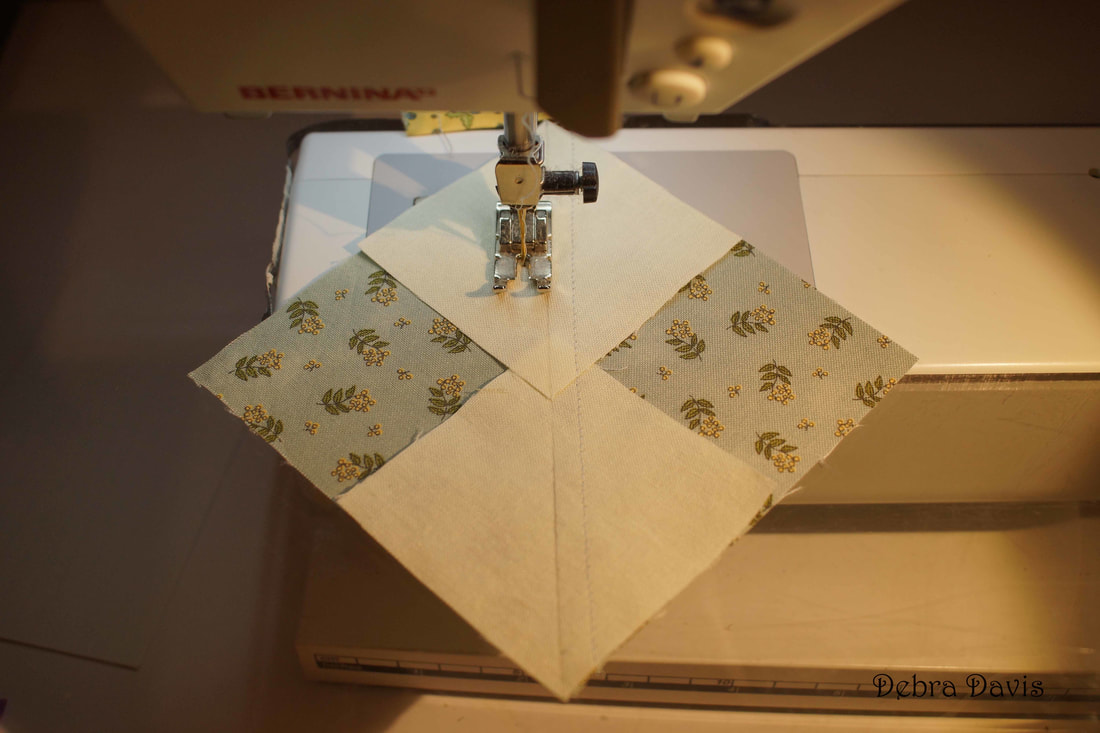
Add the remaining F squares, draw a line down the center and sew 1/4 inch from each side of the drawn line.
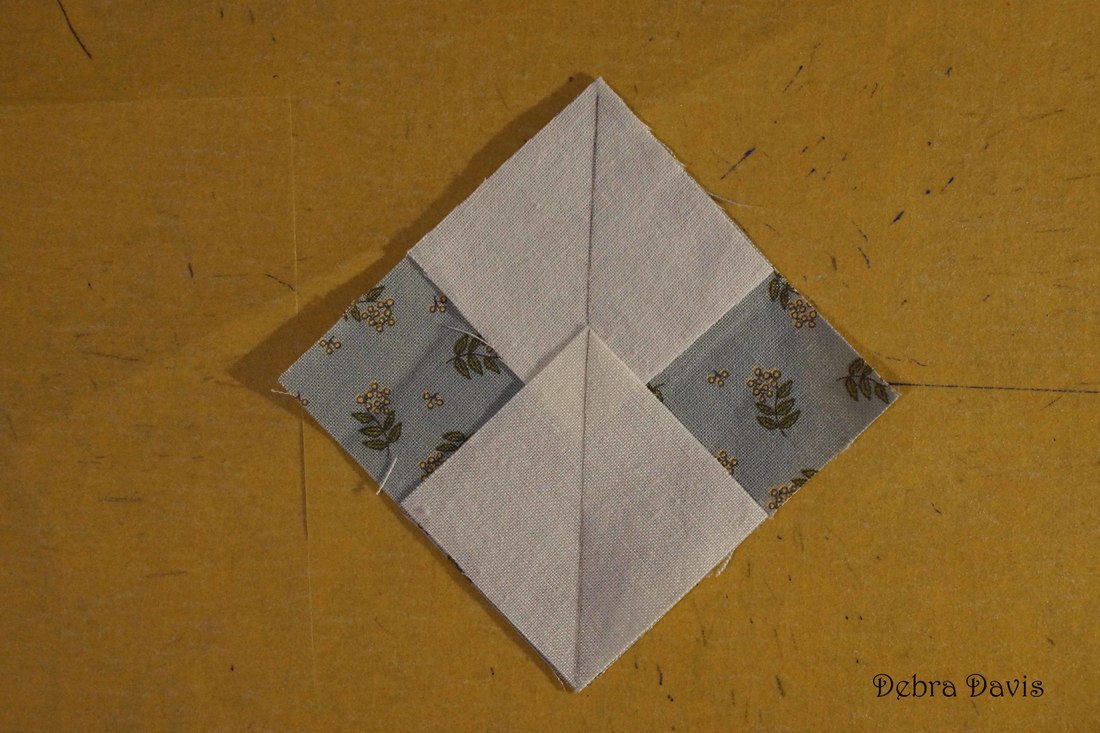
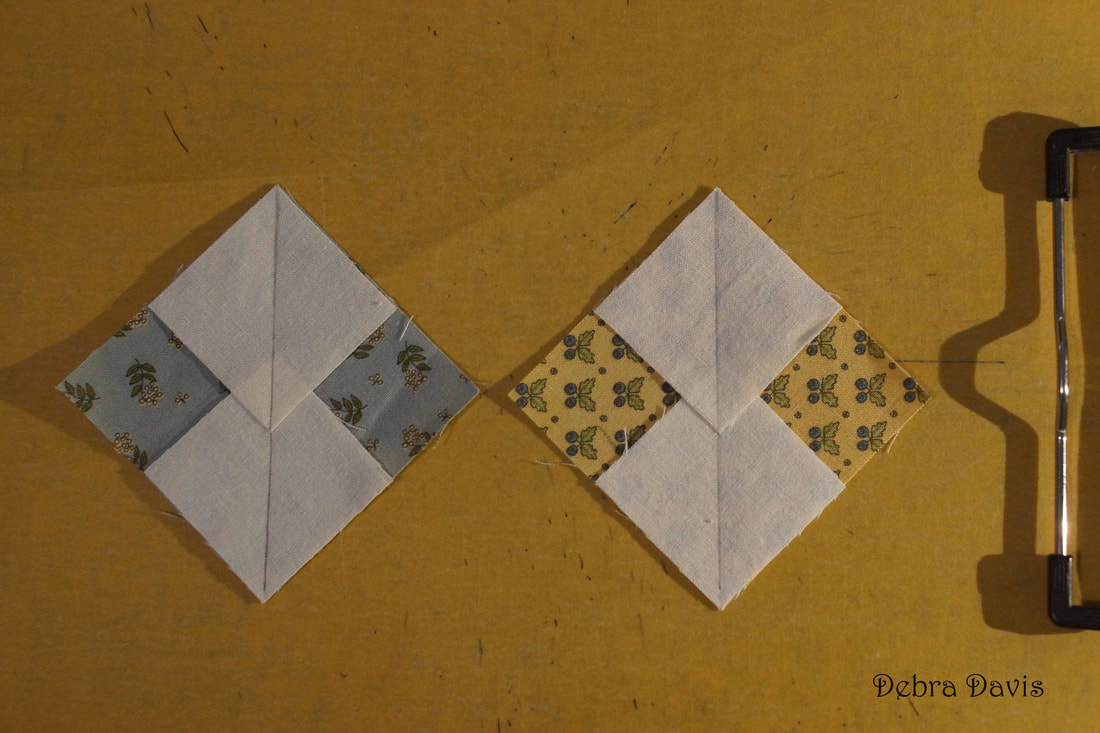
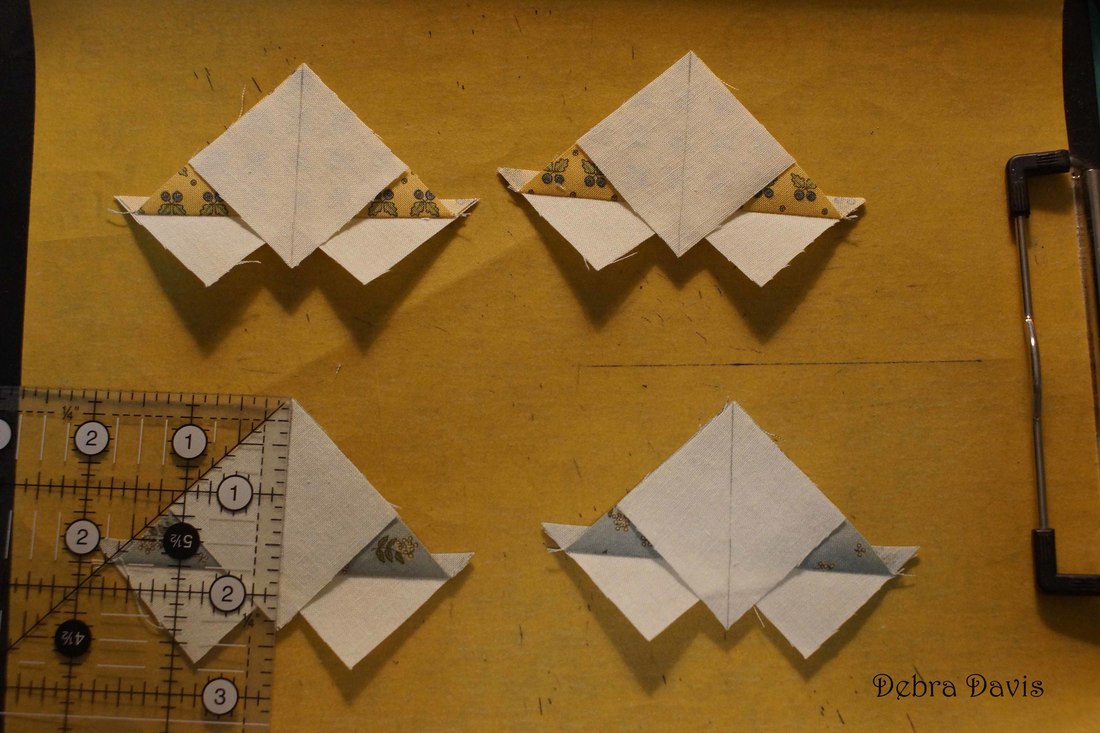
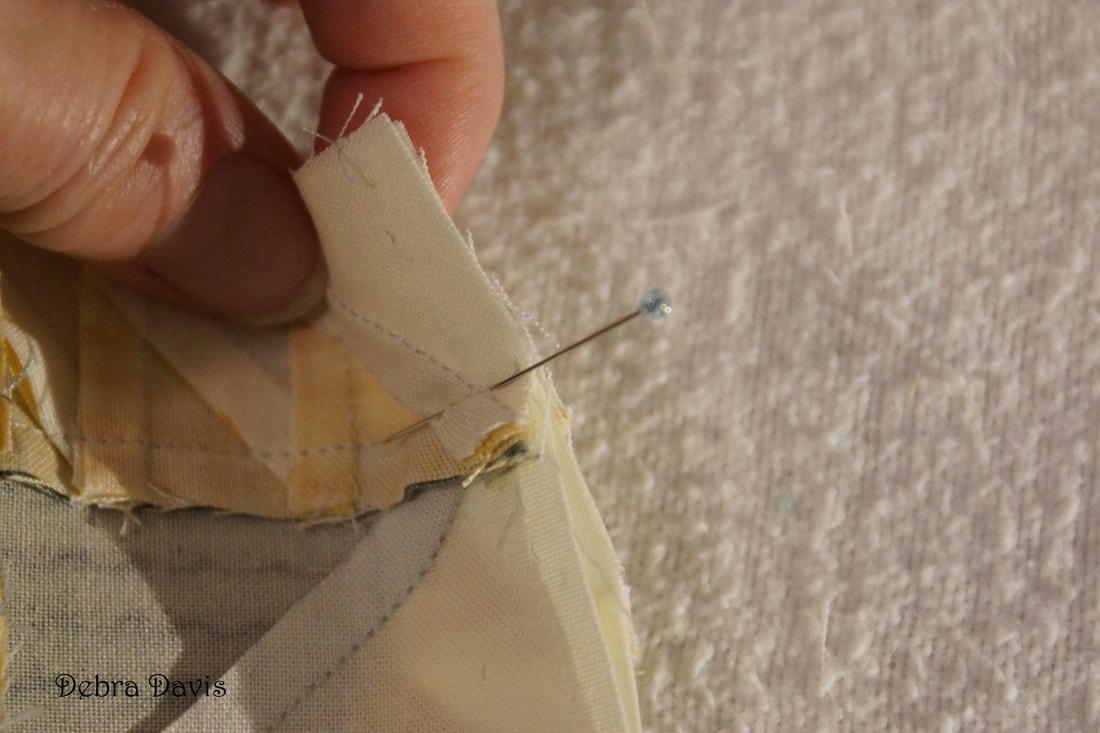
Using my Bloc Loc ruler with the finished size of 1.5" x 3" I quickly trim these units. 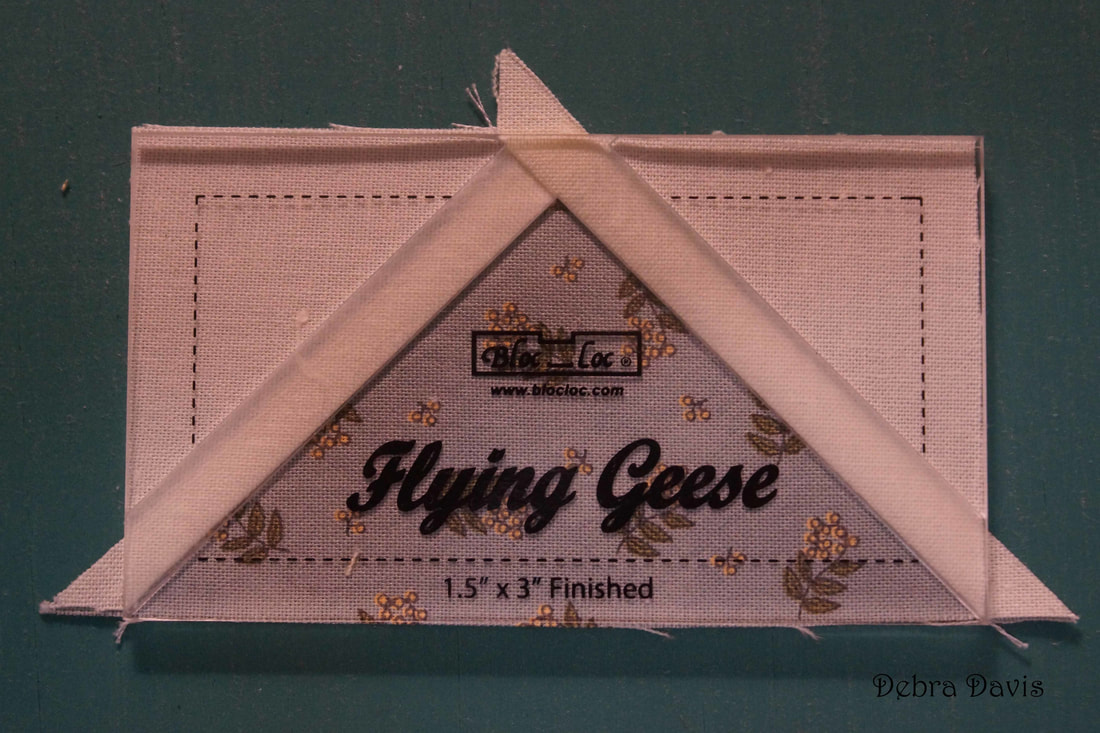 To trim with a regular ruler the width needs to be 2" and the center point is 1 3/4 inches. Then trim to 2" x 3 1/2". Notice at the bottom of the unit how I have lined up the 2 inch line so that I have nice points at the bottom of my unit where it intersects with the 3 1/2 inch mark on the left as well as the right side edge. 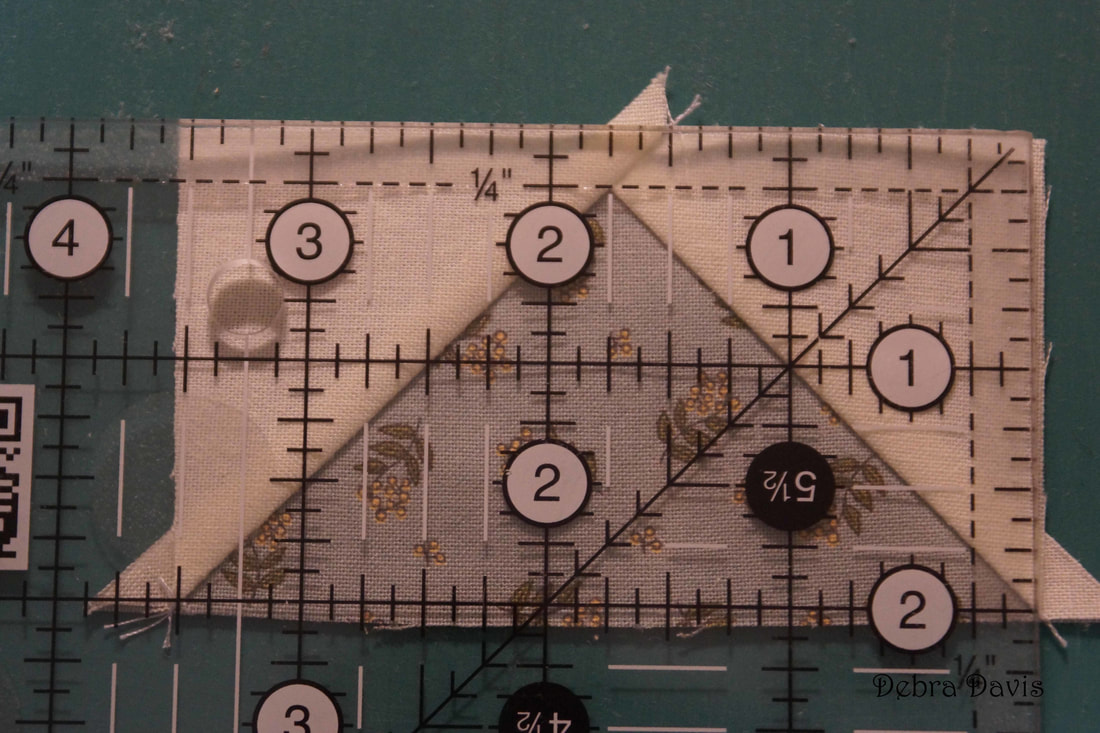 Now I can start putting everything together. First I need to join the HST's with the Flying Geese units as shown. I pressed these towards the HST units. 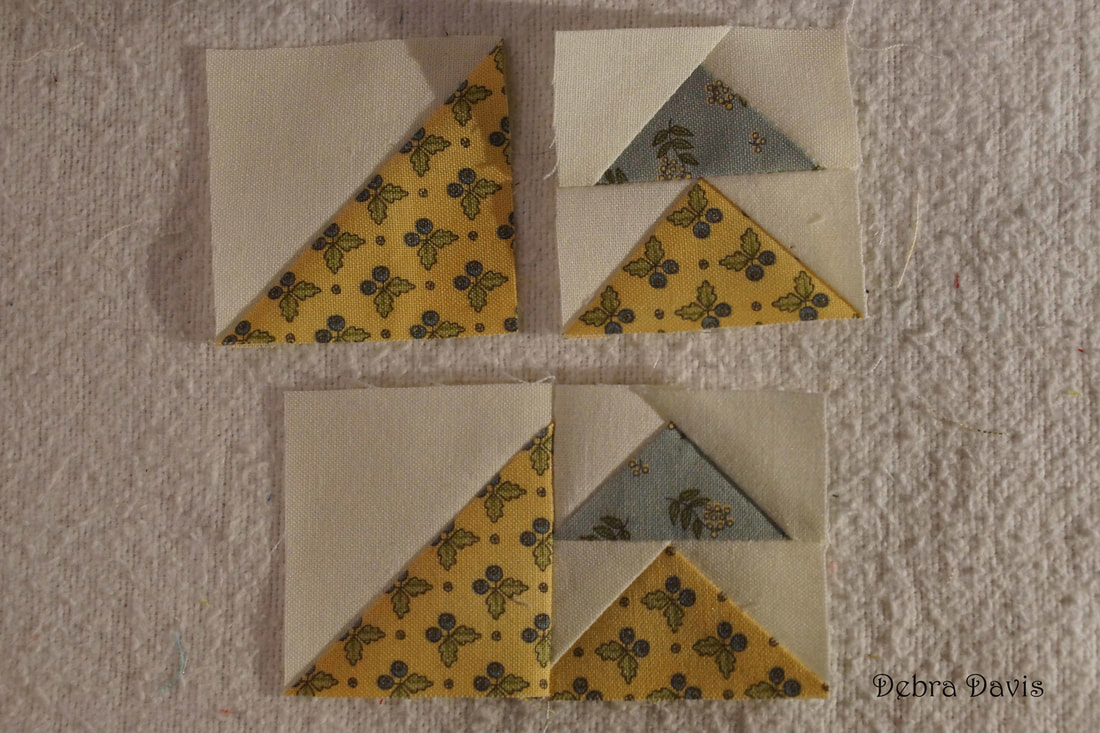 Now to top with the larger Flying Geese units. 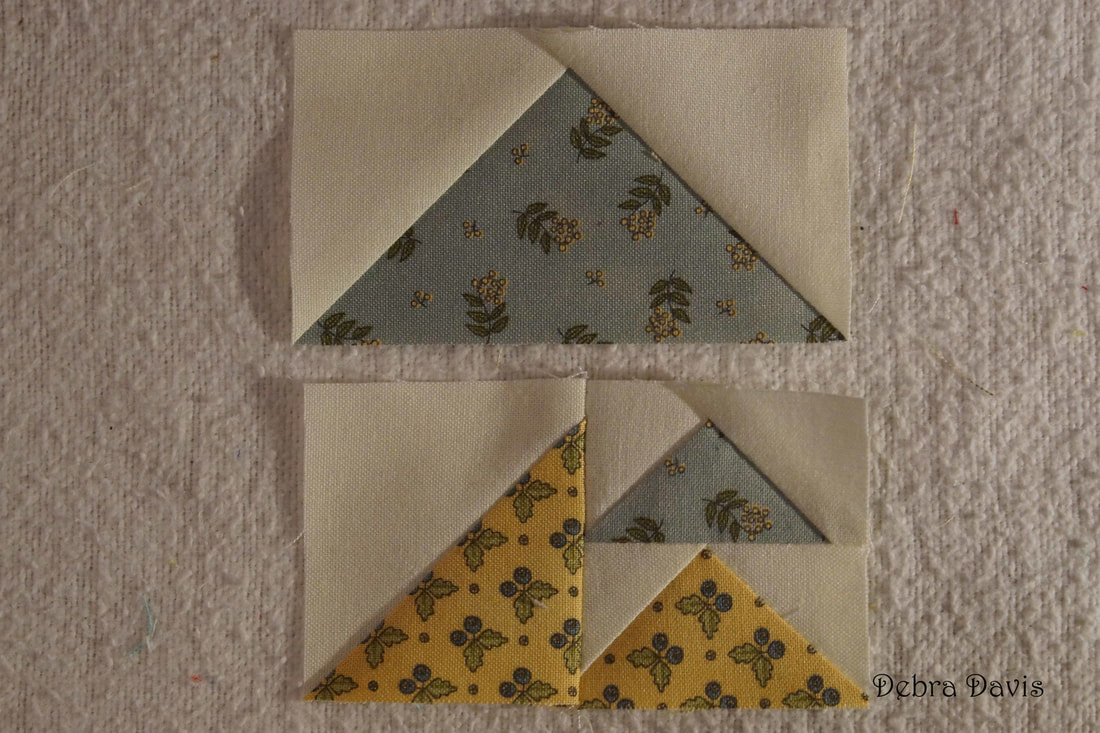 I sewed these so that I could keep an eye on the point of the small Flying Geese unit-once again aiming for the middle of the "X." 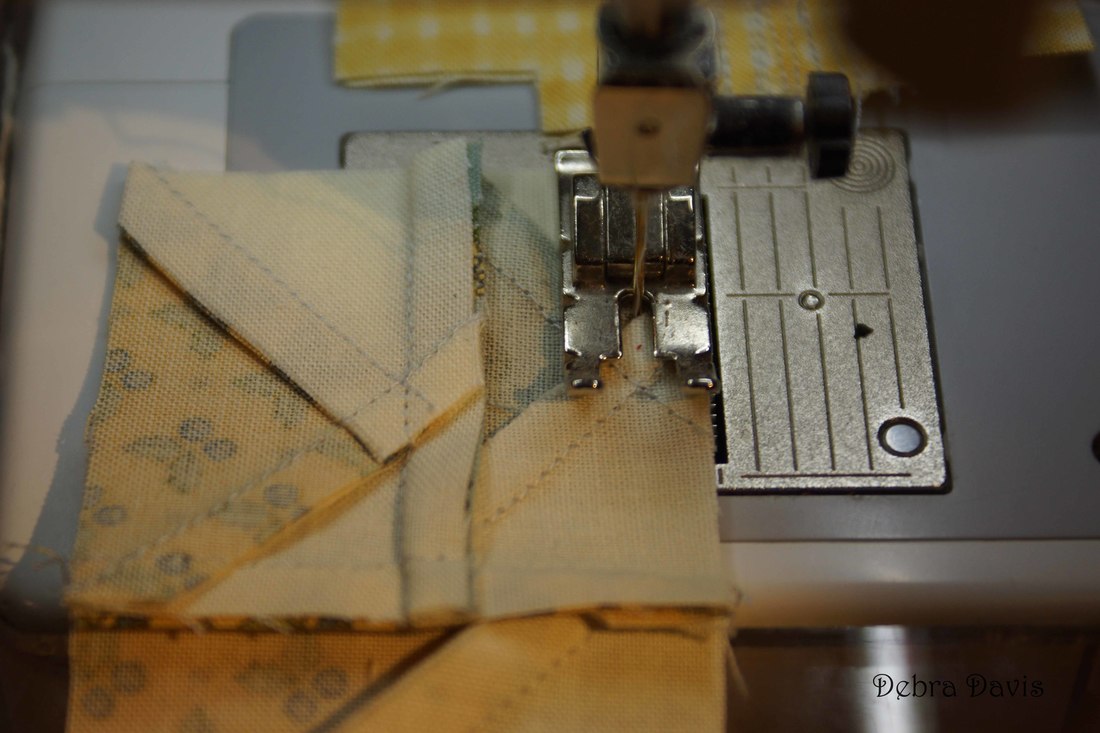 I pressed towards the large Flying Geese units. 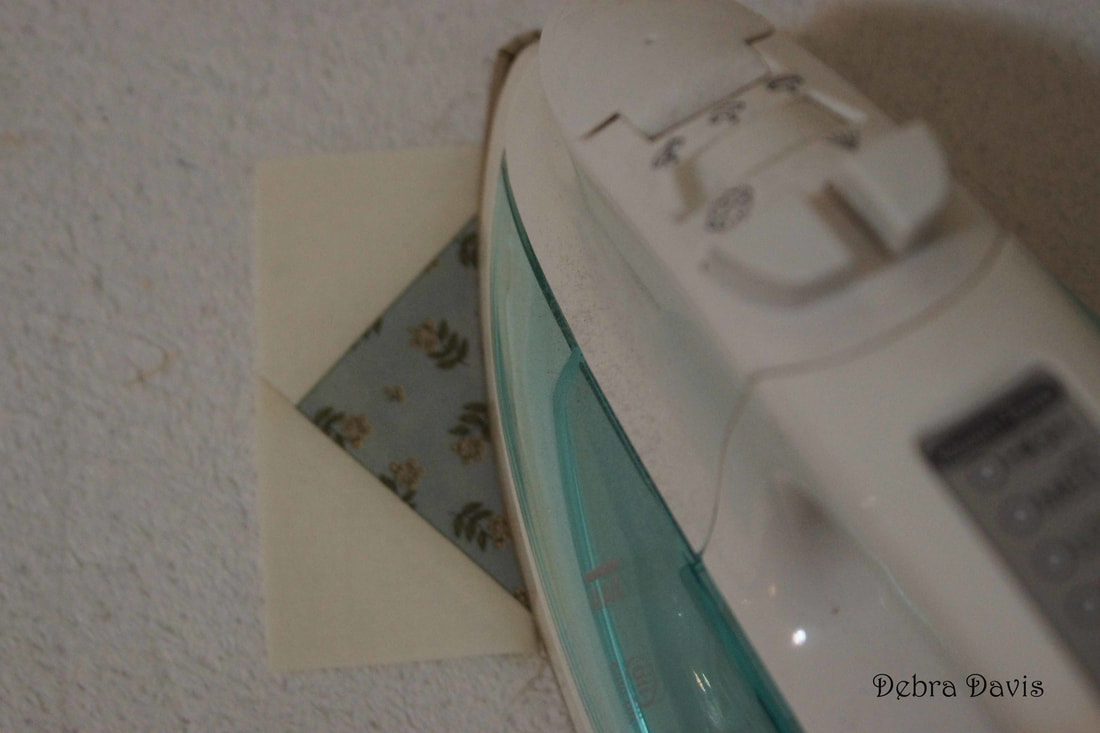 Checking to make sure they now measure 3 1/2" x 3 1/2" 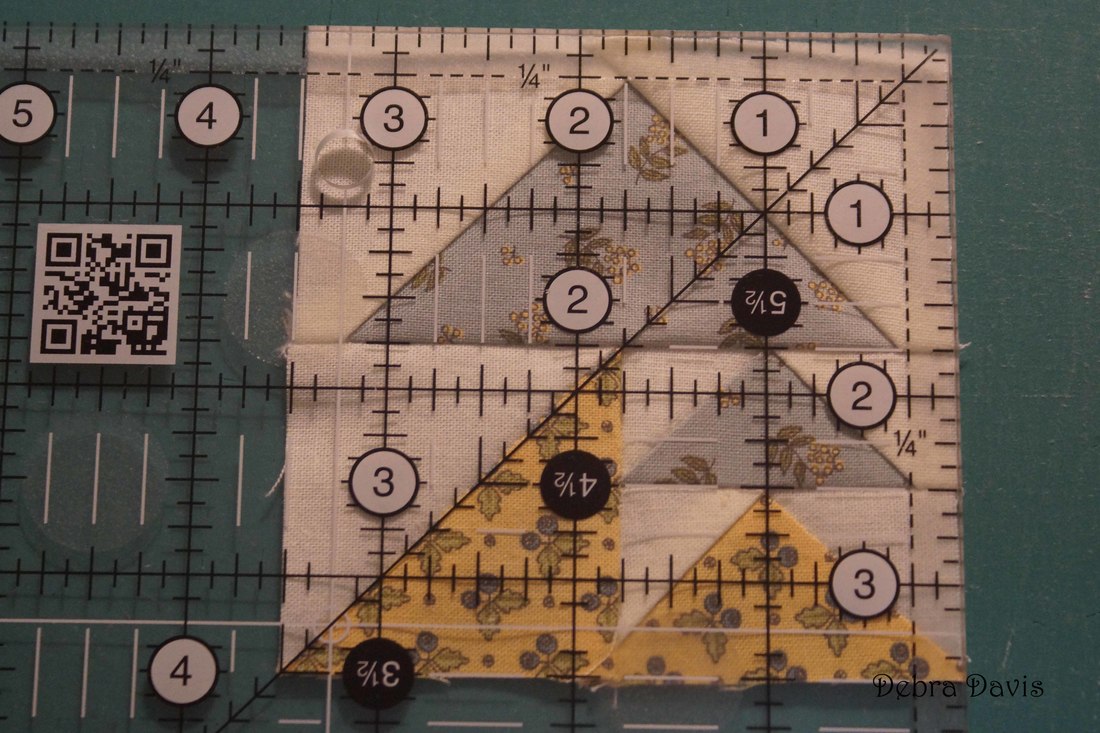 This is how I need to lay out the units to be sewn together. 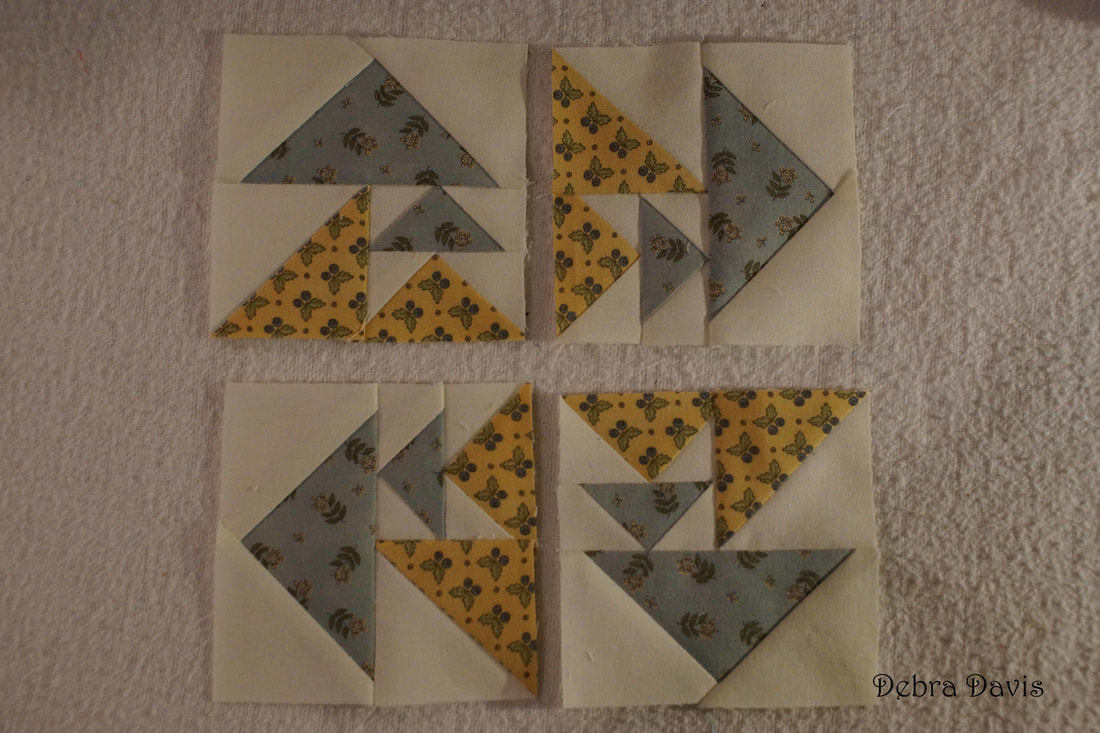 Just like Block 44 I have got some bulky seams to deal with. My tip: place a pin where the seams come together and sew with the seams facing away from the needle you approach. 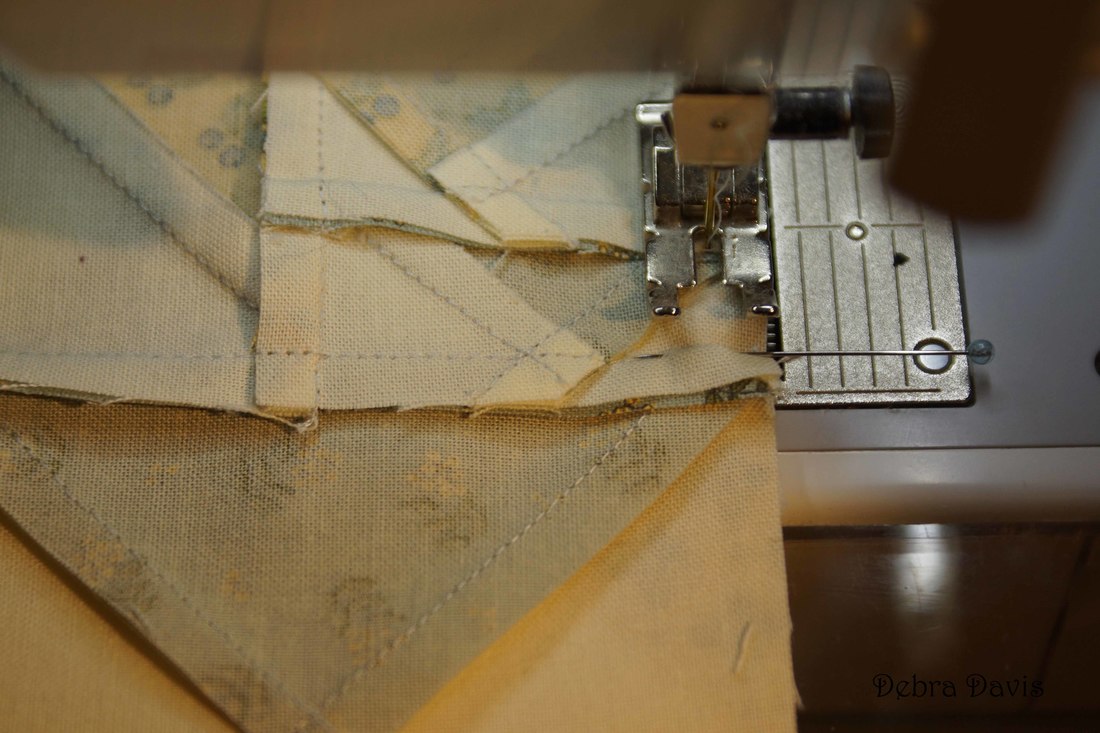 I pressed the seams open at this point. All that is left is to join these two sections together and press that seam open as well. 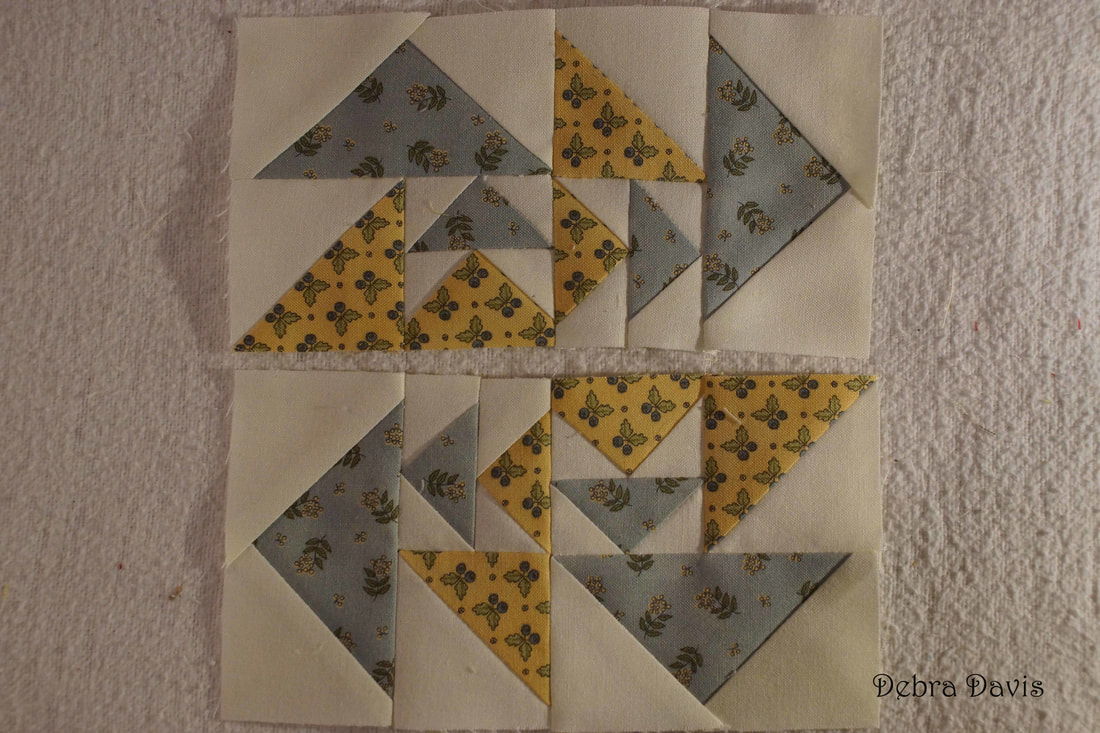
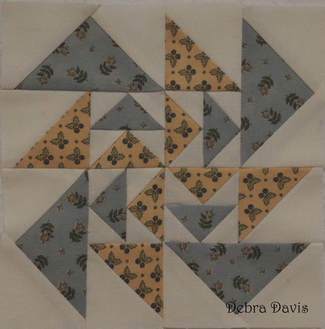
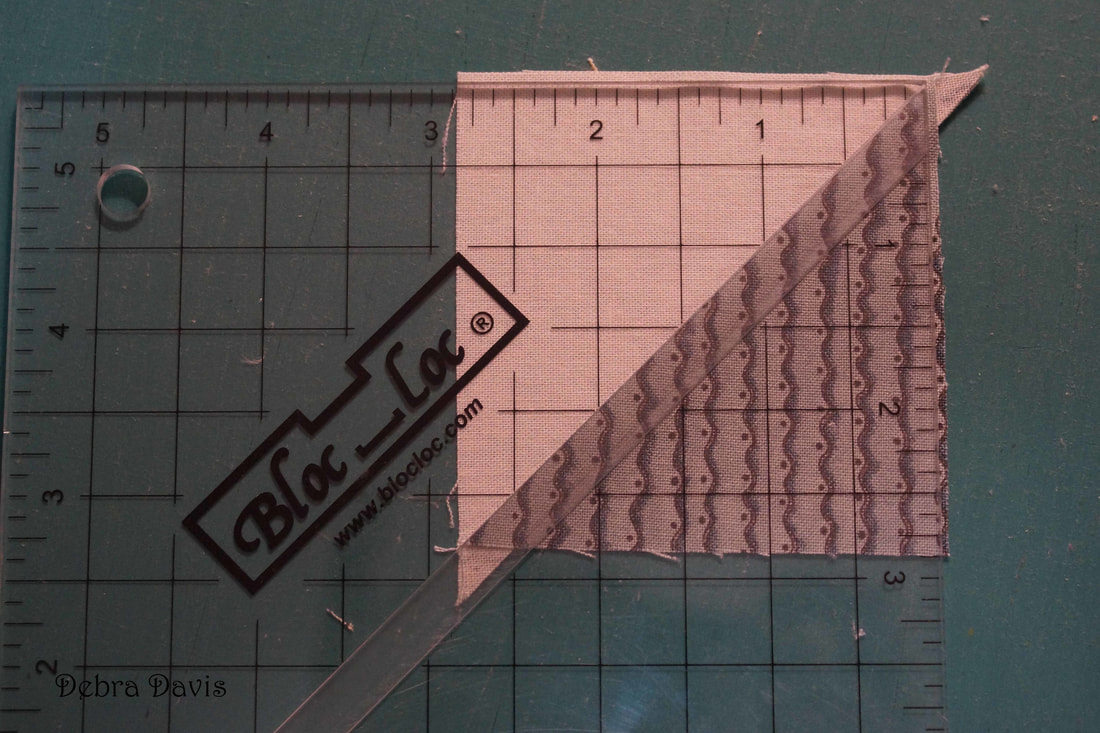
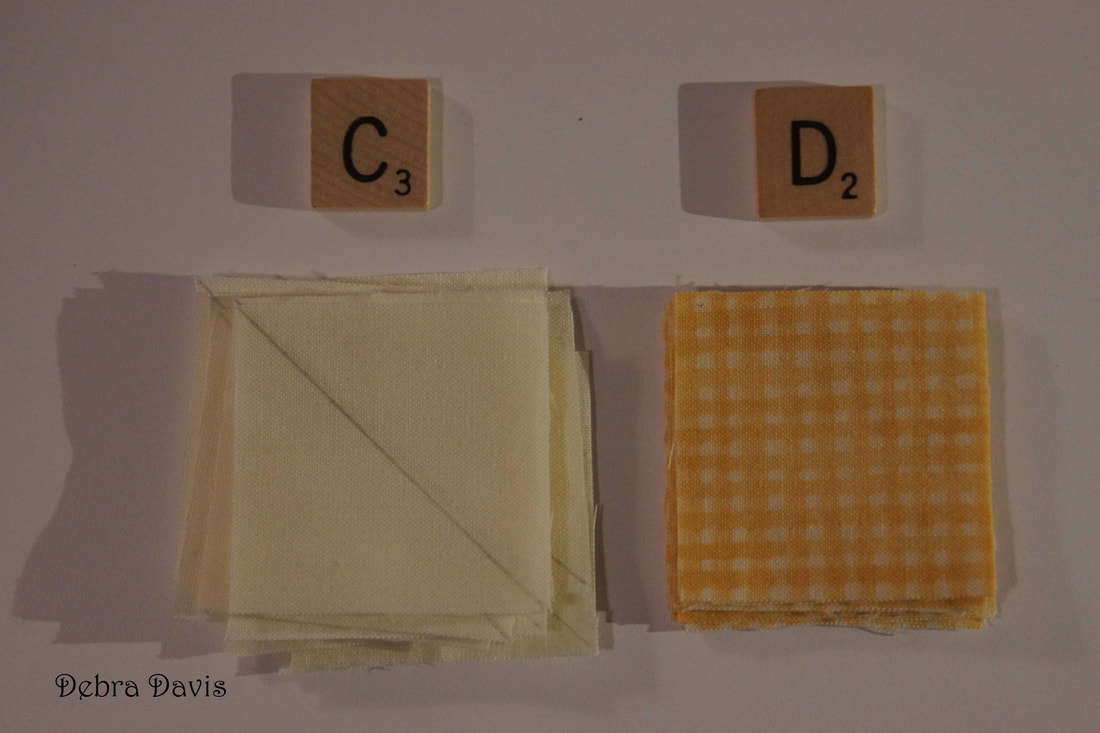
 Block 44 was designed by Betsy Chutchian and you can get the pattern on her blog where she shares her block and a bonus mini block too. Click Here For Betsy's Blog. I have made some changes to the cutting directions for this block as prefer to make my Half-square triangles a little large and then trim to size. I also recommend starching your fabric before cutting as there are some preyy small pieces to work with on this block. Cutting Directions: A-(cut 2) 3 1/4" x 3 1/4" B-(cut 2) 3 1/4" x 3 1/4" C-(cut 12) 2" x 2" D-(cut 12) 2" x 2" E-(cut 4) 1 1/4" x 1 1/4" 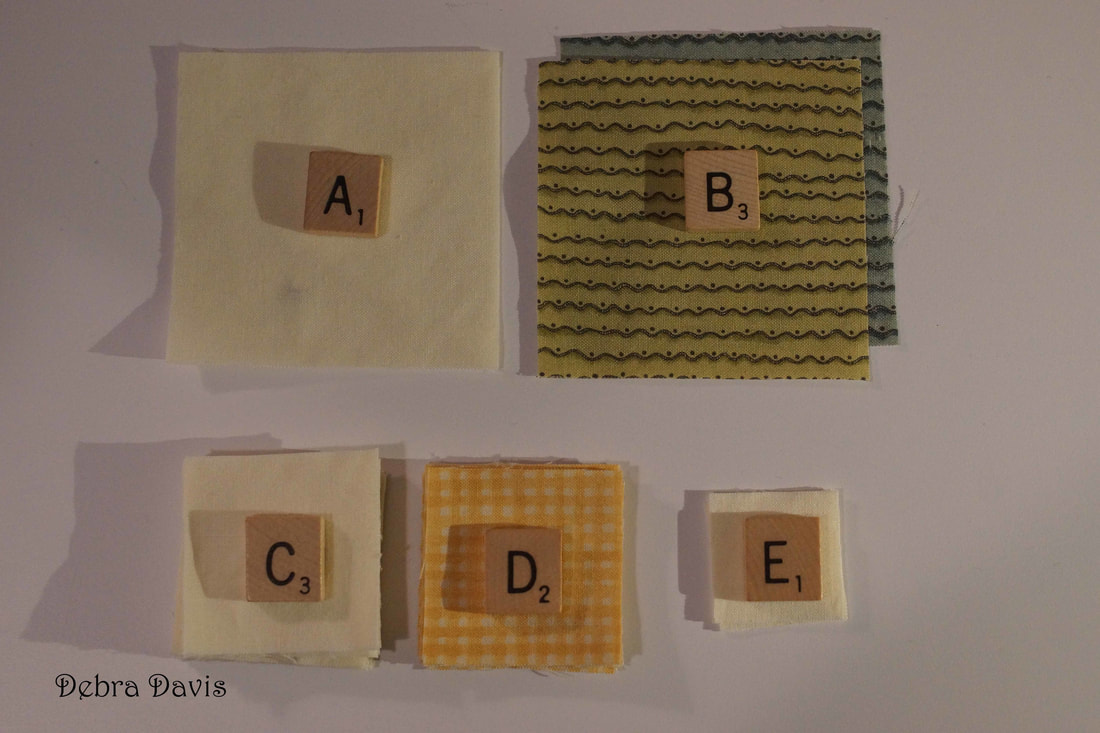 I start with the A and B squares. Draw a diagonal line on both of the A squares. 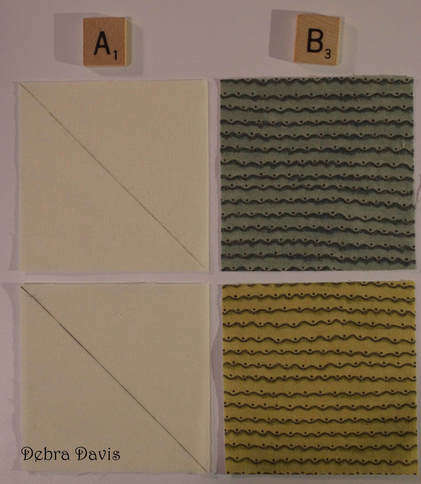 With right sides together, stitch 1/4 inch away from each side of the drawn line. 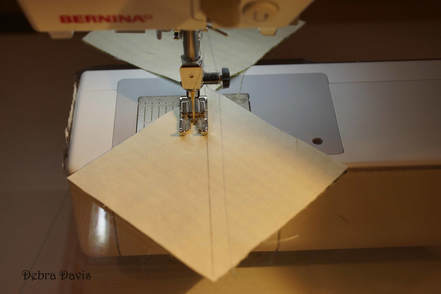 Cut apart on the drawn line. 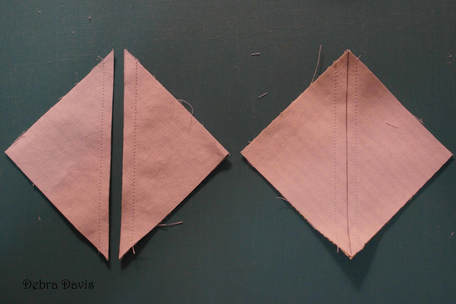 Press towards the dark side and trim to 2 3/4" x 2 3/4". I love the Bloc Loc ruler for trimming Half-square Triangles as it has a grove that "locks" into place along the seam making for very square, accurate cuts. When those are trimmed I set them aside and move on the next step.
Now I follow the same steps with the smaller C and D squares.
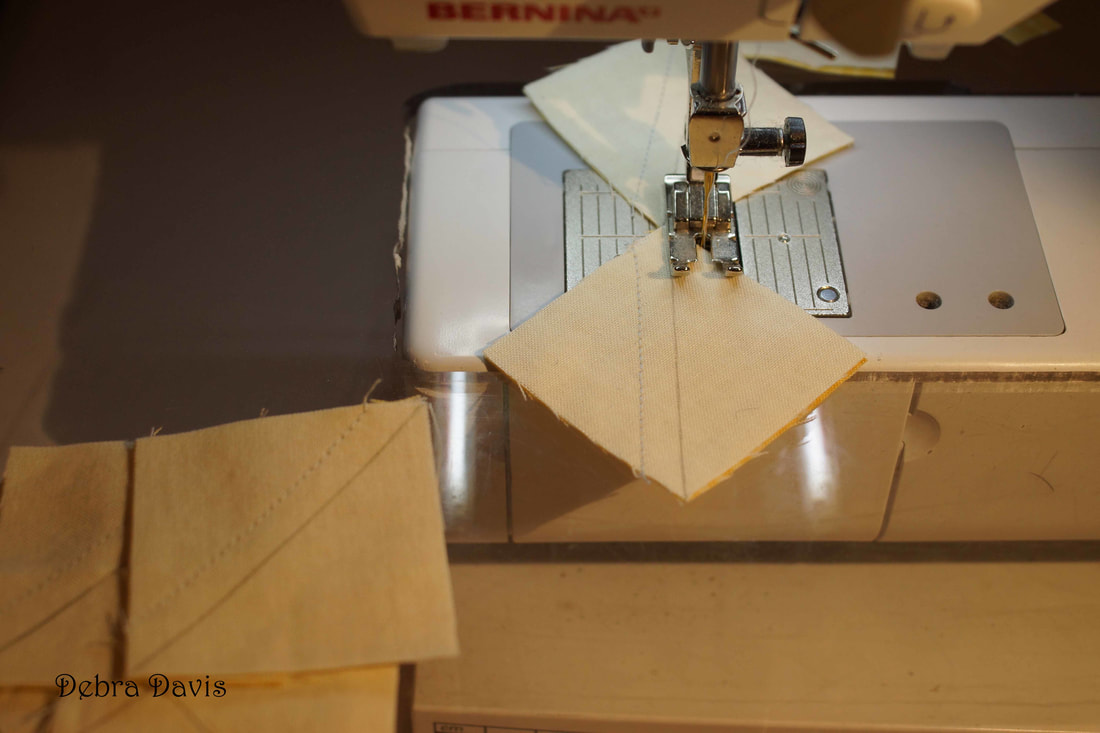
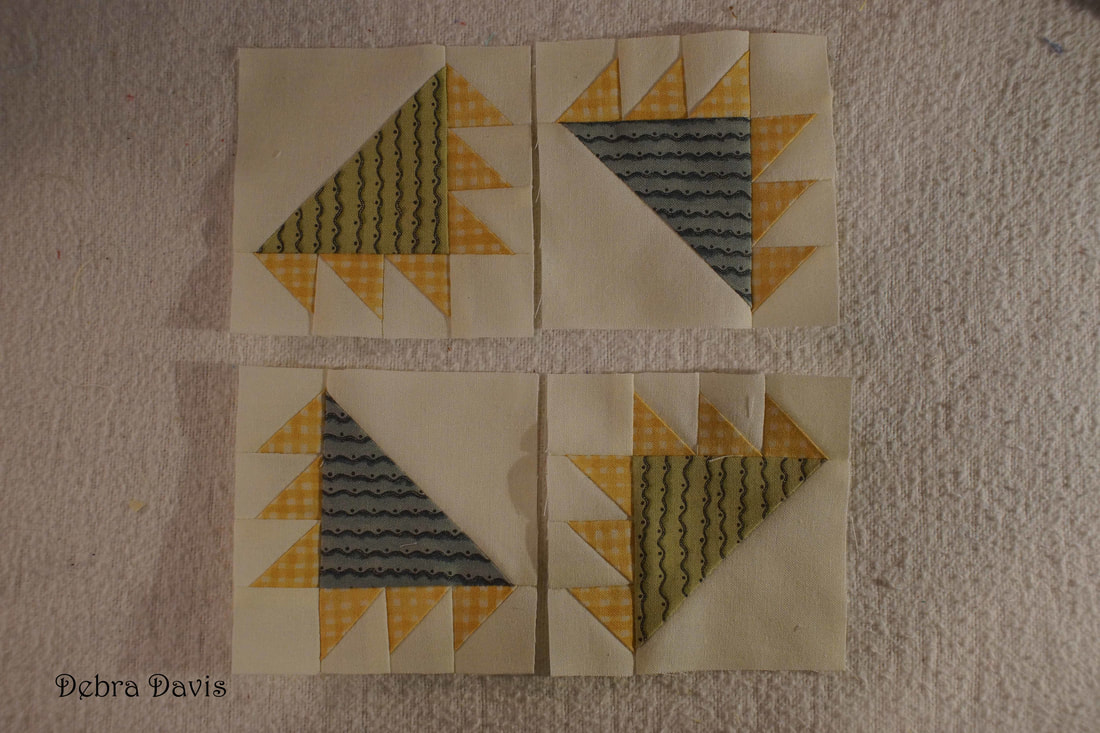
Trim these 24 units to 1 1/4" x 1 1/4" squares. 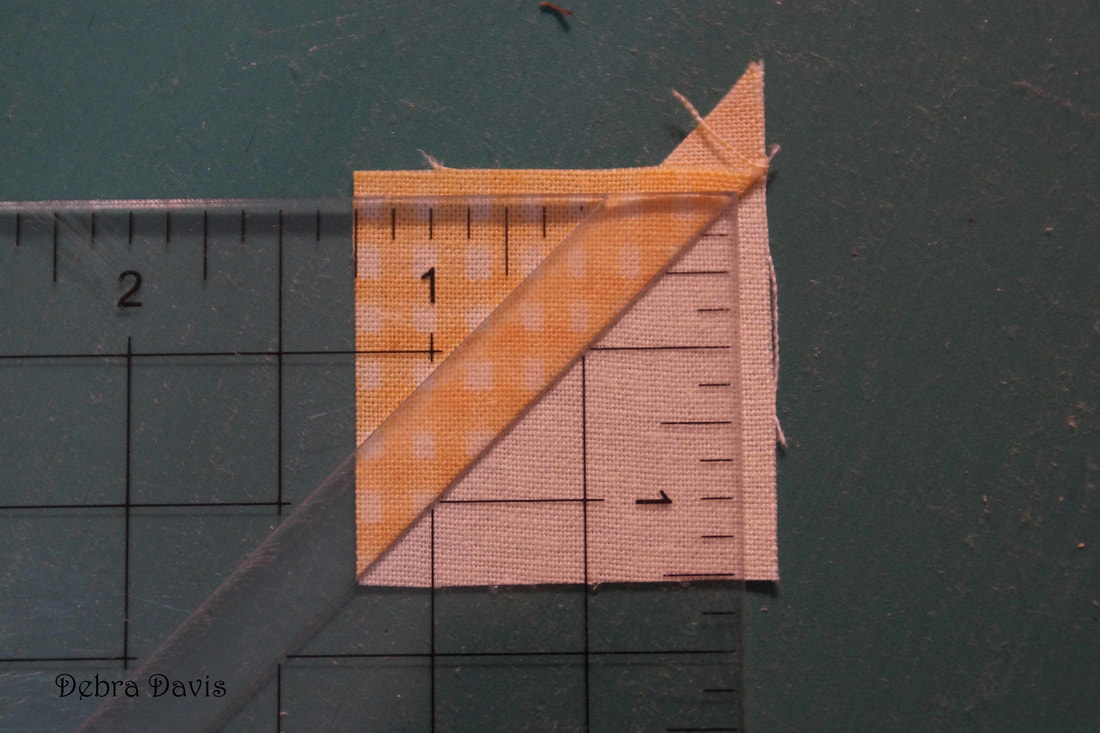 I need to join three squares together to make four Unit #2's with the triangles facing this way. I pressed these towards the left: the direction fo the arrow. <----- 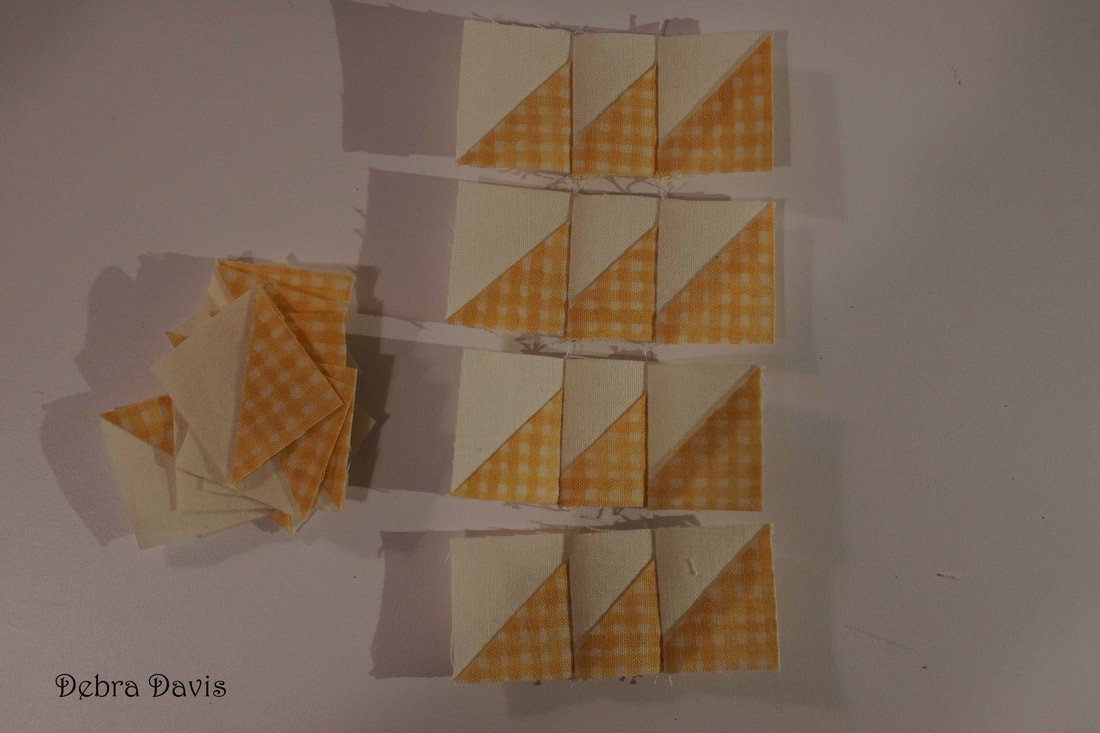 This is a good time to check for accuracy as the middle should now measure 3/4" across. 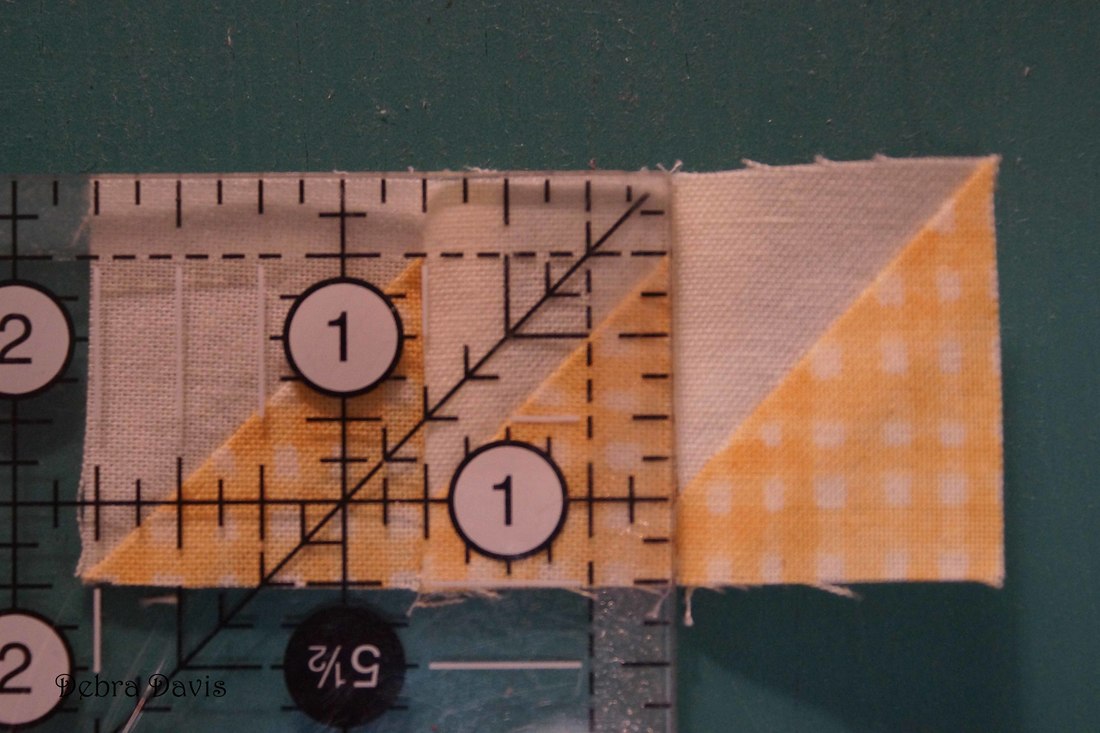 Next I sew the remaining little Half-square Triangles together with the triangles facing this direction to make 4 Unit #3's. I pressed these to towards the left as well. 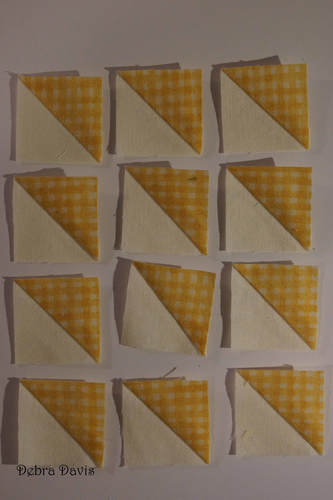 To these units I need to add an E square and press towards the E square. (Note: Betsy's directions say to add a D square but that is a typo.) 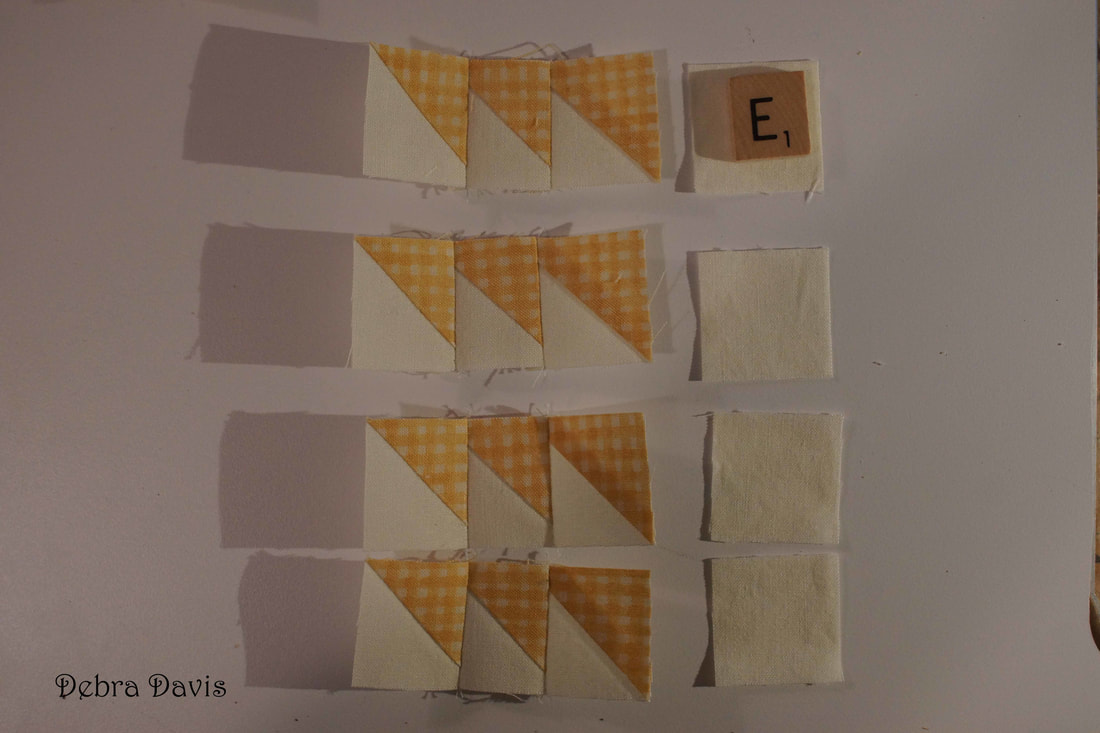 Now I can start putting all of the pieces together. I start by adding a Unit 2 to the side of each of my Half-square Triangles, making sure to have them all oriented as pictured. 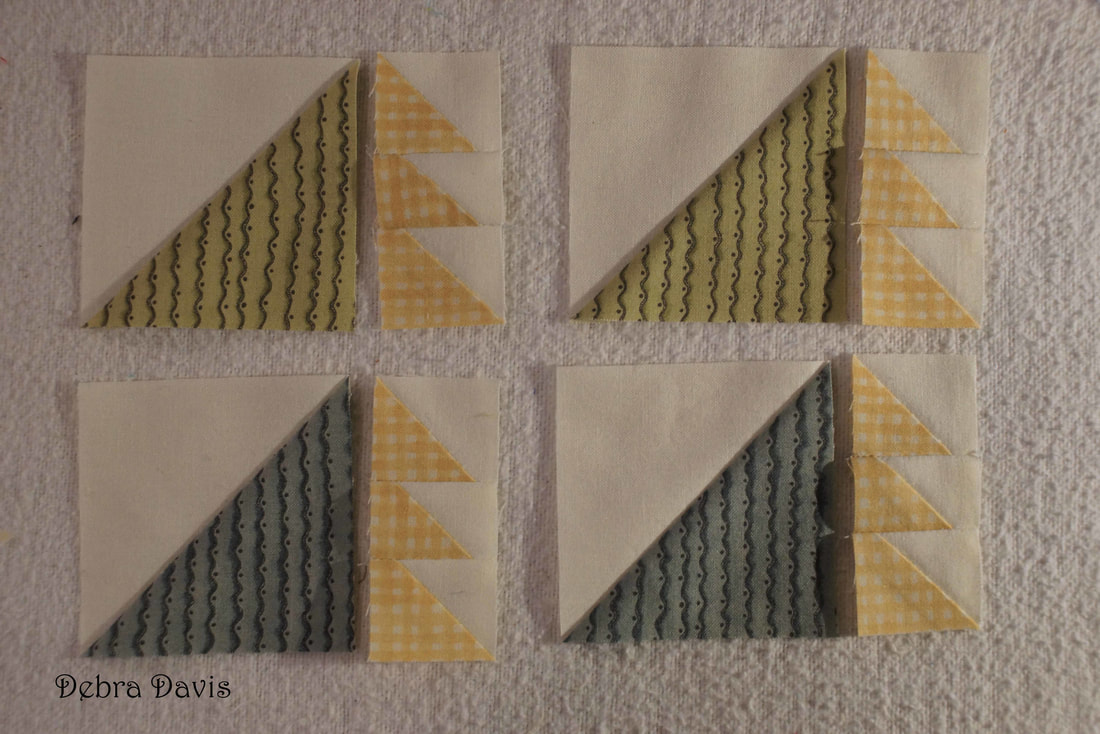 Next I add a Unit #3 to the bottom, matchinig up the seams in the corner. 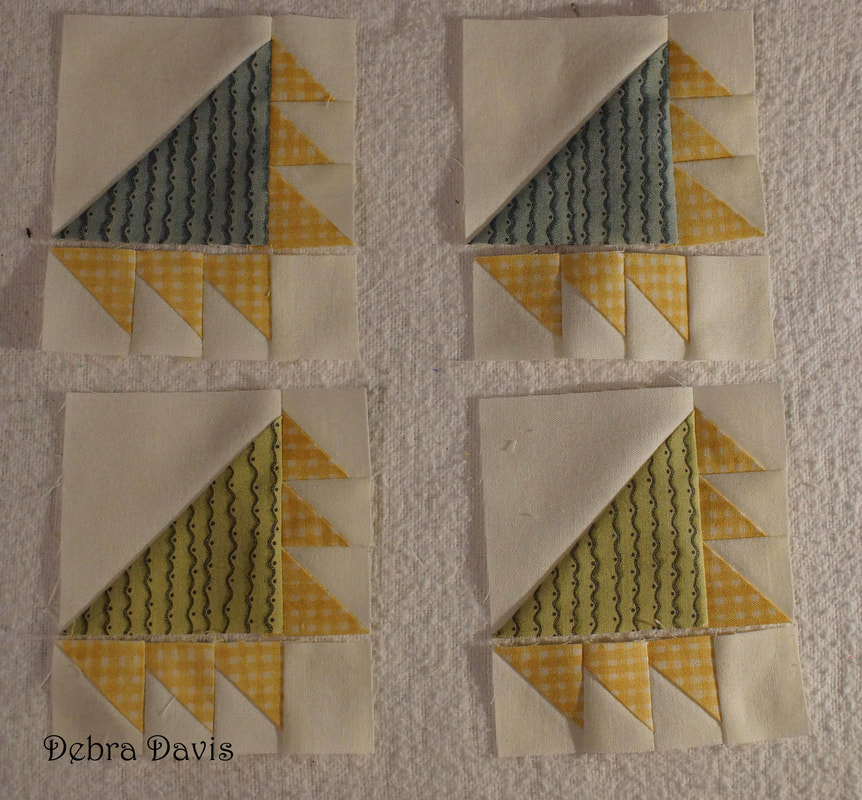 Checking to make sure these units now measure 3 1/2" x 3 1/2".  I lay out the four units in the order they go and prepare to sew them together. I do not like that the seams are facing the same direction, this is going to make for bulk and I find it hard to get the seams to match up nicely. But I do have a little trick that helps. First place a pin on the stitching line, making sure that as you pin the pin is on that line on both the front and the back of the units you are sewing together.
I place the unit so that as I sew the seams face away from the needle -this seems to help push the two together. 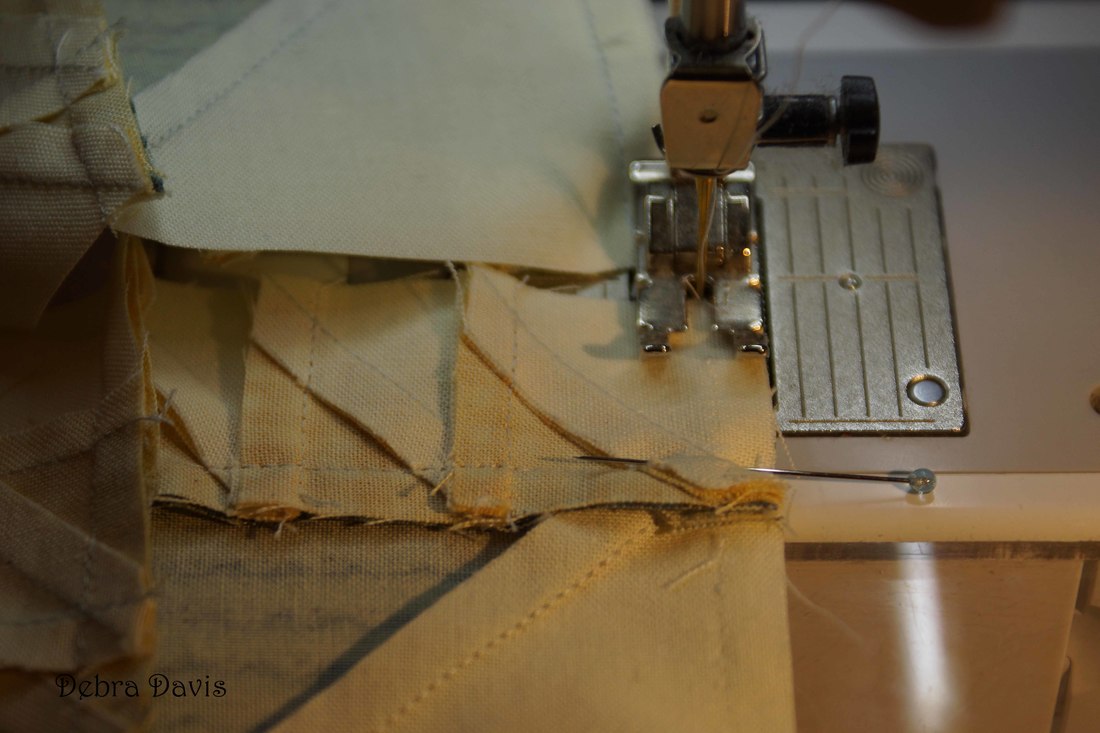 I sew right up to the pin, stopping my machine with the needle down a stitch before I hit the pin. Then I gently remove the pin and continue sewing. 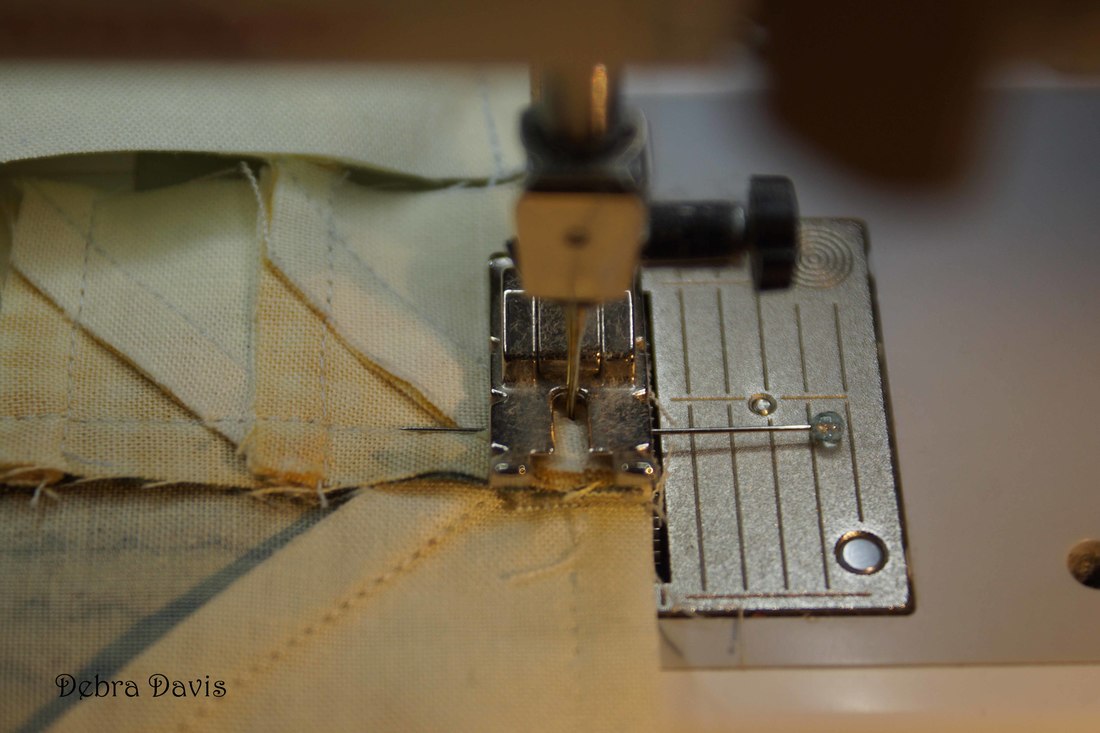 The bulky seams that result bother me, but I will just have to live with it and pressed them the direction they most wanted to lay. Join the two rows together in the same way and that is it. 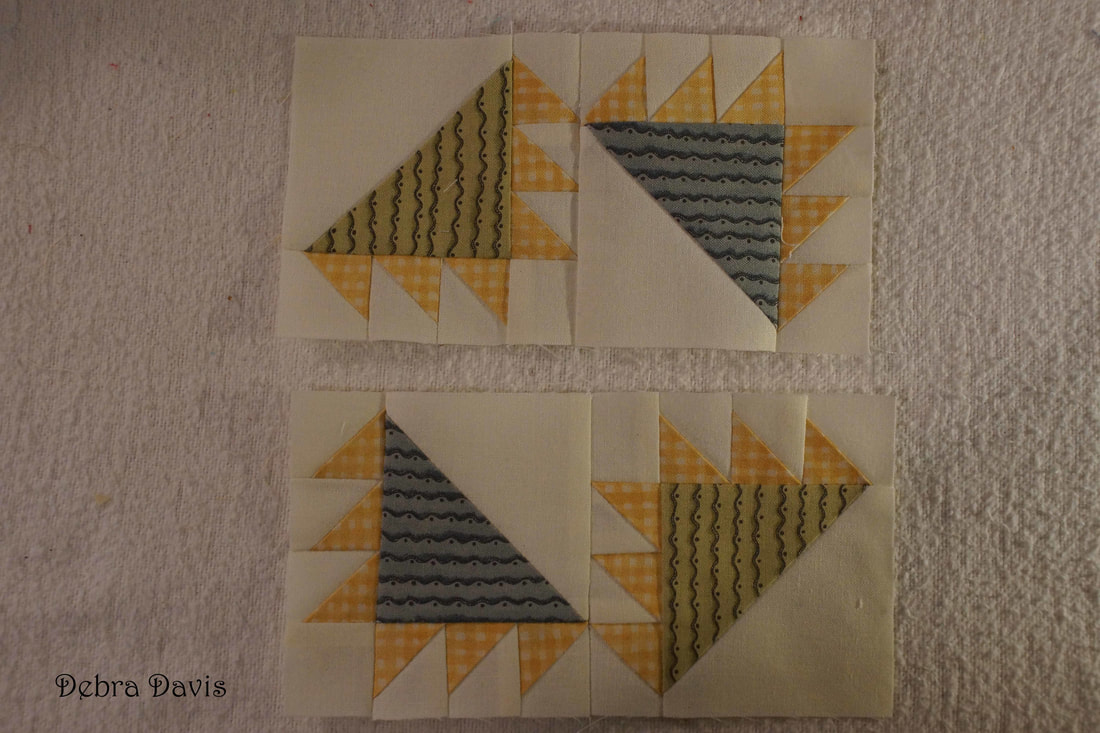 I am pretty pleased with how well the block came out- bulky seams and all. 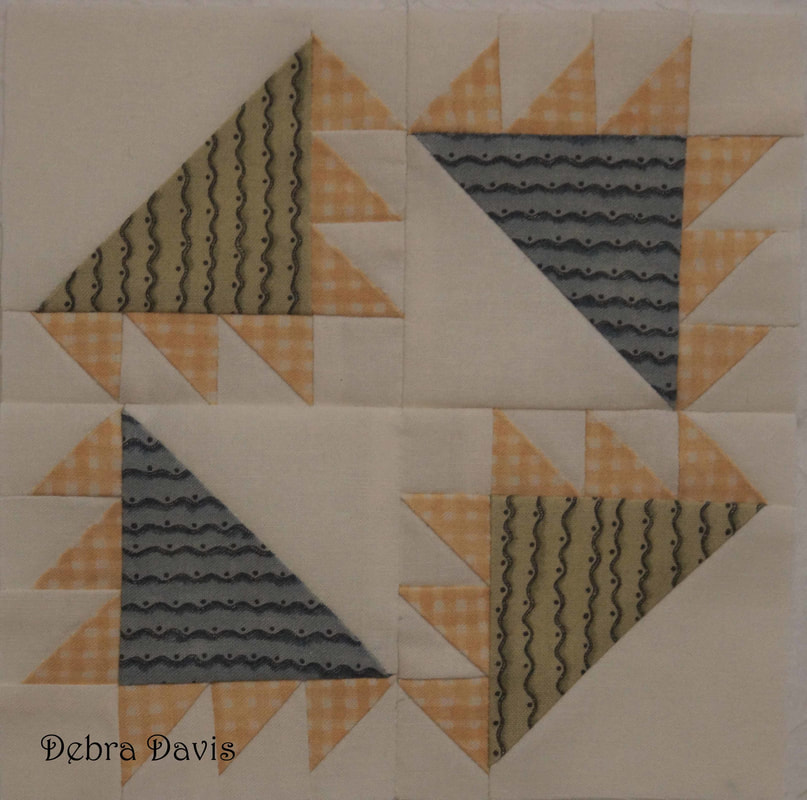 I hope your Moda Blockhead journey is going well and I am so happy to share this experience with you. What an encouragement you have been during this process. It is nice to be missed when I am gone and welcomed so warmly when I return. Happy Quilting!  |

Welcome to the site of Debra Davis-a woman who loves the Lord and loves to quilt.
My other blog where I share about my walk of faith:
Sitting at His Feet 
|


 RSS Feed