|
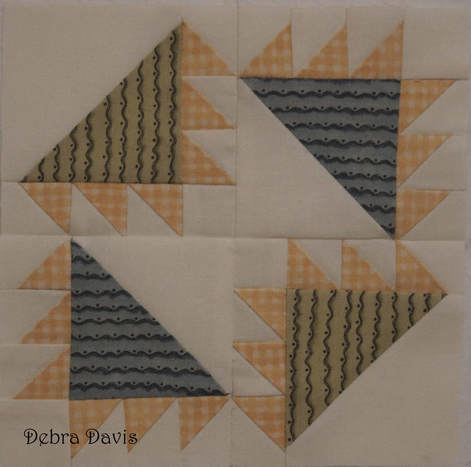
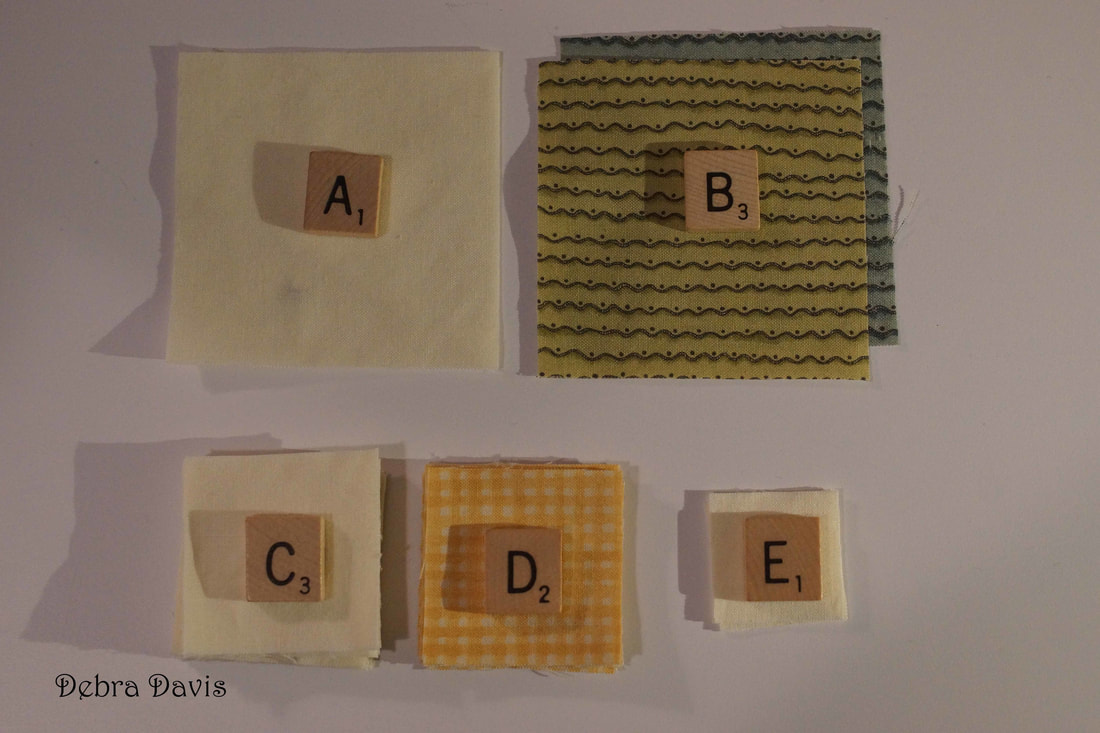
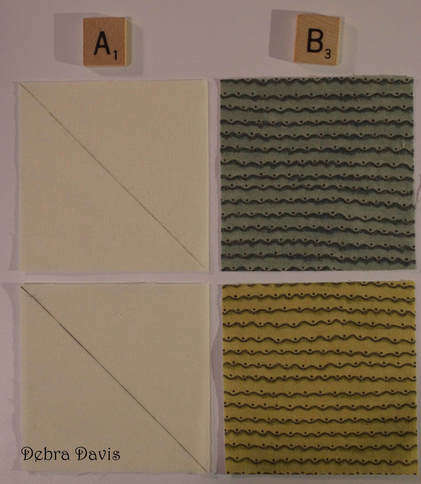
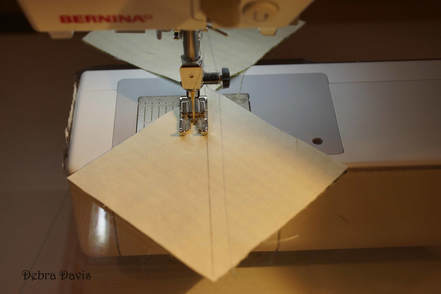
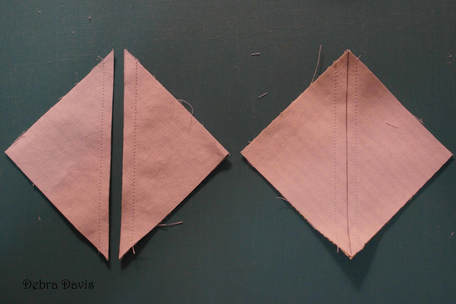
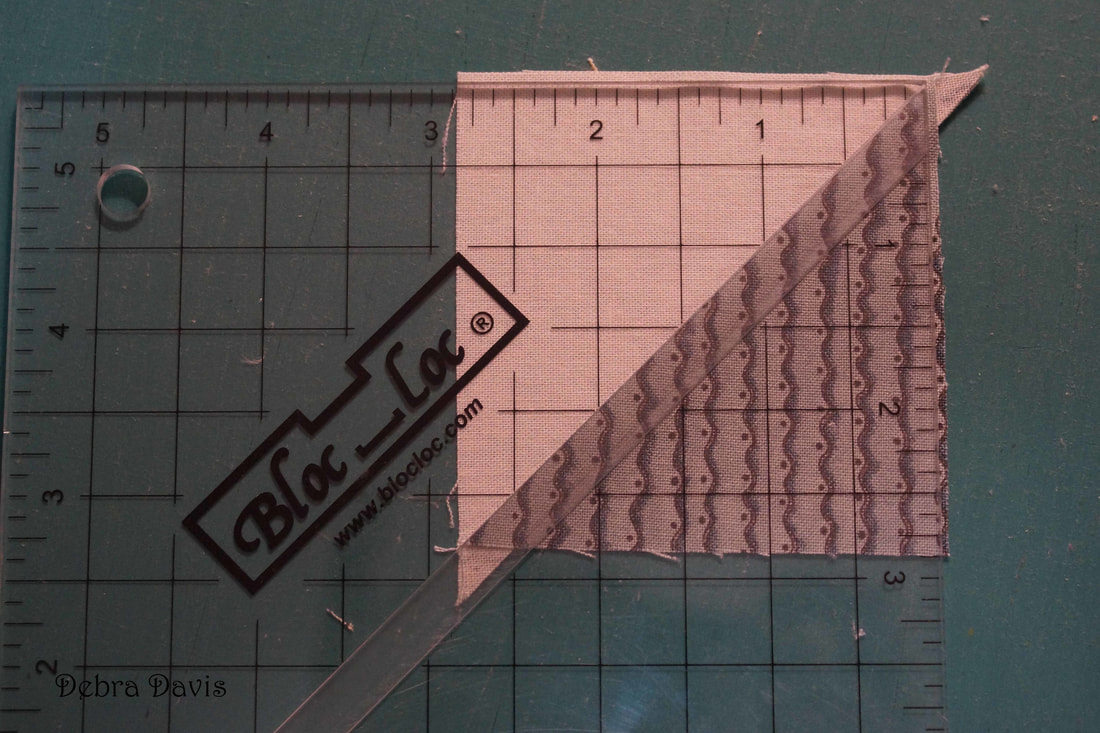
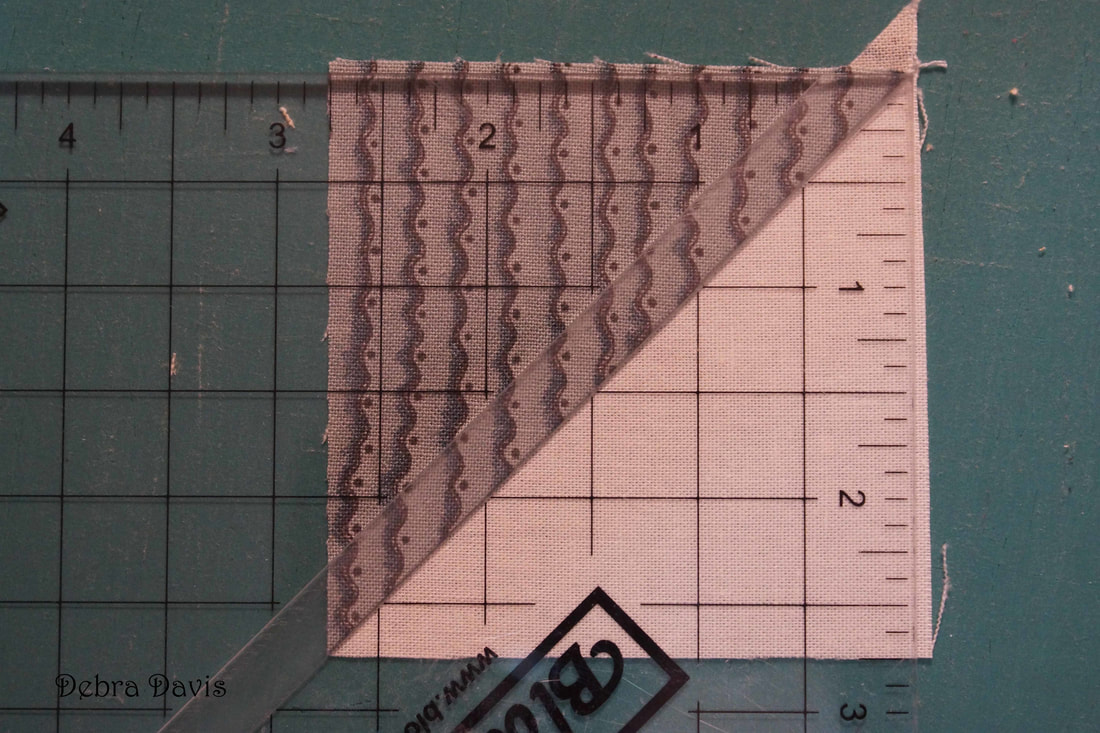
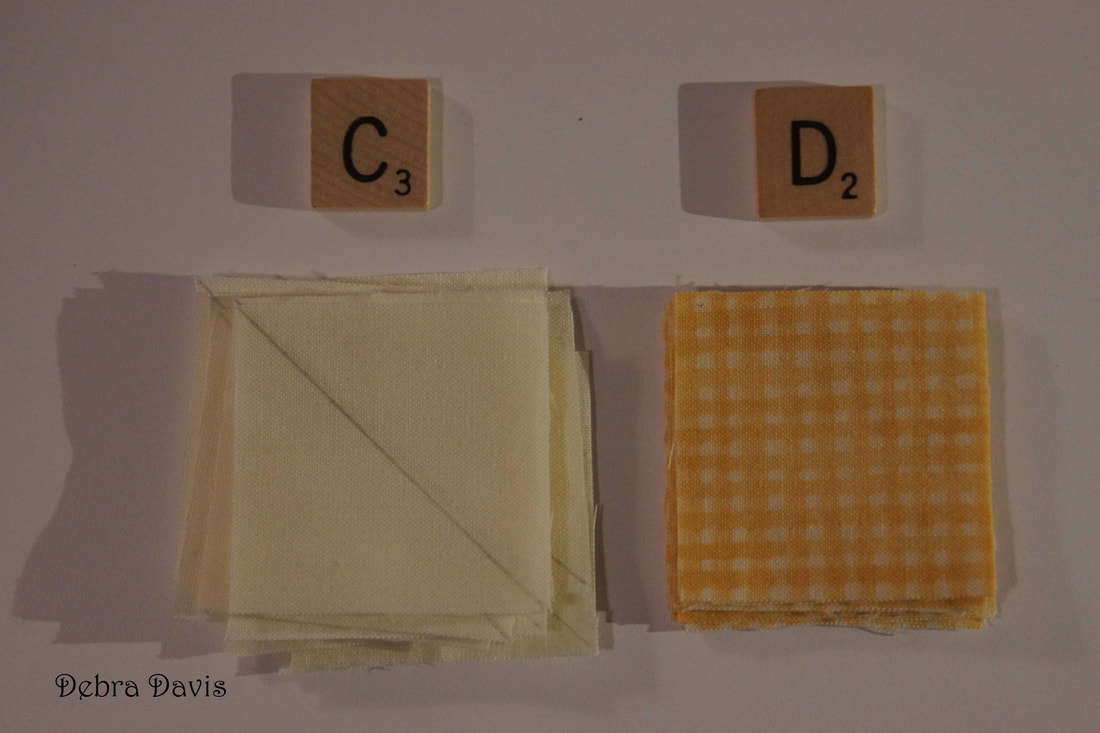
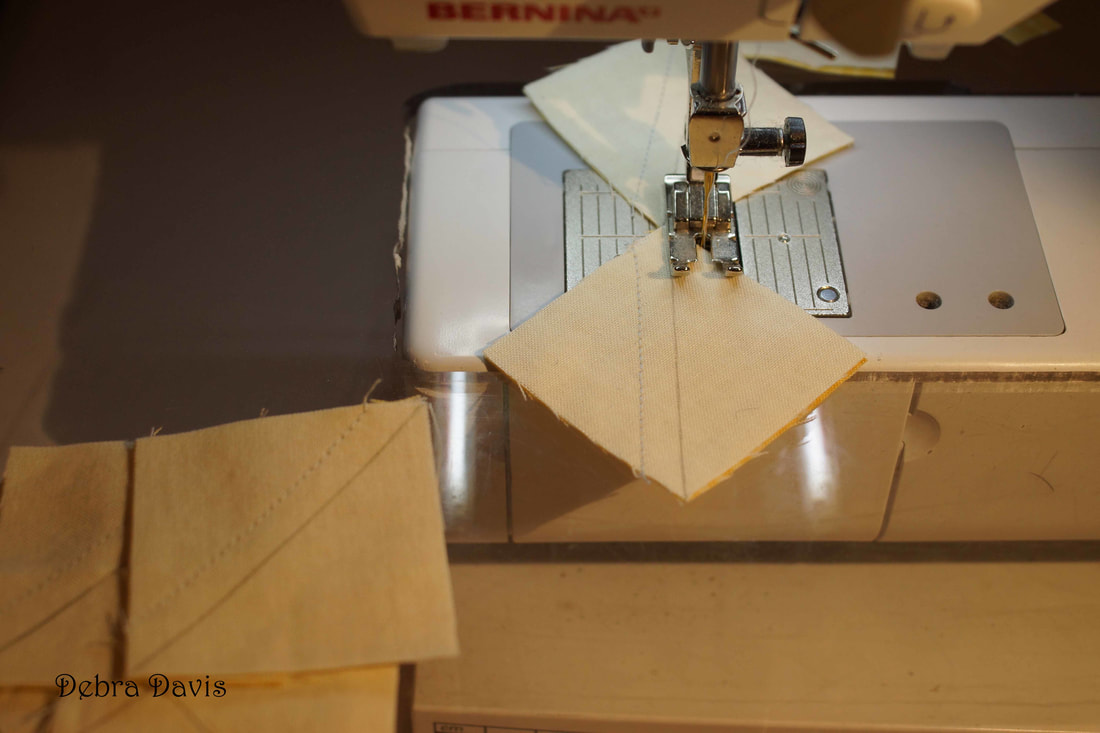
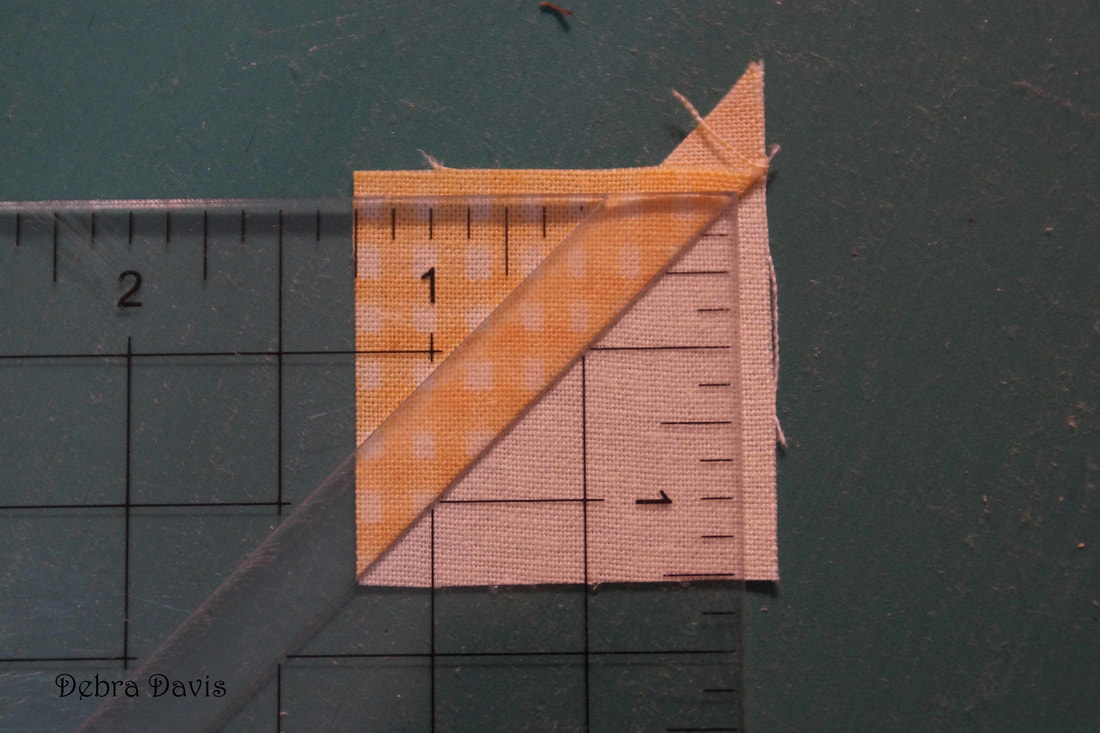
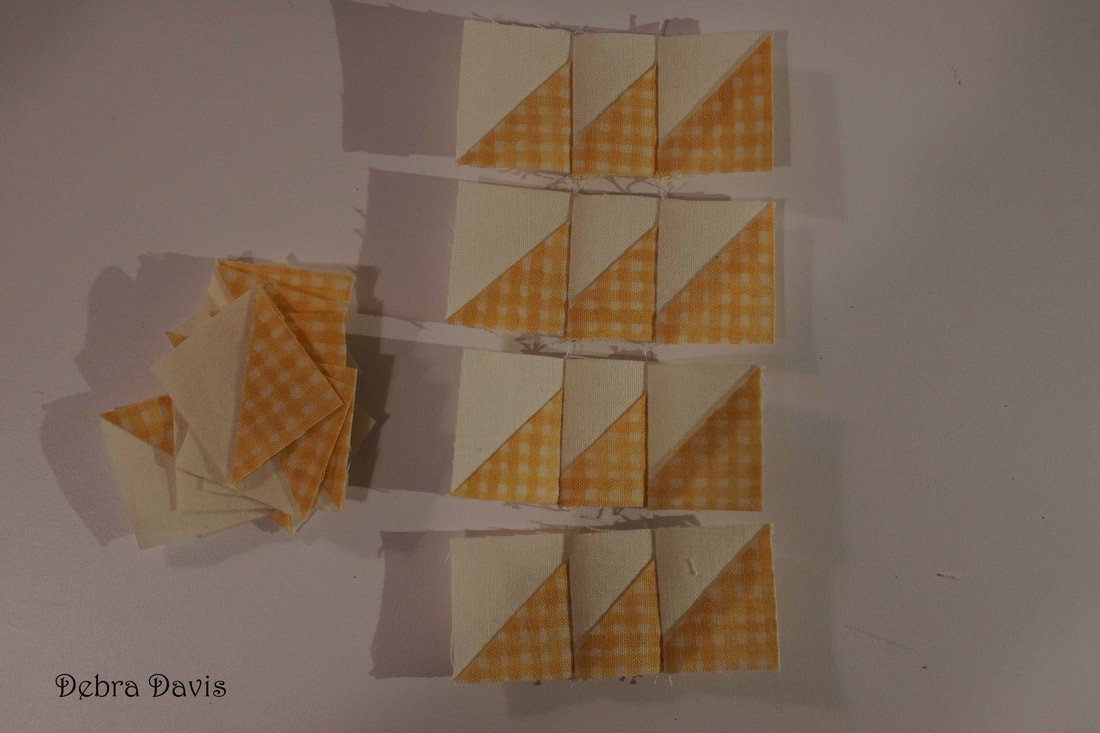
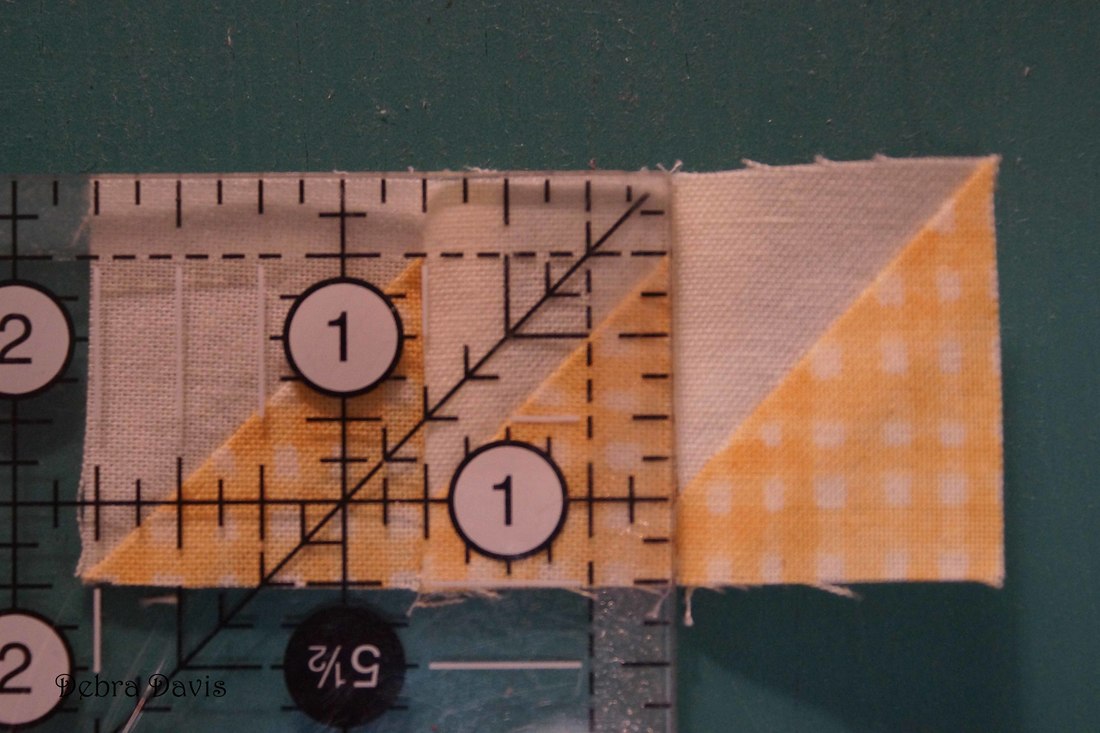
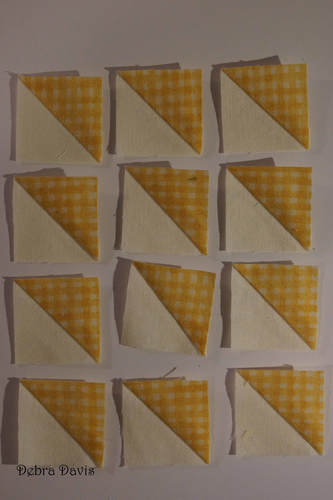
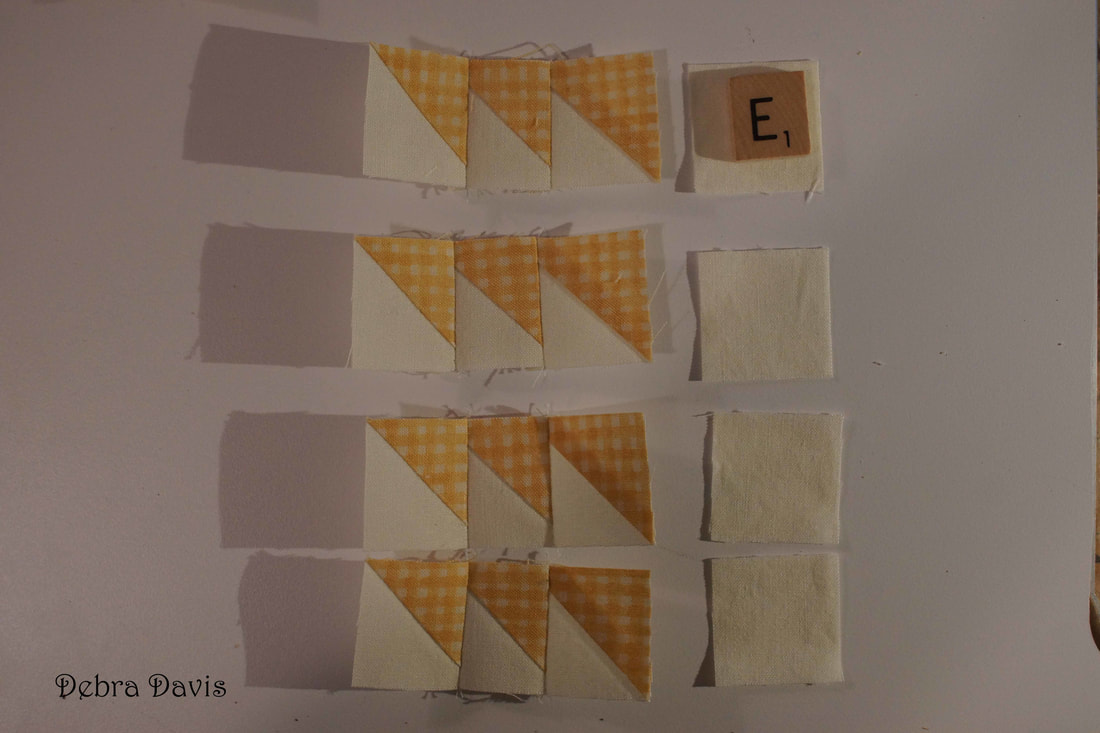
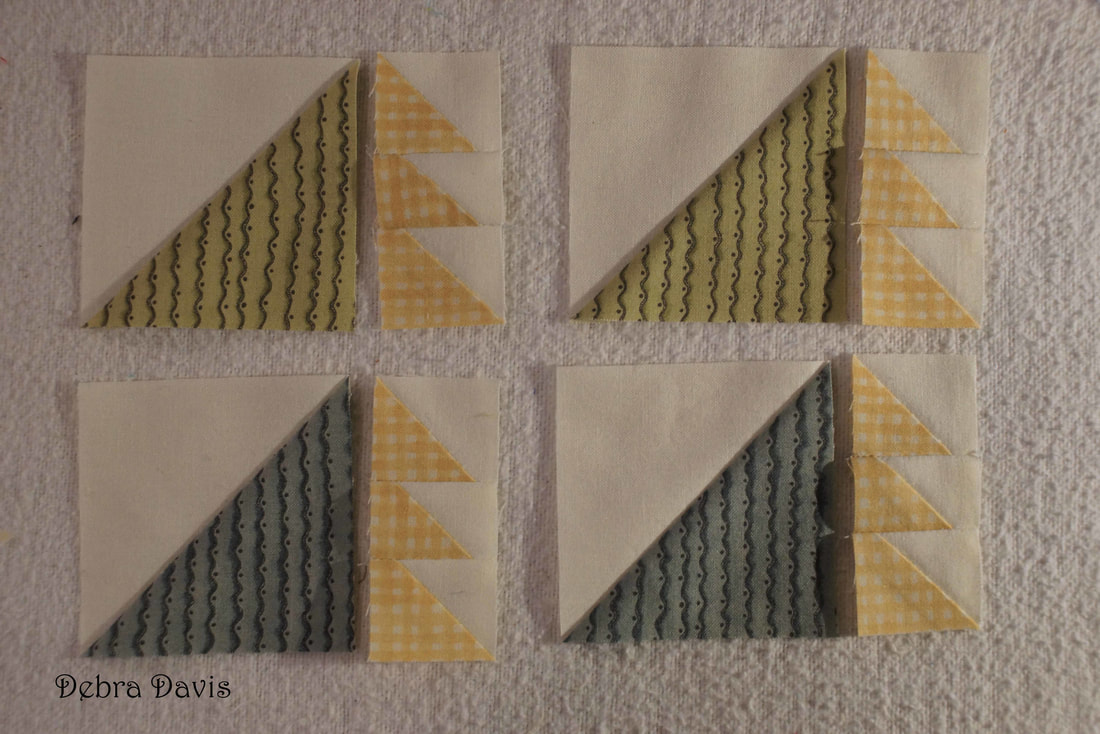
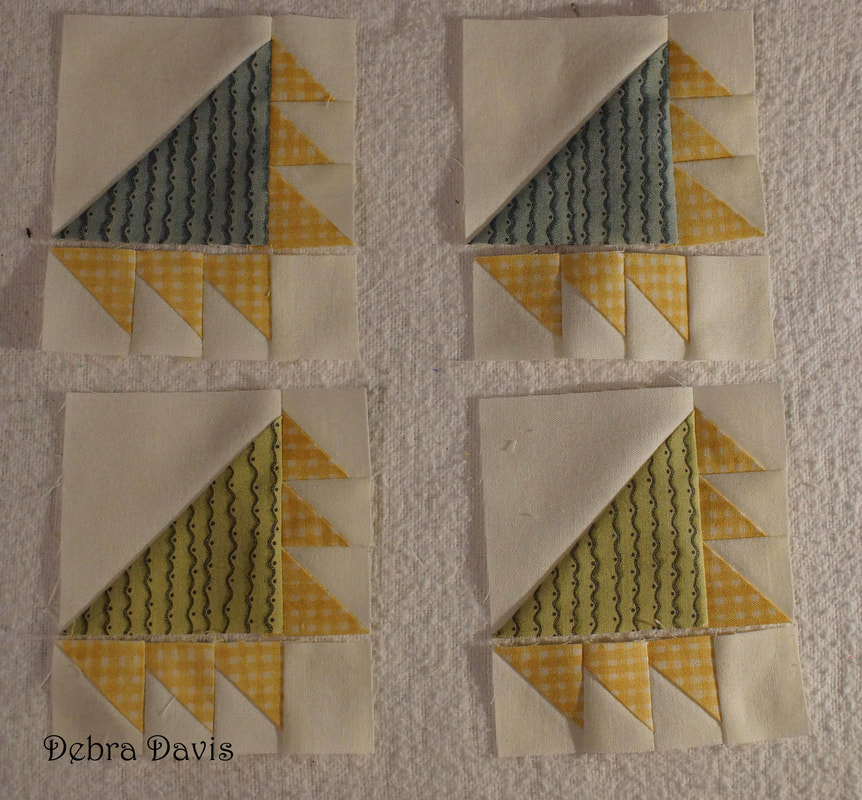
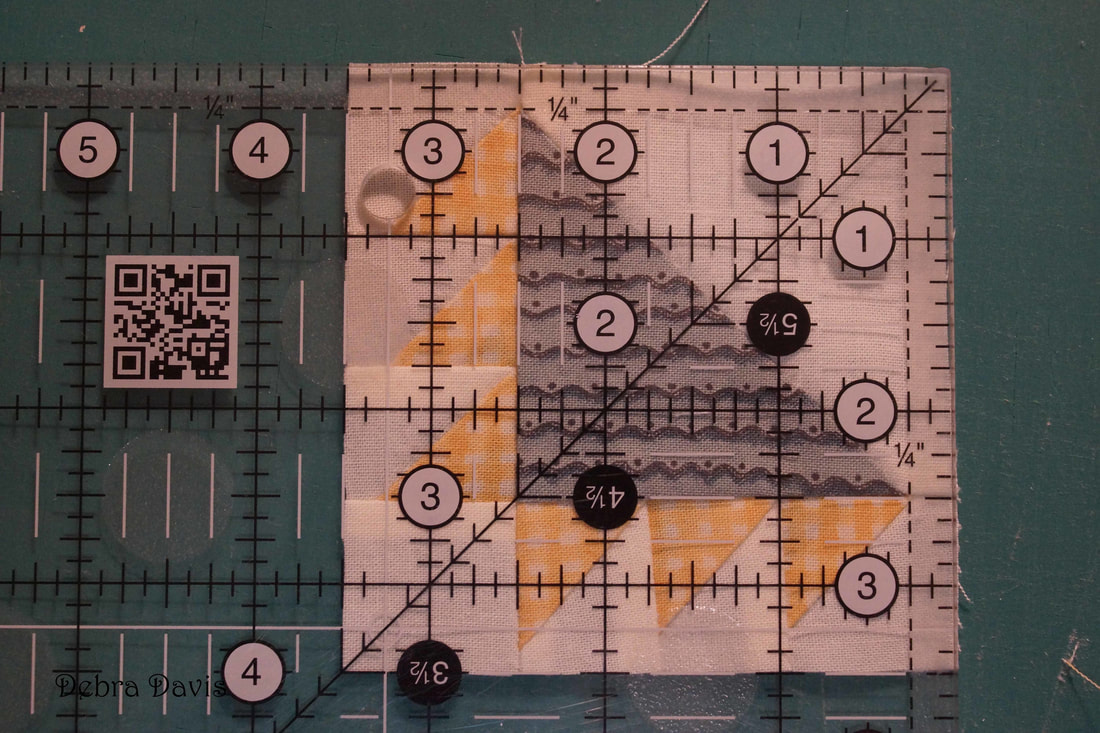
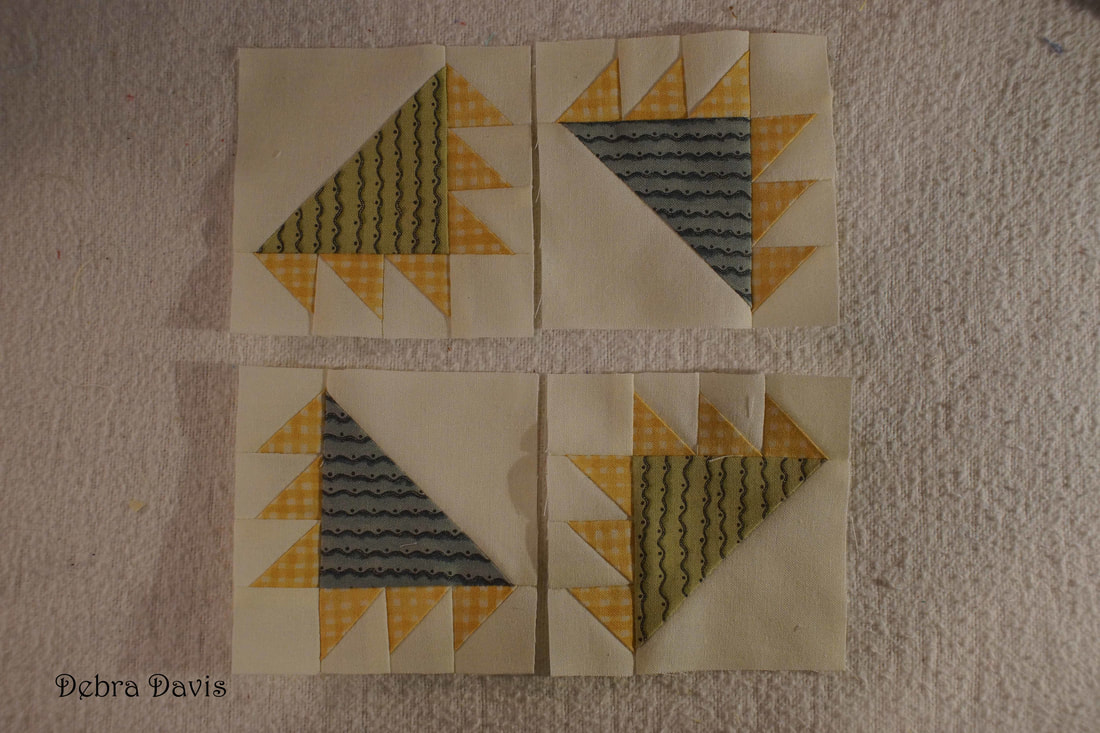
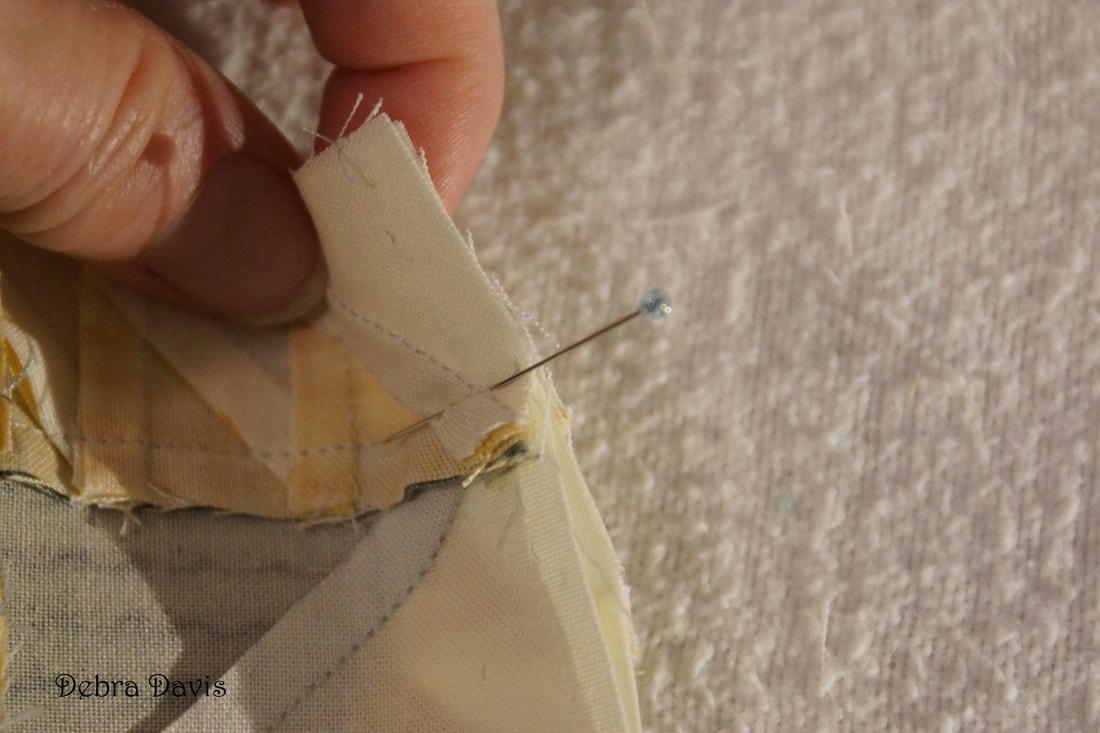
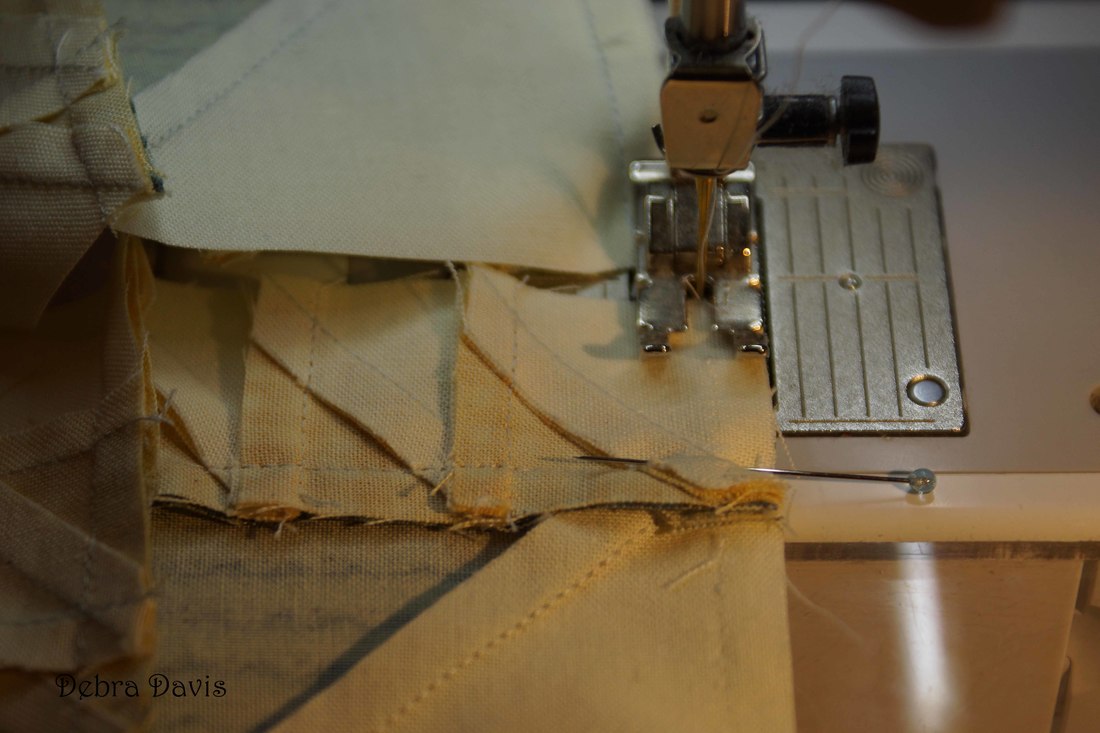
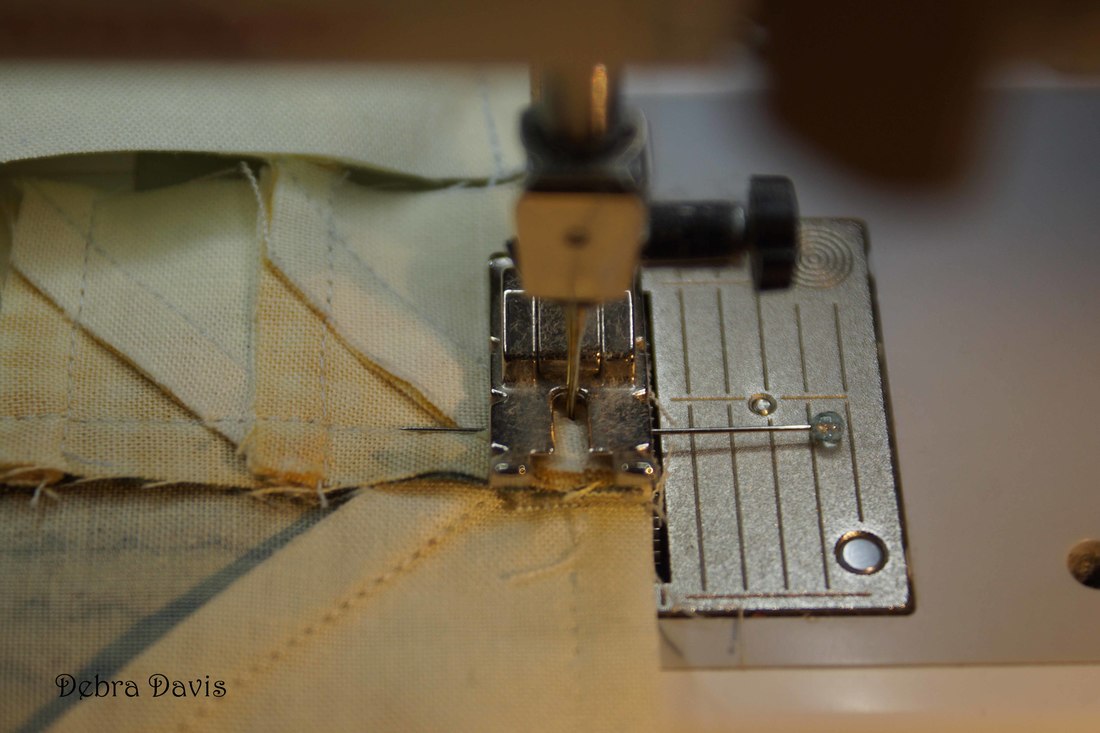
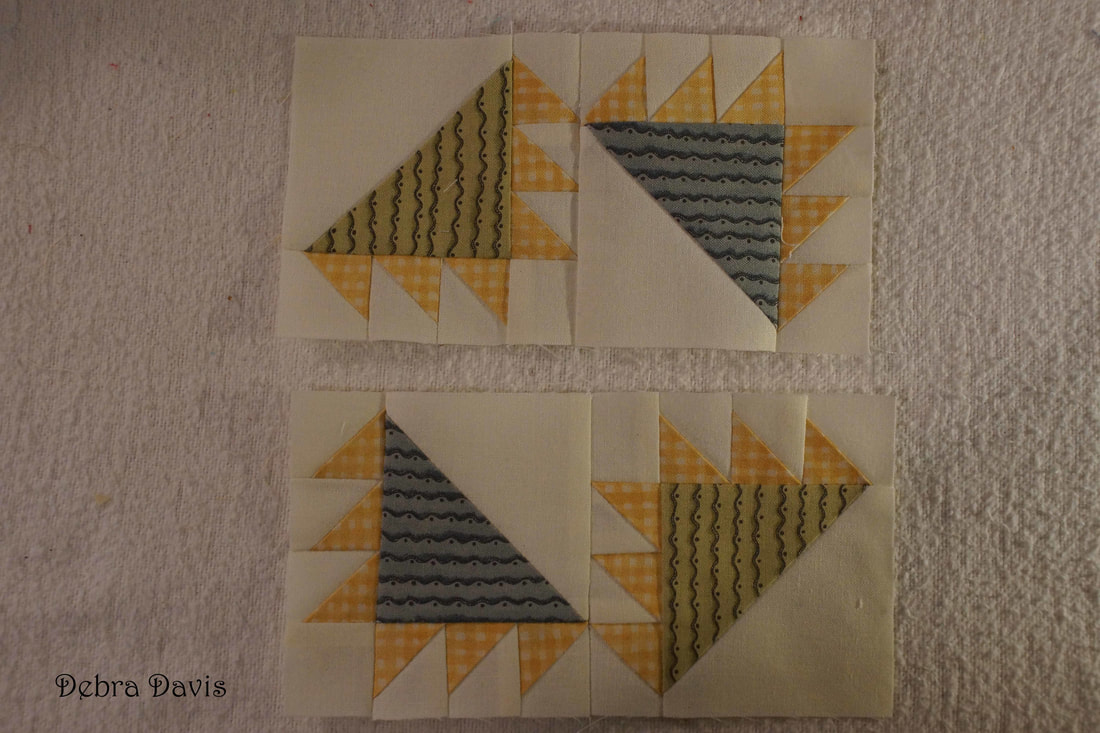
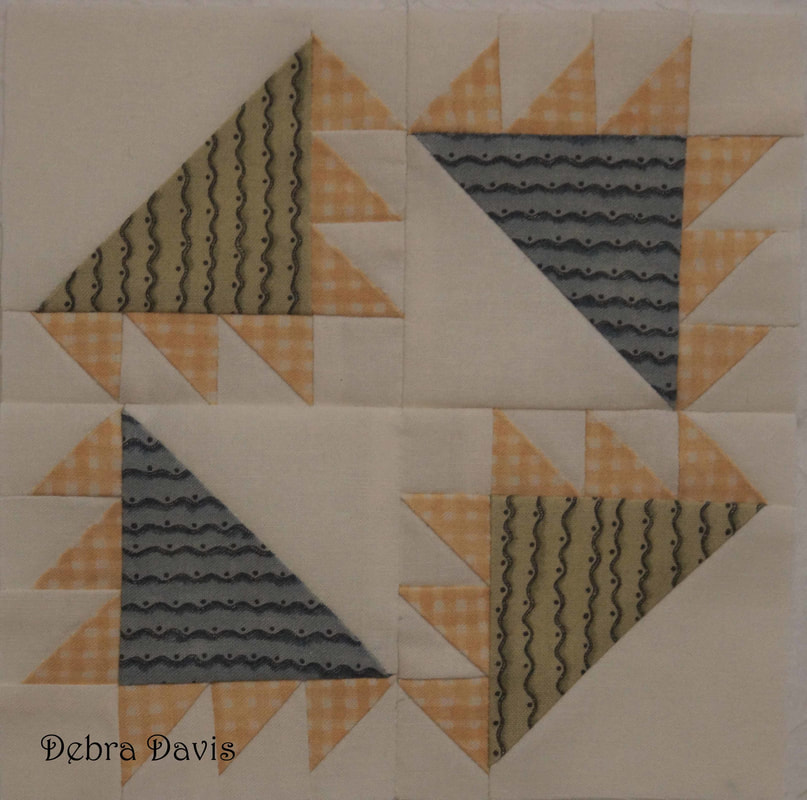
Block 44 was designed by Betsy Chutchian and you can get the pattern on her blog where she shares her block and a bonus mini block too. Click Here For Betsy's Blog. I have made some changes to the cutting directions for this block as prefer to make my Half-square triangles a little large and then trim to size. I also recommend starching your fabric before cutting as there are some preyy small pieces to work with on this block. Cutting Directions: A-(cut 2) 3 1/4" x 3 1/4" B-(cut 2) 3 1/4" x 3 1/4" C-(cut 12) 2" x 2" D-(cut 12) 2" x 2" E-(cut 4) 1 1/4" x 1 1/4" I start with the A and B squares. Draw a diagonal line on both of the A squares. With right sides together, stitch 1/4 inch away from each side of the drawn line. Cut apart on the drawn line. Press towards the dark side and trim to 2 3/4" x 2 3/4". I love the Bloc Loc ruler for trimming Half-square Triangles as it has a grove that "locks" into place along the seam making for very square, accurate cuts. When those are trimmed I set them aside and move on the next step. Now I follow the same steps with the smaller C and D squares. Trim these 24 units to 1 1/4" x 1 1/4" squares. I need to join three squares together to make four Unit #2's with the triangles facing this way. I pressed these towards the left: the direction fo the arrow. <----- This is a good time to check for accuracy as the middle should now measure 3/4" across. Next I sew the remaining little Half-square Triangles together with the triangles facing this direction to make 4 Unit #3's. I pressed these to towards the left as well. To these units I need to add an E square and press towards the E square. (Note: Betsy's directions say to add a D square but that is a typo.) Now I can start putting all of the pieces together. I start by adding a Unit 2 to the side of each of my Half-square Triangles, making sure to have them all oriented as pictured. Next I add a Unit #3 to the bottom, matchinig up the seams in the corner. Checking to make sure these units now measure 3 1/2" x 3 1/2". I lay out the four units in the order they go and prepare to sew them together. I do not like that the seams are facing the same direction, this is going to make for bulk and I find it hard to get the seams to match up nicely. But I do have a little trick that helps. First place a pin on the stitching line, making sure that as you pin the pin is on that line on both the front and the back of the units you are sewing together. I place the unit so that as I sew the seams face away from the needle -this seems to help push the two together. I sew right up to the pin, stopping my machine with the needle down a stitch before I hit the pin. Then I gently remove the pin and continue sewing. The bulky seams that result bother me, but I will just have to live with it and pressed them the direction they most wanted to lay. Join the two rows together in the same way and that is it. I am pretty pleased with how well the block came out- bulky seams and all. I hope your Moda Blockhead journey is going well and I am so happy to share this experience with you. What an encouragement you have been during this process. It is nice to be missed when I am gone and welcomed so warmly when I return.
Happy Quilting! Comments are closed.
|
Welcome to the site of Debra Davis-a woman who loves the Lord and loves to quilt.
My other blog where I share about my walk of faith:
Sitting at His Feet This website uses marketing and tracking technologies. Opting out of this will opt you out of all cookies, except for those needed to run the website. Note that some products may not work as well without tracking cookies. Opt Out of Cookies |
Tuning My Heart Quilts by Debra Davis is licensed under a Creative Commons Attribution-NonCommercial-NoDerivs 3.0 Unported License.
Based on a work at www.tuning-my-heart.com.
Copyright 2010-2022 by Tuning My Heart Quilts, LLC. No part of this website can be reproduced without written permission from the author. All rights reserved.
Proudly powered by Weebly


 RSS Feed