|
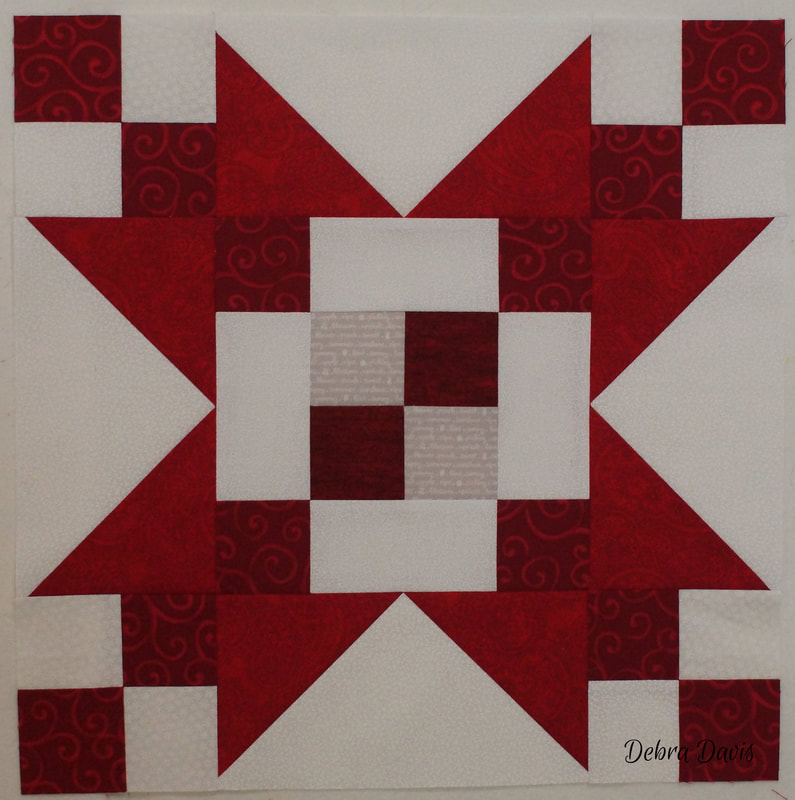
It's Monday, Week 2 of our little sew along. Today's block will introduce the 4-Patch unit-a cute block with all kinds of possibilities. I really enjoyed reading everyones comments about where they are from and how long they have been quilting. I feel like I got to know some of you a little bit better. And so without further ado...the winner of last week's giveaway is... Carol Hofstetter Congratulations Carol! I will be contacting you to find out where to mail your Creative Grids Flying Geese Ruler. Now on to this week's block: Frayed Sawtooth Star The pdf file for the pattern can be found HERE. All of the files for this quilt can be found on my Free Patterns page.
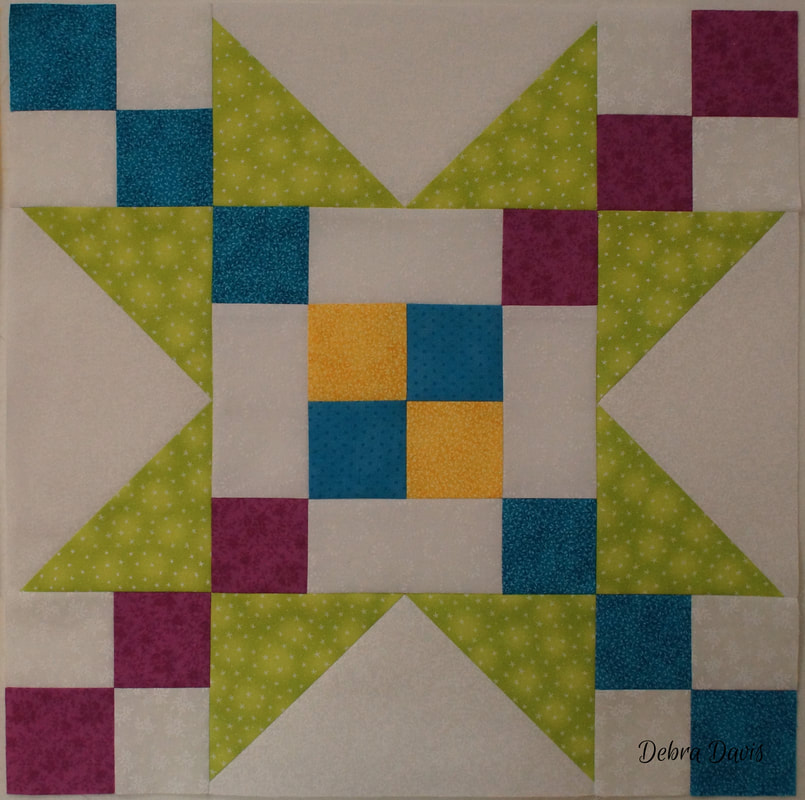
This week there are a few differences in the directions between the Red version and the Color version. I tried to make those changes clear in the pattern and in this tutorial as well. Please let me know how I did-was it confusing or easy to follow? I have my red and white version cut and ready to go. Since I am using fabrics from my stash I have three different white on white prints for each version-you can use as many or few as a you like. For my scrappy color version I have chosen 5 different jewel tone fabrics-since my star is going to be the green I laid it across all of the others to see if it "popped" against them. Satisfied I will follow the cutting directions for the color version with these. To satisfy my need for order the yellow I am using was also in Block 1-I so want to be scrappy with this, but I have such a strong need to follow a plan-lol.
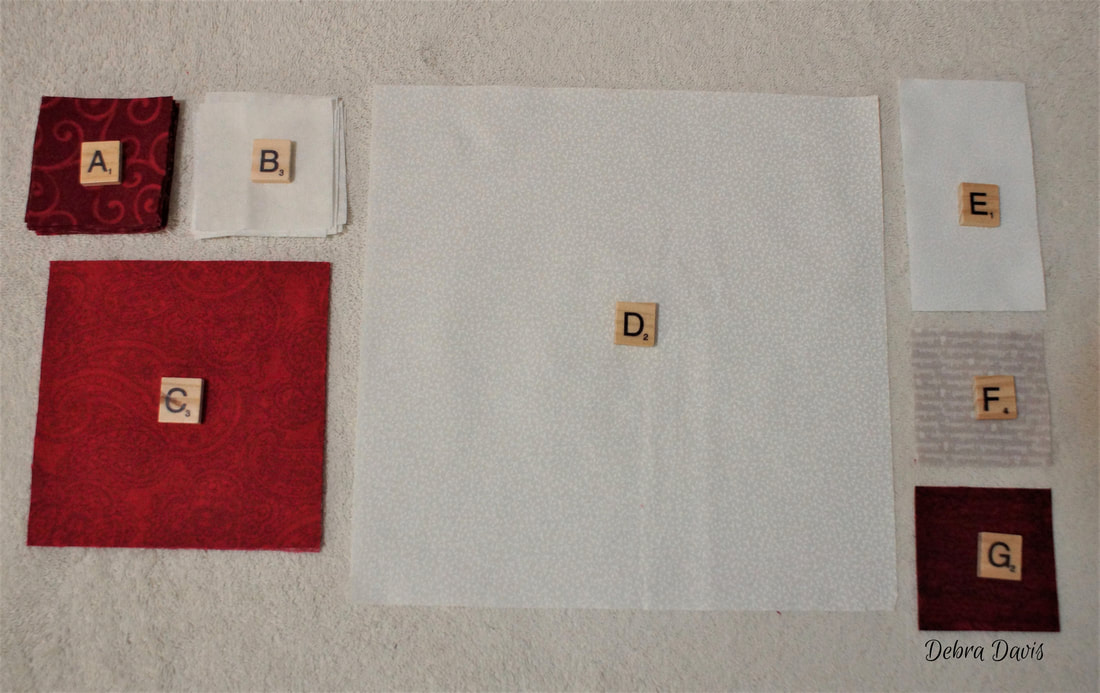
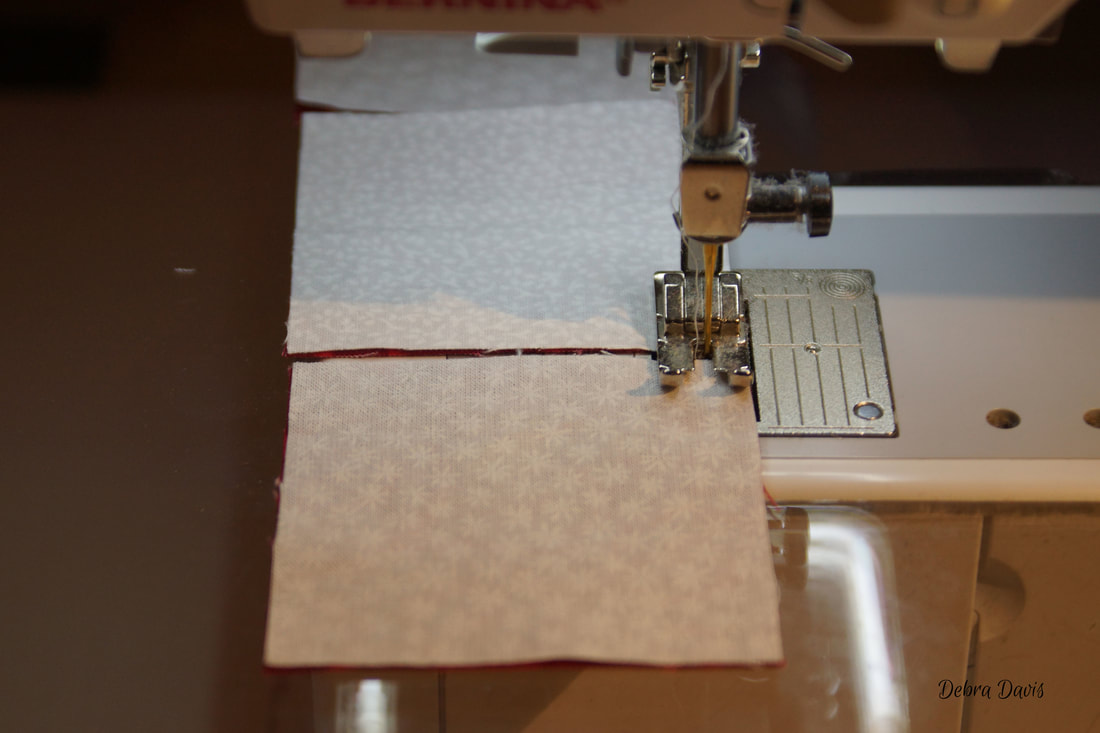
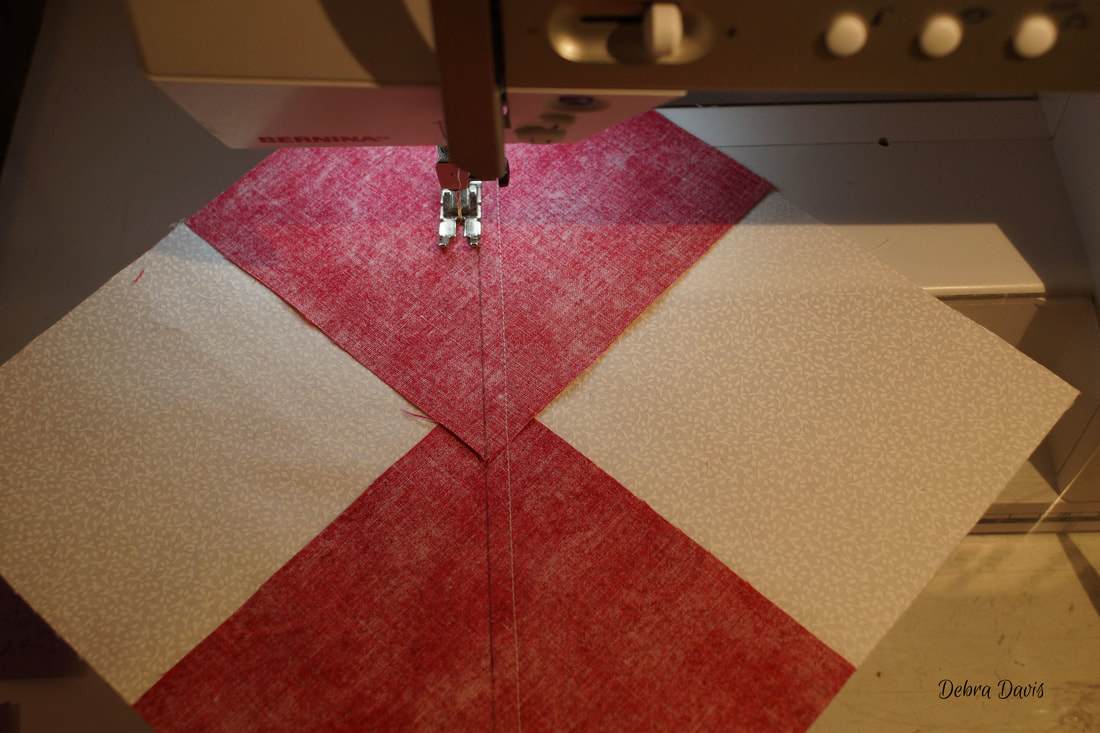
The first step is to make 4-patch units using 8 of the A squares along with the B squares. If you are making the color version see the pattern sheet for added instructions for this step as you will be making two color combinations.  When making 4-Patch units I use a scant 1/4 inch seam-on my machine; that means I move my needle over to the right one position. (that is shown by the bar with the dots on it) I find that if I sew with a 1/4 inch seam I do not always get the finished size I need. Basically, all I need is a needle width less than I normally use. The other settings on my machine are the same as I normally use-2.1 stitch length and needle in the down position. 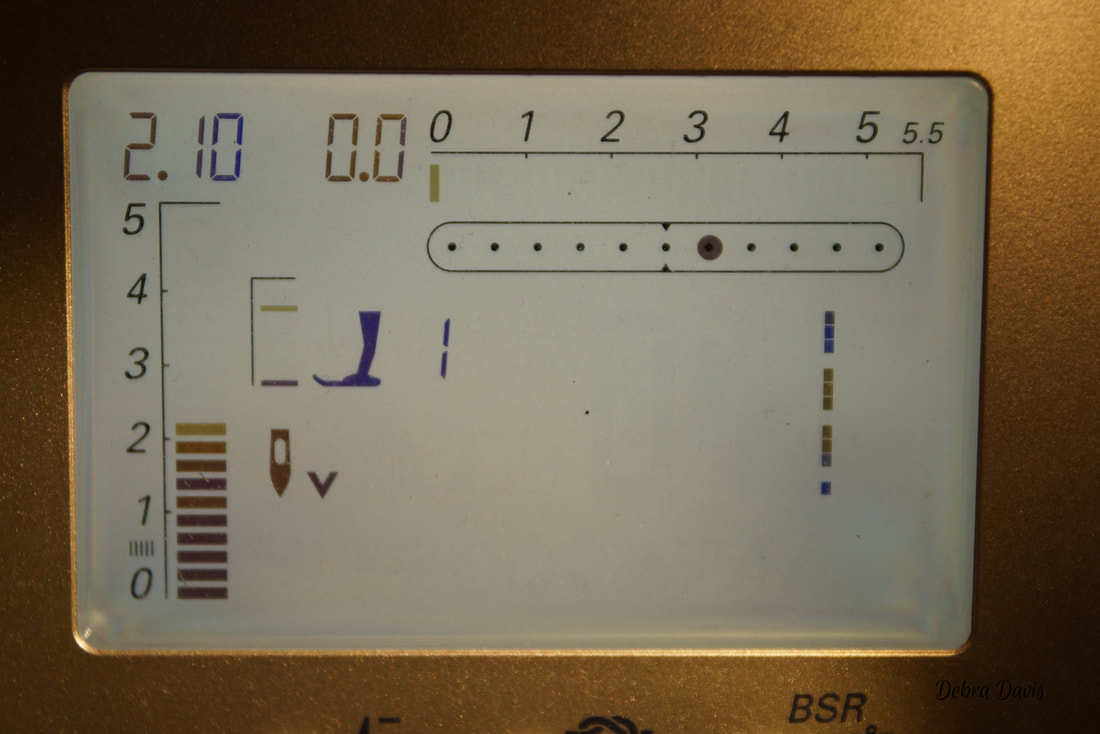 First I will chain-piece the pairs together. and press towards the dark side
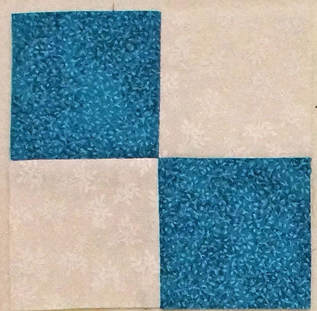
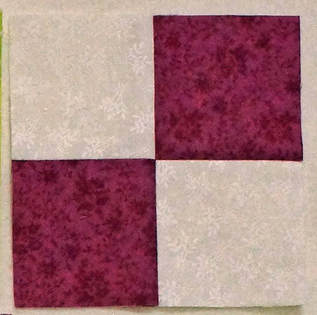
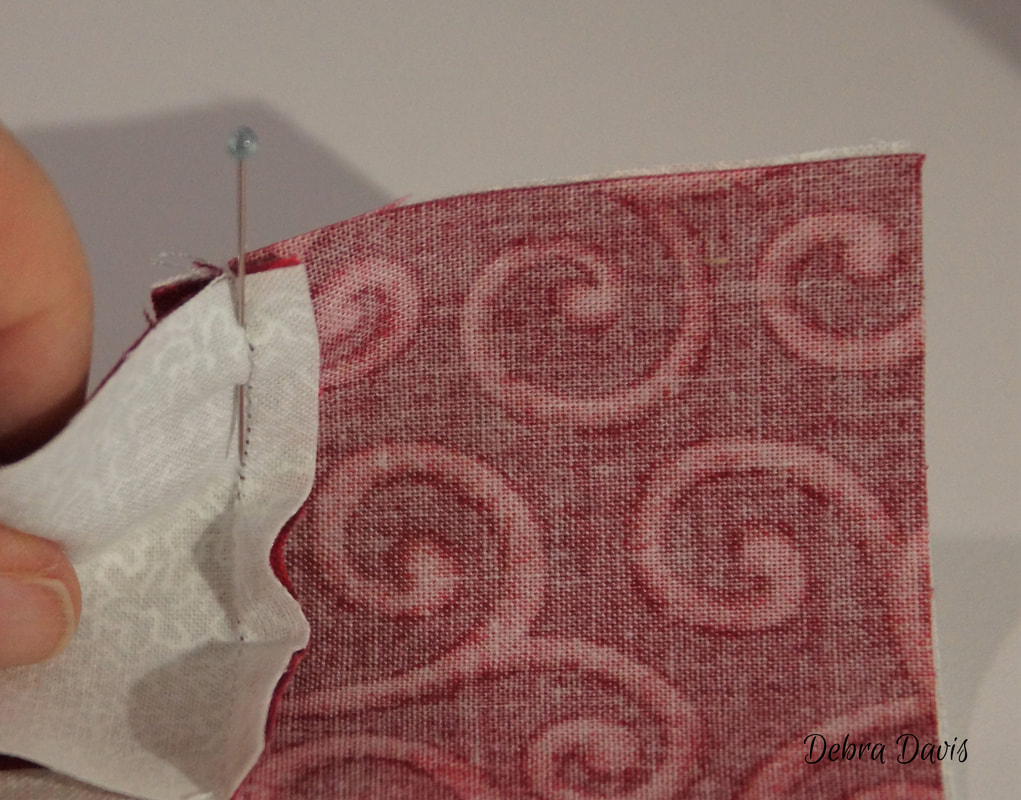
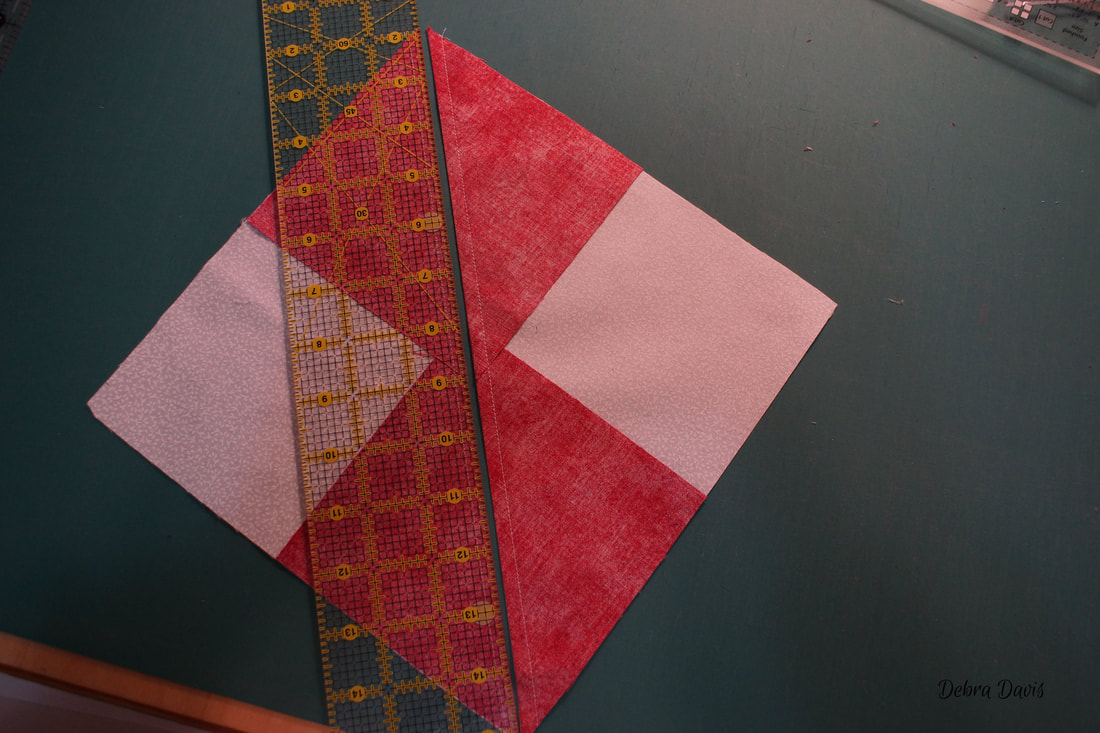
Then I lay out the units to be sewn together. 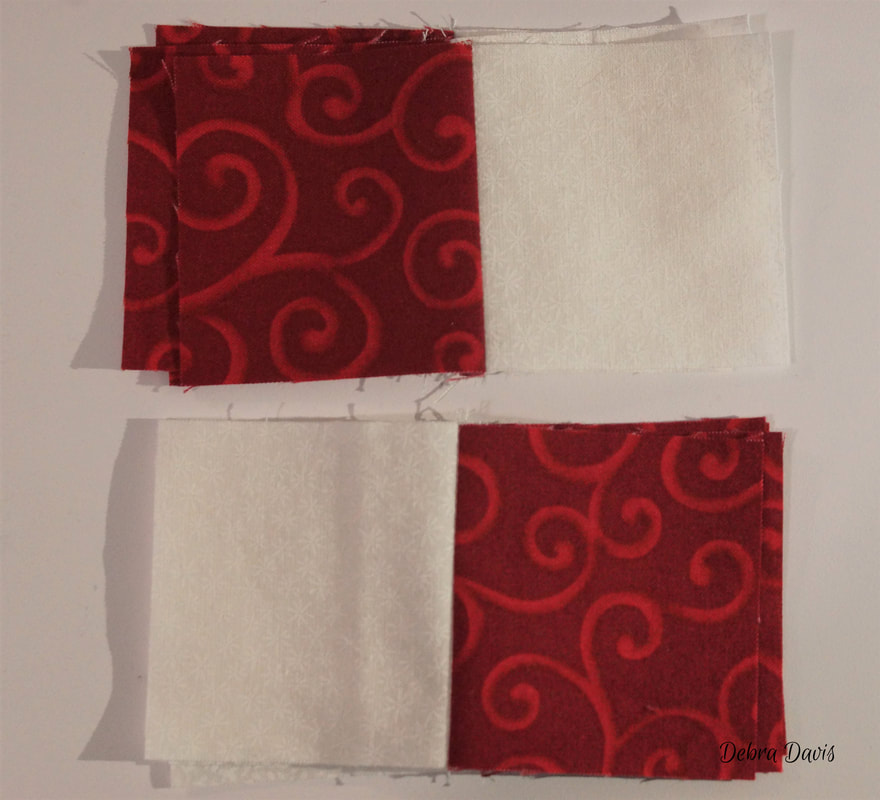 I do not use a pin at the seams on these; instead I make sure that I have the seams fitting together and sew with the seam that is on top pointing towards the needle; that way it just gets "pushed" into place as I sew. Feel free to use a pin if it gives you more confidence! 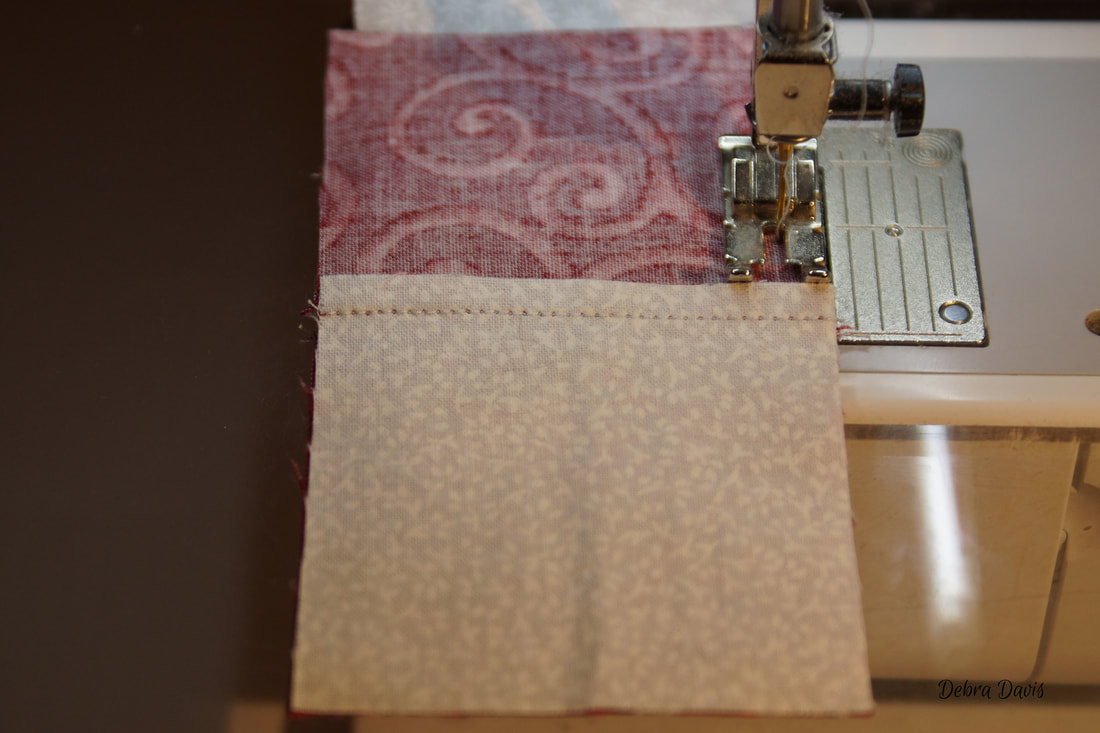 To check the size on these I lay my ruler on top with the 2 1/4" lines at the intersections (that is the halfway point on these blocks.) I had a wee bit of trimming to do to get the 4 1/2" x 4 1/2" size needed, but they are all nice and square now. 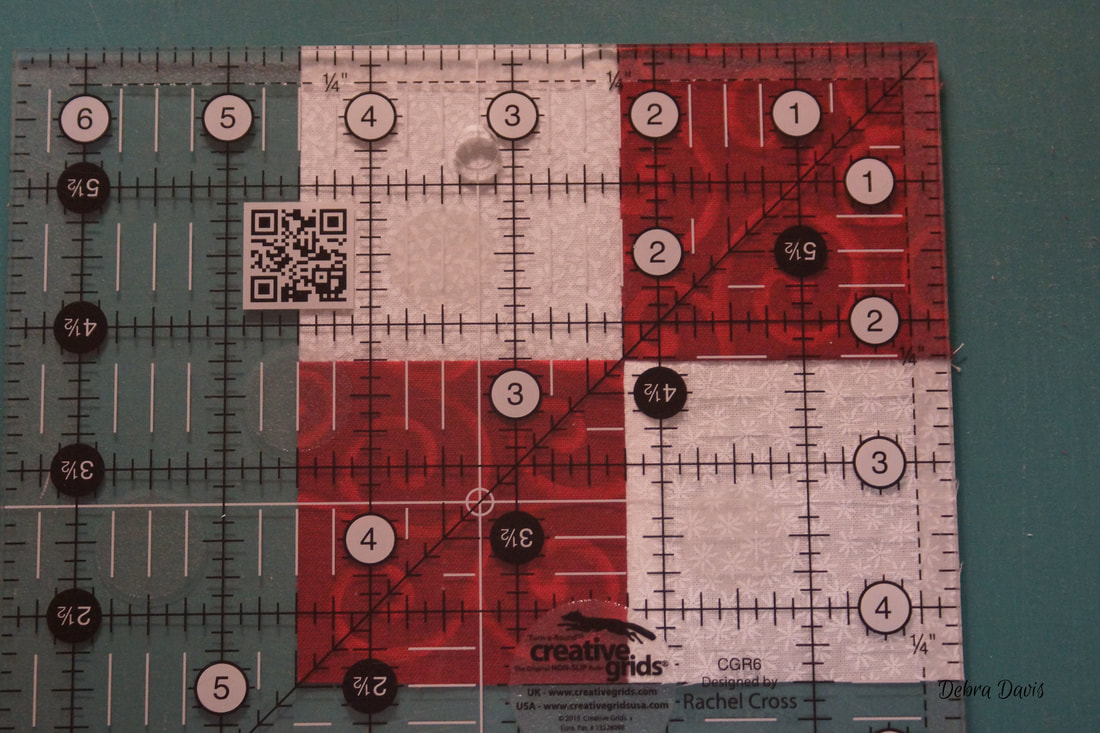 Here are the four units for my Red and White version... 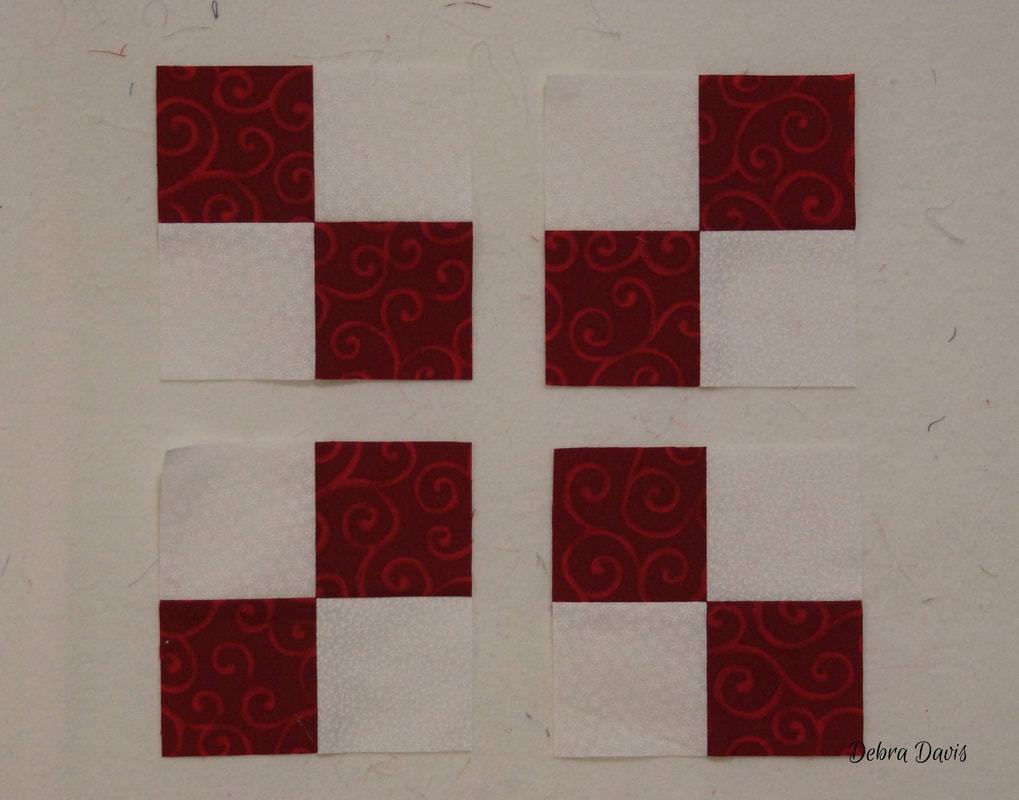 If you are doing the color version you will have to A/B units and two H/B units.
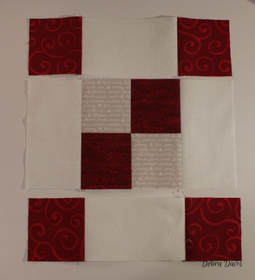
Now I repeat the proces to make one 4-patch unit using the F and G squares. 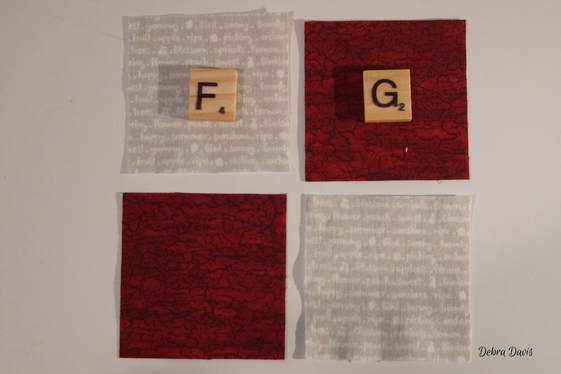 Next I lay out the pieces to make the center unit of our star Here you can see both my red and white version and my color version.
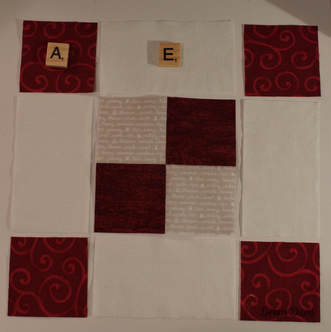
When joining the rows I pressed the top and bottom rows towards the A (and H) squares and the middle row towards the 4-Patch unit. Before sewing the rows together I do a quick check to see that the middle section of each row measures 4" across. 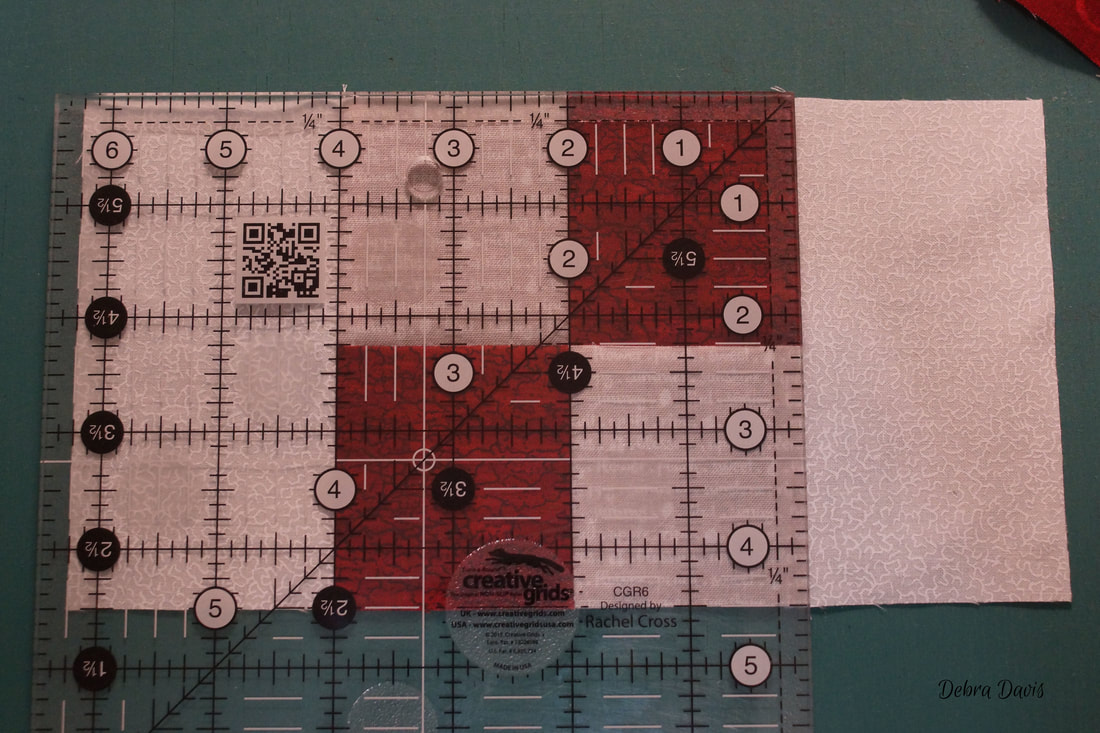 Time to join the rows to make the center unit of the star. I placed pins at the intersections this time as not every seam will be facing the way I would like for those seams to nest together when they are sewn. I pressed the rows towards the 4-Patch in the middle.
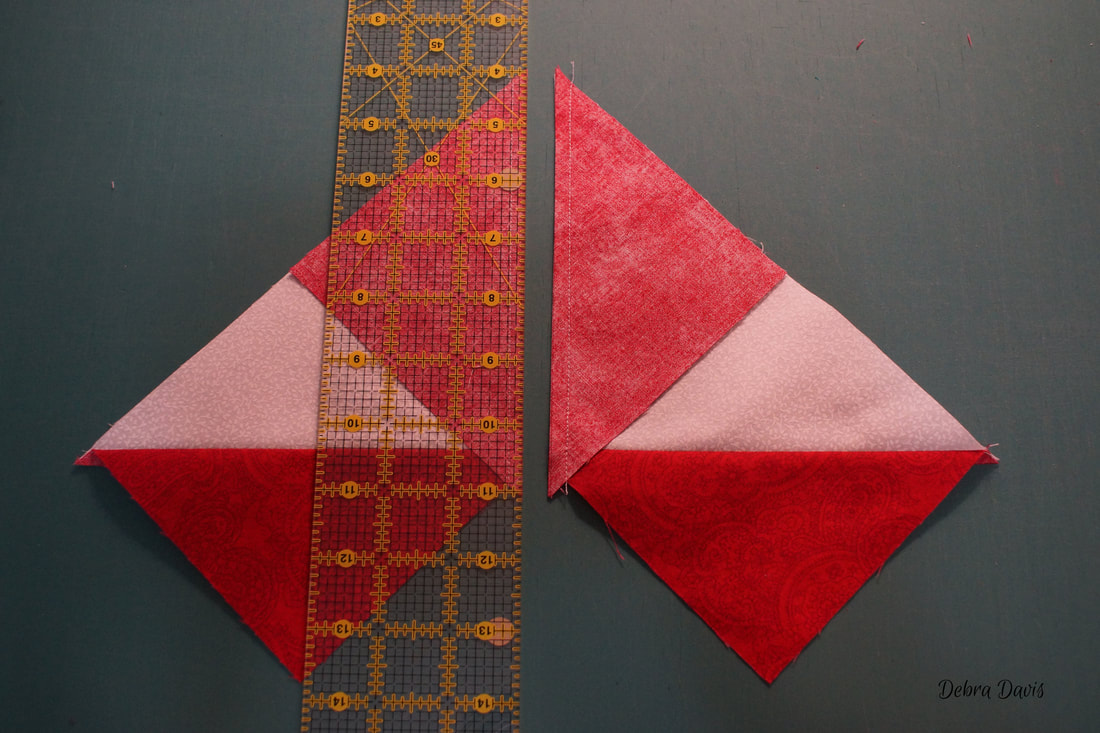
The center unit needs to measure 8 1/2" x 8 1/2" I have made sure to lay the ruler so that the 4 1/4" lines fall right on the seam lines in the middle of the block. By measuring from the middle out I will end up with a very symmetrical block-everything nice and even all around. 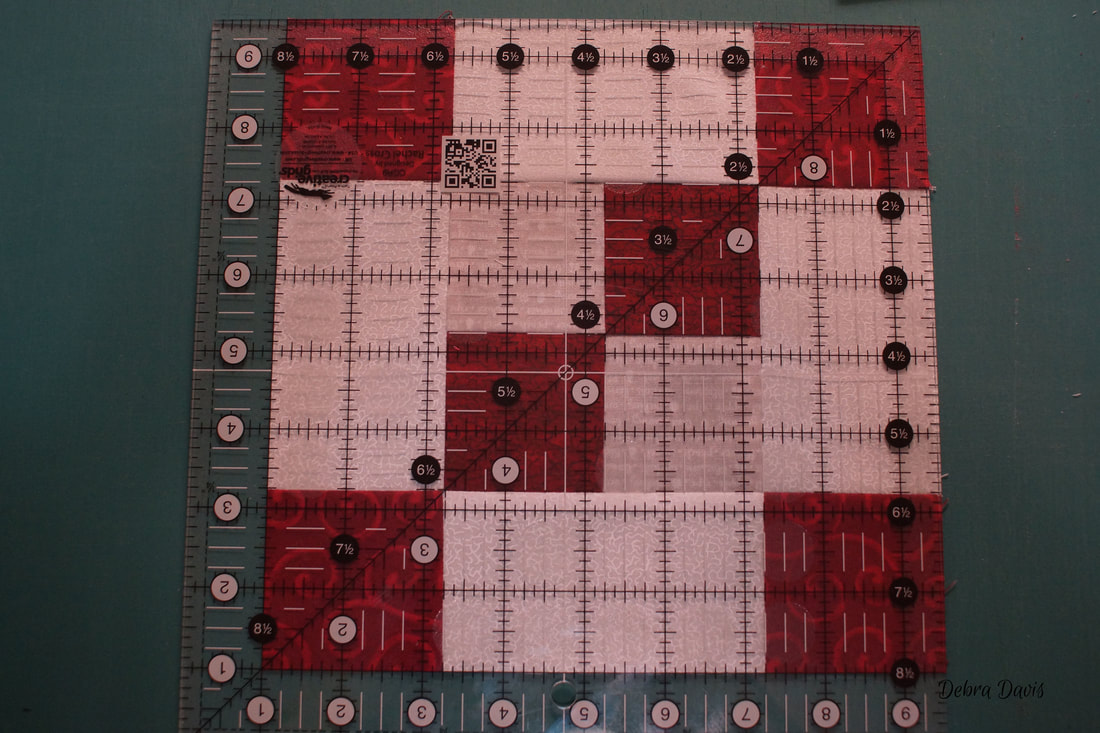 All that is missing now are the Flying Geese...  We did several of these in Block 1. Hopefully you are getting familiar with the process. Place two C squares on the D square and draw a line down the middle-trying to be very exact. 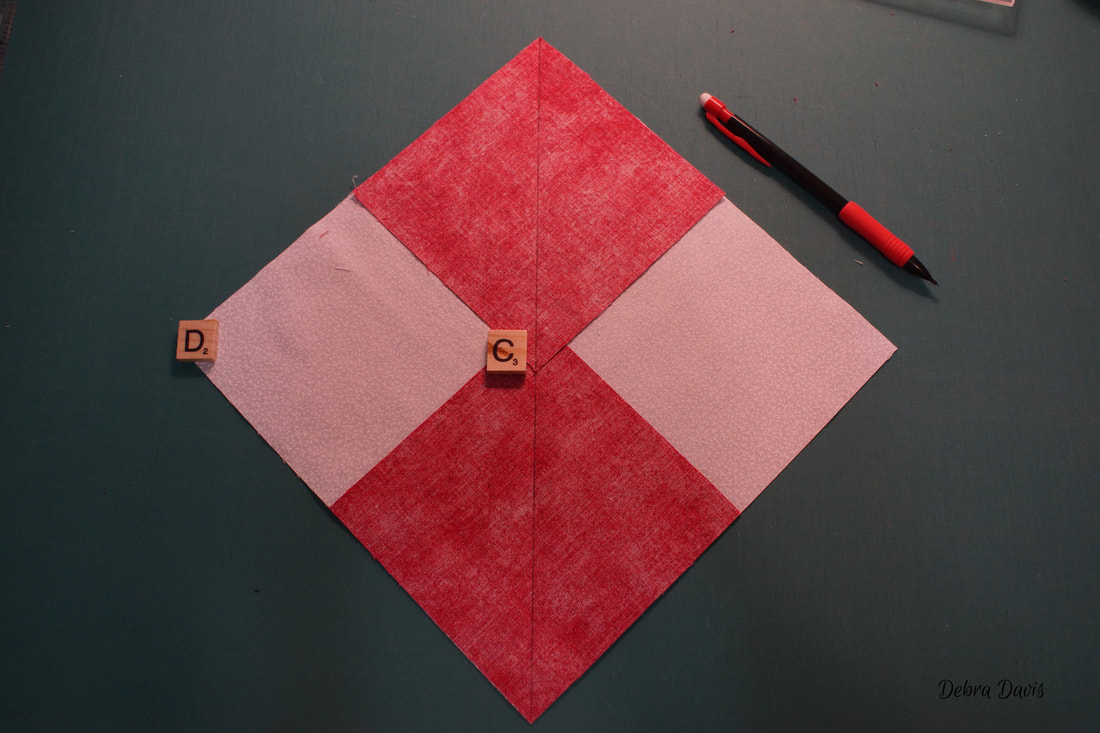 Sew 1/4 inch from each side of the drawn line and then cut apart on the line.
After pressing towards the small triangles, add another C square and draw a line down the middle, 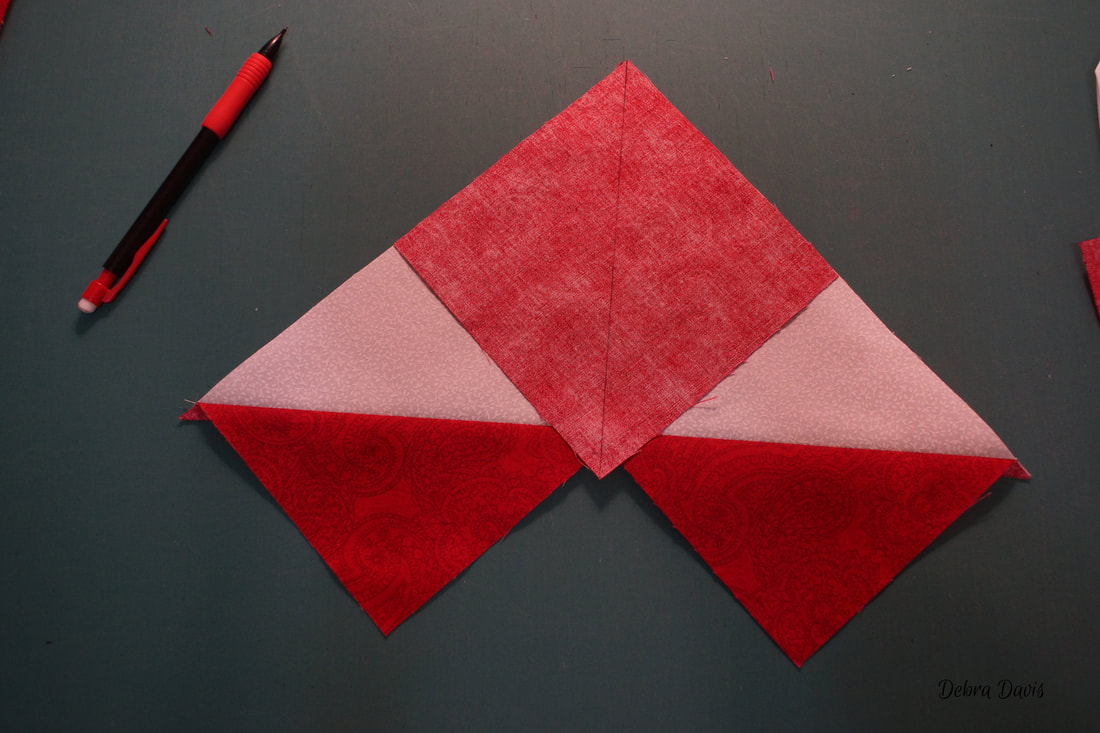 Sew 1/4 inch from each side of the line and then cut apart on the line. I love how quickly this produces four identical Flying Geese.
Using my Flying Geese ruler to trim these to 4 1/2" x 8 1/2" 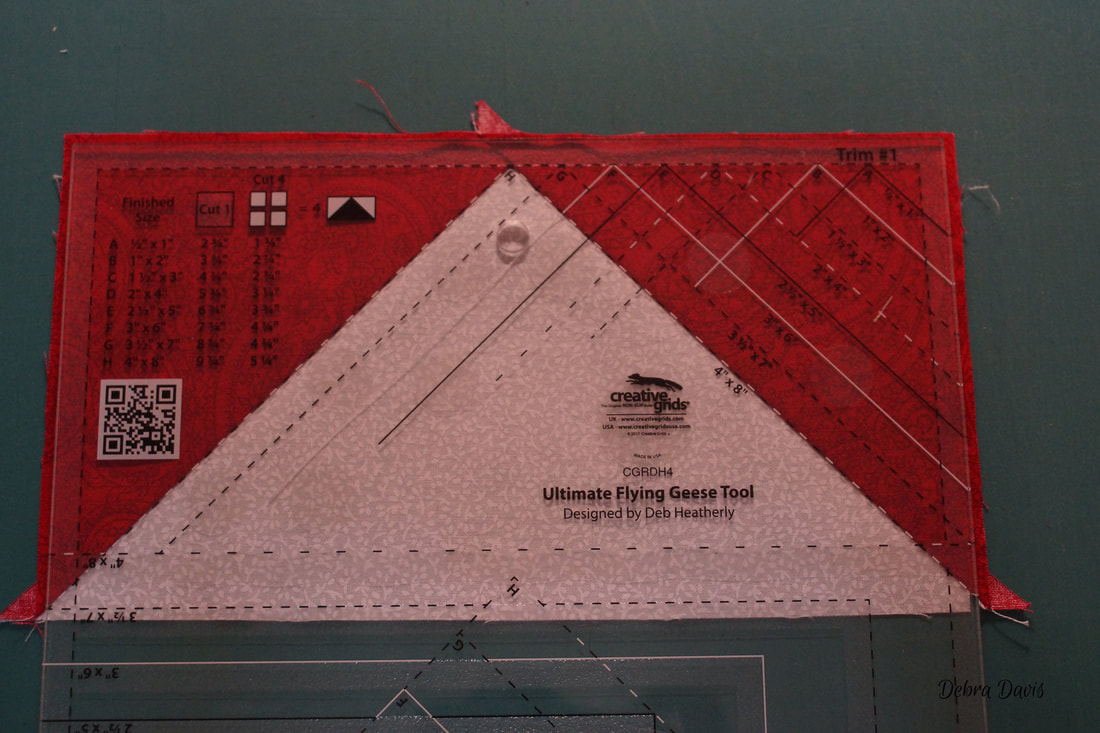 These are the same size as the large ones we made last week so if you need a reminder of how to trim with a regular ruler click on the link for Block 1. This is where the ruler goes to trim the last two sides. 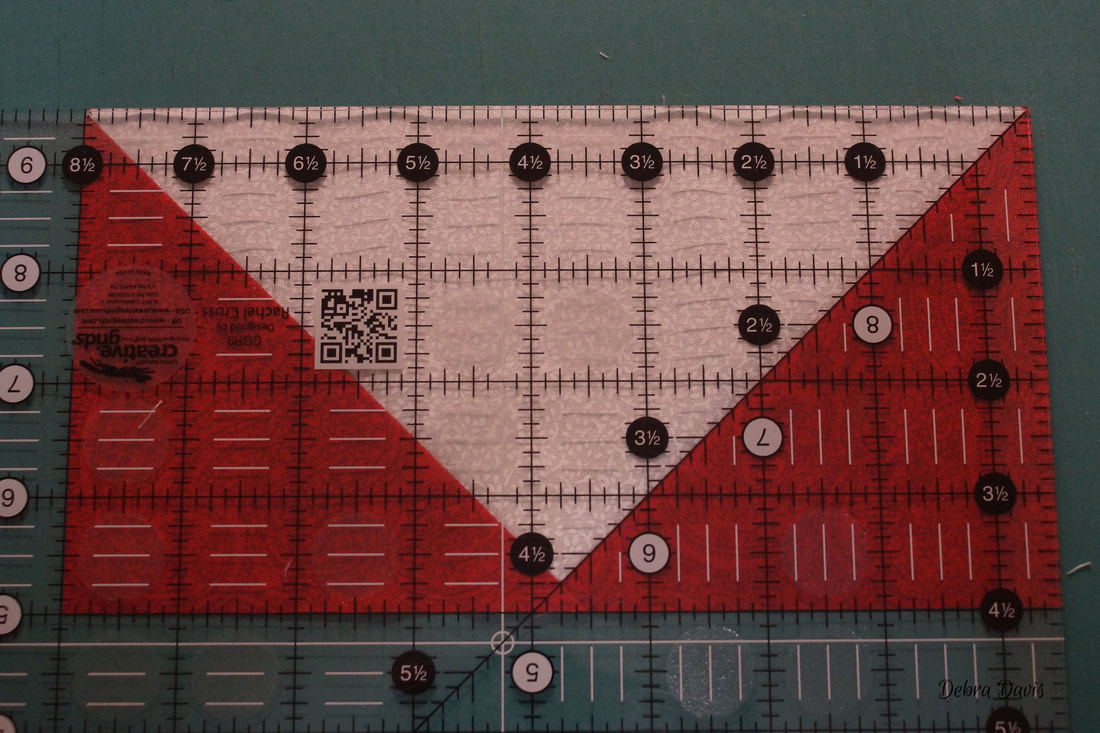 With the Flying Geese all trimmed I lay out everything so that I can step back and make sure all of the pieces are facing the direction I want. You do want to make sure that the 4-patch units are facing the right way and I have been known to sew a goose upside down. 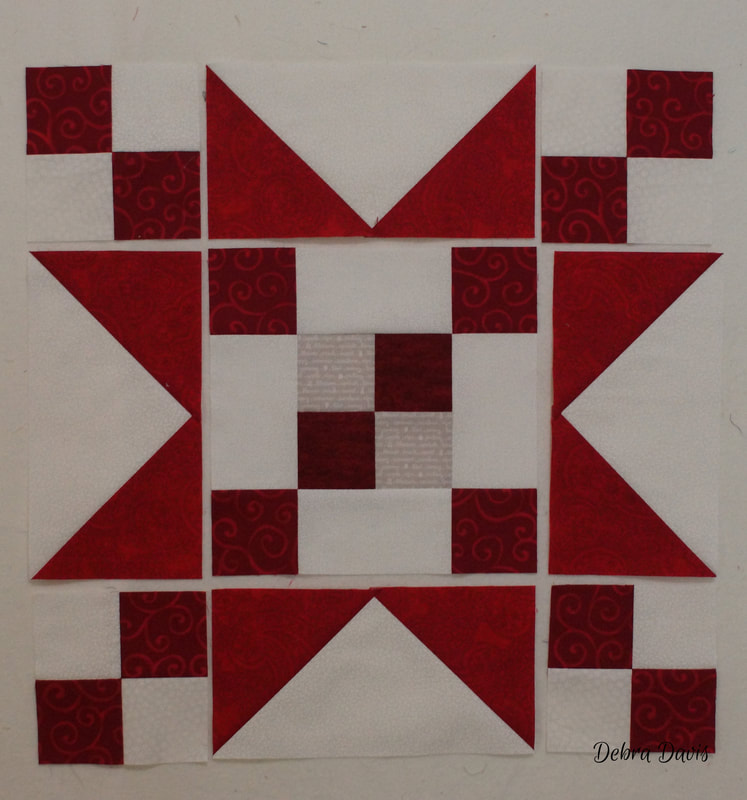 Here is how I have laid out my color version.  As I sew the rows together I keep the Flying Geese units on top so I can watch that intersection. I would much rather land on the outside of those intersecting seams than on the inside which will cause me to lose my points. Ideally I will hit it spot on. 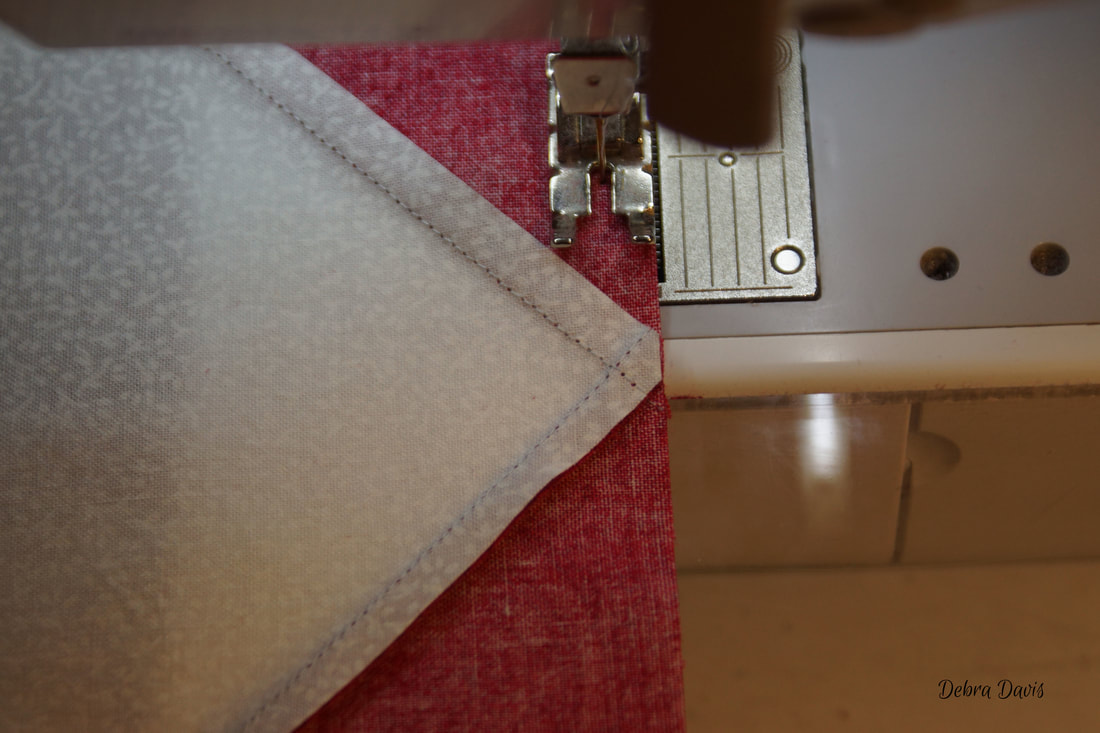 I pressed all of my seams away from the Flying Geese units. (towards the outside 4-patch units on the top and bottom row, and the center square on the middle row. 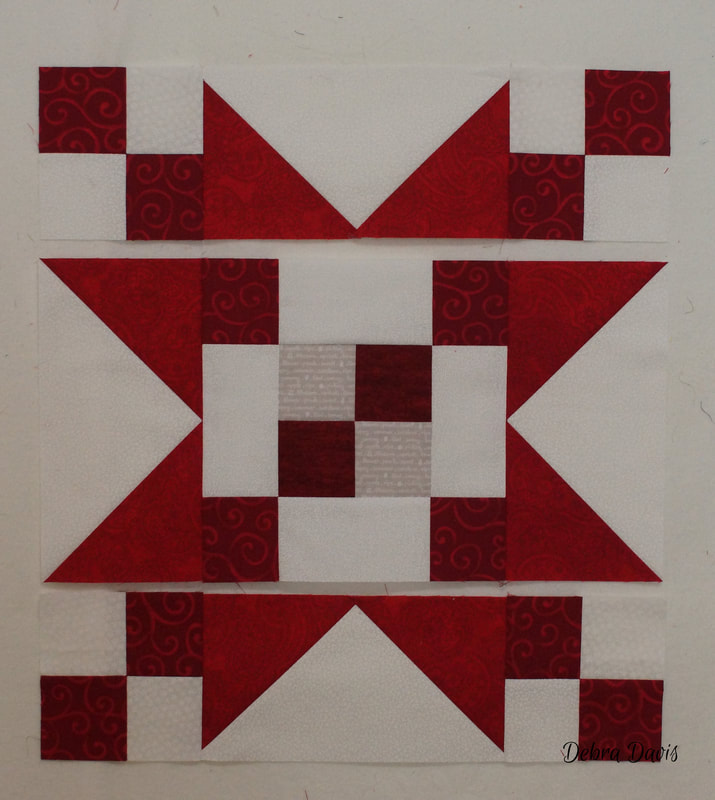 Before sewing the rows together I checked to make sure that teh center sections of each row measure 8 Inches across. 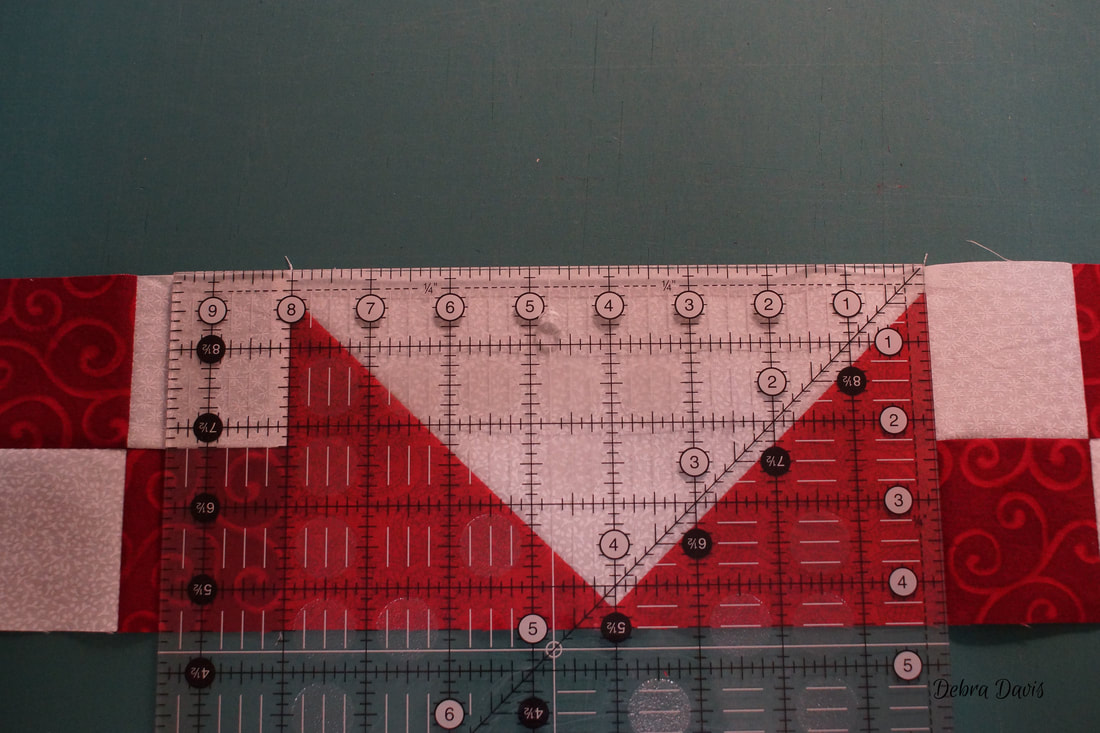 Once I am satisfied, I join the rows, pinnng at the intersecting seams and pressing towards the center square. 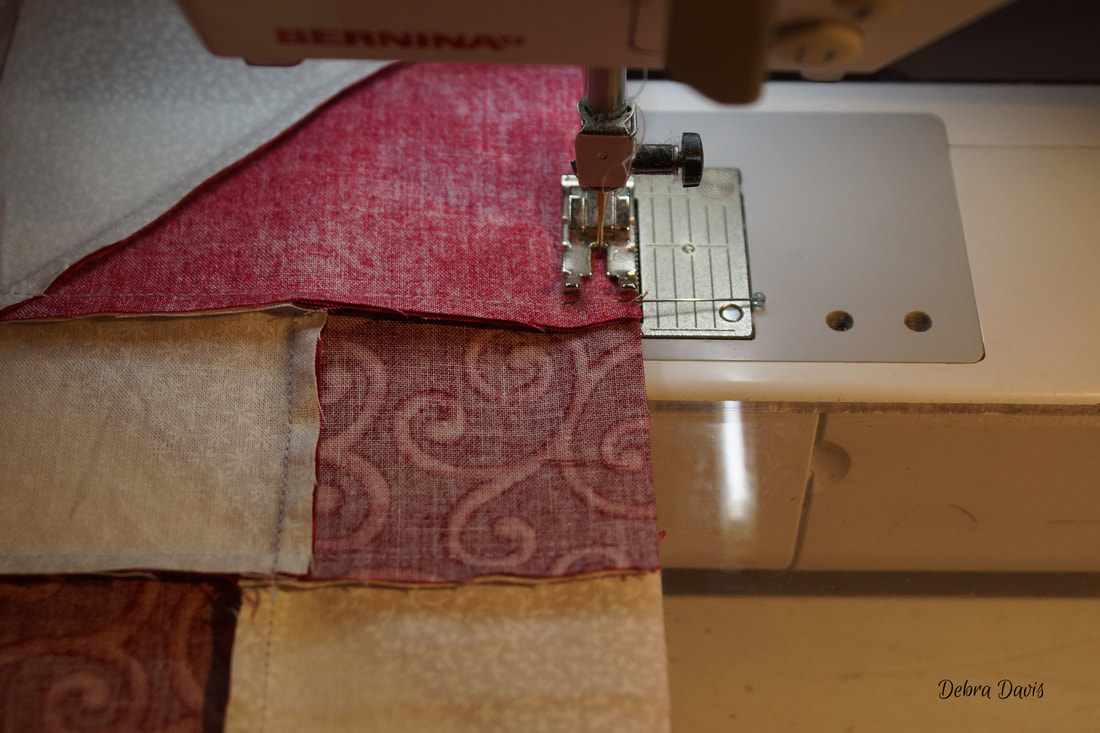 Block 2!  Until next week... Happy Quilting! 
April
2/13/2018 09:46:10 pm
Oh now I can learn more, thank u so much
Debra
2/14/2018 08:40:31 am
My pleasure, April!
Reta Stutz
2/14/2018 09:45:09 am
I want to thank you for the step by step instructions. They are so helpful. I feel like I can do this and not fumble through like I have been on my flying geese and HTS! I might even get all my point in one block!
Debra
2/18/2018 07:55:27 pm
I am so glad to hear it, Reta. If you have any questions please feel free to ask. Good luck on those points. Comments are closed.
|

Welcome to the site of Debra Davis-a woman who loves the Lord and loves to quilt.
My other blog where I share about my walk of faith:
Sitting at His Feet 
|


 RSS Feed