|
Tuesday I added the borders to Petals of My Heart. Today I began adding some applique touches to the border. It took a little time to get all of the pieces to match the way they should, but it is coming along nicely. Dear Bailey ran to the quilt studio as soon as I opened the door. Good thing I am not using Bernie (my machine) today. 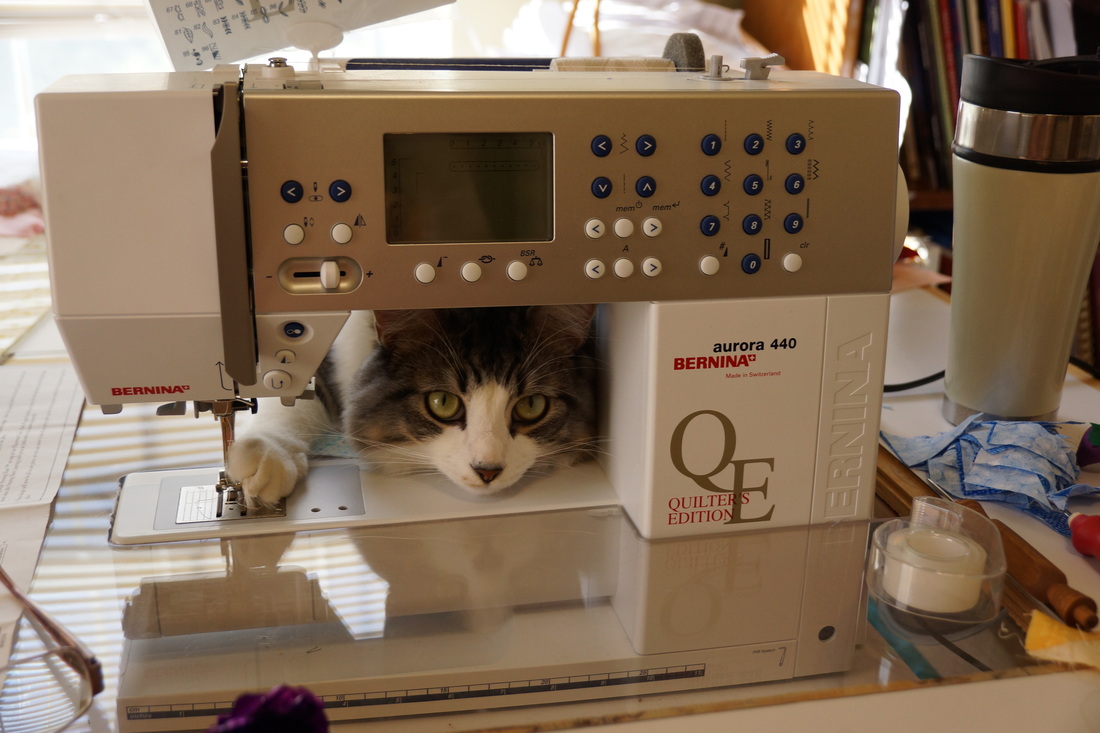 Bailey and Bernie ready to sew-Deb Davis 2014 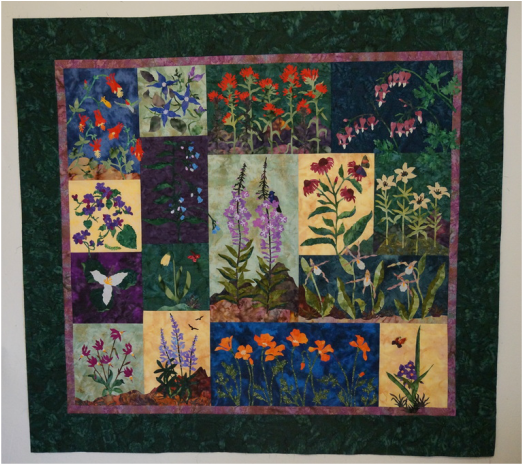 I selected this pattern because I wanted to learn how to do fusible applique. I have gotten pretty comfortable with it now. I thought I would share my method with you today. I have been using Pellon 850 Wonder Under for the most part. I like that I can purchase it by the yard. I have just had an easier time with it than others I have tried so far. The first thing I do is trace my pattern in reverse onto the paper side of the fusible web. I group pieces together that will be cut from the same fabric. Next I rough cut the pieces out, I do not want to cut on the lines just yet, so give myself some room at this point. Once that is done I use my iron to heat set the pieces onto the wrong side of the fabric for the applique. Directions vary depending on the fusible you use, for Wonder Under I use a dry high heat setting and place the iron over the piece to be fused for 8 seconds. Now it is time to cut out all of the pieces. Have I mentioned how much I like my Perfect Scissors and their serated blade for this part of the process? (-: Here are the pieces I have cut out. 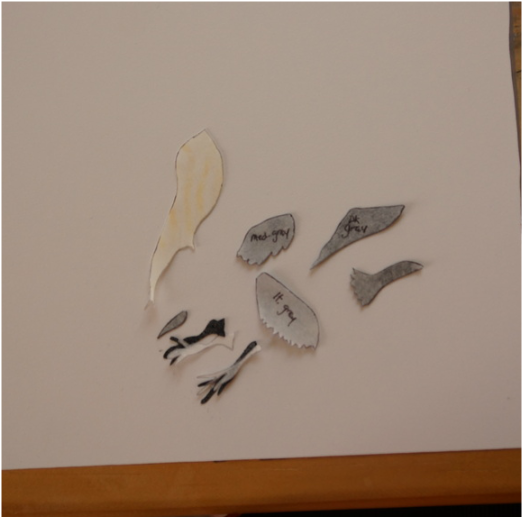 I place my pattern under a pressing sheet. The one I am using is from Fons and Porter. The only drawback to it is that because it is stored rolled up it needs a little convincing to lie flat. 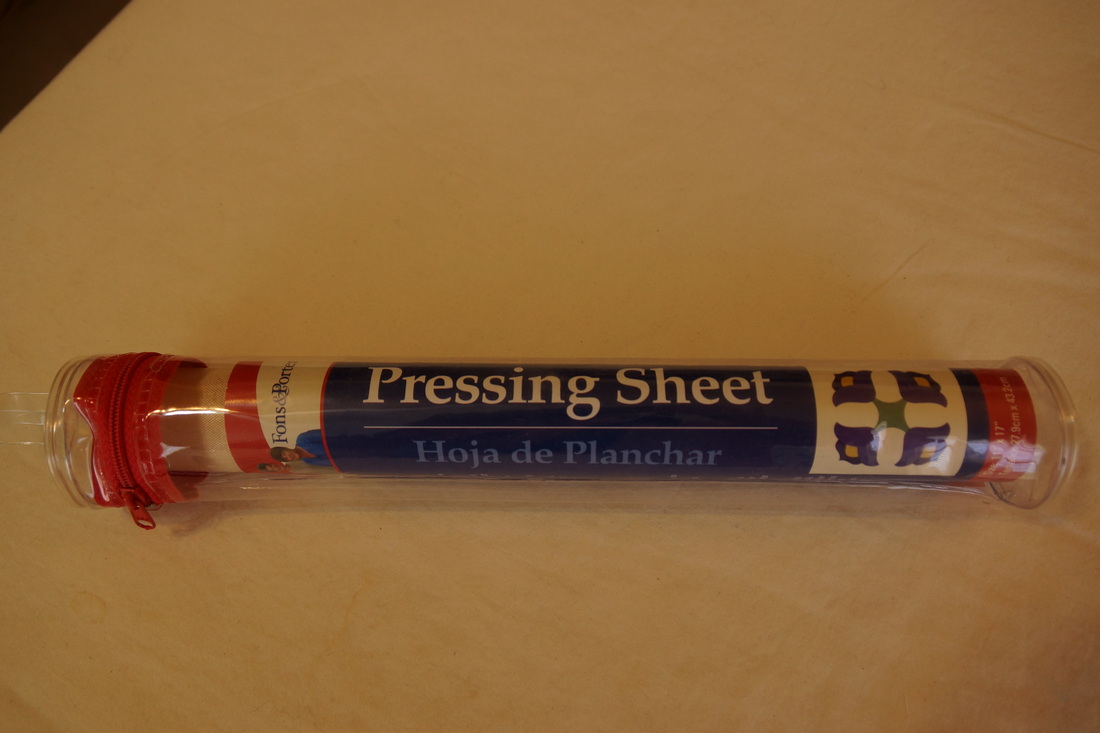 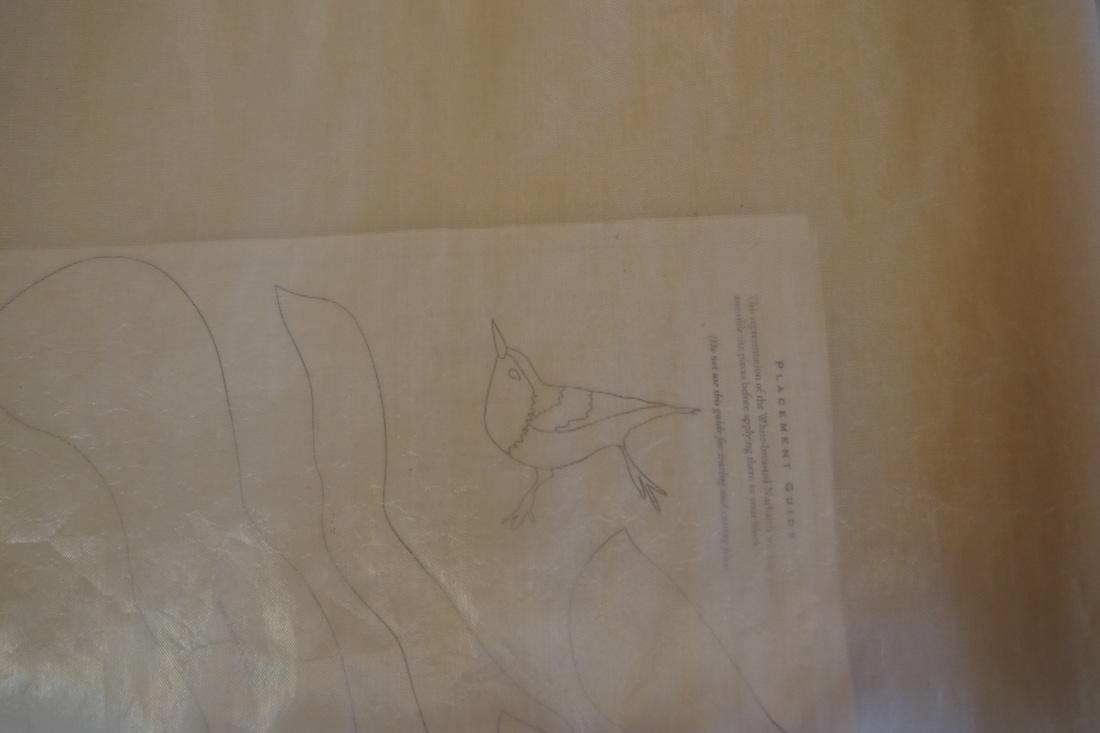 Now for the fun part. I start with the back piece and work my way to the front. As this is a timy little bird I am using my Clover Mini Iron on a medium setting. As I pick up each piece to place on the pattern I peel the paper backing off to reveal the fusible. Once I have the piece lined up with the pattern underneath, I touch the iron to the fabric to get it to stick to the pressing sheet. 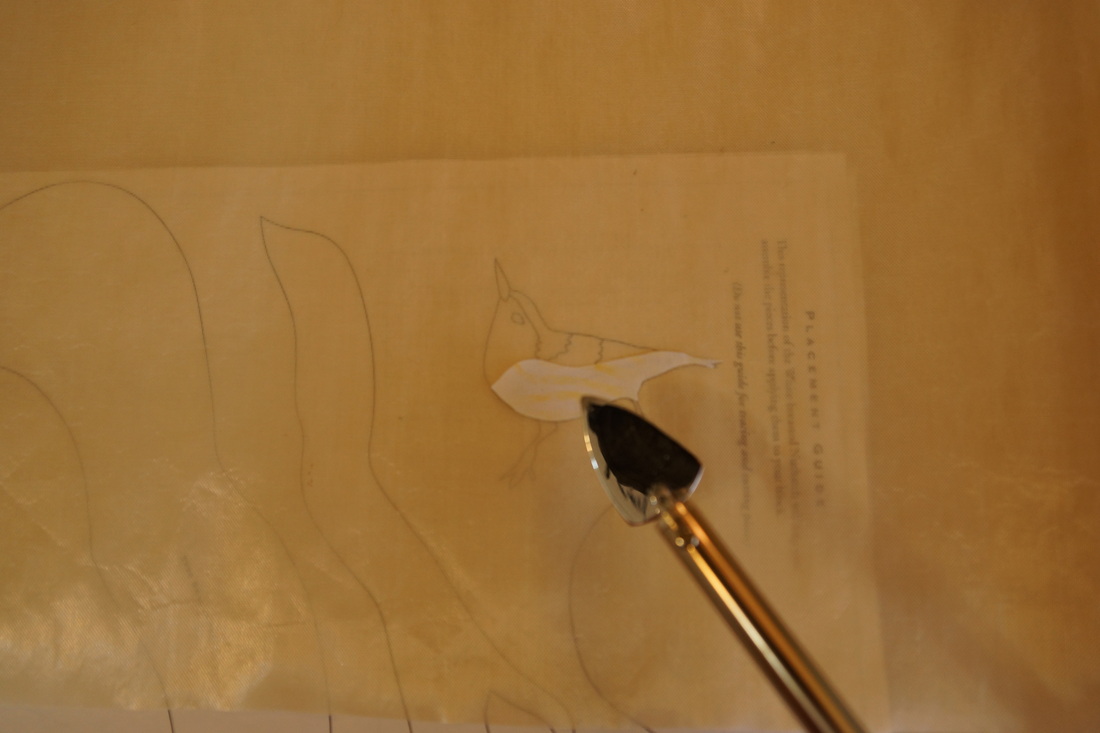 To add the little feet of the bird, I lifted the body section and slipped them underneath then used the iron to fuse them to the body. Right now the black legs show through the white body. Once it is attached to the dark border this will not show. 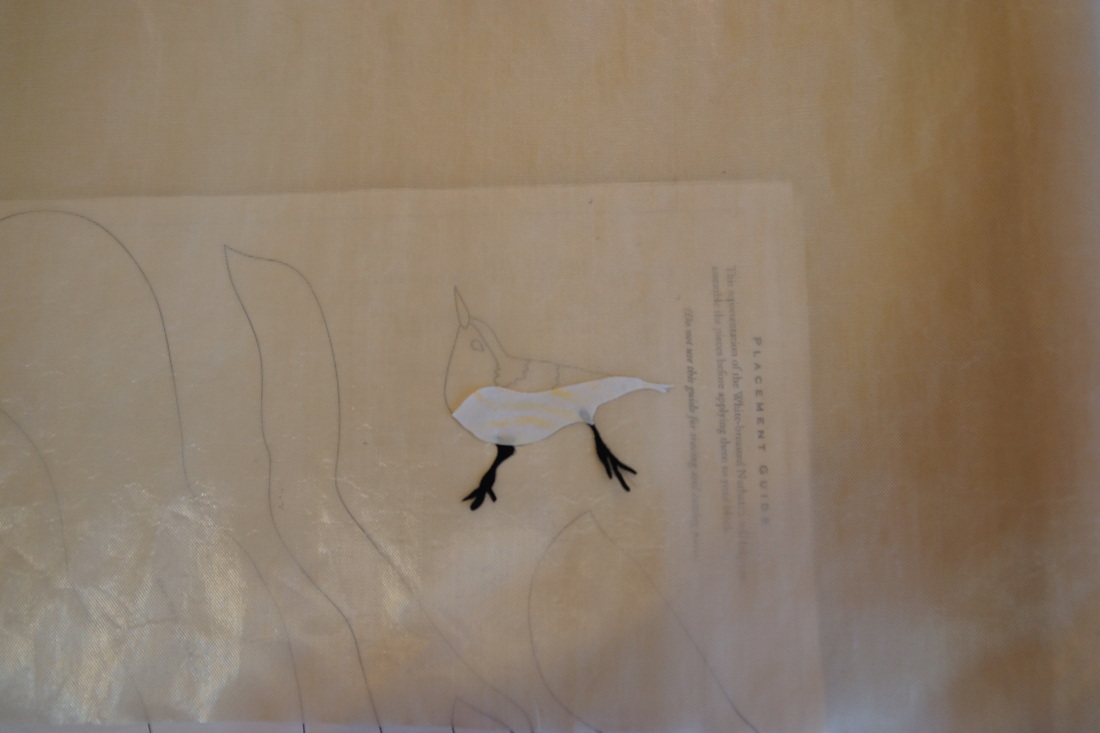 One by one I add the next layers to the little bird, fusing each to the layers underneath with my iron.  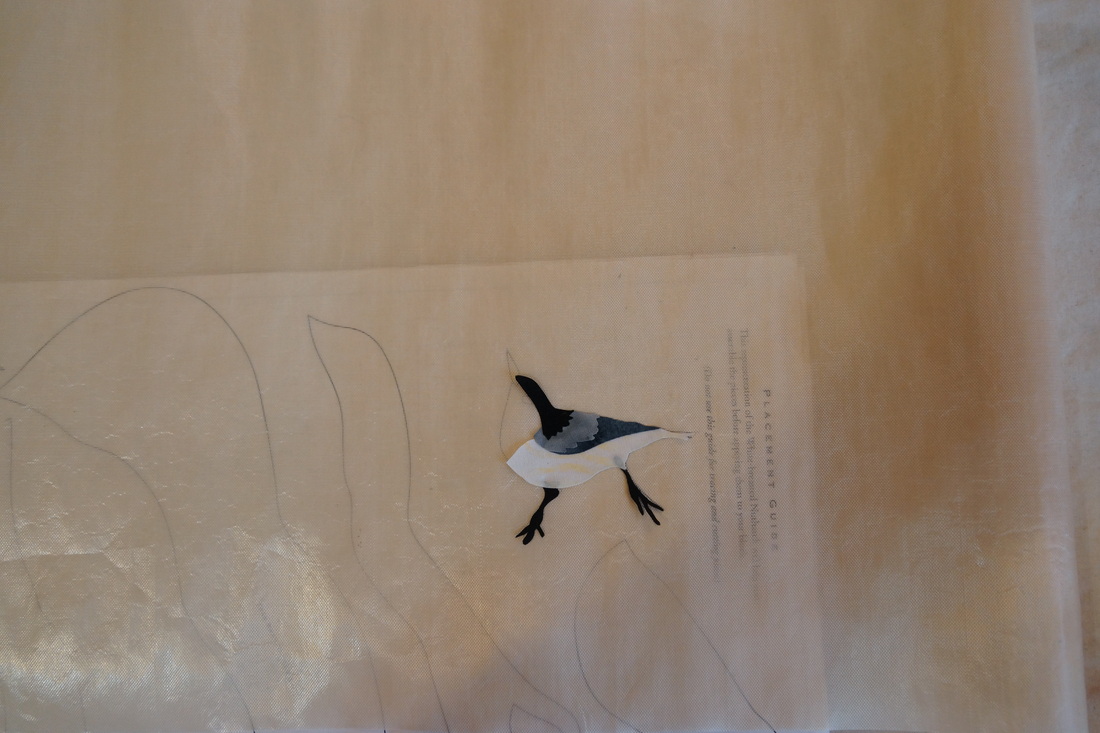 So close, just the head and beak left to go. I think this little nuthatch is going to be darling. 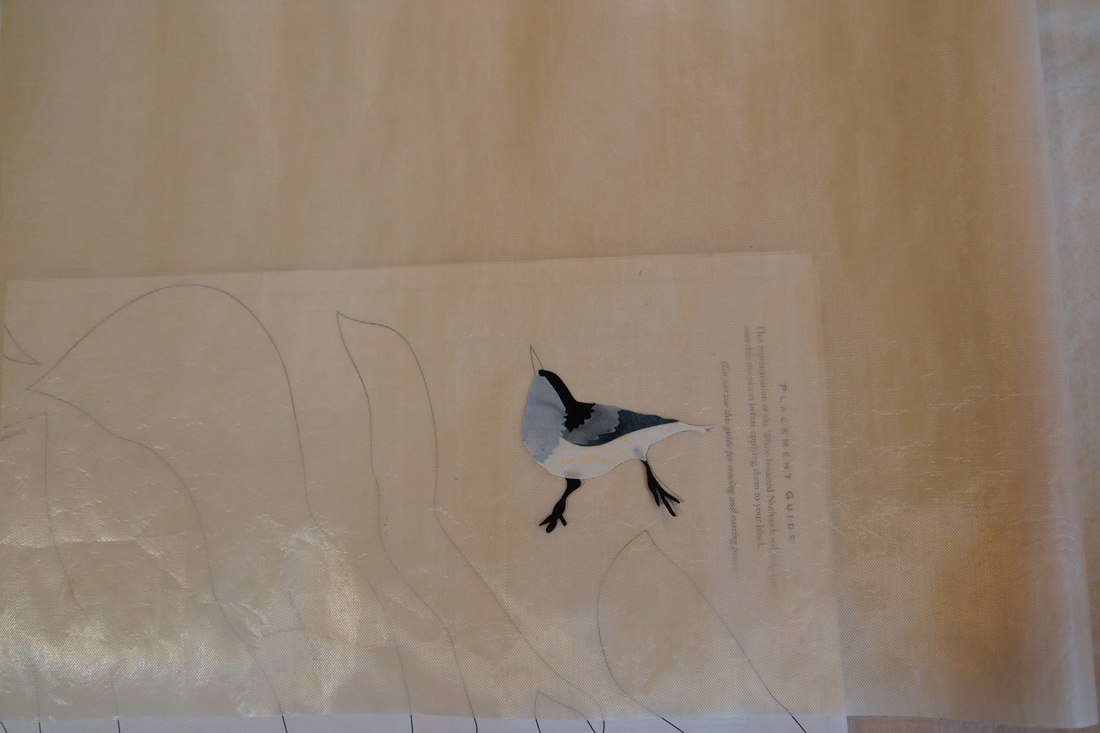 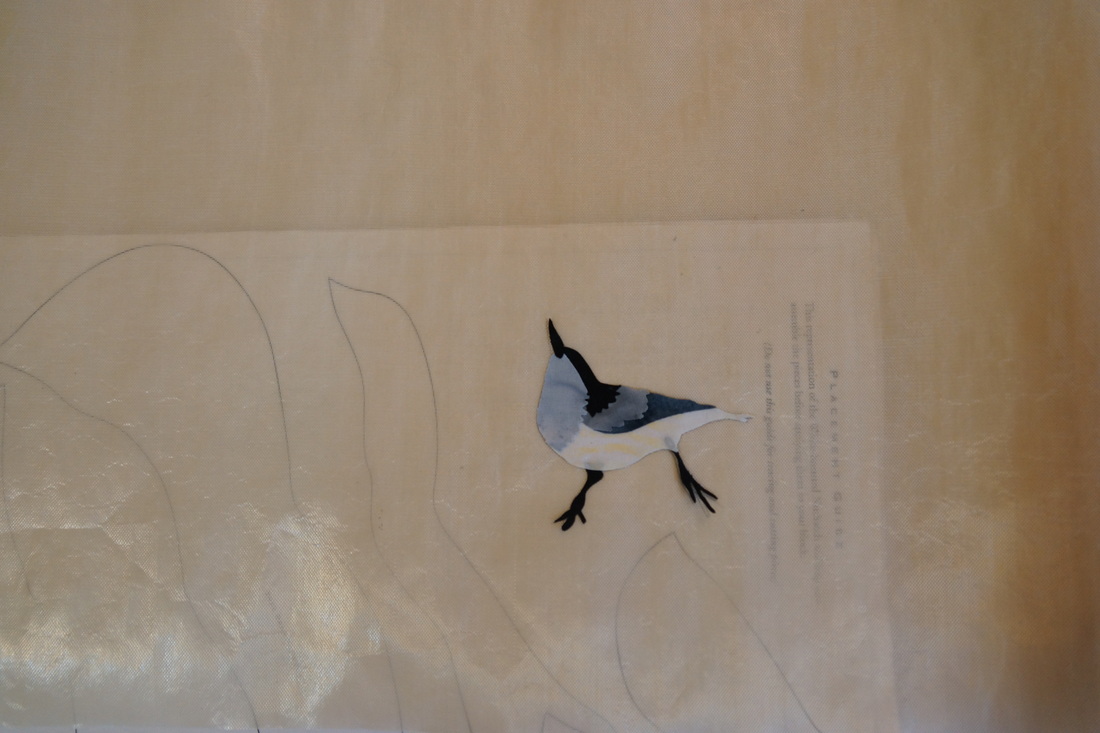 Now for the part I like about this method. The applique can be peeled off of the pressing sheet intact. 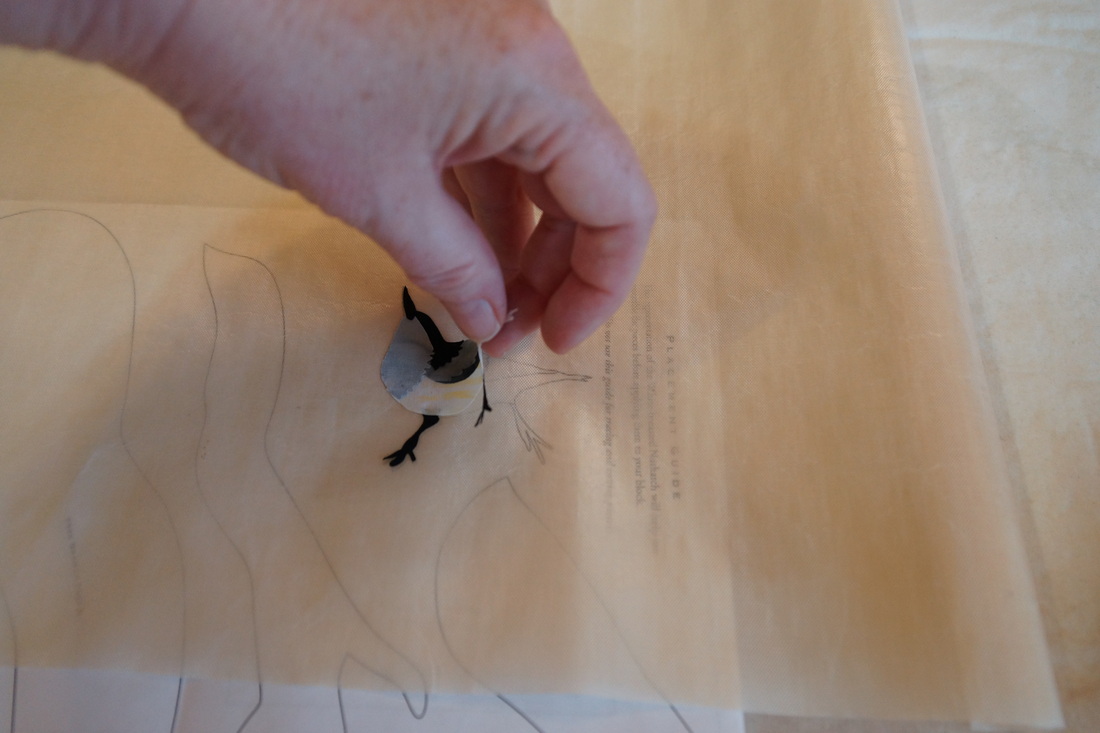 My little nuthatch is ready to be fused onto the quilt. With a damp cloth over the top I use my regular iron and press for 10 seconds. Next I remove the damp press cloth and gently press the area to remove any dampness in the quilt top. I know it is hard to see, but you can just make out the bird under the cloth here. 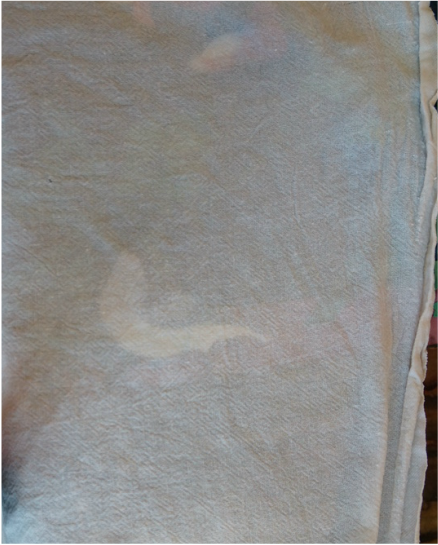 Look at that! A tree has appeared on the border of my quilt. 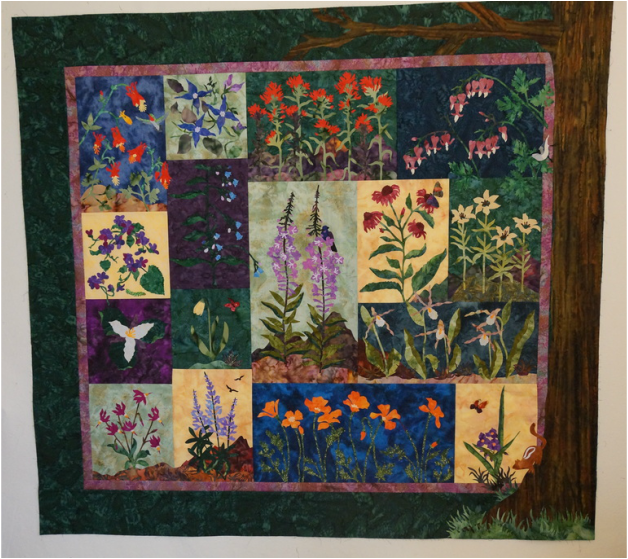 And here is my little nuthatch... 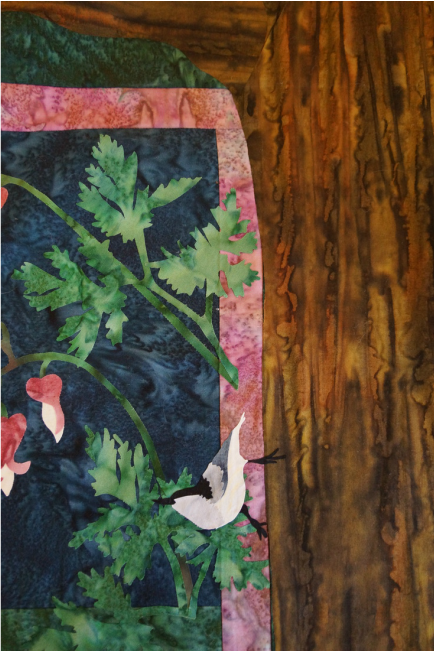 Now Bailey says it is time for a nap. Looks like he has had a busy day! 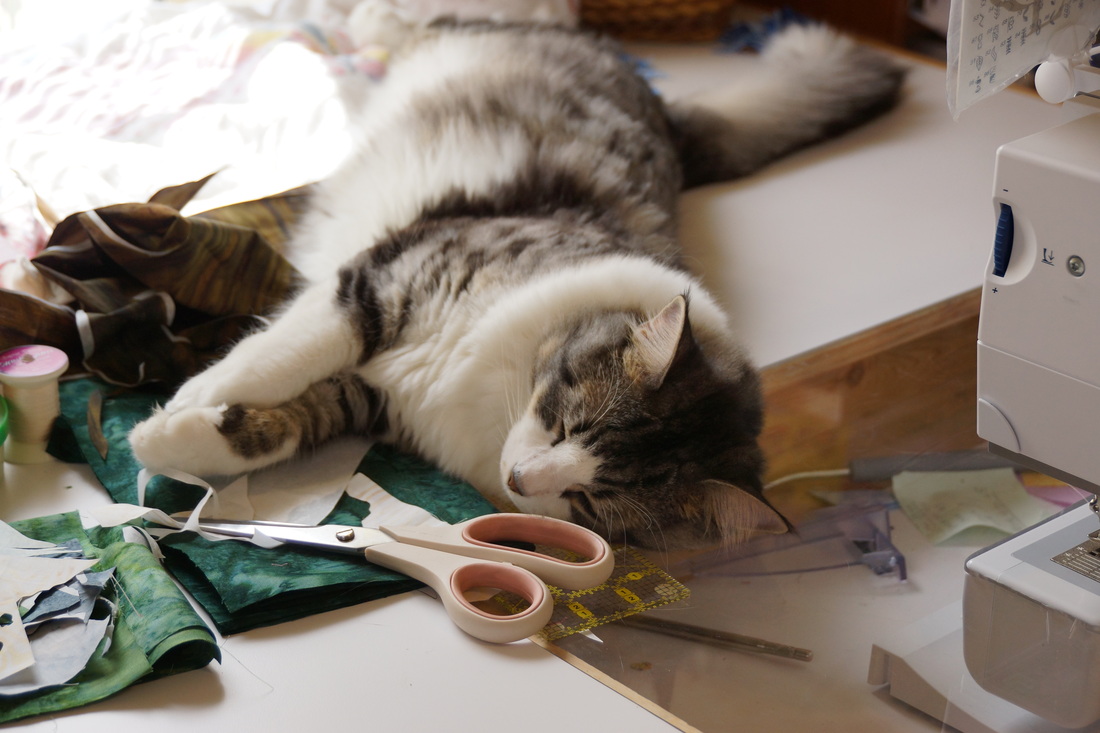 Don't forget to join my Flickr group and share photos of your UFO's and WIP's with us at Deb's UFO Busters
Taking life a stitch at a time, Deb
Roxanne
5/19/2017 04:58:56 pm
Do you sew around any of those tiny pieces to secure them?
Debra
5/19/2017 09:25:34 pm
Yes-which is why it has been sitting on my shelf waiting for me to finish-lol. It is # 2 on my UFO's to finish this year. Comments are closed.
|

Welcome to the site of Debra Davis-a woman who loves the Lord and loves to quilt.
My other blog where I share about my walk of faith:
Sitting at His Feet 
|


 RSS Feed