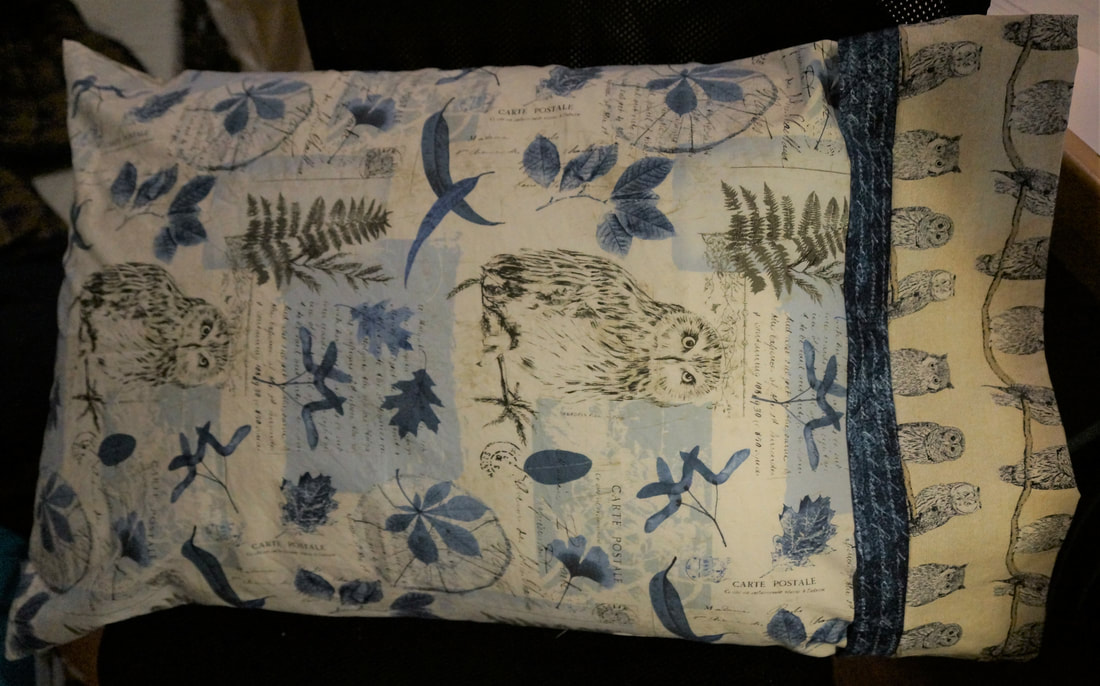
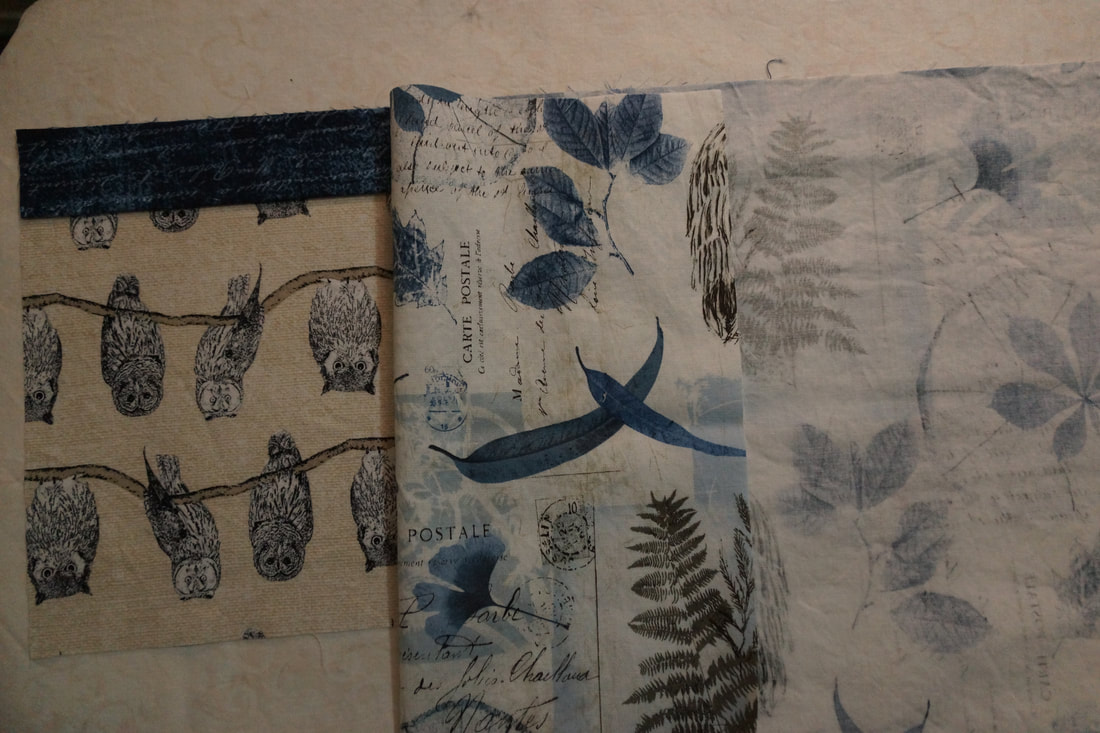
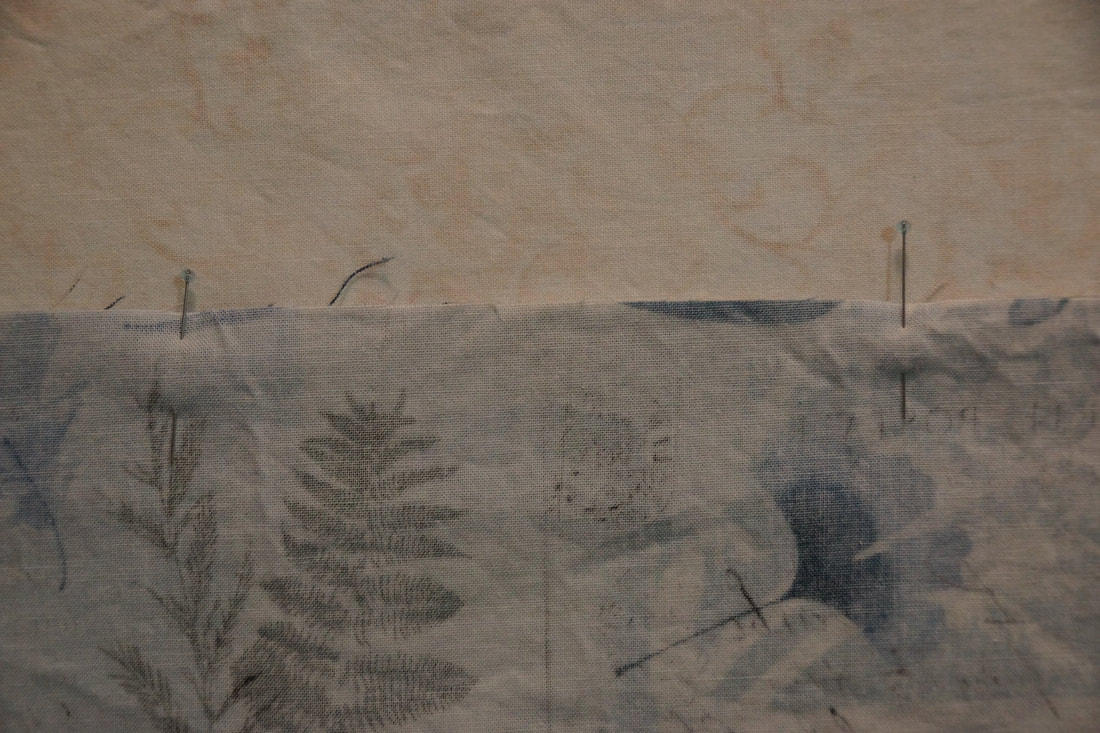
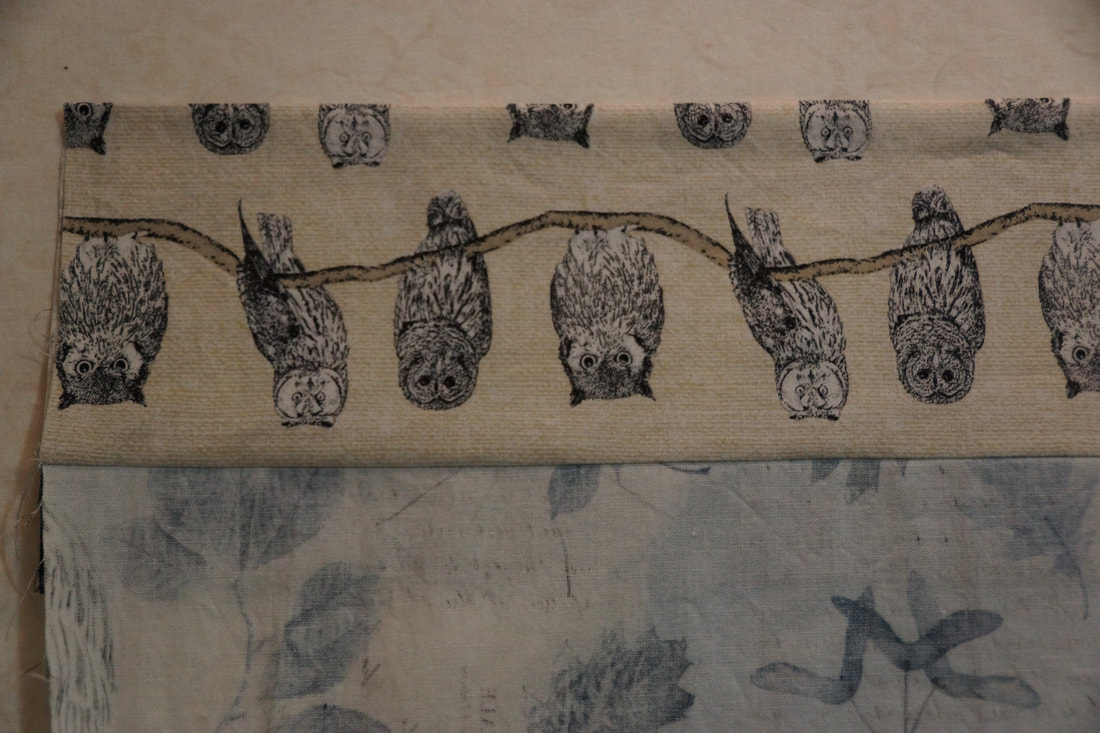
 I picked up some fabric last year to make pillowcases. It has sat and languished on my shelf until last week. Our oldest son arrived for a visit and I decided it was time to break out that fabric and make new pillowcases. Last fall I had the joy of meeting up with some quilters in Albany, Oregon. We spent part of our day making pillowcases as a charity project for kiddos in the foster care system. This is where I learned the Burrito Method for making pillowcases. So I looked up the sizes I needed to cut my pieces and found a video to remind myself just how to make them. It seems Jennifer Bosworth was equally excited about this method which is known by other names as well. I cut my fabrics as follows: Main Fabric-27" Cuff Fabric-9" Accent Fabric-3" 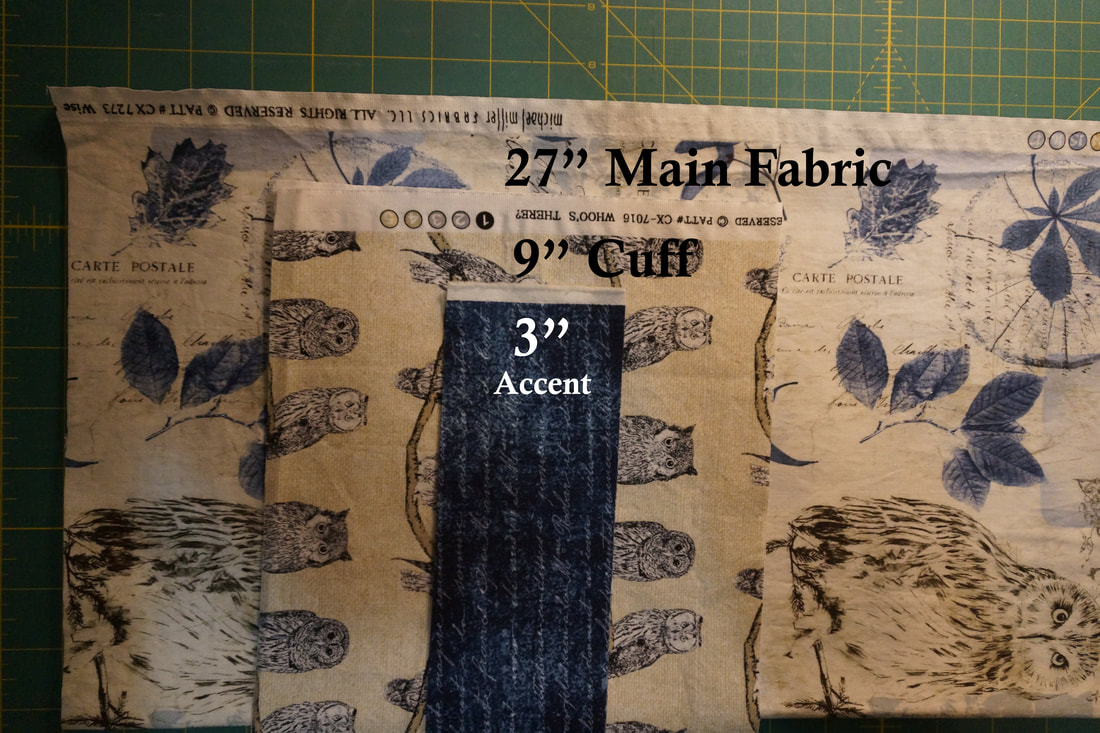 I lined up all of the fabrics and trimmed away the selvages. 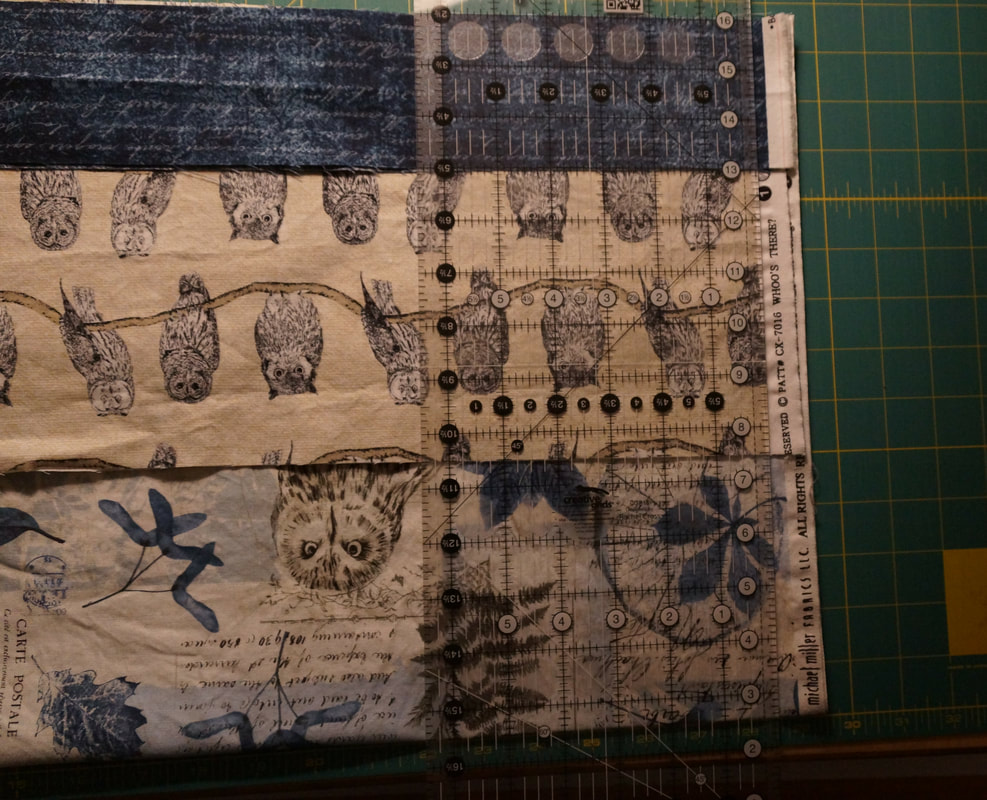 Next, I pressed the Accent piece in half lengthwise; wrong sides together. 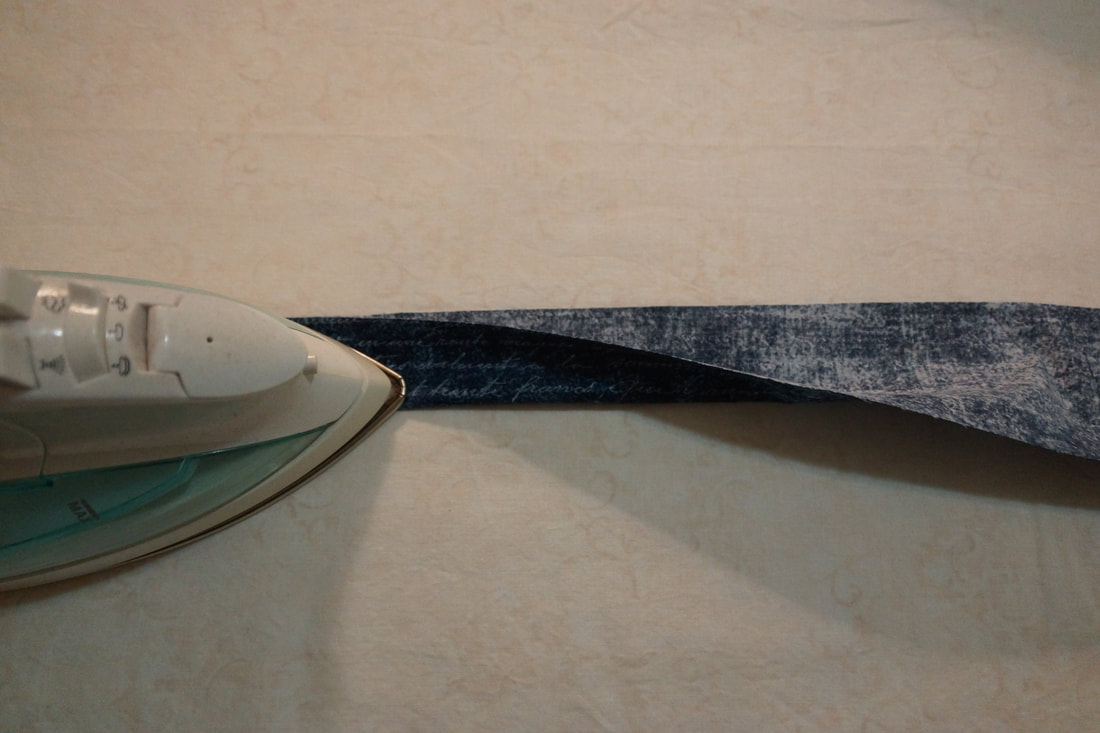 I am using directional fabrics so I had to spend some time figuring out which way to lay them. You start by laying out the Cuff fabric right side up. And in my case I needed the print to go upside down. 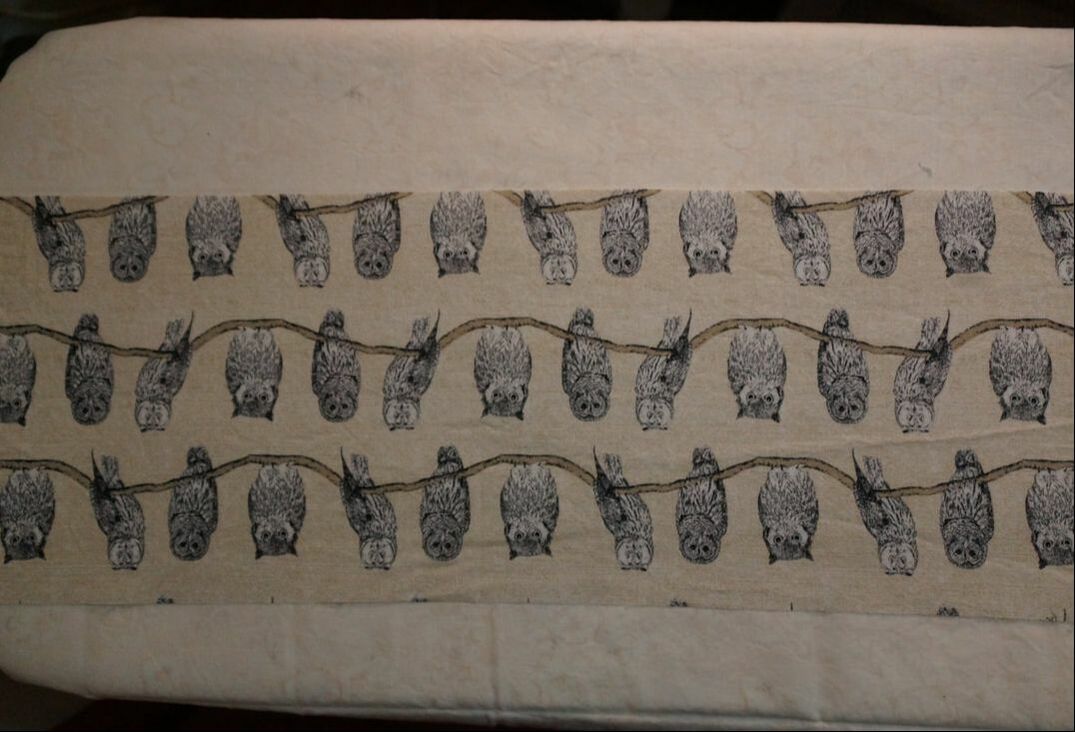 The Accent strip gets placed on top of this. Line up the top edges. Once again, I have mine so that the writing is upside down as I look at it. 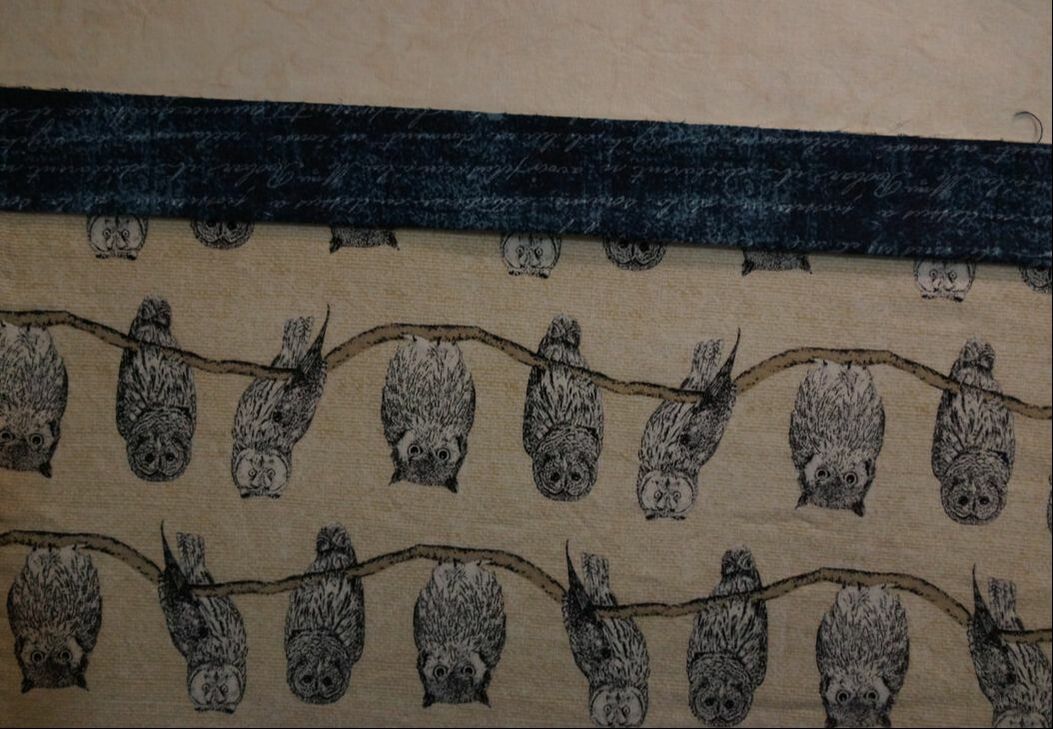 With right sides together, lay the Main farbic on top. Line up all of the top edges and pin to hold the layers together. The print on my directional fabric is right side up this time.
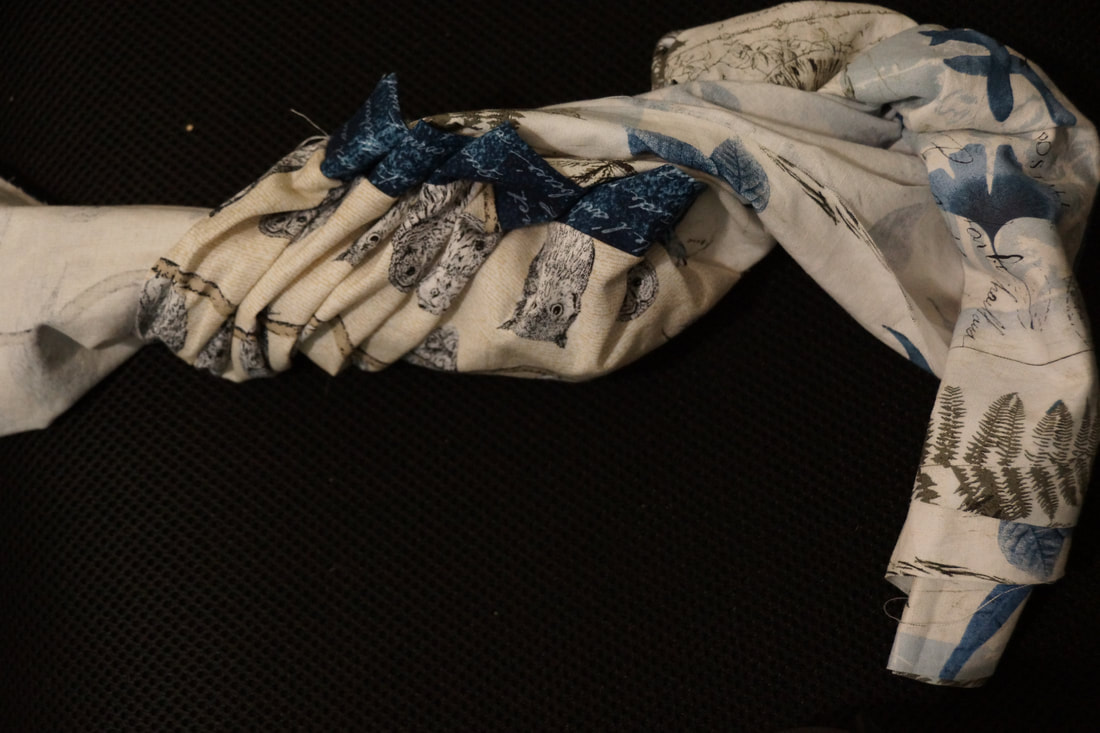
Starting at the bottom edge of your Main fabric roll it up like a burrito. Stop rolling before you get to the top, and after you can see the Cuff fabric appear. 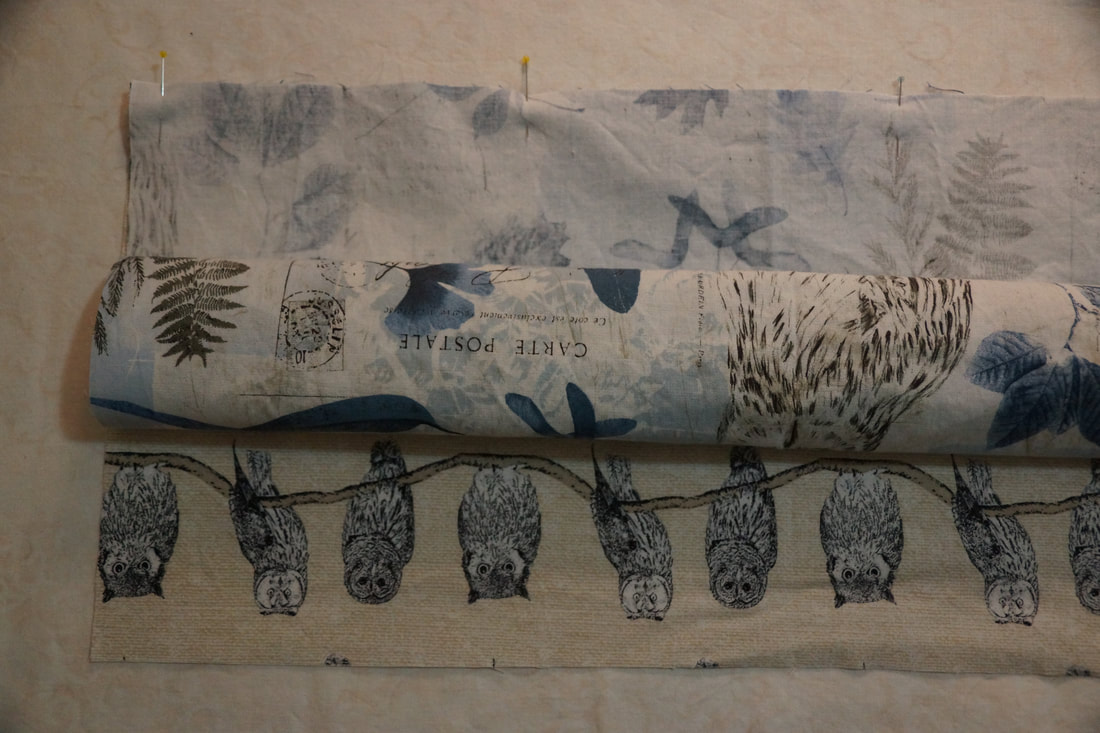 Bring up the bottom edge of the Cuff and repin, matching the raw edges of all layers. 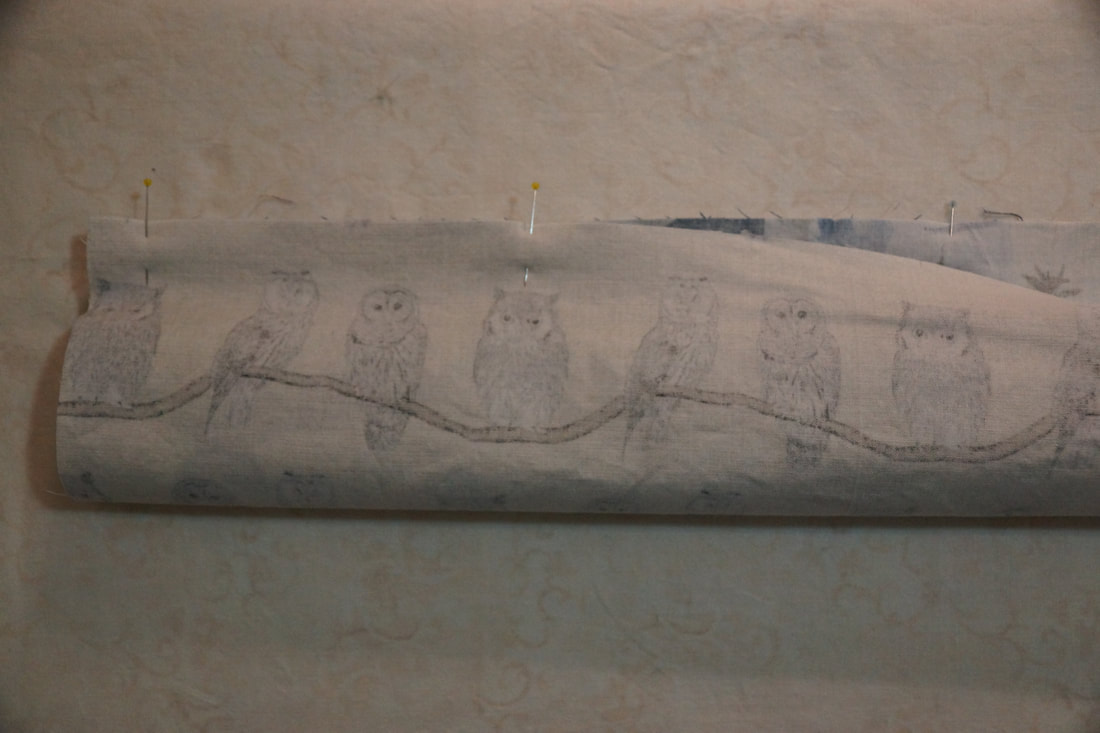 Sew a 1/4" seam along the raw edge. You need to make sure that the rolled up fabric inside of the burrito is not sewn into the edges. You can see the bump of where my roll is as I sew here. 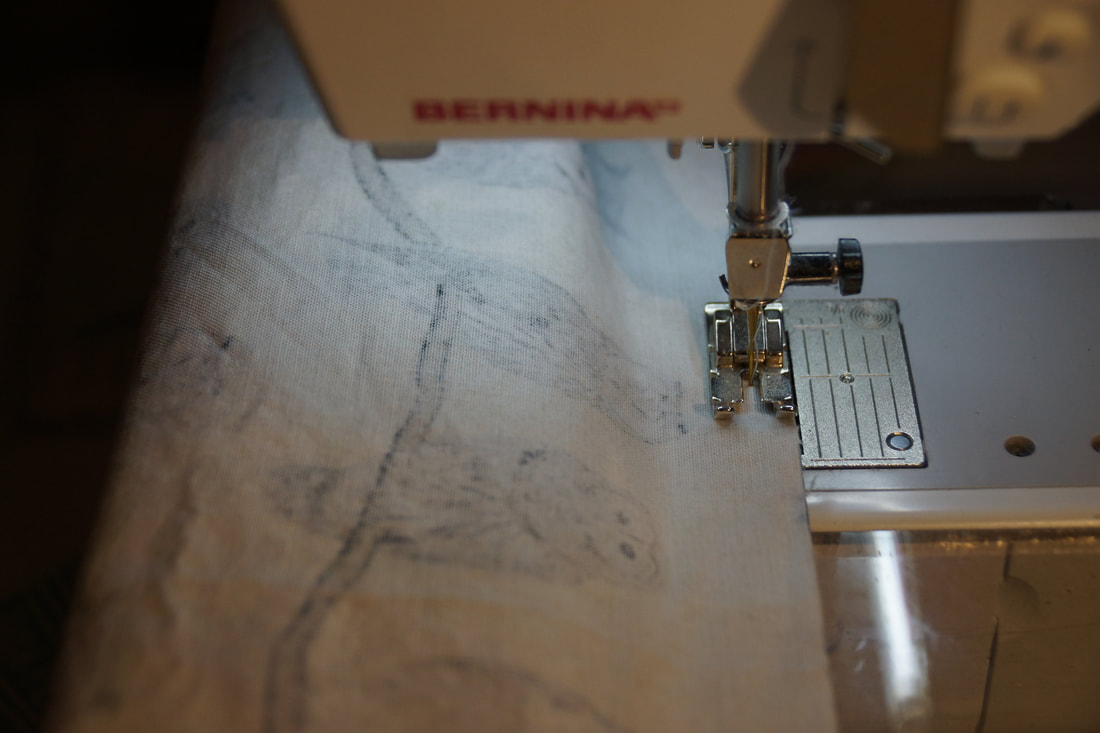 Now for the fun part. Grab ahold of the Main fabric rolled inside and pull it out through the tube you have made. Press everything so that it lays nice and flat.
Now for a French Seam, which I had never done before that meet-up in Albany. It seems backwards, but line up the raw edges of the pillowcase with the WRONG sides together. 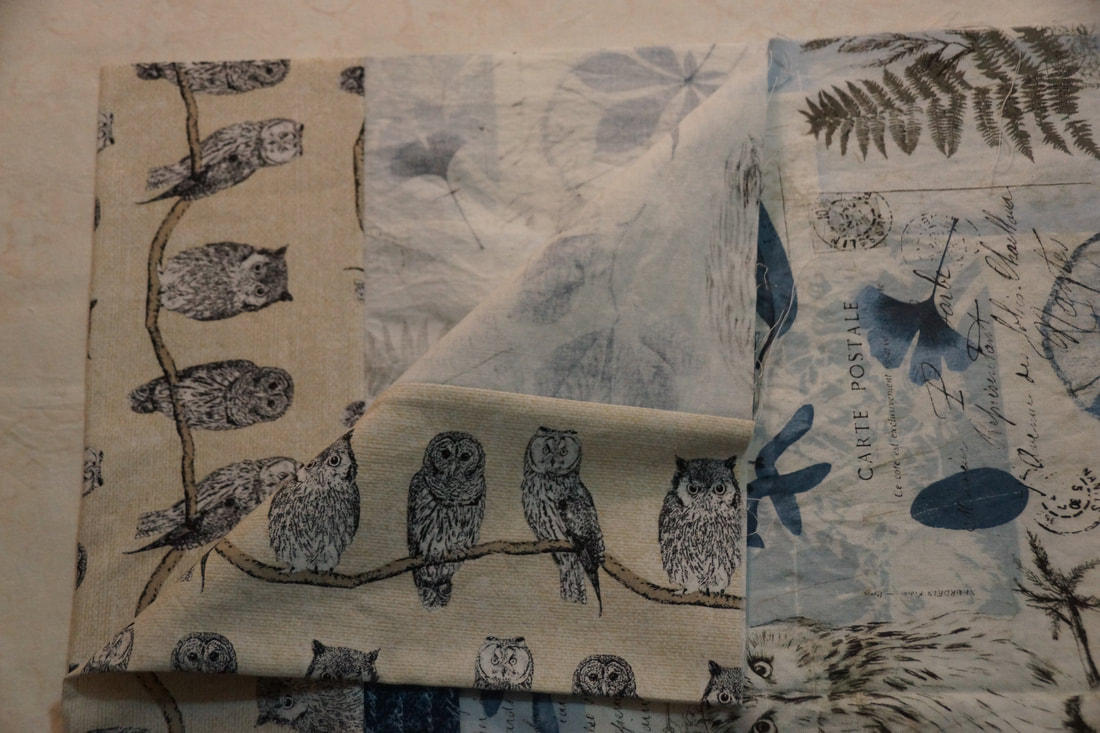 Sew a 1/4" seam around the unfinished side and bottom.  Flip the pillowcase wrong side out and press the seams flat. 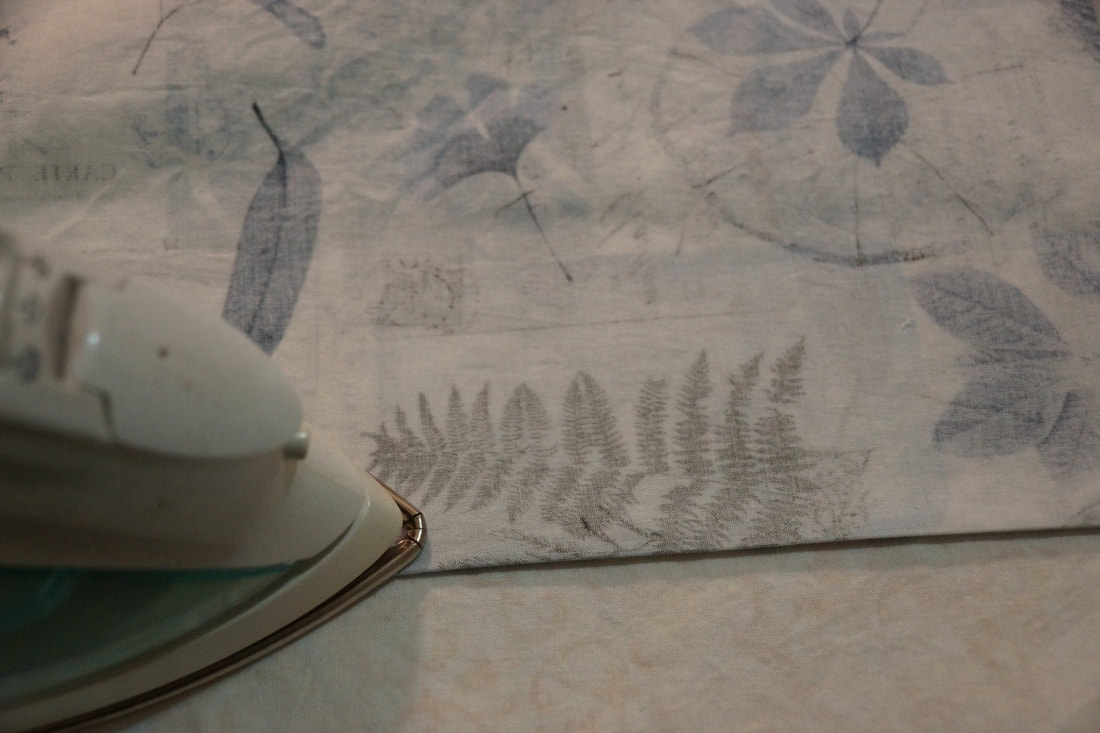 The final step is to sew 1/2" around those pressed edges. When you flip the pillowcase right side out there are no raw edges inside the pillowcase and it makes a very nice finish. 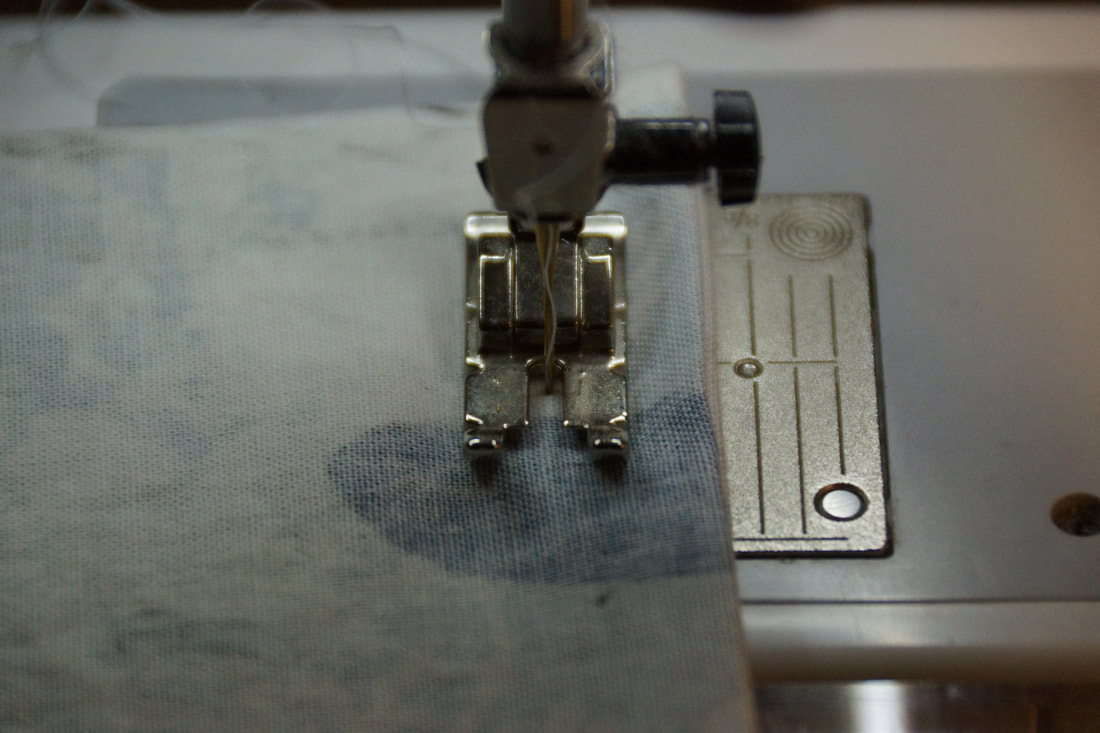 I think this might be a fun way to present a quilt as well; tucked inside a matching pillowcase. 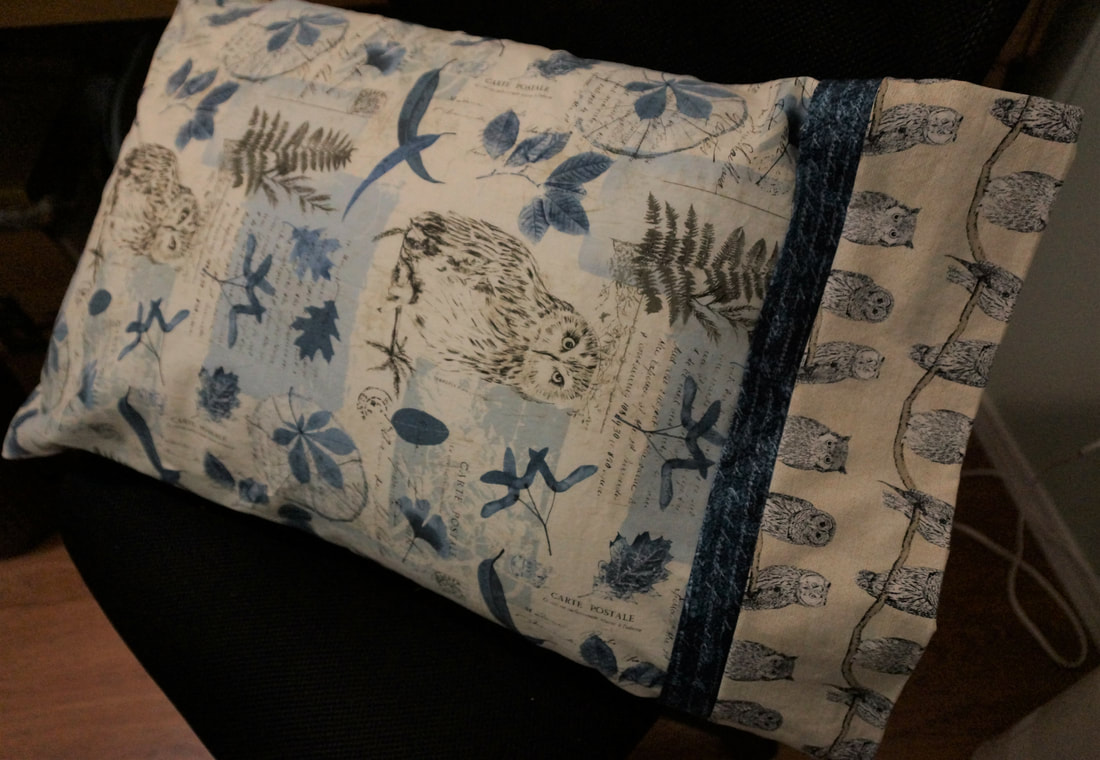 Time for me to get back to enjoying my son's visit, the time is growing way too short. I hope you have a wonderful weekend and maybe even find some time to sew a pillowcase or two. The next snowman block is coming Feb. 4th! And the new BOM starts Feb 15th!! Are you ready? 
Ruby Pearl
1/26/2019 07:50:41 pm
Love the fabric and tutorial. 27" is for a standard pillow. What length would be for a queen or king?
Debra
1/28/2019 08:41:21 am
Hi Ruby, Comments are closed.
|

Welcome to the site of Debra Davis-a woman who loves the Lord and loves to quilt.
My other blog where I share about my walk of faith:
Sitting at His Feet 
|


 RSS Feed