|
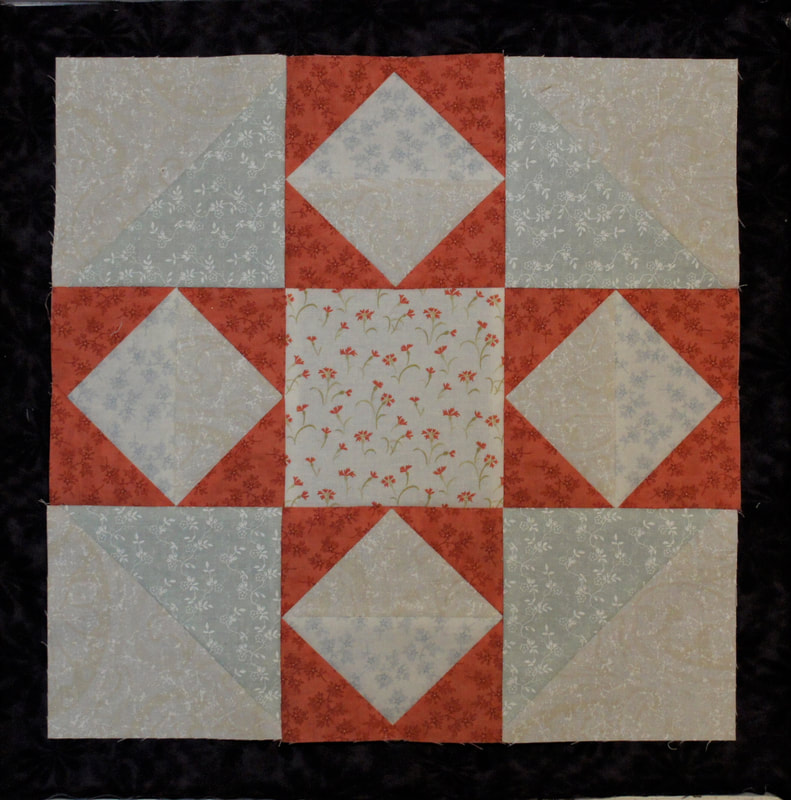
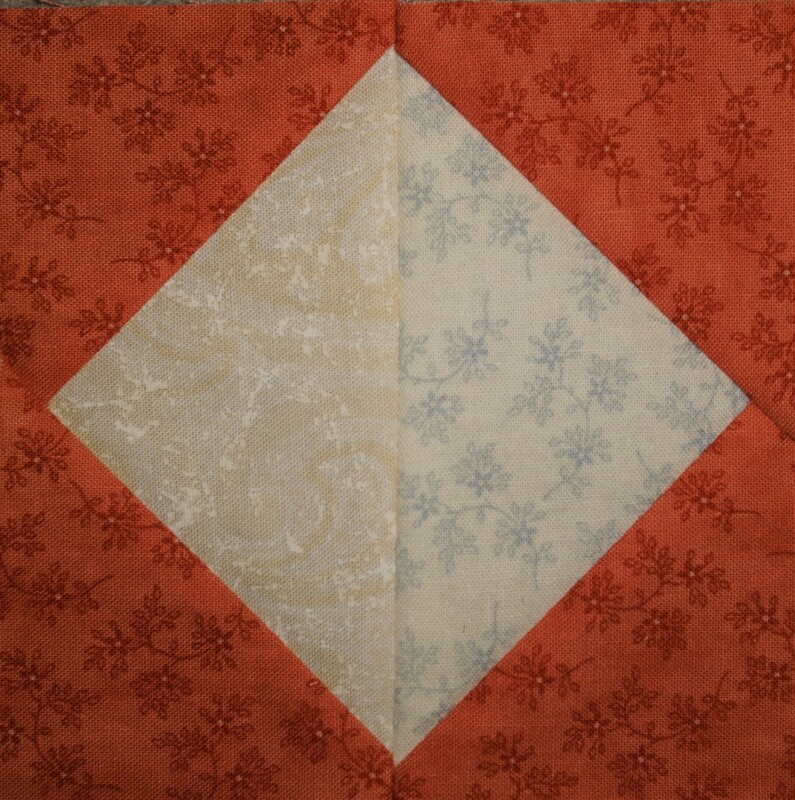
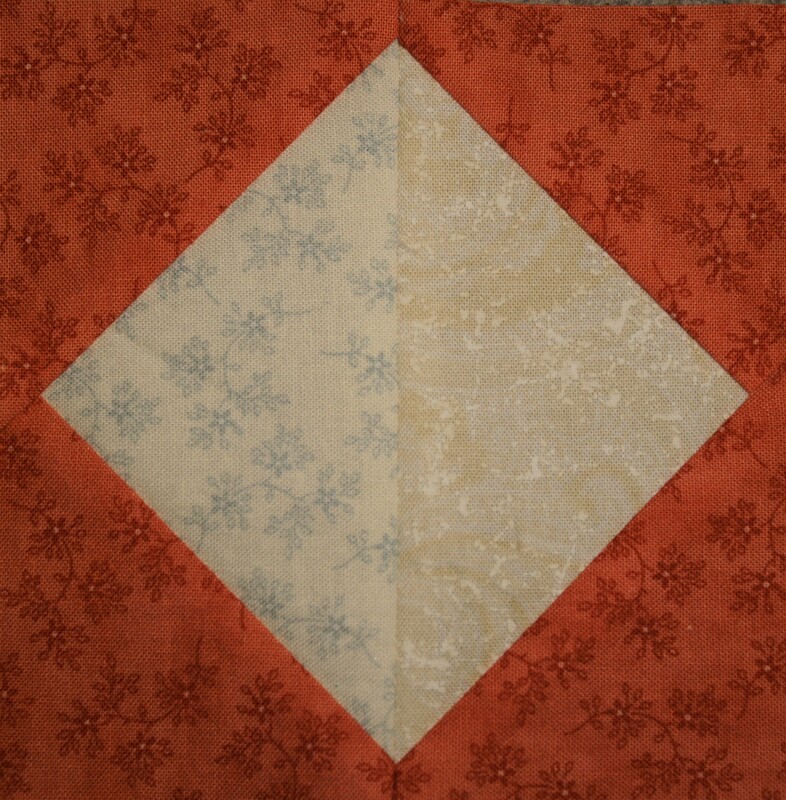
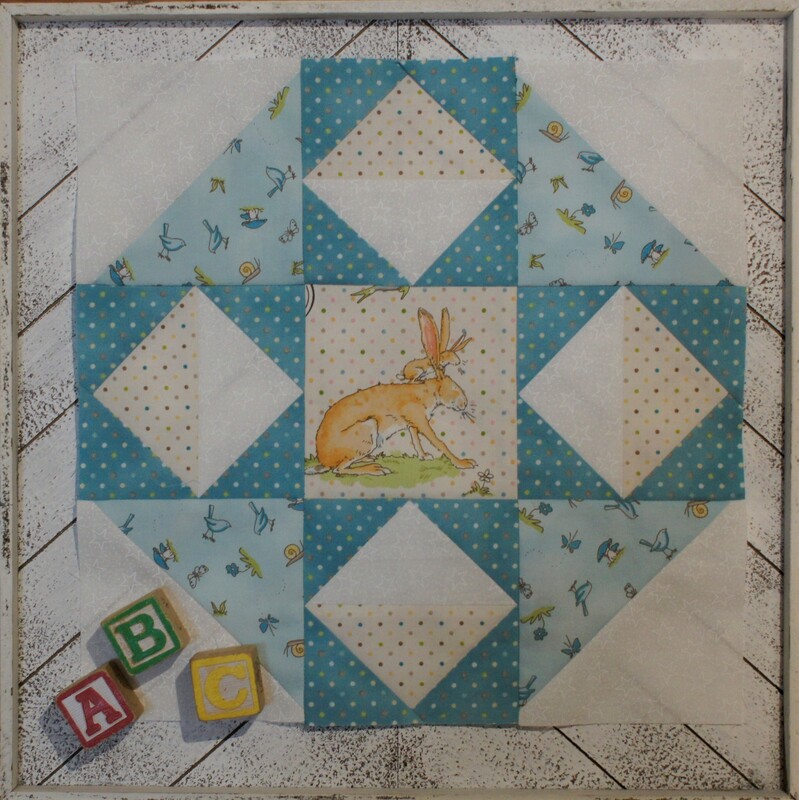
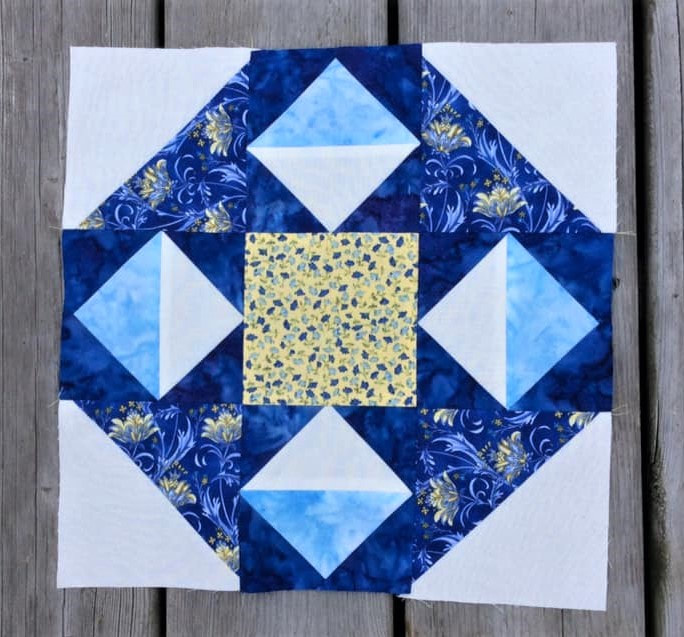
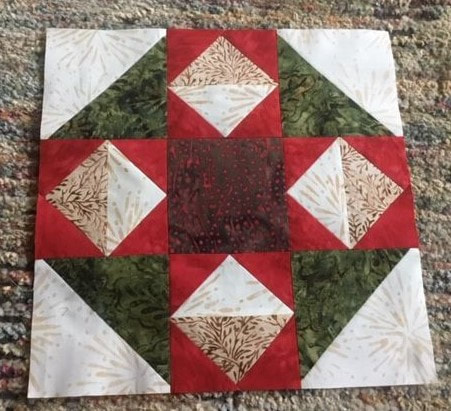
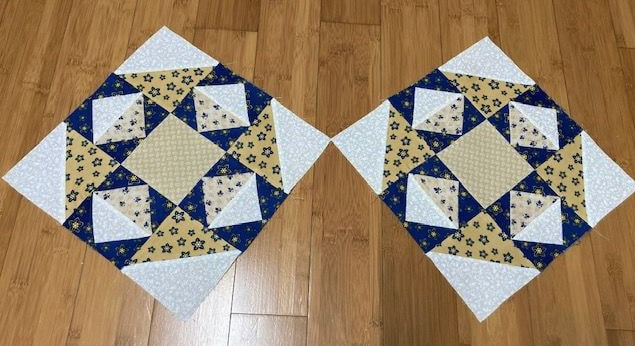
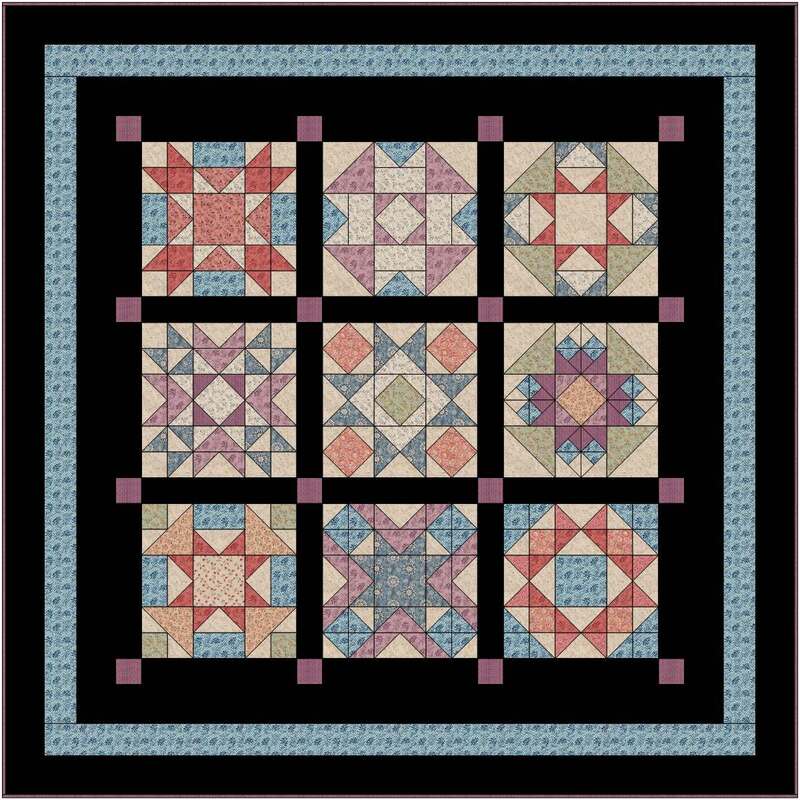
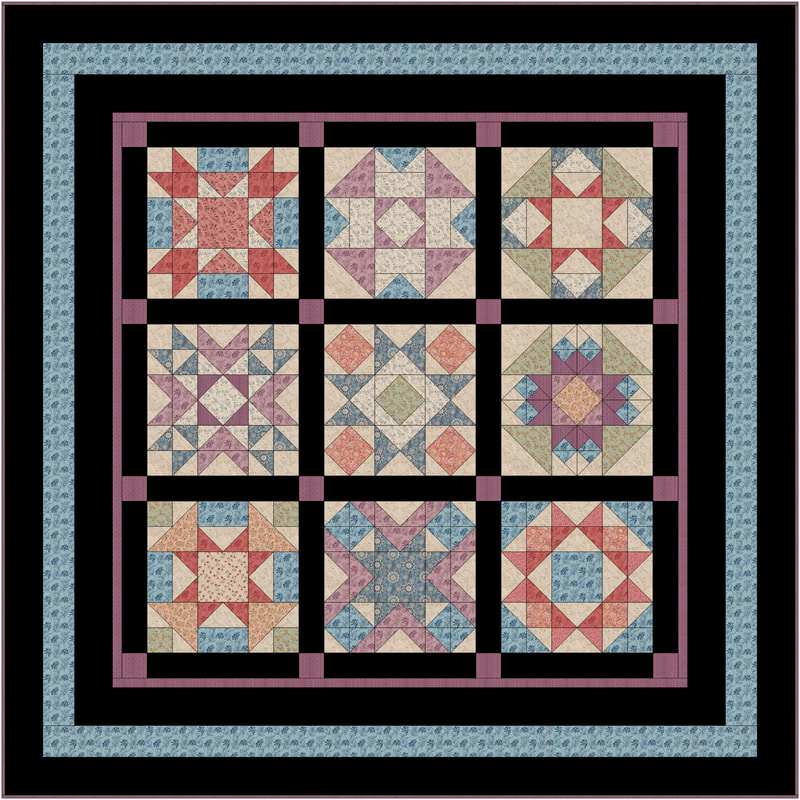
Here we are at the final block in our journey to the stars. Block 9: Achernar. This block goes together pretty quickly using the skills we have worked on throughout this quilt. I do have one tip to share with you about how I matched up the points of the Flying Geese units. First I tried just sewing them without pins or anything. You can see that the points just do not quite match. So this next bit is only for those, who like me, who tend to have a bit of the perfectionist about us. I put just a little dab of glue from my fabric glue stick right at the edge of pieces before sewing together. The top point had no glue while the bottom one did. I think you will see why I stuck with the glue for this part of the block. Since I was pressing these seams open, I went ahead and finger pressed them open and then waited just a bit to let the glue completely dry before using my iron. I did not seem to get any gummy, gluey, residue on the sole plate of my iron from this process. Here is my Baby Block version. A little fussy cutting for the center of course. I think I will see if I have enough of the fabric with the bunnies to use as fussy cut cornerstones to go with the sashing for the blocks when I put them all together. This was a busy time for my quilt pattern testers but they once again have created some beautiful blocks to share. I have my plan sketched out of how I am going to put my blocks together. Both will be using sashing and cornerstones with some borders to complete the quilt top. I picked up a lovely rich black fabric that my stars will be hung in. I have often admired quilts that used black as a background for how they make the colors pop out and decided this was a good time to give that a try. At first this was my idea. But then as I began to play with my quilt I decided to add another little border and I think this is what I am going to do. I will have the finishing directions out to you soon. We are in the process of testing everything right now and as soon as that is done I will post them for you.
My baby quilt is on hold for now as I have several others projects that need my attention. I hope to get to it after the new year. In the meantime if you want to go ahead with finishing your quilt I am going to refer you to my blog post for how I finished an earlier quilt. It will take you through the sashing and cornerstone process I use. For my quilt I will then be adding a 3/4" border, a 3" border, a 2.5" border and finally another 3" border. Always cut your border strips to the width and length of your quilt as measured in the middle and that will help keep things nice and square.
Debra
12/2/2020 09:31:11 am
Thank you! Happy Quilting!
Joyce Carter
12/1/2020 06:23:00 am
Thank you so much for the block Debra. Your quilt is so beautiful. I really love it. I have collected all the blocks and hope to get mine done in the new year. Thanks again for all your time and effort you have put into these.
Debra
12/2/2020 09:33:47 am
Thank you, Joyce. Have fun making yours and have a wonderful day!
Quilting Tangent
12/1/2020 03:30:58 pm
I like the extra purple boarder, it gives it the little touch it needed.
Debra
12/2/2020 09:35:02 am
I agree-it is fun to play with a design and just see how a little change like that can make the quilt.
Patti
12/2/2020 06:10:05 am
Thank you!
Debra
12/2/2020 09:35:47 am
You're welcome, Patti. Happy Quilting! Comments are closed.
|
Welcome to the site of Debra Davis-a woman who loves the Lord and loves to quilt.
My other blog where I share about my walk of faith:
Sitting at His Feet This website uses marketing and tracking technologies. Opting out of this will opt you out of all cookies, except for those needed to run the website. Note that some products may not work as well without tracking cookies. Opt Out of Cookies |



 RSS Feed