|
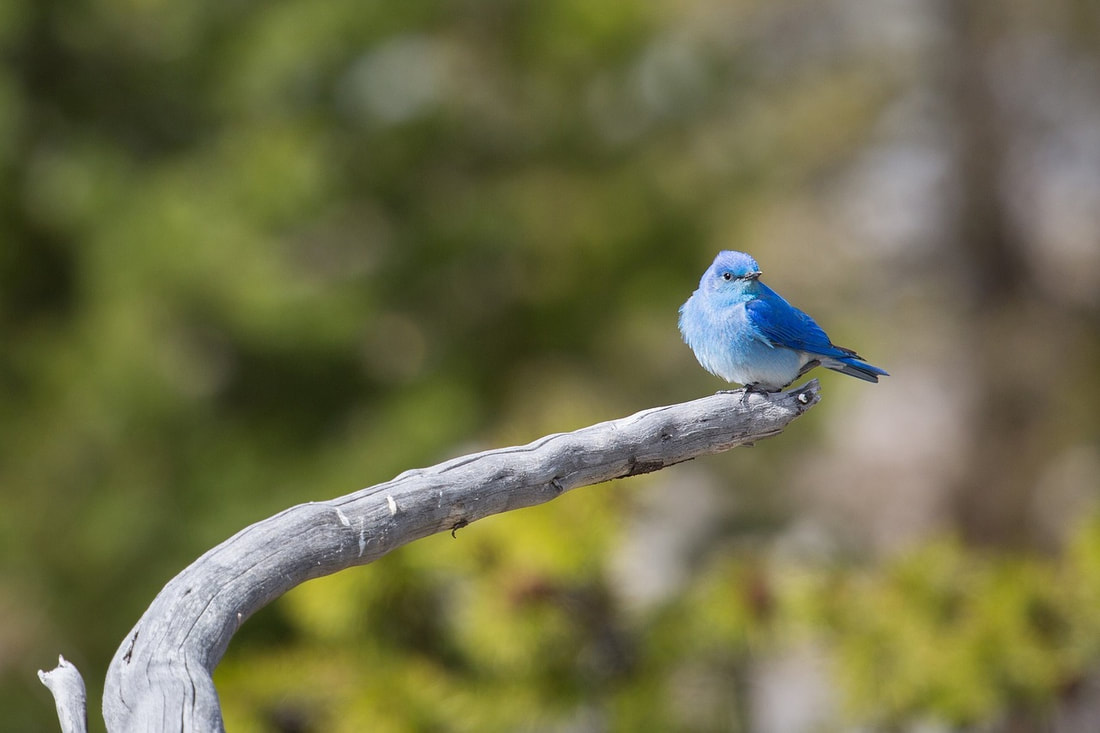
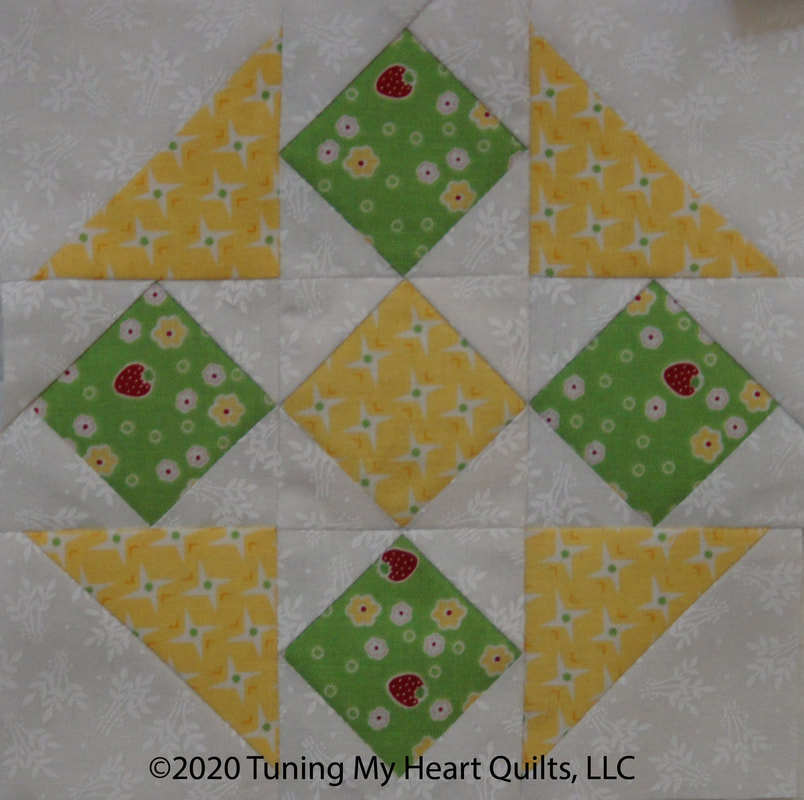
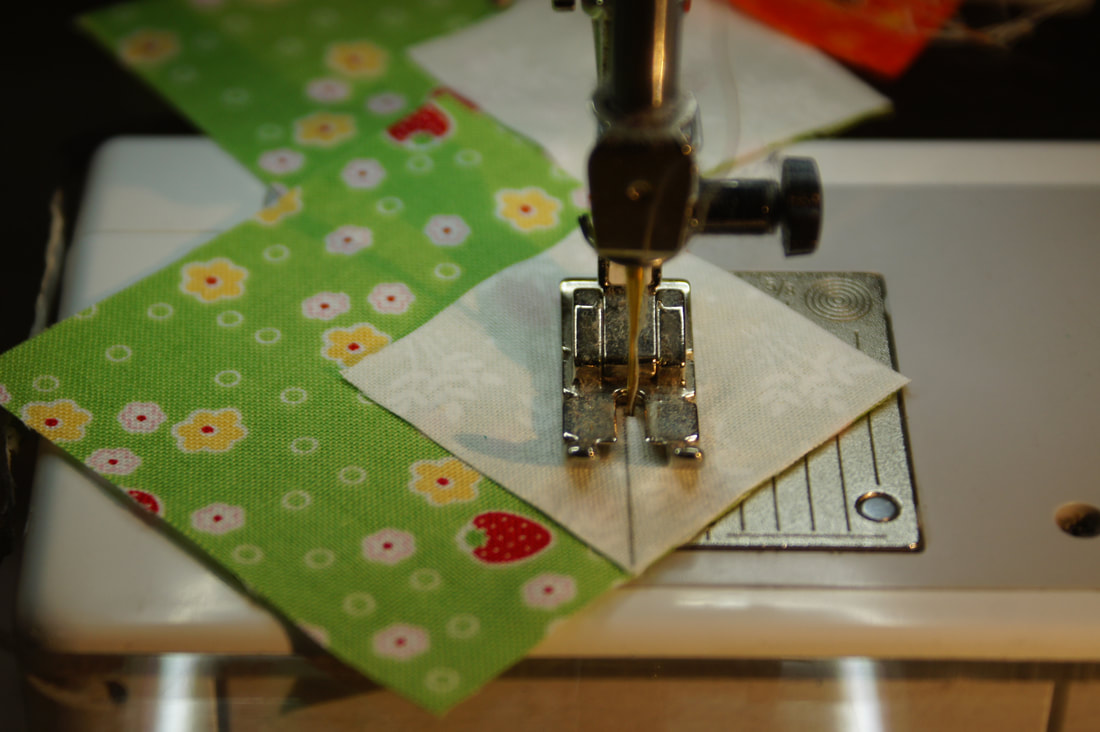
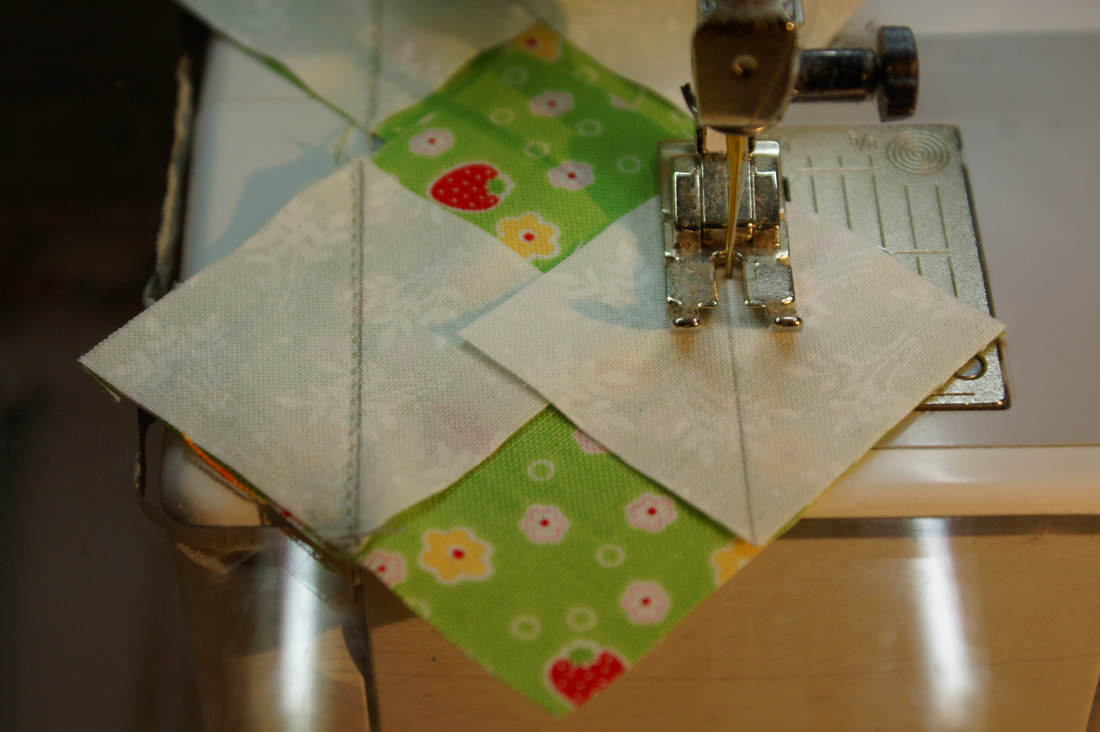
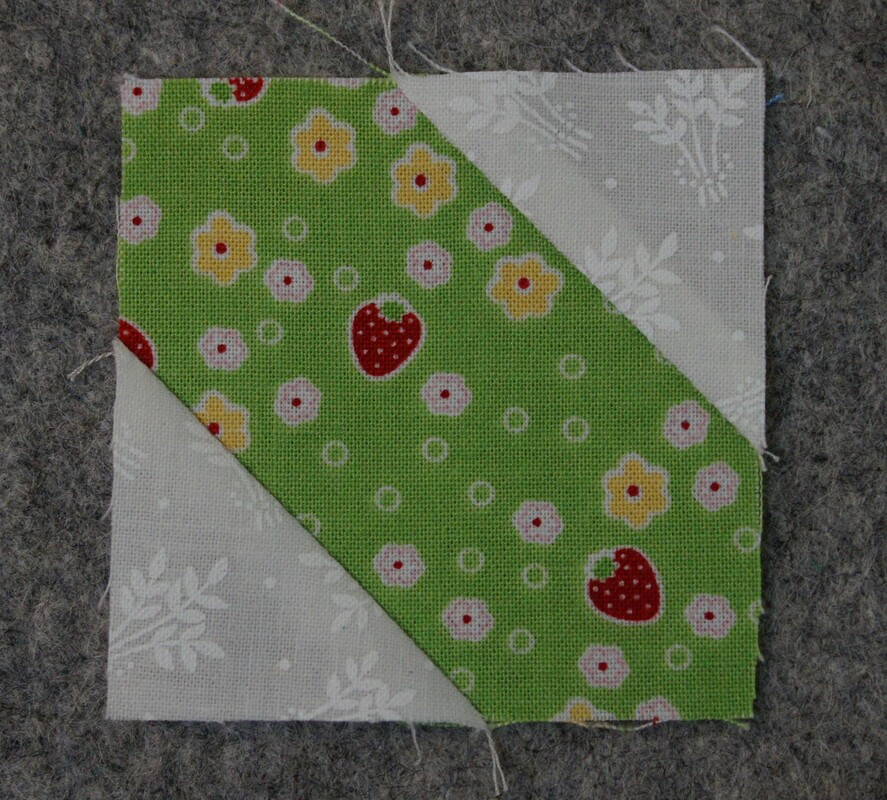
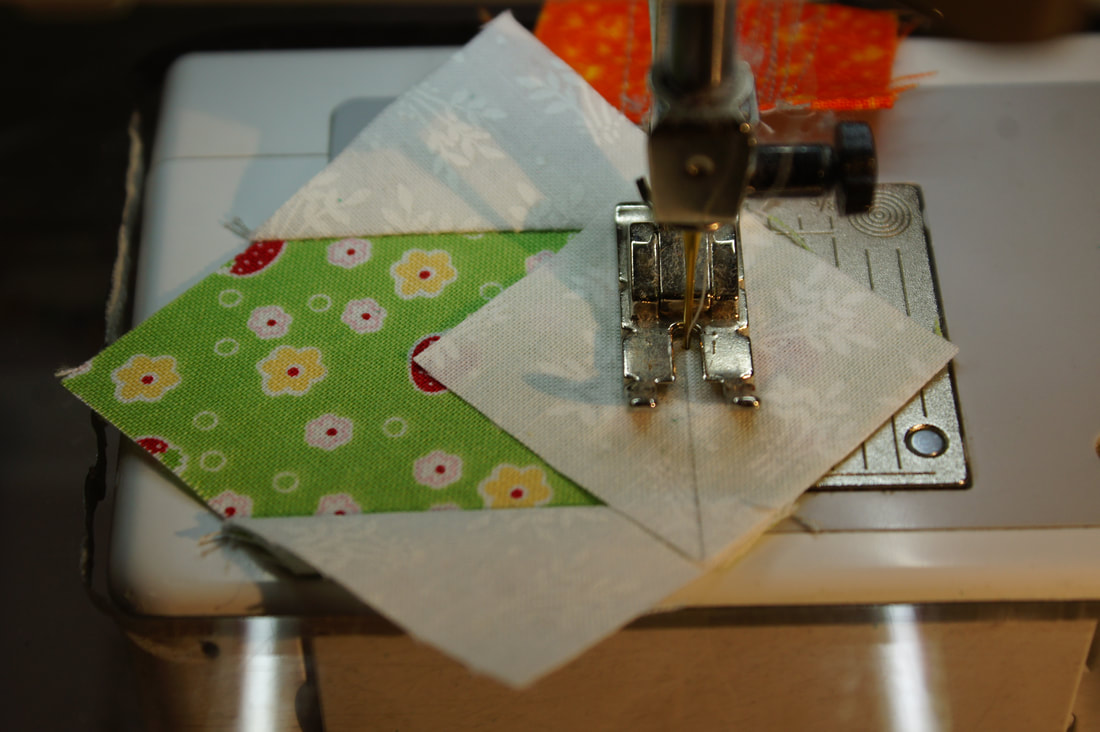
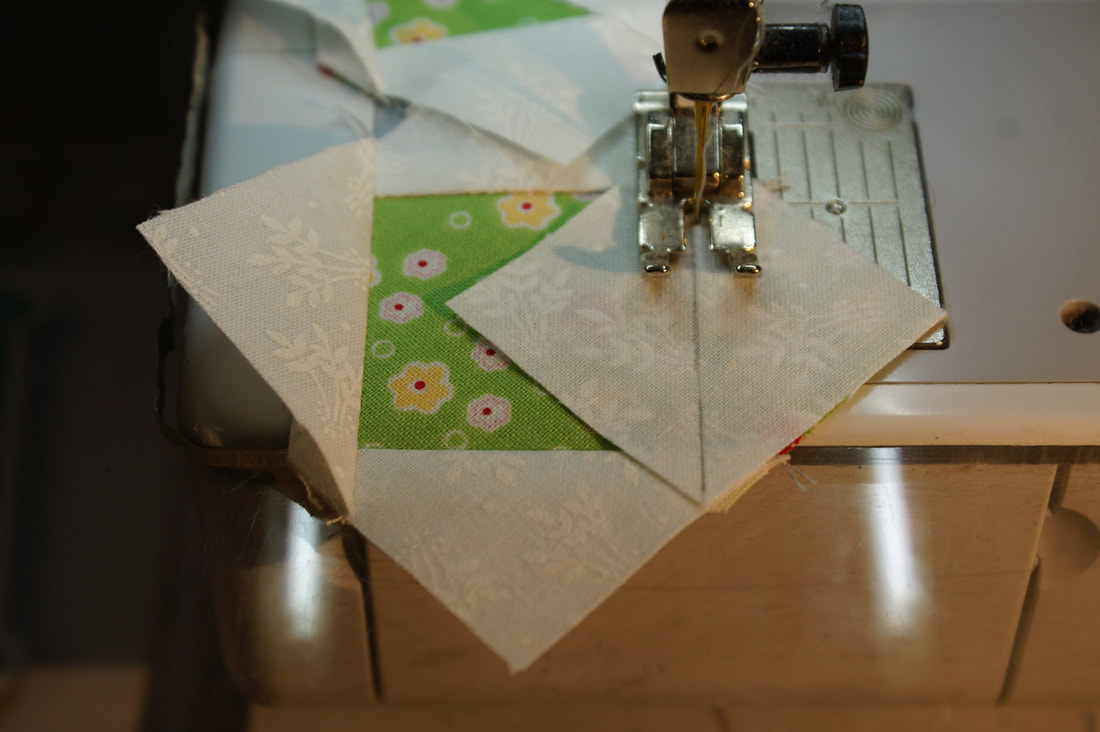
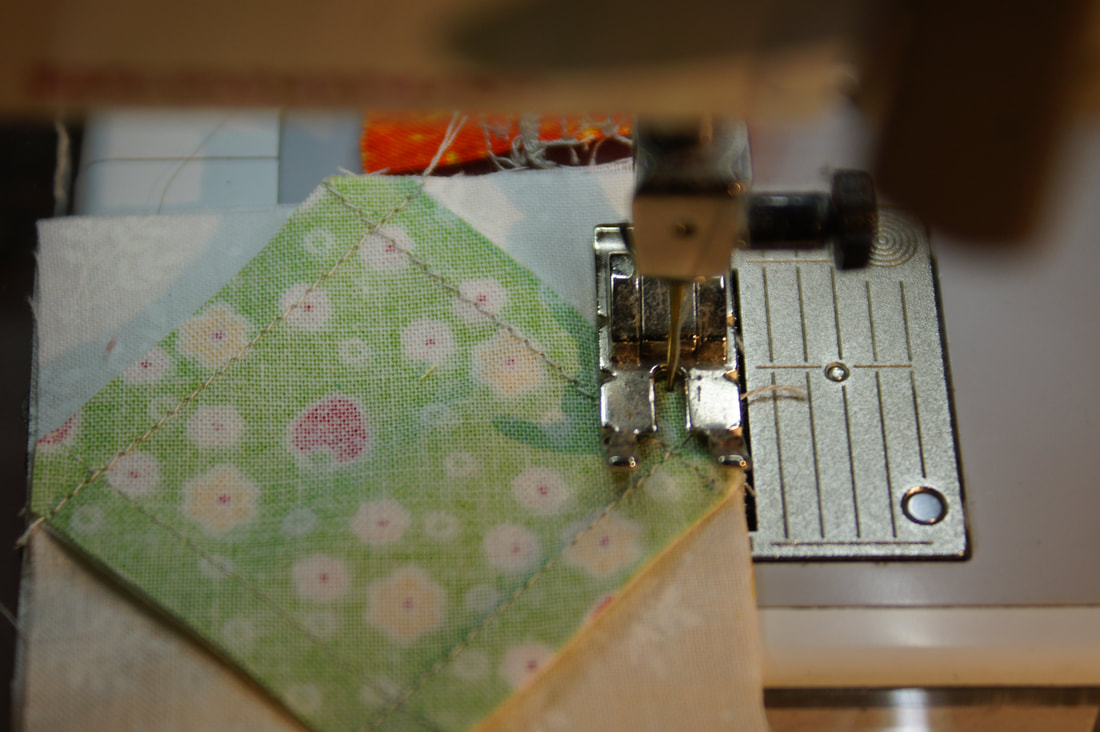
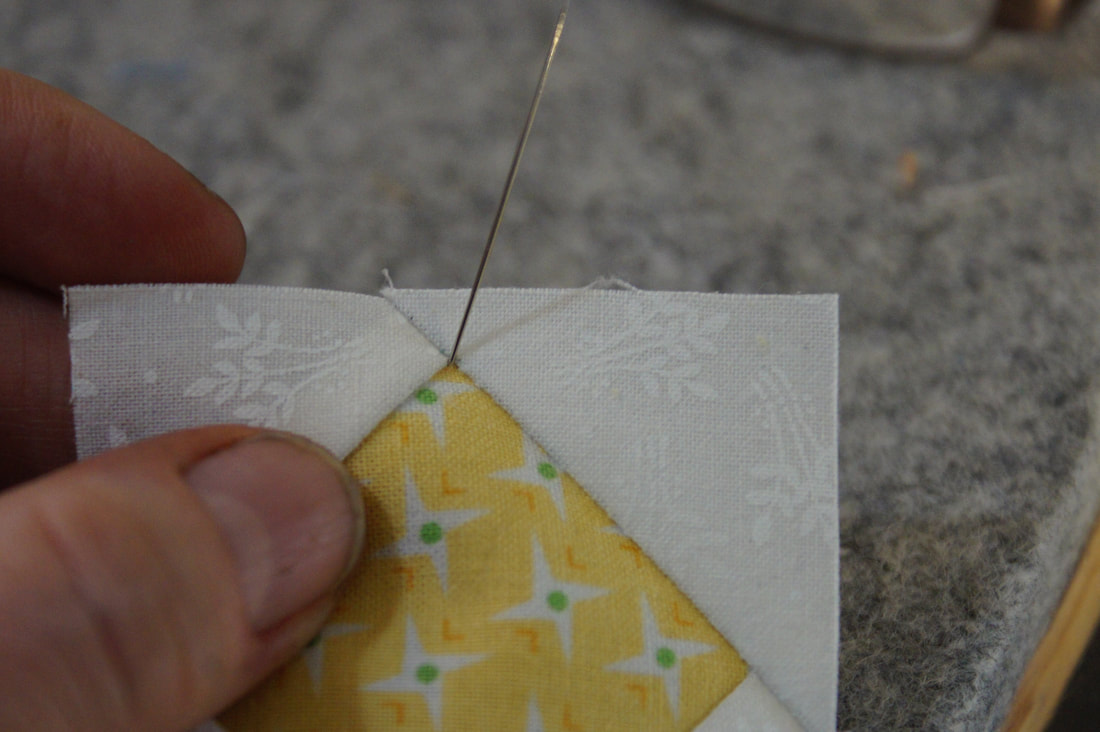
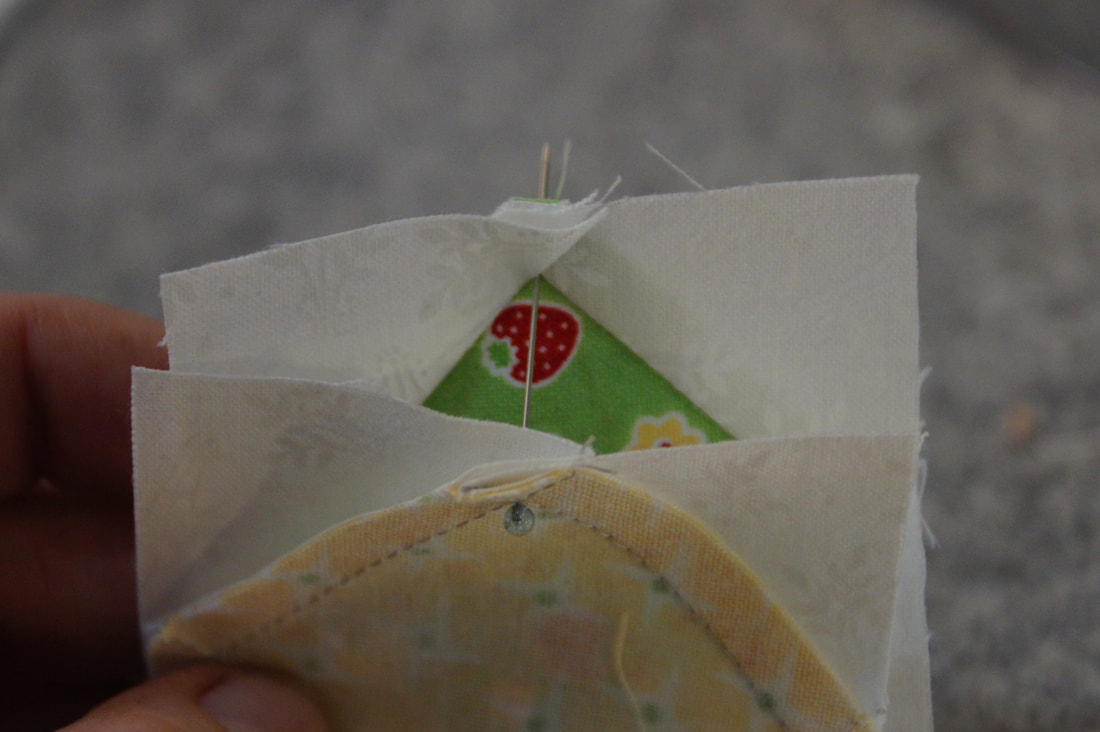
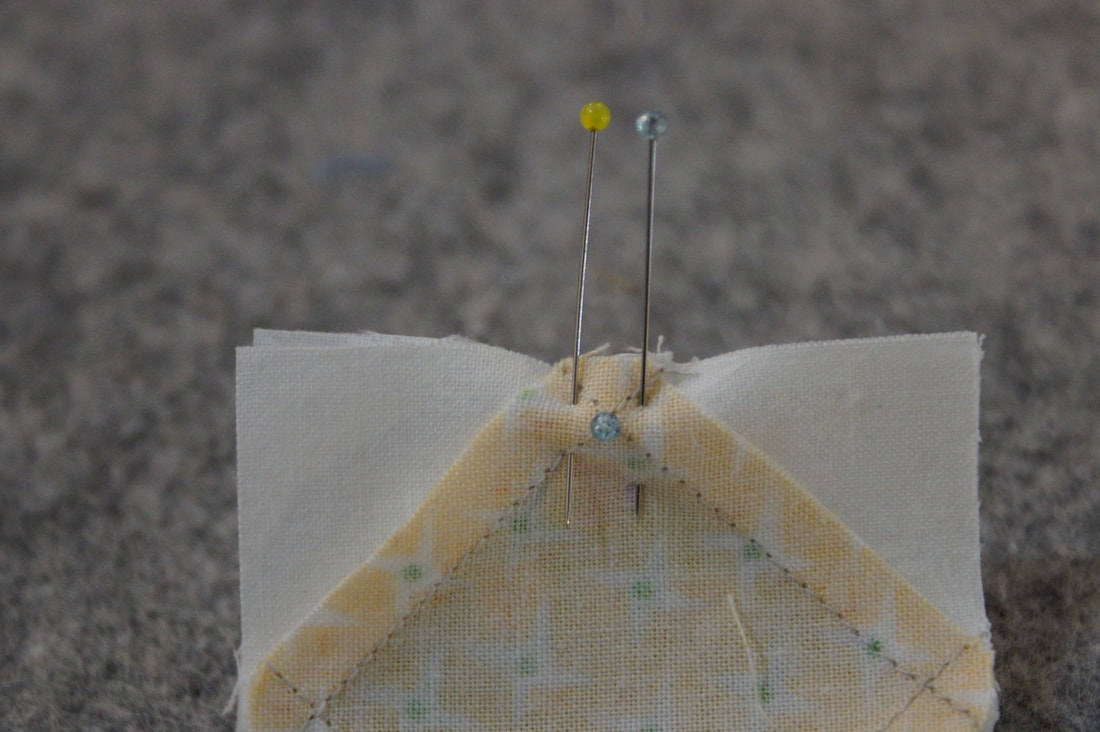
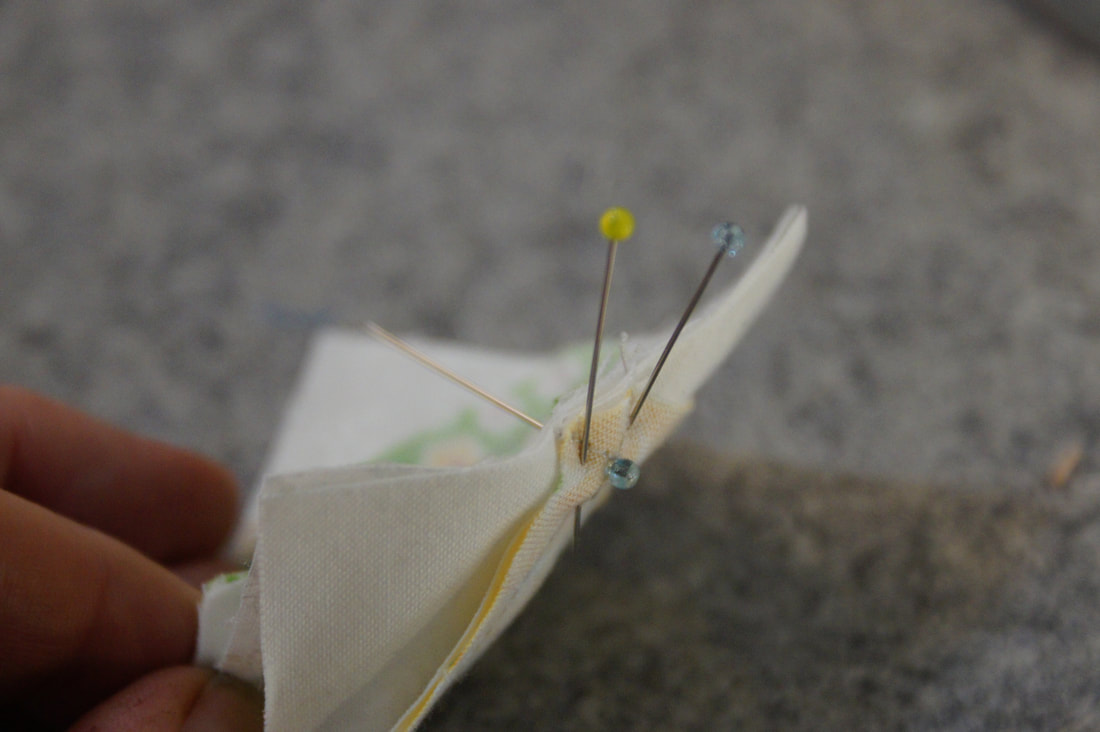
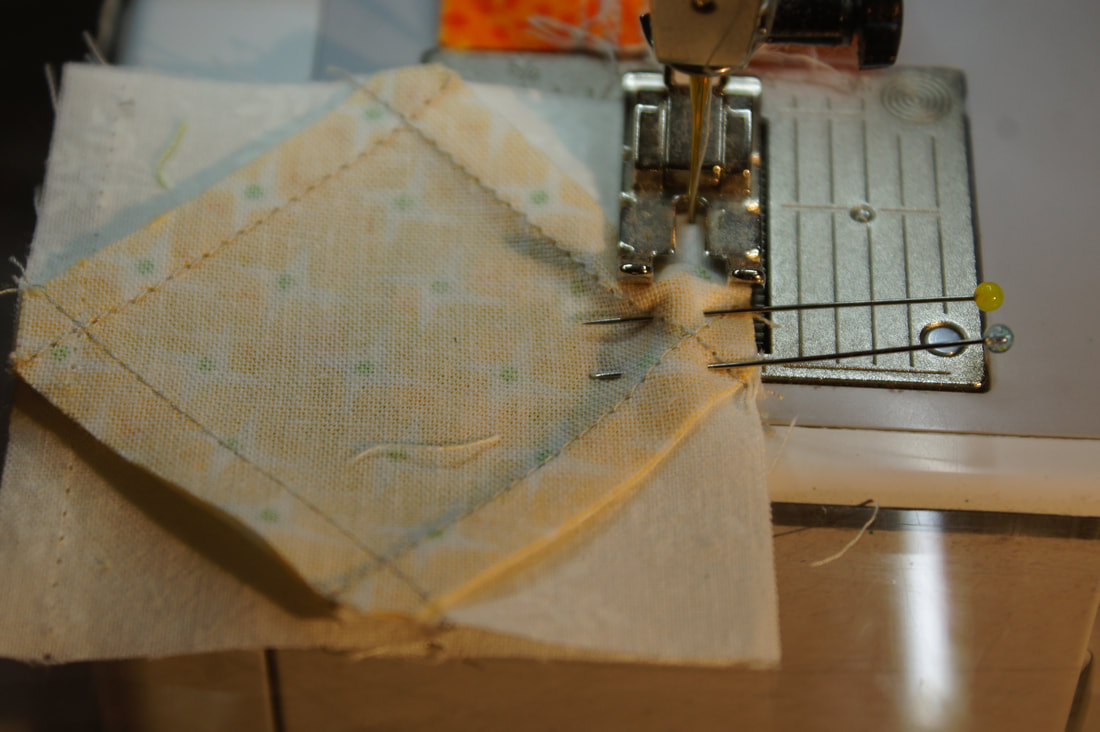
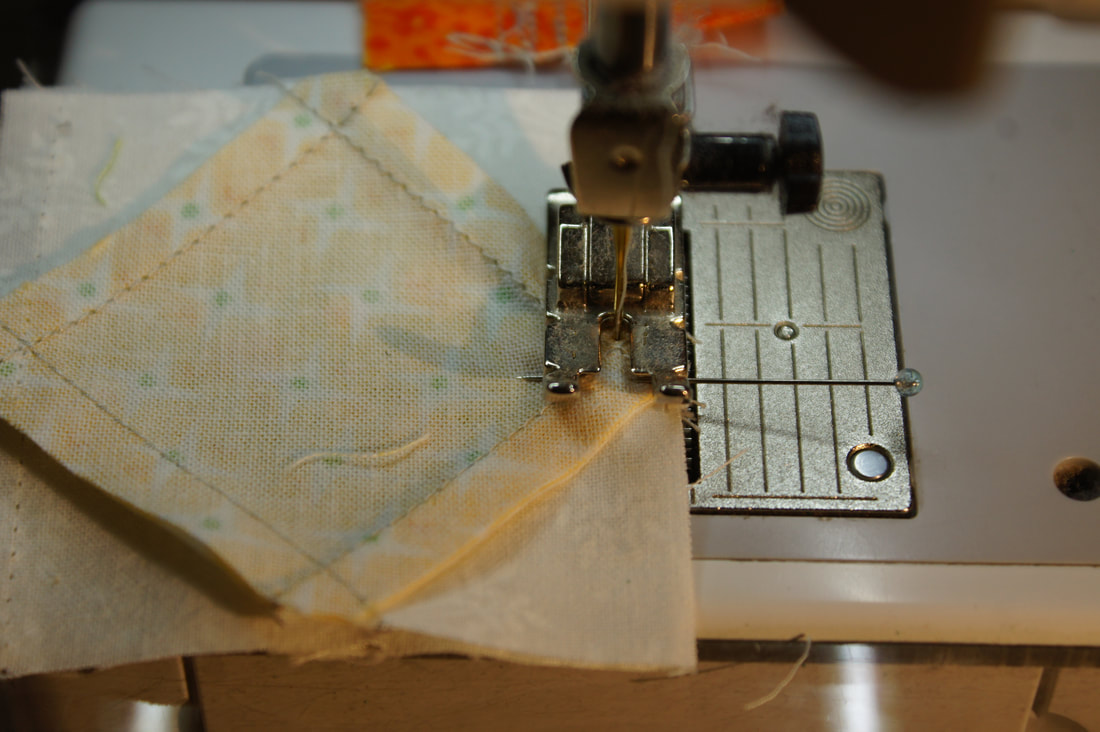
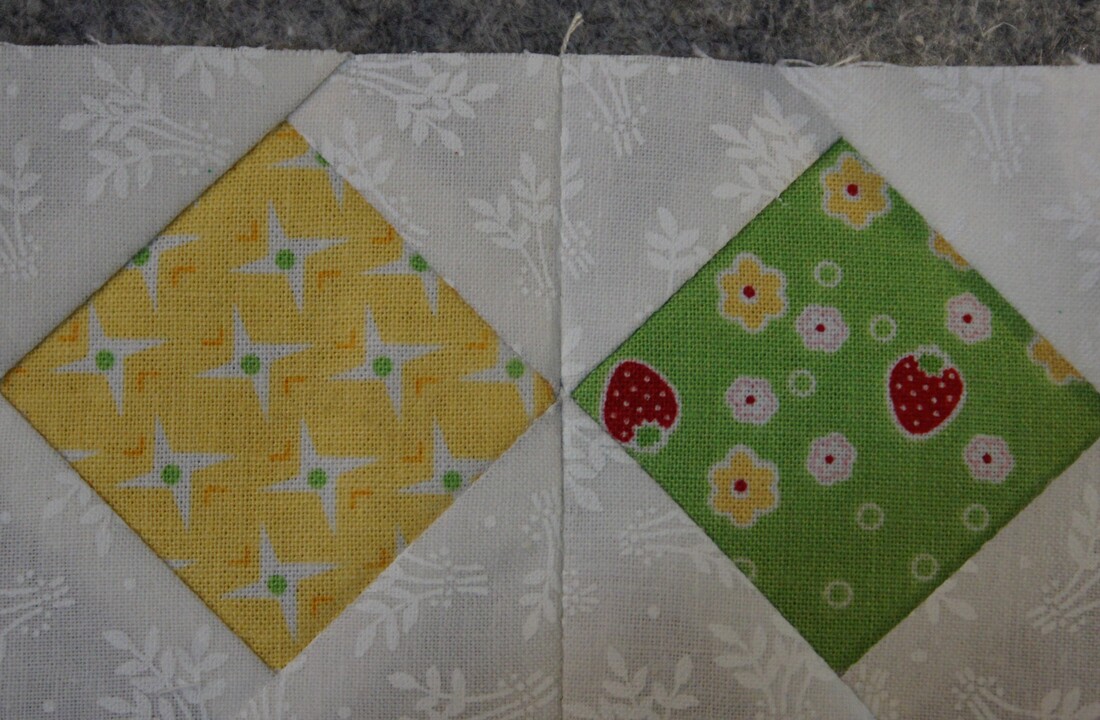
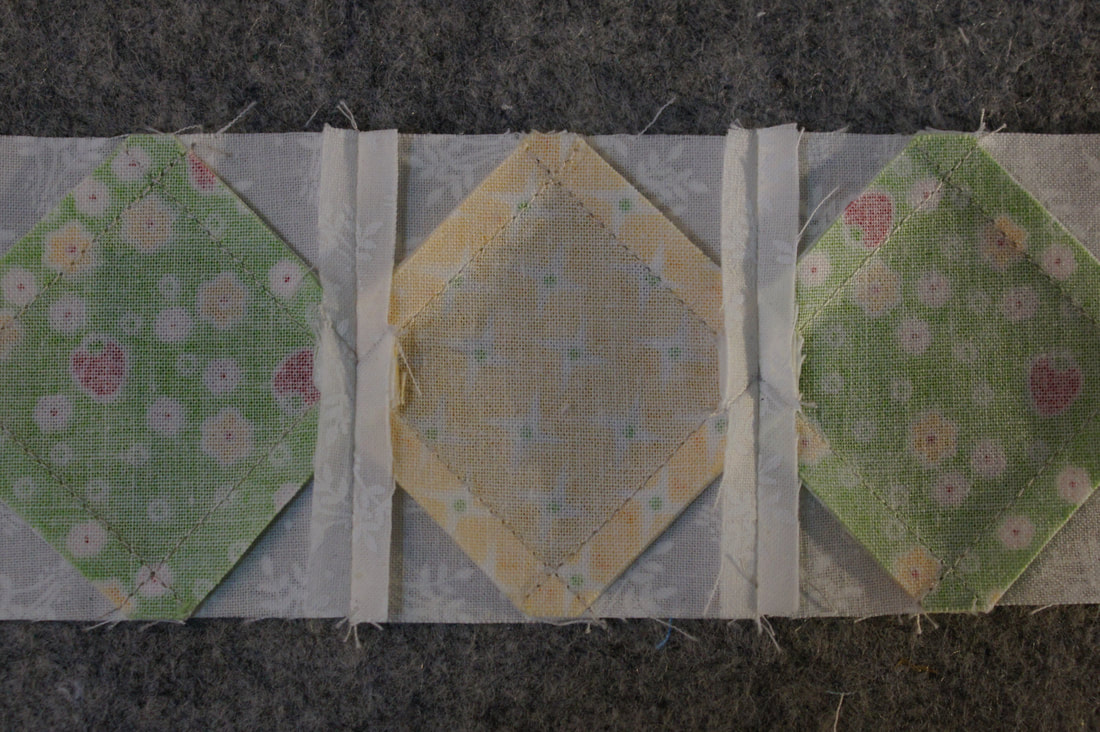
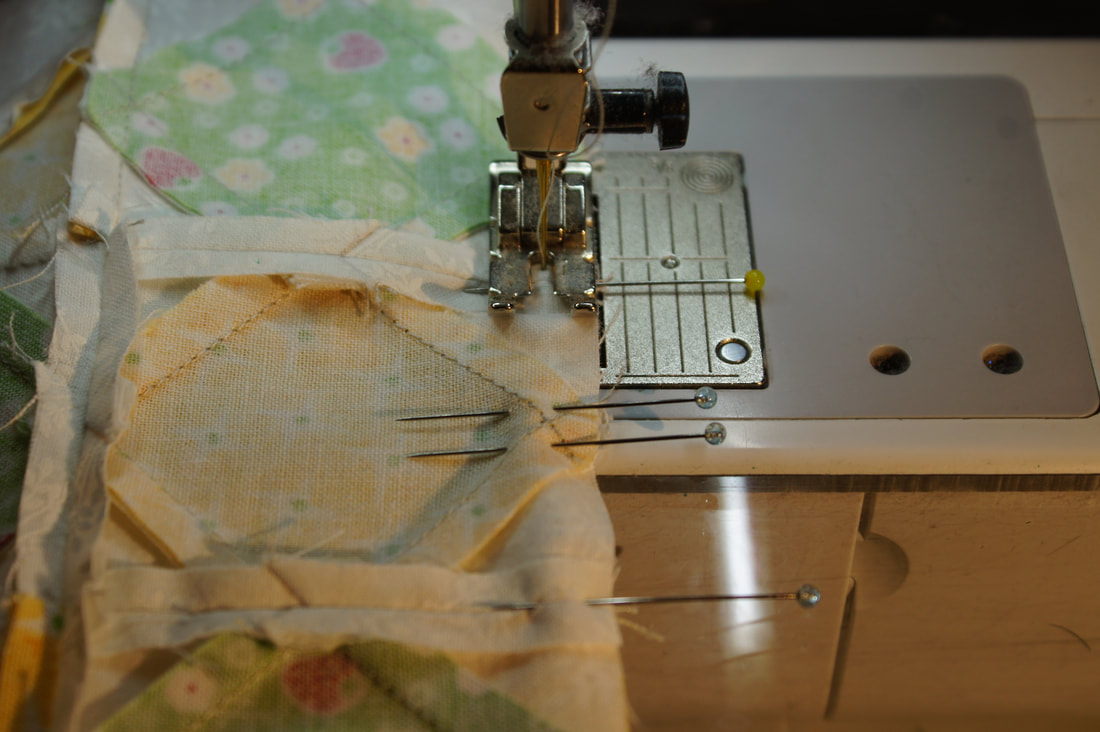
Signs of Spring continue to fill our days. The mountain bluebirds have returned and the flashes of blue as they dart around are a welcome sight. Today I chose Sawtooth Patch for my block. It is giving me more practice with those quick corner triangles and I am pretty happy with how they are coming along. I have found that if I sew just to the outside of my drawn line the resulting triangle covers up the corner underneath, which is just what I need it to do. I tried sewing both corners at the same time before pressing....I do not recommend it, at least not with these small squares. It proved to hard to press well. So I recommend that you sew the one square in place, trim and press then add the second square across from it. As I mentioned before, flip the triangle over to make sure that it completely covers the corner of the large square underneath. If it does then you are good to trim away the extra and press. Right now these look like a fat version of the squares I sewed yesterday. Next I added the third corner. And finally the fourth. The key to getting sharp points is having a quarter inch seam allowance beyond the points of the center diamond. As I sew the squares into rows I kept my diamonds on top in order to watch that intersecting seam-I aim for having my needle go right over the tip of it. There is a little trick to getting those diamonds lined up when you sew the middle row together. I start by sticking a pin in from the back so that it comes out the front right at the tip of the diamond. (and now I see how dirty my nails are-we were cutting firewood today...) Next I push that same pin through the tip of the diamond that goes underneath. I push the pin all the way through so that it holds those two points tightly together. Making sure the rest of the edges are lined up as well, I then put in a pin on each side of the pin that is through the tips. Another angle... Before sewing I remove the pin that is going through the tips, leaving just the two on either side of it. I sew right up to that first pin, stop, leaving my needle in the down position, remove the pin and sew up to the next pin. Here I have stopped early so that you get a clear picture of what is going on under my needle at this point. I want to get as close to that pin, without hitting it with my needle, as I can so that my needle holds the fabrics in position as I carefully remove the pin. Here I am sewing right over the tip of my diamond as I come to the second pin. I remove it the same way as the first pin. Taking the time to pin gives me pretty good results. Those seams tend to be pretty bulky so this is one time I will press my seams open. Normally I do not do much pinning when I am joining rows. The locking seams usually do a pretty good job of keeping things lined up. In this case at however I am pinning the matching seams and also the tips of my diamonds again. I always, always, pull out my pins rather than risking sewing over them and breaking a needle which can possibly jam small pieces into the works of my sewing machine and cause damage. I am just really pleased with how well this one came out. I hope these tips help you in making your own verson of this block.
To get your copy of the pattern click HERE. I hope you have a day filled with peace. Happy Quilting! Comments are closed.
|
Welcome to the site of Debra Davis-a woman who loves the Lord and loves to quilt.
My other blog where I share about my walk of faith:
Sitting at His Feet This website uses marketing and tracking technologies. Opting out of this will opt you out of all cookies, except for those needed to run the website. Note that some products may not work as well without tracking cookies. Opt Out of Cookies |
Tuning My Heart Quilts by Debra Davis is licensed under a Creative Commons Attribution-NonCommercial-NoDerivs 3.0 Unported License.
Based on a work at www.tuning-my-heart.com.
Copyright 2010-2022 by Tuning My Heart Quilts, LLC. No part of this website can be reproduced without written permission from the author. All rights reserved.
Proudly powered by Weebly



 RSS Feed