 I almost passed on this particular block. As I looked at it and how to construct it it became clear I would need to work with triangles-not my favorite thing. But I stuck with it and figured out the sizes needed to make this block come to life and I am so glad I did. So let me introduce you to Block 17: Buckwheat. There is a lot going on in this block so I will be giving some step-by-step instructions here today. I was asked about providing pdf versions of these blocks. My first response was it just takes too much time. Then I decided to see how much time it would take-well, it took most of the day to make the block and write the pattern. Since I am doing a block a day I cannot have my pattern testers look it over before I make it available either. But I have done one for today. Whether or not I ever do another remains to be seen, lol. I do have to try to earn a living. Block 17:BuckwheatDigging in my scrap bins this is what I came up with. 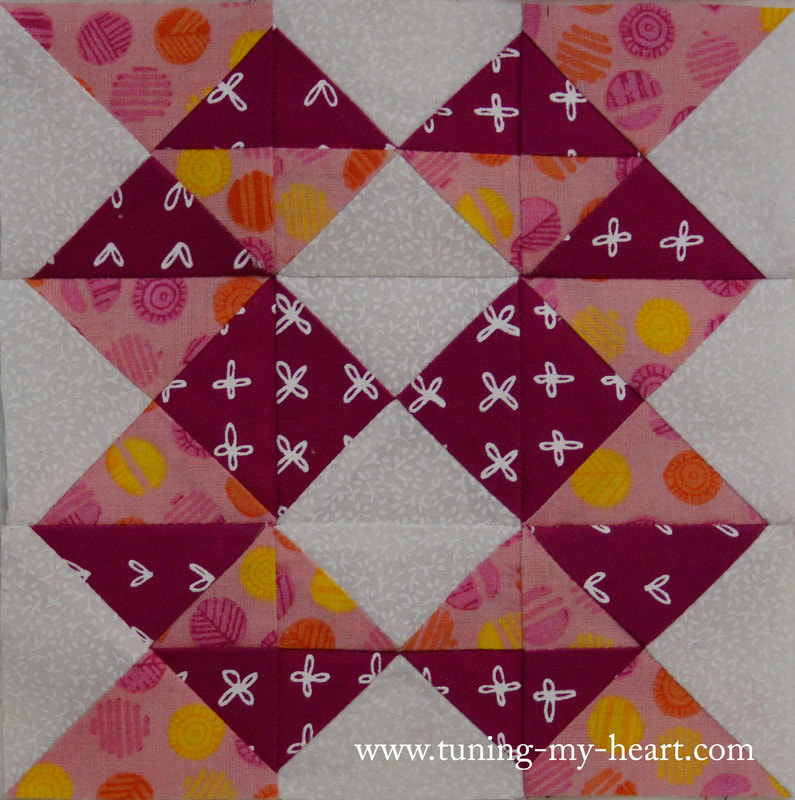 Download pdf pattern here. The pattern makes note of the need to cut some of the squares into triangles. You will want to do this carefully so your cuts run from point to point.
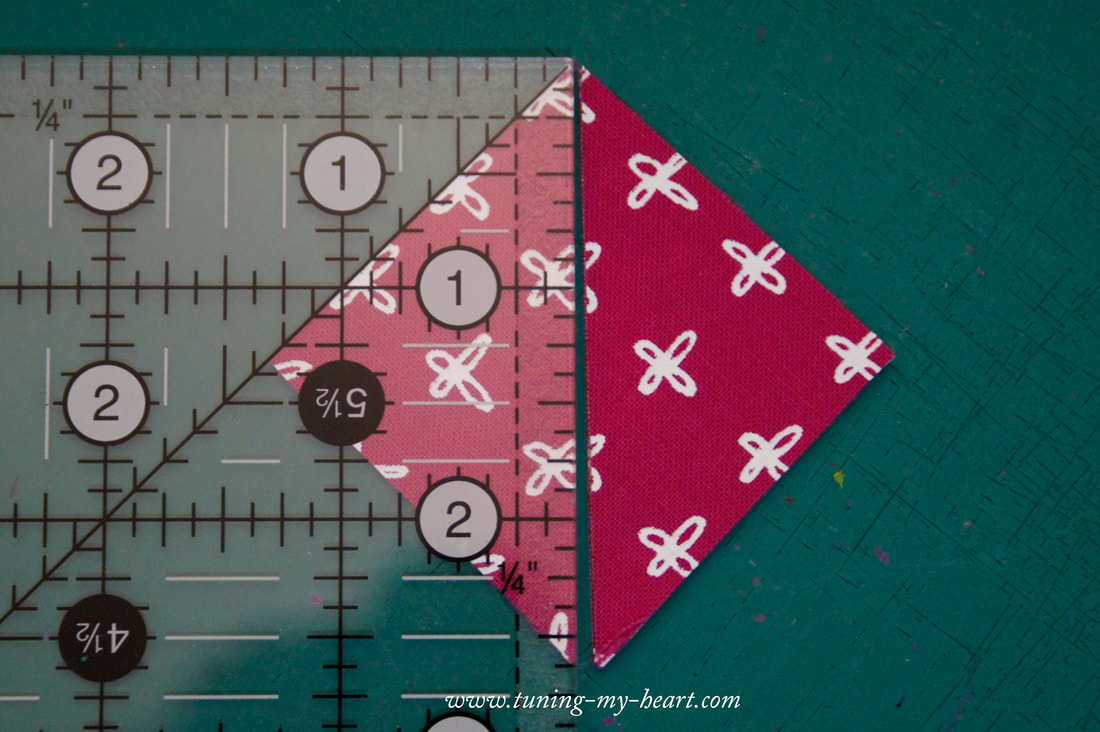
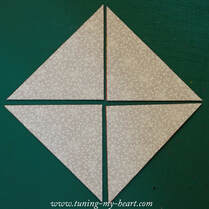
Starting with the smaller triangles we will be joining them together in pairs as shown below. 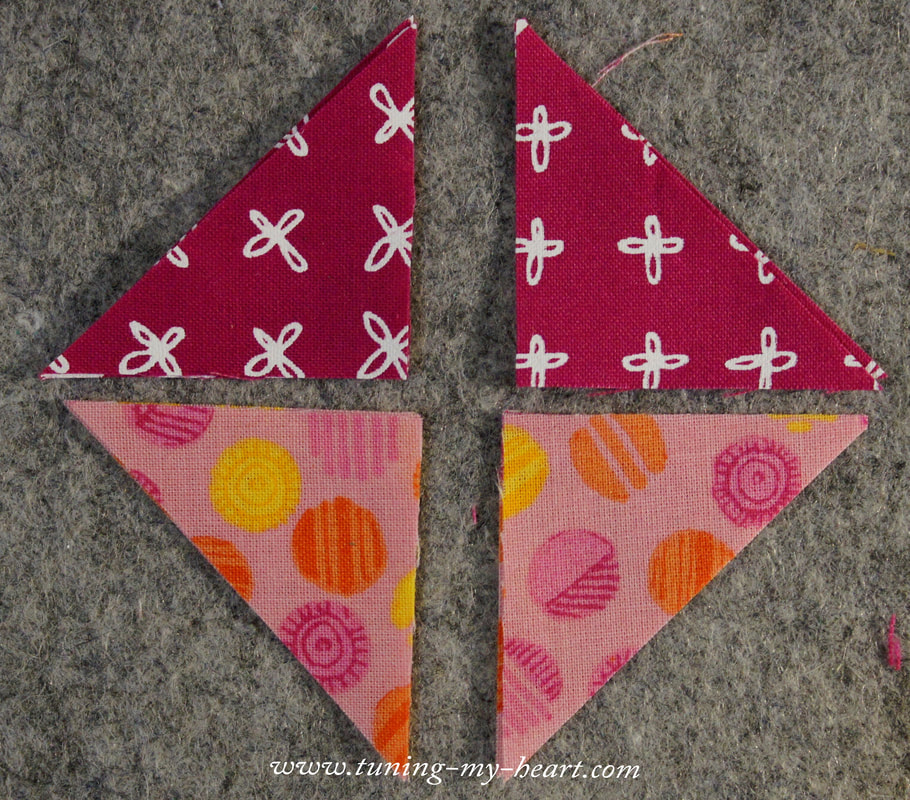 I find that a little watersoluble glue placed at the lower point helps to keep things lined up as you sew. I have circled where I dabbed some glue. 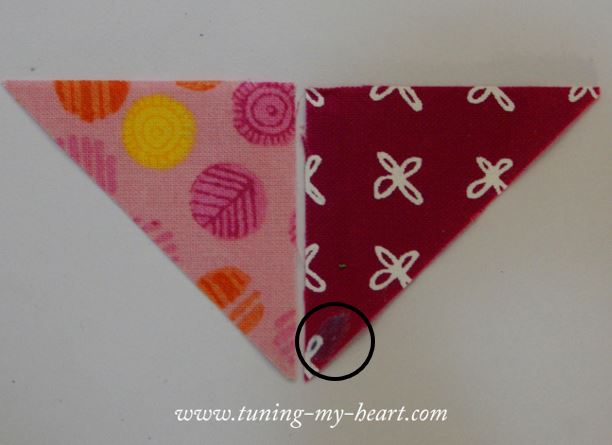 The triangle pair on the left was sewn without the glue and you can see how those tips did not stay lined up. The glue really helped. 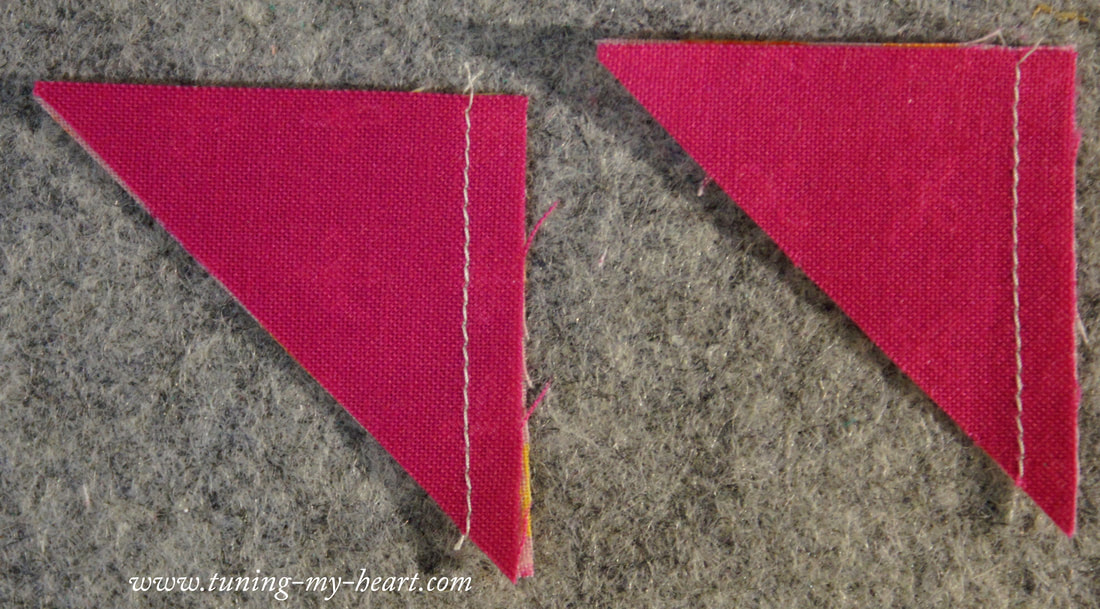 After pressing these I went ahead and trimmed off that little bit sticking out. I did not trim the unit at this time. 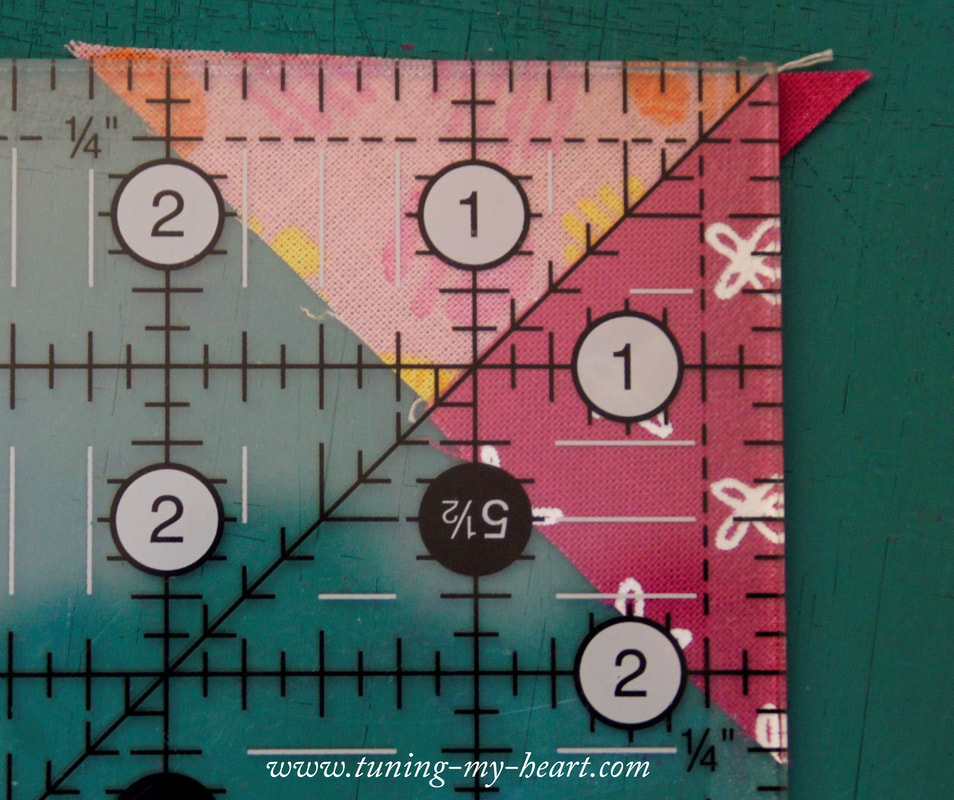 Next I layed out the triangles as they should look so that I get two of each. 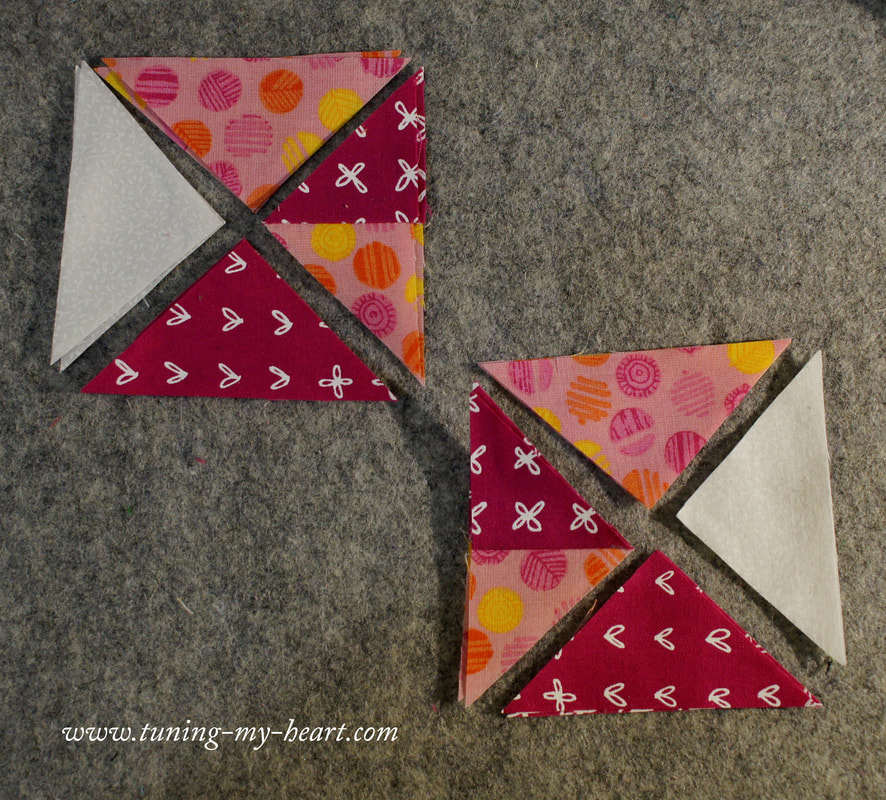 Again, I used a little glue as needed. 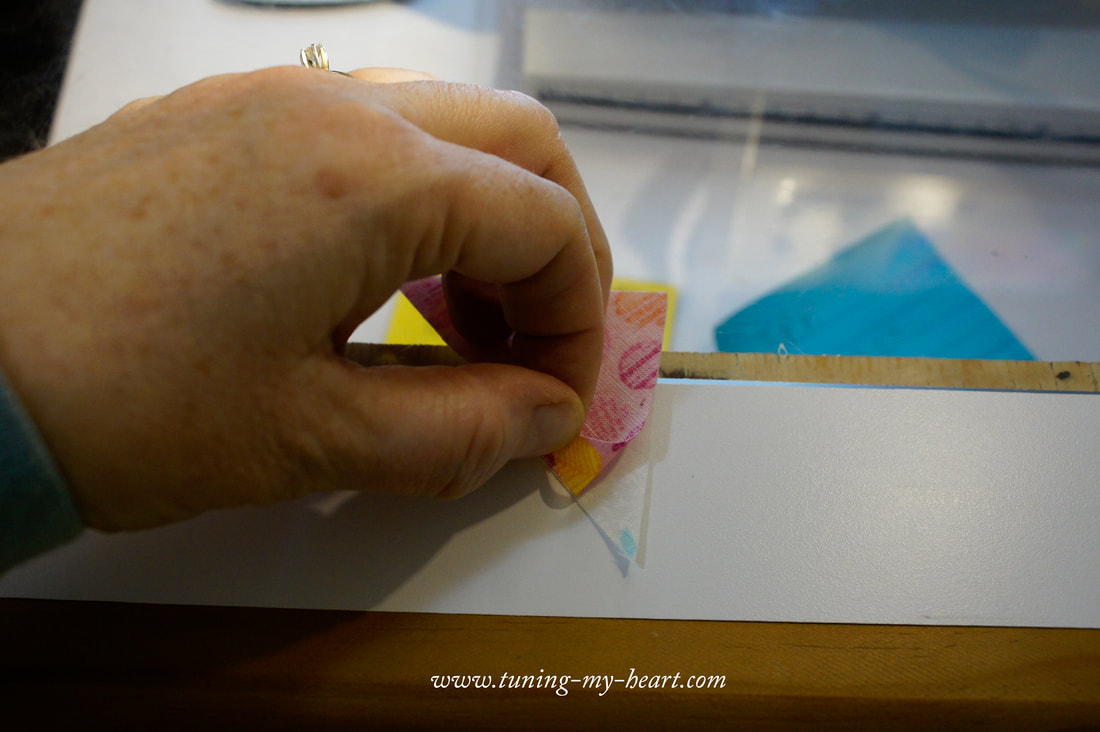 I joined the triangles into pairs. 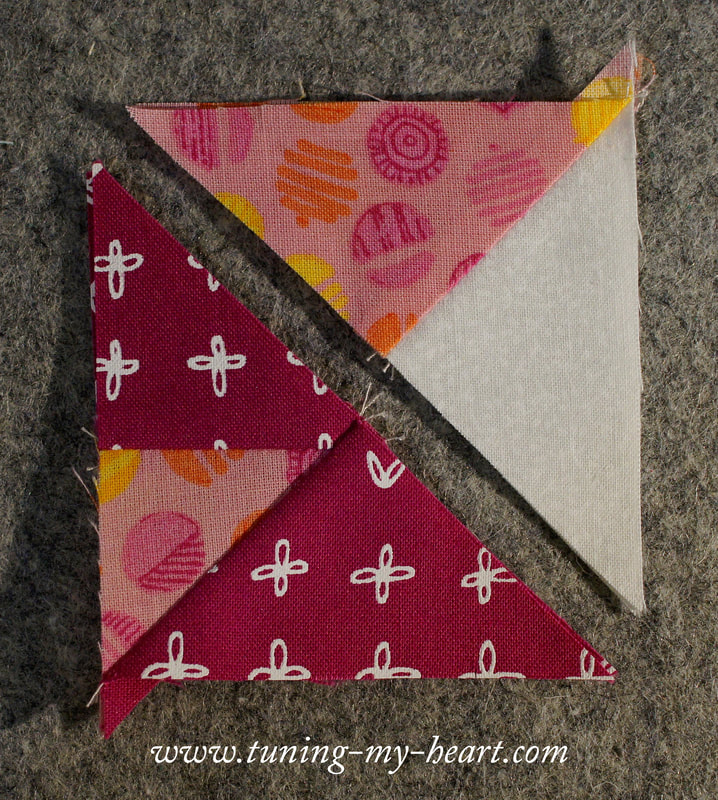 Then joined the pairs to complete the corner units. Just like when trimming the Hourglass blocks I have been making in the previous days blocks I trimmed these to to size, making sure the diagonal line on my ruler lines up with the seam line and my corners will come to sharp points where two fabrics meet. 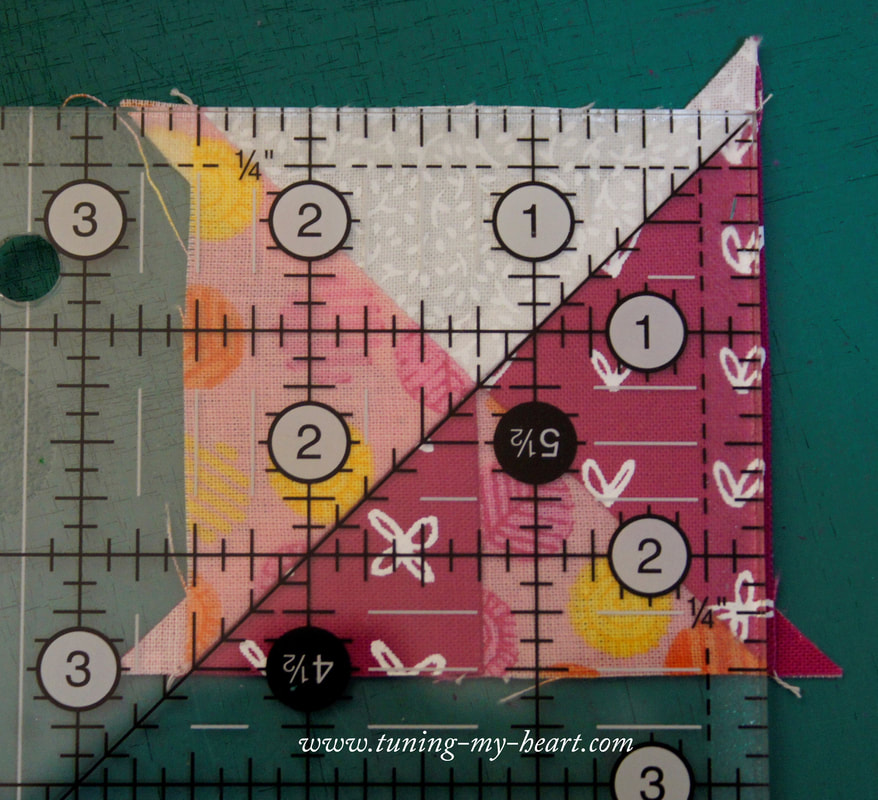 I only worked with one side at a time so as not to get confuesed about how these go together. 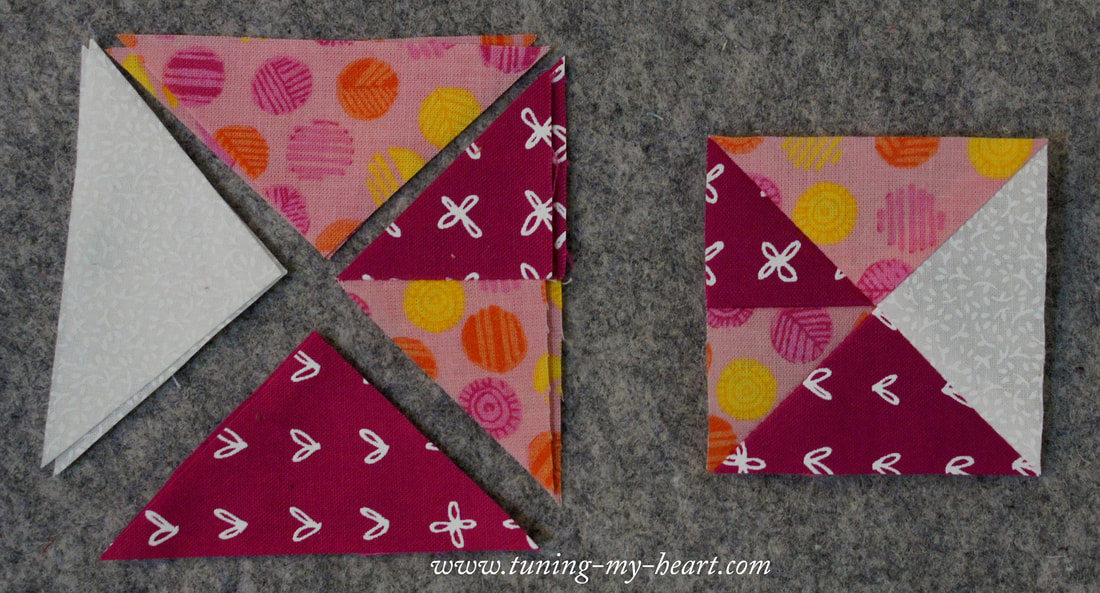 Once they were all made I wanted to lay them out the way they will go in the block. 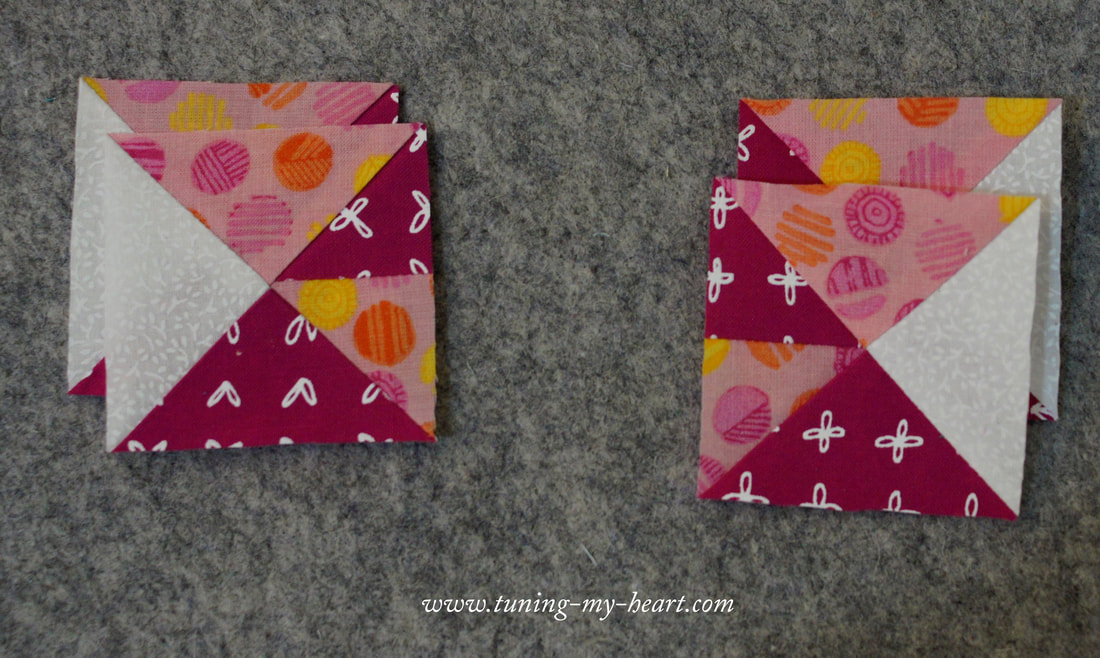 So the one in the upper right also goes to the lower left, flipping it over so the dark triangle is on top. 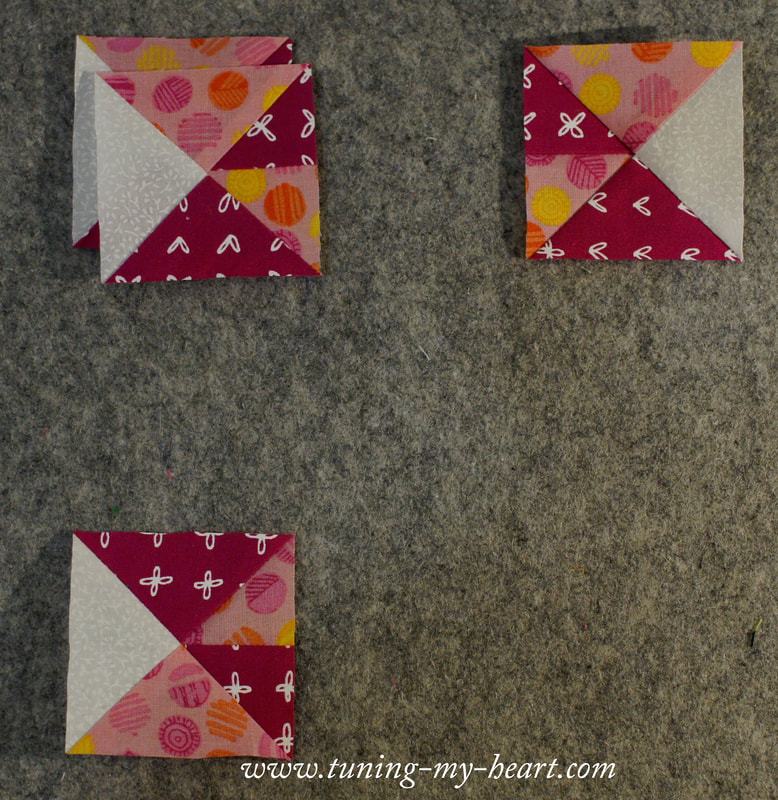 Likewise, the unit on the upper left gets flipped and moved to the lower right. 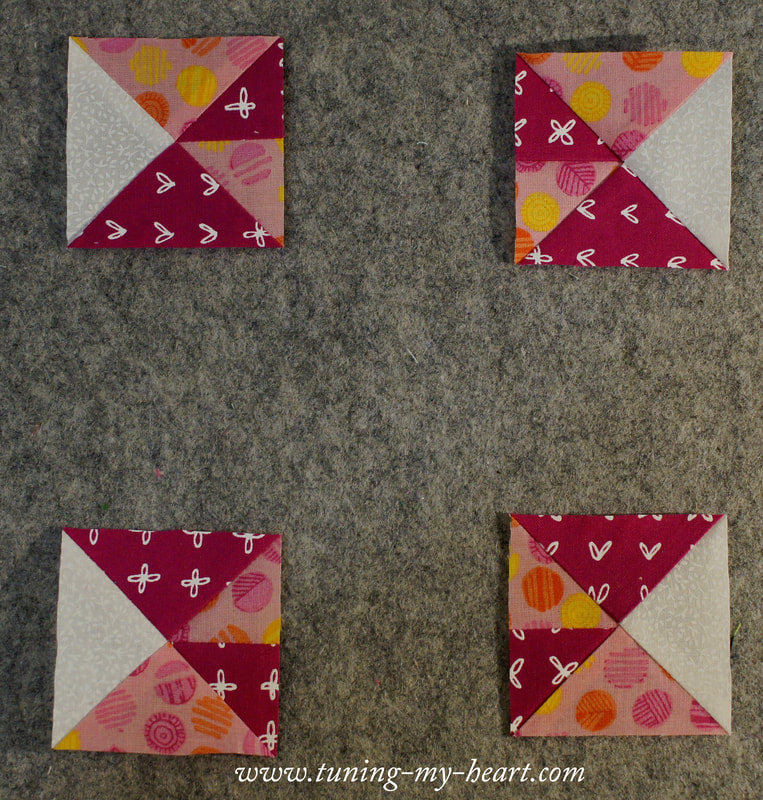 Next I turn my focus to making the Flying Geese. I chose to use the No-waste method here. This method makes more Flying Geese than I need, but other methods alos waist fabric so I went with it but instead of cutting four small squares I only cut three since that is all I will need. For those maybe not familiar, I lay out two small squares on the larger on as shown and draw a diagonal line down the middle. 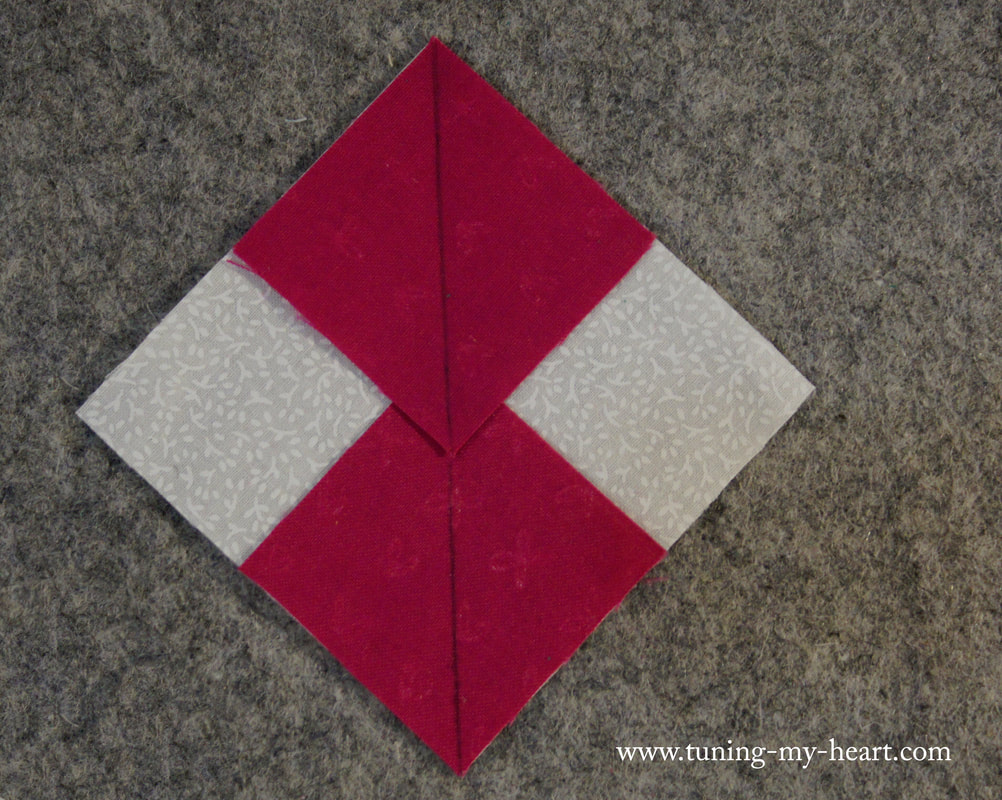 Next I sew 1/4" from each side of the drawn line. 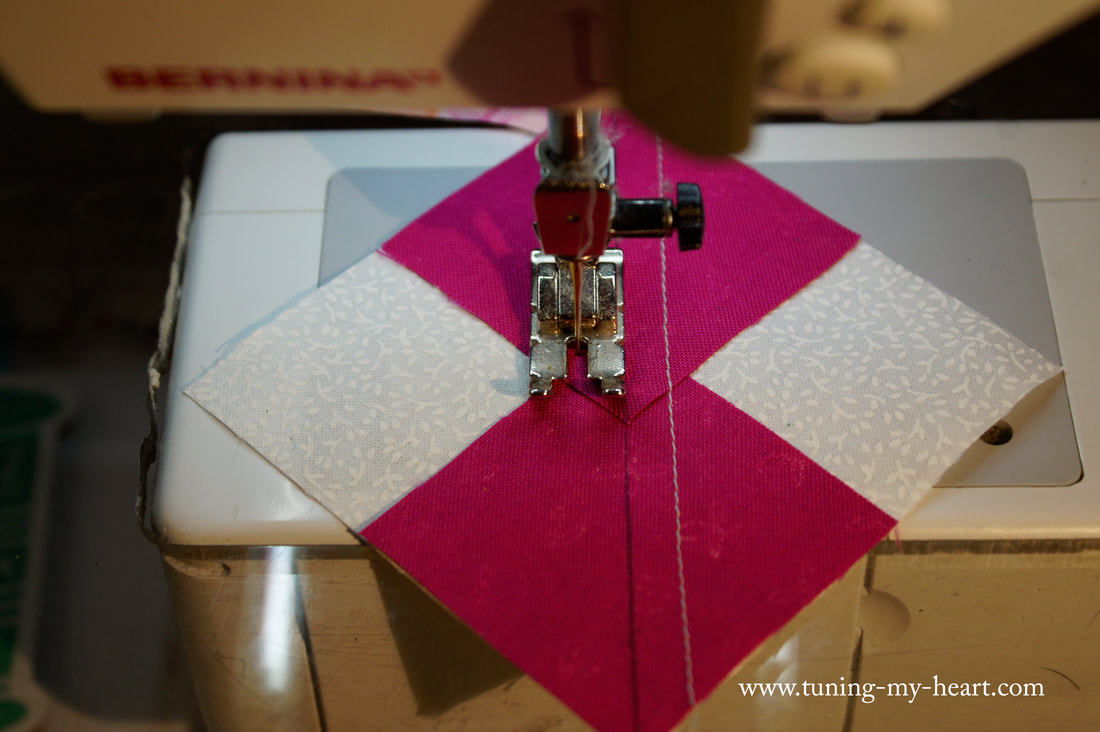 Then I cut apart on the drawn line and press towards the small triangles. I will only be using one from each color combination. 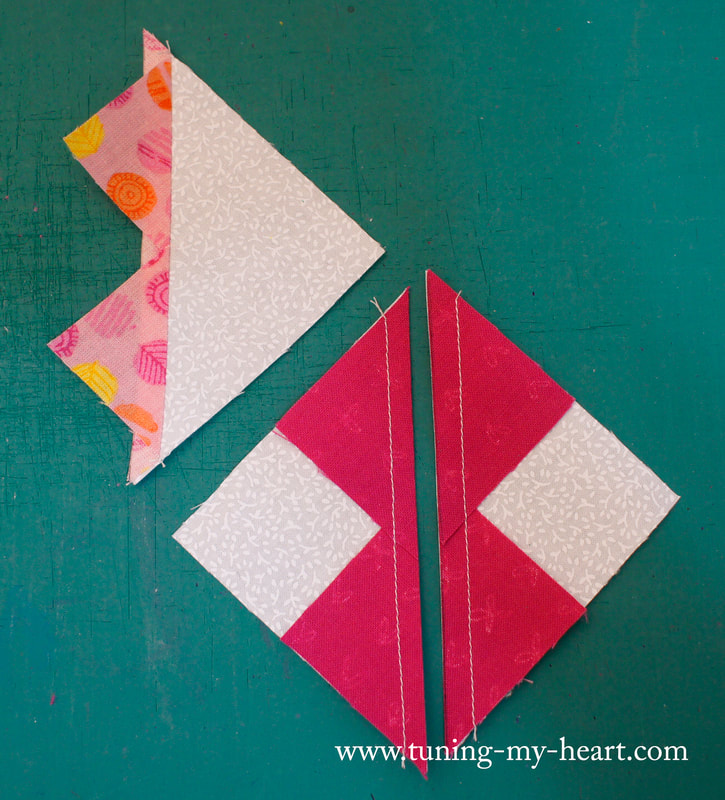 Afer drawing a diagonal line on the remaining small squares these get added to the pressed unit as shown. Again sew 1/4" from each side of the drawn line. 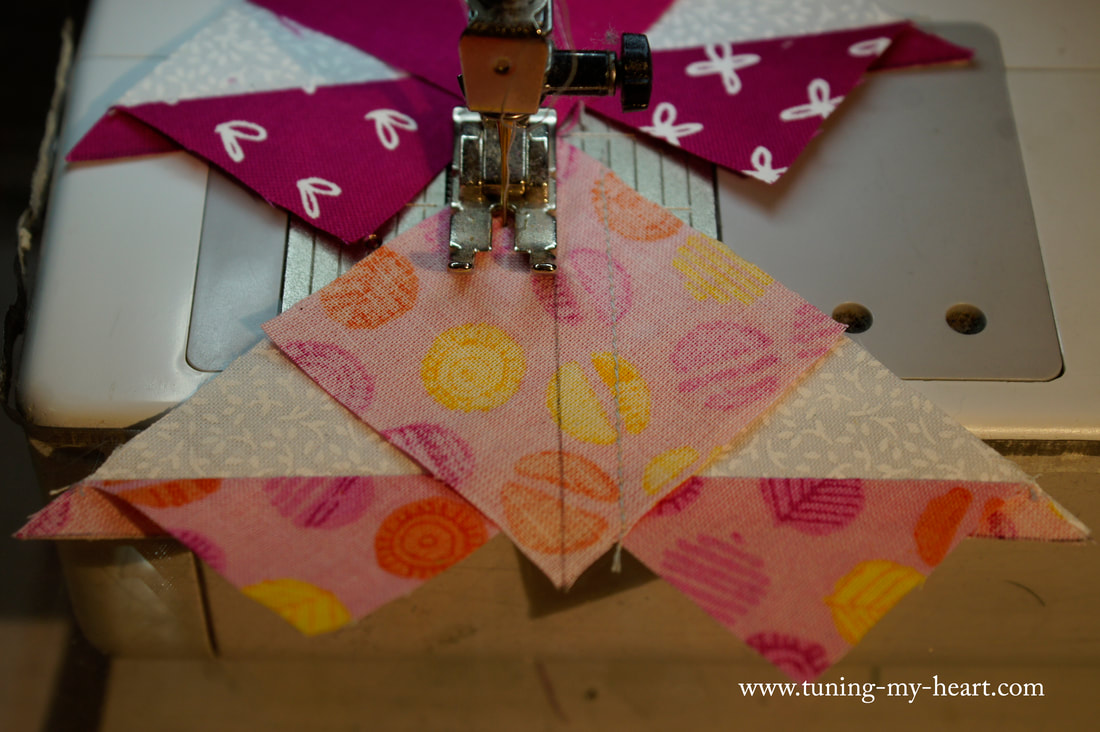 I have a BLoc Loc ruler that works for the size I need so I will be using that. 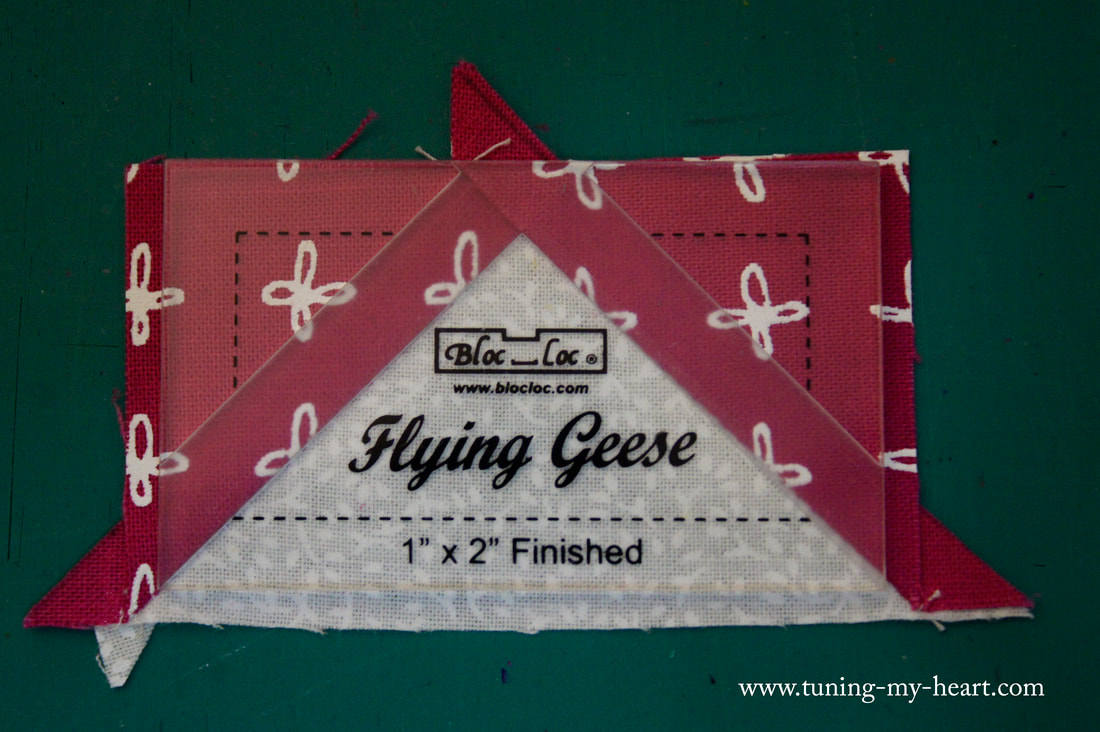 With a regular ruler you will need to make sure that there is 1/4" above the tip of your large triangle as shown by the dotted line on my ruler. You also need to have the 1 1/4" inch mark at the point which is the mid-point of the size you need to trim these to. One other thing to pay attention to: at the lower right corner you want the 2 1/2" line to land where the two fabrics come together to make a sharp point. 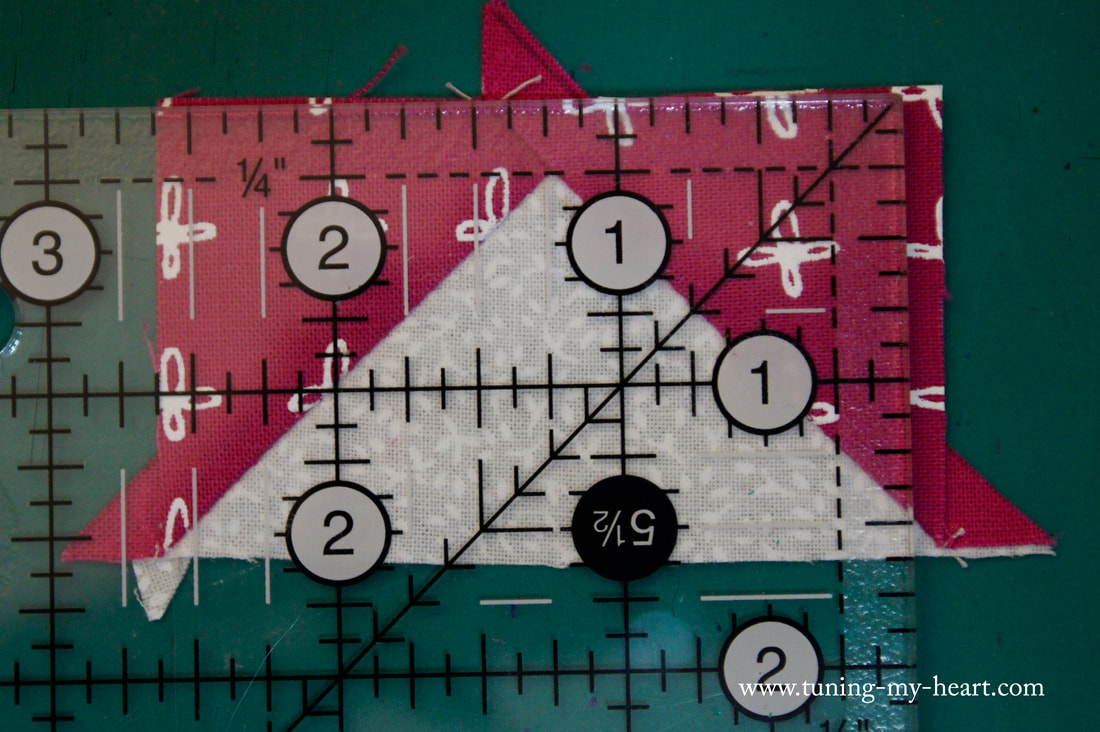 After trimming those first two sides it is much easier to line up the ruler and finish trimming the Flying Geese to size. 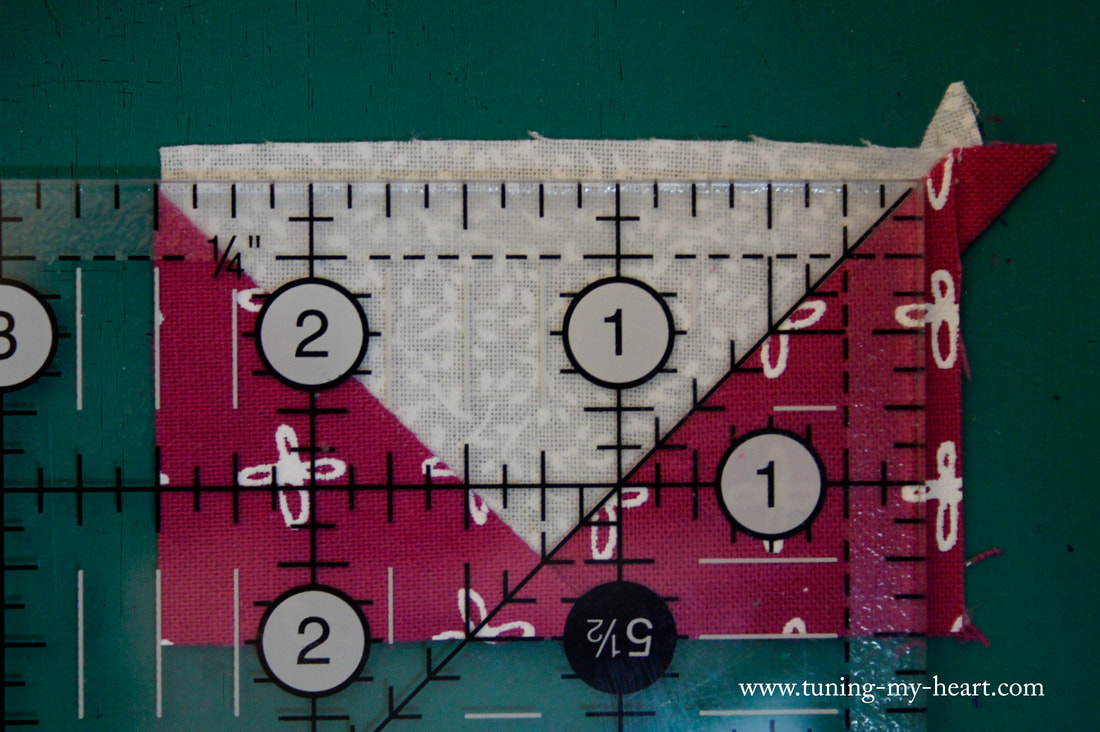 The two colors of Flying Geese need to be sewn together and then can be added to the corner blocks we have in place. 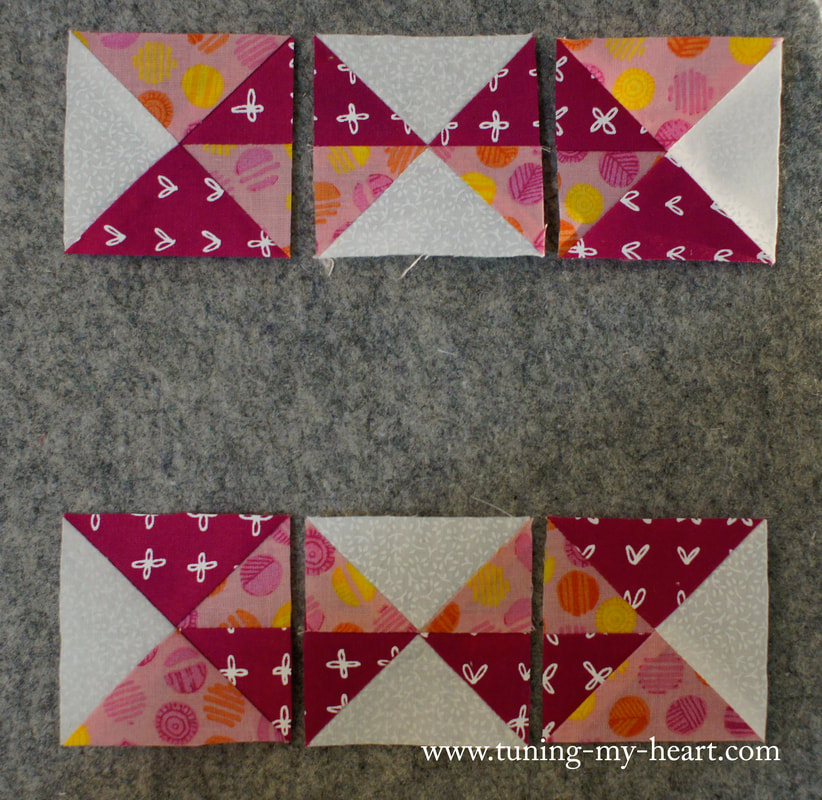 Since I have pretty well covered how to make the Hourglass units the past couple of days I am not going to go over that again now. Here I have added my Hourglass to the middle. 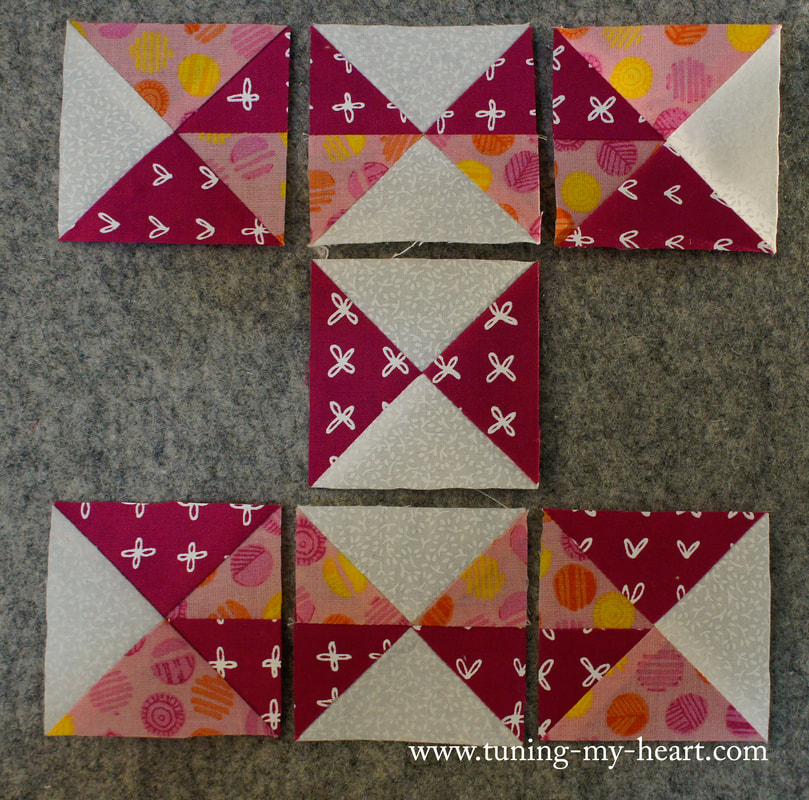 The final two blocks are made using an almost identical method to the Hourglass blocks. The only difference is you are working with two Half-square Triangles that have differing fabrics which gives us a Quarter-square Triangle unit. 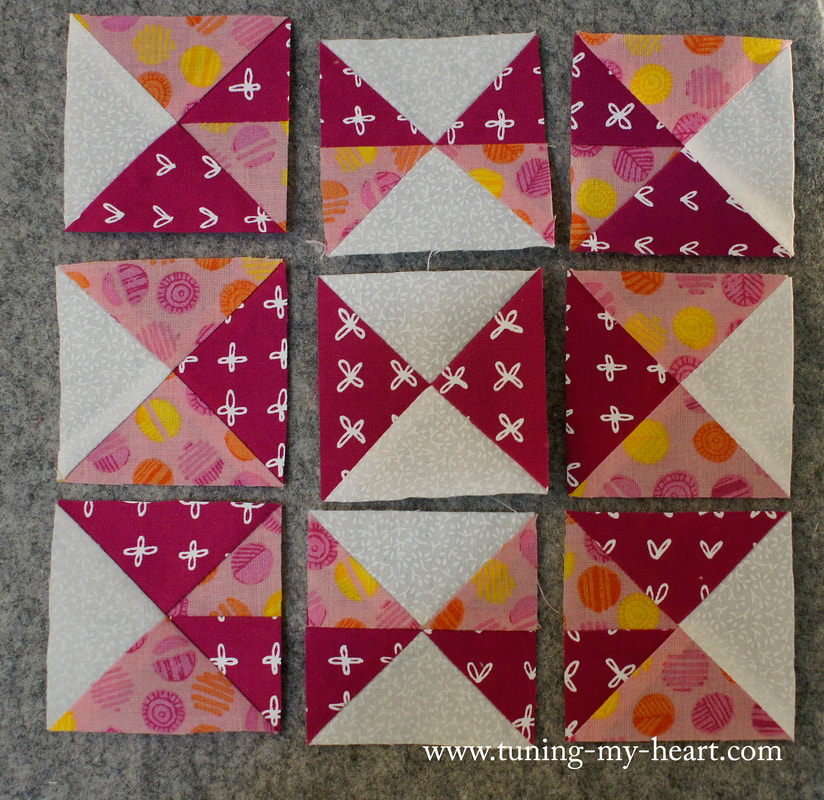 For the most part of all the seams locked together nicely asI joined the rows together. Sew very s-l-o-w-l-y over any seams to keep things lined up and your seam straight. I pressed the top and bottom rows towards the corners and the middle row towards the Hourglass block. 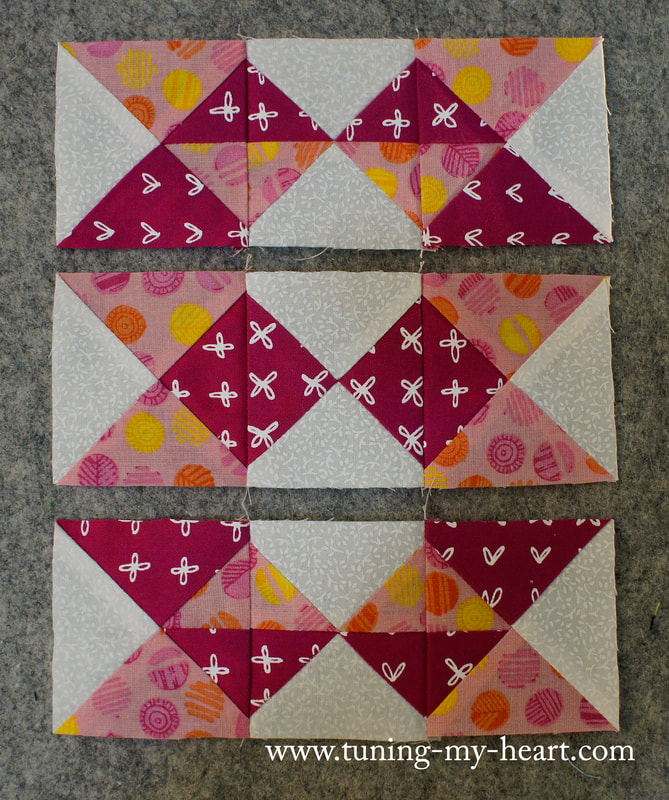 I really just love how this one came out. Though I think tomorrow I will look for something a little less involved, haha. Though it is blocks like these that have helped me to become a better quilter. It is my friend Marian's day on the Clean your Studio blog hop. Wow-I might have to consider a coffee station. You can visit her post at Seams to be Sew. Let me know what you think about the pdf pattern for my block. If several of you want them I may be more motivated. Have a blessed day and... Happy Quilting! 
April
4/3/2020 06:37:13 pm
Hi Deb, is this #17 the only one on a PDF? I would sure like to get the others. If not can I copy from my phone? Hmmm not sure
Debra
4/3/2020 09:55:31 pm
#18 is now available as well. You are of course welcome to copy the instructions from my blog posts for your own use as it could be awhile before I can get them all done. Comments are closed.
|

Welcome to the site of Debra Davis-a woman who loves the Lord and loves to quilt.
My other blog where I share about my walk of faith:
Sitting at His Feet 
|


 RSS Feed