|
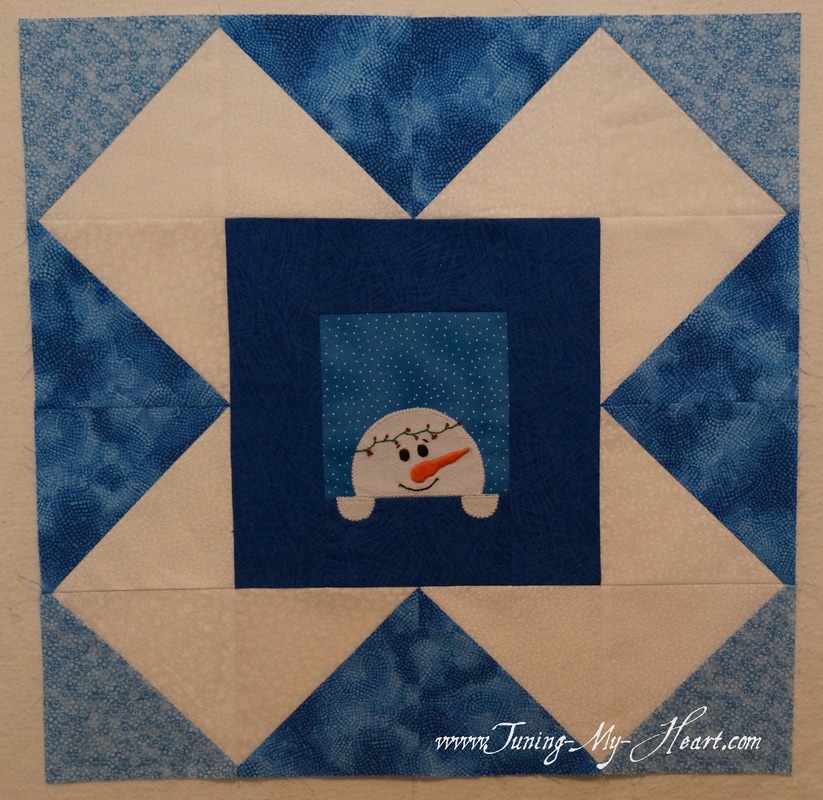
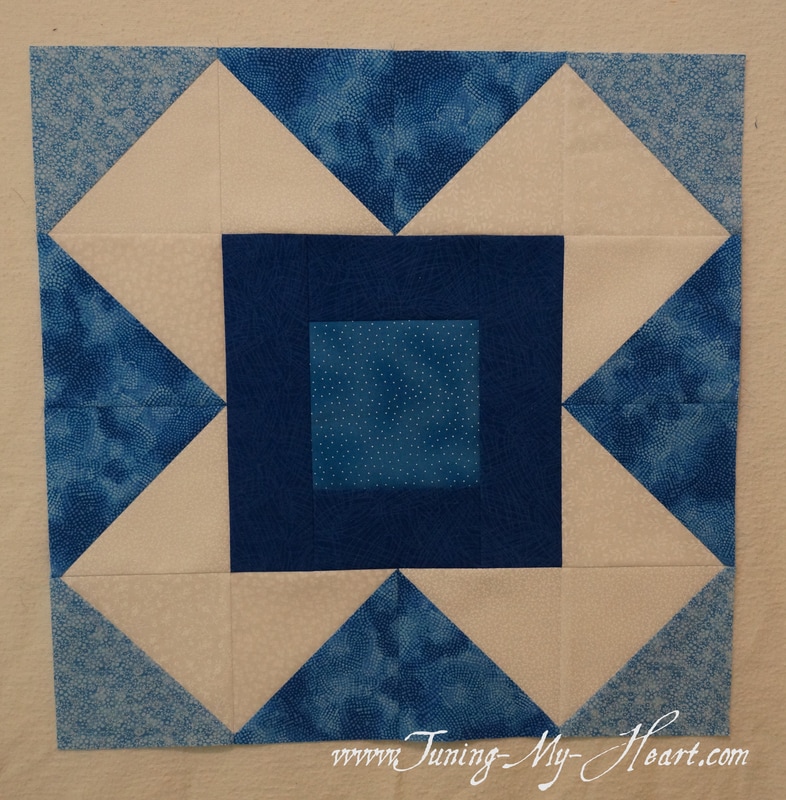
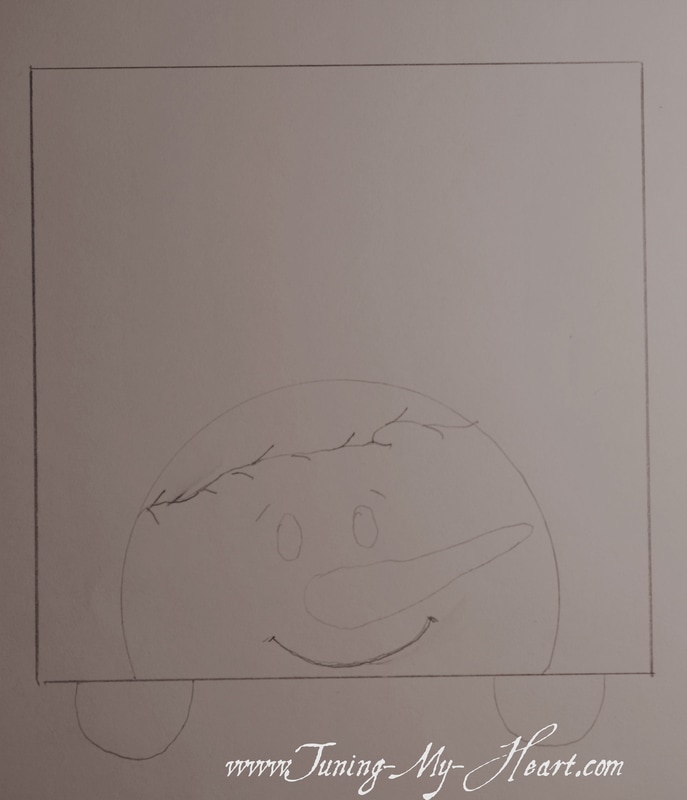
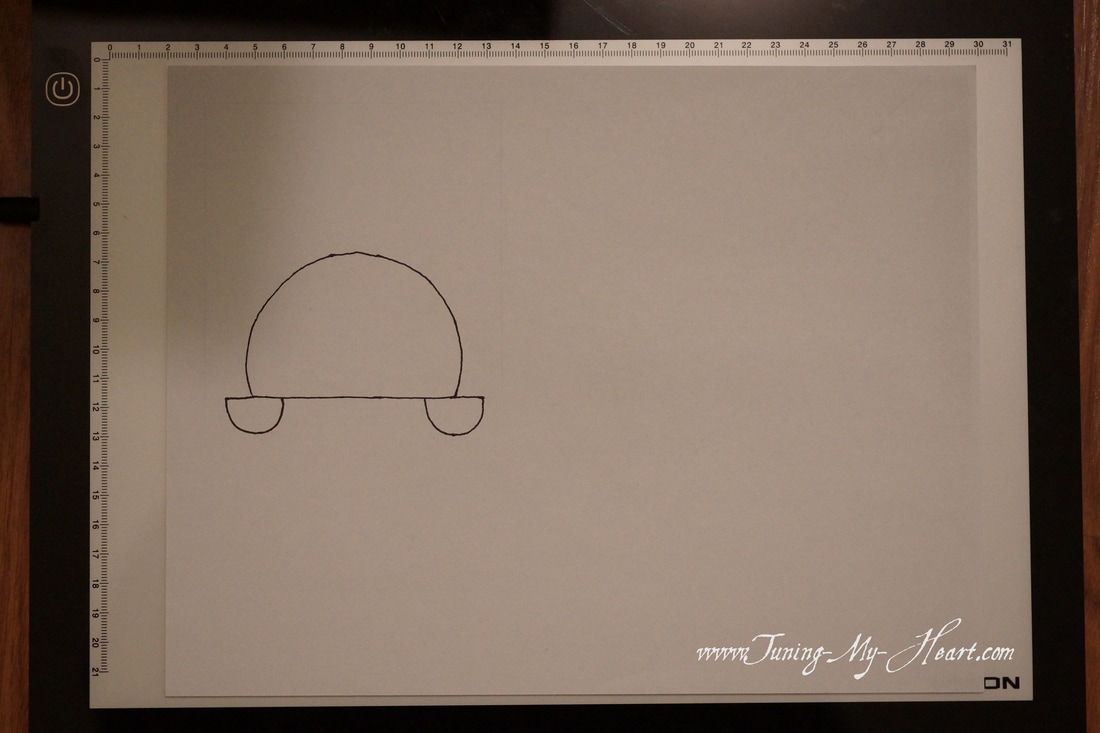
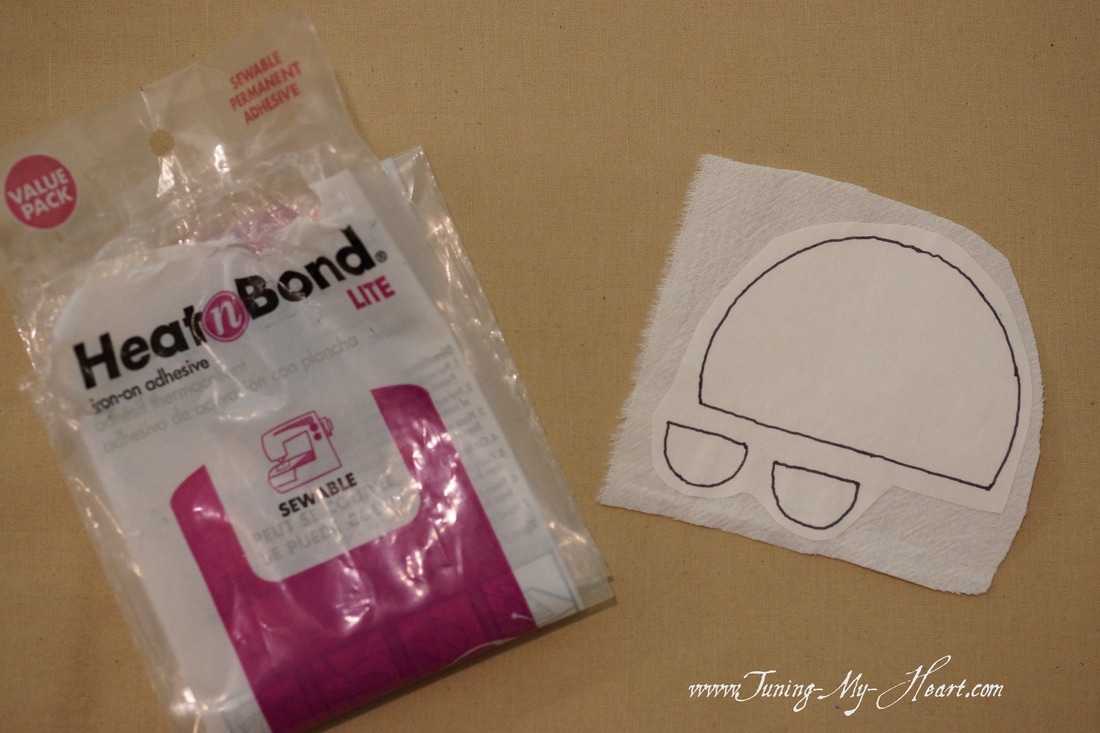
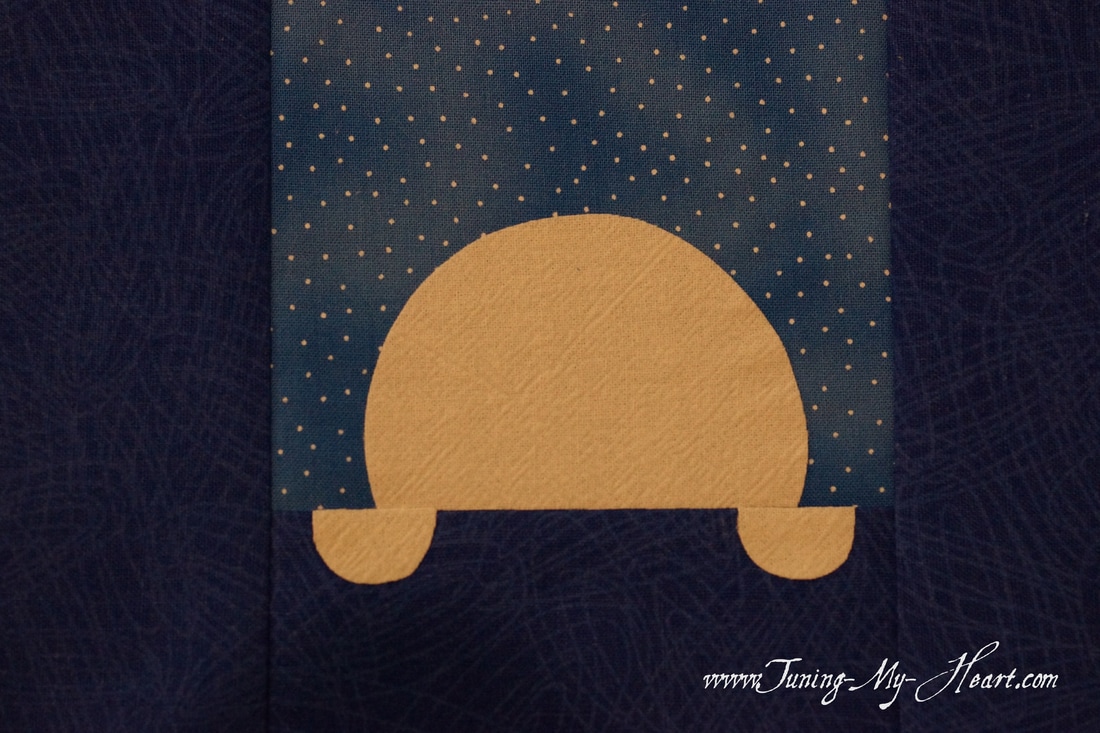
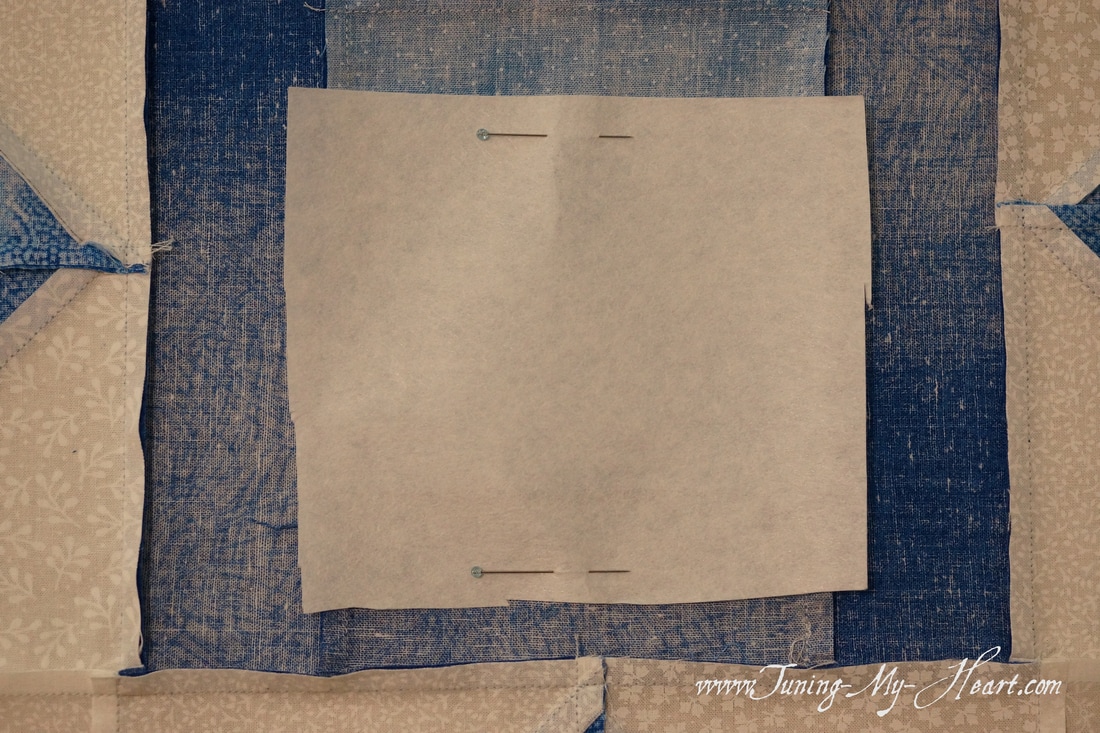
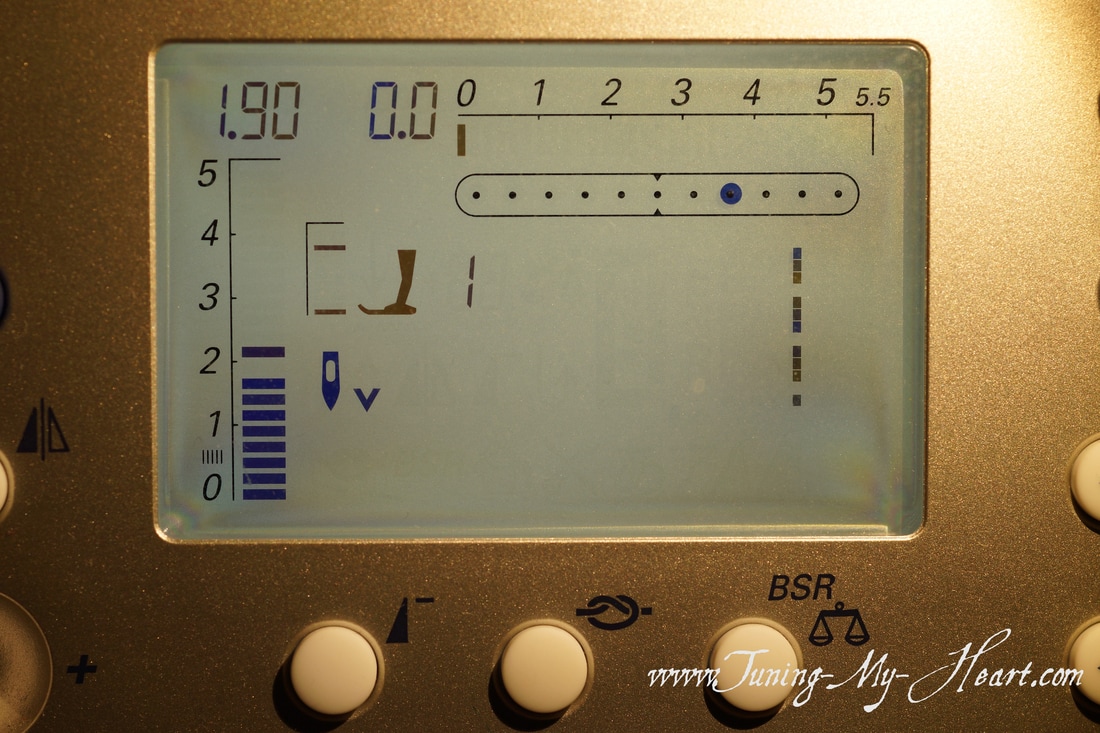
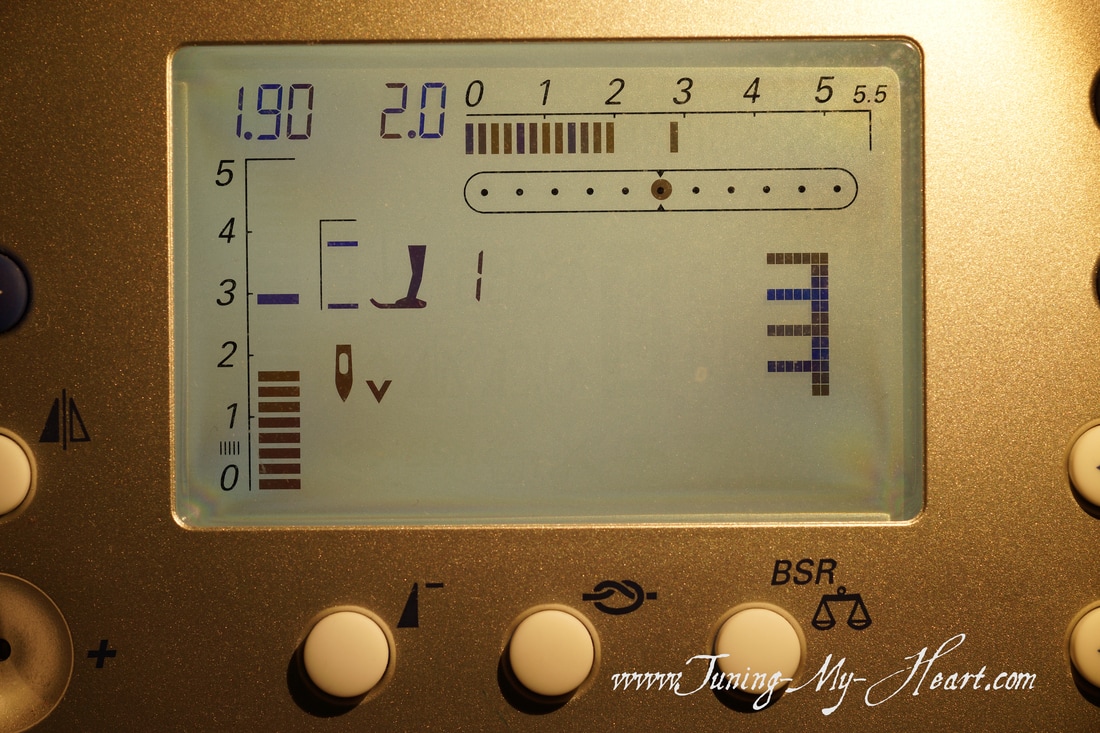
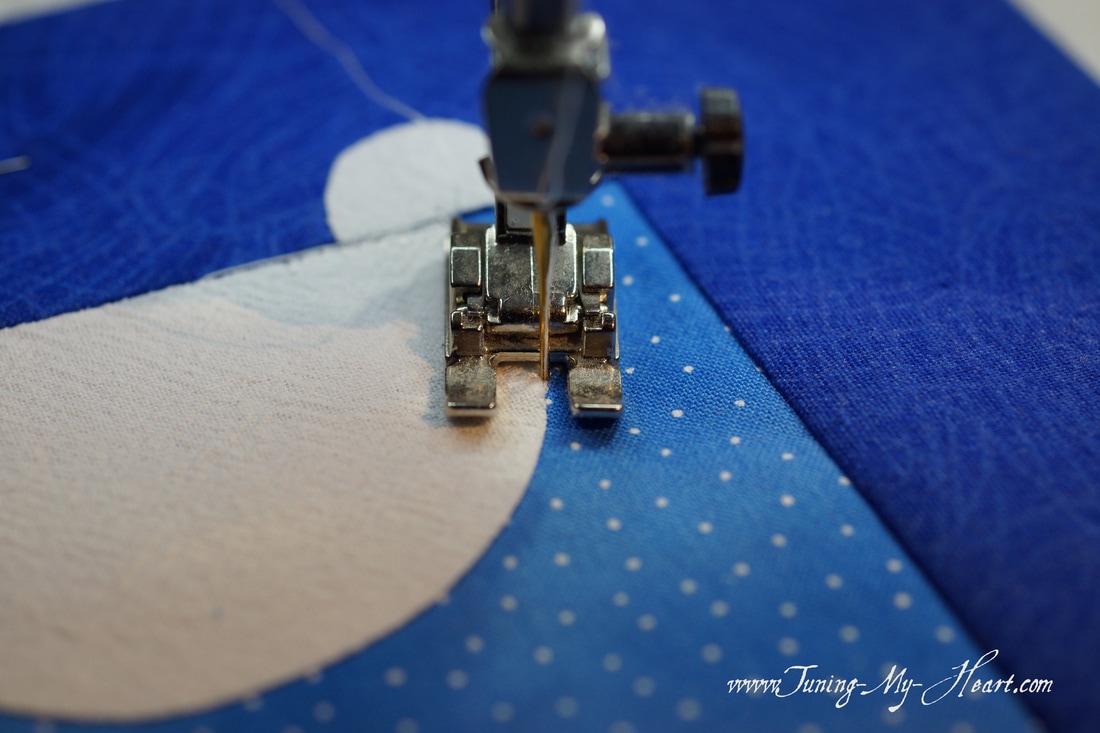
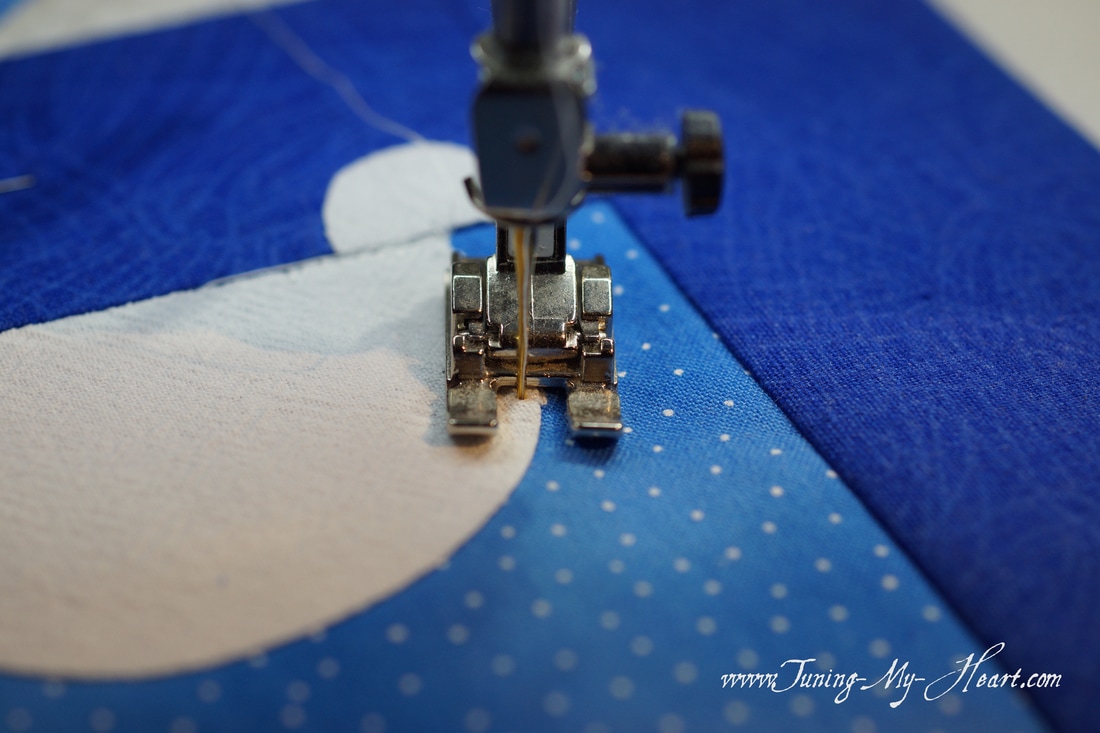
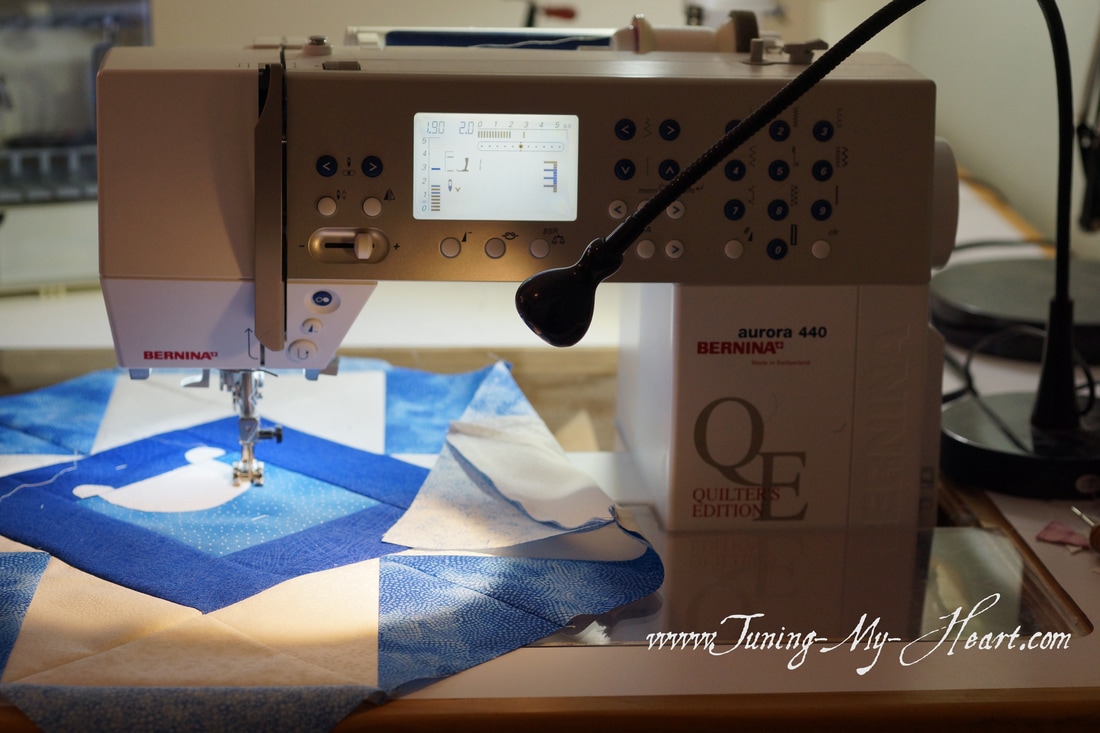
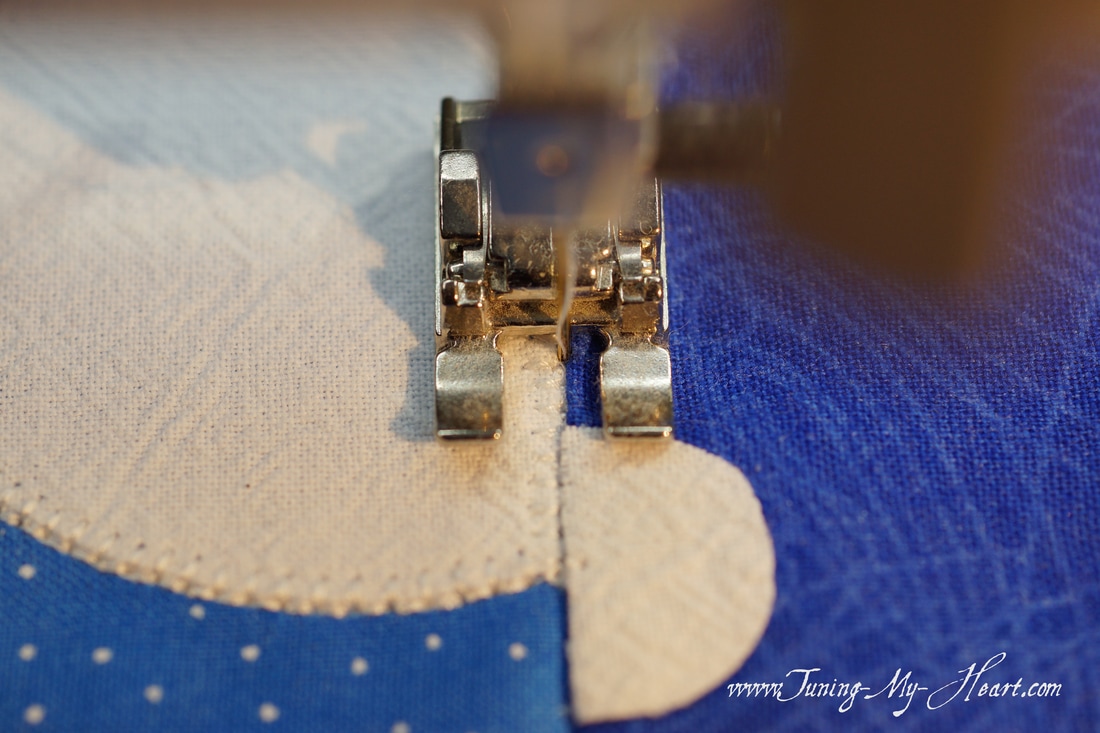
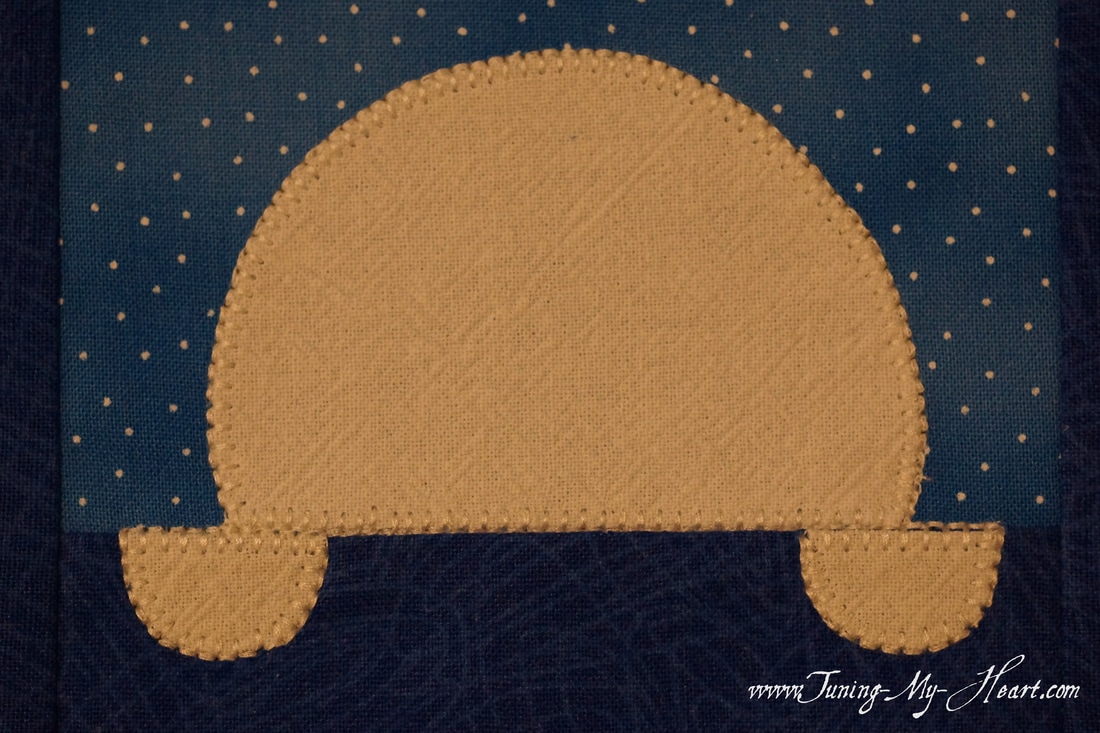
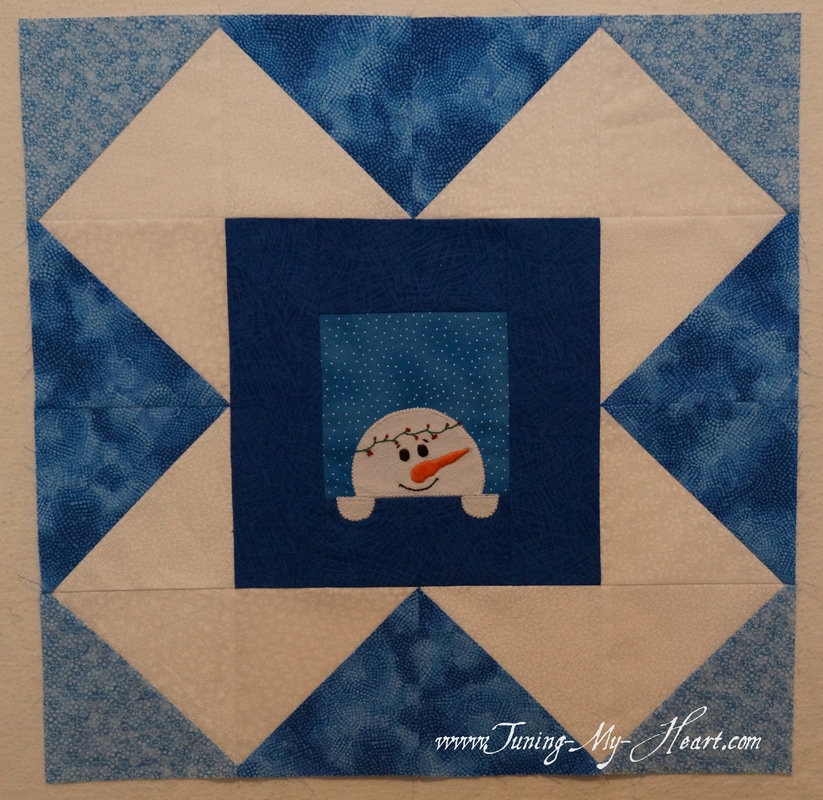
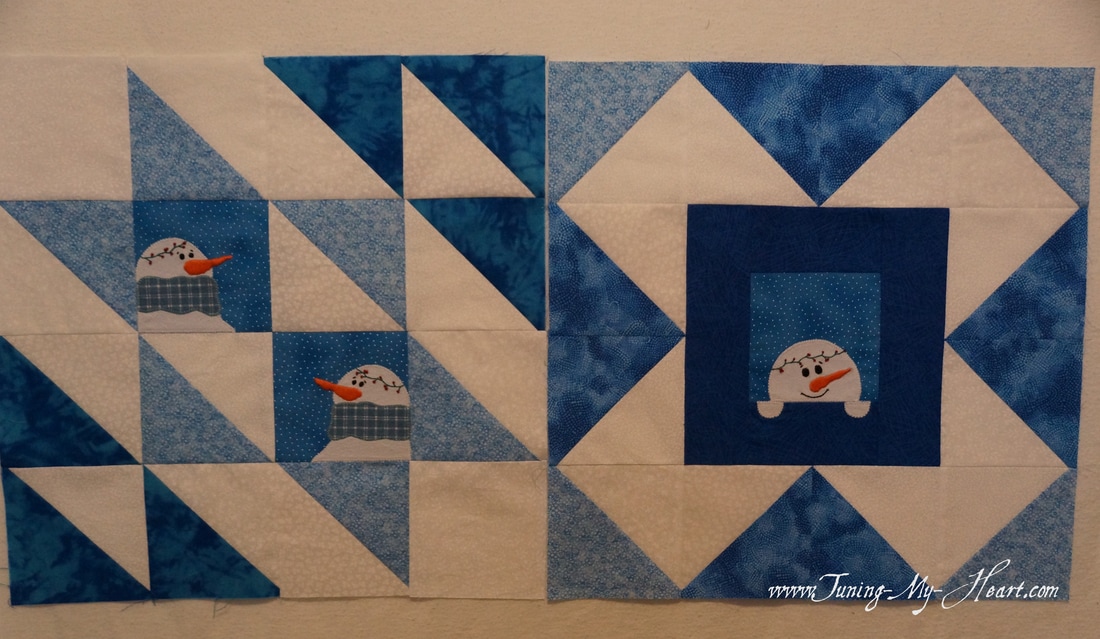
We continue to have snow off and on here in Southern Oregon. I am one of the odd ducks who loves it, but then it is my first winter since we lived in Michigan that I have been able to really enjoy a snowy winter. It was not hard for me to decide to do a snowman version of the National Quilters Circle 9-week challenge, especially with a name like Snowy Day. When I saw the pattern for Block Two yesterday it looked like a window for a snowman to peer through. 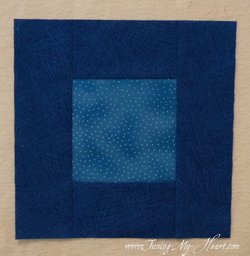 With the block stitched together it is time to get to work on the snowman I am going to add. I have drawn a 4" square on a piece of paper and sketched out what I want the snowman to look like SInce I am using a fusible applique technique I need to reverse the pattern pieces which is easily achieved by flipping my paper over and tracing using a lightbox The design needs to be traced onto the paper side of the fusible. My favorite is Heat N Bond Light. The fusible pattern pieces are then ironed on to my chosen fabric. Once the pieces are cut out they are ready to be ironed onto my block. I have learned it is important for even, smooth stitches to attach a piece of stabilizer onto the back. This is a stabilizer that washes out over time. Since this is a quilt that will most likely need to be washed I am going to stitch the pieces down with my sewing machine. I use a combination of stitches for this process. A straight stitch of length 1.90 that has the needle position moved over two spaces to the right. I use the straight stitch to finish off my stitching which I will describe later. The main stitch I will use is the buttonhole stitch. It also has a stitch length of 1.90 and a width of 2.00. Once again I am using the needle down position on my machine which makes going around curves and corners very easy and accurate. I prefer to use an open toe foot for doing machine embroidery. It helps me to see the edge of my fabric as I stitch. The needle needs to come down right along the outside edge of my applique pieces during the straight stitch part of the buttonhole stitch. I found this little LED light at Ikea a couple of years ago and I love the way it provides extra light to my work. Really helps to see those tiny stitches Now for the trick of the straight stitch... As I come up to the start of the buttonhole stitches I switch to the straight stitch and take four or five stitches right along the straight edge of the previous buttonhole stitches and end using the lockstitch feature. Time to get out my embroidery hoop and do some hand embroidery to add the details. With some satin stitch, backstitch, and a few French knots, this one is ready to join Block 1. Happy Quilting!
Debra
Gloria
3/3/2017 08:59:19 pm
Thank you for sharing this
Debra
3/7/2017 09:19:35 am
You are welcome, Gloria.
Sarah
3/4/2017 10:10:18 am
Great tutorial really detailed
Debra
3/7/2017 09:19:05 am
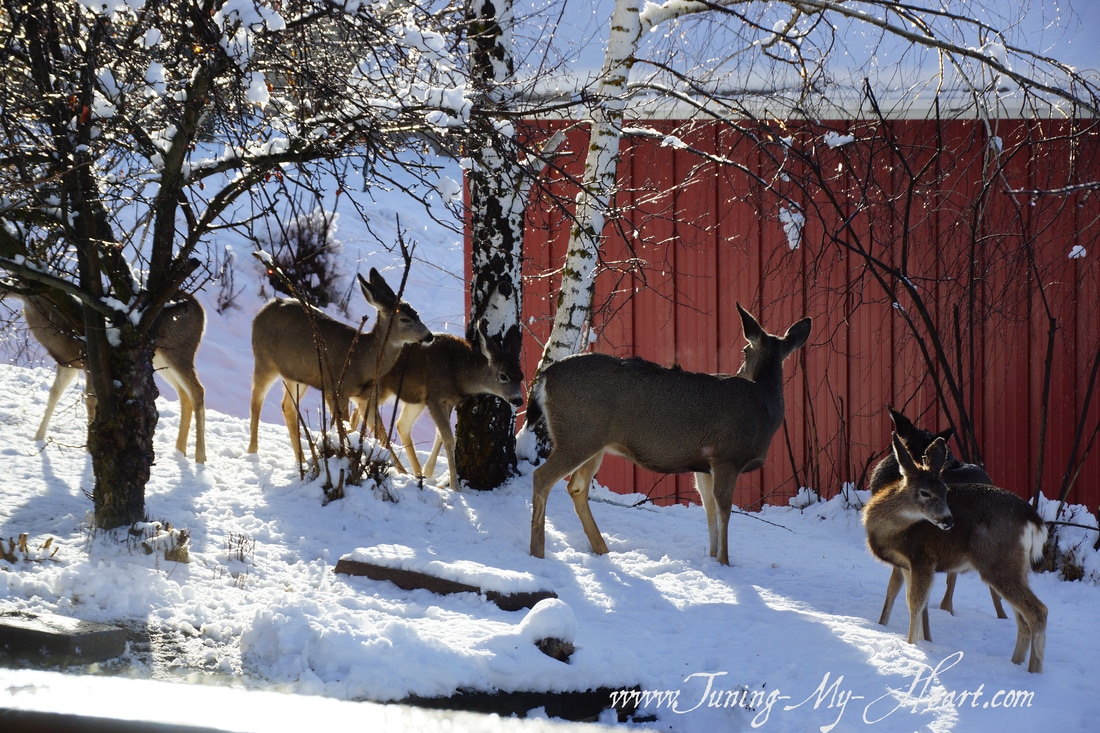
Hi Sarah. Thank you-and we still have snow coming down-it came be hard to get anything done with deer out the window lol.
Gwen
3/6/2017 06:48:28 am
What type of fabric is your snowman pieces? It looks to have texture?
Debra
3/7/2017 09:17:45 am
Hi Gwen. I had some leftover heavy weight cotton gauze that looked perfect for the snowmen.
Susan Denardo
6/28/2018 05:38:22 am
Hi I came across your block from our challenge and don't remember if you posted your finished quilt with the snowmen. Would love to see it. Comments are closed.
|
Welcome to the site of Debra Davis-a woman who loves the Lord and loves to quilt.
My other blog where I share about my walk of faith:
Sitting at His Feet This website uses marketing and tracking technologies. Opting out of this will opt you out of all cookies, except for those needed to run the website. Note that some products may not work as well without tracking cookies. Opt Out of Cookies |


 RSS Feed