|
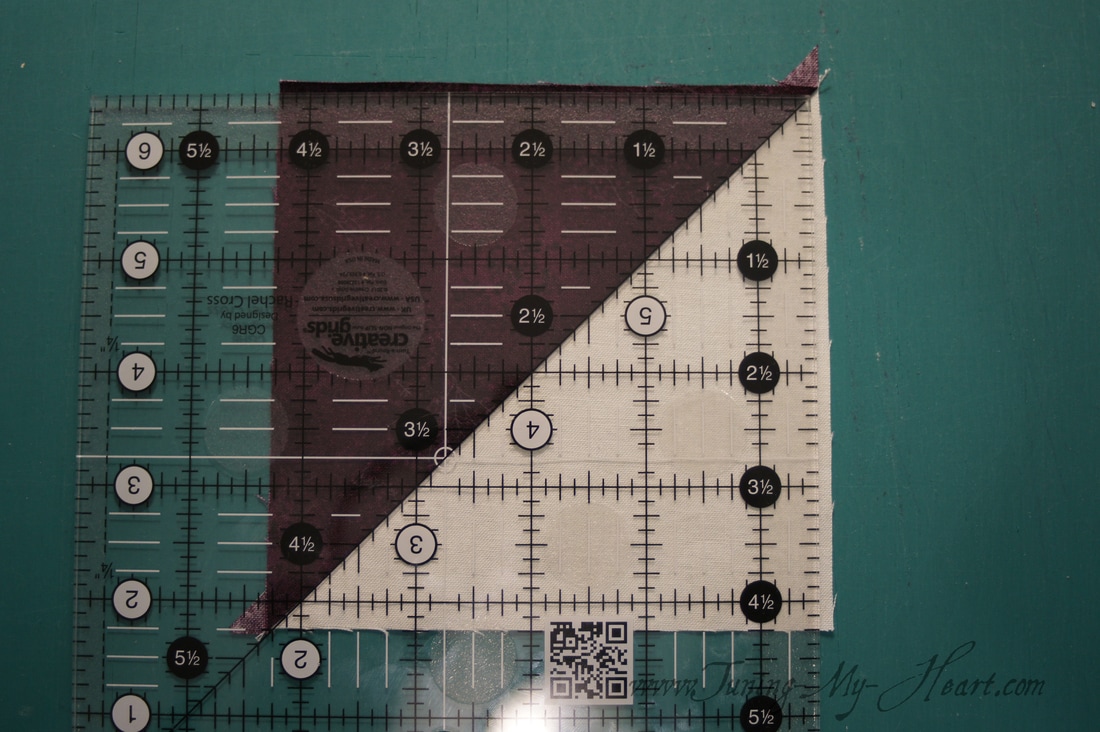
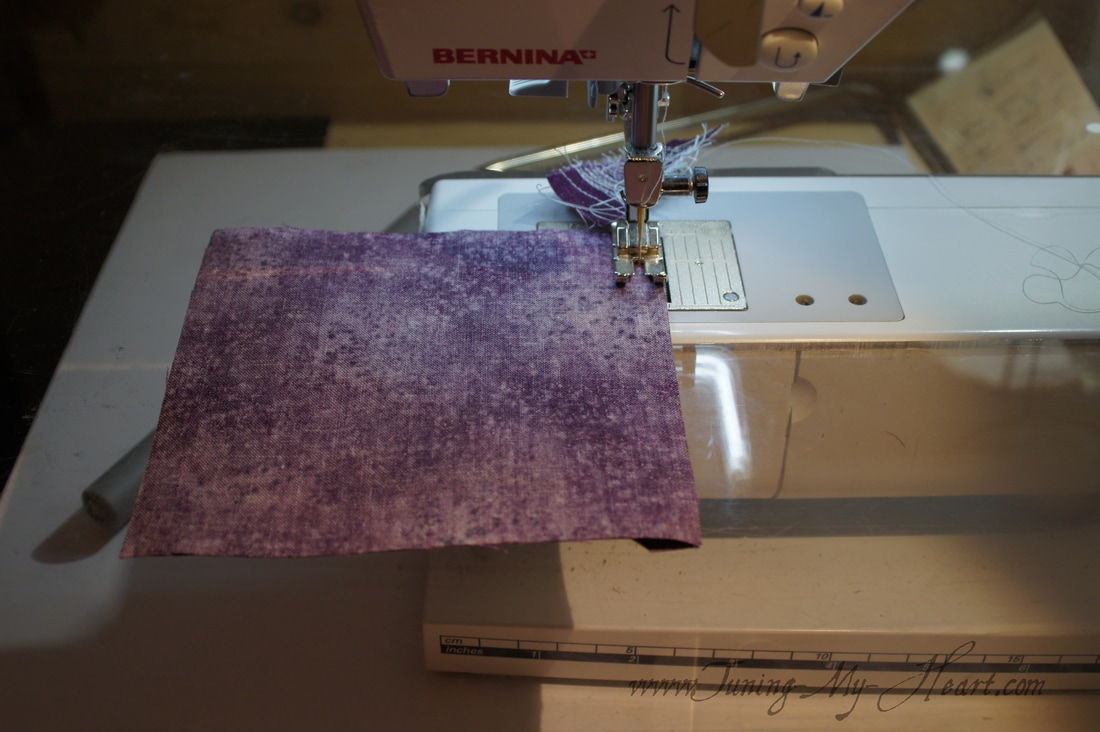
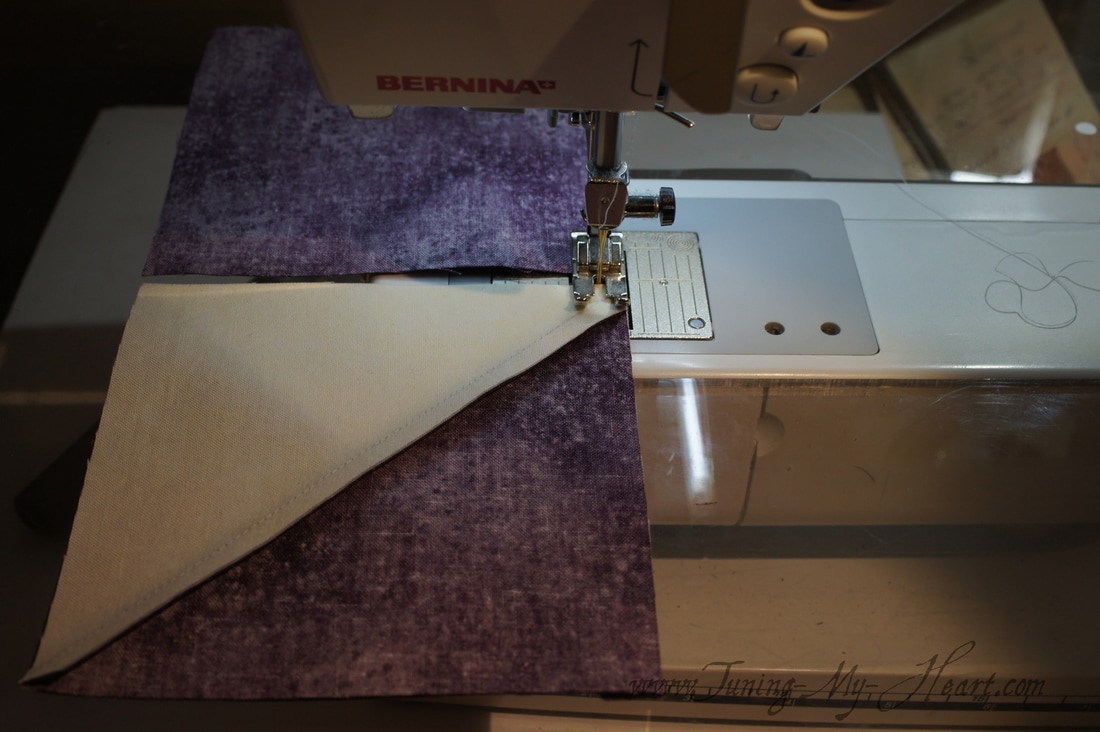
Well, we are on the home stretch now. Block 7 of the Snowy Day Sampler! You can find the Instructions for this block here: https://www.nationalquilterscircle.com/article/block-7/ If you have been following along with me for the first six blocks you know I always start with starched fabric since I prewash everything. I did not use starch at all until I began working with smaller pieces a few years ago and it made such a difference in my accuracy that I do it with everything now. I begin by drawing a diagonal line on the lightest of my 5 1/4 inch squares.  All is ready for sewing some Half Square Triangles. 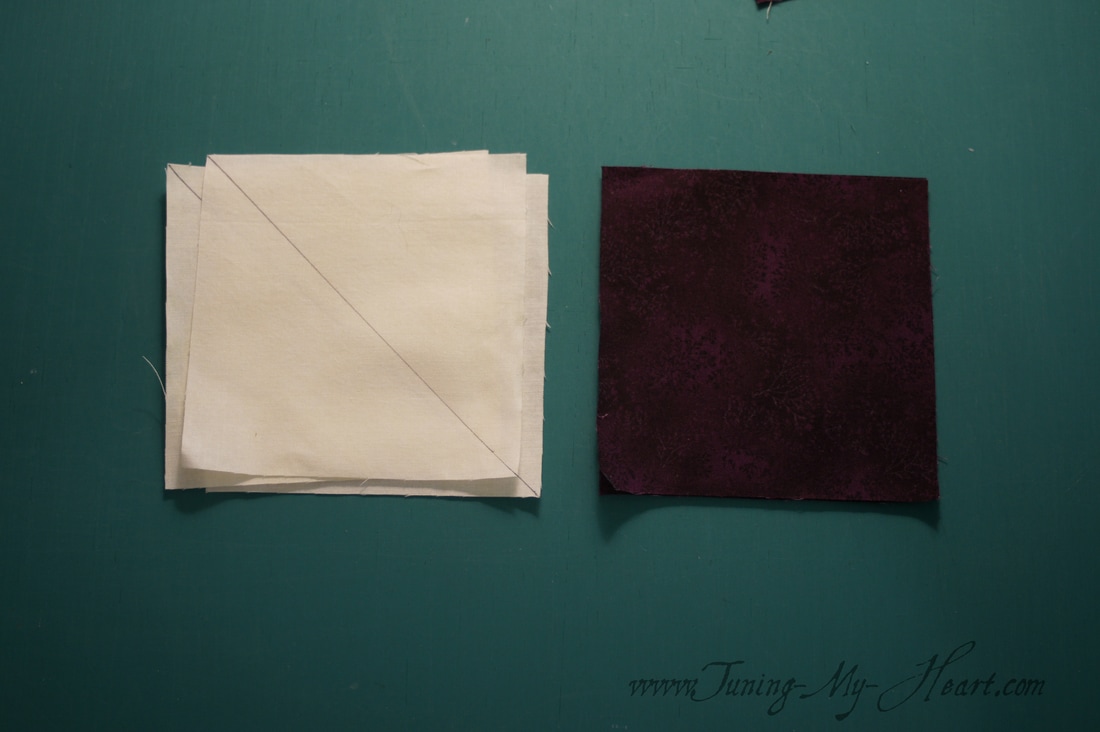 Stitching a quarter of an inch from each side of the drawn line. 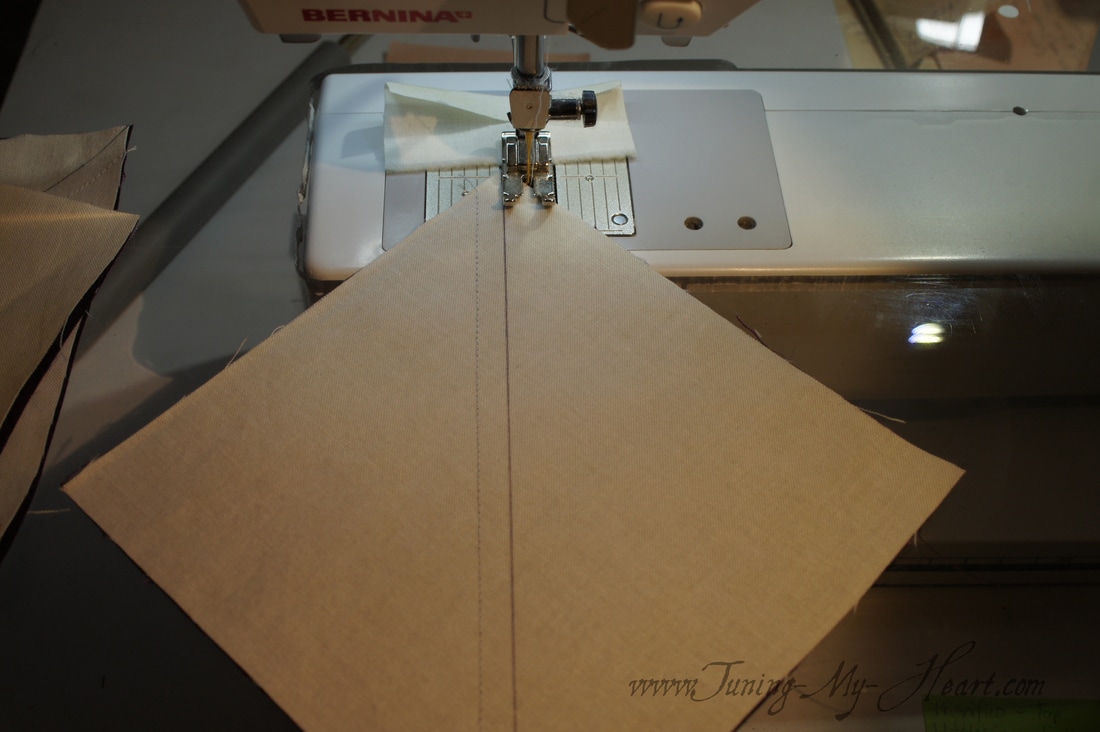 Just need to cut on the drawn line to yield two Half Square Triangles (HST's). 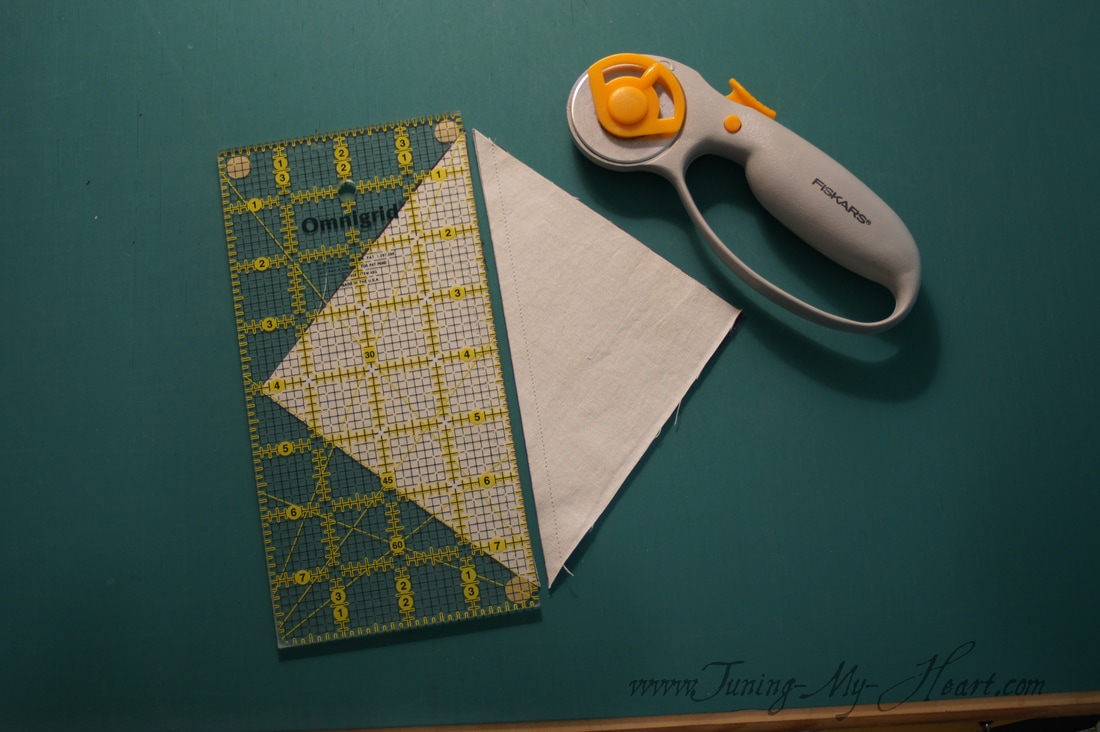 I have pressed them all to the dark side and now they need to be trimmed. I love this Creative Grids Ruler I picked up earlier this year. I love them because they do not slip on the fabric as I am cutting, and this particular one has 1/2" markings which I am enjoying with these blocks. As you can see our units are oversize and need to be trimmed to 4 1/2 inches. I trim the side and top, then rotate the block and repeat the process on the other two sides. It is very important to place the diagonal line on your ruler right on the seam line of the HST to achieve sharp points.
I lay out the units in the order they will be sewn together. 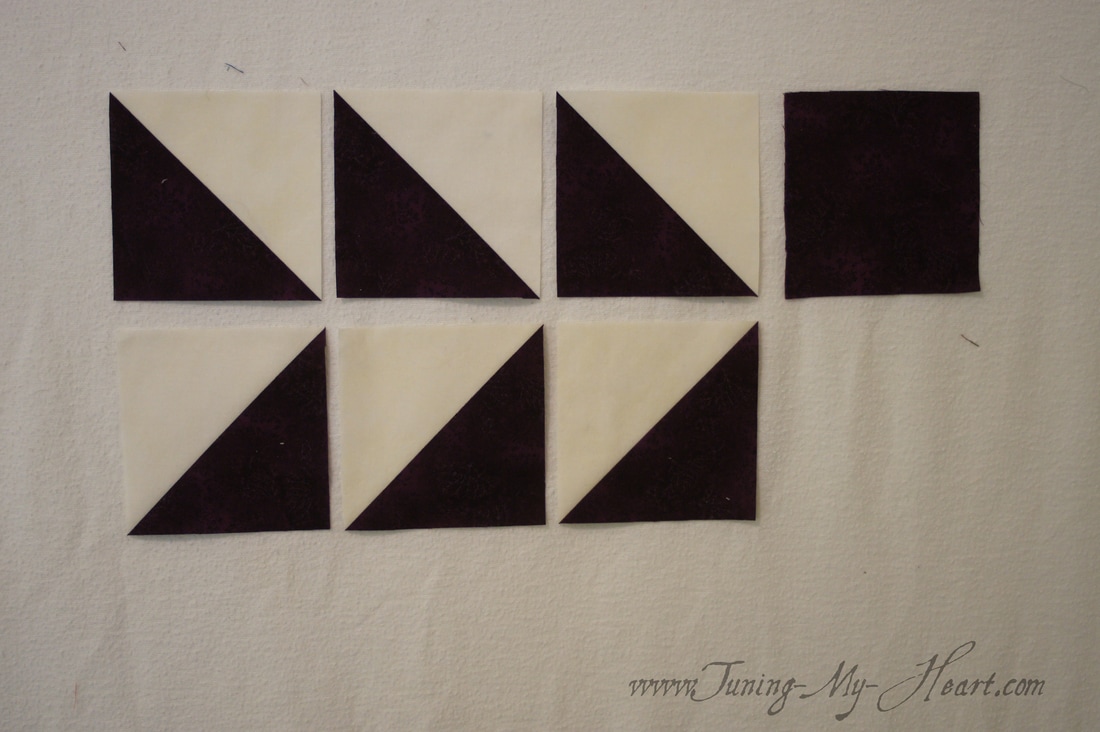 Sewing the two rows together.
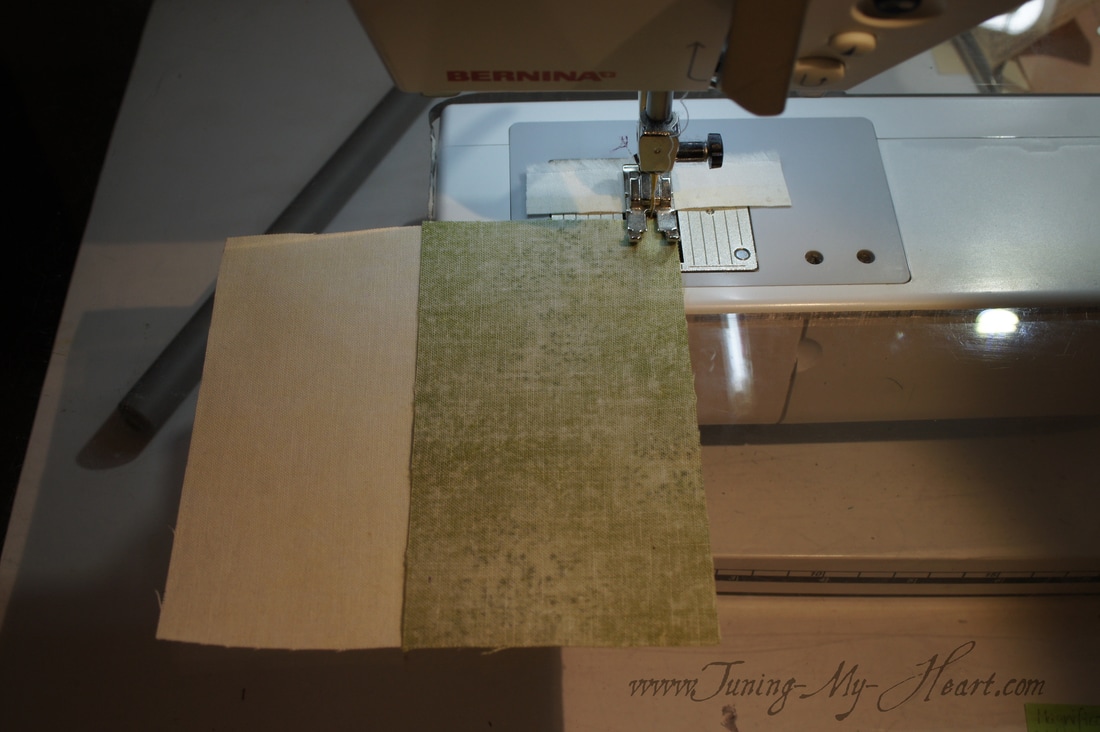
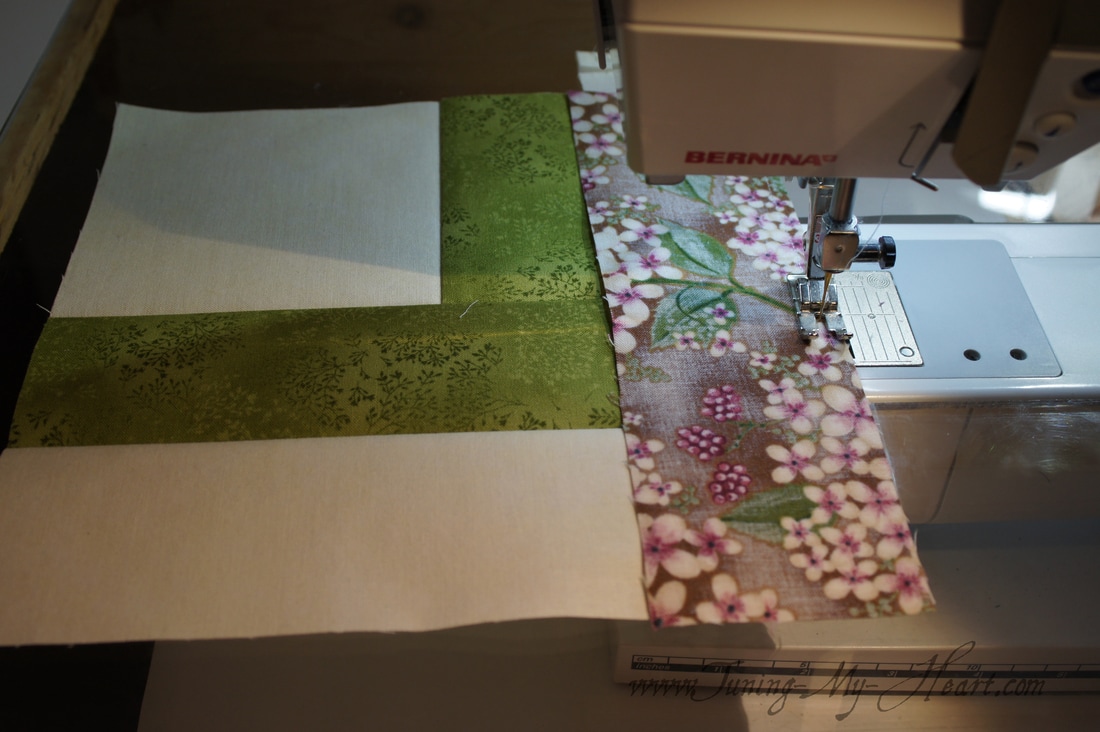
When sewn together the inner squares need to measure 4 inches across. (I started with 4 1/2 inch squares, and since each side lost 1/4 inch to the seam I am left with 4 inches.-I am married to a mathematician and it has rubbed off a bit after 33 years.) 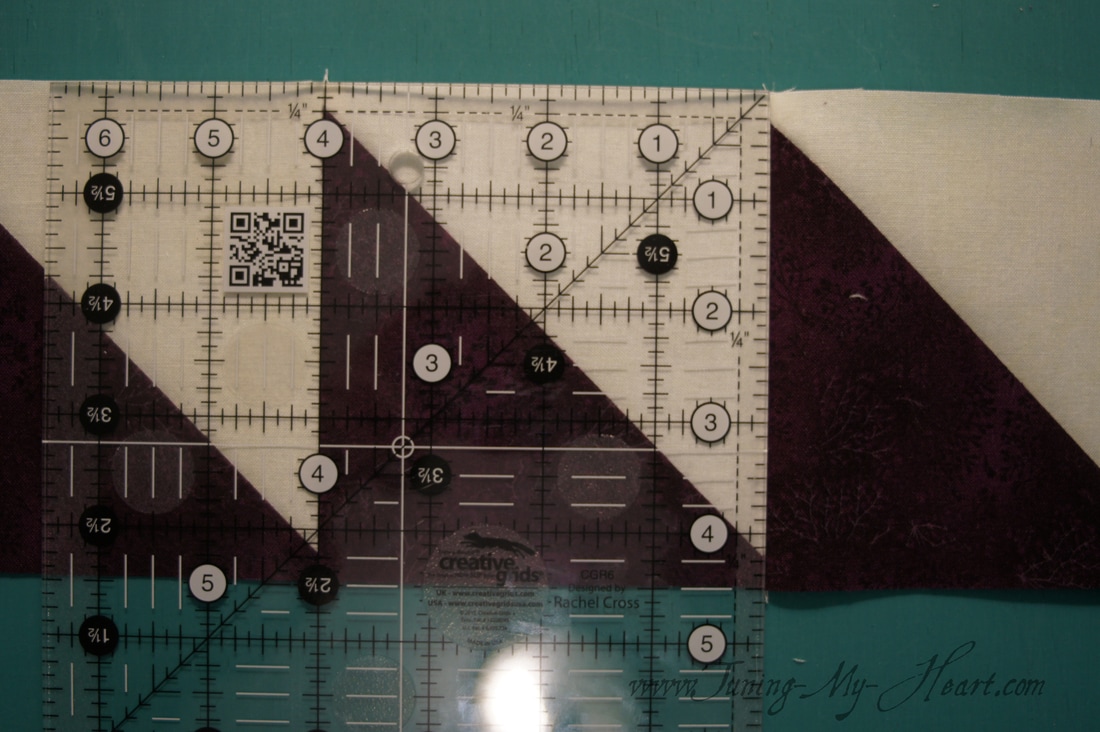 These two rows are stitched together so I will lay them aside while I work on the next bit. 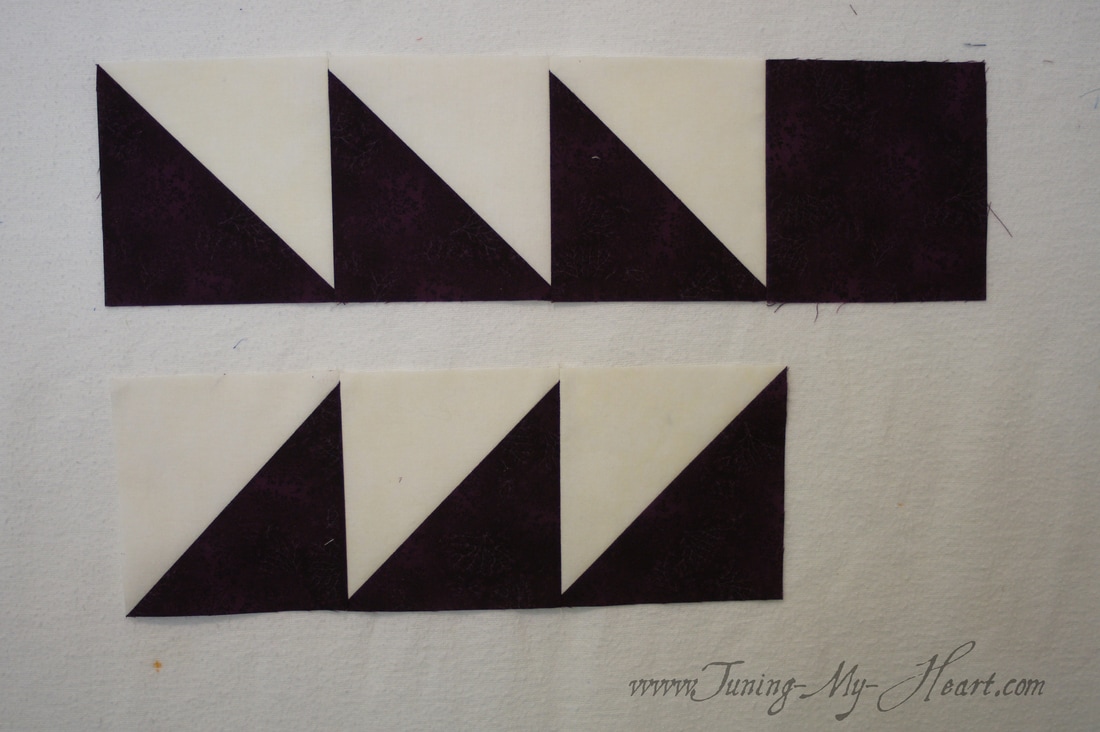 The first pieced quilt I ever made was a log cabin. This block has a half-log cabin in it which is a nice one to play with as it is very forgiving and there are no points or seams to match. 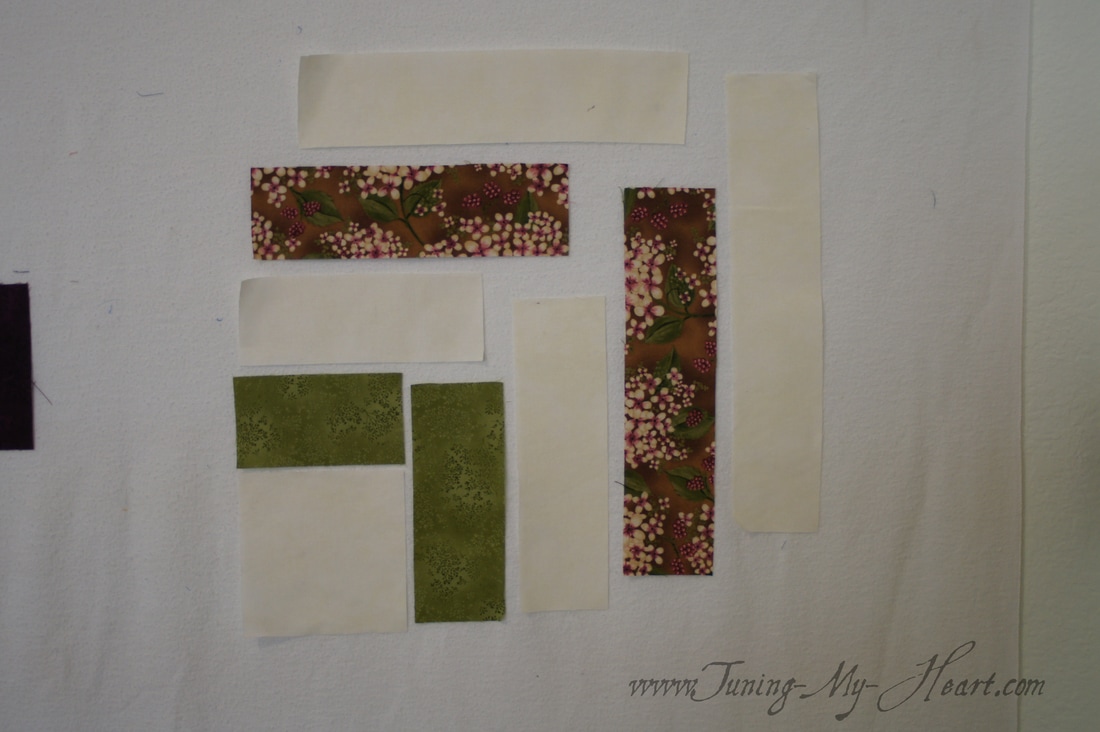 I start with the square and my first two "logs." 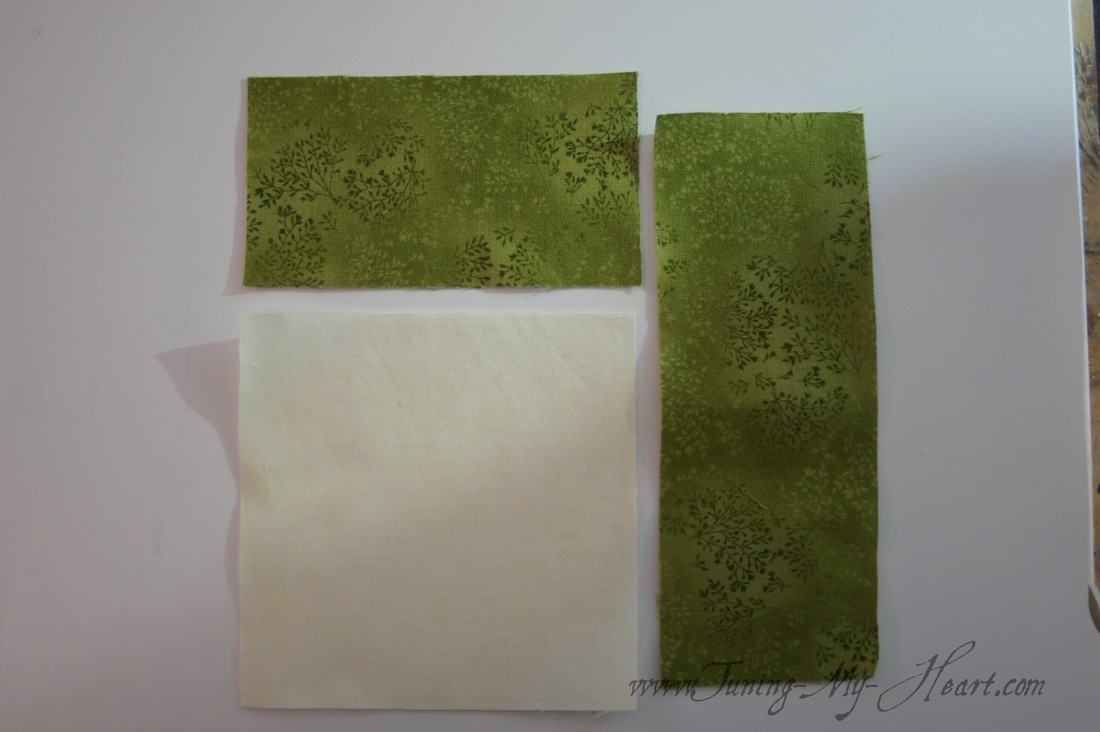 With right sides together I join the shorter log to the square. After pressing this towards the log I can then add the longer one.
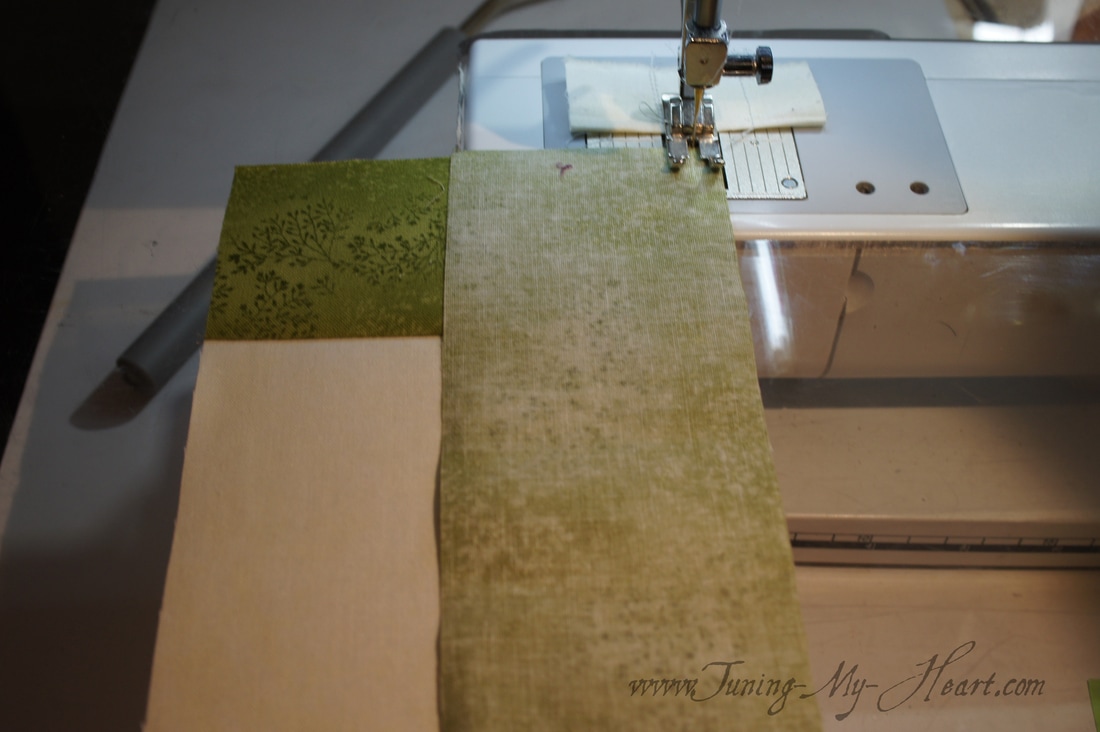
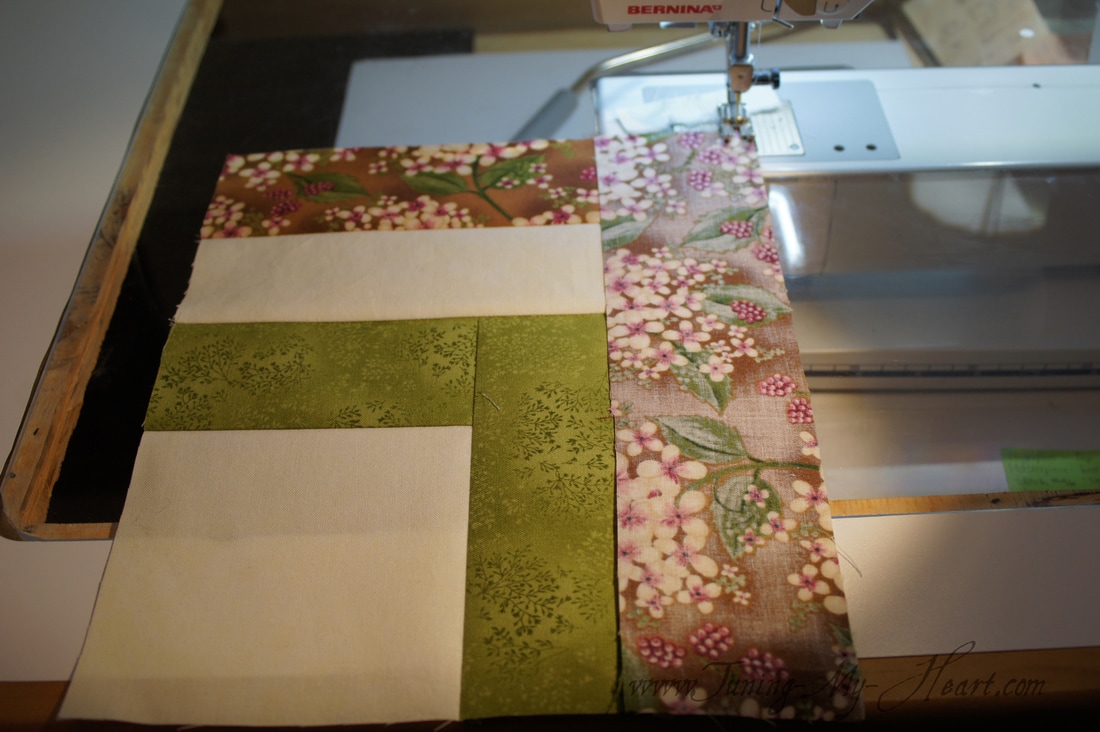
When done, this unit should measure 6 1/2 inches square. Sometimes a little trimming is necessary to maintain the straight edges. If needed, lay your ruler on the seam of the log and trim it to 2 1/4 inches. 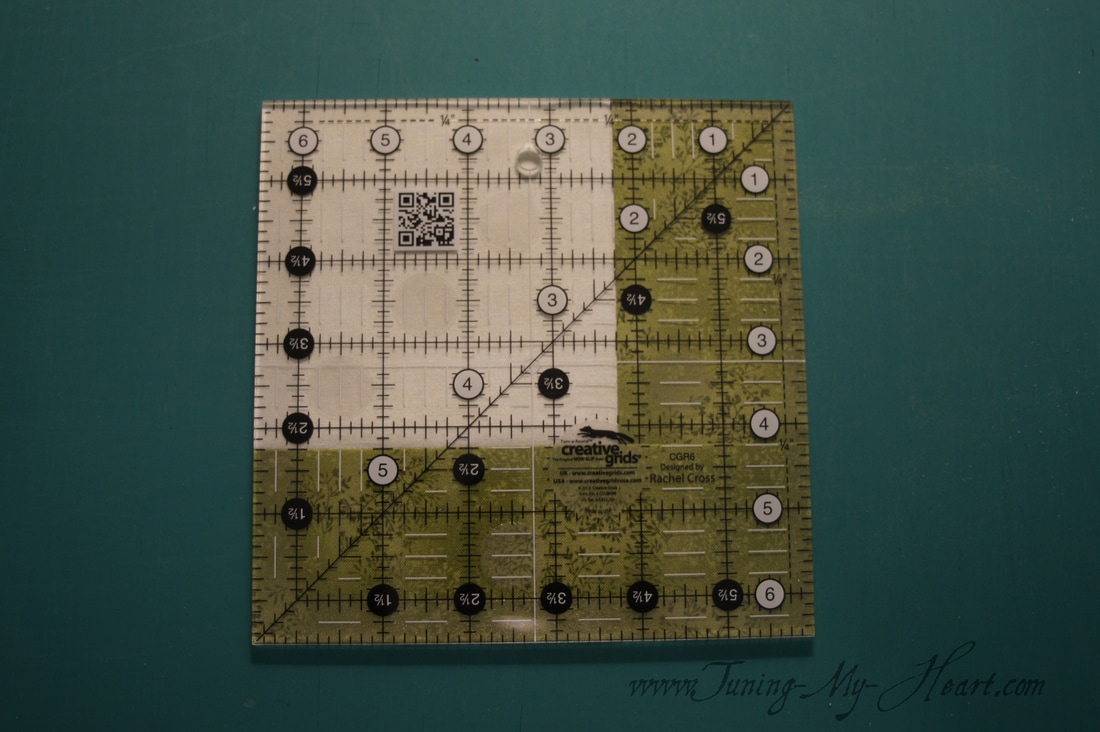 Round two-same thing different fabrics. 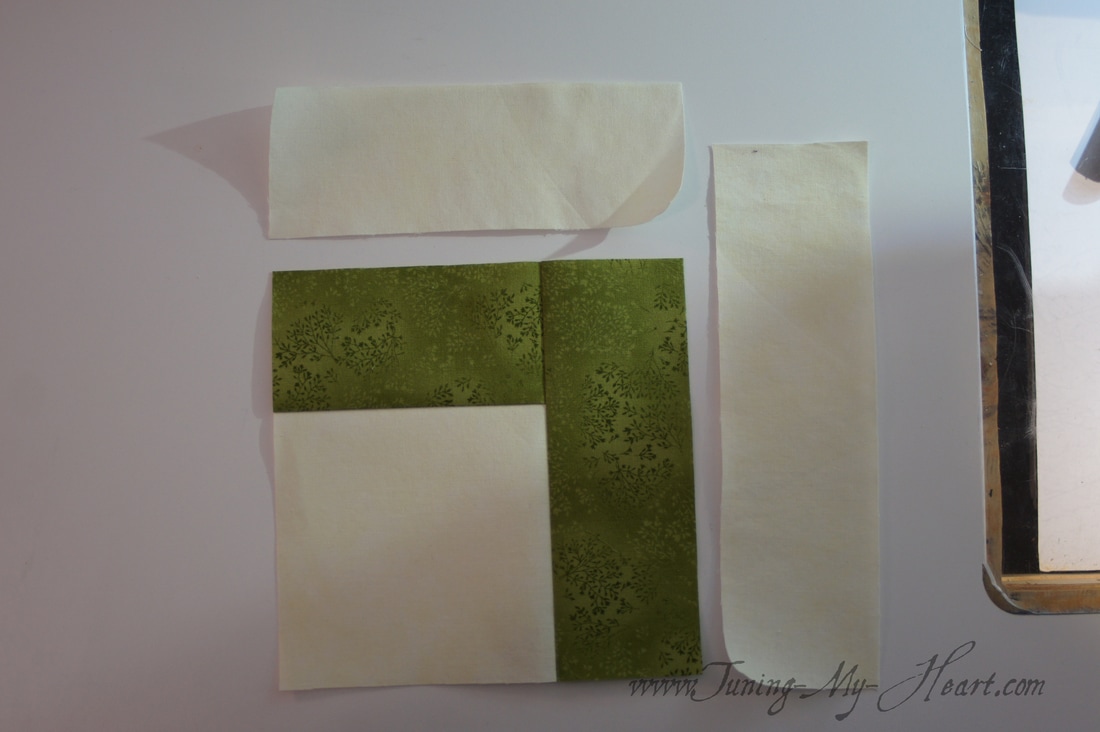 Stitching my short and long logs to the unit.
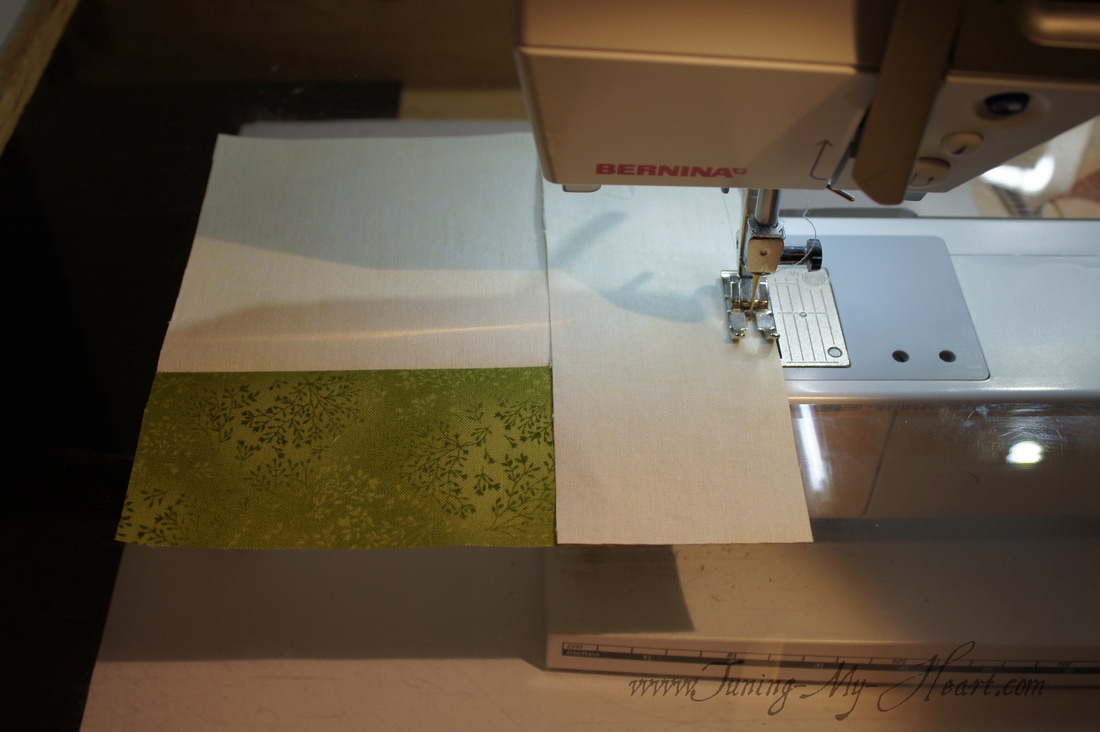
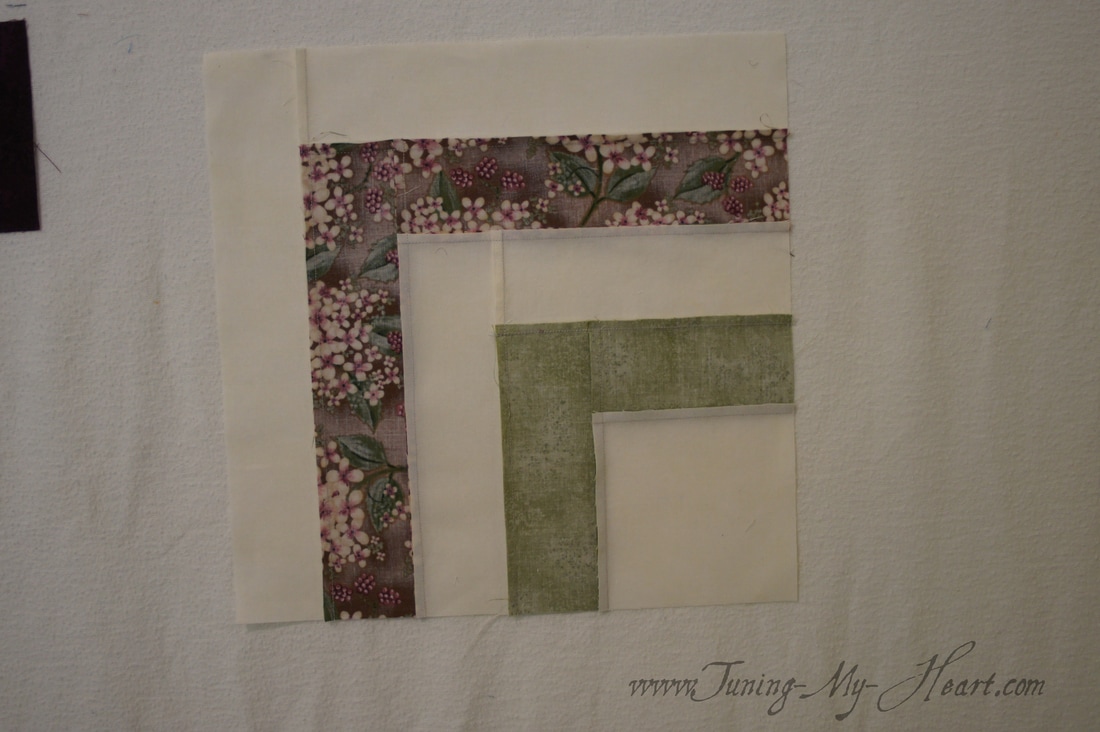
When pressed the unit should now measure 8 1/2 inches square. Confession time: I stitched these and measured and I was off 1/4 inch so I restitched and was still off. That just does not happen to me and I cannot figure out why I am so off in my measurement. Back with my seam ripper and hopefully third time will be the charm. But no, I am still almost 1/4 inch off. Hmmm-pulled out my ruler and measured the shorter log that was giving me troubles. I had cut it the wrong size-I feel silly. So after checking all of my other logs I was able to proceed with success. 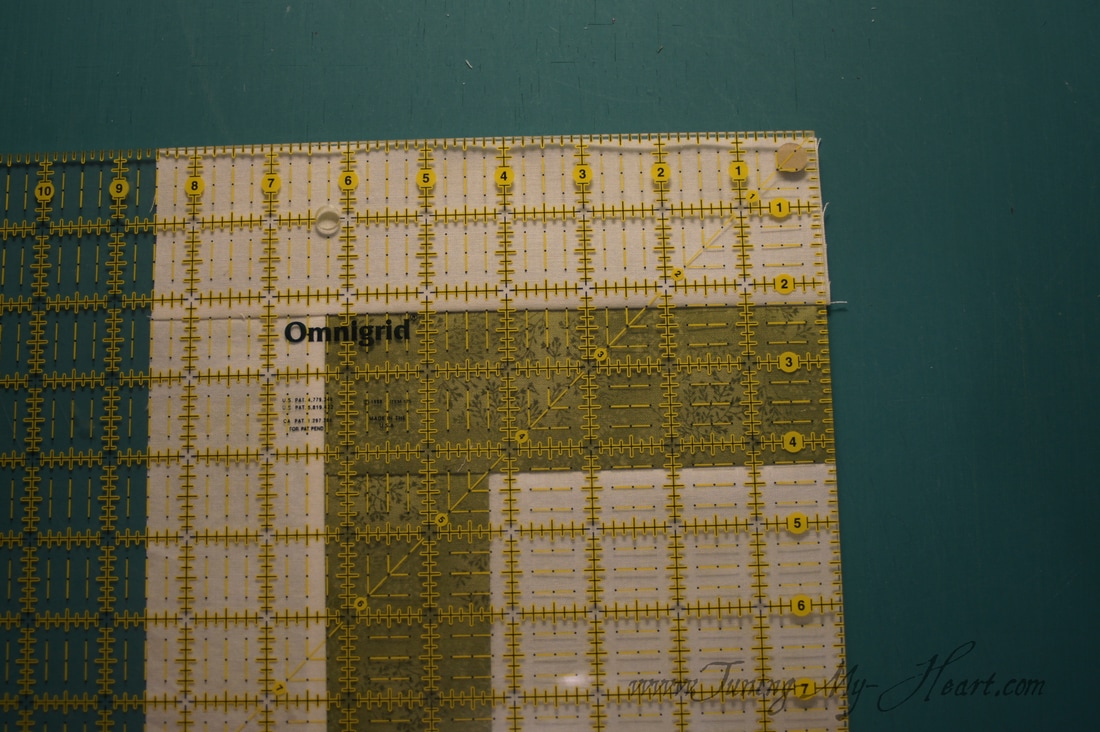 Round three with my next fabric. 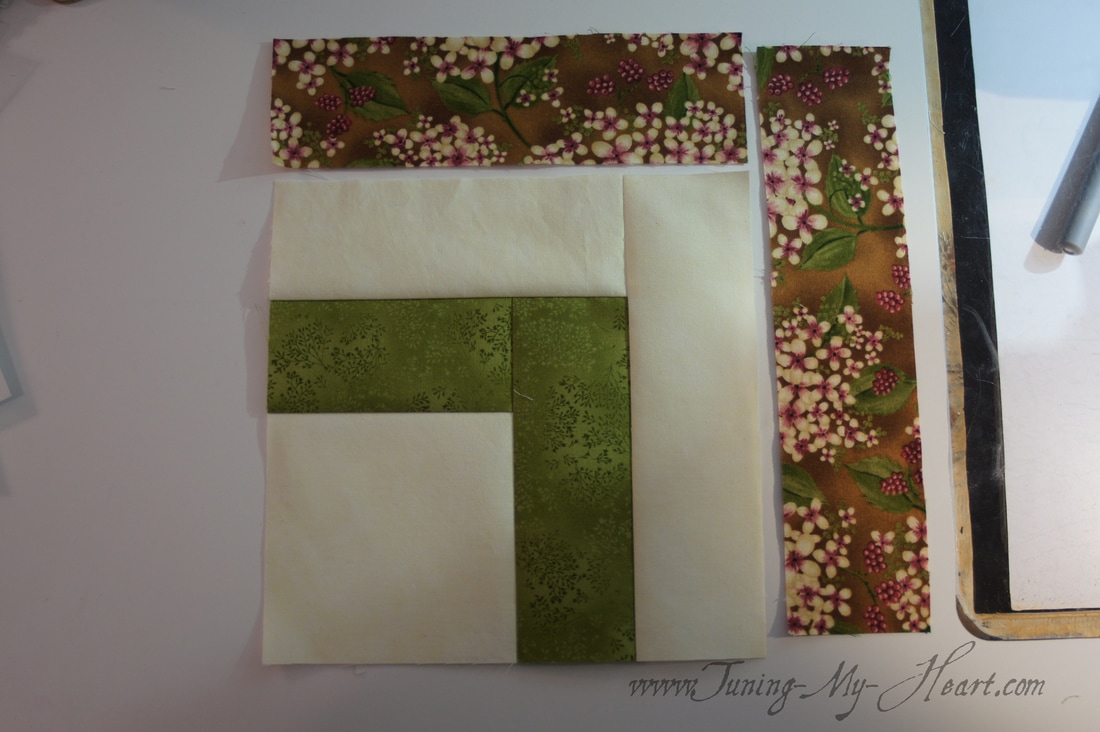 It is easy to lay a log on the wrong side of the unit, so always check placement. The unit should now measure 10 1/2 Inches.
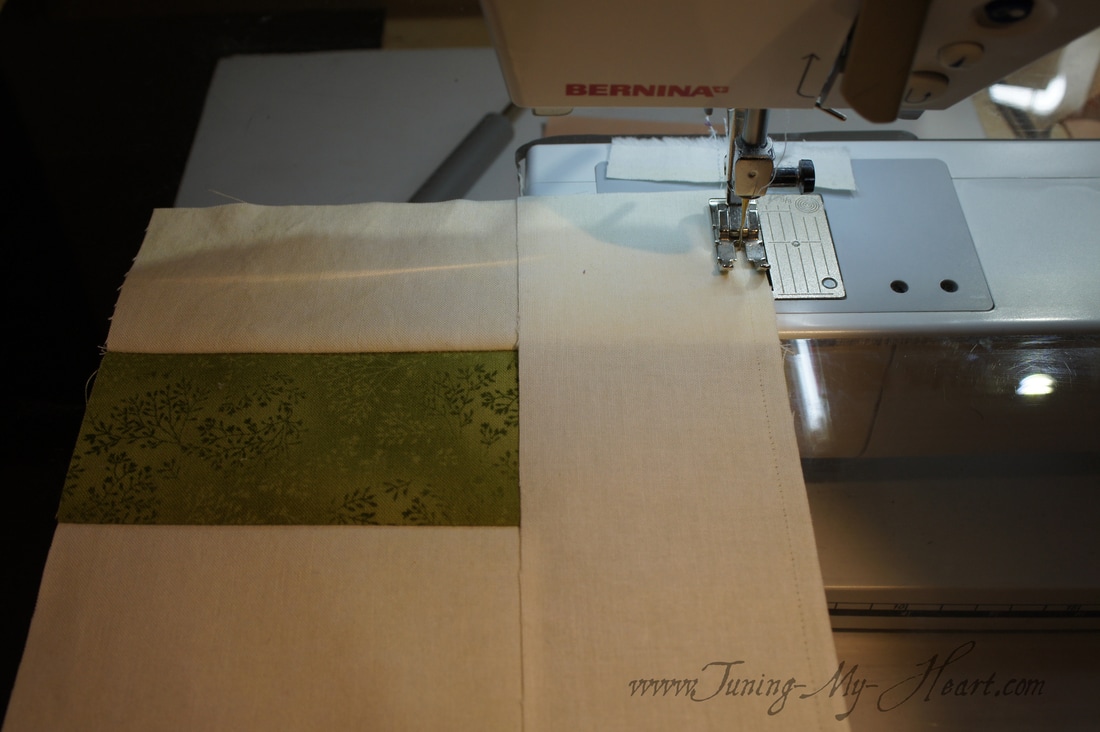
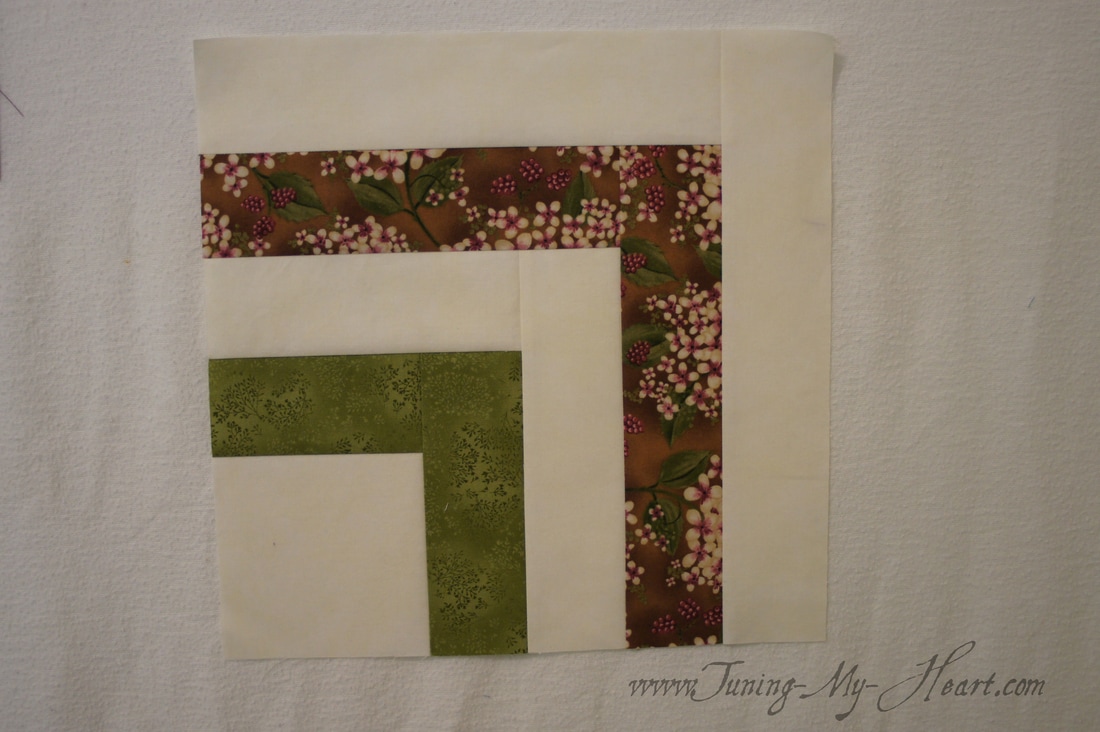
And the last two logs are ready to roll. I sew them just like the previous ones. My half log cabin should measure 12 1/2 inches now. 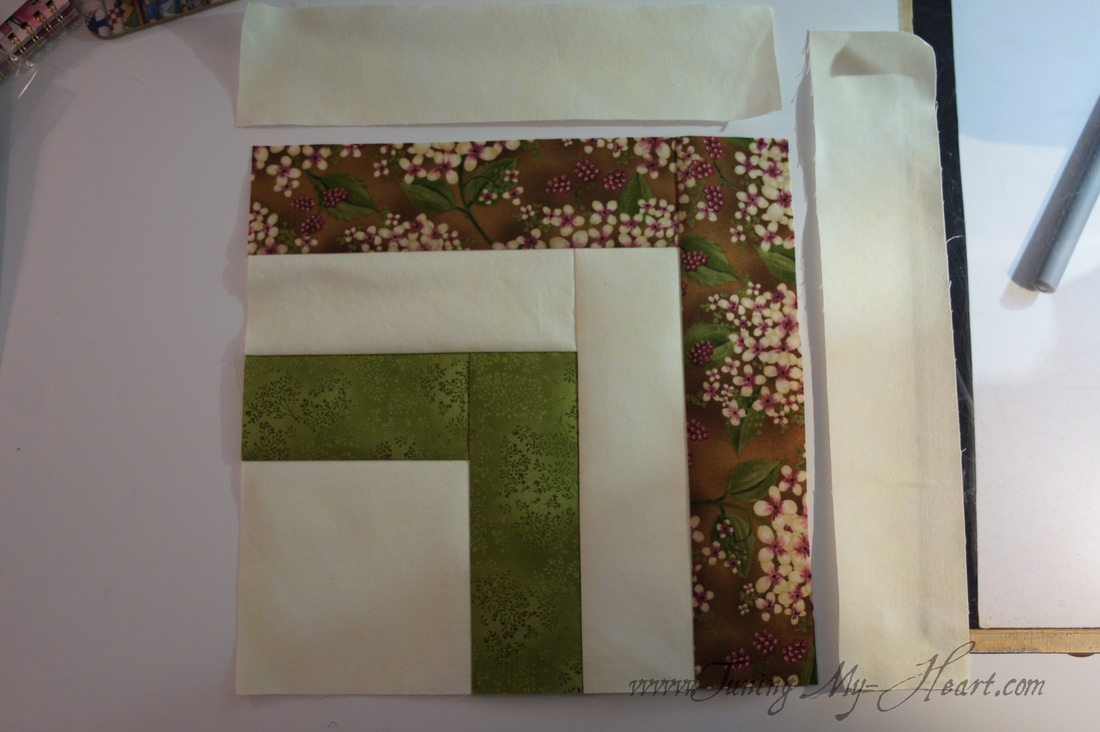 Here is what the back and front look like.
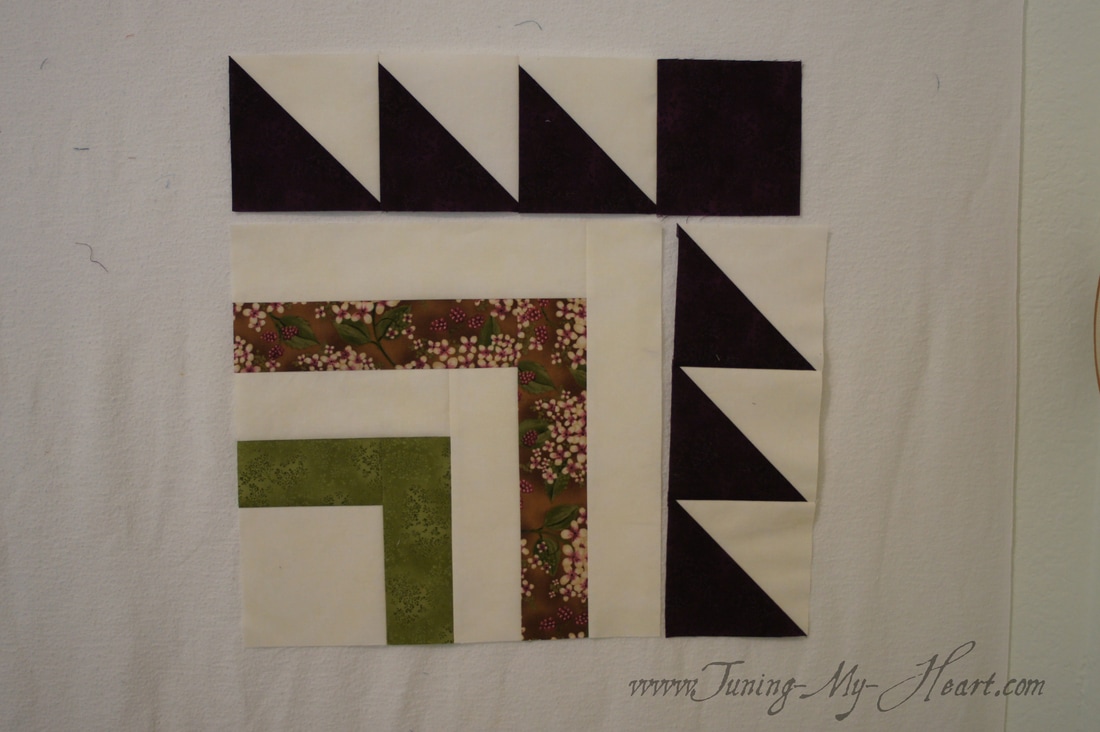
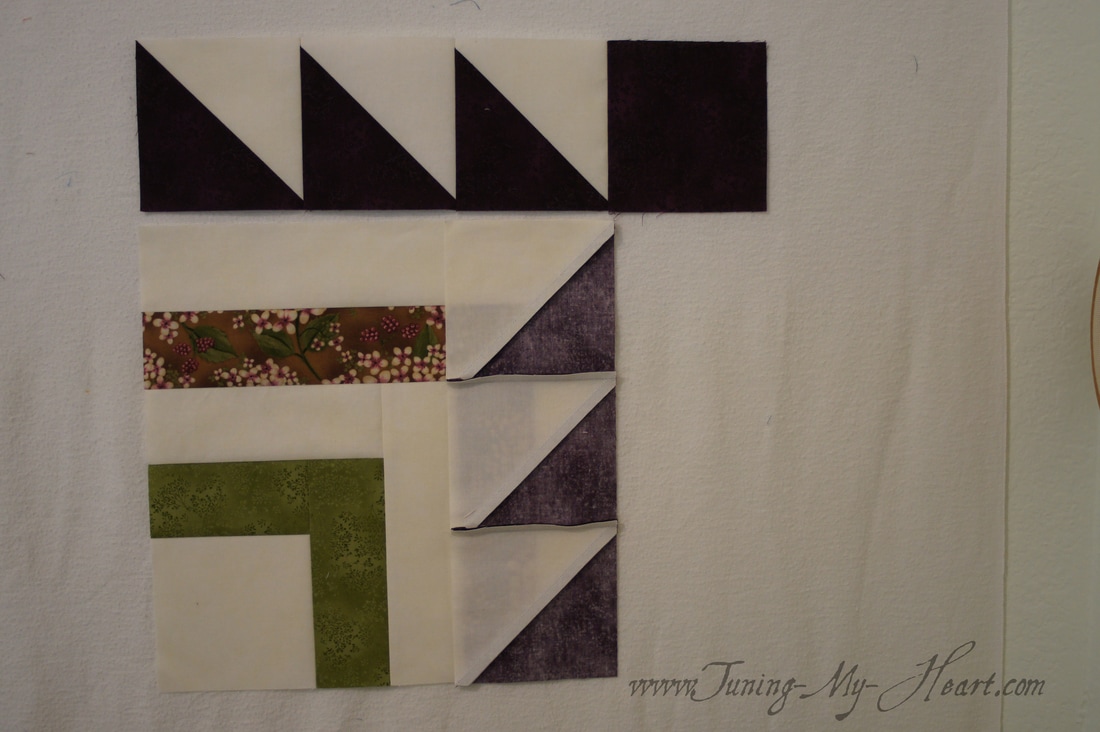
I place the half log cabin with the previous rows. The two units on the bottom need to be joined first. No seams to match but I still slow down over those HST seams to keep a straight line.
Here I am adding the top row to the rest of the block. There is one seam to pin, though I added a second pin in the middle just to help hold things together. 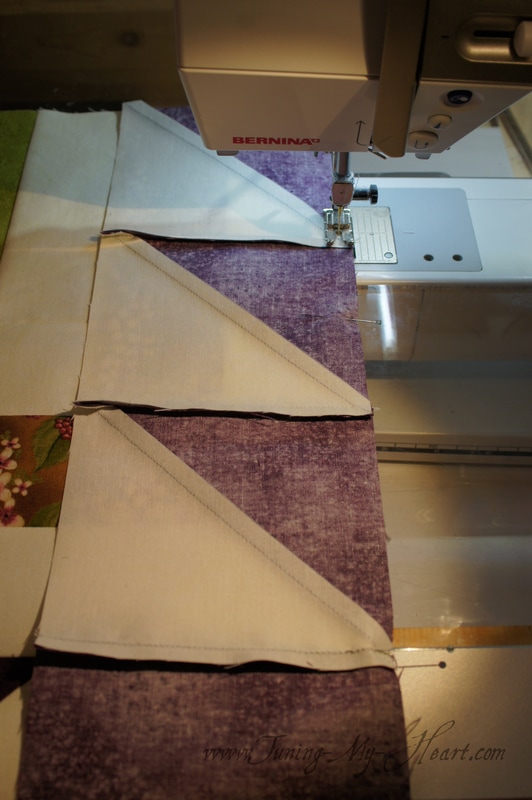 I am still trying to have my needle go right over the intersection where the half square triangle blocks meet. 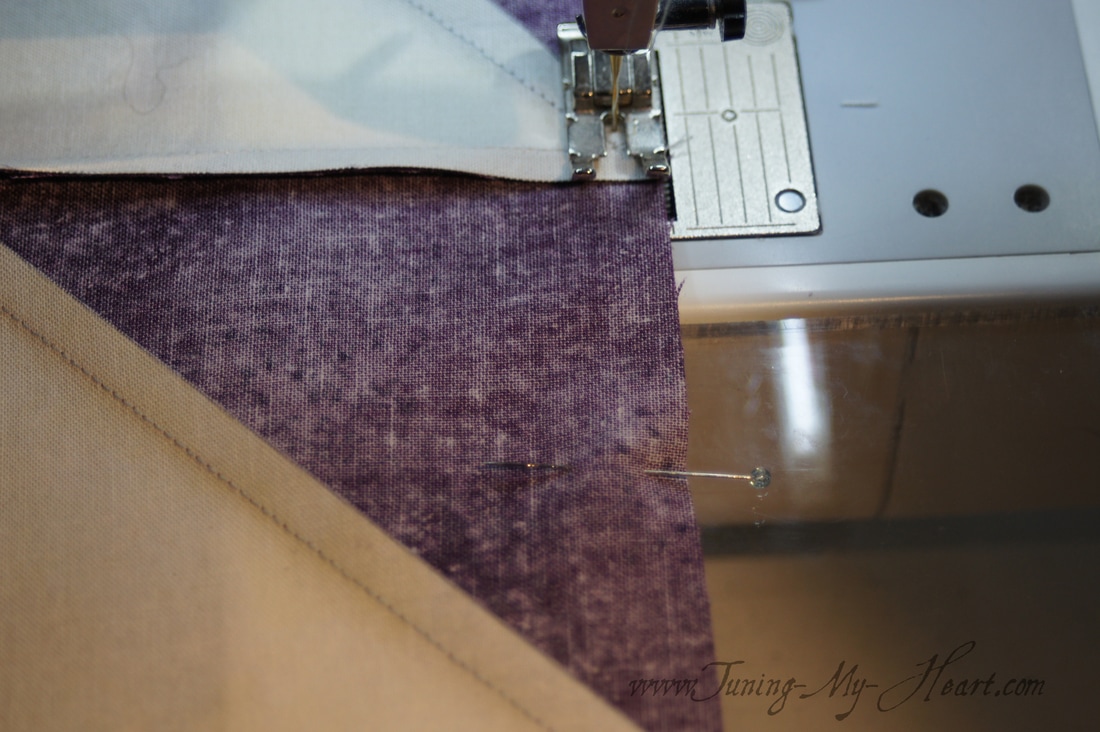 And there we have it; Block 7 is done. I still have not been able to get my maroon to come out the way it looks in person. It's color shows up much better in the photo above where the wrong side is facing up. 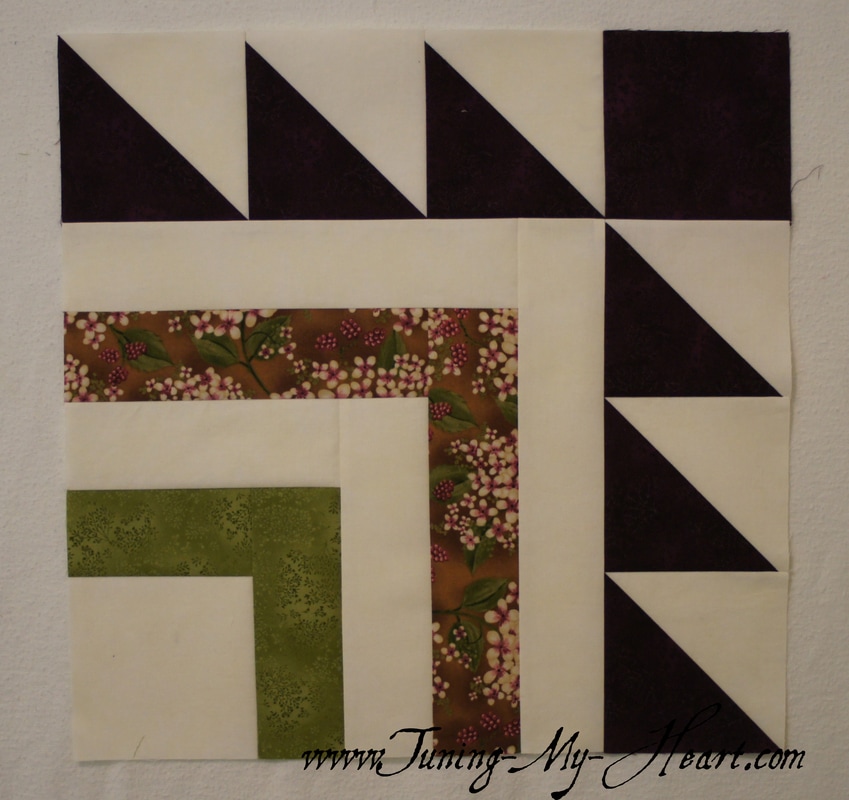 How is your version of A Snowy Day quilt coming? Have you started to think about how you are going to put yours together or how you are going to quilt it? I am trying to decide whether I want a bed size or lap size. Just not sure yet, but I will have to decide soon. Until next time.... Happy Quilting! 
Donna Avila
4/8/2017 05:50:05 pm
I just found this and subcribed. I am new and love how you said which way to press seams, as I have troubles with some bulk when attaching my rows together in the block.
Debra
4/9/2017 04:07:12 pm
I am so glad it helped you, Donna. Comments are closed.
|

Welcome to the site of Debra Davis-a woman who loves the Lord and loves to quilt.
My other blog where I share about my walk of faith:
Sitting at His Feet 
|


 RSS Feed