|
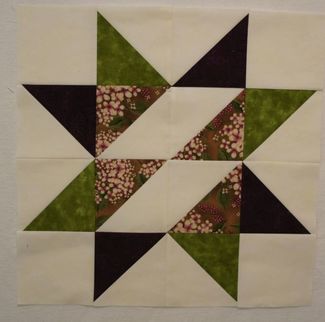
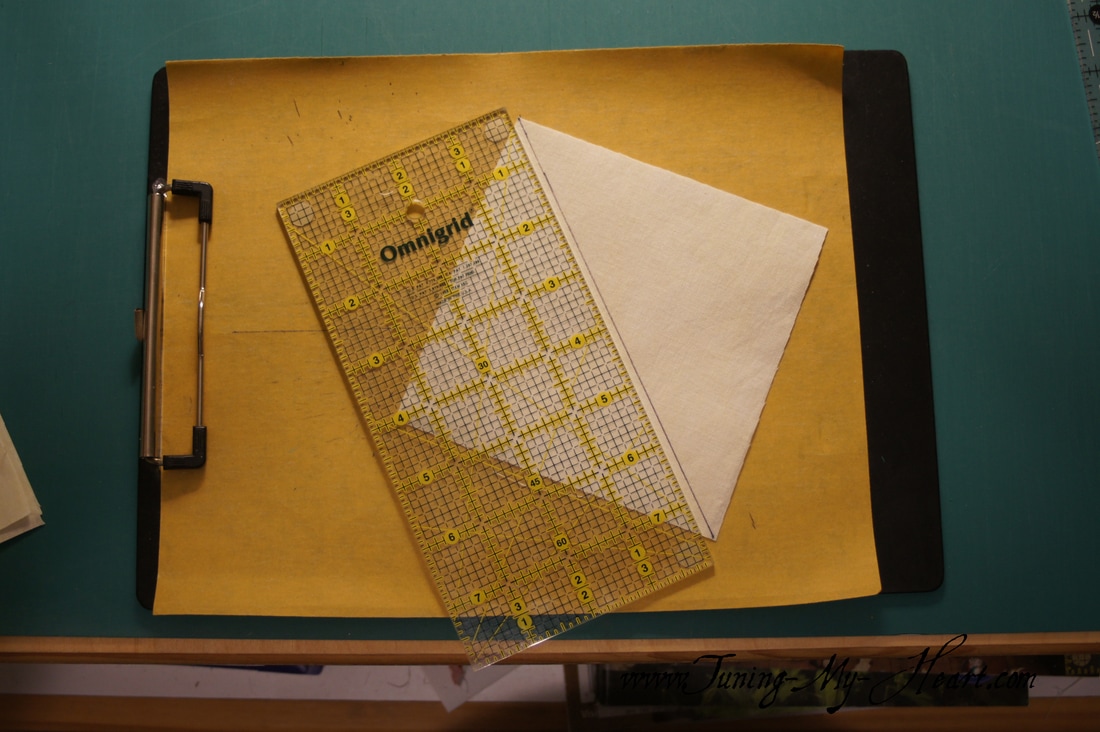
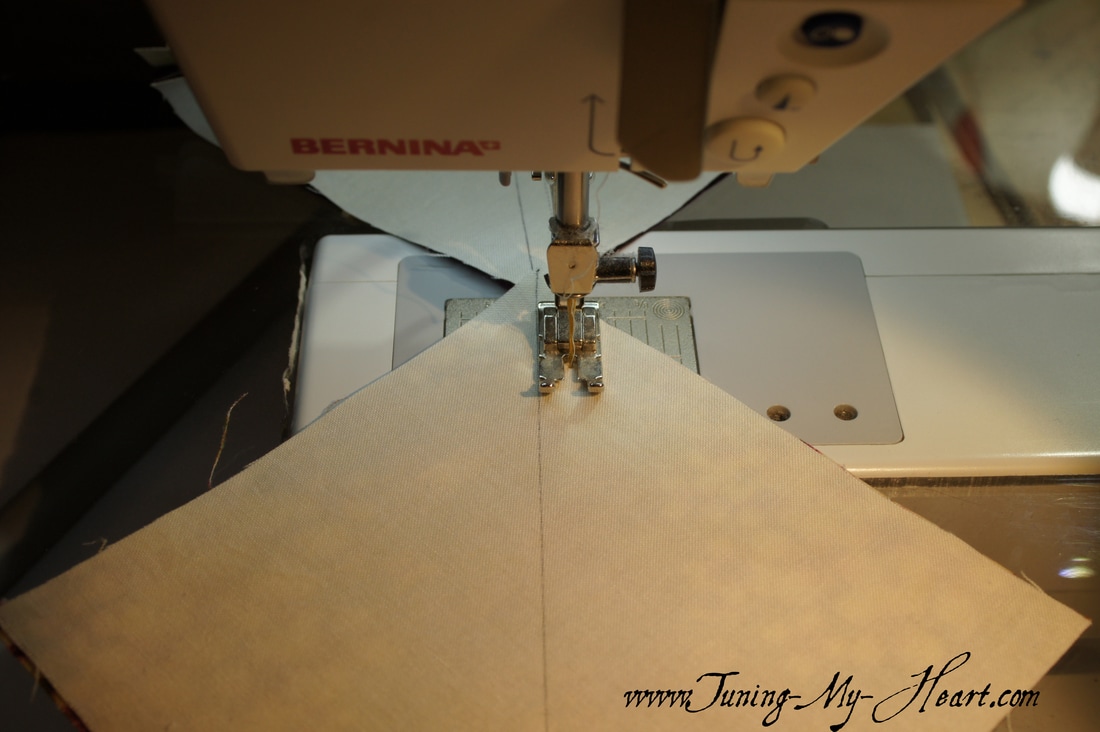
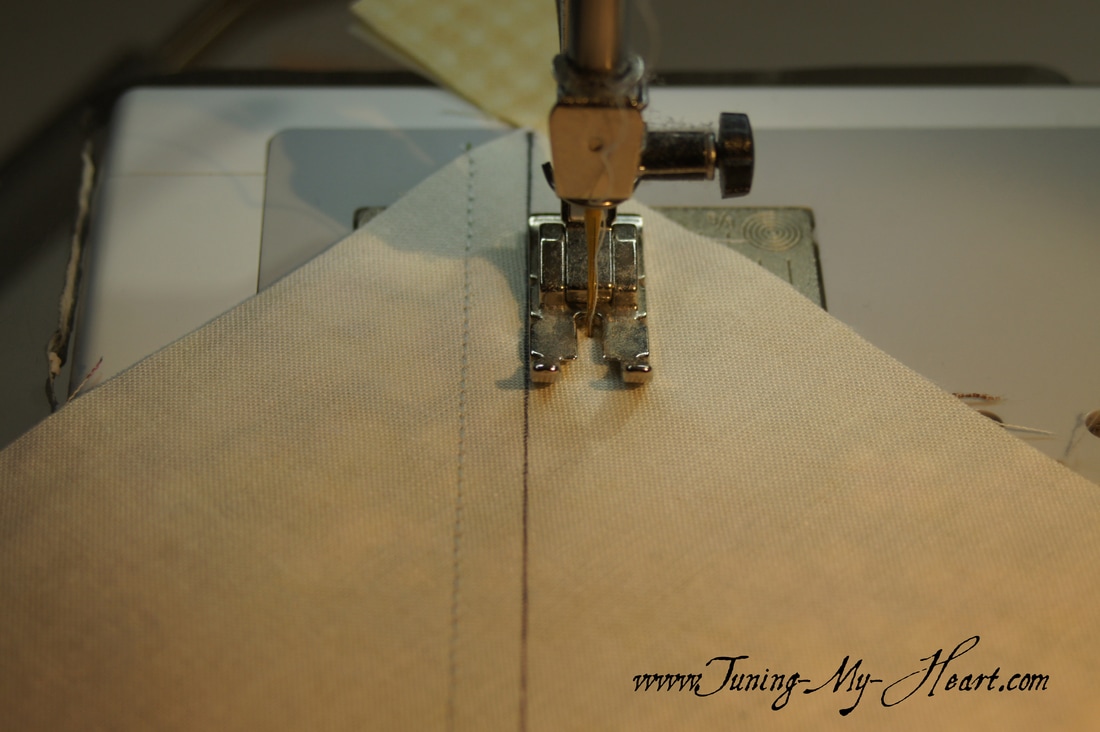
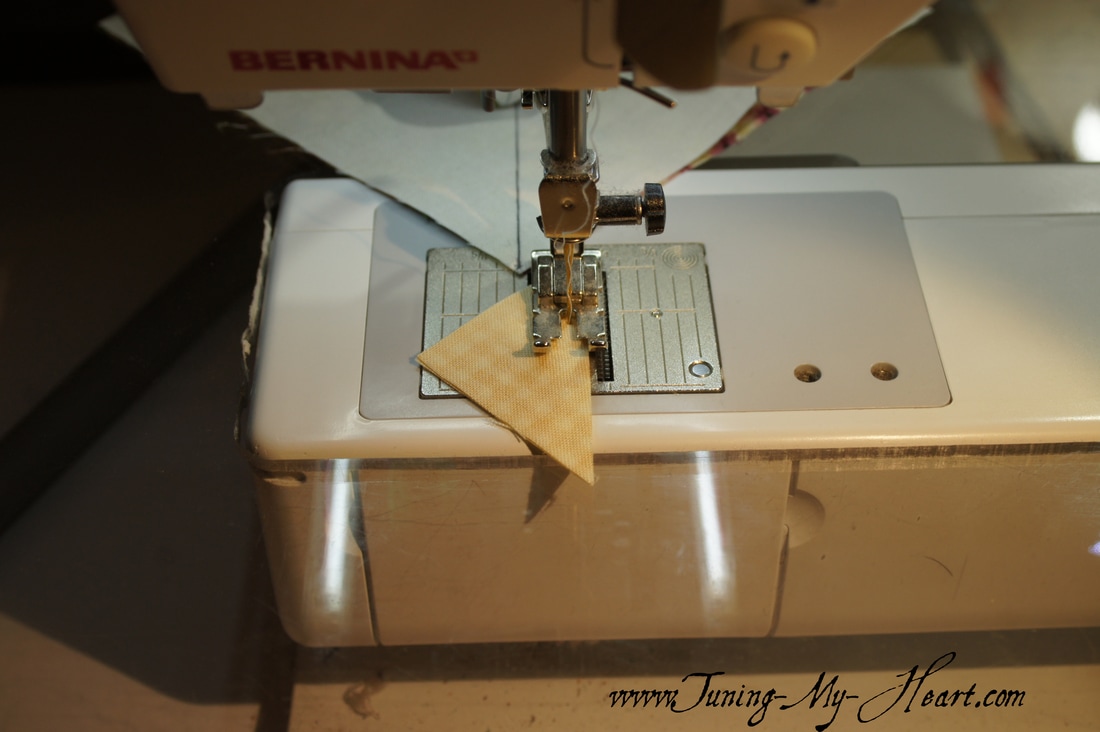
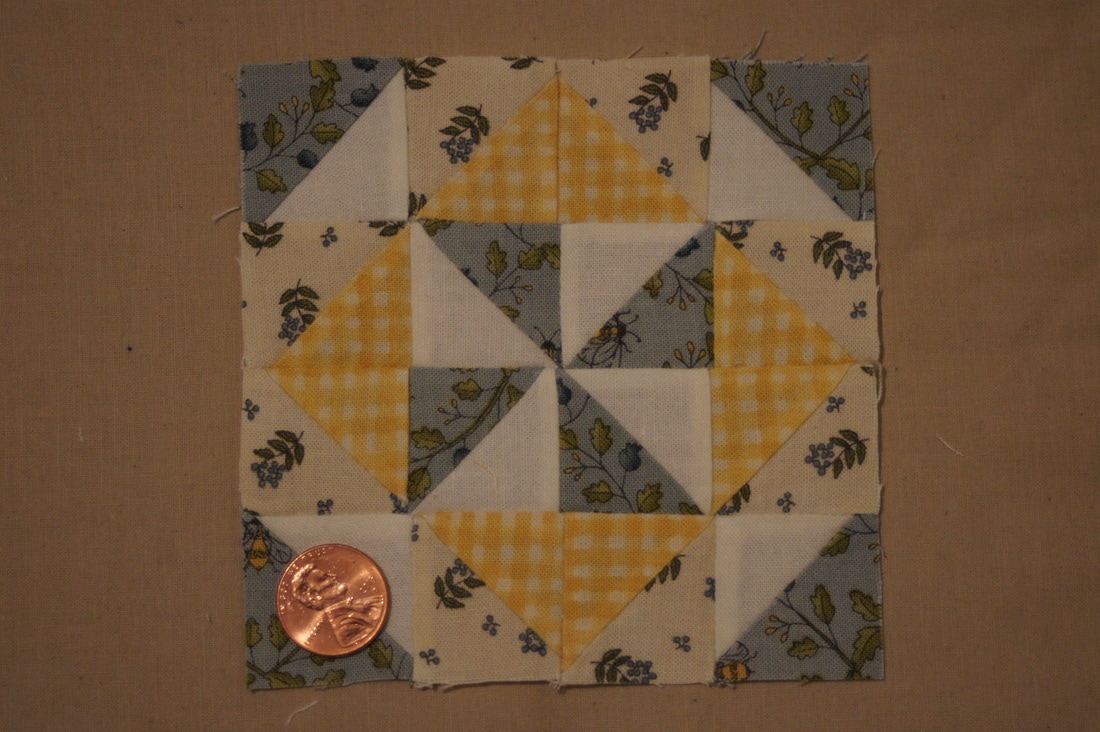
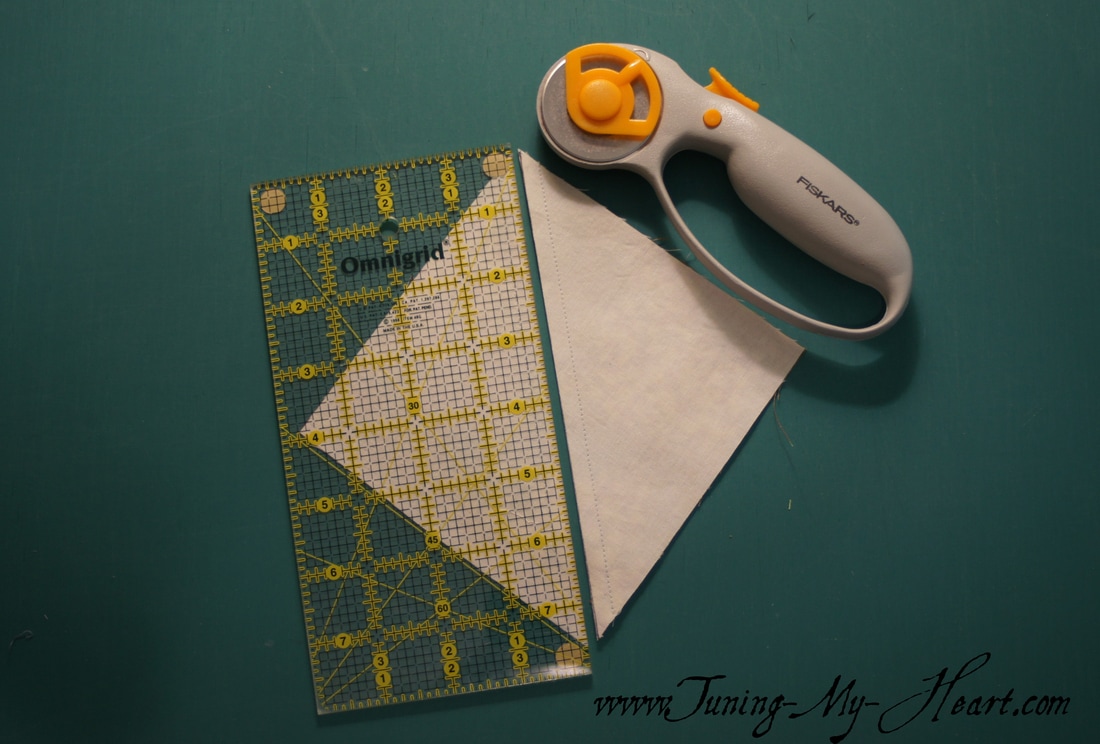
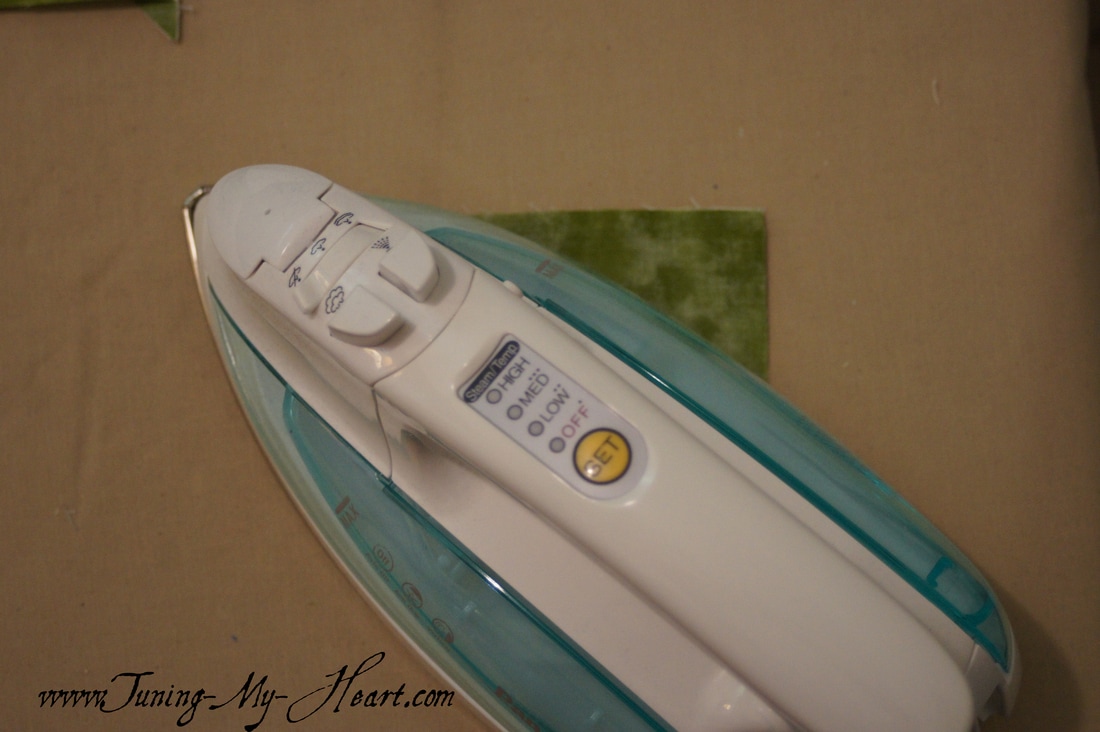
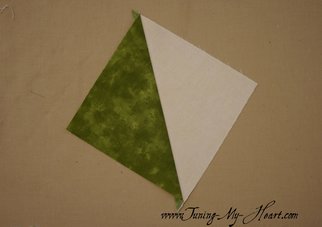
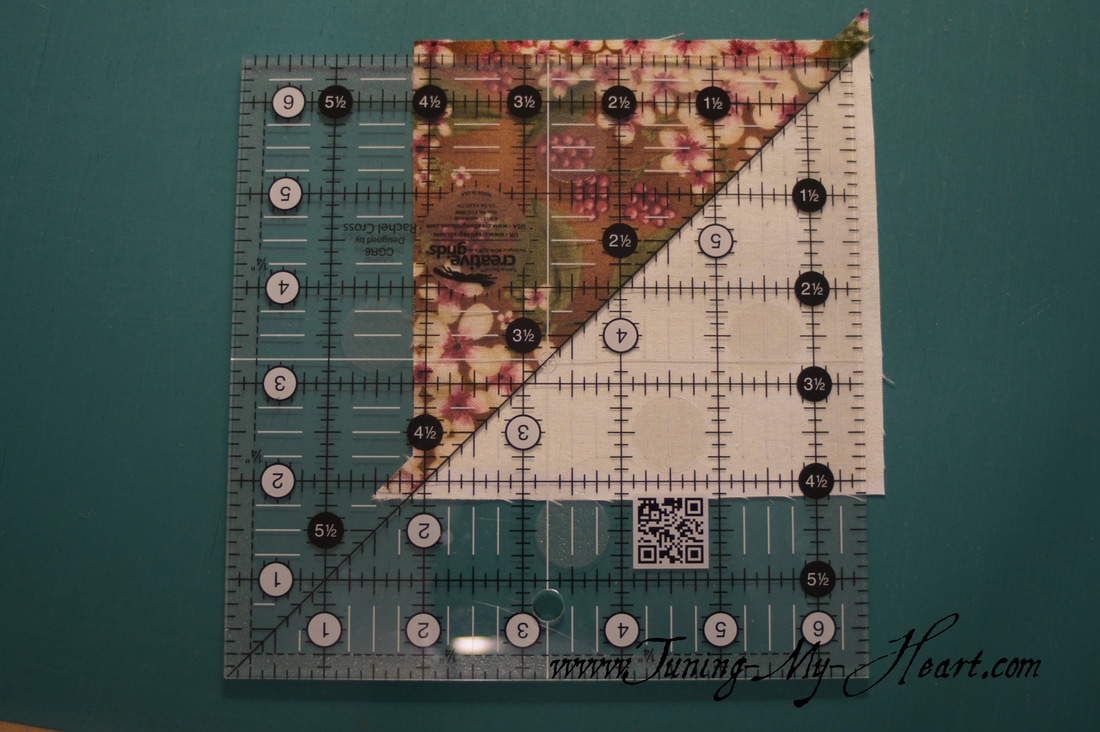
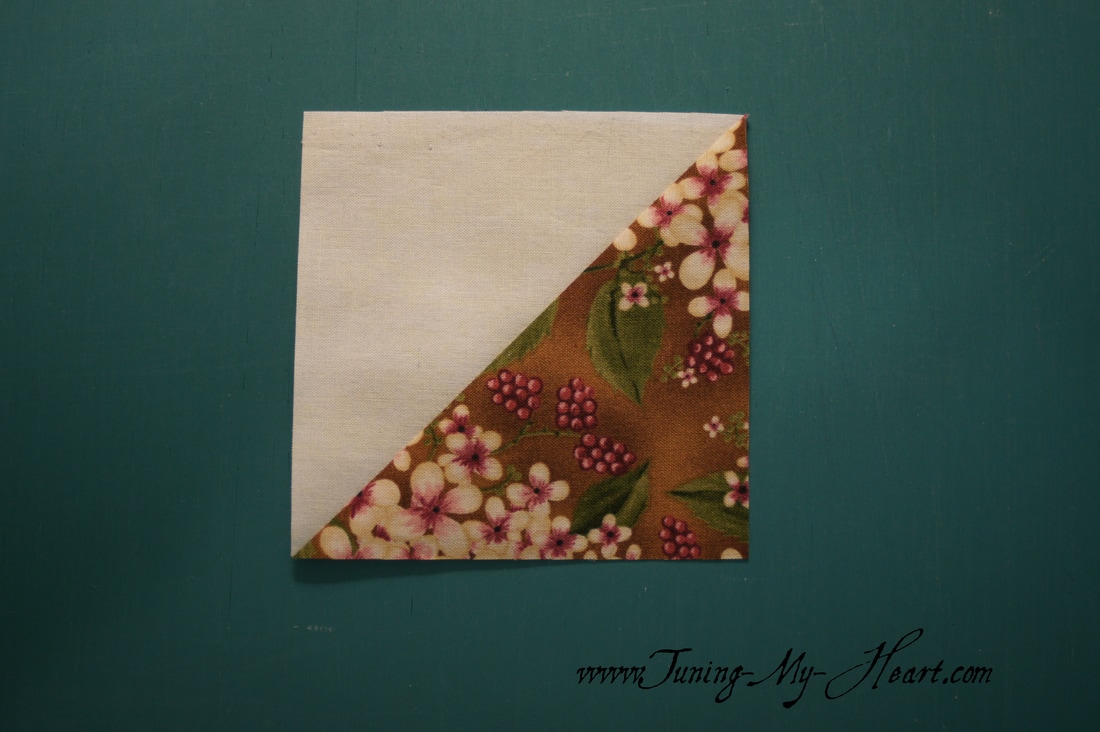
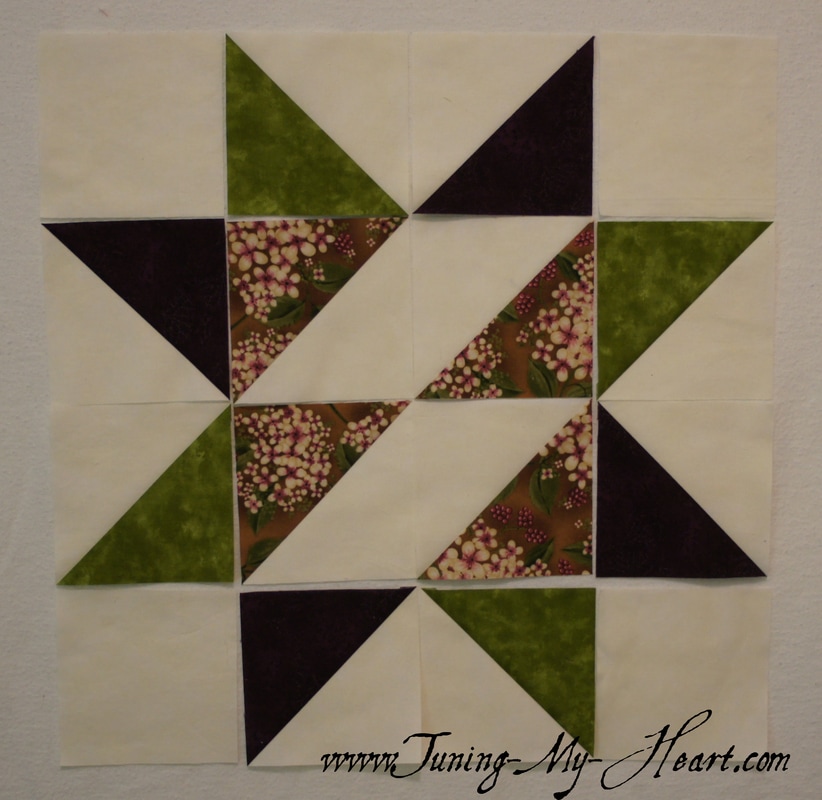
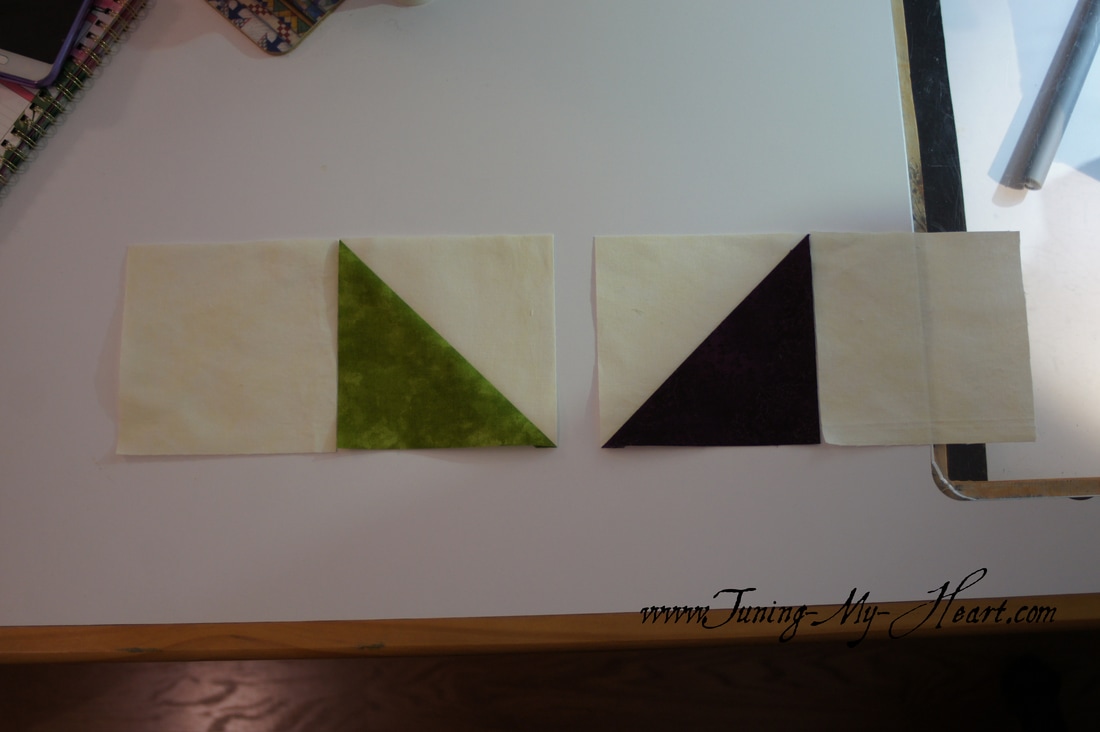
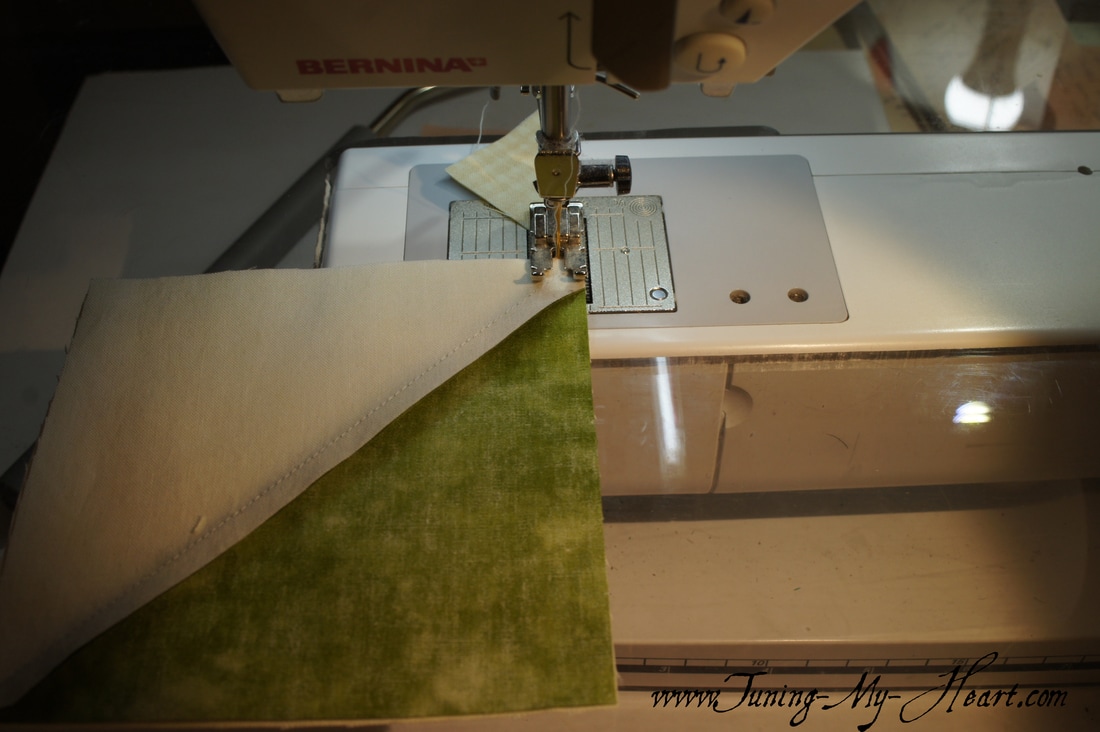
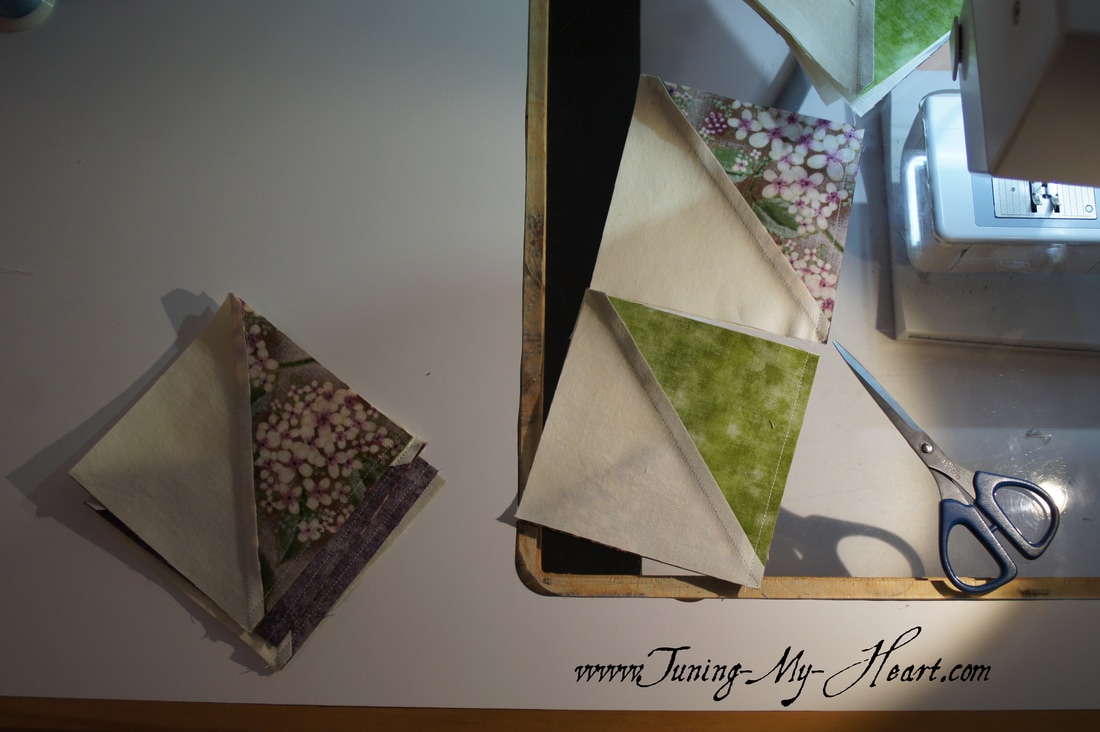
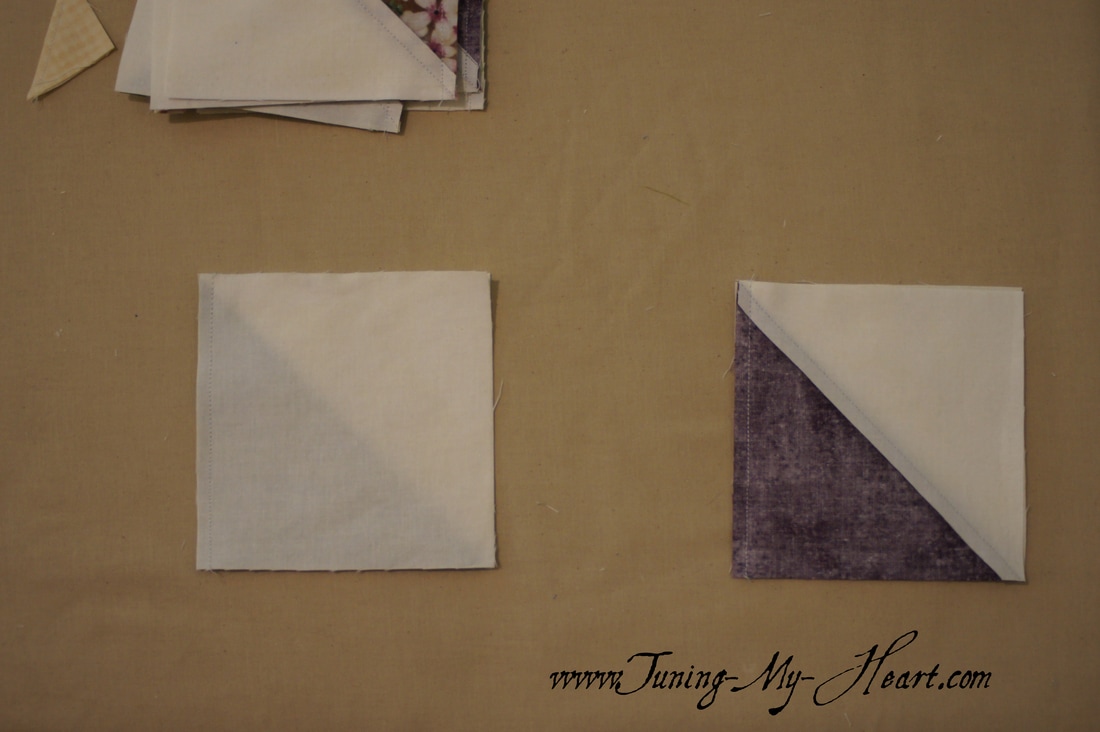
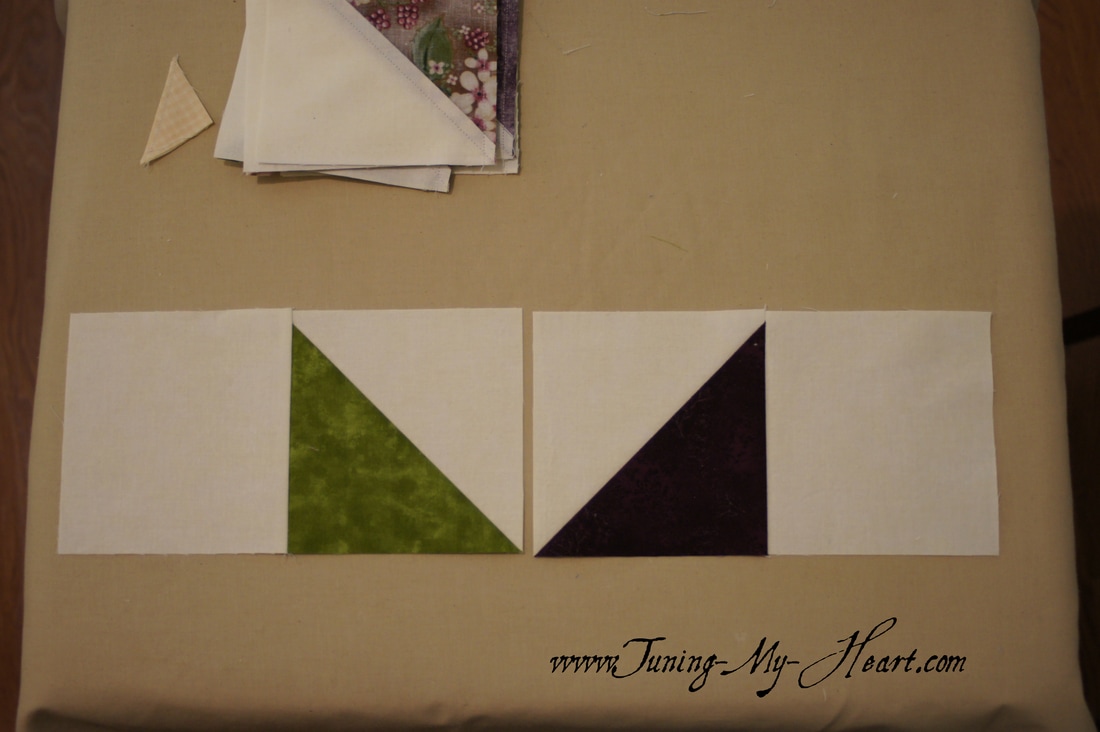
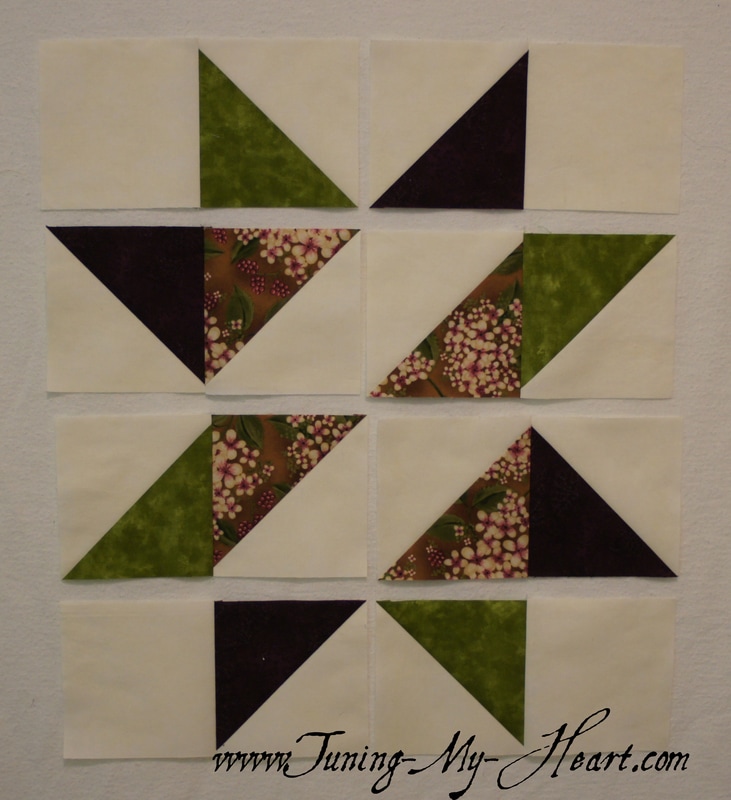
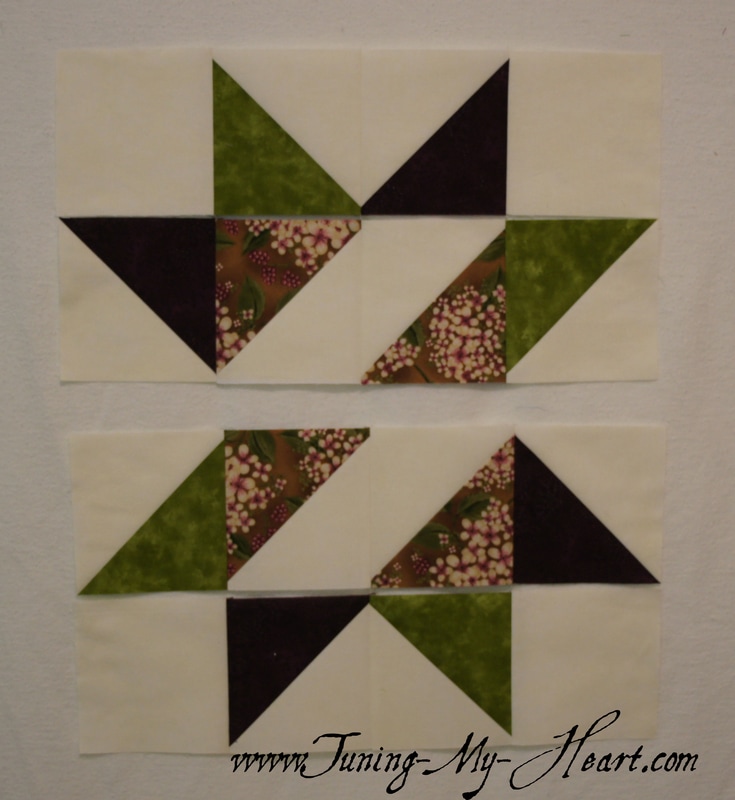
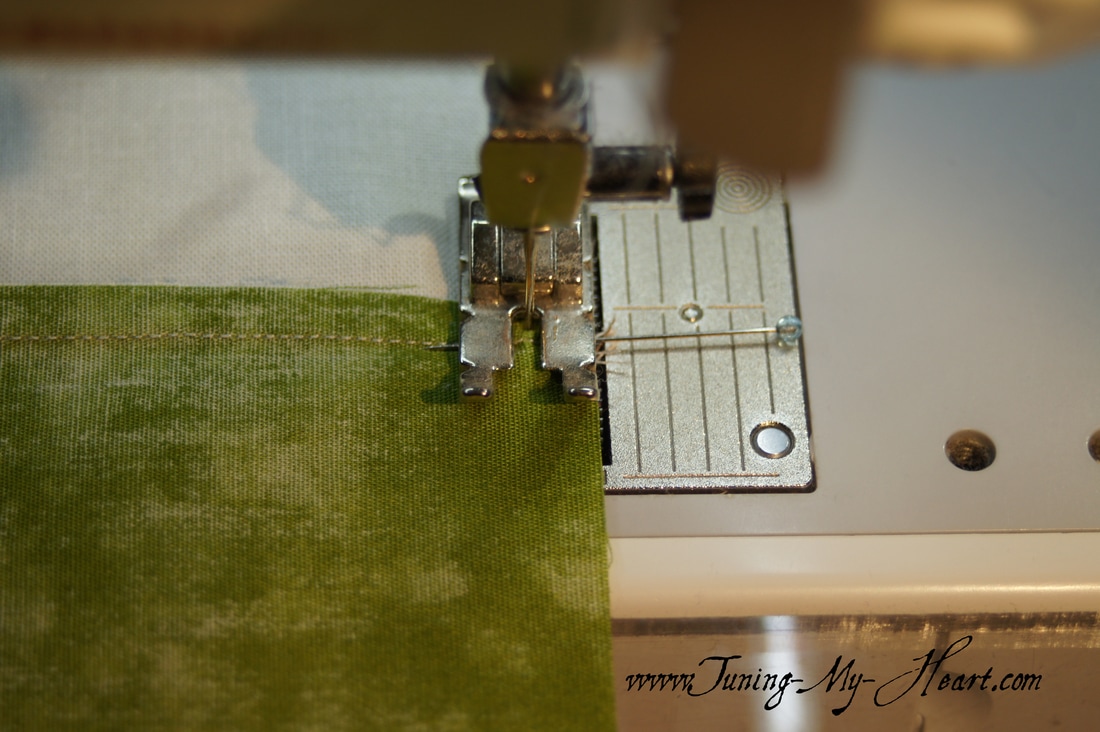
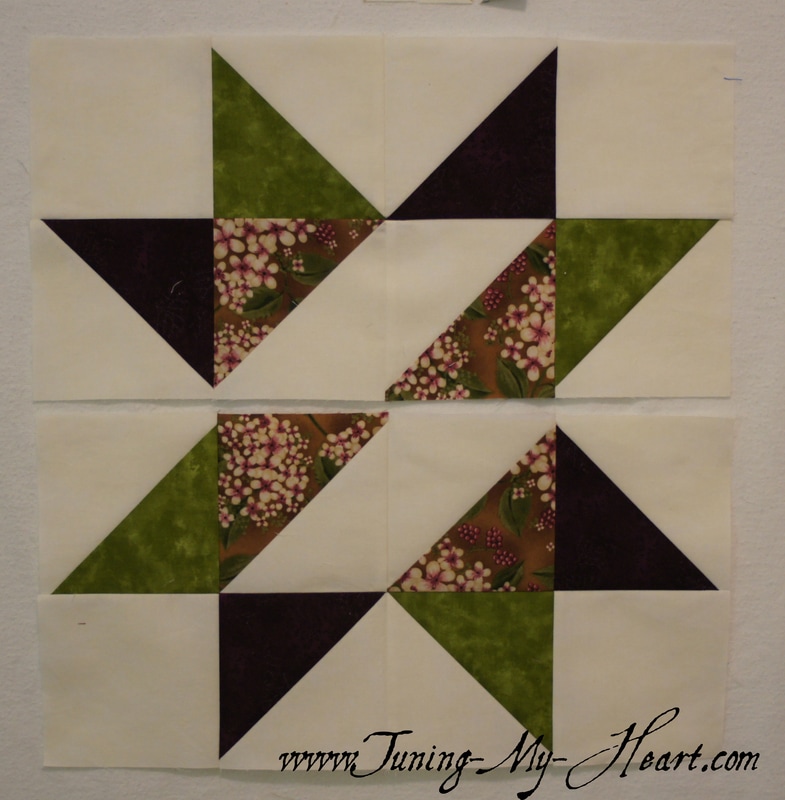
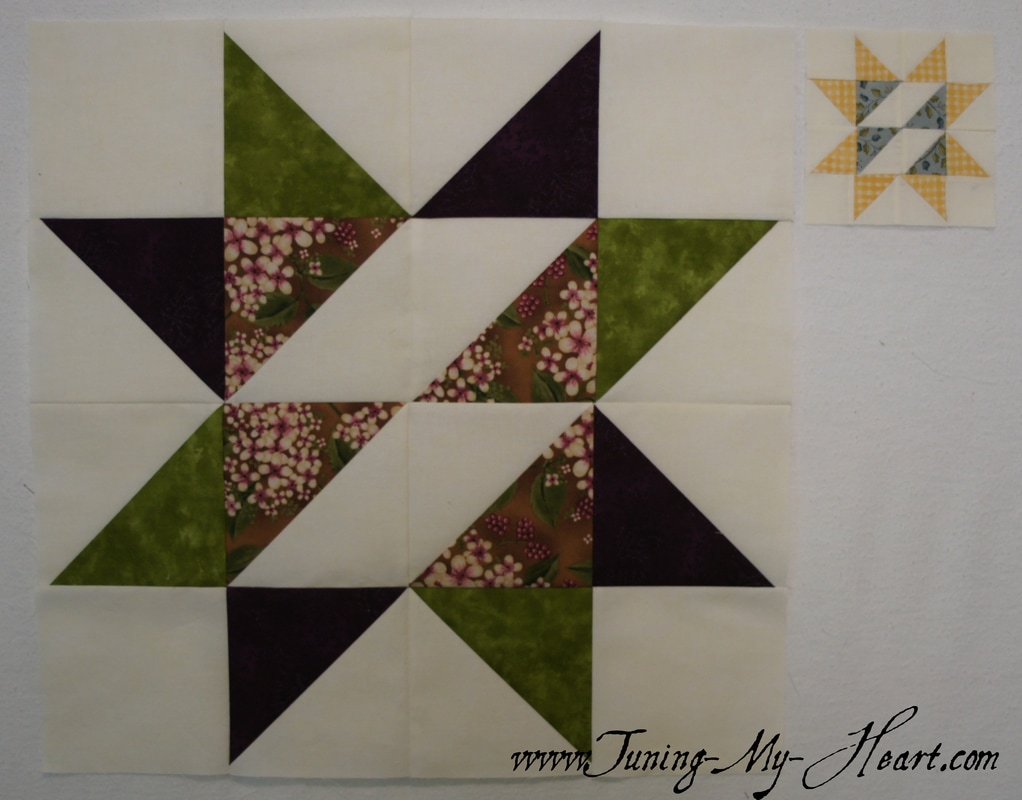
Block 5 of the National Quilters Circle Challenge is here. We are over the halfway mark now!! Time to get to work on those Half Square Triangles. I am starting with my fabric all starched and pressed. First thing to do is draw a diagonal line on all of the 5.25 inch squares of my D fabric. With right sides together place the 5.25 inch A, B, and C fabrics with the marked D fabric squares and stitch 1/4 inch from the drawn line. I like to chain stitch as much as possible. When I come to the end one piece I take a few stitches with my machine and then start stitching on the next without cutting the thread. Once I have sewn all of these together, I snip them apart, turn them around and stitch down the other side of my drawn line, again 1/4 inch from that line. This time instead of using scraps of fabric for my leading and ending pieces I am stitching some itty bitty triangles together using a 1/8th of an inch seam which is the inside of my narrow presser foot. These will be used to make a mini block like the one pictured here. The individual squares measure just 1" finished and the entire block is 4 1/4 inch in size before finishing. To achieve these tiny squares start with fabric squares that measure 2" and then cut them in half to give you two triangles. After sewing two triangles together to make a half square triangle they need to be trimmed to 1 1/4 inch squares. Sewing with 1/8 inch seams will result in a 1" finished size. I will work on a little tutorial in the coming days that should help make my process clear. But the process for making the mini blocks is the same as the regular size. Now back to my regular size. Once both seams are sewn I cut on that diagonal line I drew to give me two Half Square Triangle blocks. I have talked about what it means to press rather than iron before. Remember to set your seams first by just setting your hot iron on the block before opening it up. Then carefully press the seam open after finger pressing it open. Now that the blocks are pressed they need to be trimmed to 4 1/2 inches. Being sure to place the diagonal line of my ruler right on the seam line of my block gives me a nice finished result where the two fabrics meet perfectly at the corners. All pressed and looking good for the layout, so time to sew these lovelies together. I decided to streamline my process at this point and sew two units together for each row. Here row one is laid out by my machine. Anytime I can take advantage of chain piecing it just speeds the process up. Chain piecing all of the units together. To keep everything organized, as I cut the units apart I stack them up in the order in which they were sewn. Taking the top two units off of the stack I press as usual. The seams for Row 1 are all pressed in one direction. The seams for Row 2 will be pressed in the opposite and so on. These two units will be sewn together next to complete the rows. The rows are all laid out and ready to be joined- each row has two units that need to be sewn together then pressed. My rows are all stitched so I am going to join the rows together. Carefully placing pins where the seams join helps to keep things just where I want them to be. I like to stitch right up to my pin then carefully remove it, keeping my needle in the down position as I do so. Whenever I come to bulky seams, or when I am just starting a seam or coming to the end of one I slow way down. I have found things look much nicer and I can keep my seams a lot straighter this way. If you have ever sewn over a bulky seam and ended up with your stitches curving at that point going slowly over those seams will help eliminate that. Okay, the top and bottom sections are pressed and ready to be sewn together. Block 5-both my regular and mini version! I have been told that if one can master the mini quilt it really improves your piecing skills-I don't know if that is true or not, but it is quickly becoming an addiction. They are just so cute. Are you going to give the mini's a try? Leave me a comment and let me know. I would love to see what you are doing and get to know you better, so please feel free to join me on my Tuning My Heart Facebook page and share with me there. In the meantime... Happy Quilting!
Comments are closed.
|
Welcome to the site of Debra Davis-a woman who loves the Lord and loves to quilt.
My other blog where I share about my walk of faith:
Sitting at His Feet This website uses marketing and tracking technologies. Opting out of this will opt you out of all cookies, except for those needed to run the website. Note that some products may not work as well without tracking cookies. Opt Out of Cookies |
Tuning My Heart Quilts by Debra Davis is licensed under a Creative Commons Attribution-NonCommercial-NoDerivs 3.0 Unported License.
Based on a work at www.tuning-my-heart.com.
Copyright 2010-2022 by Tuning My Heart Quilts, LLC. No part of this website can be reproduced without written permission from the author. All rights reserved.
Proudly powered by Weebly


 RSS Feed