|
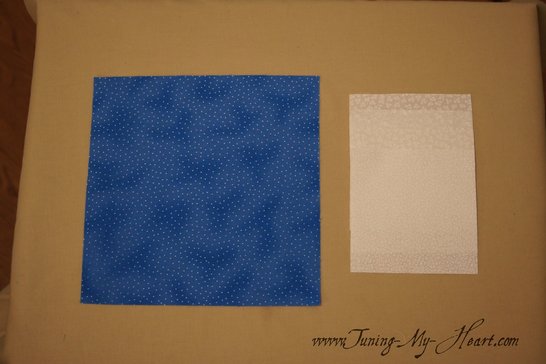
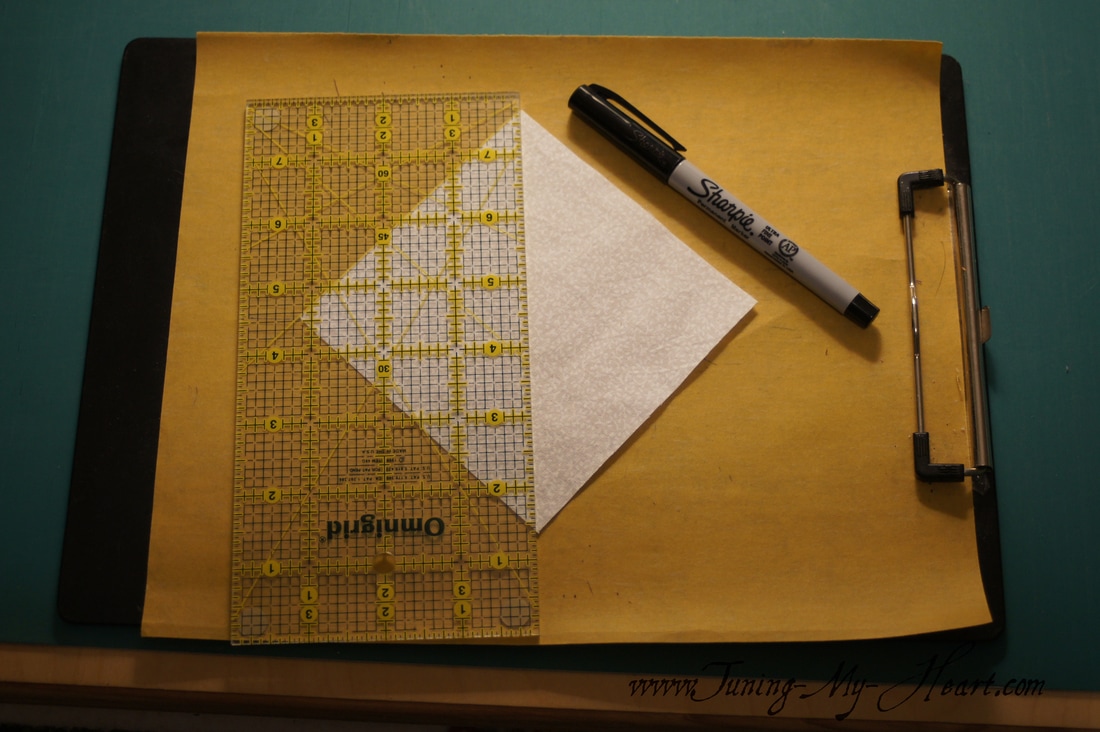
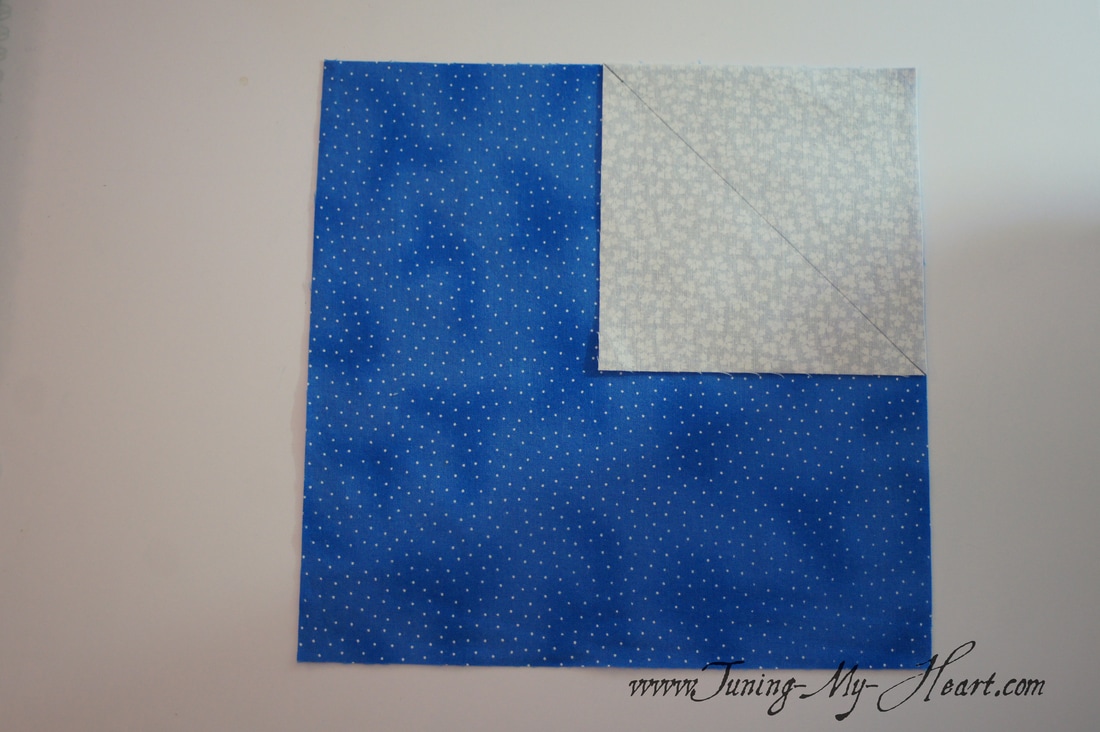
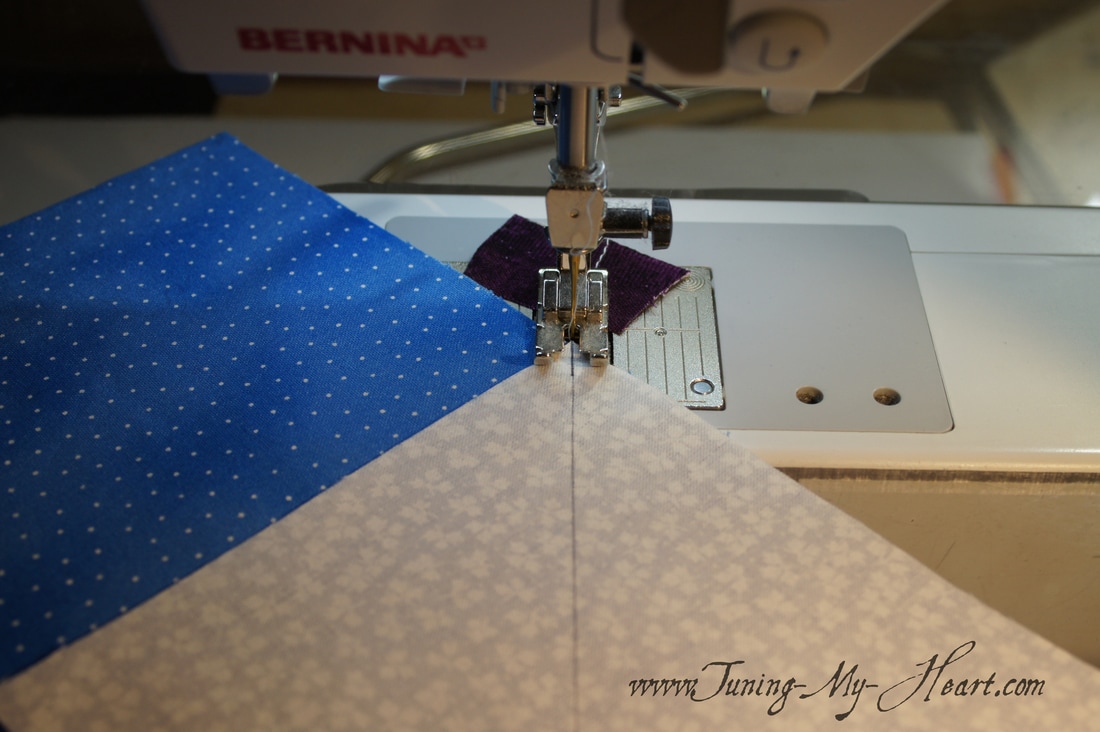
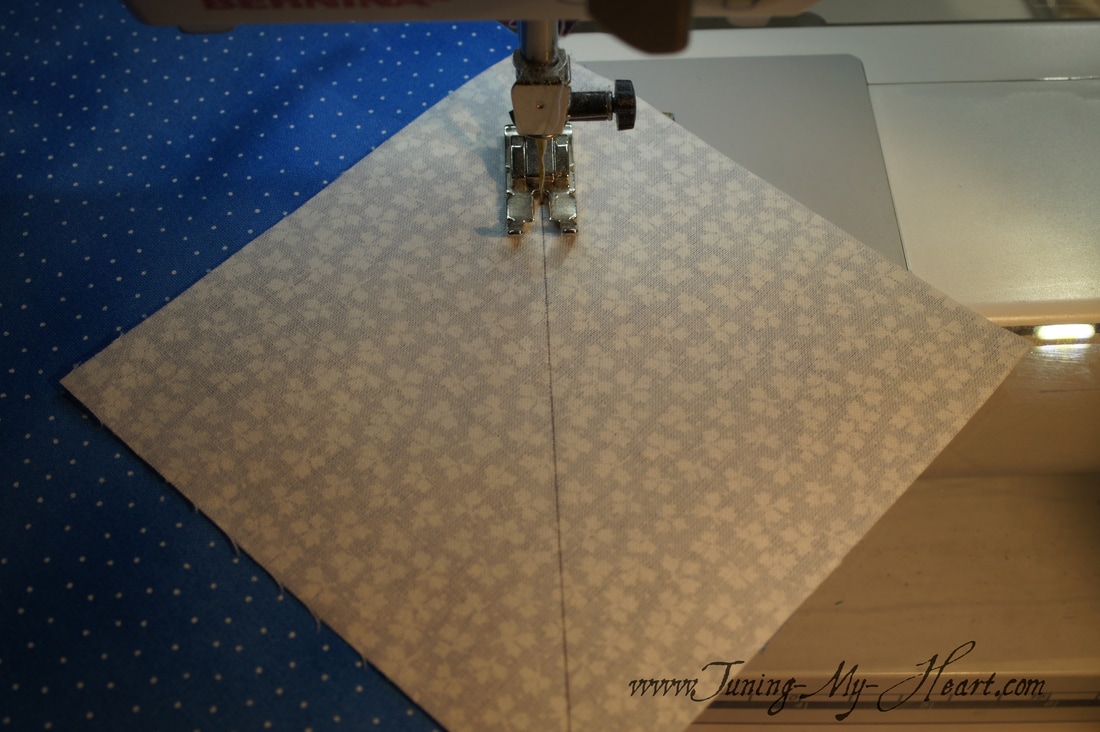
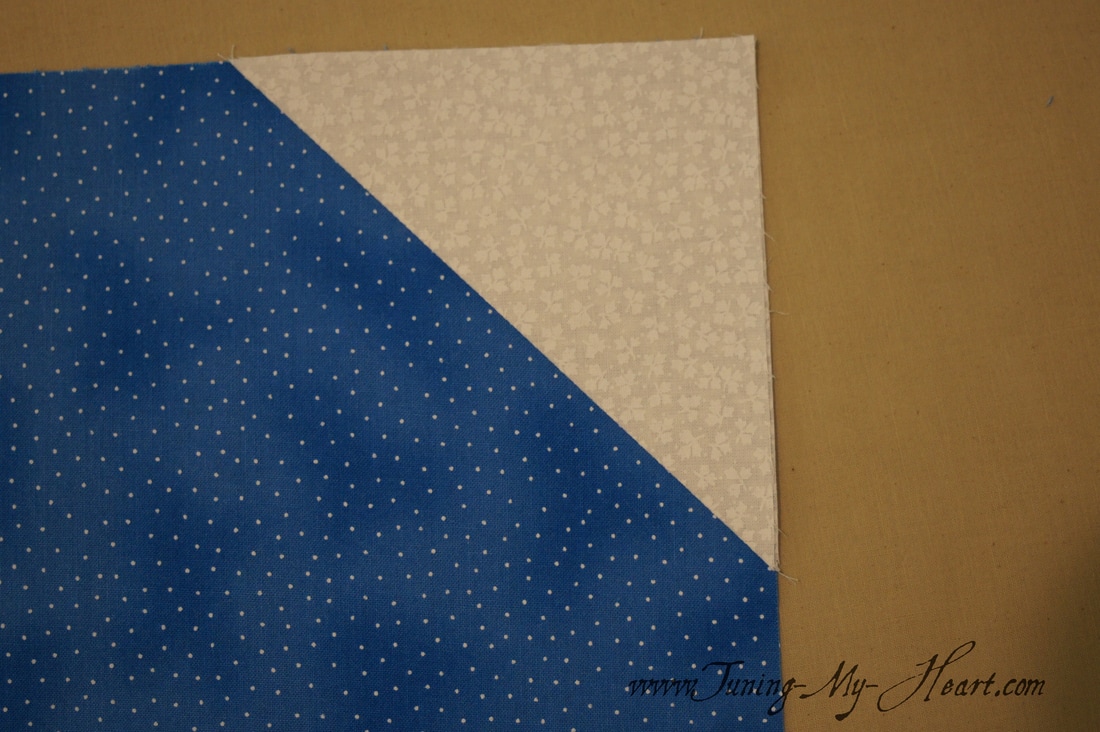
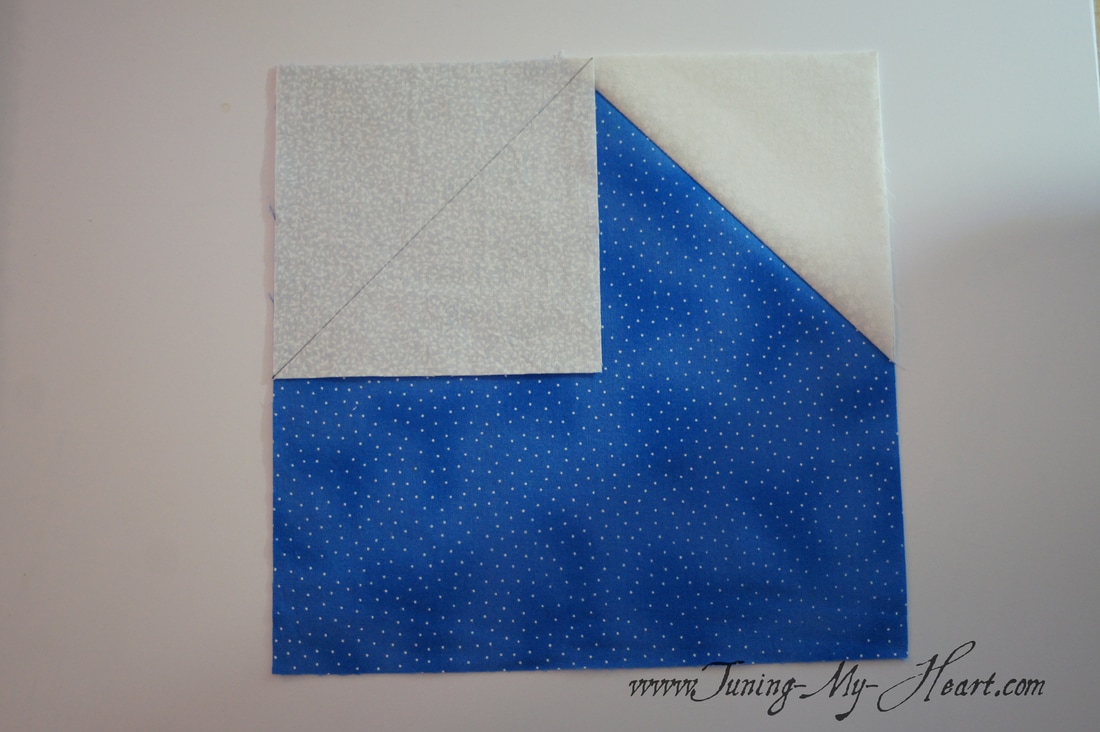
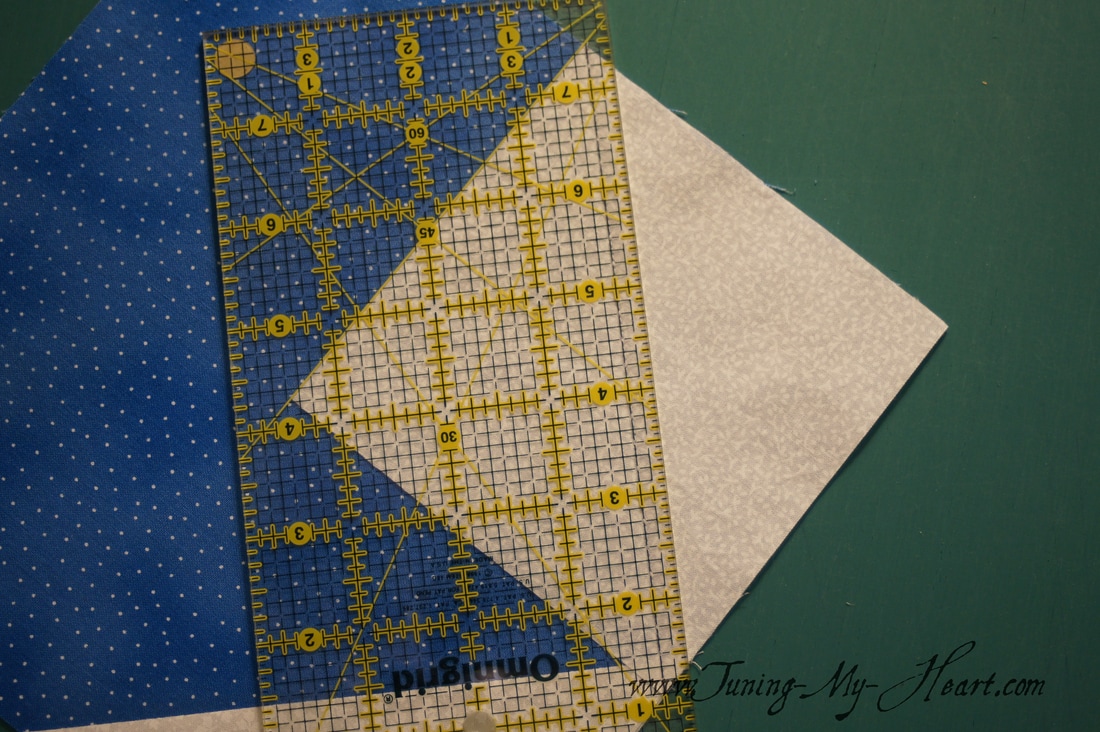
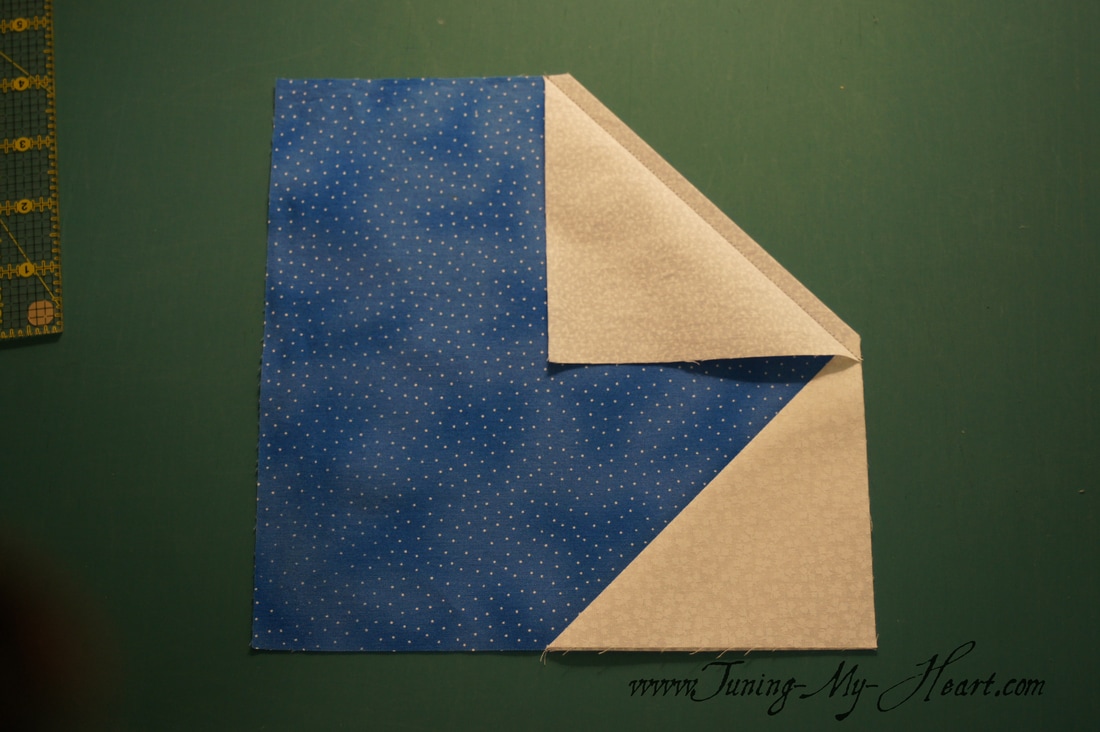
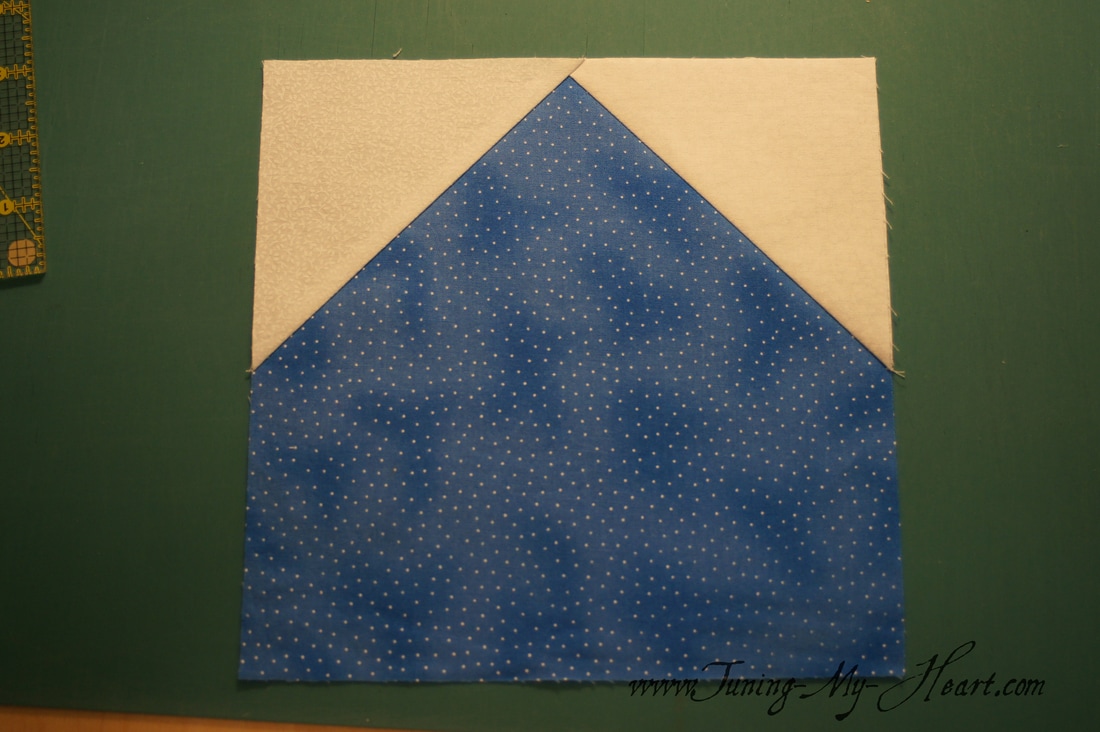
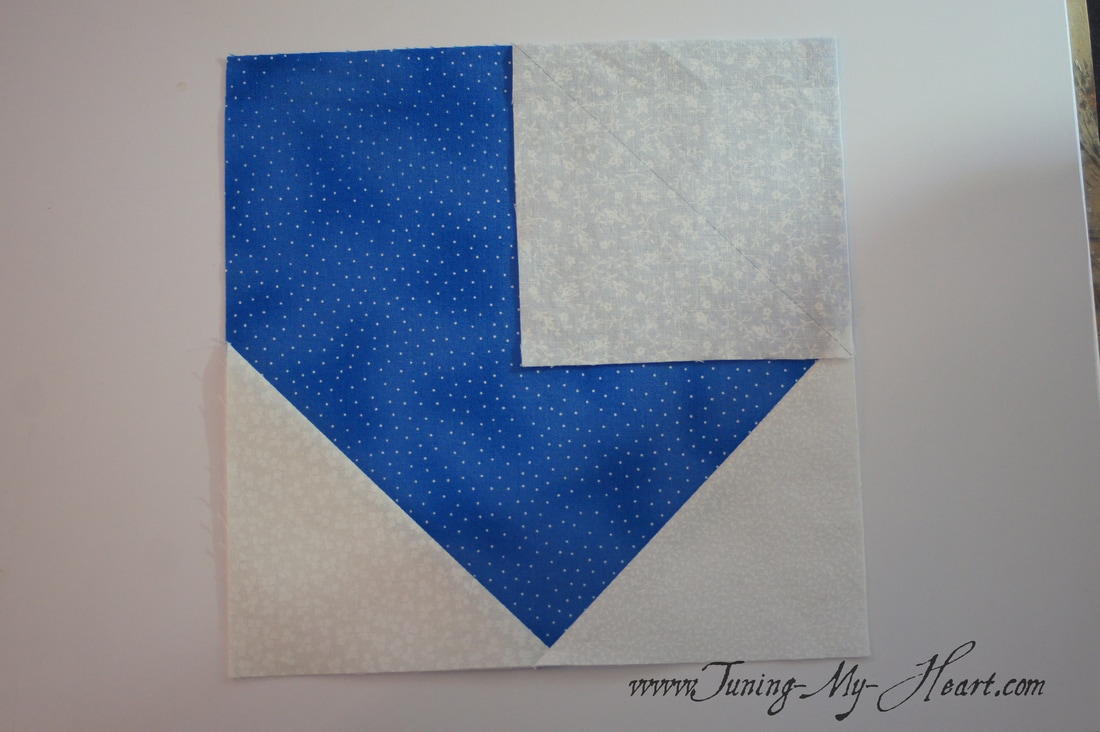
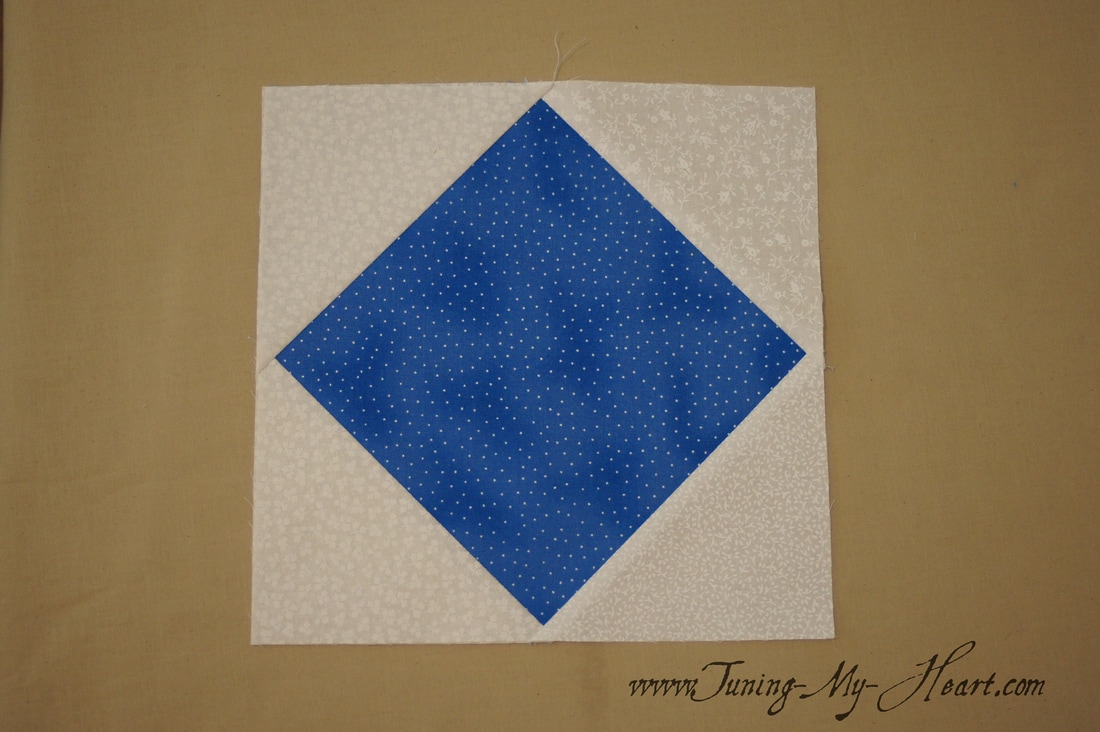
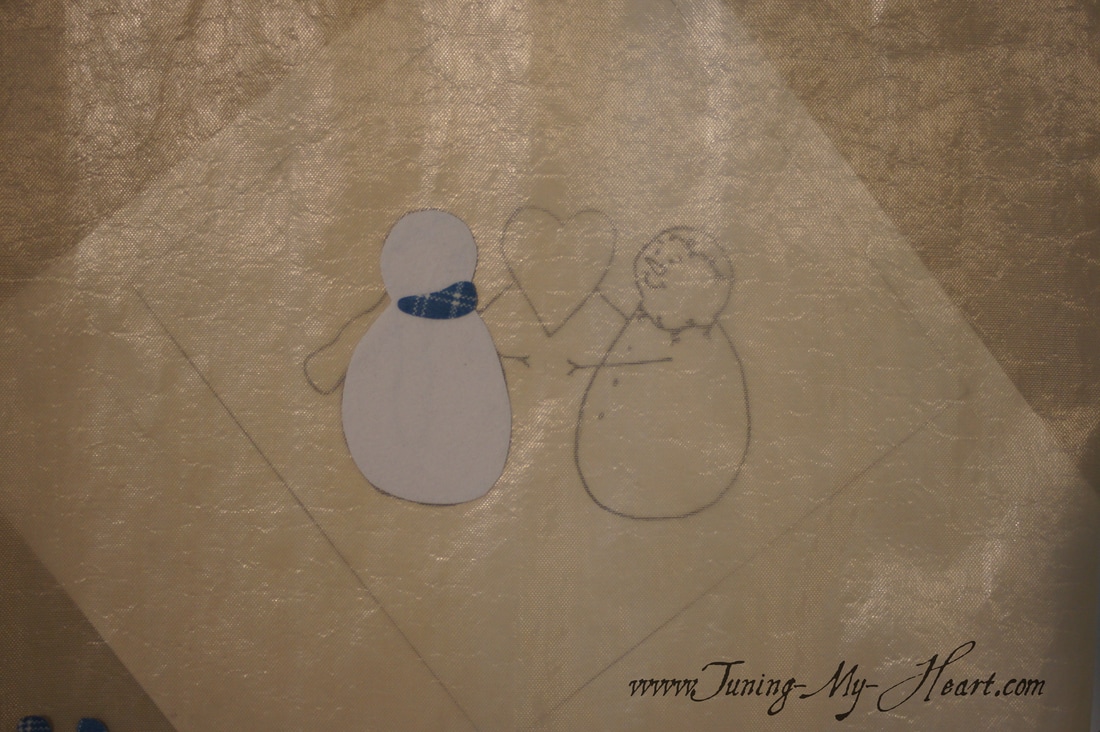
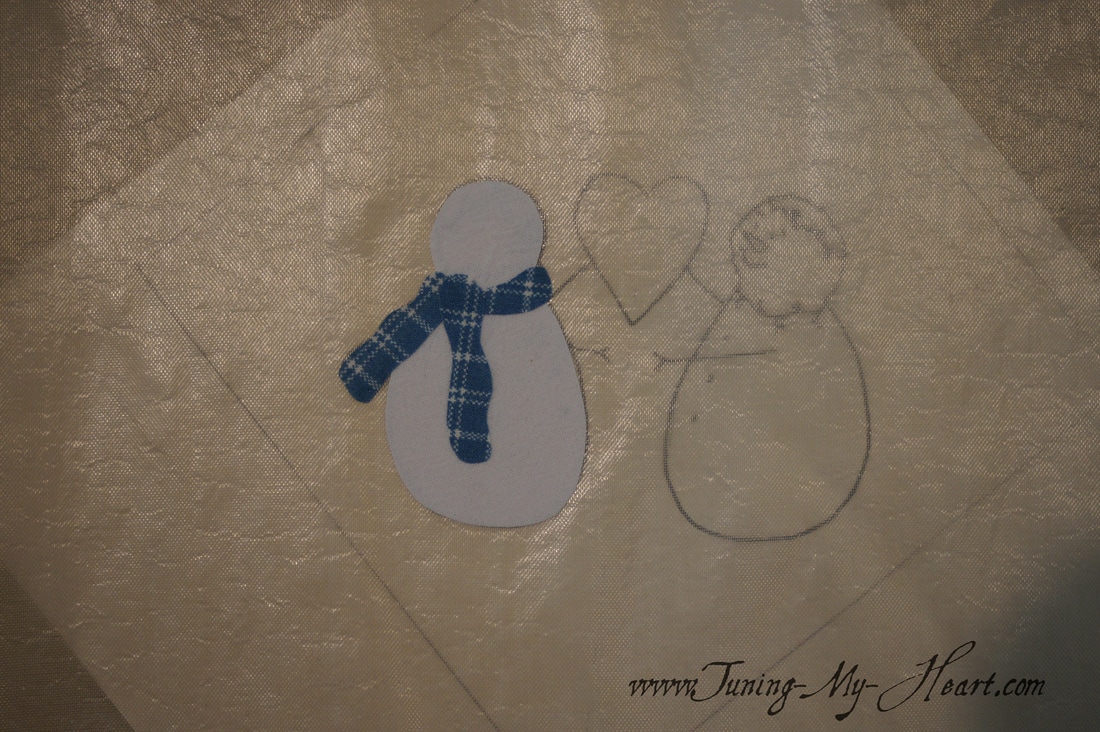
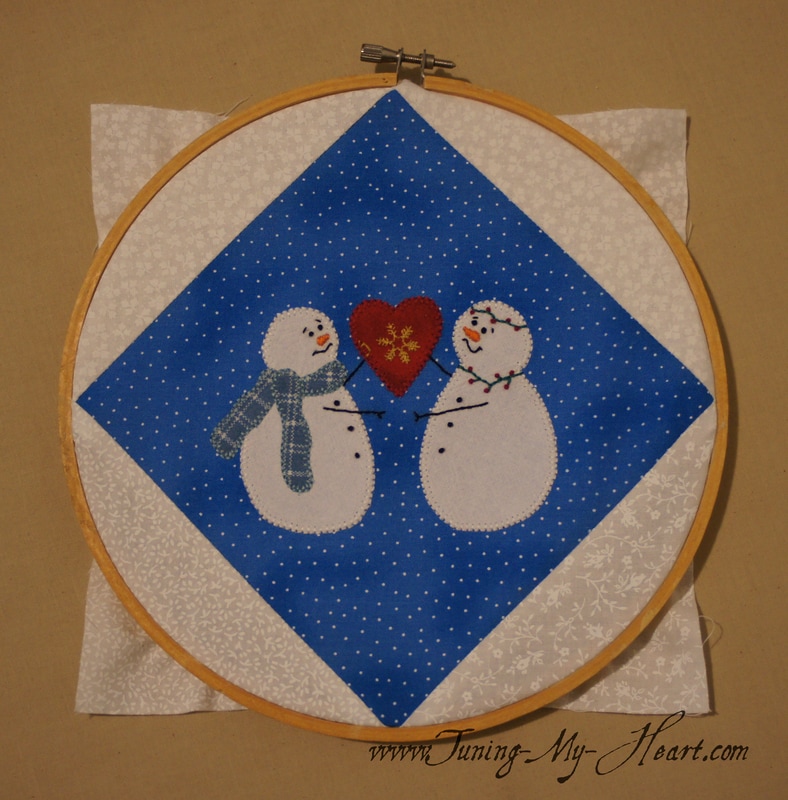
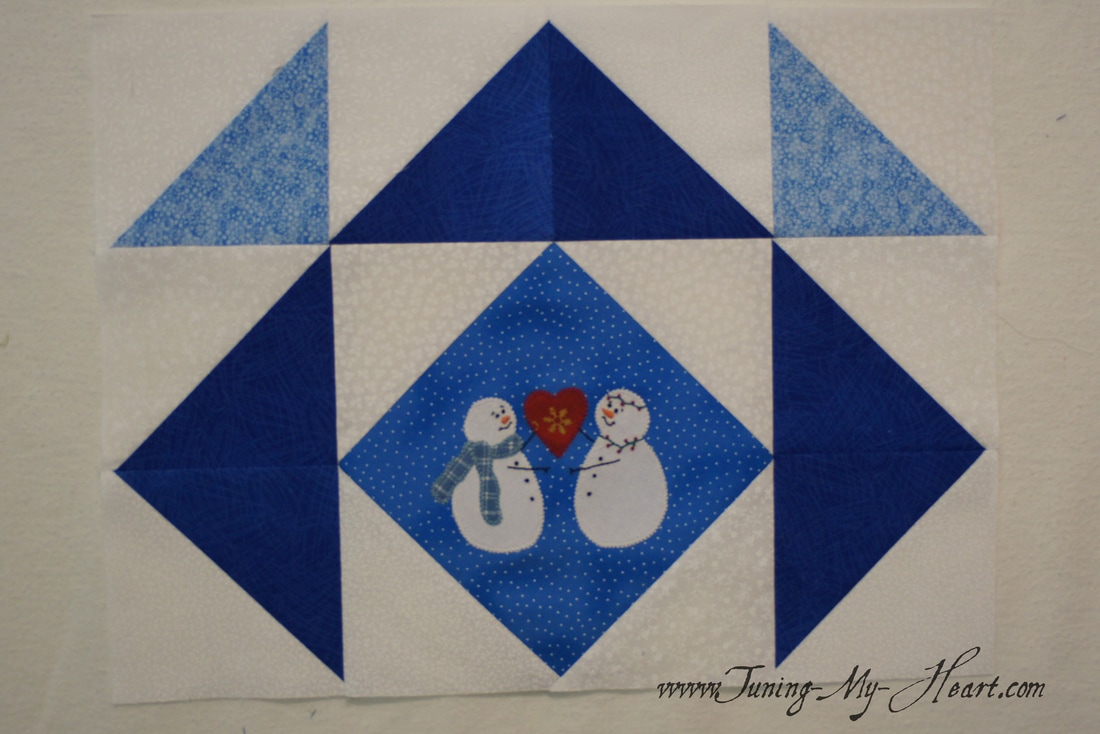
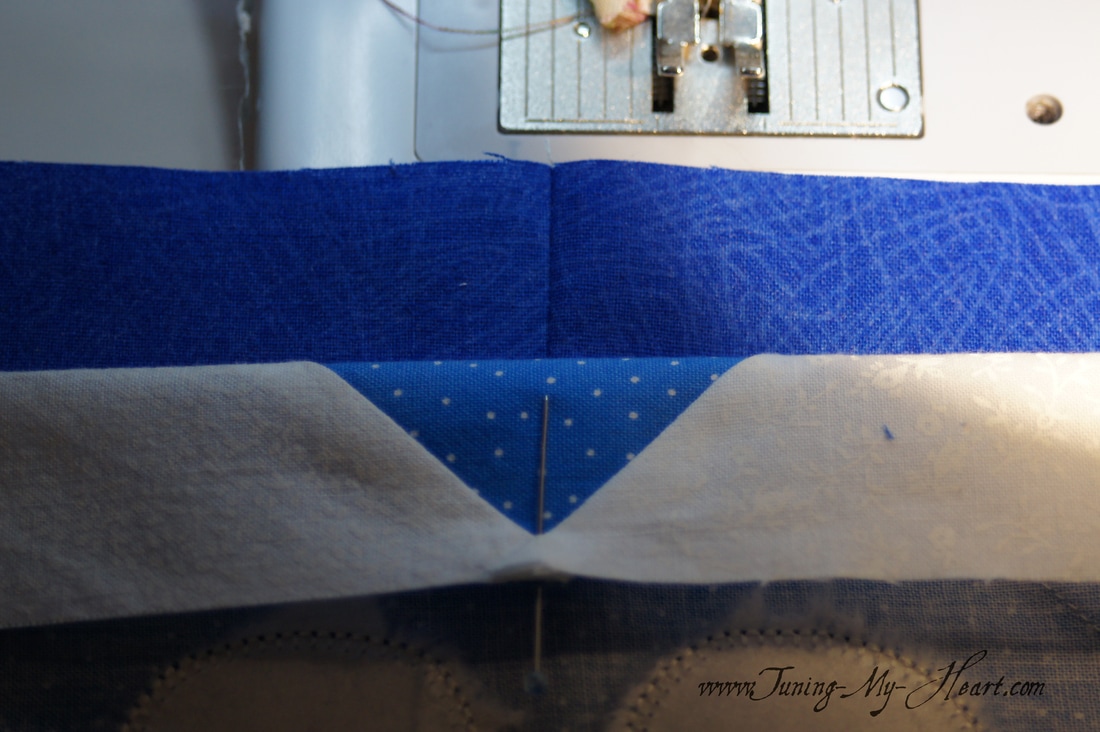
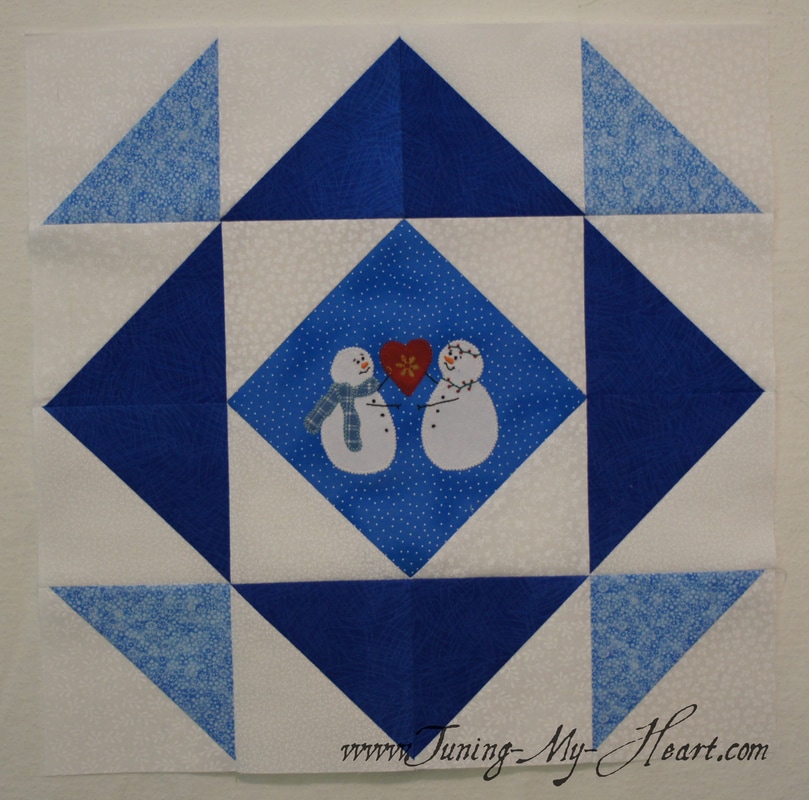
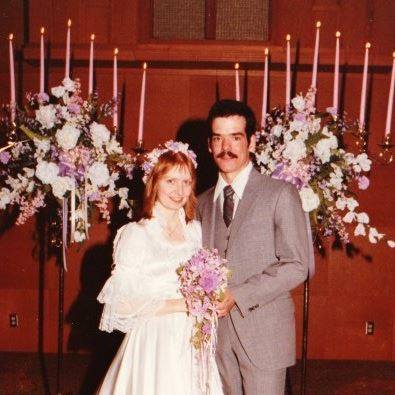
It is snowing again this week after a brief taste of spring. We are also celebrating 33 years of marriage, thus my inspiration for Block 4 of my Snowman Version of the National Quilters Circle 9-week Challenge quilt. I want to add some applique to that center block and decided to simplify the four half square triangles with a square in a square block. To do that I need to cut my main fabric 8.5 inches by 8.5 inches. The white background fabrics are 4.5 inch squares and I need four of those, one for each corner. Just like with the HST's I begin by drawing a diagonal line down the center of each of the light colored background pieces. Now this is where things change up a bit. Placing one corner square on my main fabric, being careful to place the diagonal line the correct way, I will stitch right on that line. All lined up and ready to stitch on the line. Tip: Even when just sewing one piece I still us "leader" and "ender" scraps to start and stop my stitching. Before cutting away the extra fabric underneath I check to see if my edges line up. Sometimes the square underneath will show a bit and it that happens I do not trim it off, but leave it in place and stitch over both layers so that I will have a nice straight edge. (There are actually three layers here after pressing so I will trim the extra white fabric away to reduce bulk.) Repeat the process with the next corner making sure the diagonal line is going in the right direction. After checking to see if the white triangle lines up with the edges of the blue square I trim 1/4 inch from the seam and then press it open. On to the third corner... And the fourth. The square in a square that will become the center of my block is now ready for some snowmen... er, people. Since I have covered the fusible technique I use in earlier posts I will just show how I approach an applique that has little pieces to put together. Using a pressing sheet, which is a heat resistant see through plastic, I lay my sketch underneath and put the pieces of the snowman together before fusing to my square. Once I have his scarf in place the way I want it, I press it while still on the pressing sheet. This snowman will peel right off of the sheet and can be placed on my fabric square without worrying about having to reposition those little pieces. All the pieces in place and ready to be pressed. 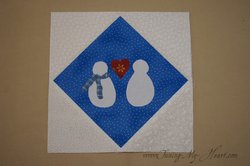 With these smaller snowpeople I am using two strands of DMC floss. The noses are done with satin stitch; the eyes, buttons and berries are French Knots, and everything else is backstitched. Now I can add the Half Square Triangles. With my bigger center block I will end up with three rows to sew together instead of four. The center units ready to be sewn together. The top and bottom rows are both sewn and ready to add now too. 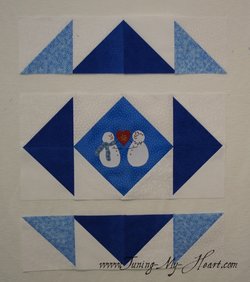 The top row went on pretty nicely. Tip: To line up the point on the center block with the seam in the middle I stick a pin from the back to the front of that point-right at the very tip of the point-and then pin through the seam of the row I am attaching. And there we have it...love is in the air... Oh, and here is a very young looking couple from 33 years ago about to embark on the adventure of a lifetime. Thank you for joining me on this fun journey with my snowman quilt
Debra Comments are closed.
|
Welcome to the site of Debra Davis-a woman who loves the Lord and loves to quilt.
My other blog where I share about my walk of faith:
Sitting at His Feet This website uses marketing and tracking technologies. Opting out of this will opt you out of all cookies, except for those needed to run the website. Note that some products may not work as well without tracking cookies. Opt Out of Cookies |
Tuning My Heart Quilts by Debra Davis is licensed under a Creative Commons Attribution-NonCommercial-NoDerivs 3.0 Unported License.
Based on a work at www.tuning-my-heart.com.
Copyright 2010-2022 by Tuning My Heart Quilts, LLC. No part of this website can be reproduced without written permission from the author. All rights reserved.
Proudly powered by Weebly






 RSS Feed