|
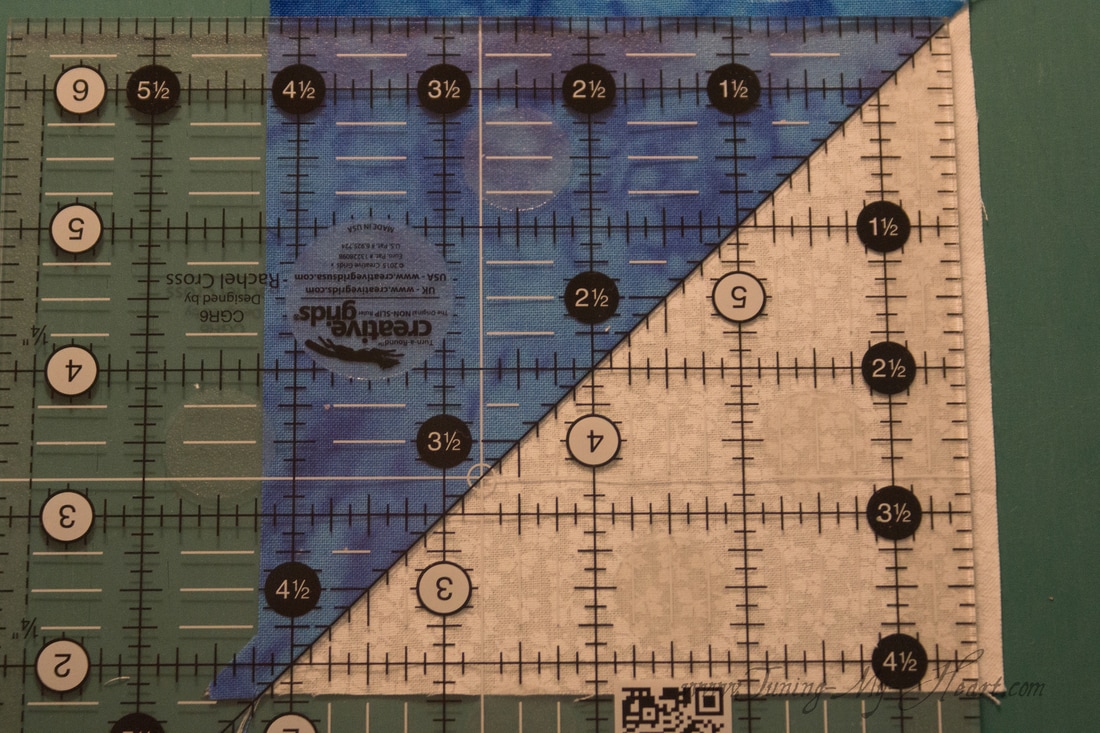
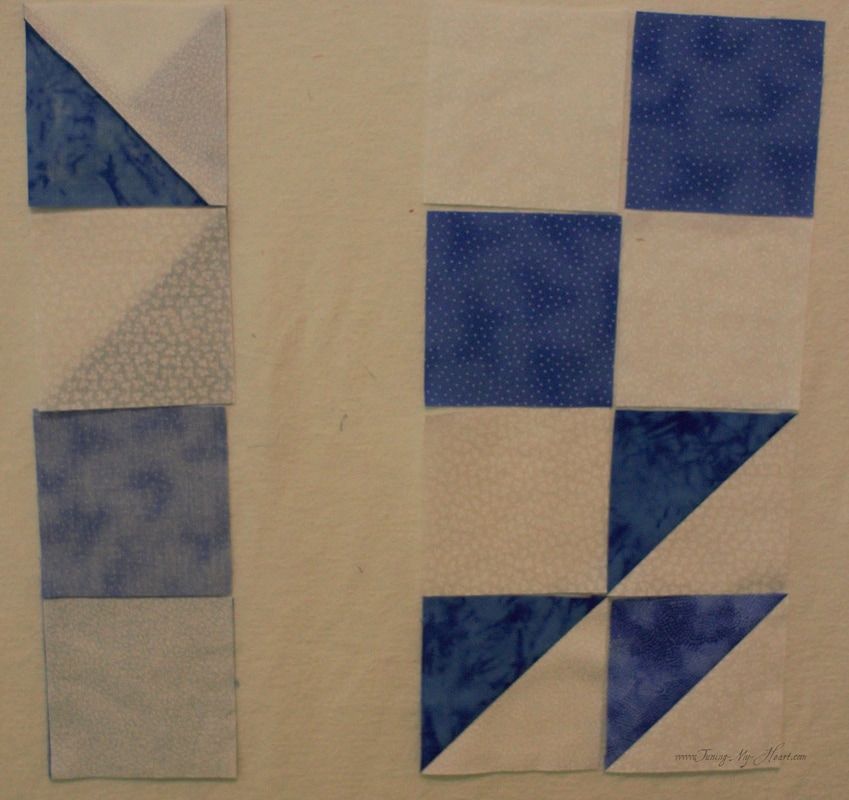
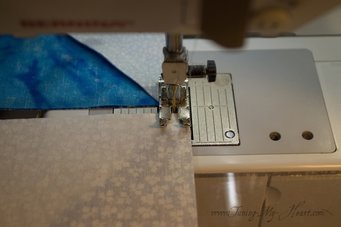
It feels great to be back at the sewing machine this week. I missed it while I was doing some all-day workshops last week. Andrea Smith has another block from her Snowy Day Quilt Sampler for us. There are several thousand quilters around the world taking part and you can find us all on Facebook chatting, sharing photos of our blocks, asking and answering each other's questions at NQC Quilt Block Challenge. Digital tech is great until it doesn't work so you will notice my tutorial is using the fabrics from my snowman version of the quilt. This is the same quilt, I am just doing two versions of it. Because, well, I just did not have enough projects going right now-lol. That's what I tell myself. 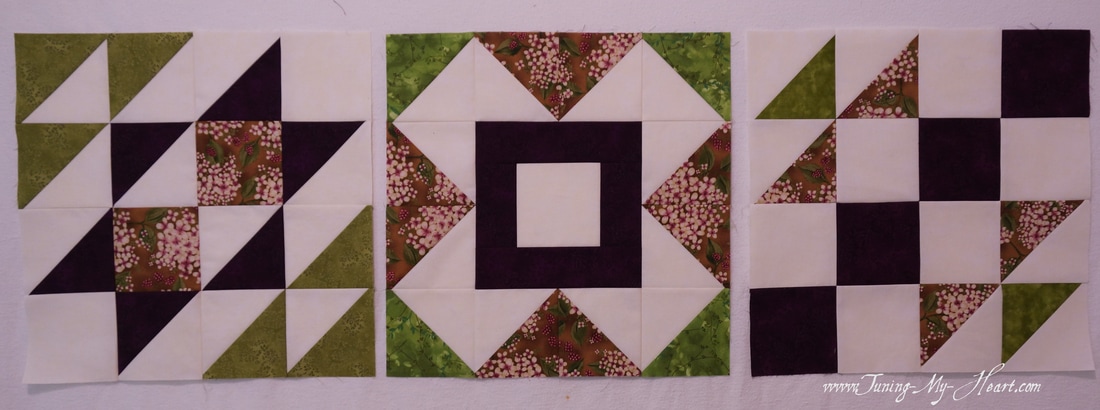 First three blocks are done! Let's get started My fabrics are all cut and starched and ready to go. Using a sandpaper board I once again need to draw diagonal lines on all of my Color D 5.25 inch squares. 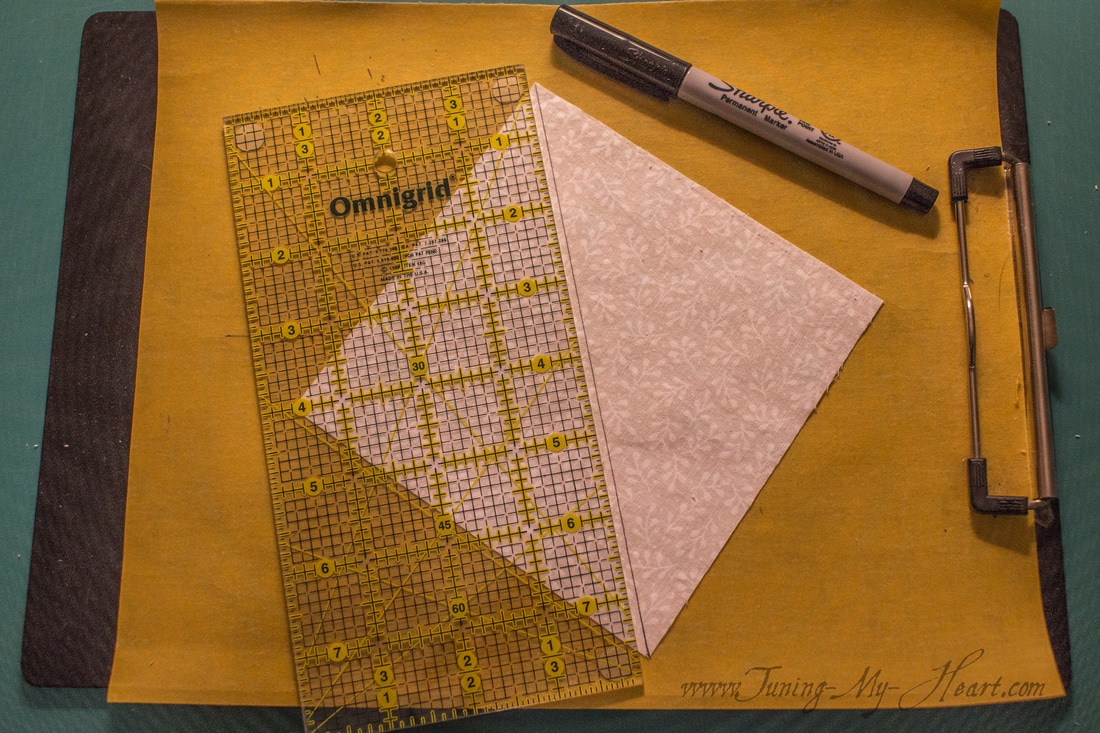 Using the chain piecing method I sew a scant 1/4 inch from the drawn line. My machine has a quarter inch foot so I know that when I have my drawn line aligned with the edge of the foot I will have a quarter inch seam. Notice I have my "leader" going and position my fabric so it touches my needle. It also helps to make sure you are sitting straight on at your machine rather than off to the side one way or the other. I learned this tip a few years ago and it does make a difference in getting the edge of the fabric lined up with the edge of my foot. Have you ever had a problem with the beginning few stitches or ending few being less than straight? These two things solved that issue for me. 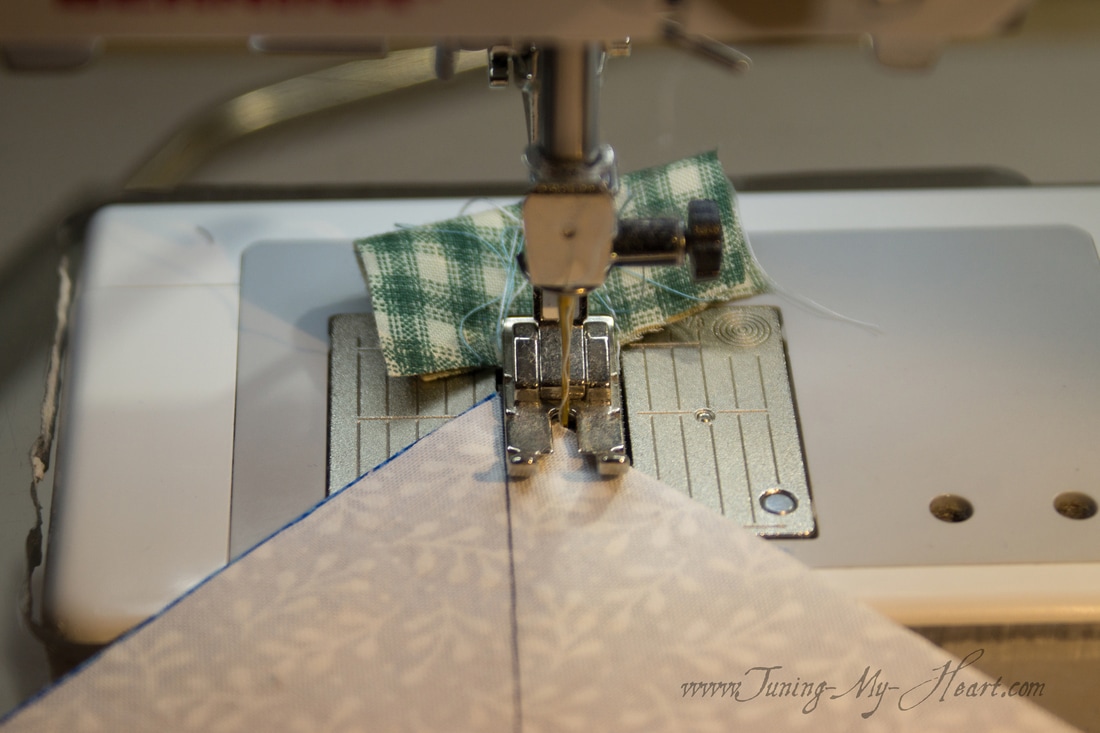 Time to turn the blocks around and do the same thing sewing down 1/4 inch from the other side of the diagonal line. 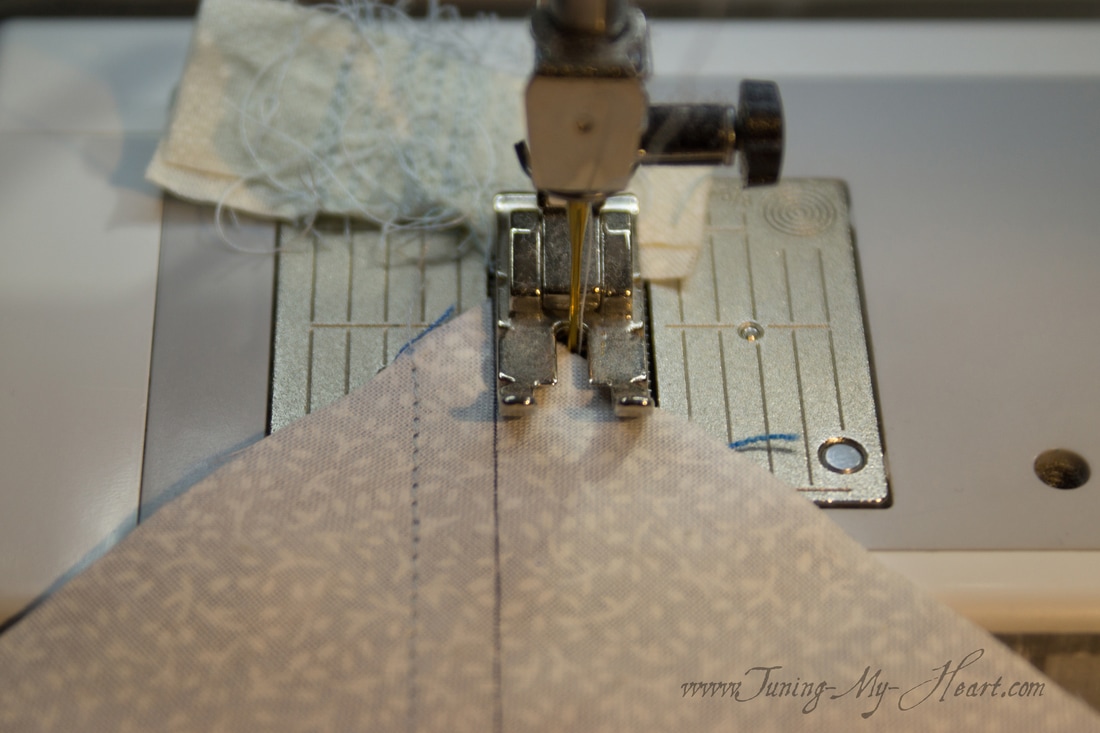 Once the three 5.25 inch blocks are sewn it is time to cut them apart and press the resulting triangle squares open. (Refer to my post on block 1 for more details on this process as I forgot to take photos of that step-I was just a having such a grand time cutting these apart I guess. Block 1 Tutorial) After the triangle squares are pressed I need to trim them to 4 1/2 inches. I am back to using my favorite ruler for this by Creative Grids. They just do not slip so I am slowly replacing my rulers at this time, but this 6 inch square is very versatile for now. It is important to line up the diagonal line at the seam where the two fabrics meet. Notice I have given myself more than the 4 1/2 inches here. Trim the side and top.
Rotate the block and trim the remaining two sides. I need to be sure that my diagonal line on the ruler is lined up with the seam again, and that the 4 1/2 inch lines are right at the edge of my triangle square unit. 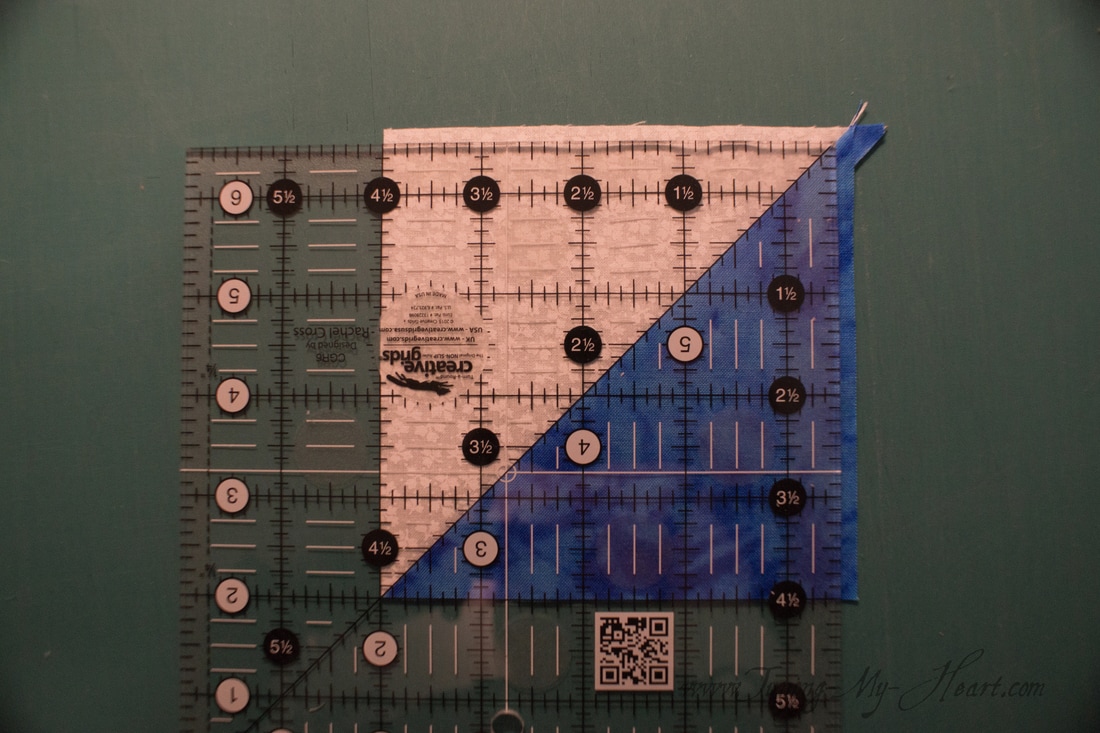 This is the finished look I want: nice crisp corners where the two fabrics join. 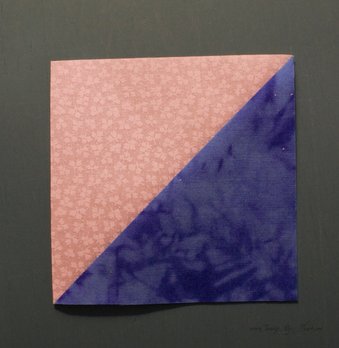 Now that all of my units are ready I put them up on the design wall and step back to make sure I have everything in place correctly and turned the right direction. It is kind of like putting a puzzle together. 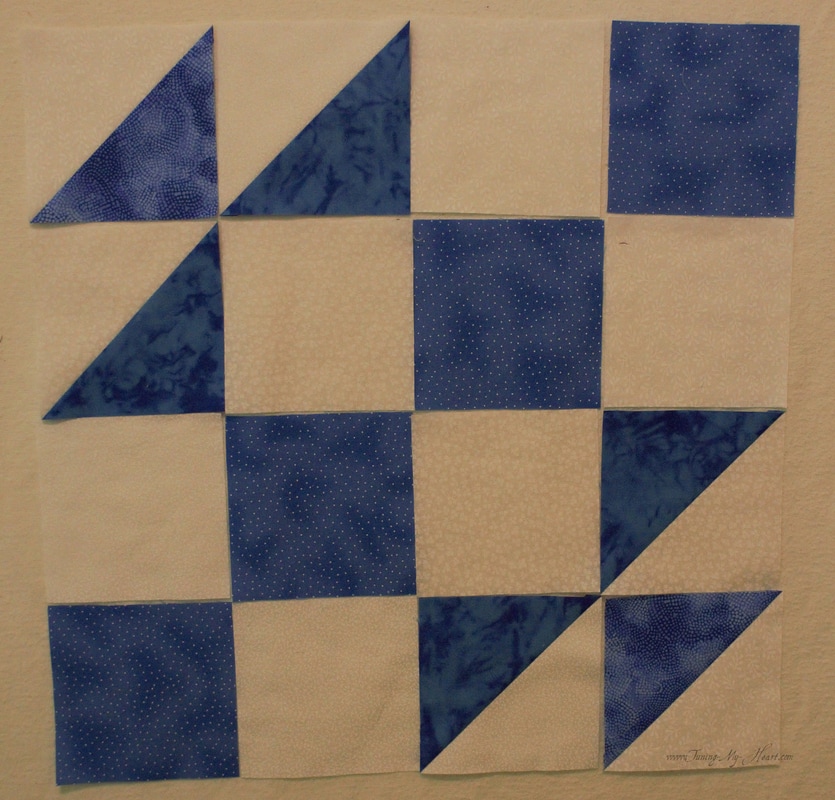 Andrea's instructions now direct me to sew the rows together. Here I have flipped the blocks from the second column on top and will carefully move them to my machine in order. Once again I am going to chain piece and begin my butting up each new set of squares right up to where they touch my needle.
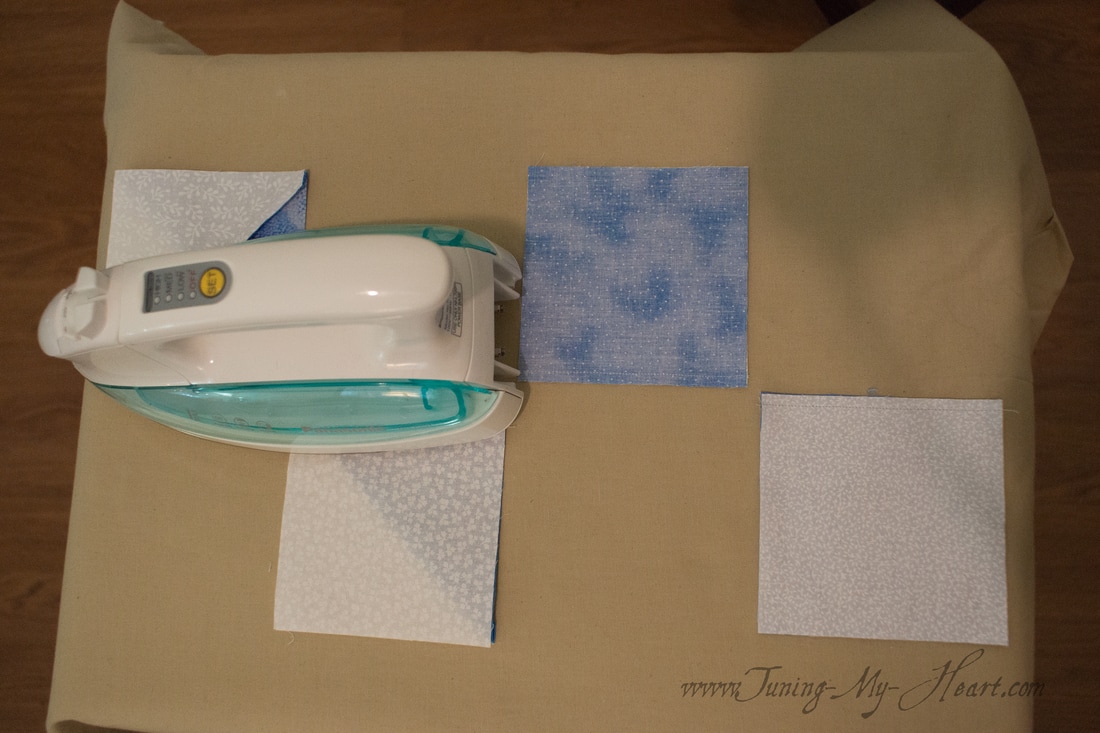
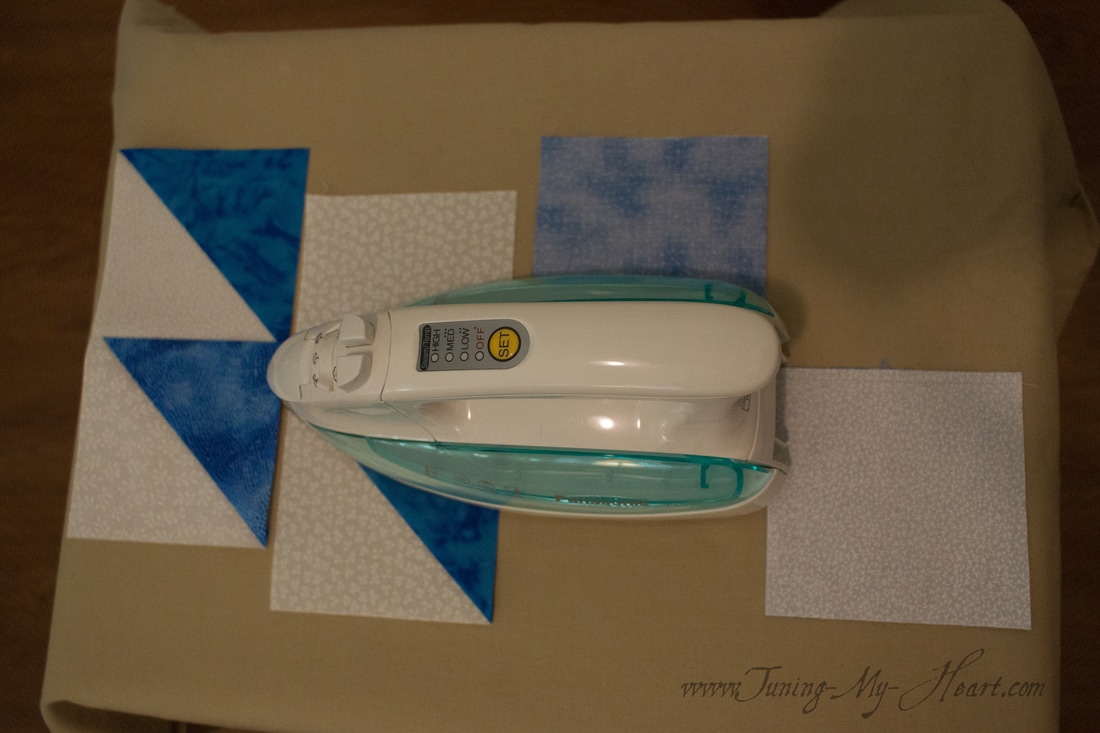
All of these units need to be pressed, first by setting the seam and then by carefully opening them up, being careful not to stretch them. The directions state to press the seams-some to the right and some to the left, so I have laid out my pieces in such a way to remind me which is which-top to the left, next to the right and so on. 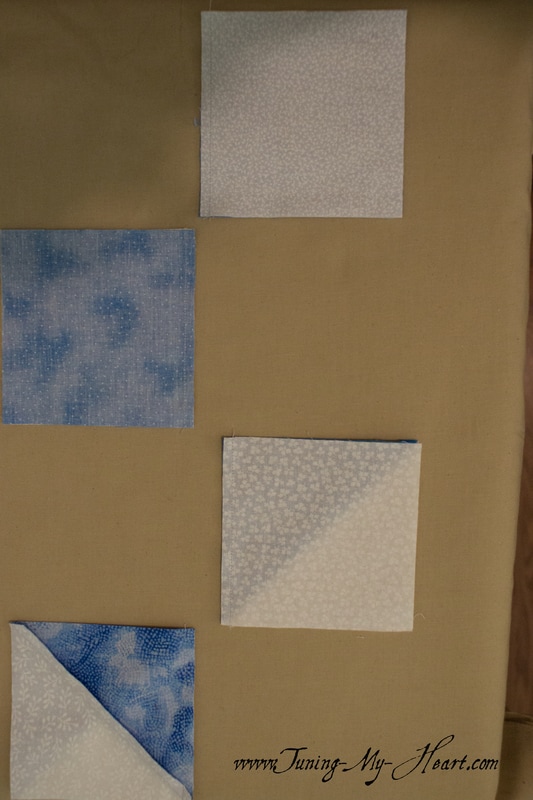 Pressing technique-again check out my previous post for more detail.
Back up on the design wall I have laid the pieces from the third column on top of the previously stitched rows and sew those together in the same way. And press. 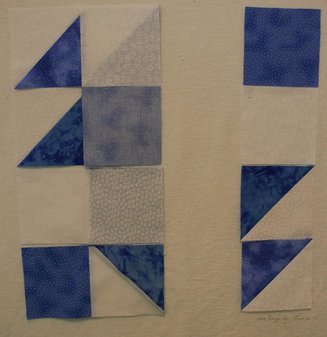 This is a good point to check my 1/4 inch seam. Since I have been sewing 4 1/2 inch squares together, that means I have lost 1/4 inch on each side which equals 1/2 inch. I can measure the inside square to see if it is 4 inches now. This will help all of my seams go together nicely when I put the whole block together. 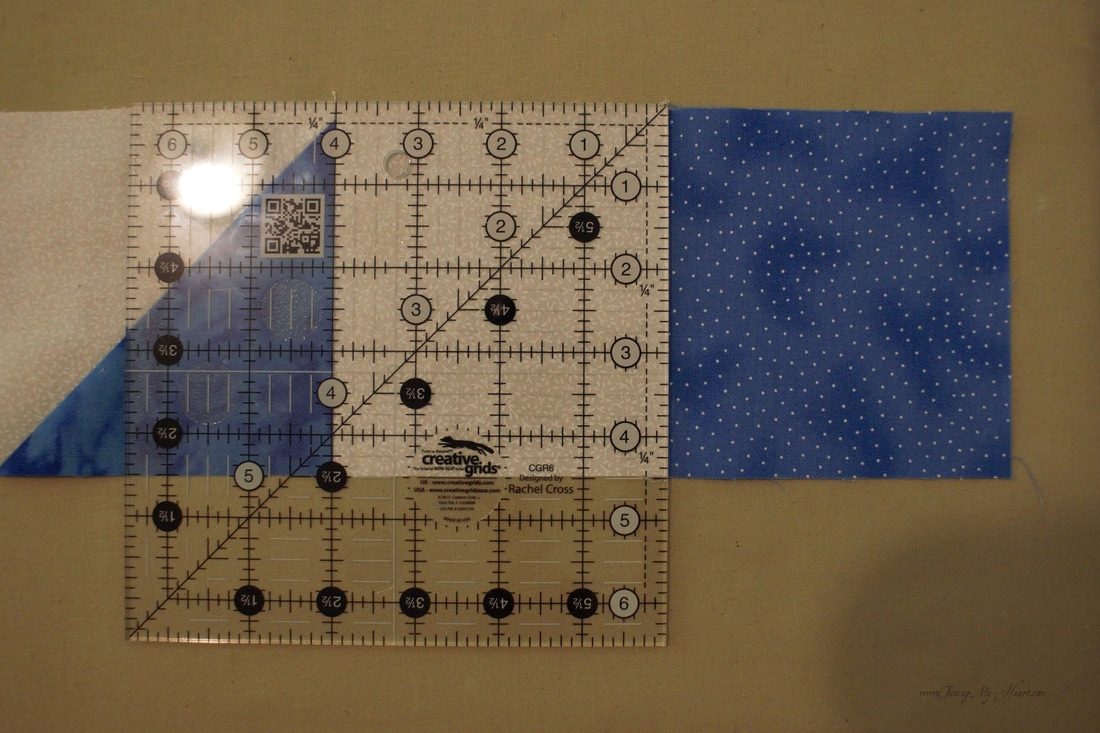 The last of my pieces in place for sewing...and pressing. 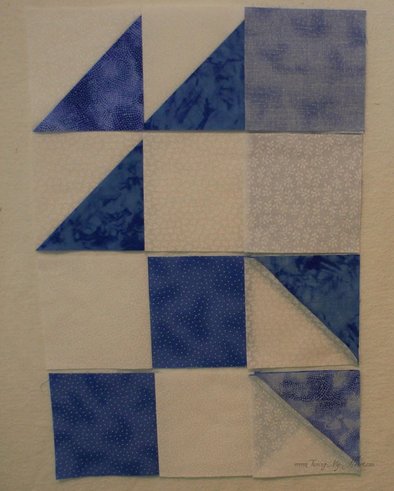 Now time to sew the four rows together. I am joining the top two and the bottom two first-that way I can chain piece these as well. 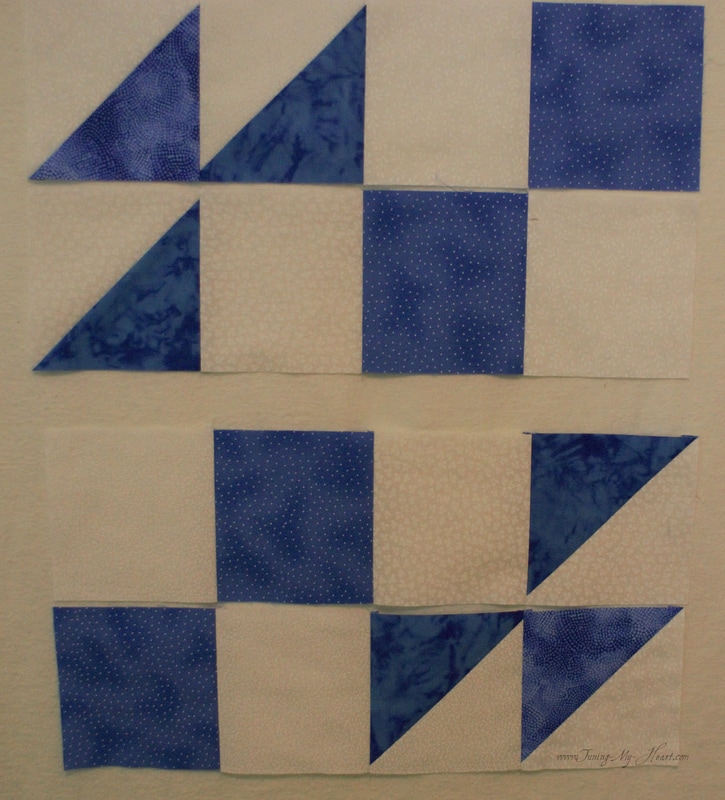 Even though the seams will snug up against each other nicely I find my seams meet better if I put a pin in, so I pin at each intersection. I have also learned to slow down when I come to bulky seams. 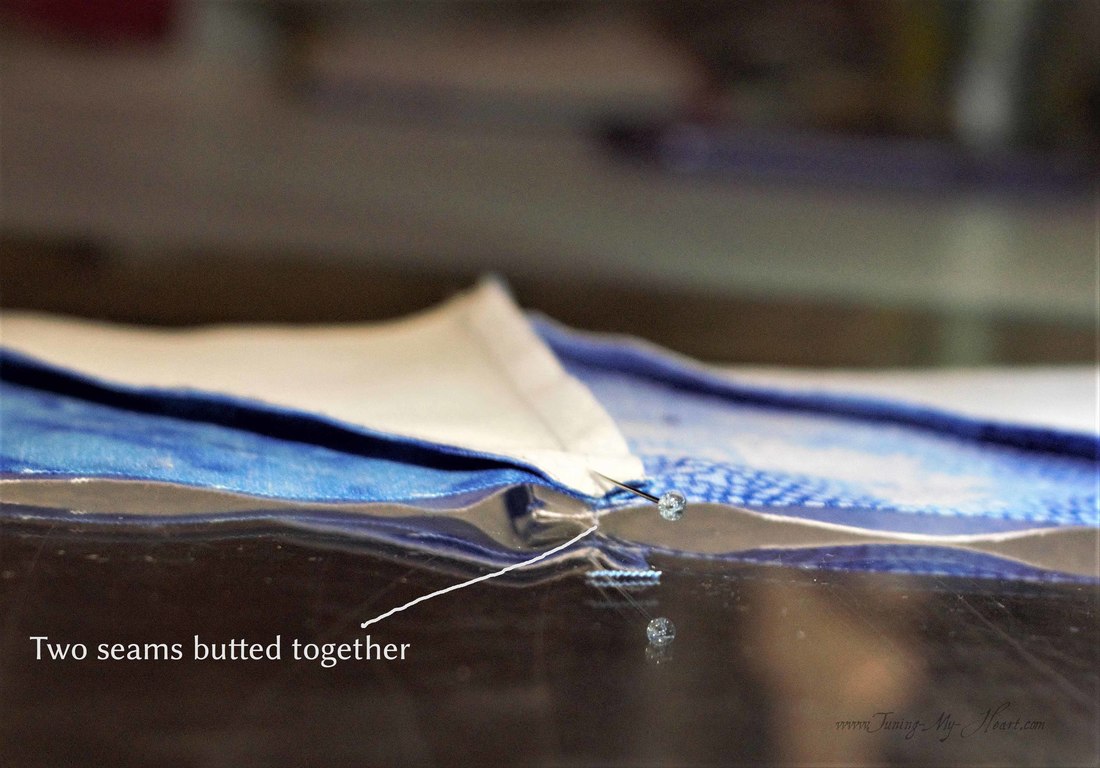 The final step is to join these two sections together. 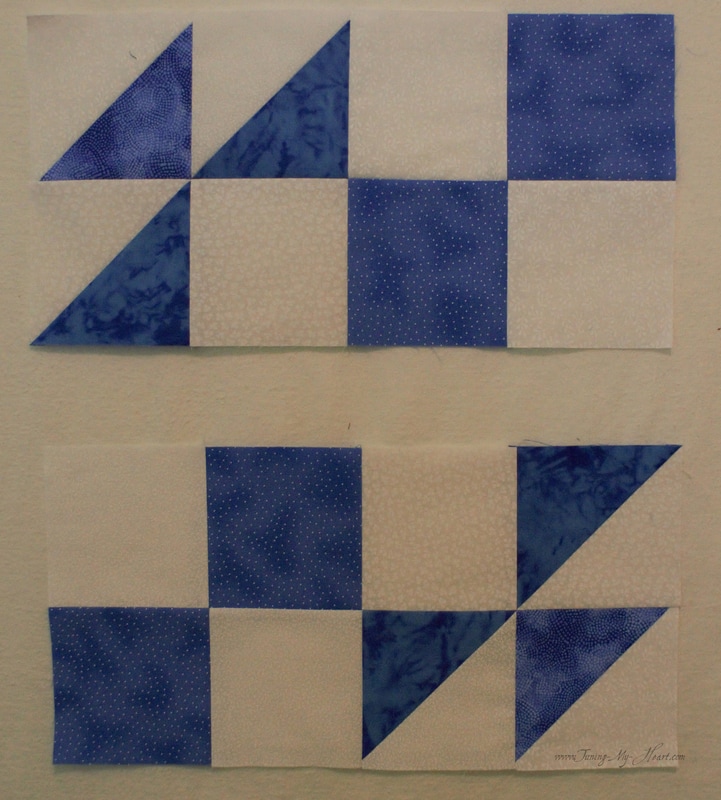 Block 3 is done-well, except that I will be adding a snowman or two to this one. 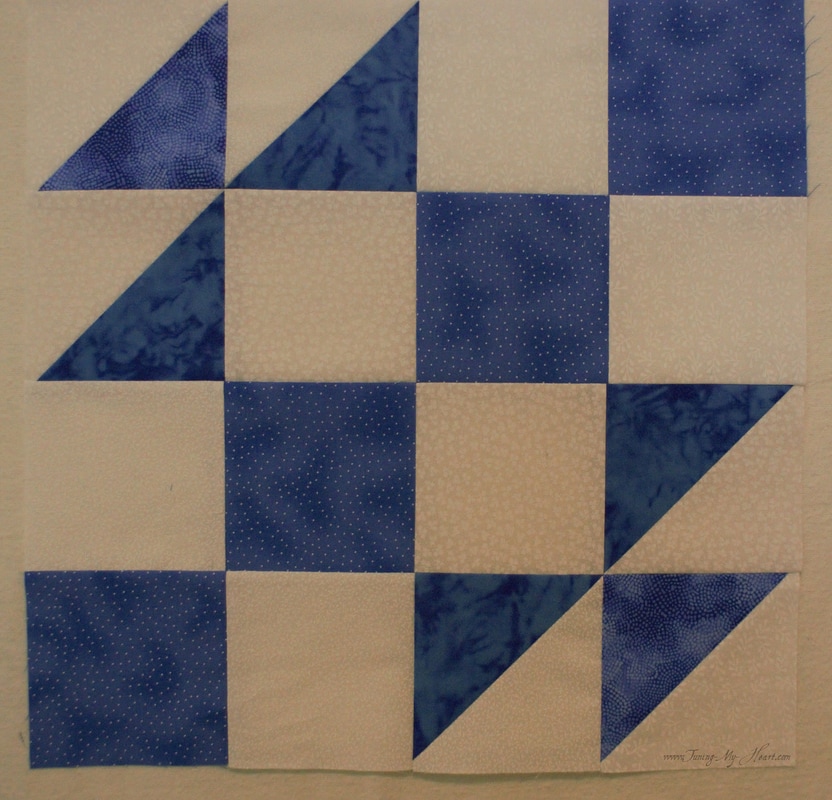 Happy Quilting! 
Karen W
3/13/2017 07:26:08 pm
Very nice tutorial
Debra
3/13/2017 11:05:35 pm
Thank you, Karen. I appreciate your feedback.
Debra
3/17/2017 11:01:45 am
Thank you, Ann. My goal is that no matter your level of experience you will learn something here...yes, it is in the details-lol. Comments are closed.
|

Welcome to the site of Debra Davis-a woman who loves the Lord and loves to quilt.
My other blog where I share about my walk of faith:
Sitting at His Feet 
|


 RSS Feed