|
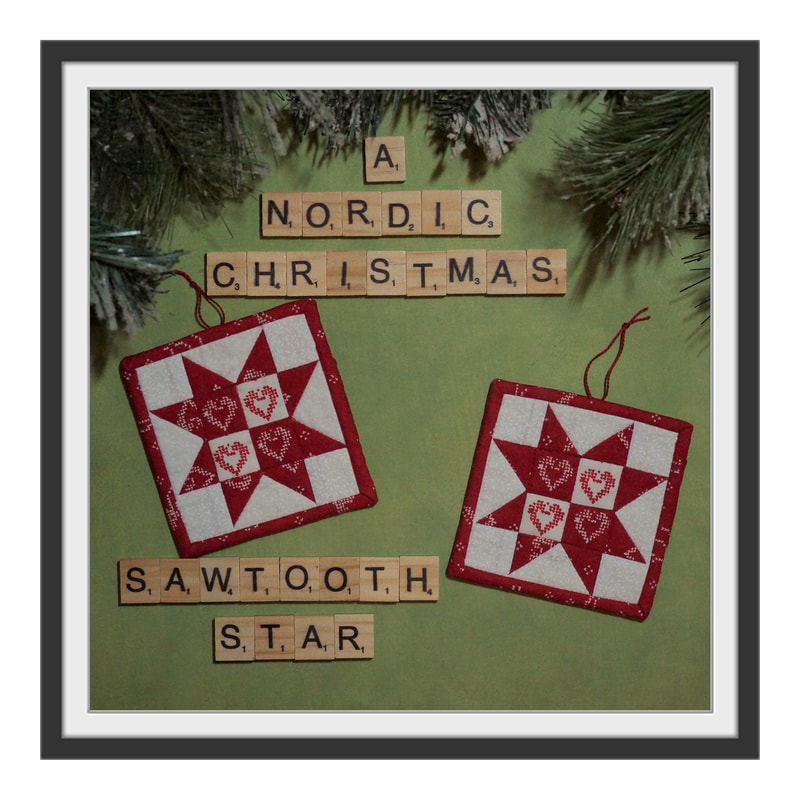
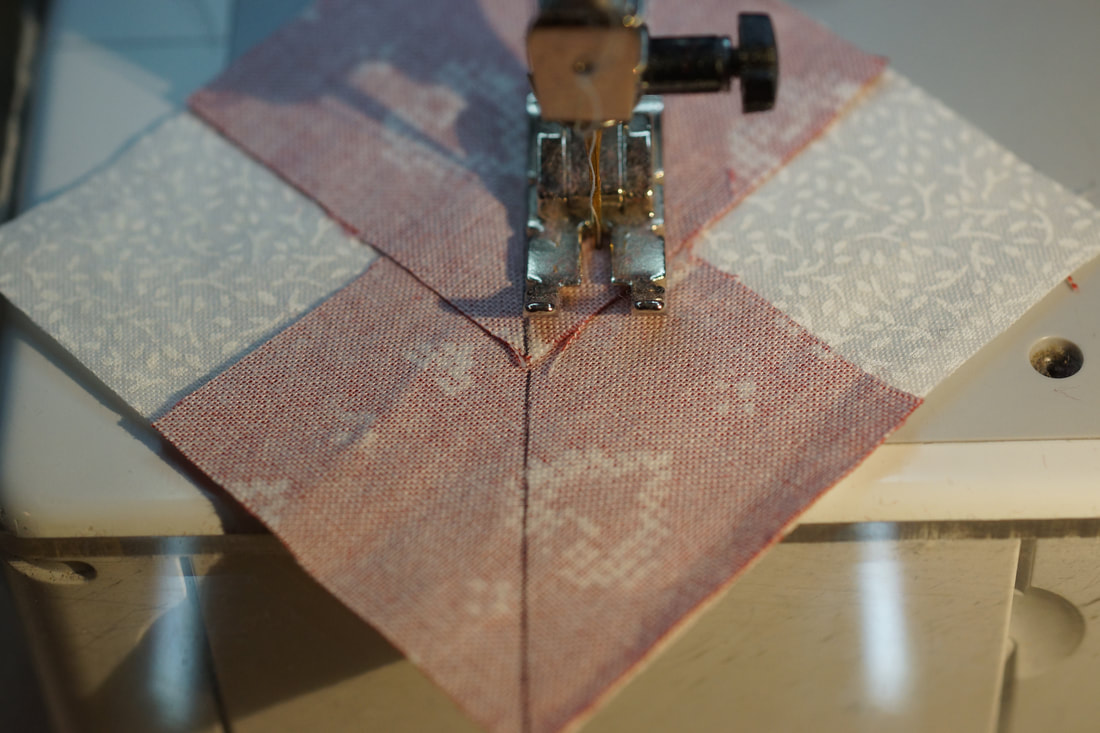
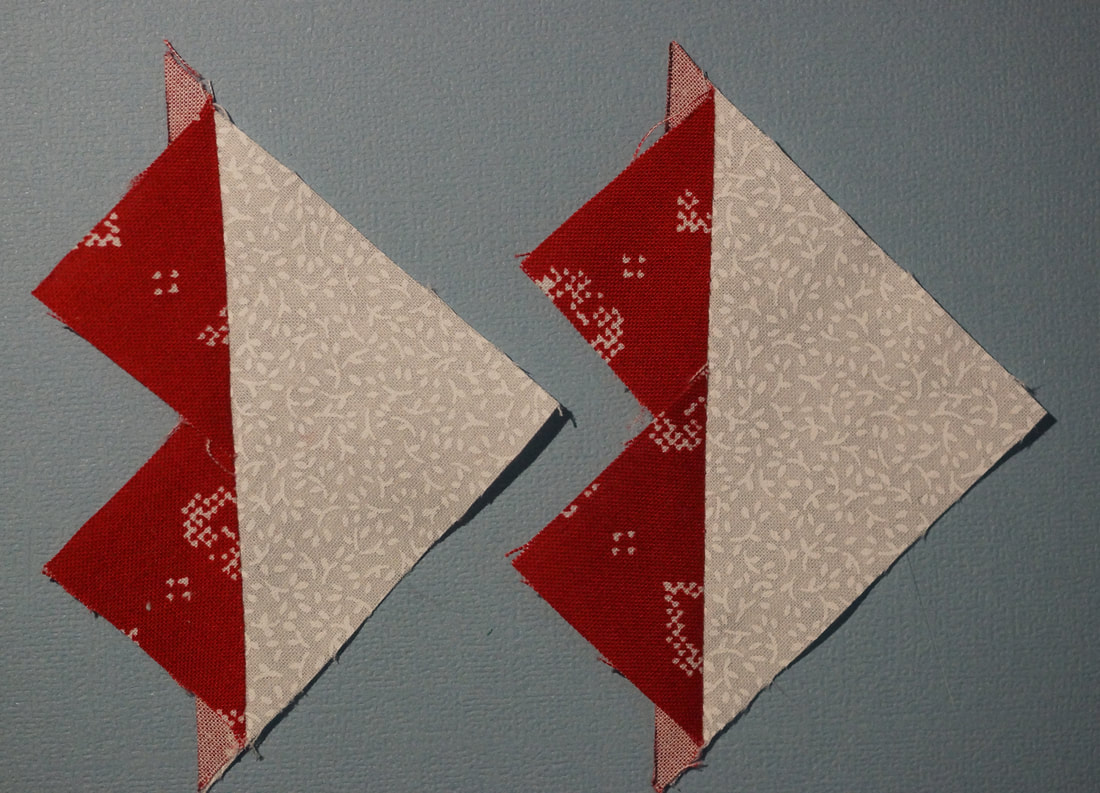
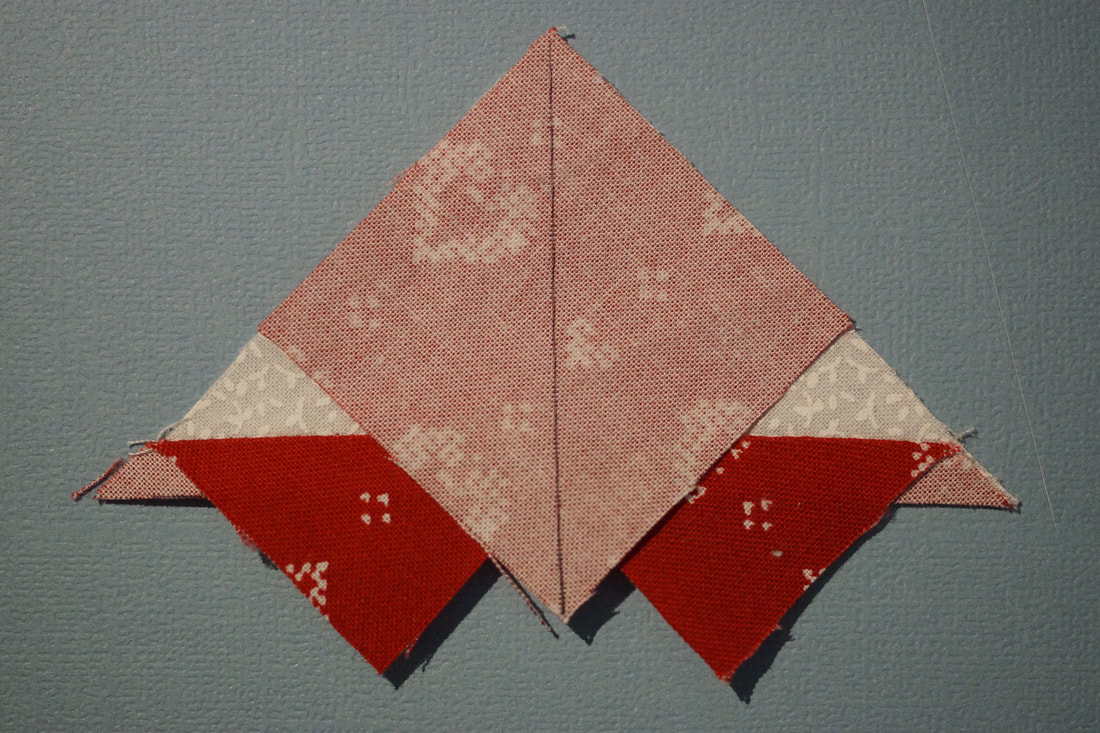
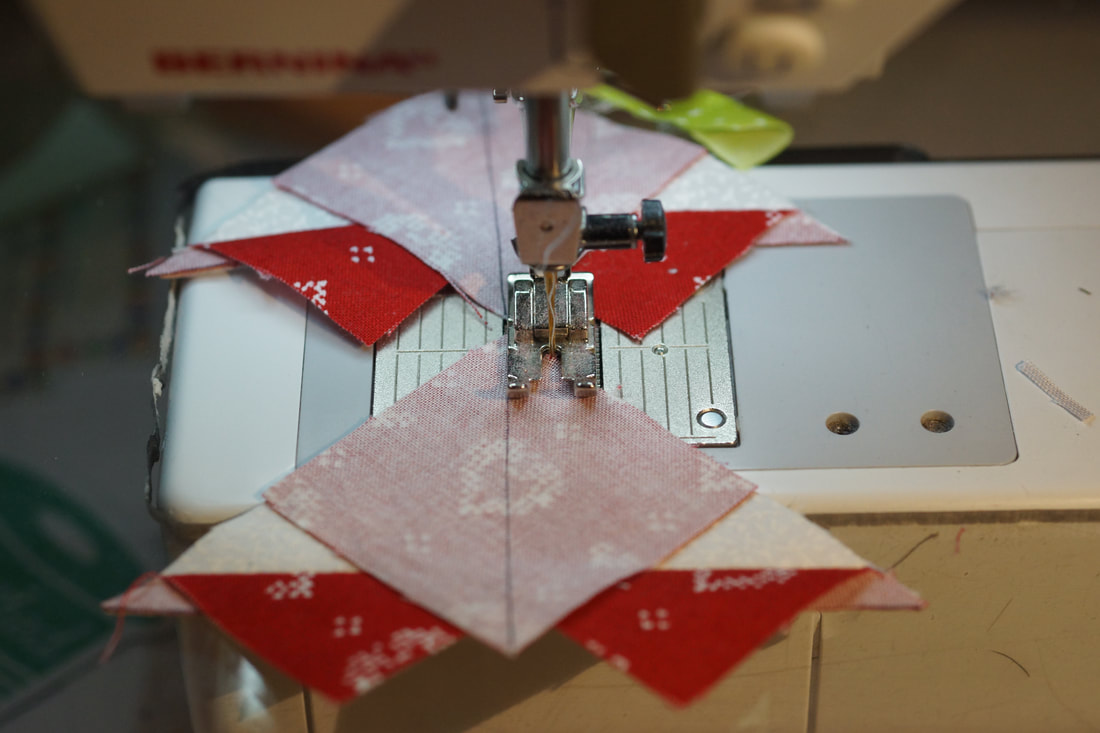
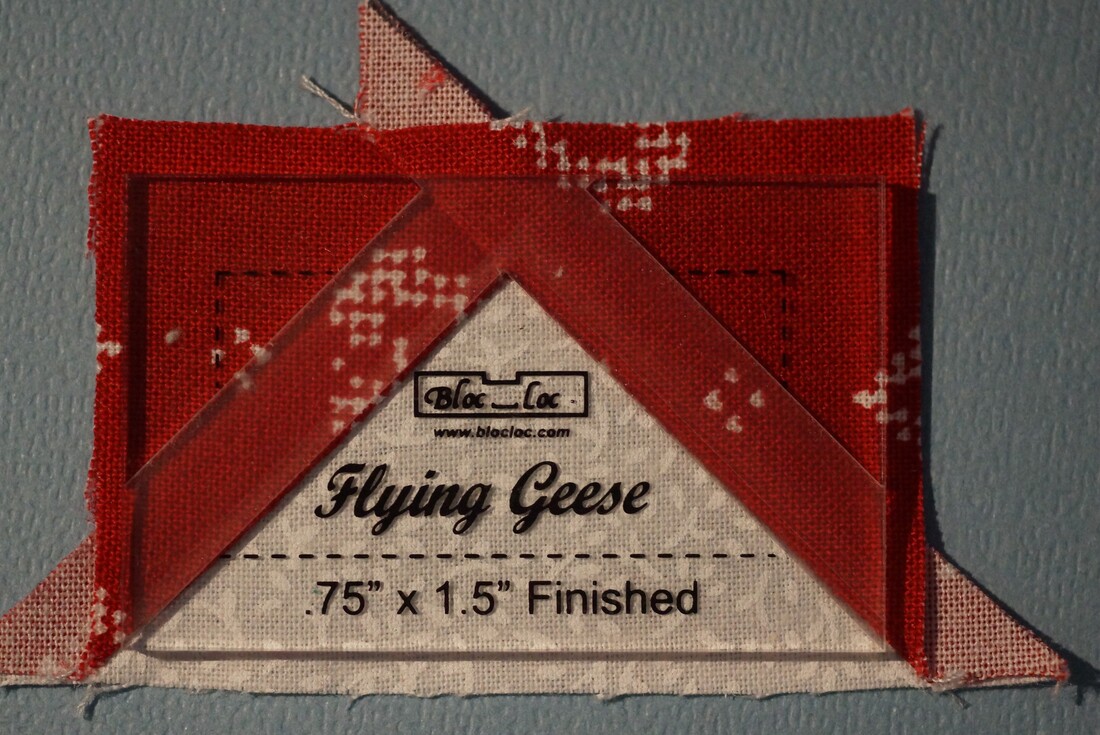
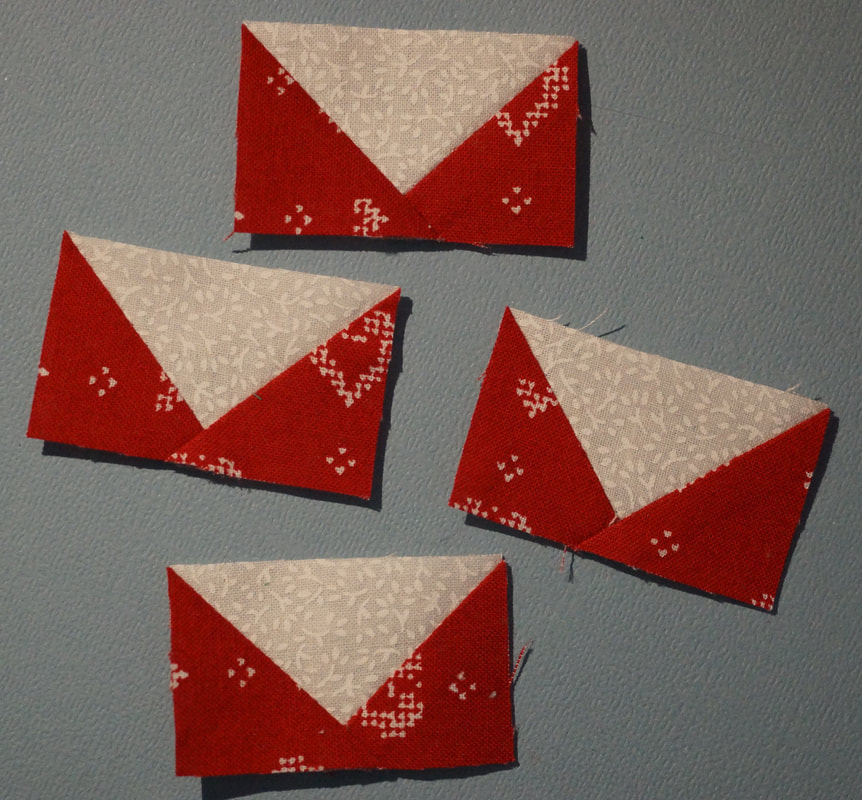
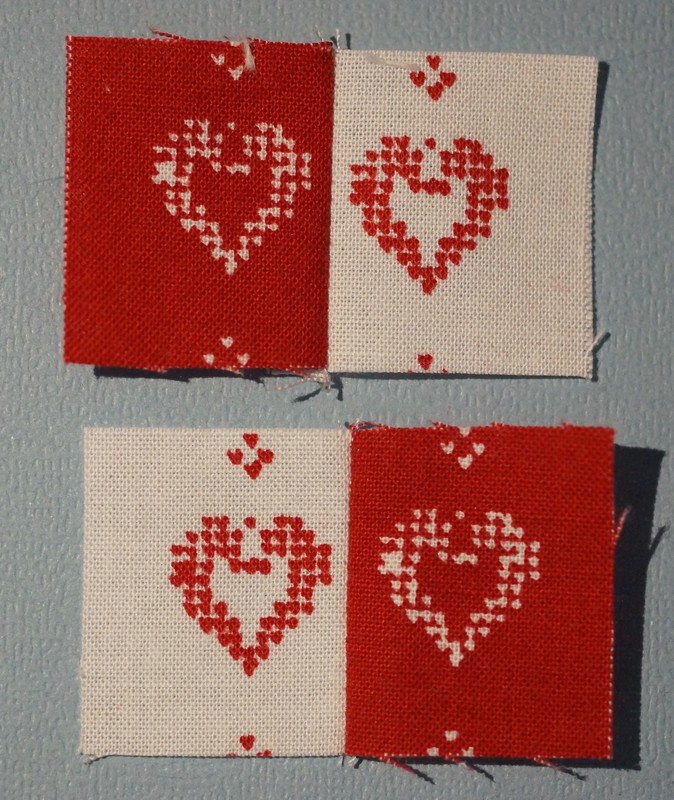
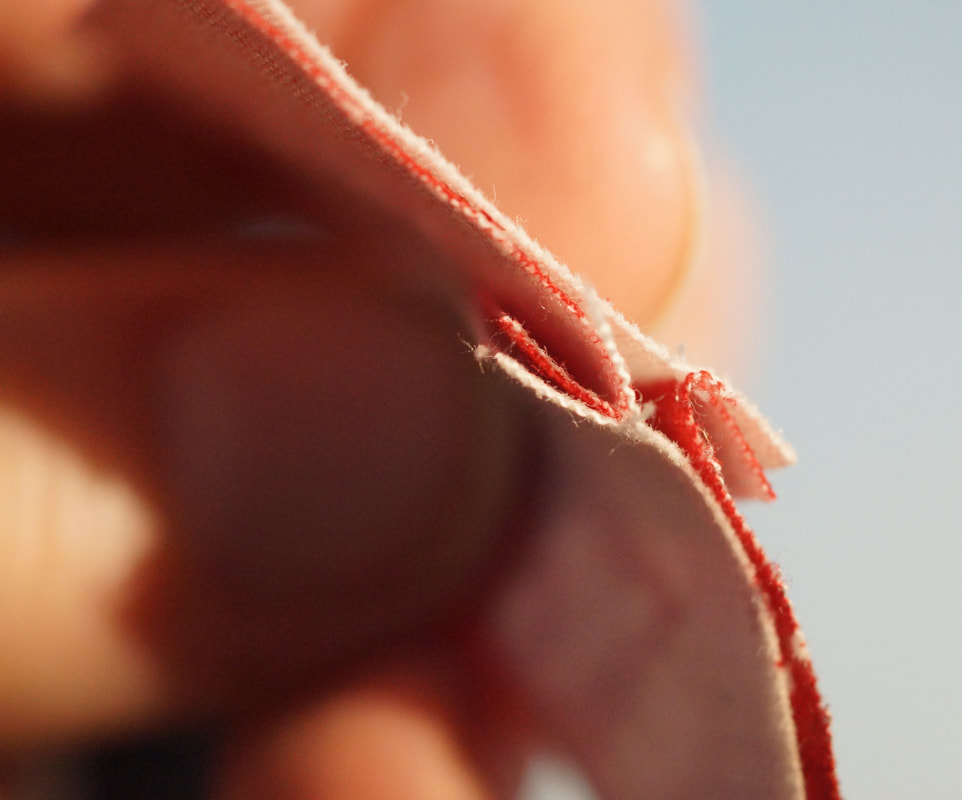
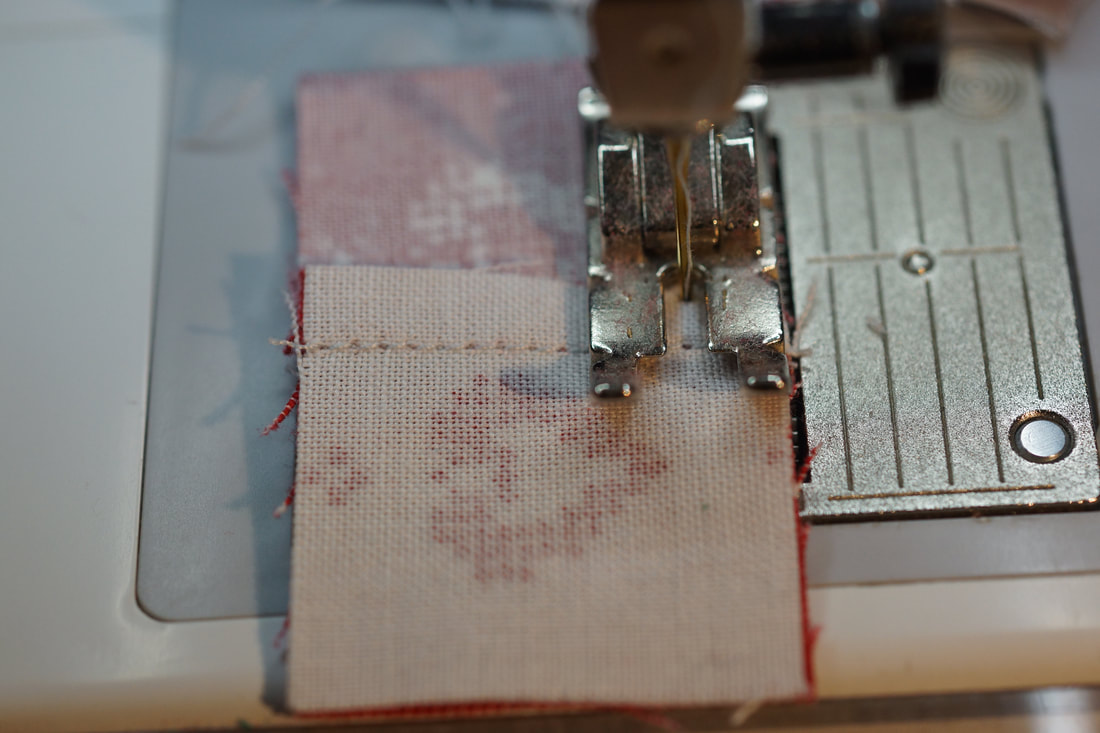
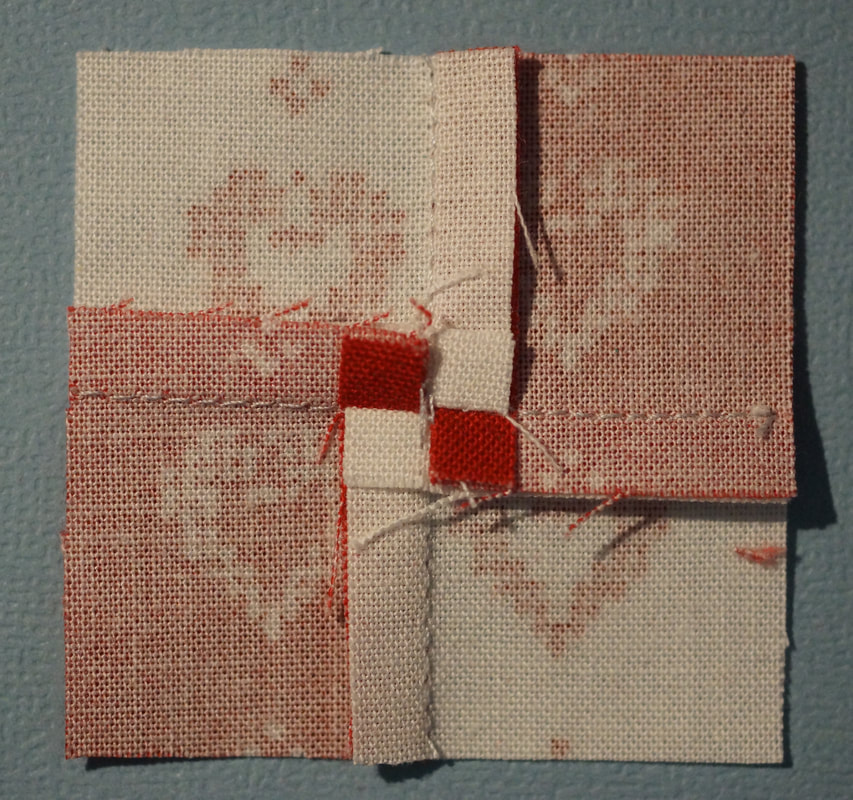
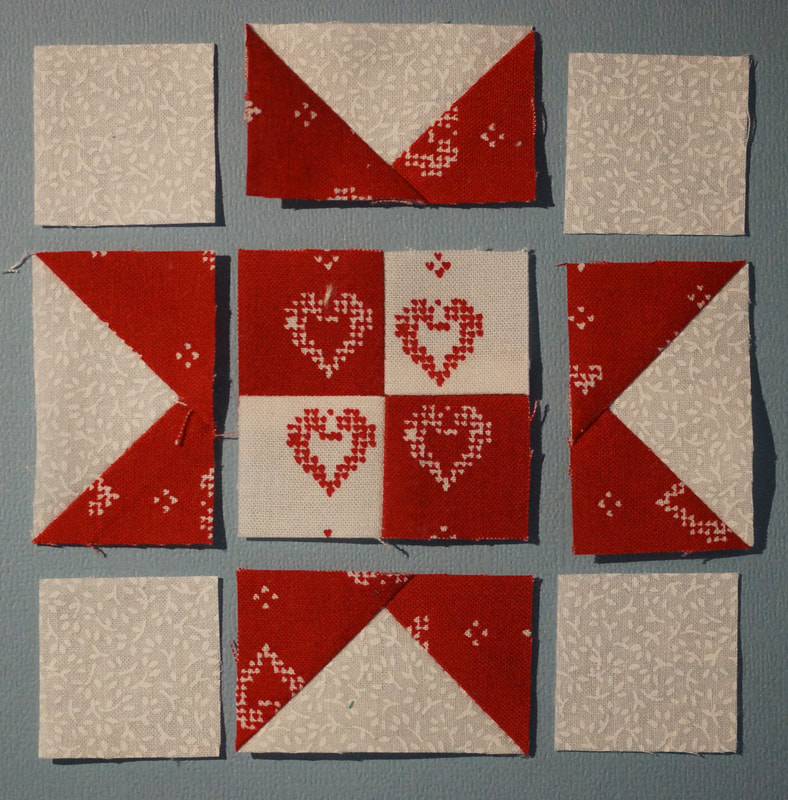
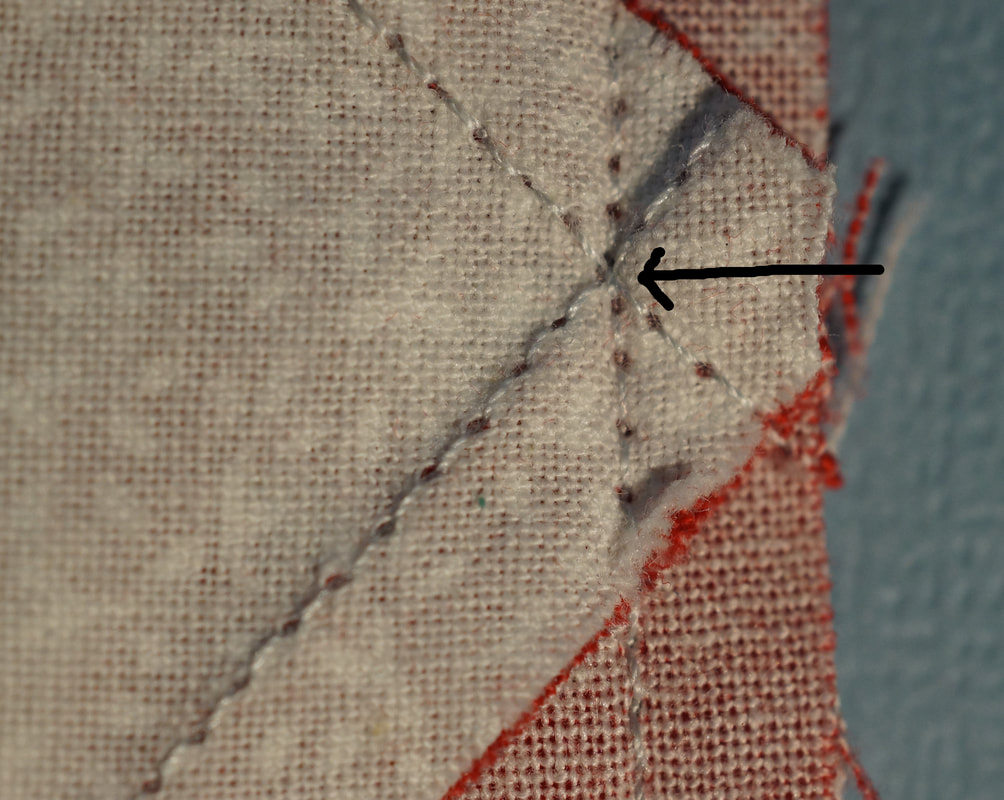
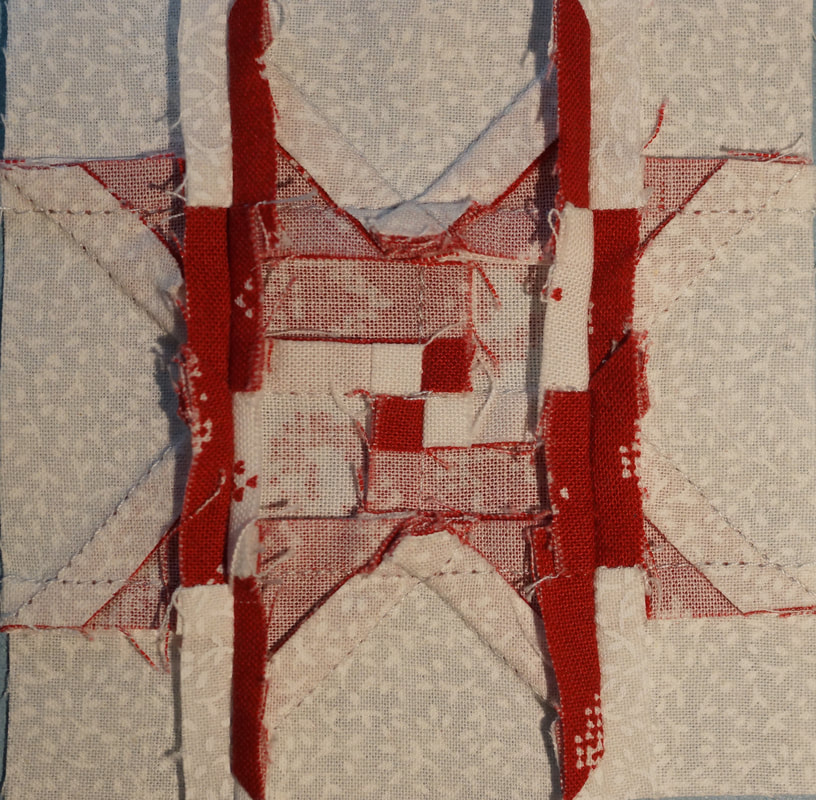
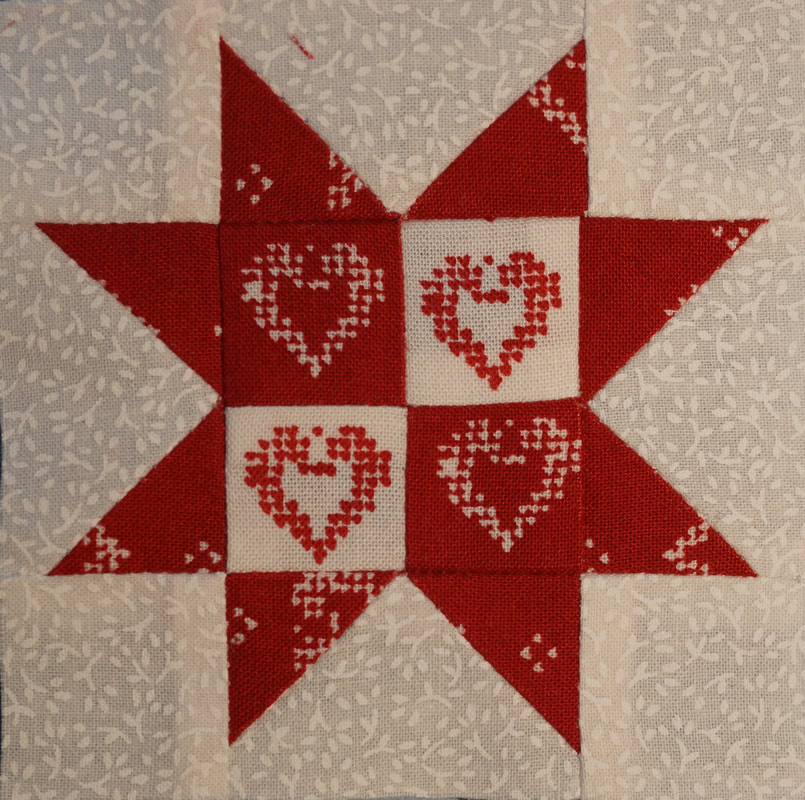
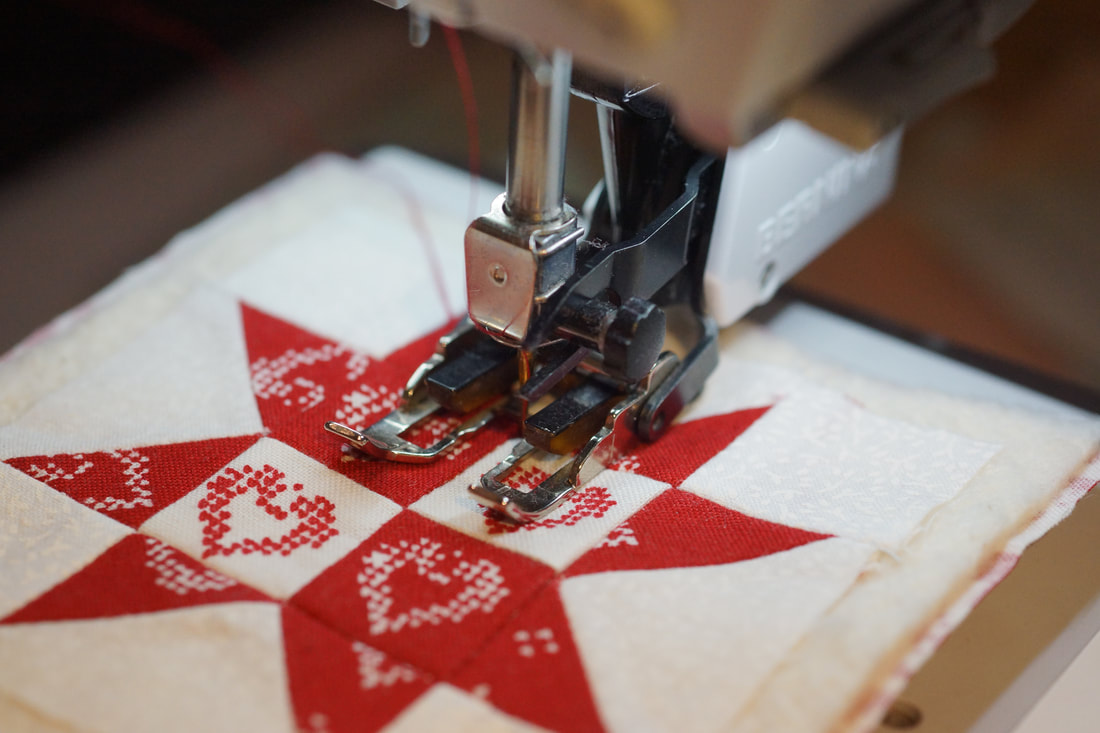
The time is just flying by and Christmas will soon be here. This week I am adding another star to the mix. If you have followed me for any length of time you know how much I love stars in all of their forms, so I guess it is not surprising to see another one appear. This week we are making the Sawtooth Star. Click Here for the Free pdf pattern For the rest of the patterns in this series click here. I am using my favorite, No-Waste method for making the Flying Geese units. I have found that it is best to sew with that top square facing away from the needle as I sew on each side of the line I drew. When these are cut apart and pressed you end up with these two strange looking objects. Draw a line on the back of the small squares and place them onto the units we just made, lining up the outside edges. I like to chain-sitch these to save a little time. Love my itty-bitty Bloc Loc ruler for trimming these! I made a video to show how to trim these with a regular ruler in week 4 and you can find it on my Tutorial Page. And just like that we have four Flying Geese. I did a little fussy cutting with my heart fabric to make the four-square unit. I did have ot be careful how I joined them so that I did not end up with upside down hearts. Look at those nicely locking seams...no pin necessary to sew them together. I decided to fan the seams open when I pressed these-just for fun, it really is not necessary. We have been having discussions in my Facebook Sew Along group about how easy it is to turn things the wrong way and not even notice until you take that photo to share your lovely creation with everyone. I even did it when writing a pattern recently. Thankfully we have very gracious quilting friends who still love us when we do that. So I layed out my pieces and stood back to look from a distance before sewing them all together-that sometimes seems to help. The seams on this are pretty bulky so I slow way down as I sew over them. My goal going over the Flying Geese is to have my needle go across the very tip of that point made by the two seams that cross. With those rather bulky seams I decided to press my seams open. I gave another spritz of starch to help everything lay flat. I stuck with very simple quilting on this and there are videos of my process on the Tutorials Page showing how I machine quilt and bind these little blocks. Now back to make several more to give as gifts at a party next week...
Join me next week for another sweet Christmas ornament. Hope your day is Merry and Bright!
Cathy Beal
12/9/2018 08:44:19 am
I love this one. I'd be afraid to do any of them without your tutorials! They are always so clear. Thanks for another great block!!
Debra
12/12/2018 12:49:25 pm
Well, thank you, Cathy! Have fun with them!! 1/12/2019 08:53:09 pm
It's very evident that quilting is really close to your heart. I am happy that there is something that you do that satisfy not just the need for money, but the ones for your soul. Actually, we need to fin an outlet where we can release all the stress we have been carrying in our lives. Please take note that everyday is a challenging day, so we must find a way to equalize everything. On the other hand, I just want you to know that your design was really worth seeing! I just hope you could have put more colors on this post so it could have been livelier! Comments are closed.
|
Welcome to the site of Debra Davis-a woman who loves the Lord and loves to quilt.
My other blog where I share about my walk of faith:
Sitting at His Feet This website uses marketing and tracking technologies. Opting out of this will opt you out of all cookies, except for those needed to run the website. Note that some products may not work as well without tracking cookies. Opt Out of Cookies |



 RSS Feed