|
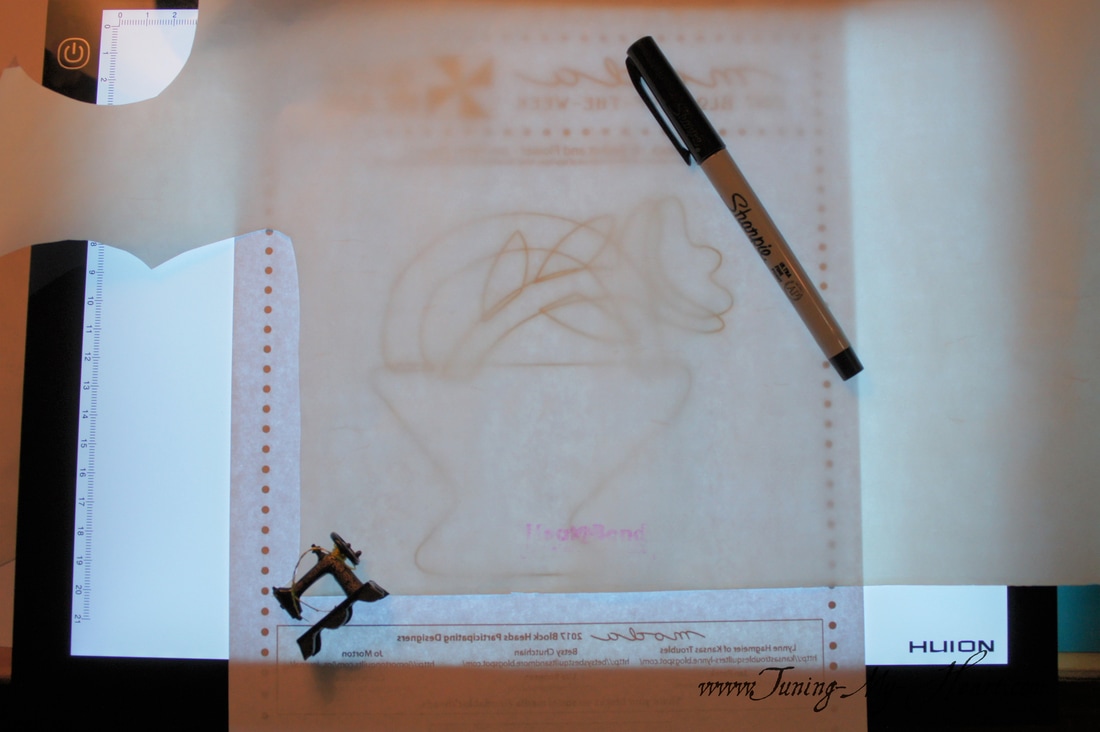
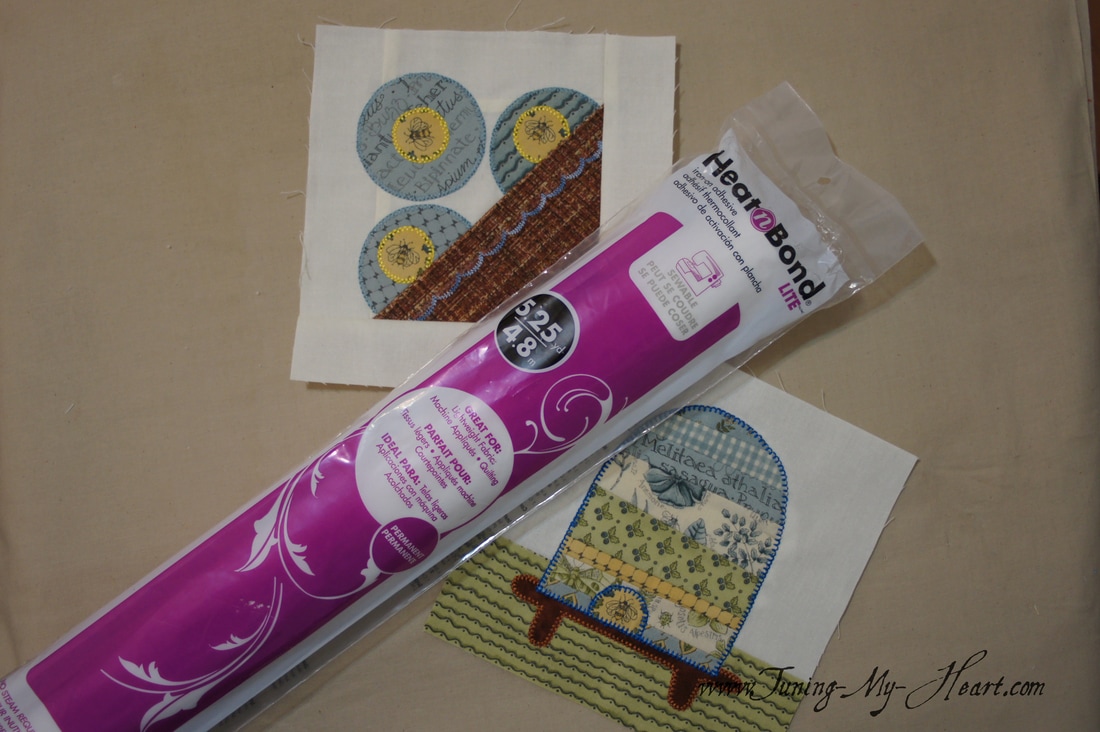
Jan Patek has given us another cute applique block for the Moda Blockheads Block of the Week. Jan's directions state to use whatever method of applique we choose so I am sticking with fusible applique for now. You can get a copy of the pattern at this link: http://unitednotions.com/Block10JP_BasketAndFlower.pdf 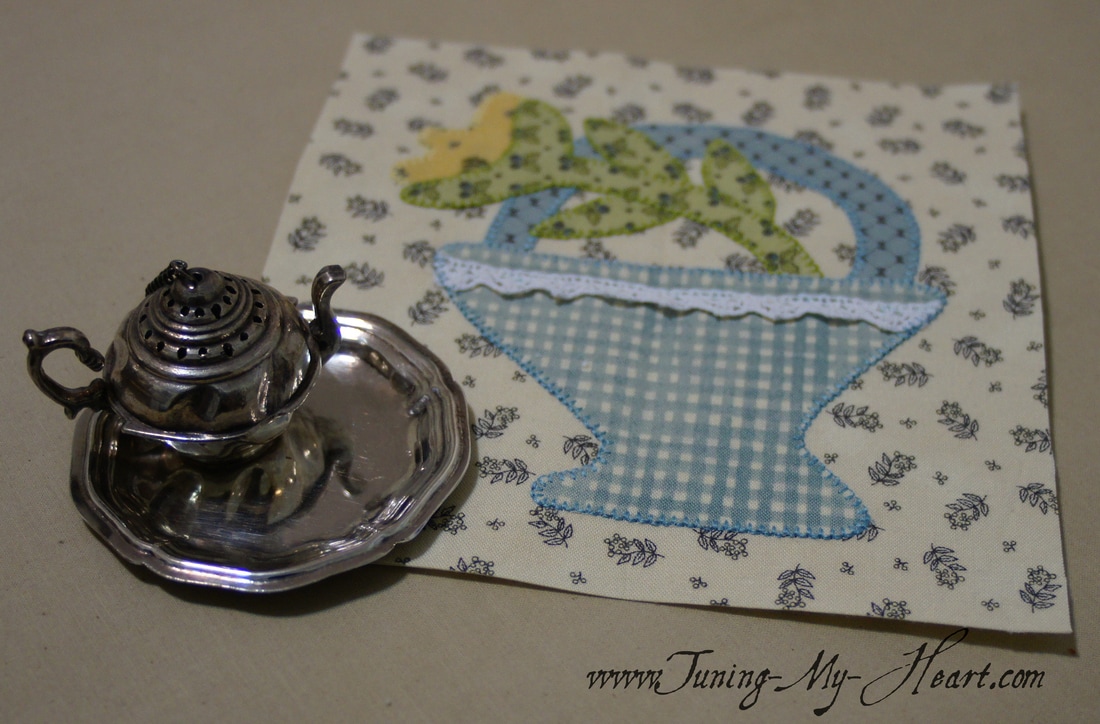 A couple of years ago I was given a light box for my birthday. I love it for projects like this. I can easily see to trace the pattern pieces onto my fusible with it. Sure beats trying to hold it up to the light from my window! The fusible I prefer is Heat N Bond lite. I use a fine tip Sharpie to trace the pieces onto the paper side of my fusible. Be sure and leave space between your pieces as you will not be cutting on the lines at first.
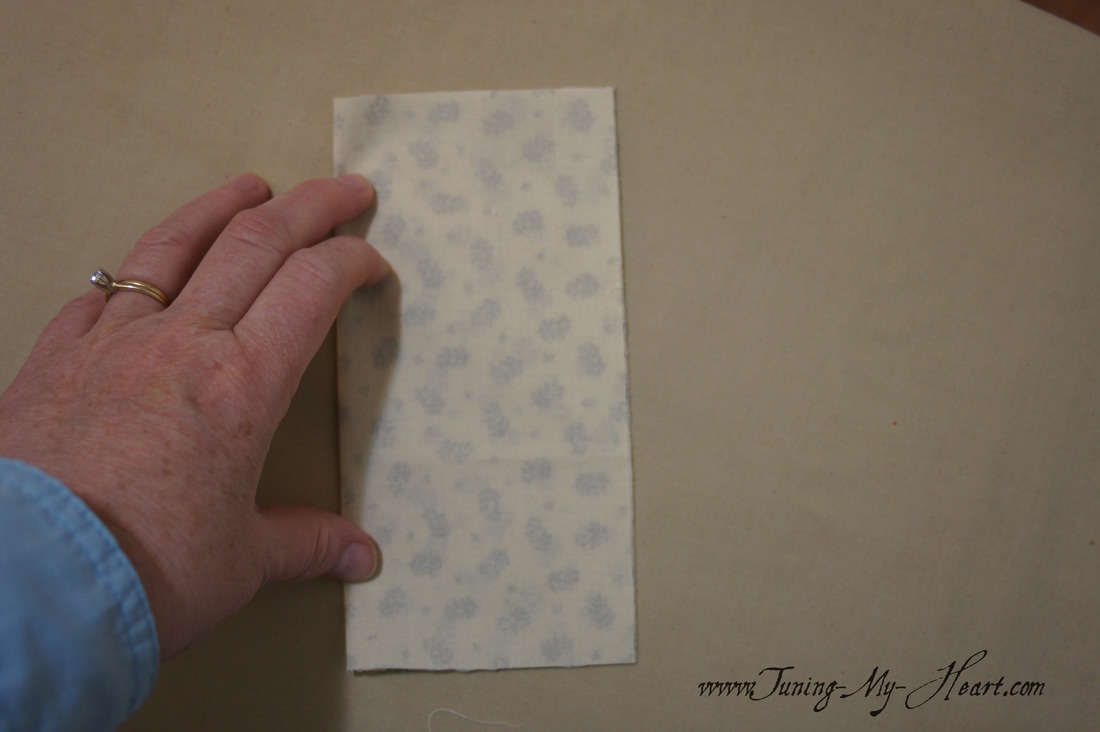
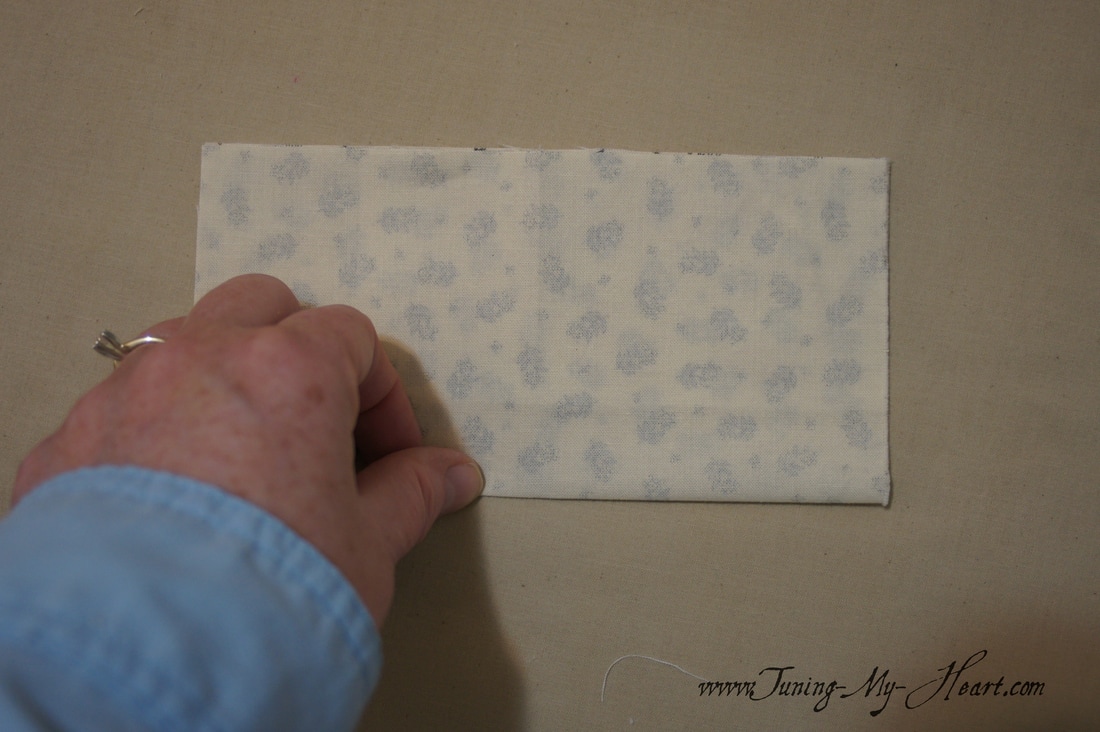
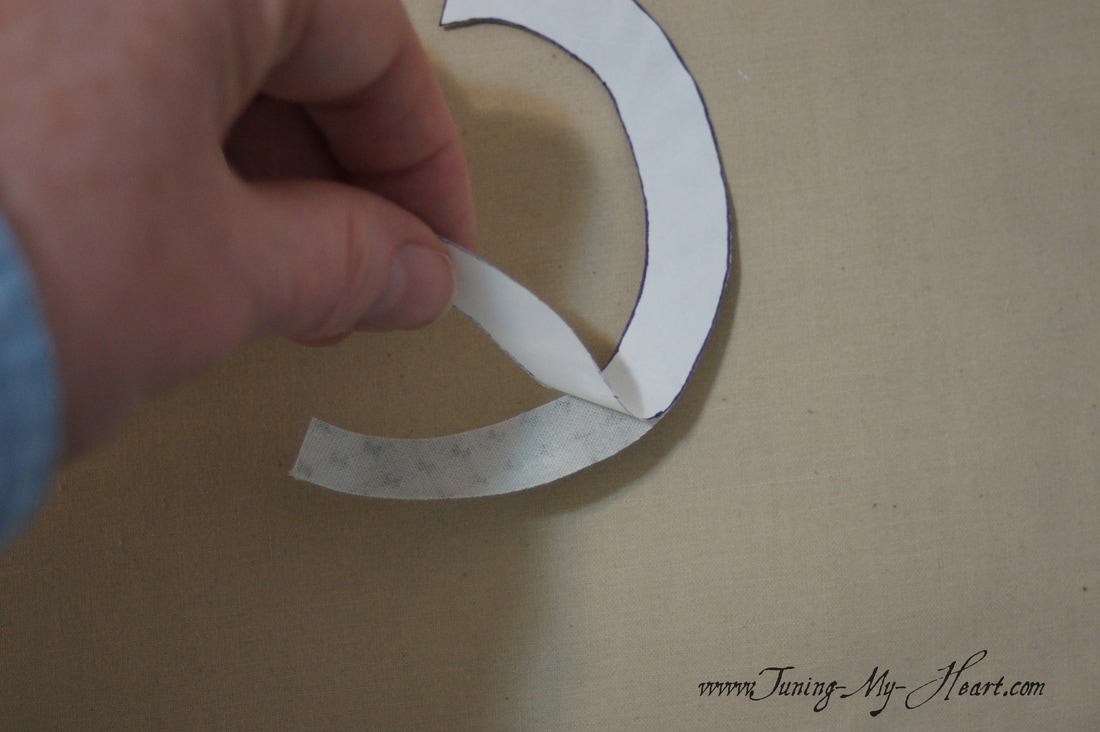
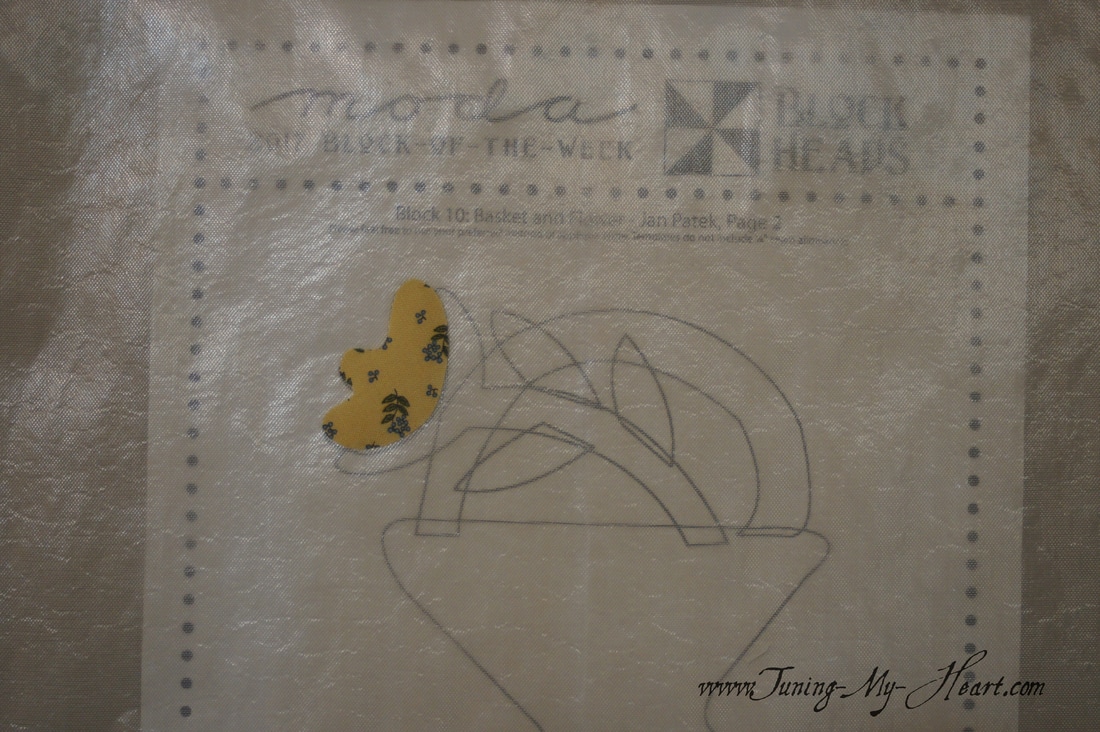
With my pieces cut out I fuse them to the back of my fabric. Now I will cut them out on the drawn lines. 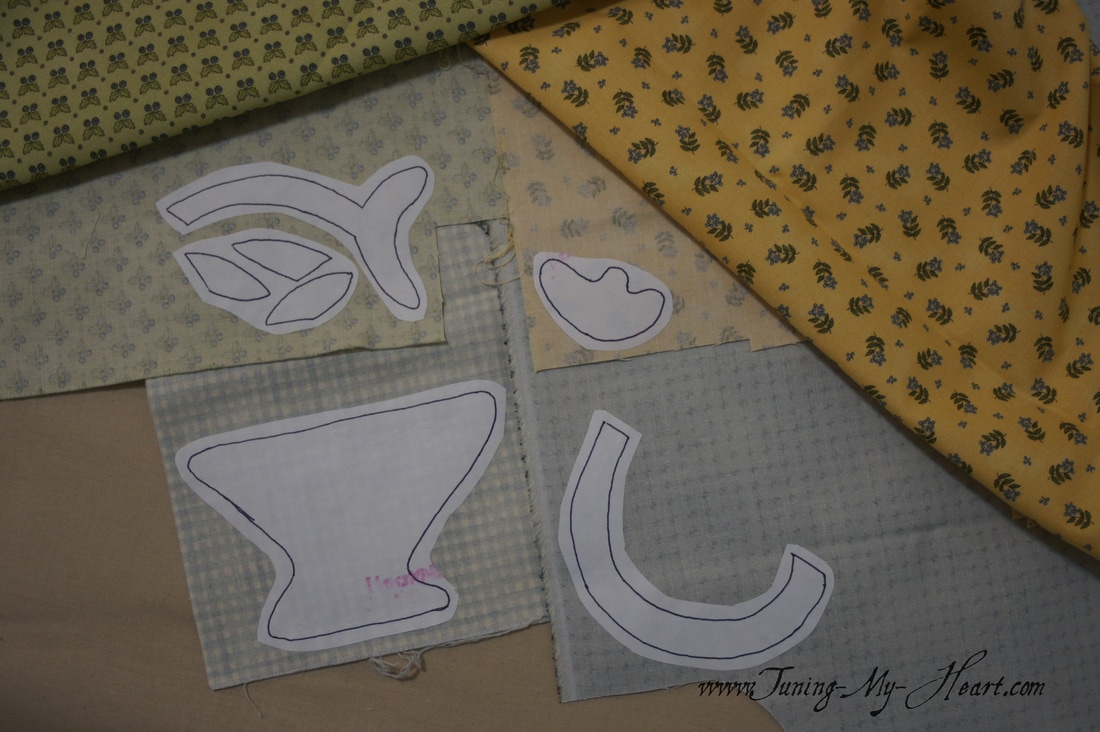 To get ready for placement on my background fabric, which has been cut to 7" x 7", I need to find the middle by folding and pressing with my finger first one direction and then the other.
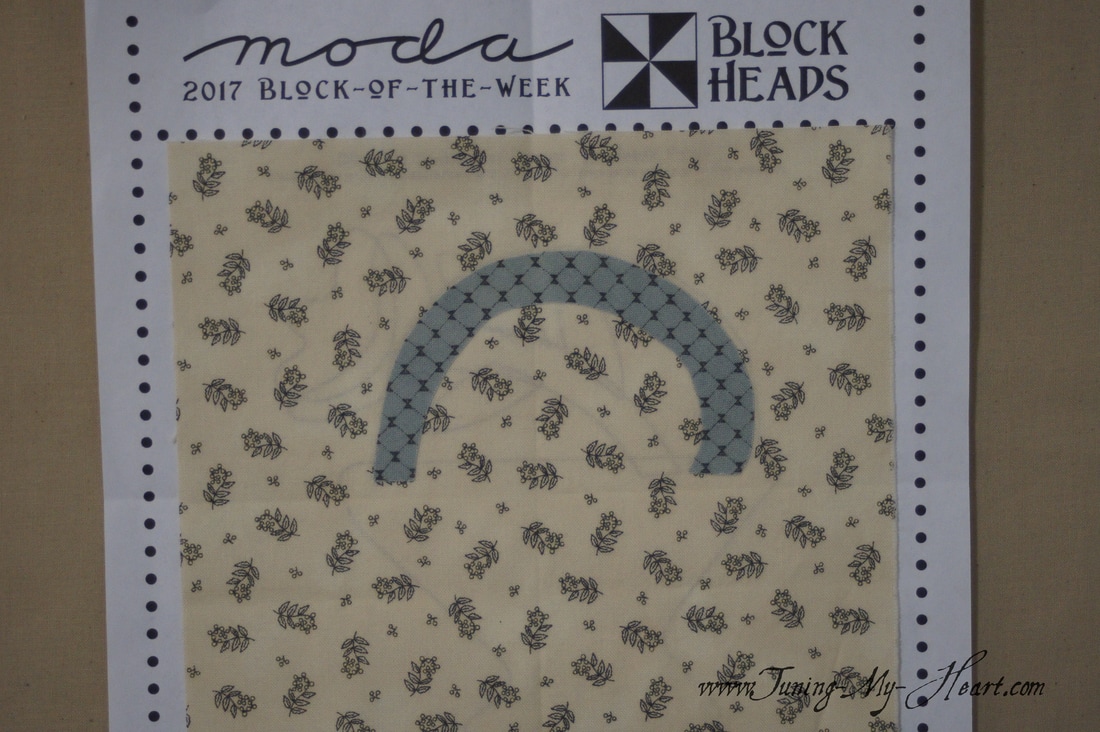
The fold lines will help me in placing the applique pieces.  I have done the same with the pattern. 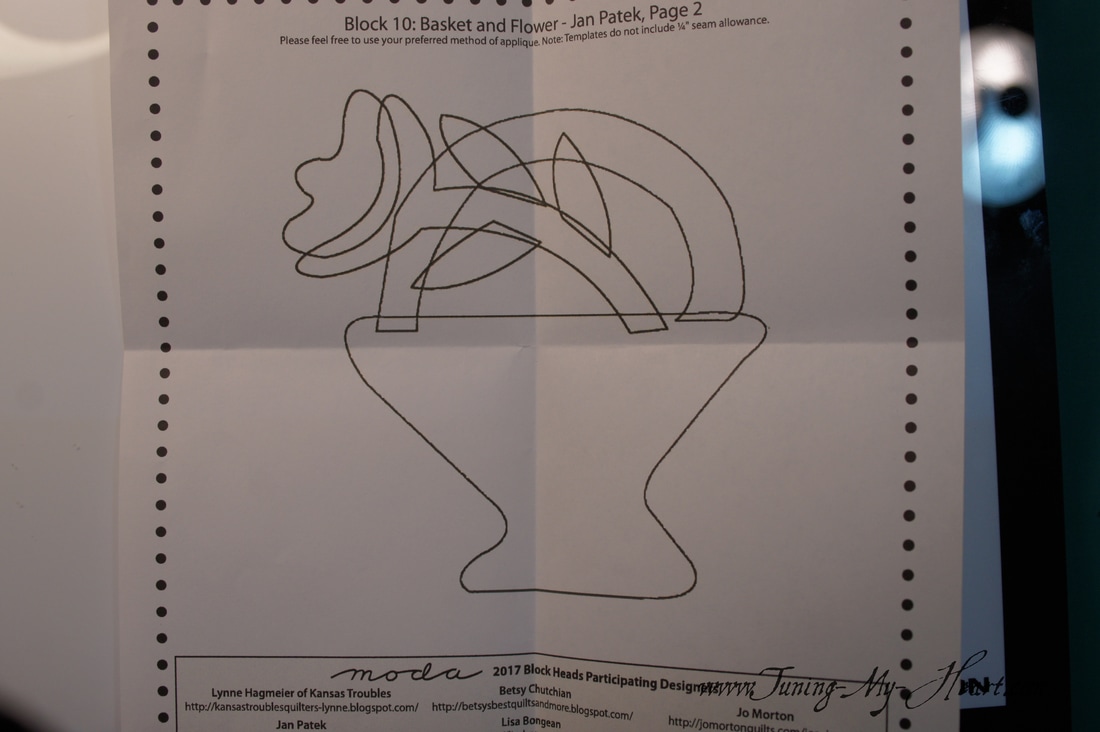 Laying my fabric on top of the pattern I have lined up the fabric folds with the folds on the pattern.  As I looked over the pattern I decided I wanted to stitch the handle in place before adding the other pieces that go on top of it. It is the only piece I am fusing to my background fabric at this point.
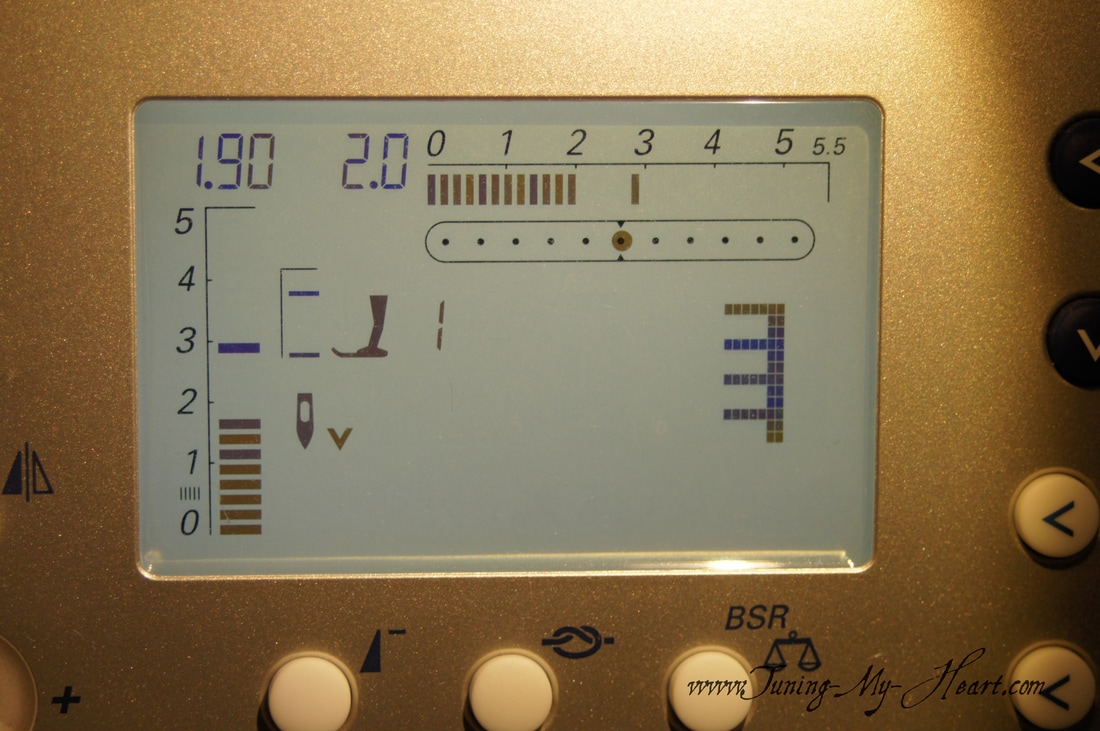
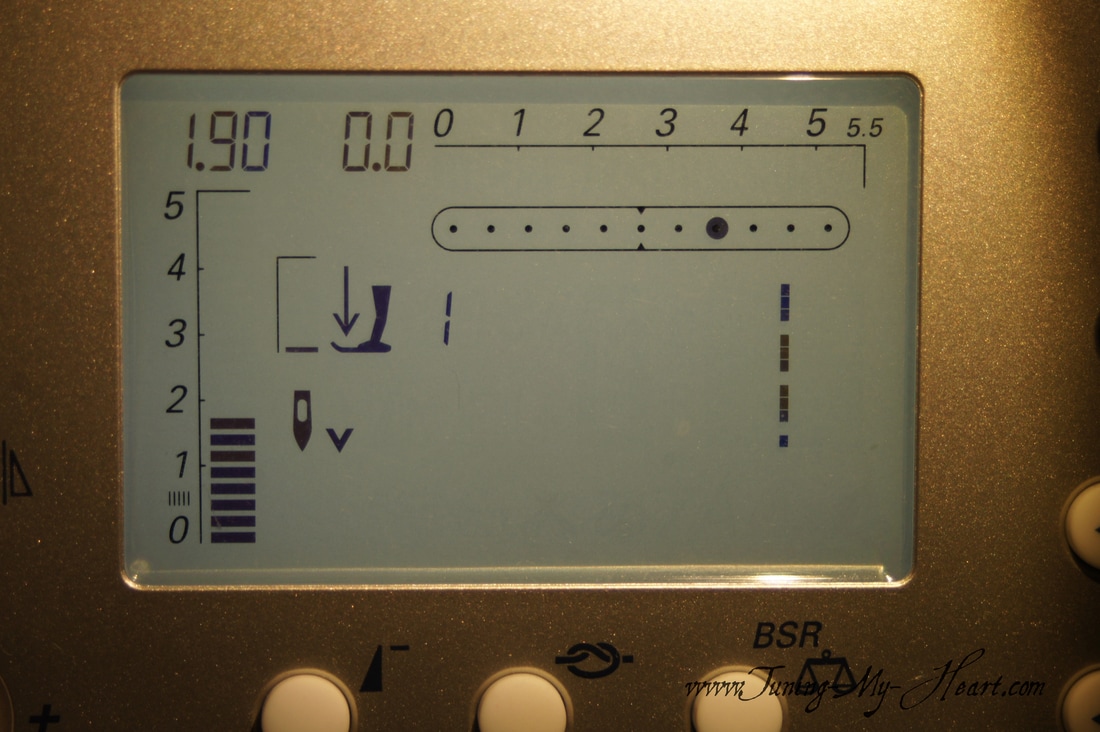
These are the settings I use on my machine
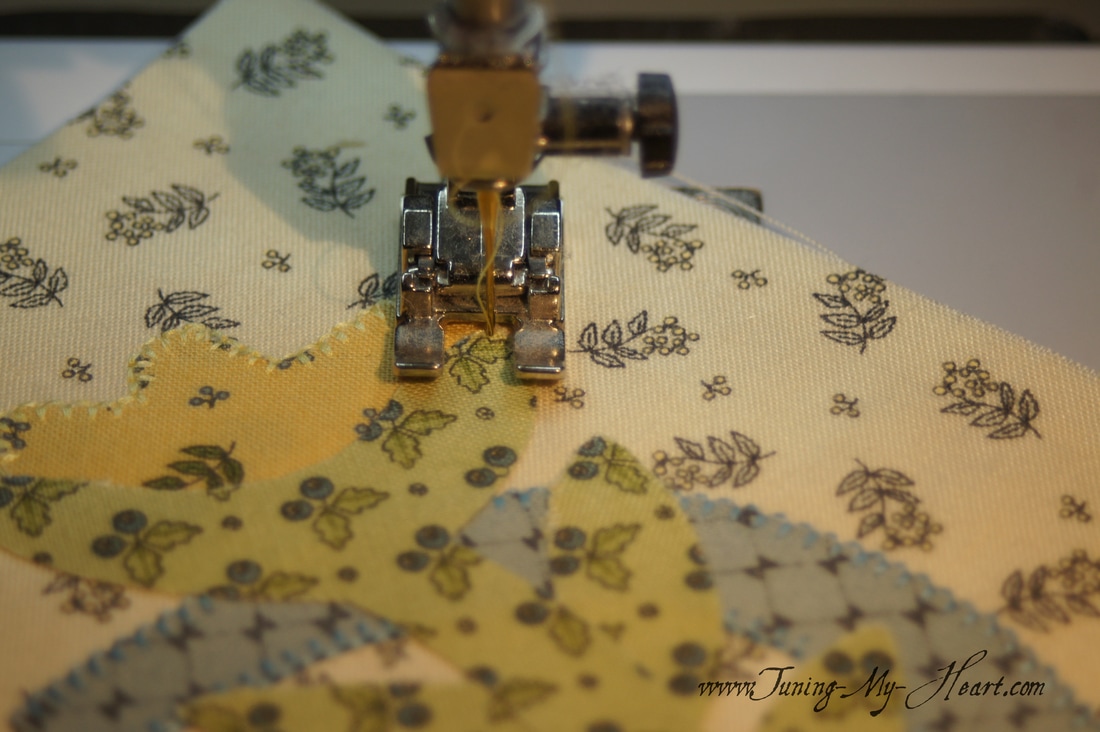
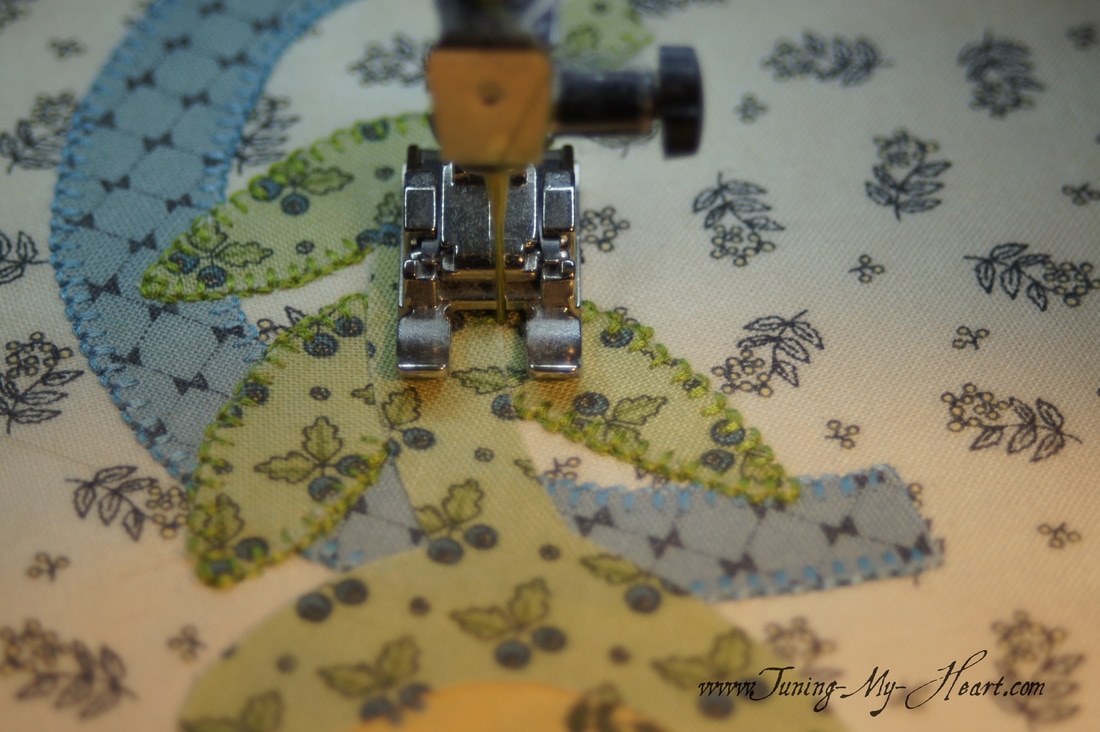
Important Note: For the best results when doing machine applique a stabilizer added to the back makes all the difference. I have actually fallen in love with Floriani's Stitch N Wash Fusible, but any stabilizer will work fine. With my stabilizer attached to the back of my block I begin with a straight stitch along the bottom of the basket handle. I am using Superior Masterpiece thread in my machine for this. My other favorite for machine applique is Superior Magnifico, which has a higher sheen. I use it on the top and Masterpiece in the bobbin. 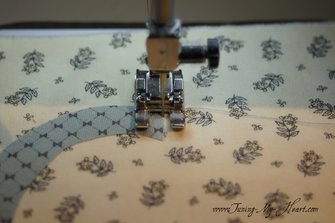 As I turn to start up the handle I switch to my buttonhole stitch. I want the straight stitch part of the buttonhole to be right at the edge of my applique, not on it. 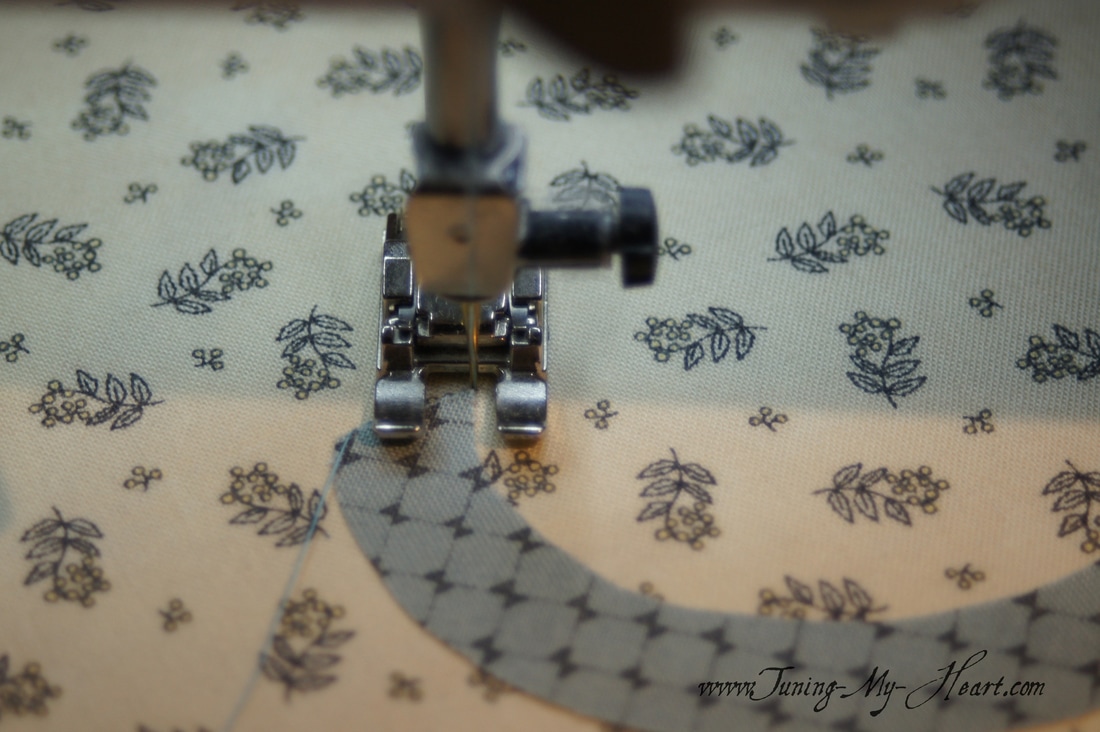 You can see here how the buttonhole stitch takes a bite into the fabric. When I need to make adjustments for curves I have my needle in the down position, lift the presser foot, adjust the fabric just a bit, lower the presser foot, and resume stitching. 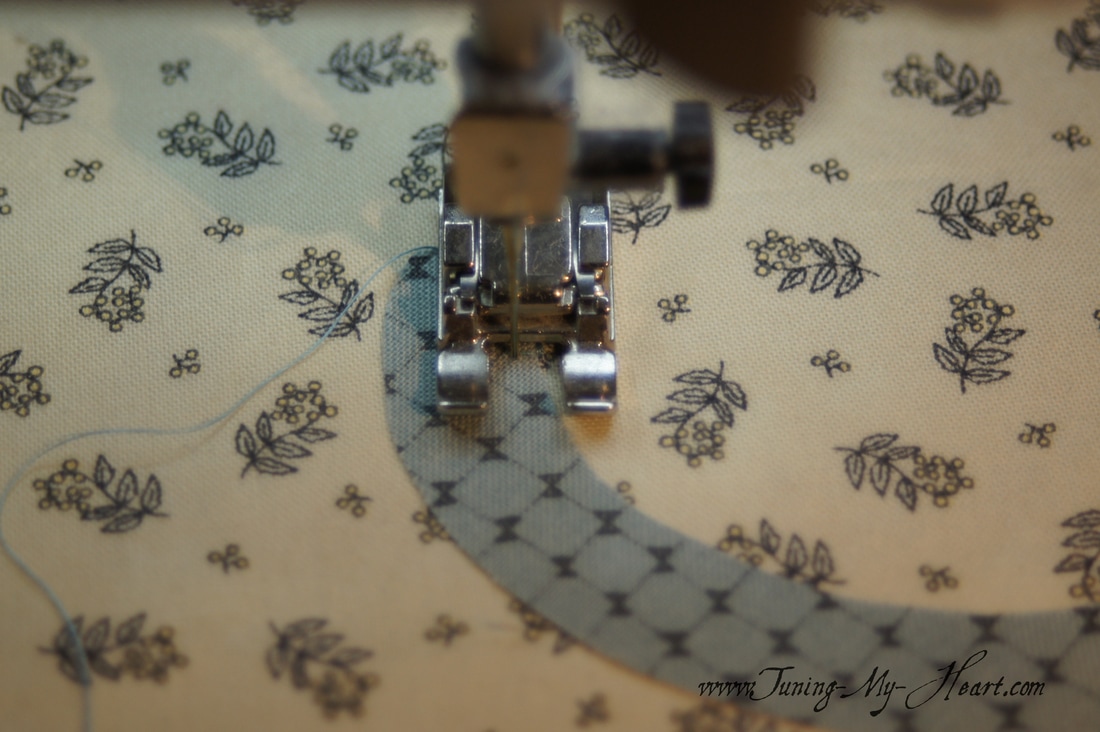 When I came to the other end of the handle, in order to keep bulkiness to a minimum, I switched to my straight stitch to go across this bottom edge and back to the buttonhole stitch for the rest of the handle. 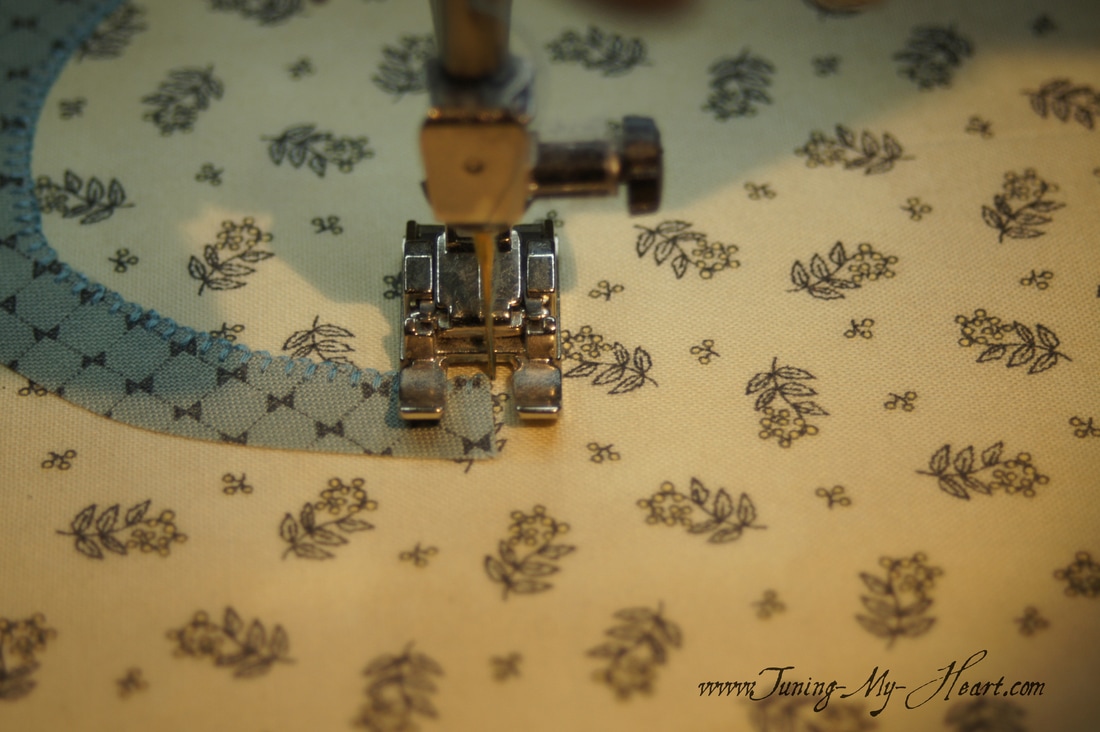 Back to the beginning location, I switch to my straight stitch and sew across the bottom edge again. Not really necessary since this will be under the basket, but sometimes I believe in overdoing it. Those stitches are NOT coming out-lol. 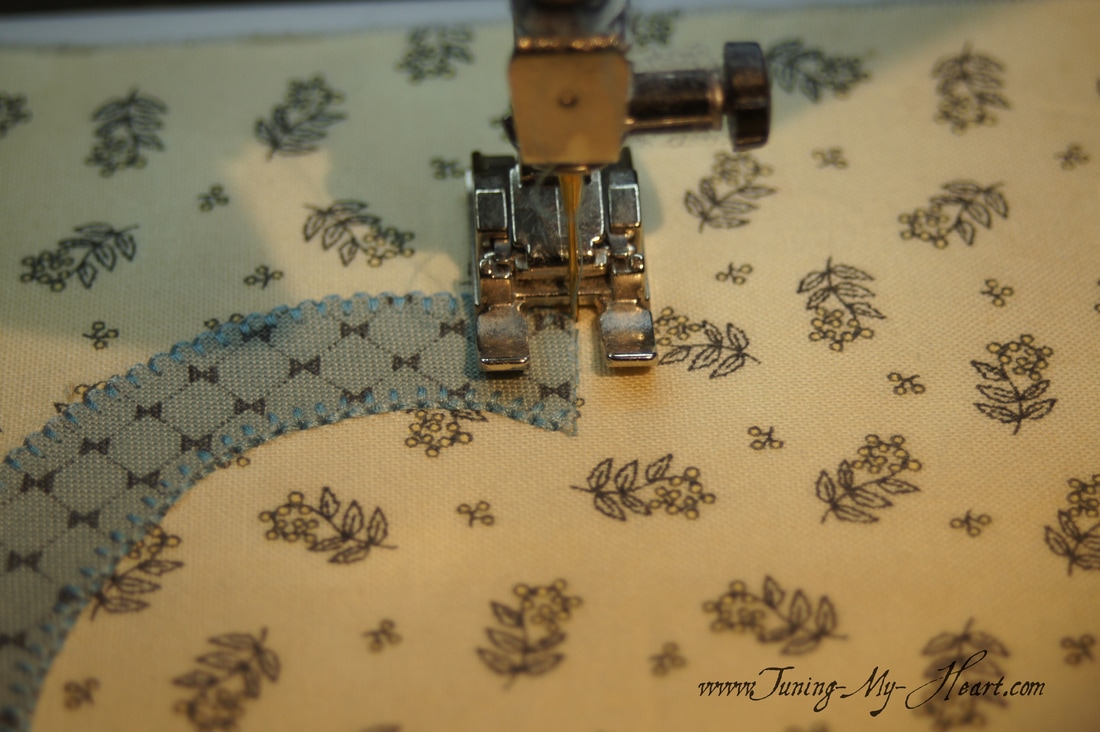 Back at my light box I need to put the flower together next. There is a handy little thing called a pressing sheet that is heat resistant and you can see through it. A light touch of the iron holds the applique pieces in place while I put the pieces of the flower together. When my flower is all fused together I carefully peel it off of the pressing sheet.
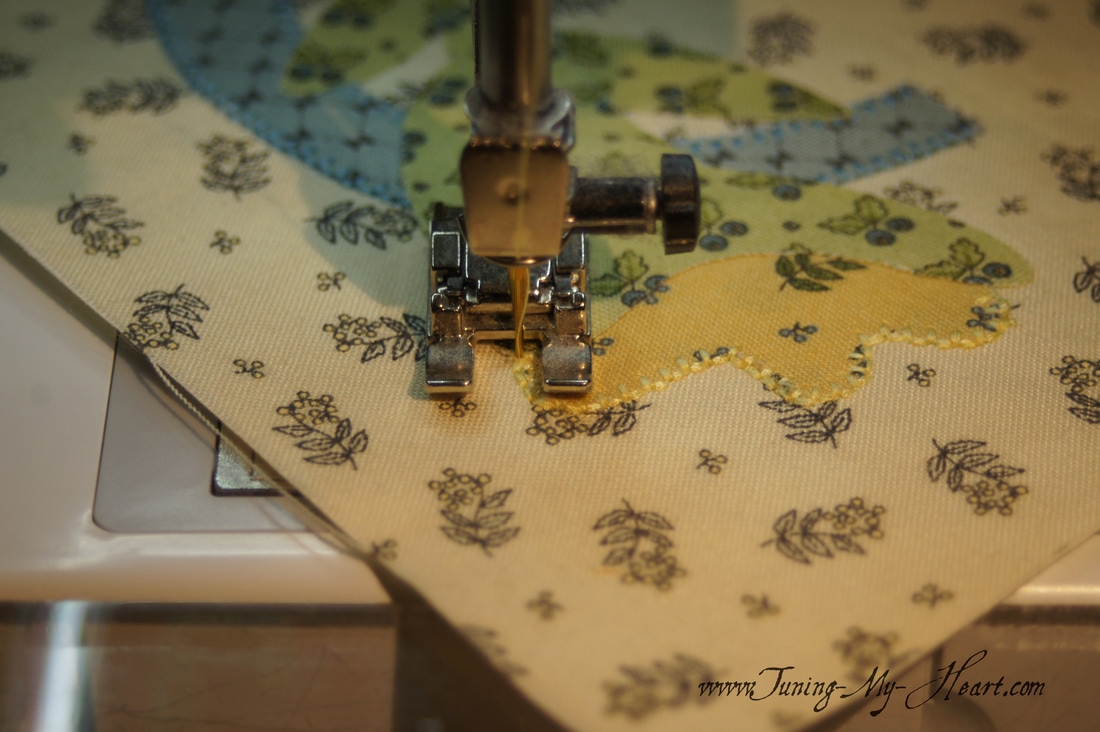
At the ironing table I have the pattern underneath my block in order to see where to place my little flower along the handle. 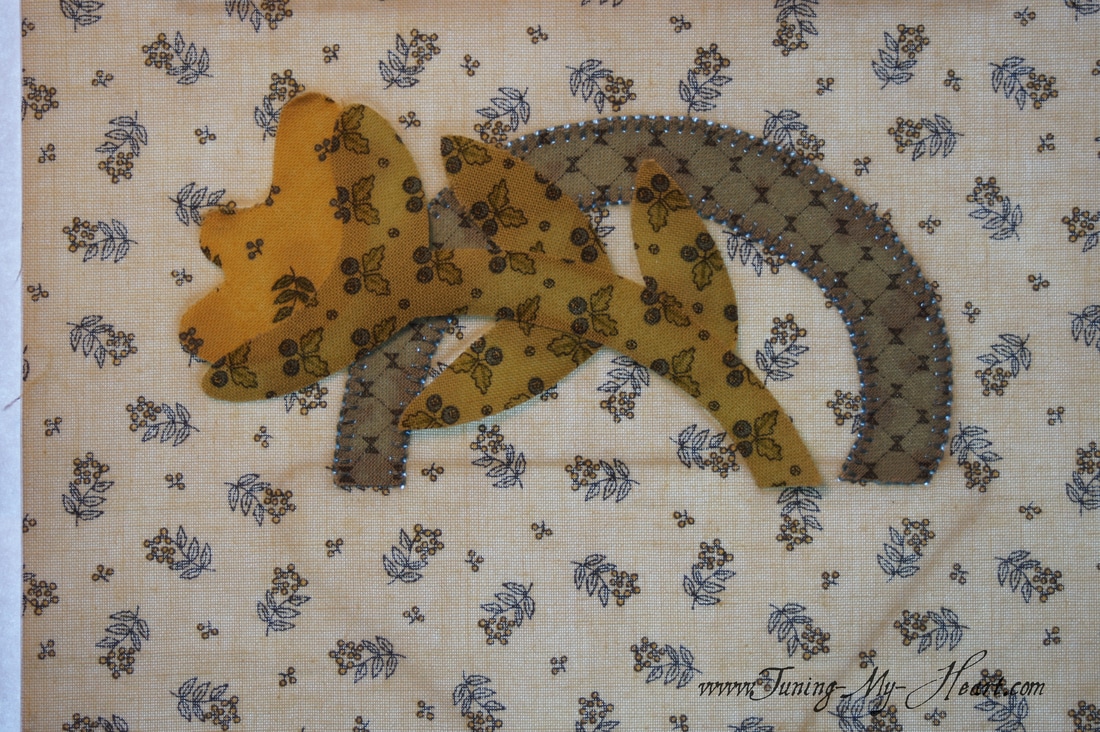 Back at my machine I begin by taking 4-5 straight stitches towards the point at which I want to begin my buttonhole stitch. I will be working from back to front on the flower, so the stem that is on top will be done last. 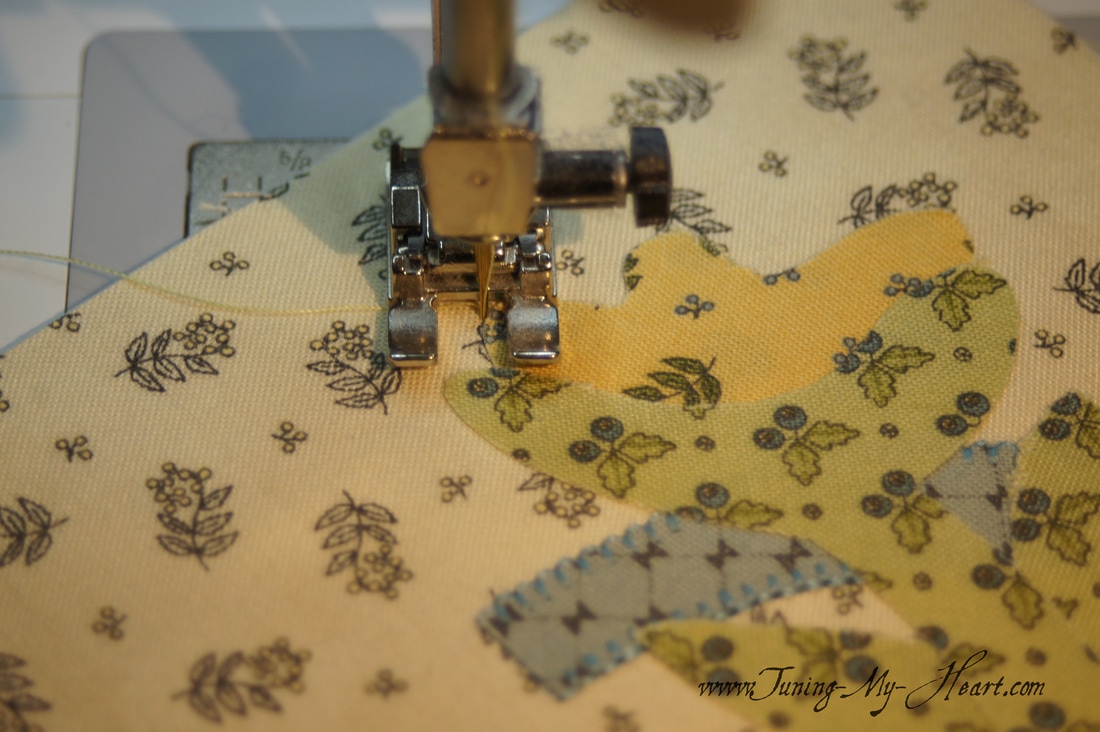 I turn my work around now and begin the buttonhole stitch. This will "lock" my stitches in as I go over the straight stitches I just did. 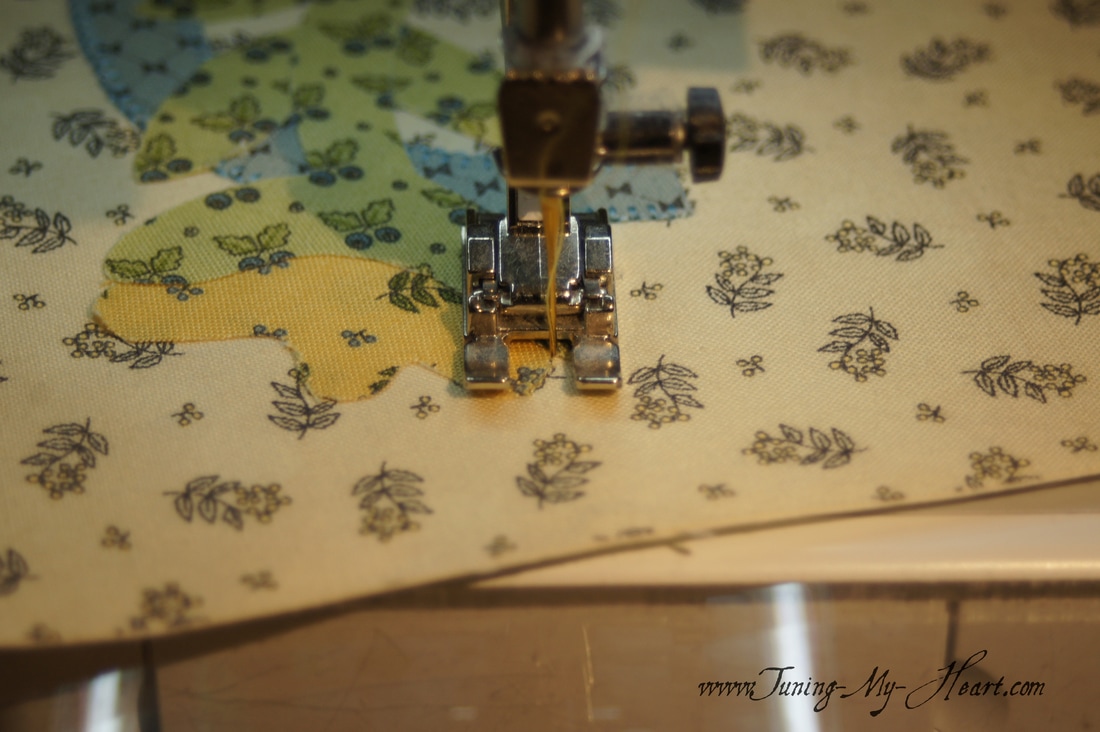 I finish off the flower in the same way that I began, turning the applique and going back over the buttonhole stitches with a straight stitch and ending with a locking stitch.
The leaves will be done in the same way; taking a few straight stitches towards the point where I want to start my buttonhole stitch then turning and doing a buttonhole stitch around each leaf.
And I end the leaves in the same manner as the flower, going over the buttonhole stitch with a straight stitch and ending with a locking stitch. 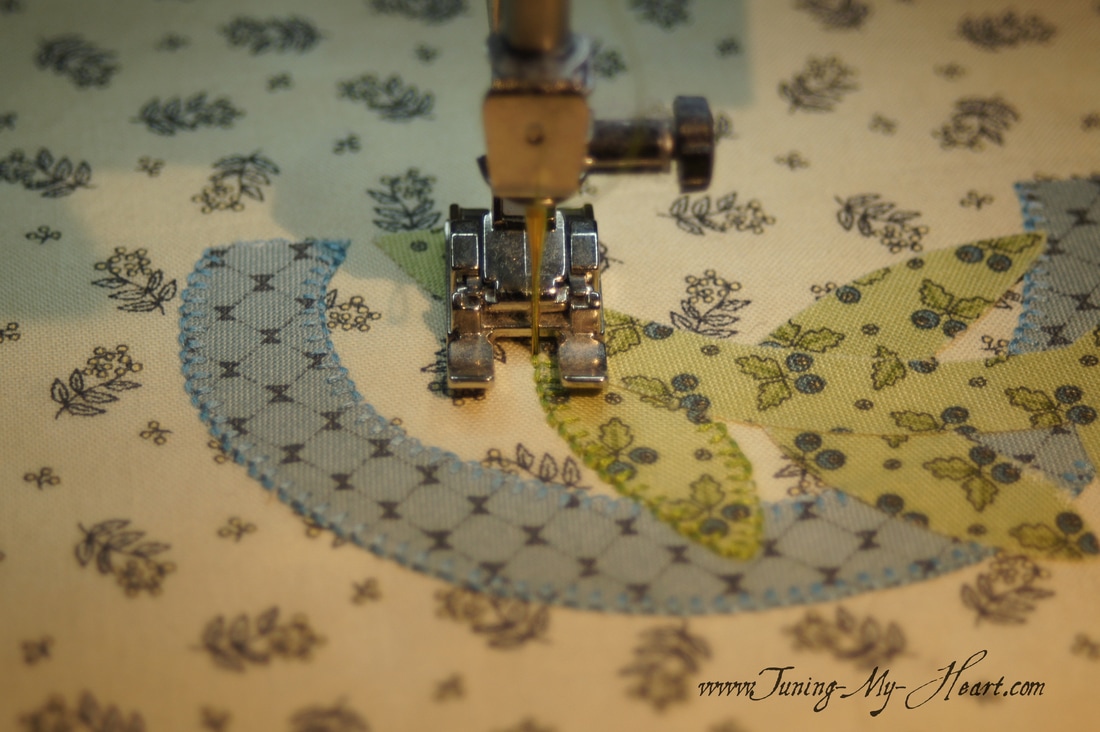 Now for the stem. I start by using a straight stitch across the bottom that will be hidden by the basket then proceed with the buttonhole stitch around the rest of the stem.
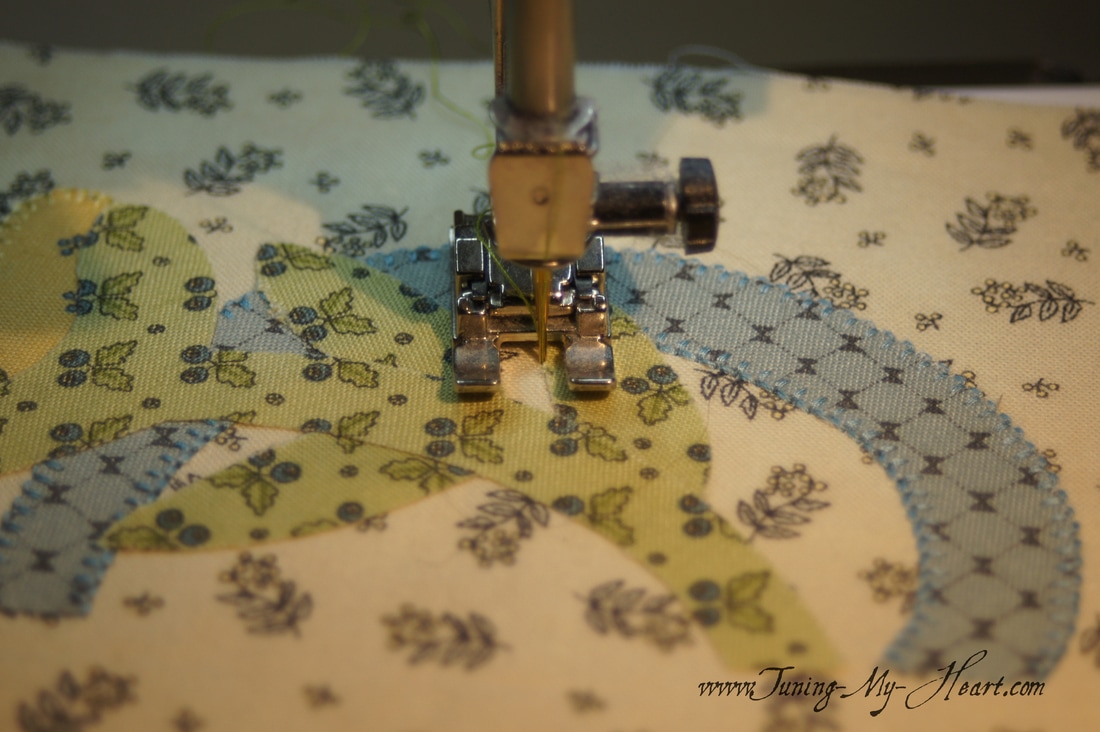
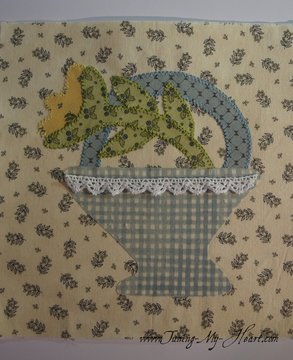
Just like with the basket handle I finished the stem with a straight stitch across the bottom. 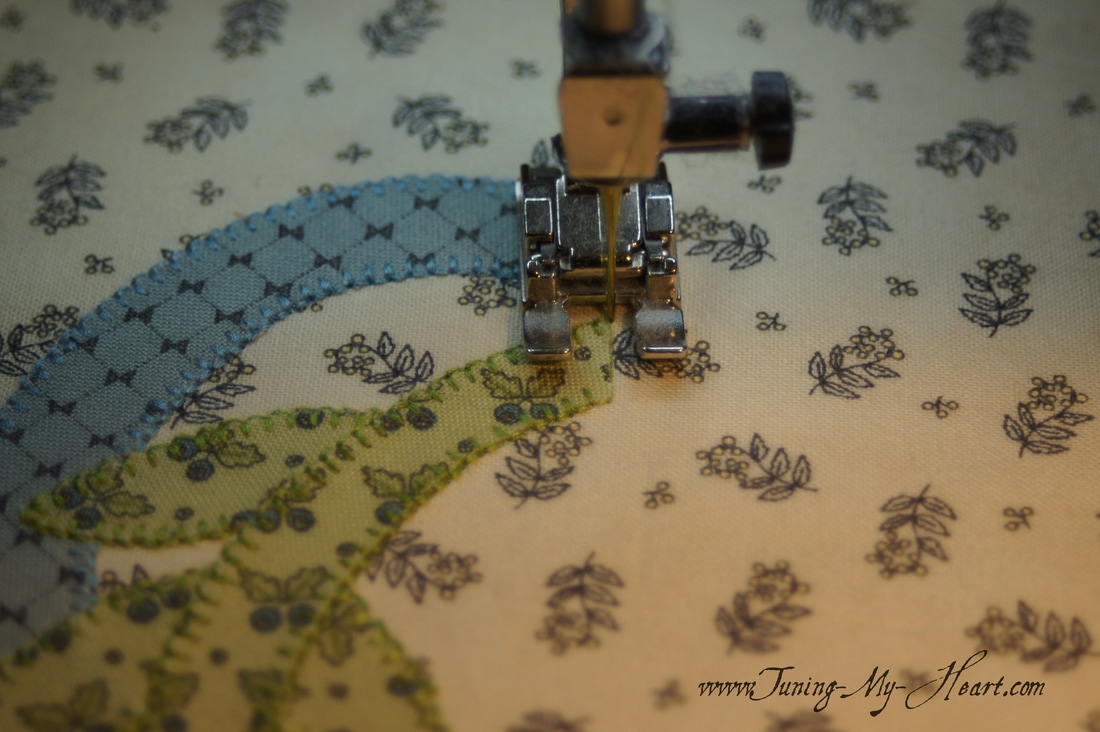 This is how my block looks so far-now for the final piece. 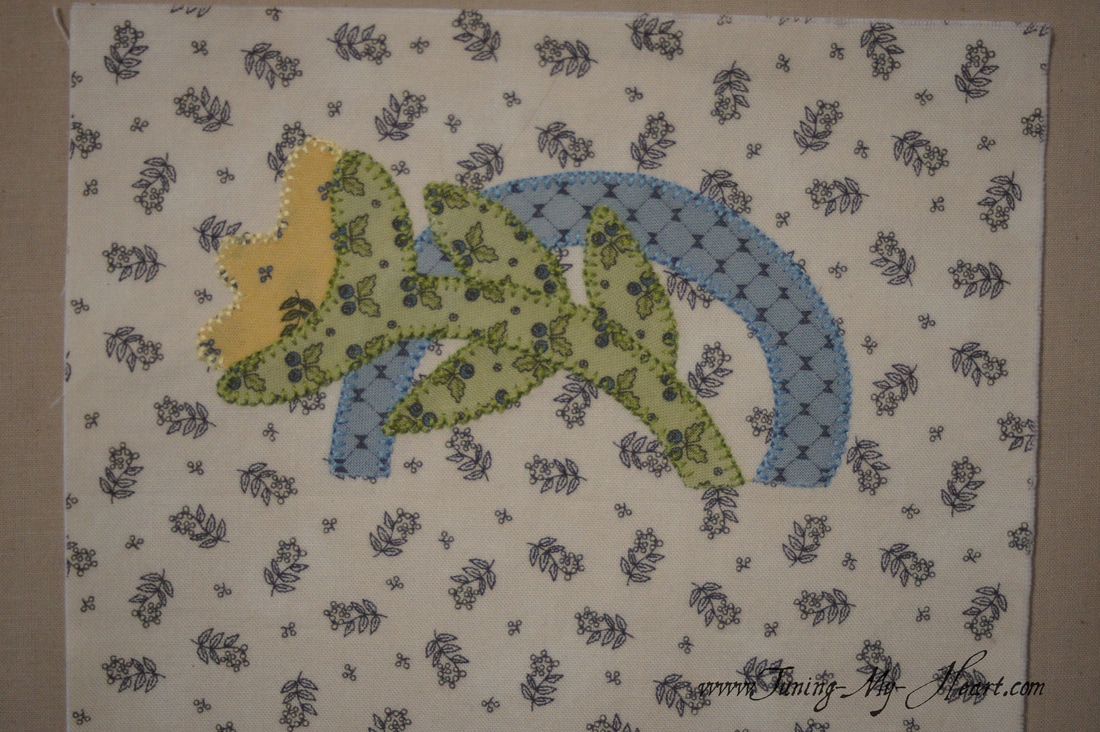 After fusing the basket in place I was hit with inspiration...so with a glue stick and a piece of lace I added a special little touch to my basket. I am pretty new to the whole idea of embellishing a quilt so have no idea if I approached this correctly but it worked out fine for me.
With the lace in place I used a zig zag stitch to attach it to my basket. 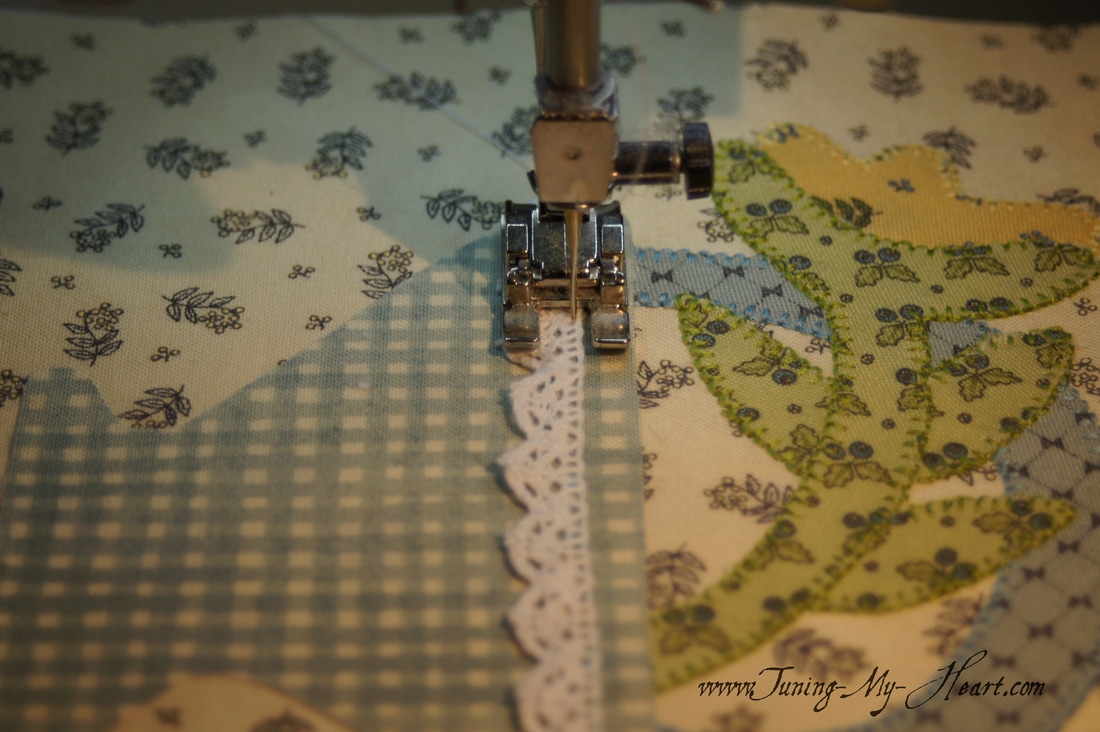 For the basket I started with a few straight stitches along a section that was fairly straight. 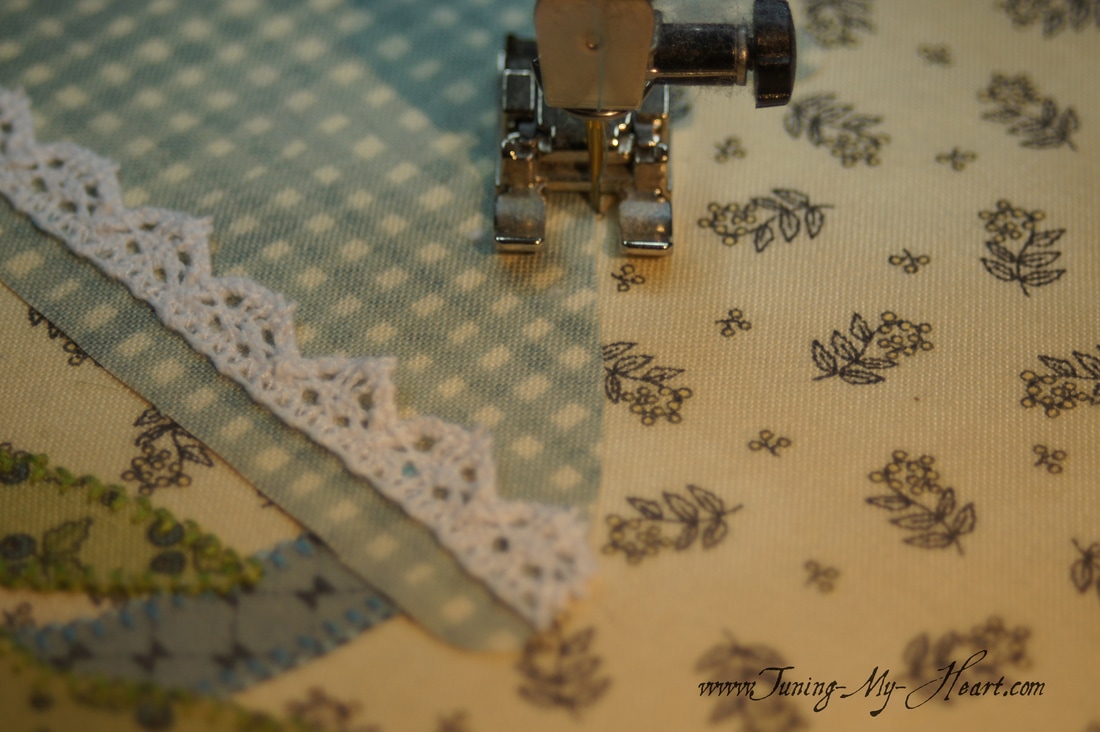 I then proceeded with the buttonhole stitch all the way around the basket, going right over the lace as well. 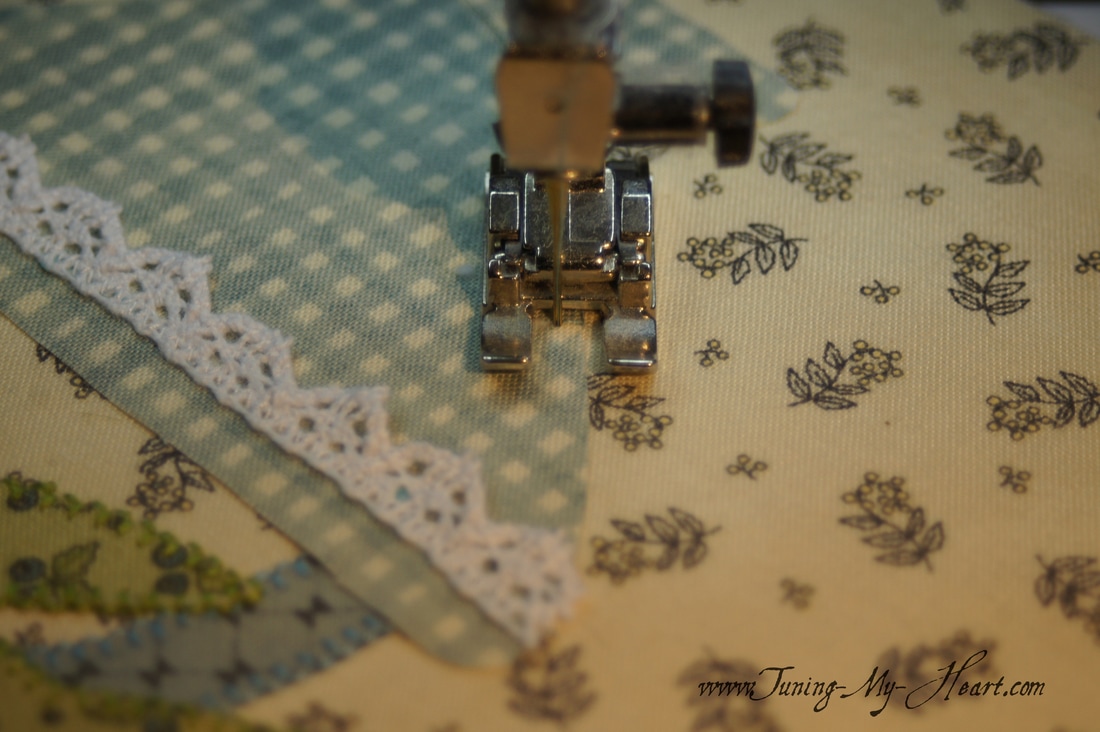 I have made it back to my beginning straight stitches and will sew right over them with the buttonhole stitch. 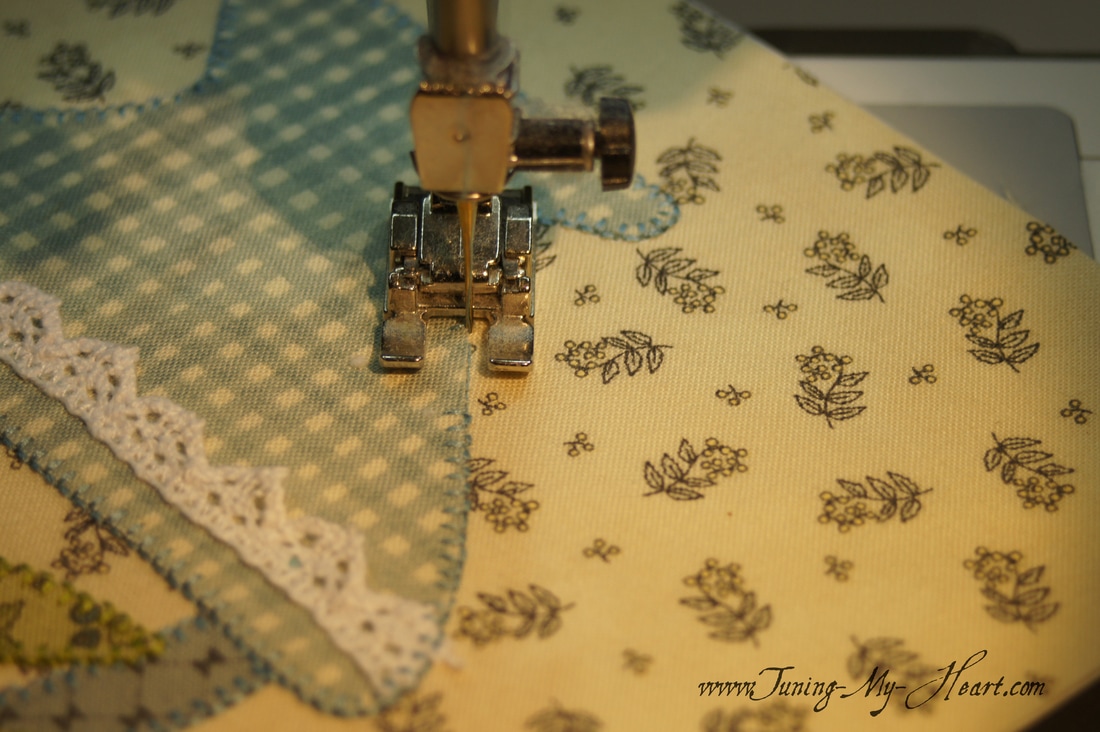 When I reach the point where my buttonhole stitches began I switch back to the straight stitch and finish off with 5-6 stitches and a locking stitch. 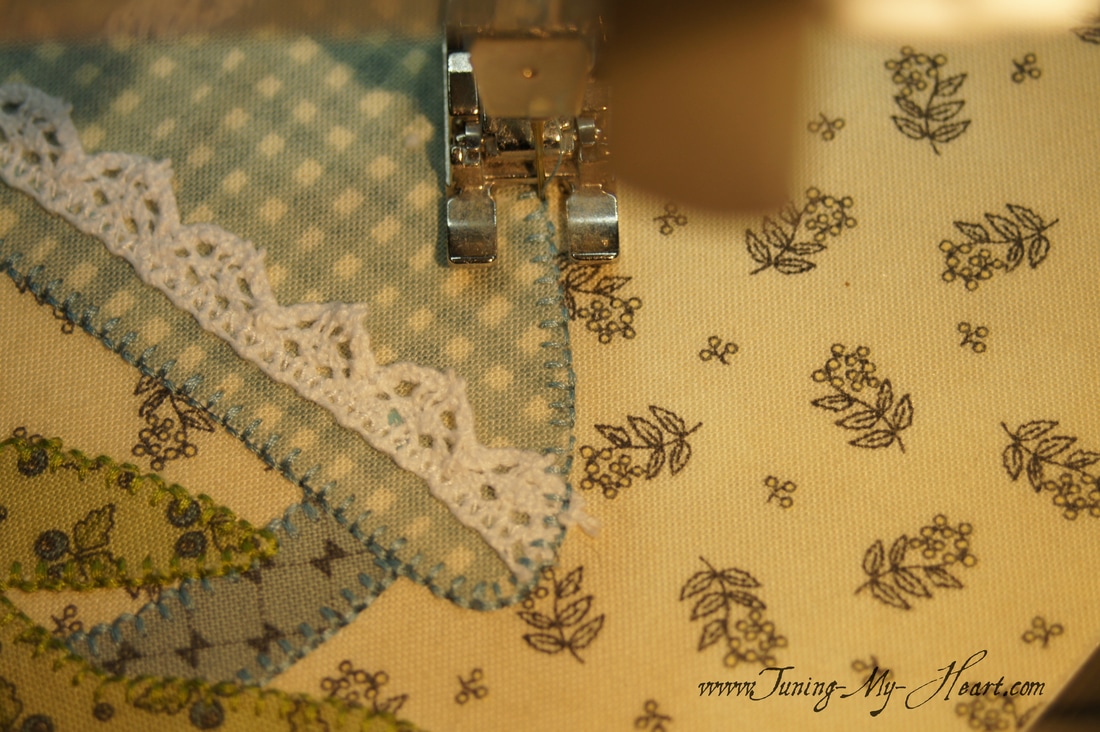 Just for fun here is what the back of my block looks like. 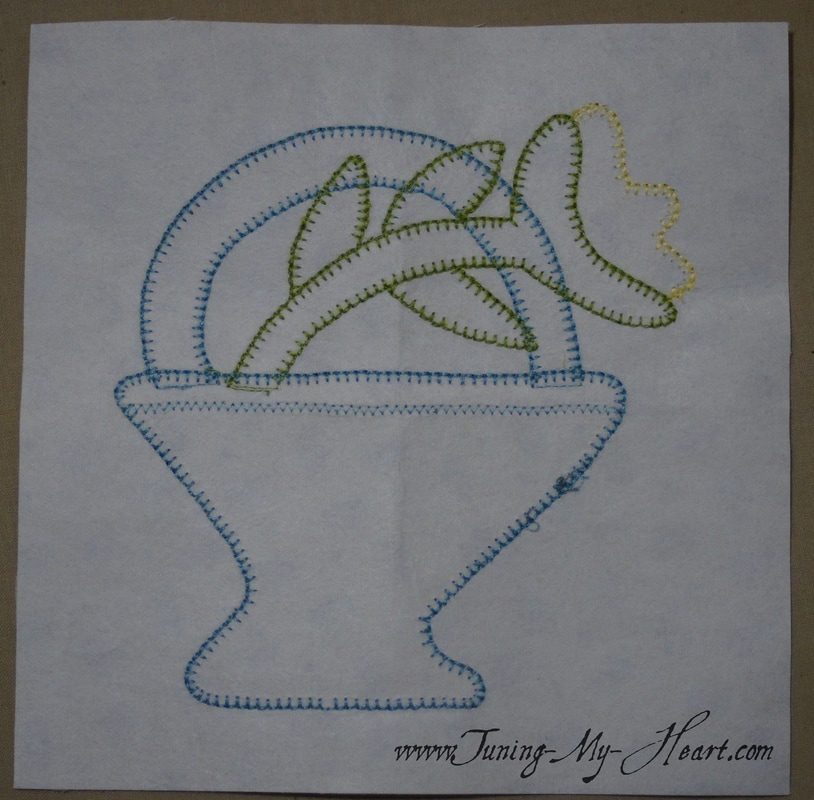 Since I started with a 7" x 7" piece of background fabric I need to trim it to 6 1/2" x 6 1/2" Time for a little math: Half of 6 1/2 is 3 1/4 so I need to place the 3 1/4 marks on my ruler in the middle of the block to know where to trim. Just like I did when figuring out the placement of the applique pieces I have finger pressed fold lines into the block using the applique piece as my guide. 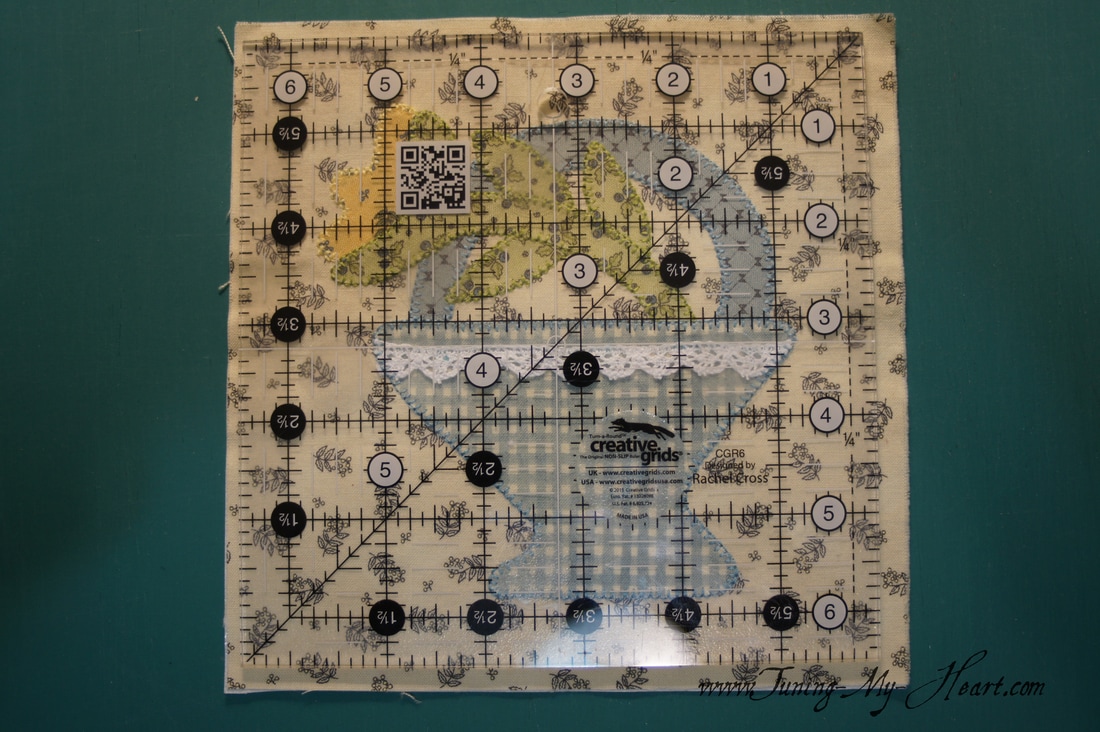 A close up of the placement of the 3 1/4 inch lines. 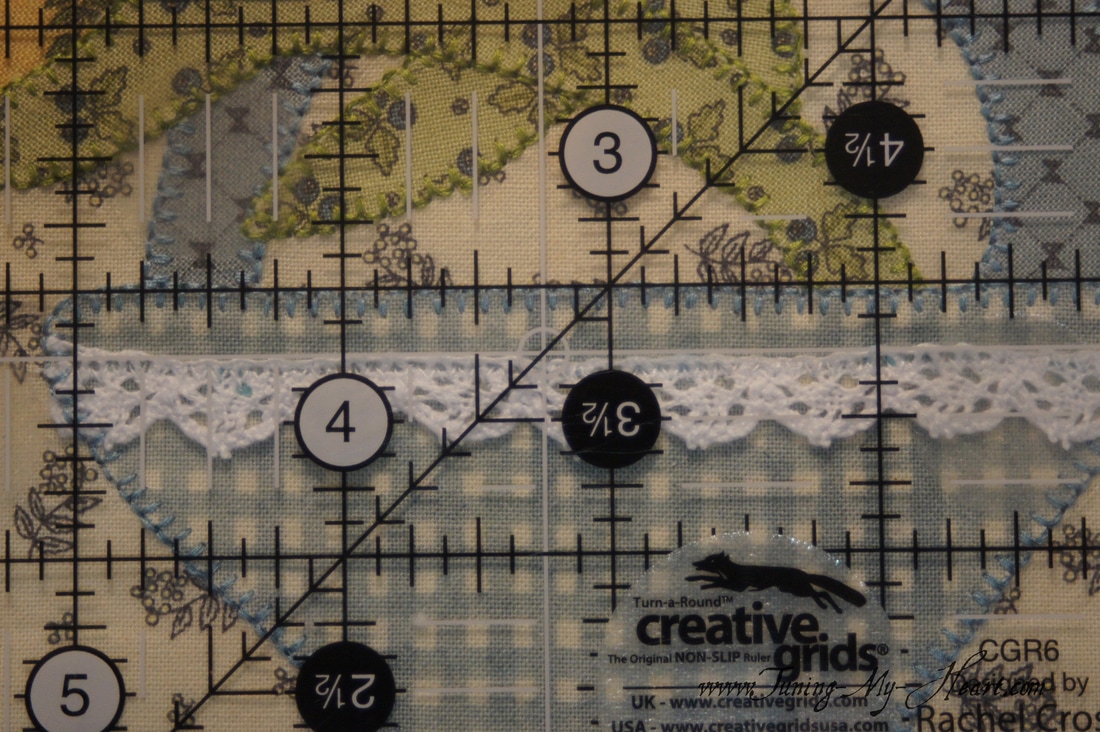 I have been watching the snow fall off and on while making this basket. Yes in the middle of May it is snowing here again after several warm summer like days. Ah Spring in the mountains! 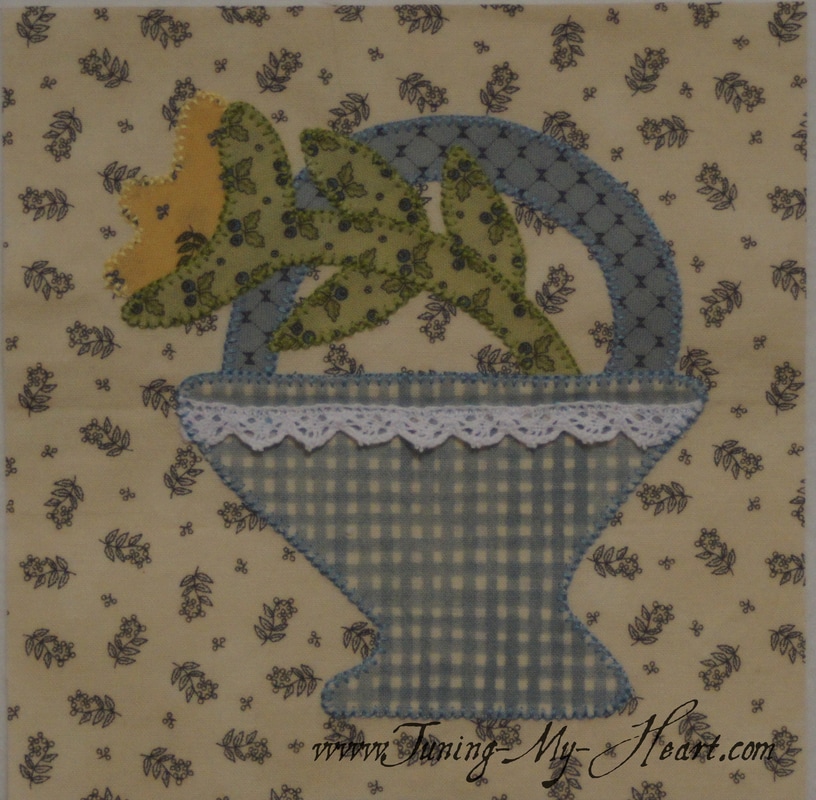 I hope this post will encourage you to give applique a try. I stayed away from applique for years but, maybe like me, once you try it you will be hooked too. Until next time... Happy Quilting! 
Alycia Maurer
5/20/2017 07:59:06 pm
Very helpful. I have not tried the buttonhole stitch for applique. I've done zig-zag and just felt like I was forcing it. This helps.
Debra
5/25/2017 09:13:54 am
I used to do satin stitch on everything and then learned the buttonhole stitch and have never looked back.
Mary White
5/25/2017 08:27:24 am
Debra, I really appreciate your blog for the block head blocks. They are helping me to overcome my frustration with 6 inch blocks and soon many pieces! Thanks so much!!
Debra
5/25/2017 09:14:23 am
Mary, that is so nice to hear! Comments are closed.
|

Welcome to the site of Debra Davis-a woman who loves the Lord and loves to quilt.
My other blog where I share about my walk of faith:
Sitting at His Feet 
|


 RSS Feed