|
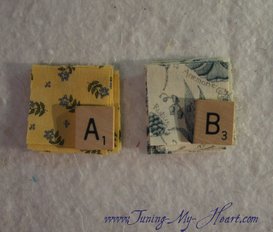
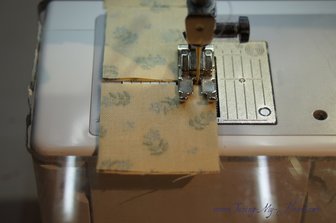
What a fun block from Jo Morton this week. You can find the pattern by visiting Her blog here: http://jomortonquilts.com/2017/05/03/block-9-2017-moda-blockheads-bow/ There have been a lot of beautiful blocks posted on the Facebook page for this Block of the Week. I hope you will come join in the fun. 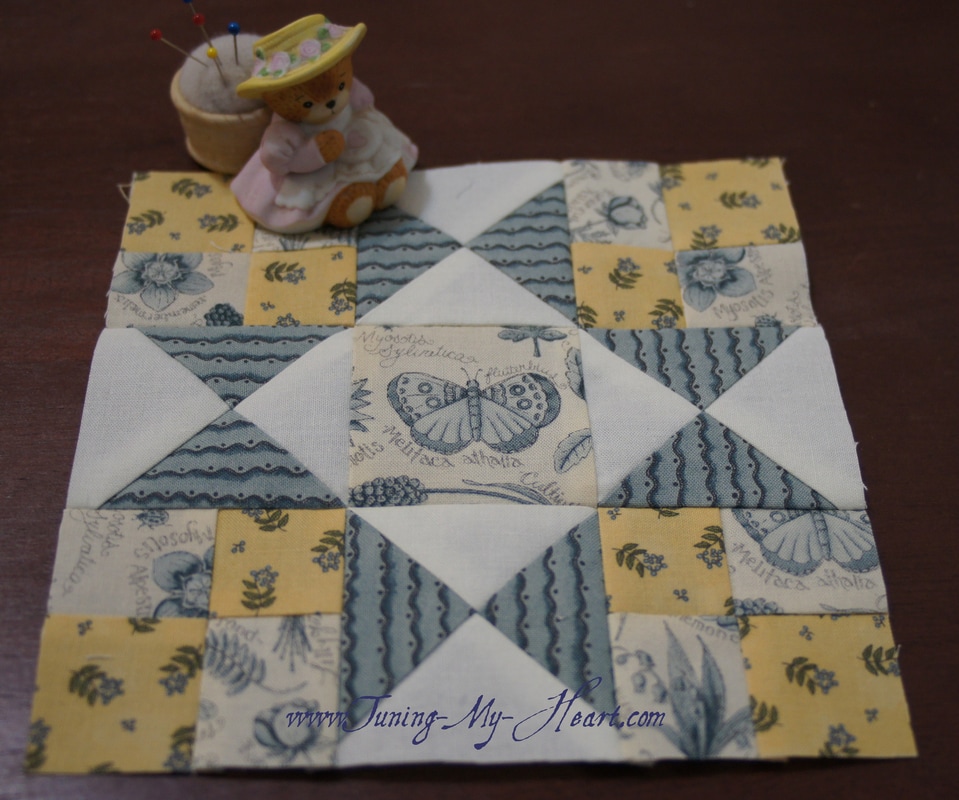 For this block I have cut some of the squares larger than the directions give in order to trim them to size. I cut squares C and D to 3-3/4 inches. (A and B could also be cut larger-2 inches instead of 1 1/2 inches if you want to trim these down as well. I mention this later in the tutorial so be sure and read through first.) I find it really helps to starch my fabrics before beginning. 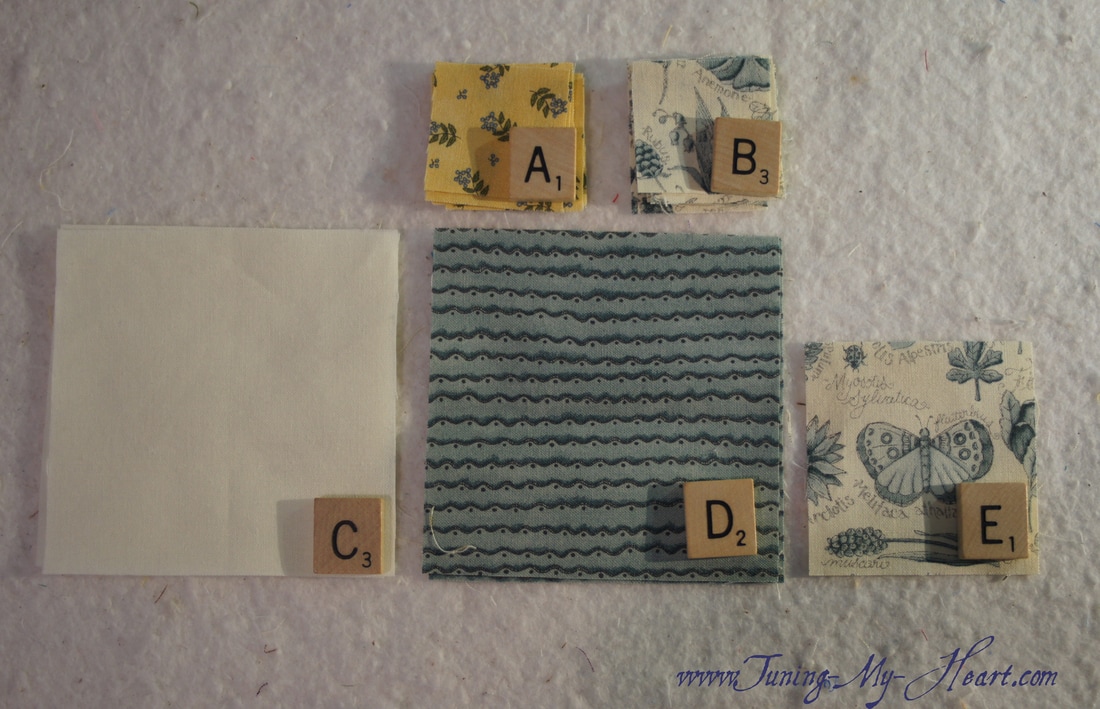 So I begin with the A and B squares. I love making little four-patch units. With right sides together I join an A square to a B square. This is perfect for chain piecing. I have my needle in the down position so that when I add the next two pieces to be sewn together I place them right at the needle. My stitch length is 2.1 or 12 stitches to the inch.
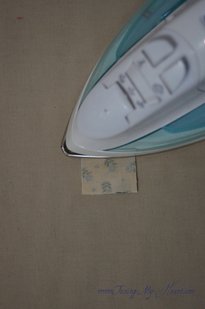
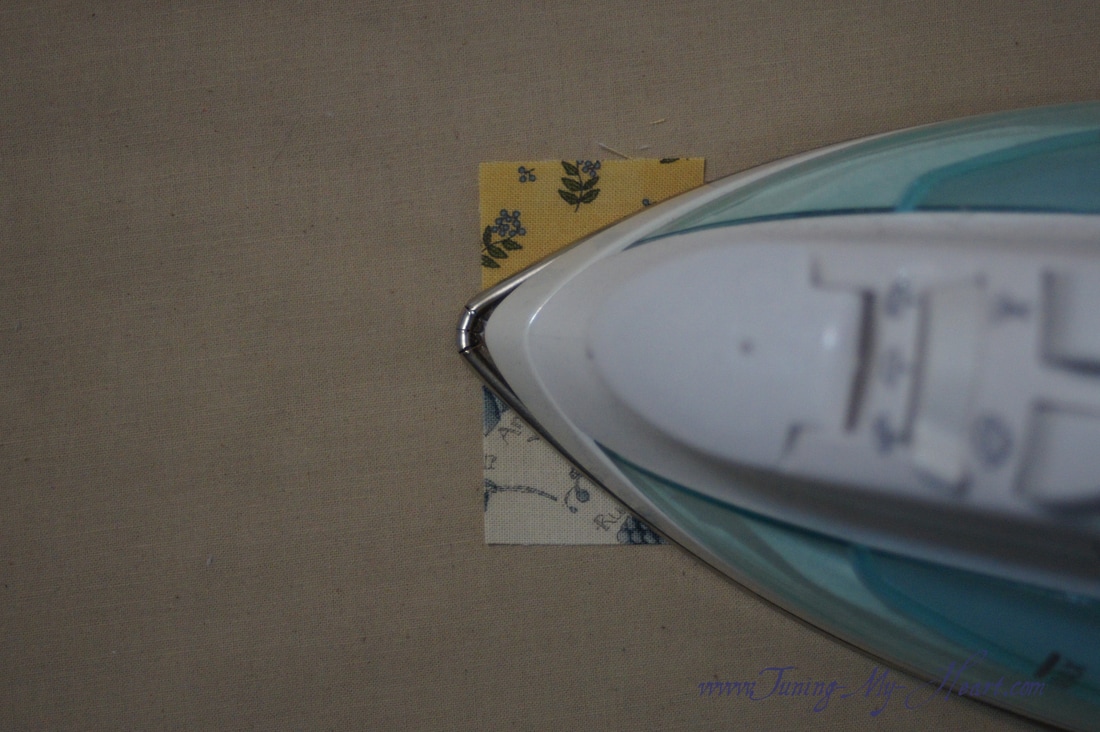
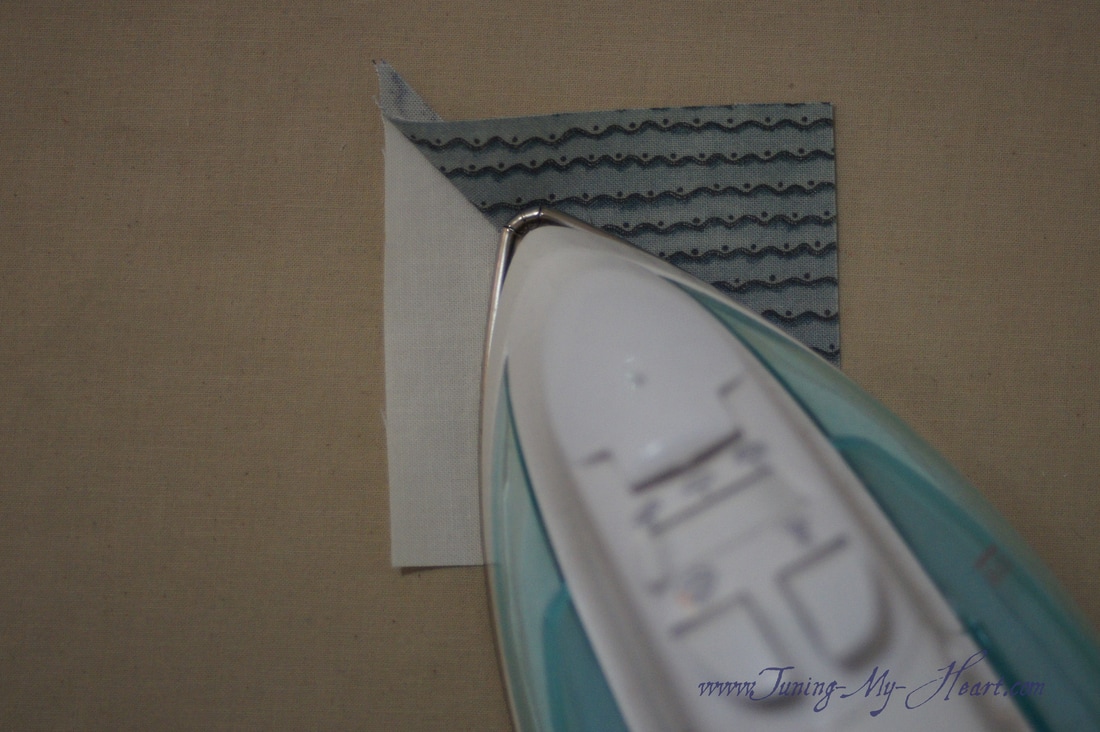
It feels rather like a party after stitching these together-reminds me of a row of pennants. 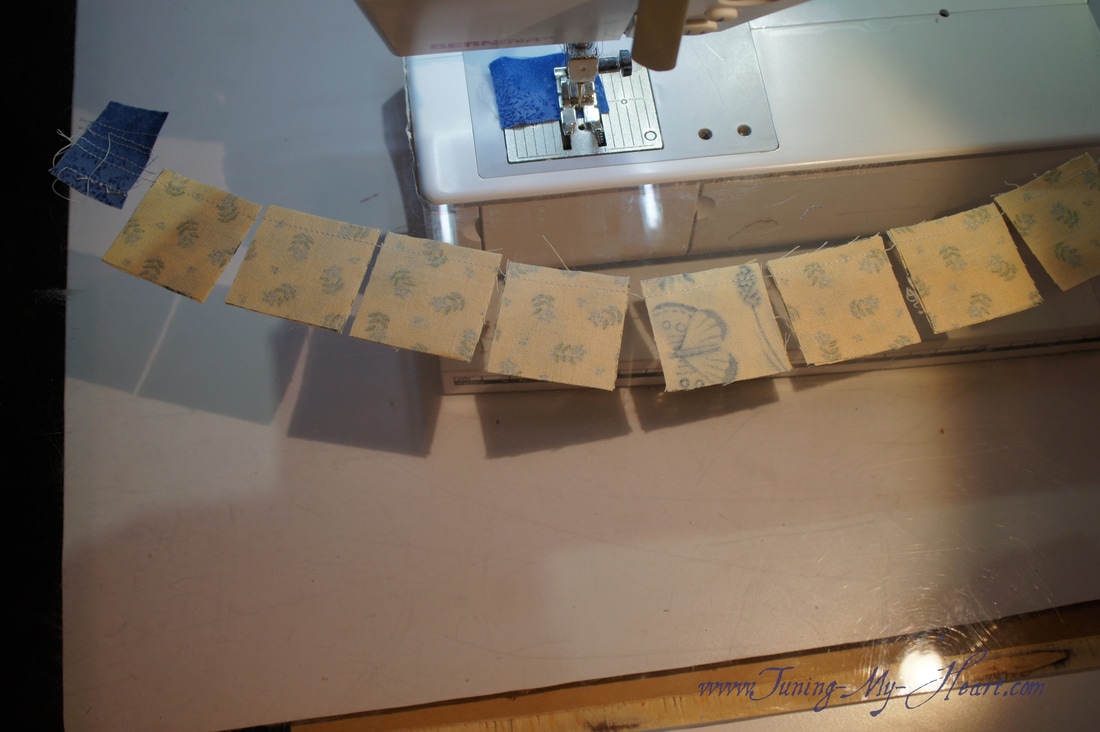 Time to press these little units. First I set the seam by setting the iron on the unopened seam. Next I open the unit up and again, set the iron on the piece to press it. I do not slide my iron around on the fabric as this can distort the seam, instead I lift it up and down to "press."
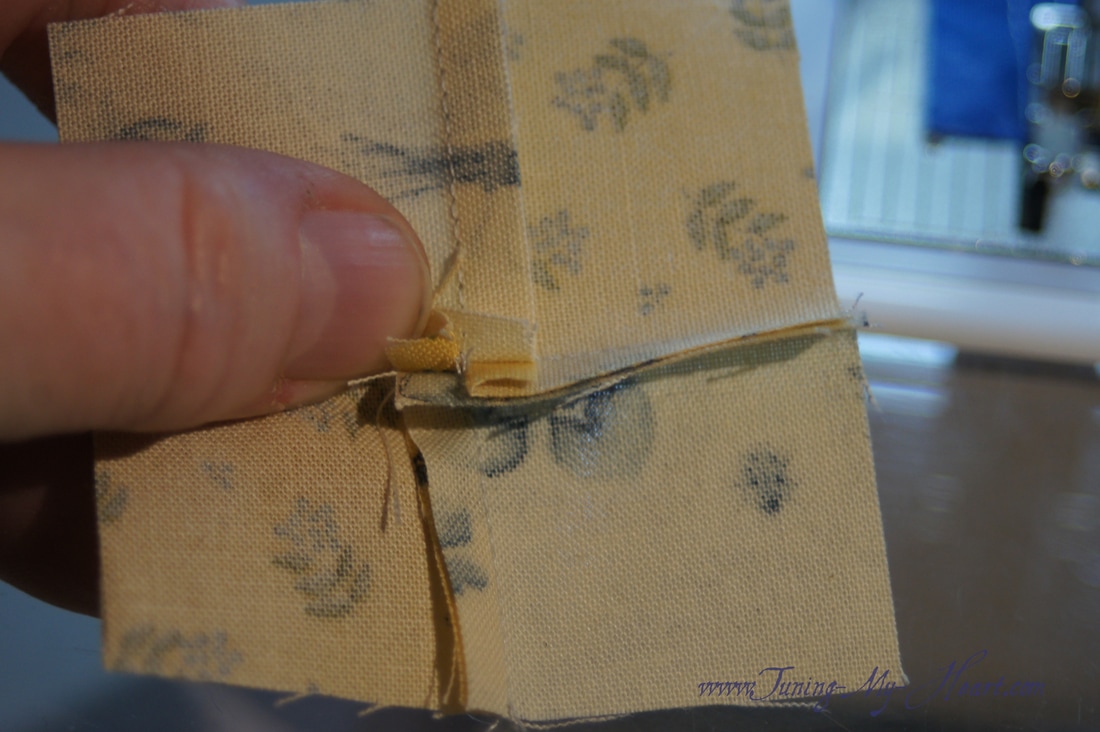
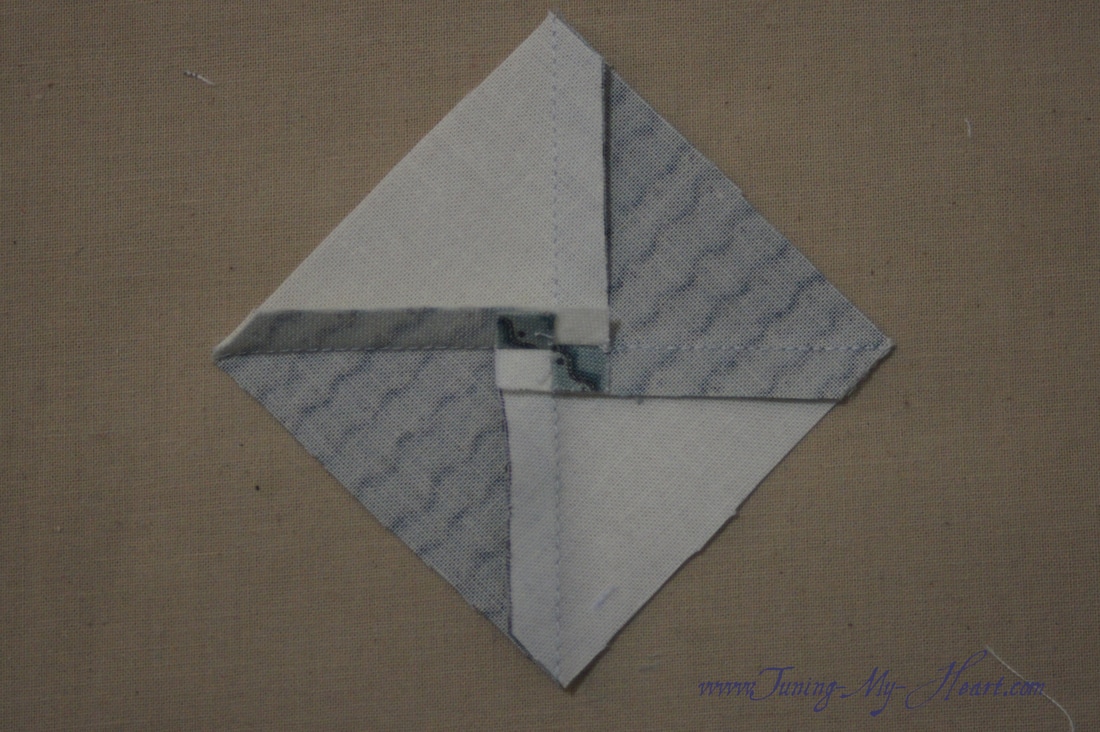
 It is time to put these units together to make a four patch. 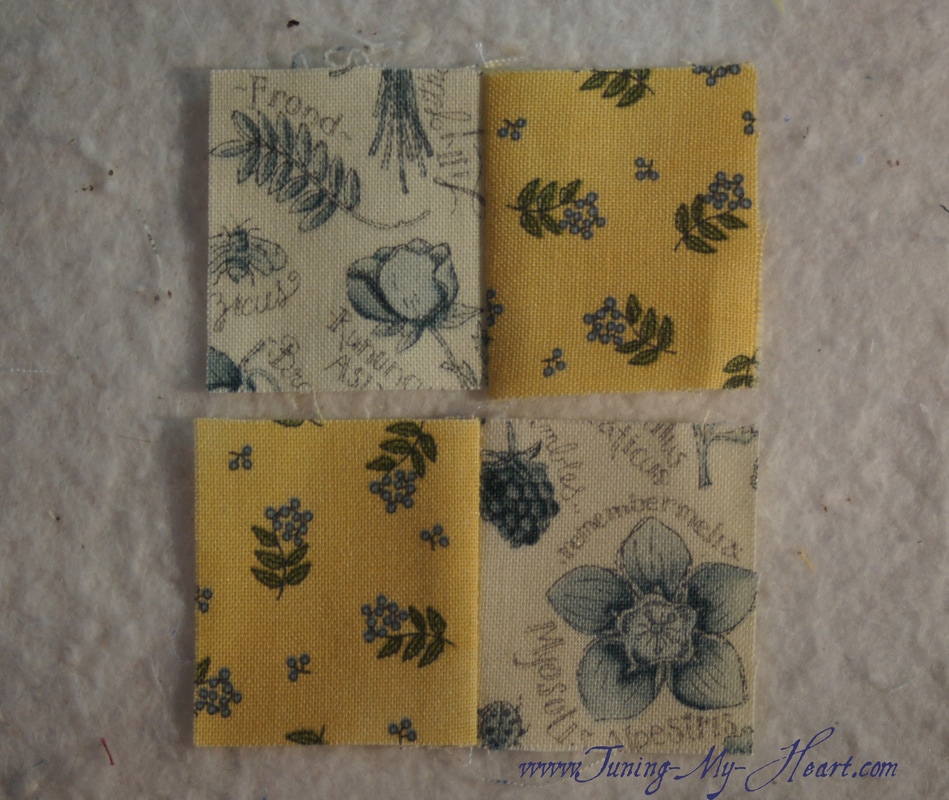 The wonderful thing about this is that my seams will naturally nest together. With this small unit I am not pinning at the seam. 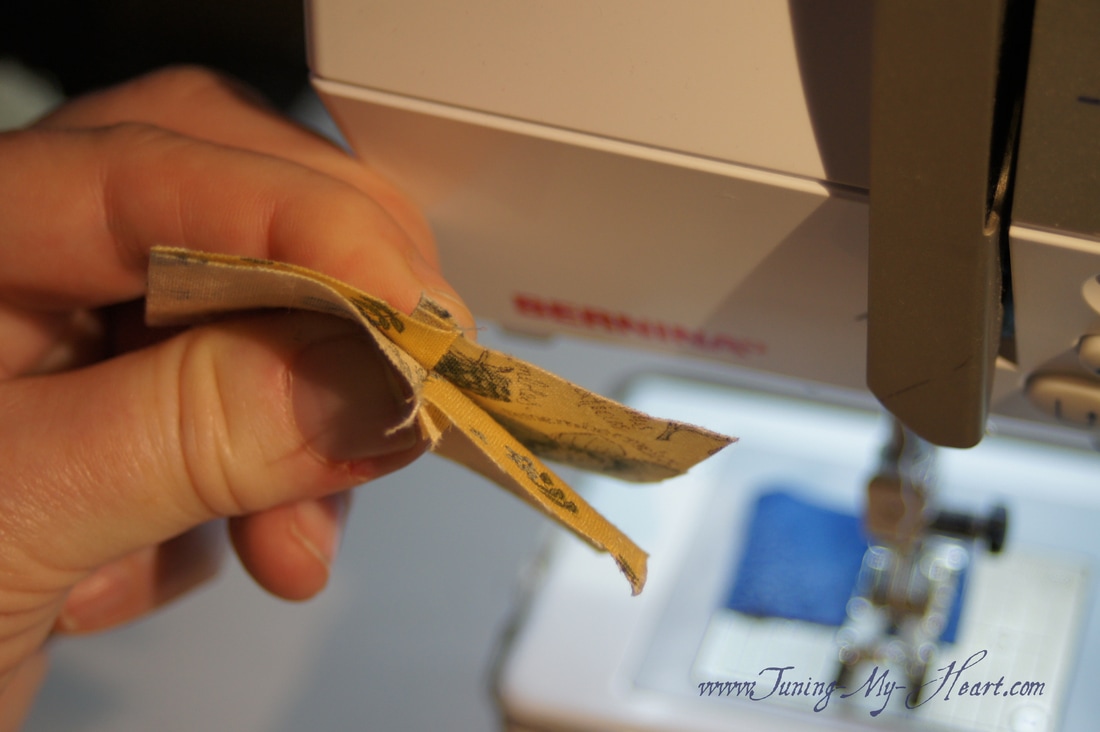 A handy little tip: As you sew these units have the seam allowance facing up towards the needle. This will help to push those two seams together. 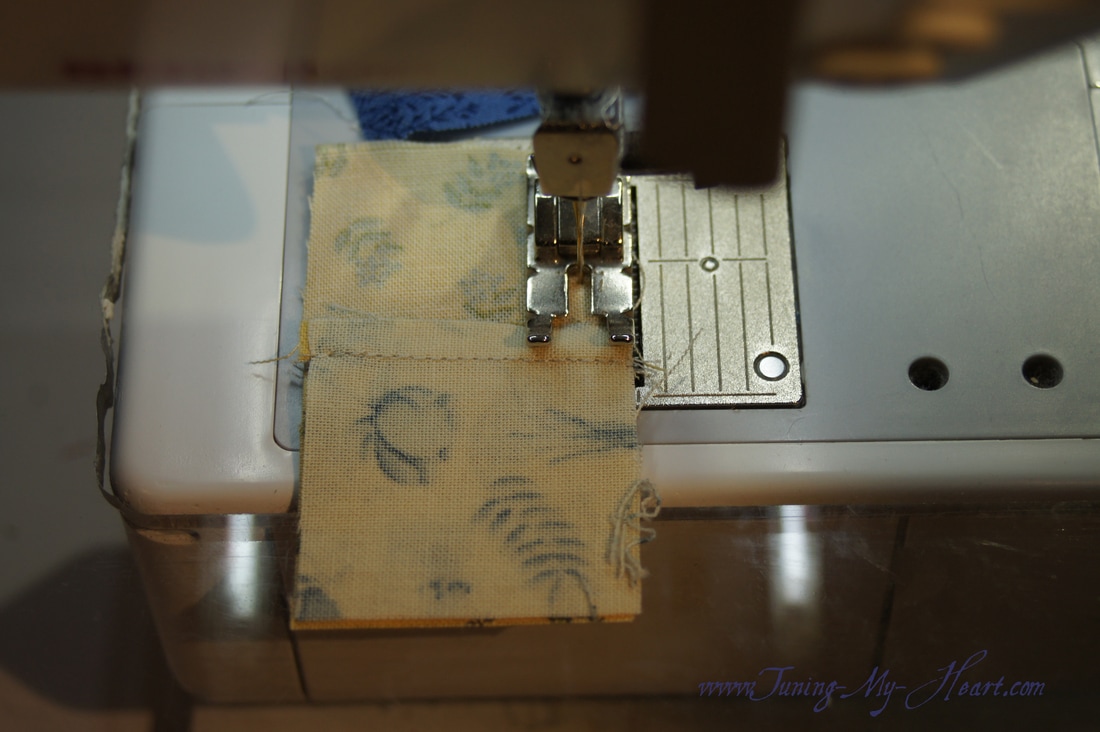 Before pressing I check to see if my seams line up nicely-Yay, they do!! 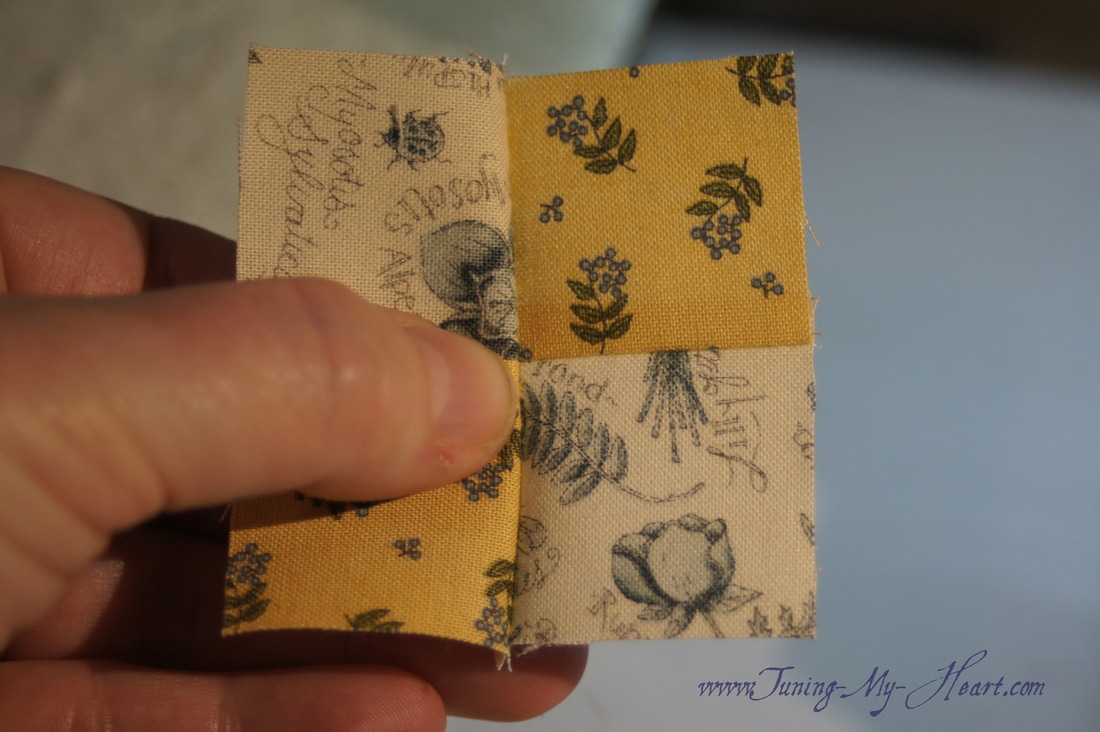 Here is a little trick I use to get these seams to lie flat. I use my thumbs to pull the seam apart so that it goes in opposite directions. Can you see that little four patch that appears in the middle now?
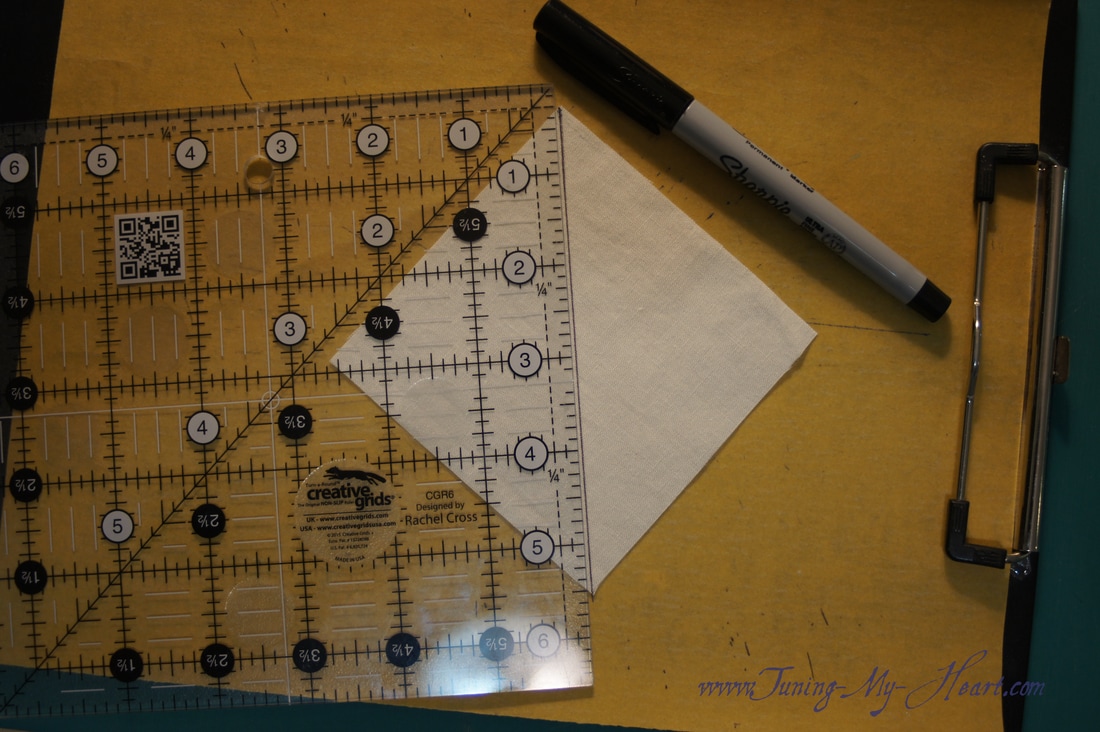
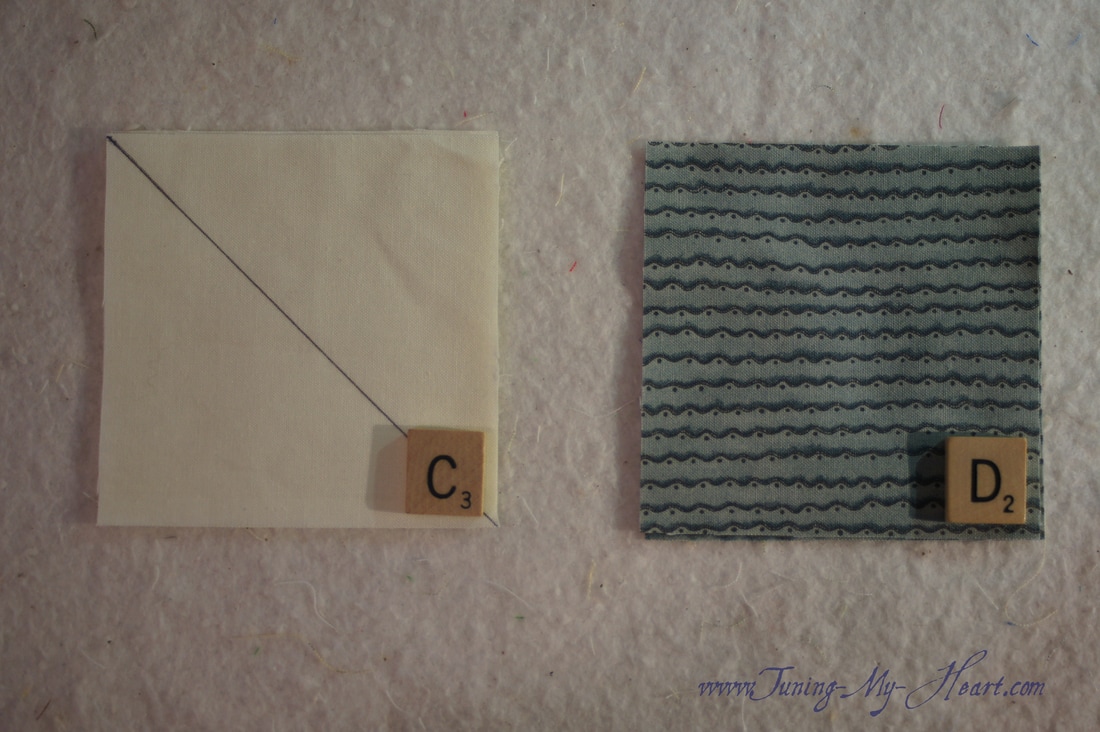
I finger press this open before pressing with my iron on the back and front. 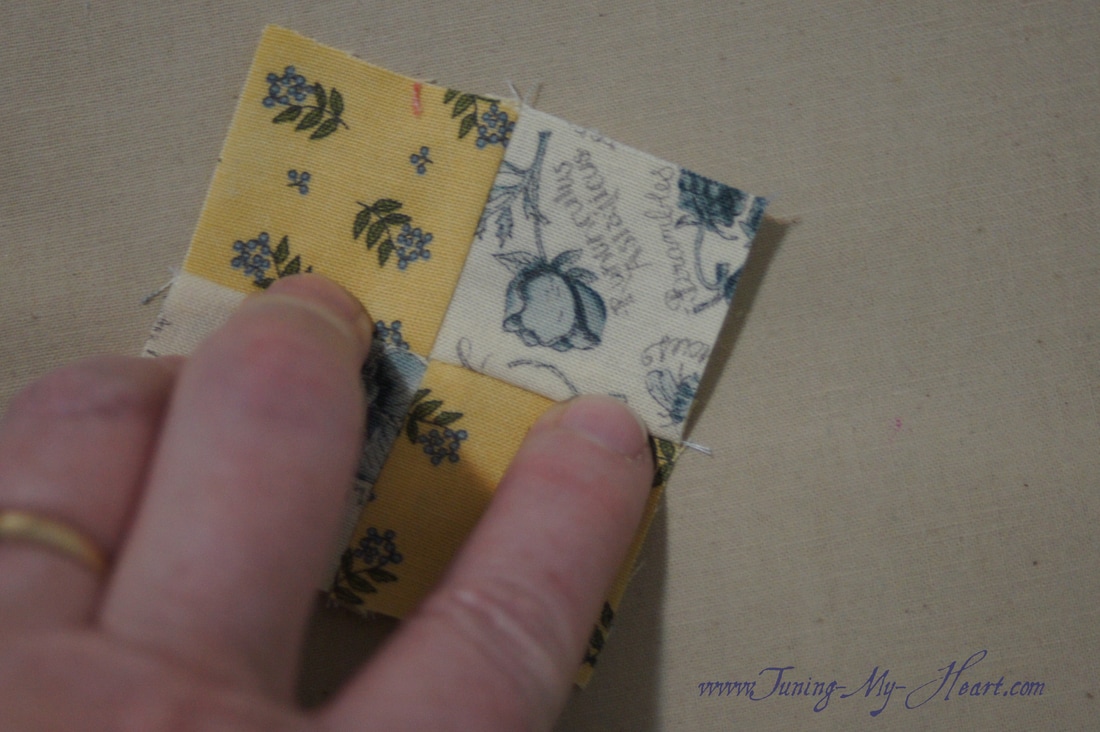 I want to check on the size of my unit now. Time for a little math. This unit needs to measure 2 1/2 x 2 1/2 inches. That means my center needs to be 1/2 of that, in this case 1 1/4 inches. You can see how I have lined up the 1 1/4 inch marks on my ruler with the center of the block and the seam lines. I trim away any extra on the right and top sides, rotate the unit and trim the remaining two sides if needed. This method is helpful if you want to start with bigger A and B squares to be sure you get the needed 2 1/2 inch size. (You could cut your A and B squares to 2 inches if you feel more comfortable trimming these to size. As you can see the given cutting directions do not leave you much extra for trimming.) 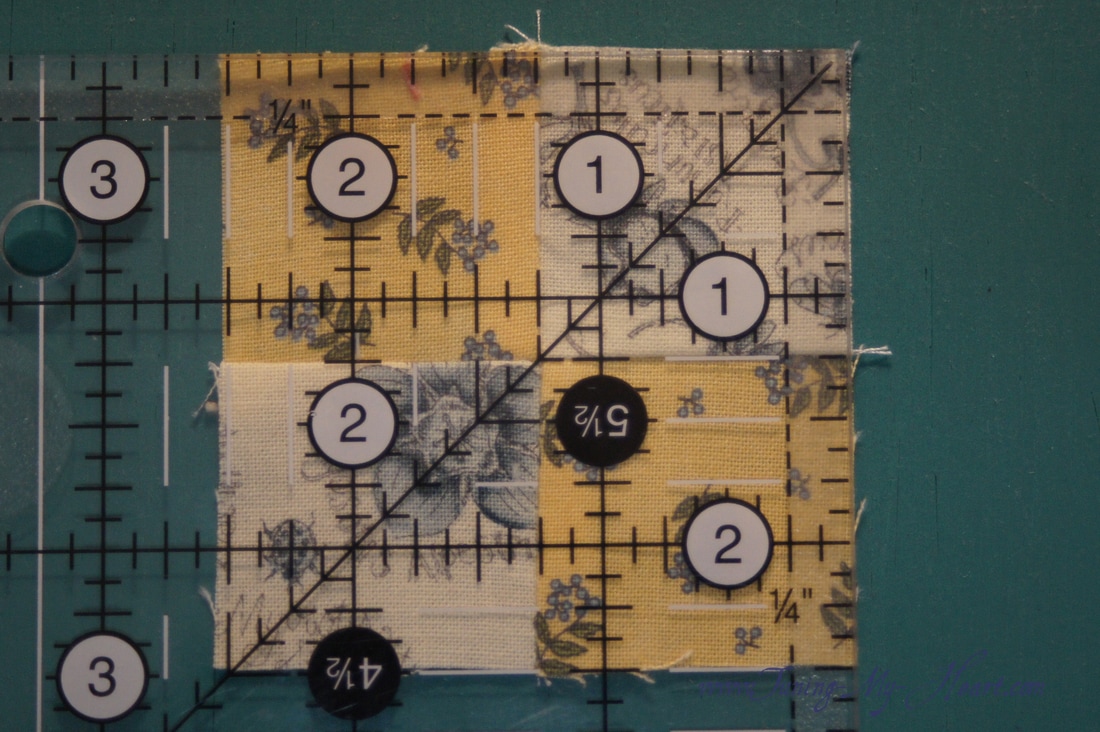 Now I can set these aside and begin work on the hourglass units. To start I draw a diagonal line down the middle of each C square.
With right sides together I join the C and D squares sewing 1/4 inch from each side of the drawn line.
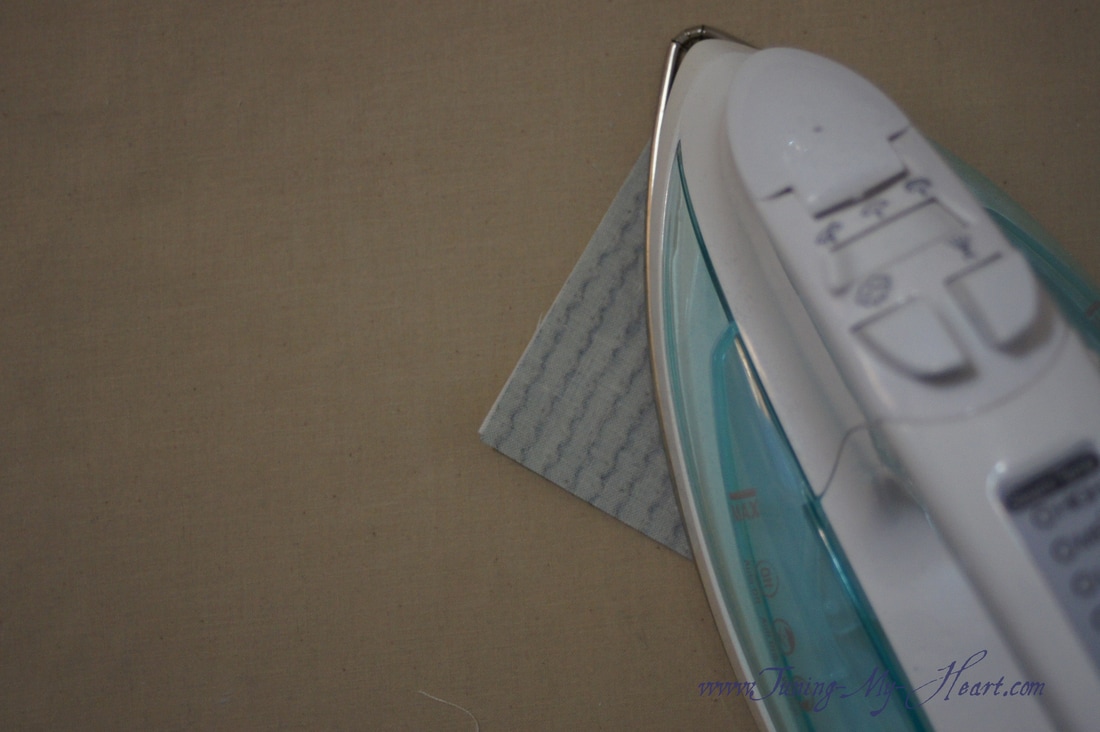
I cut on the drawn line between the two rows of stitching which will give me two Half-square Triangles. 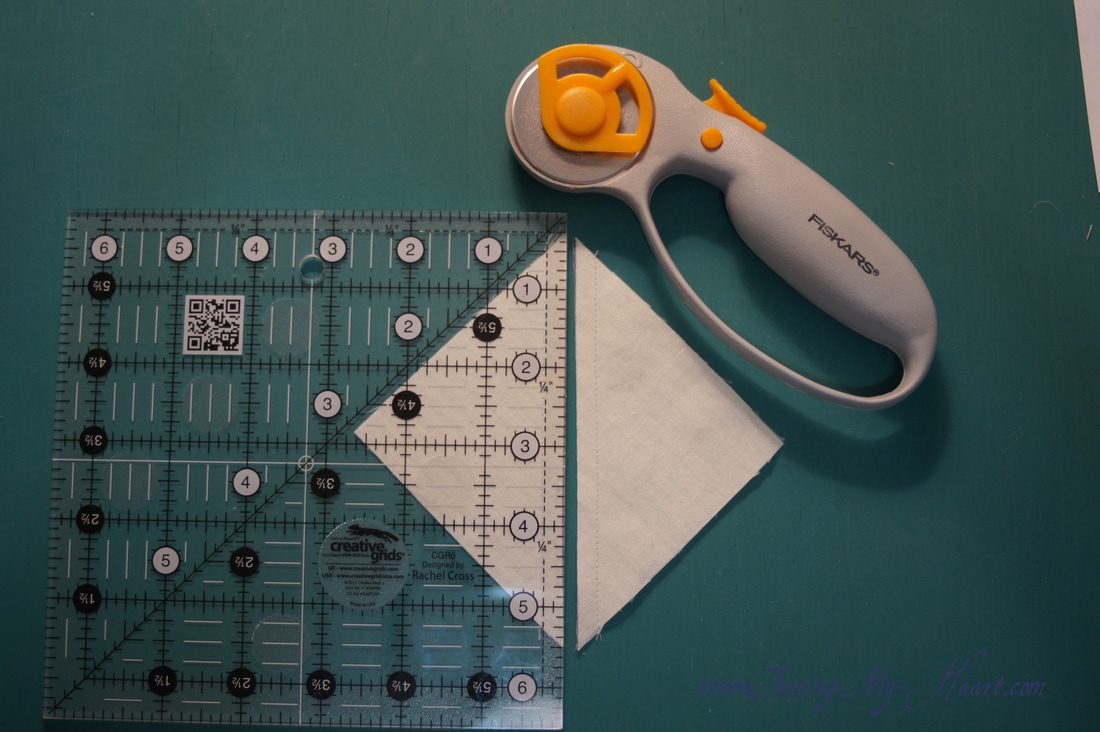 I bring these to my little pressing table and set the seam then press open.
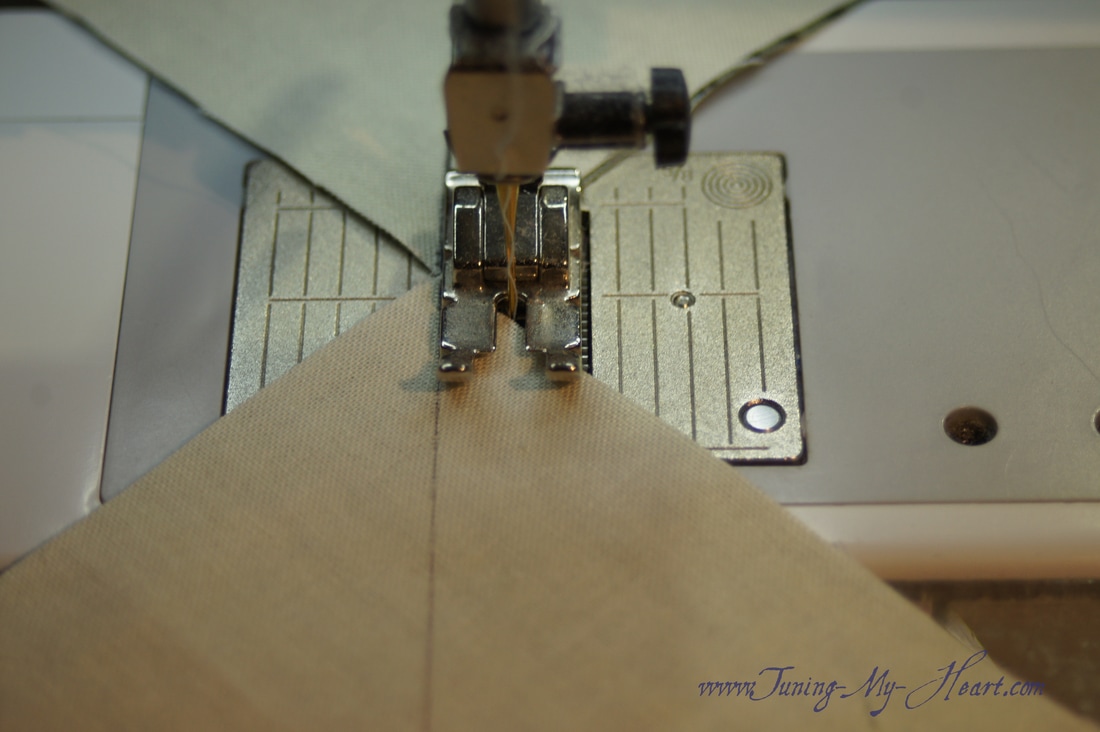
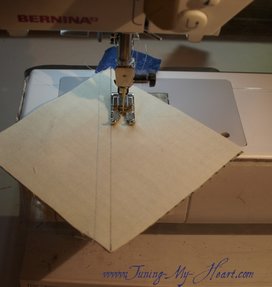
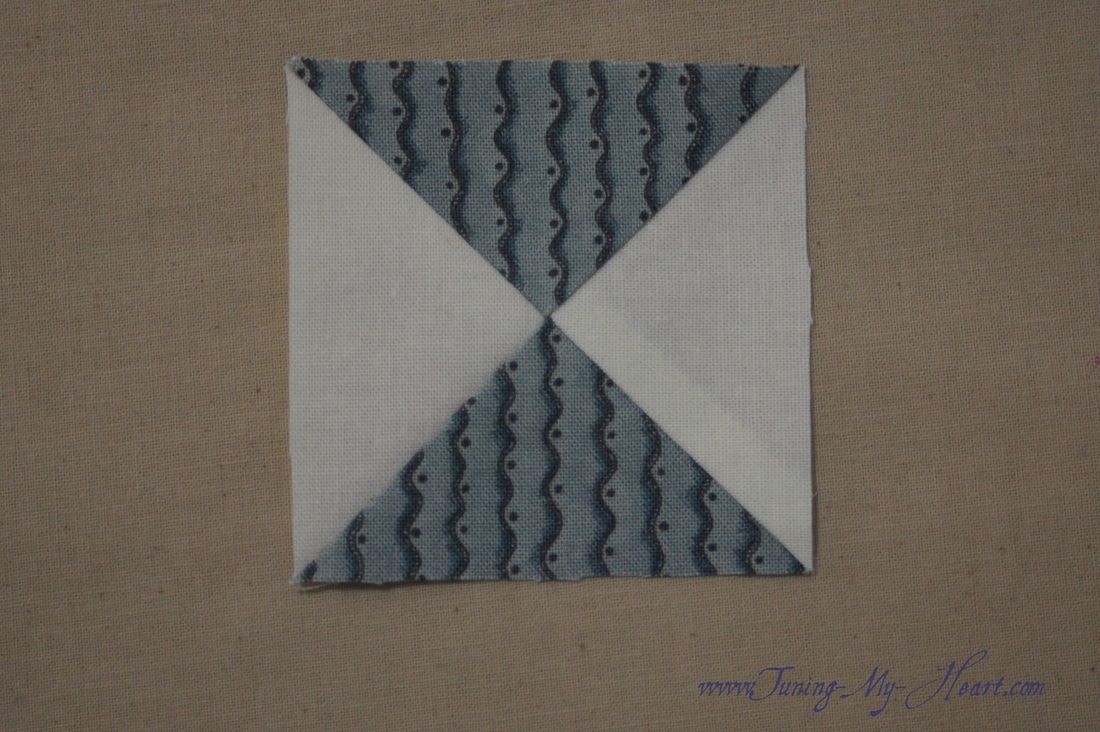
Placing the two Half-square triangles together I match the seams. 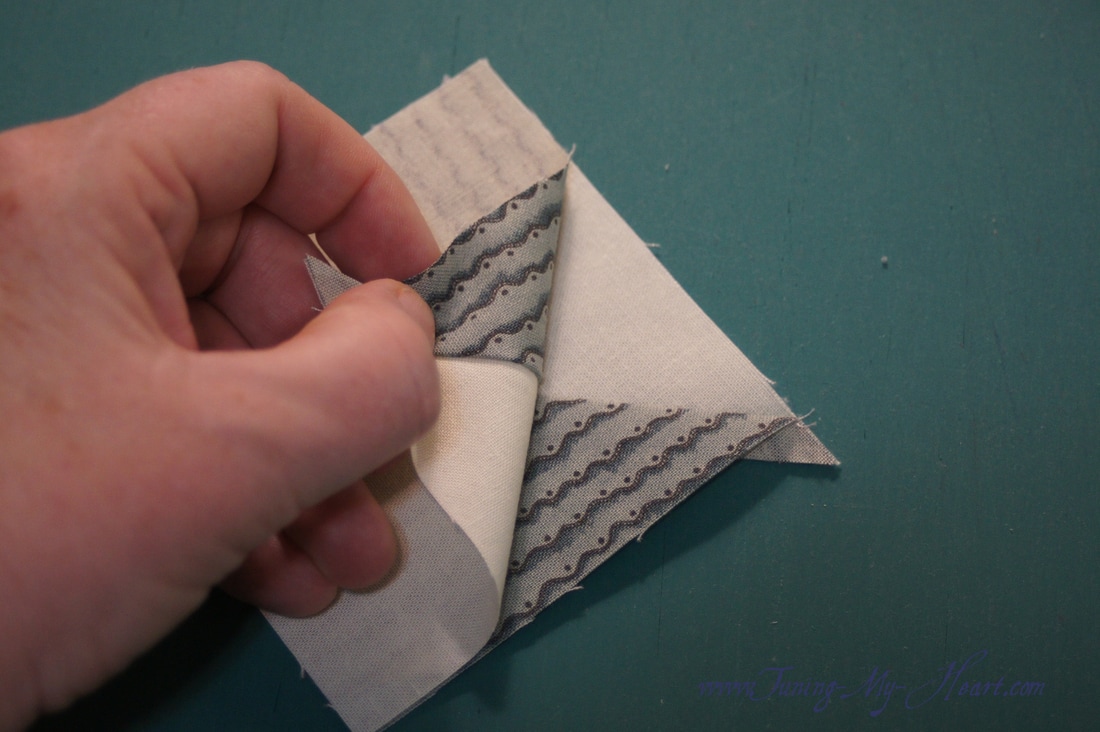 Just like before I draw a line down the center of these units. 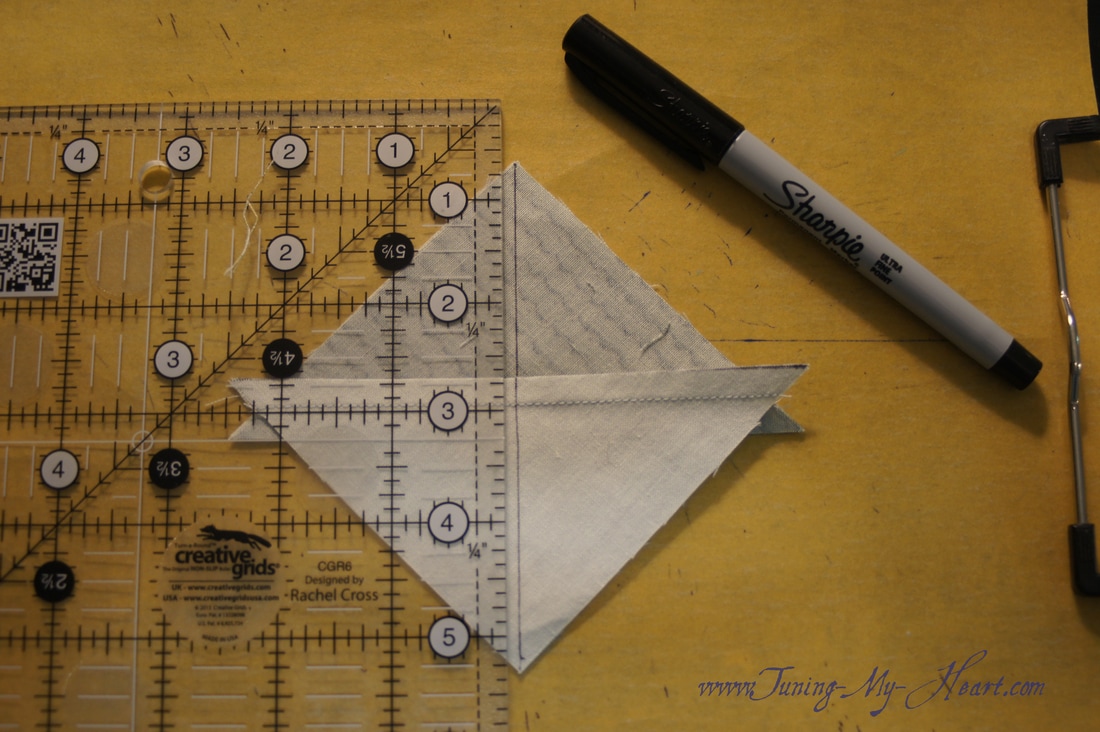 I sew 1/4 inch from each side of the line. Notice I have the unit so that the seam allowance is facing towards the needle. This will help push those two seams together. 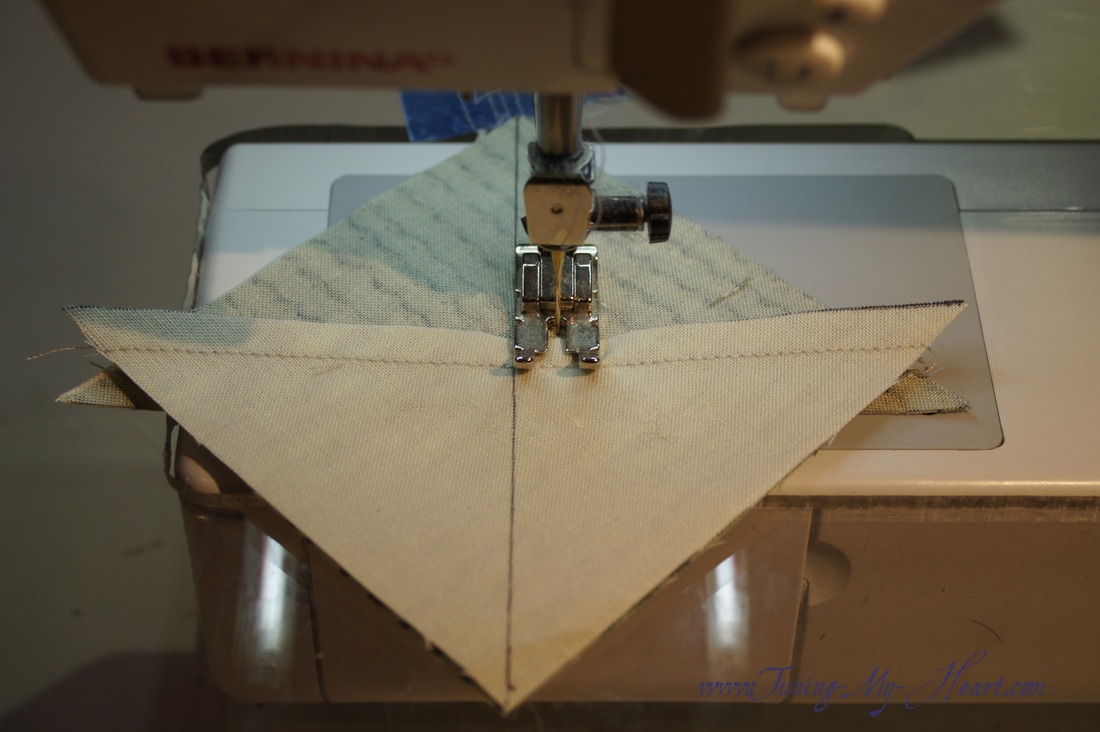 Checking to see if my seams match up before sewing down the other side of the line.  Once I have sewn 1/4 inch from each side of the diagonal line I cut the units apart on the drawn line, just like we did before. 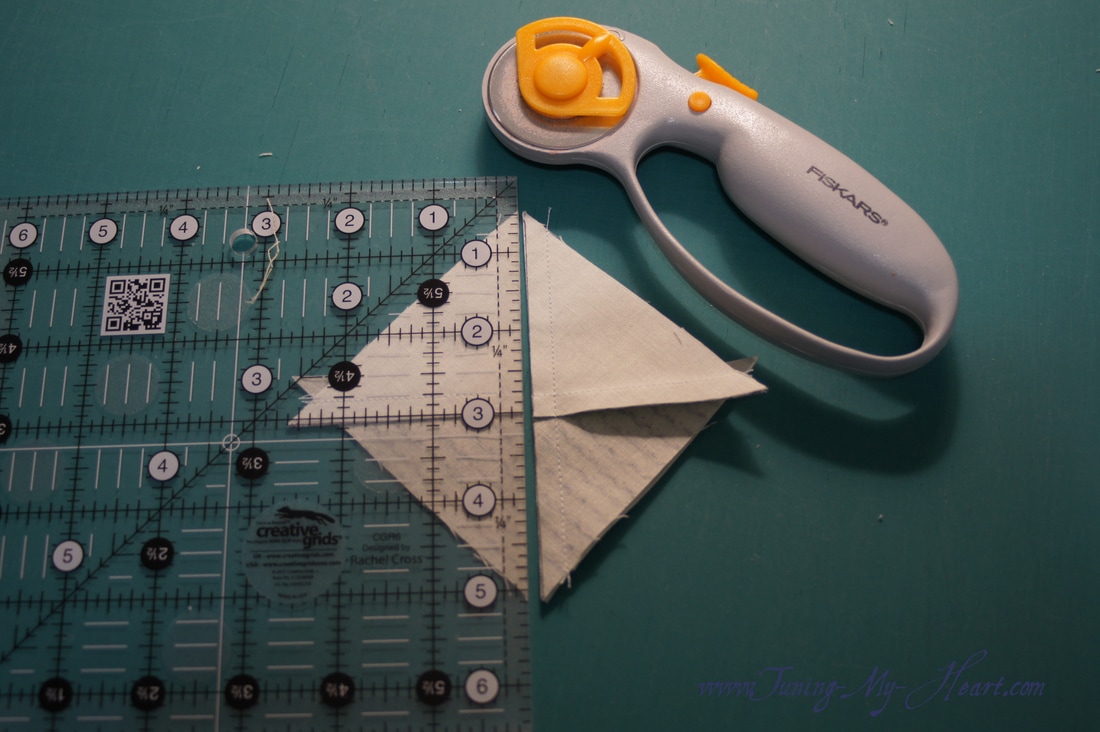 These seams can also benefit from opening them up like I did with the hourglass units. Sometimes you have to loosen up those threads at the join. 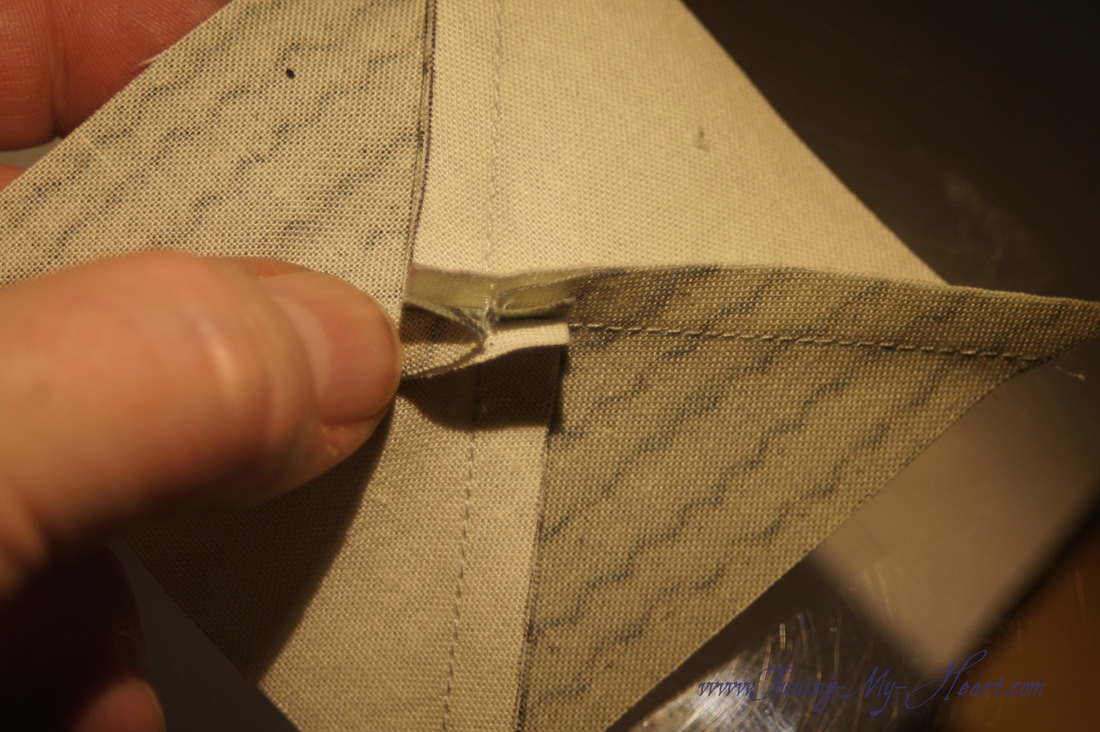 Now I just need to press them and I have my hourglass units ready to go.
Time to trim. There are a couple of important things to do in this process. First make sure the diagonal line on the rule is laying on top of the diagonal seam of the unit. Second, I am using the center measurement for the 2 1/2 inch size I need so have laid the 1 1/4 inch mark of the ruler at the center intersection. Now I can trim the first two sides. 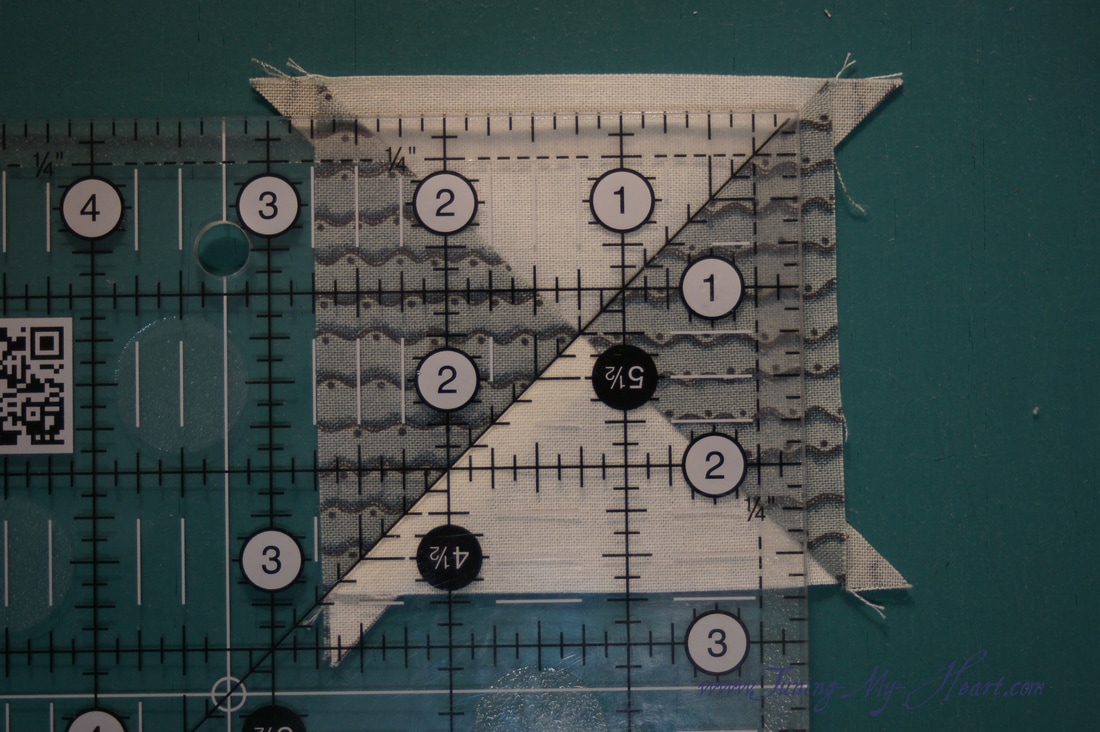 I rotate the block and line up my ruler again before trimming the last two sides. 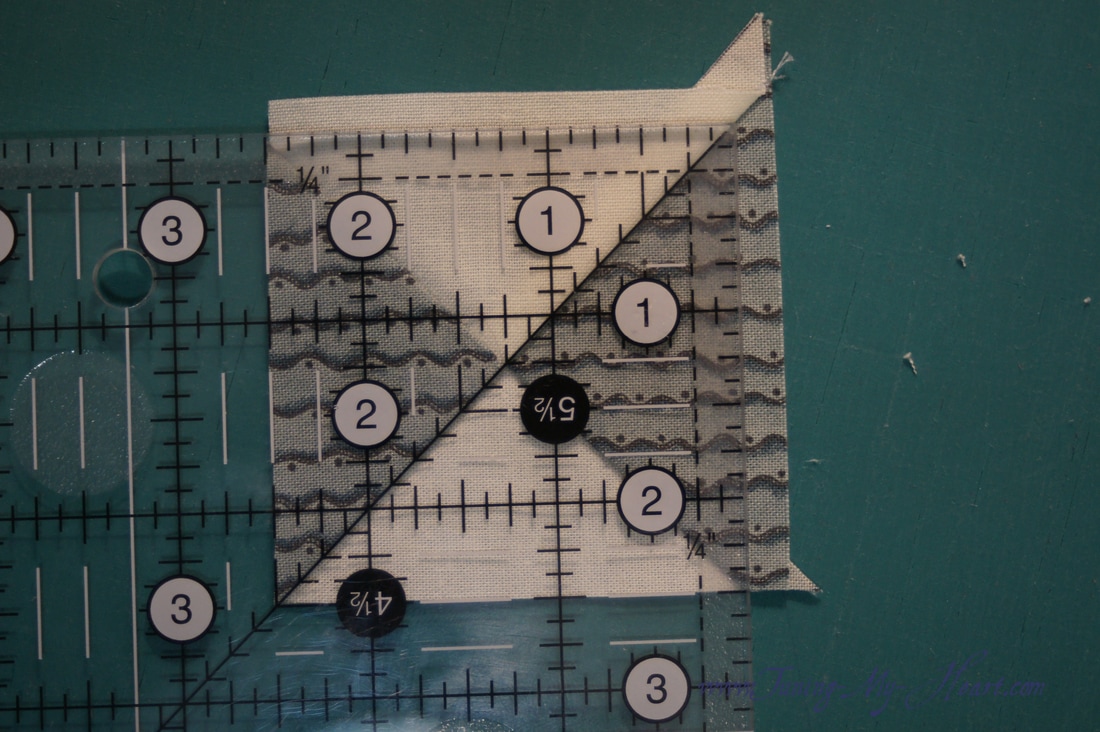 Okay, time to put all of the pieces together! First I will join the units together into rows.
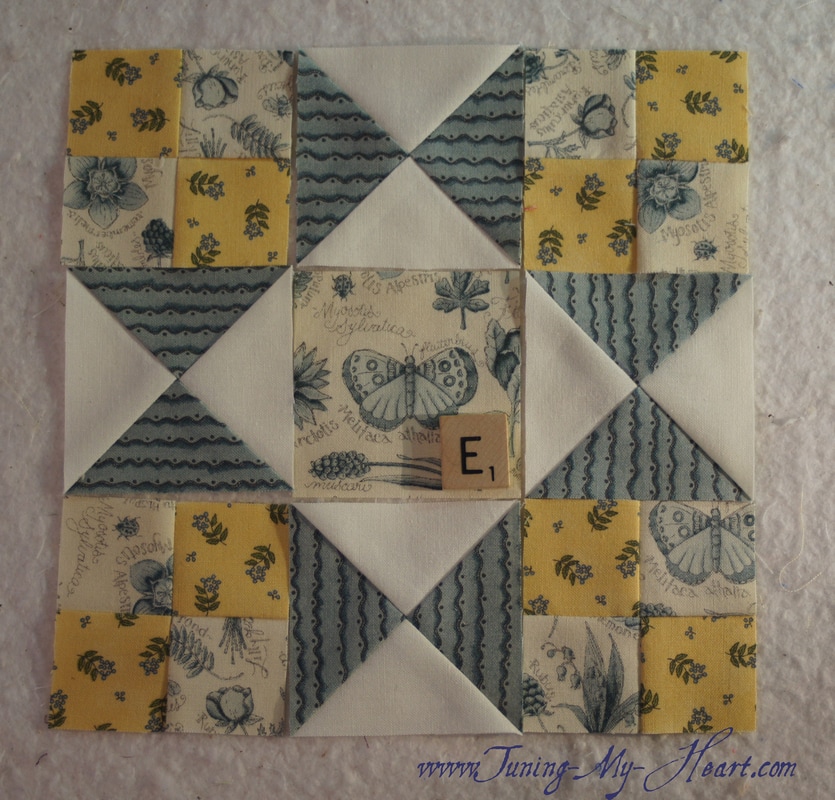
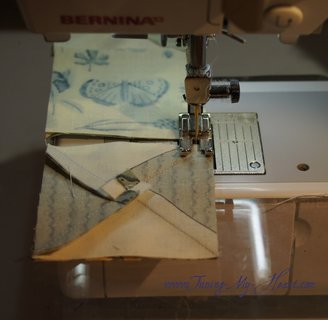
I am going to press these so that the top and bottom row have seams going to the left and the center row seams will go to the right. 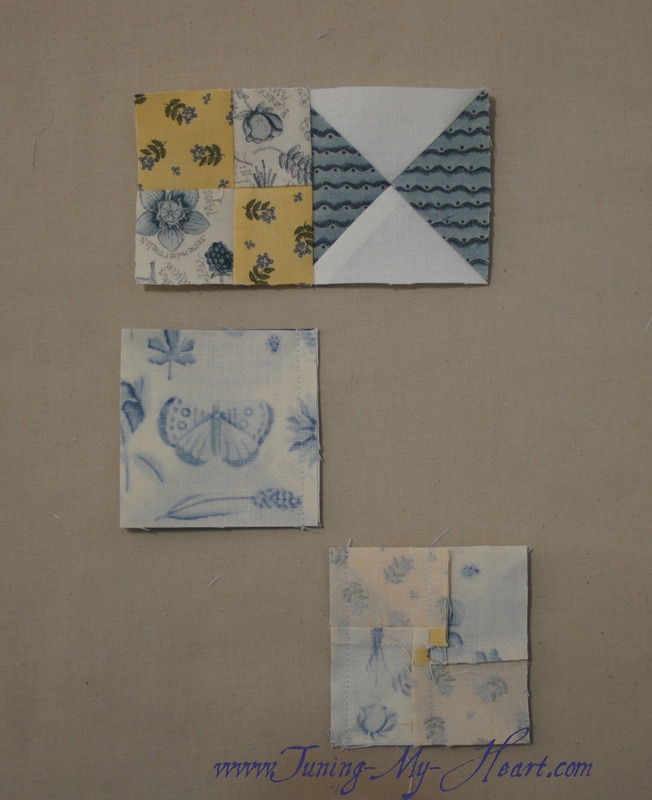 With my rows sewn together I can join them now too. 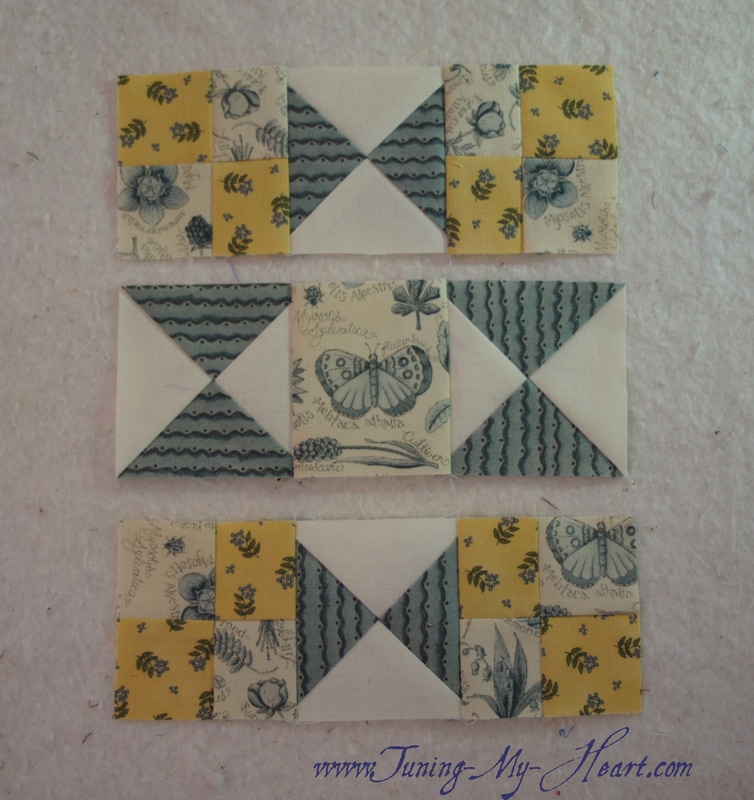 Before I proceed I check to see that my center squares measure the correct finished size- 2 inches across. If not I need to make some adjustments to my scant 1/4 inch seam. I would rather find out now how I am doing instead of wondering why my finished block is the wrong size. 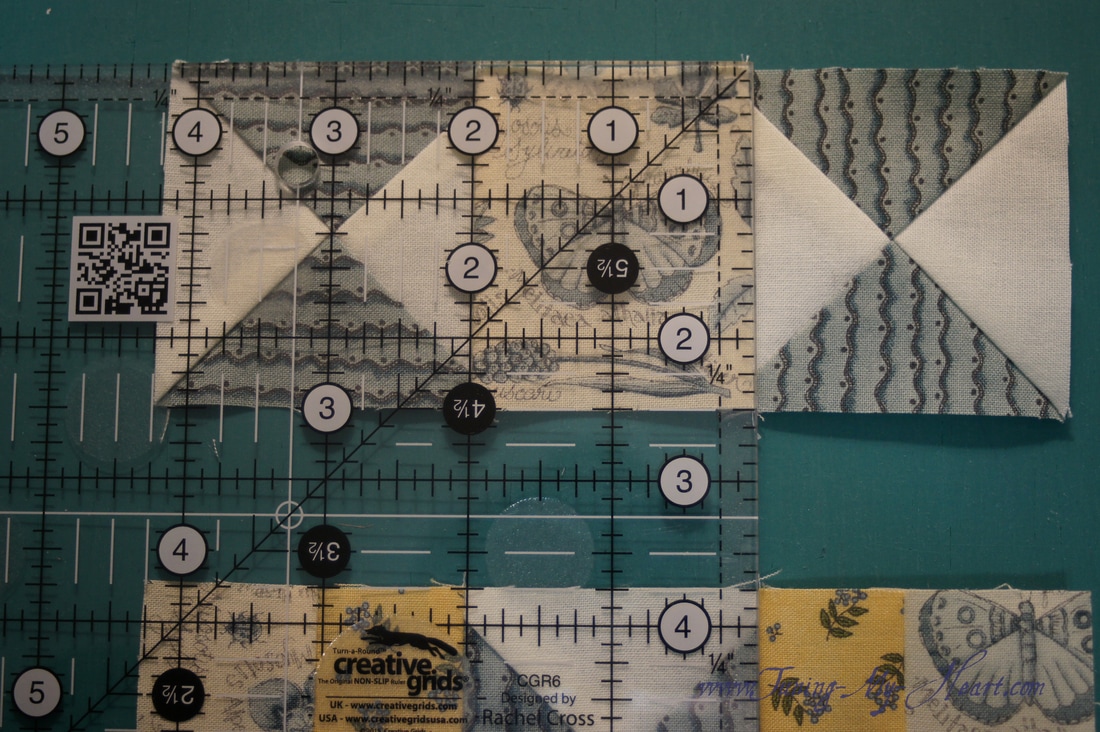 I prefer to put a pin in where the seams join. It is also helpful to slow down as you come to the bulk of the seams. 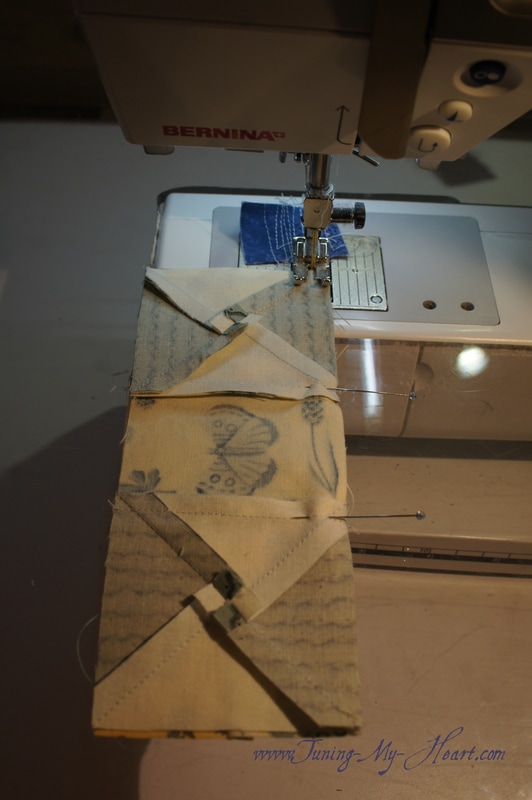 Here is how I deal with those seams. I slow down, and stop with my needle in the down position right as I come to the pin. (A stitch away.) I carefully remove the pin, make sure the edge of my fabric is still lined up with the edge of my presser foot and begin sewing-very slowly as I go over the seam right where the stitching intersects. 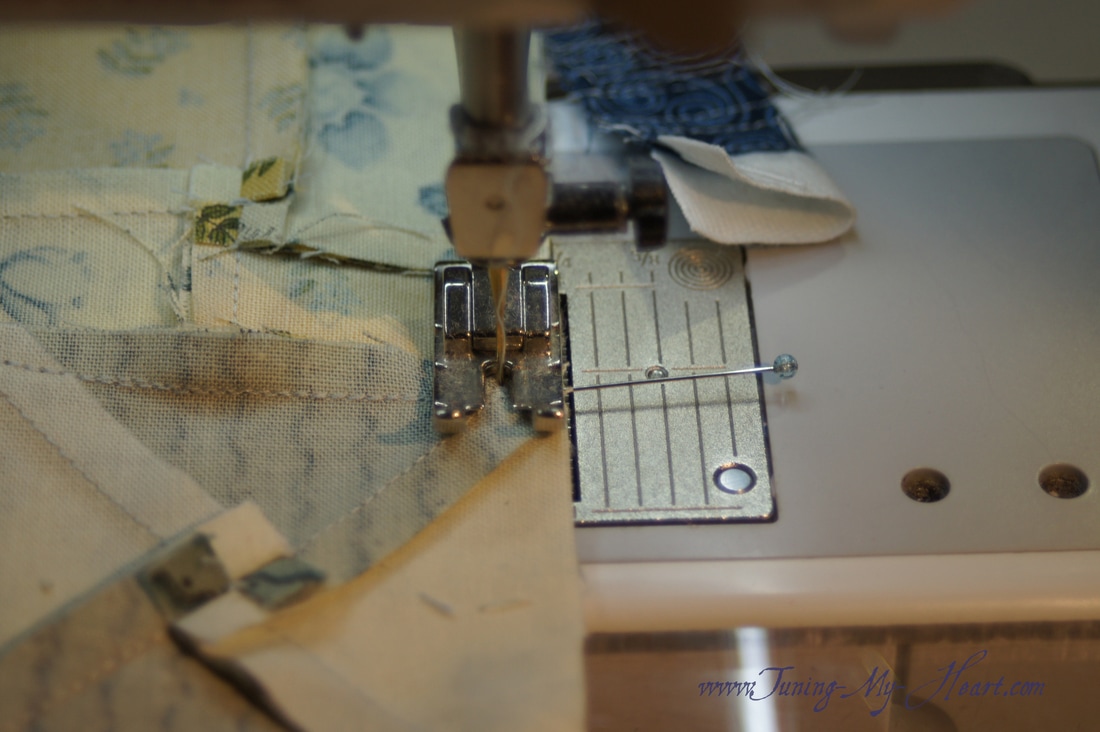 There it is with a butterfly in the middle and a couple of ladybugs scampering in the edges. 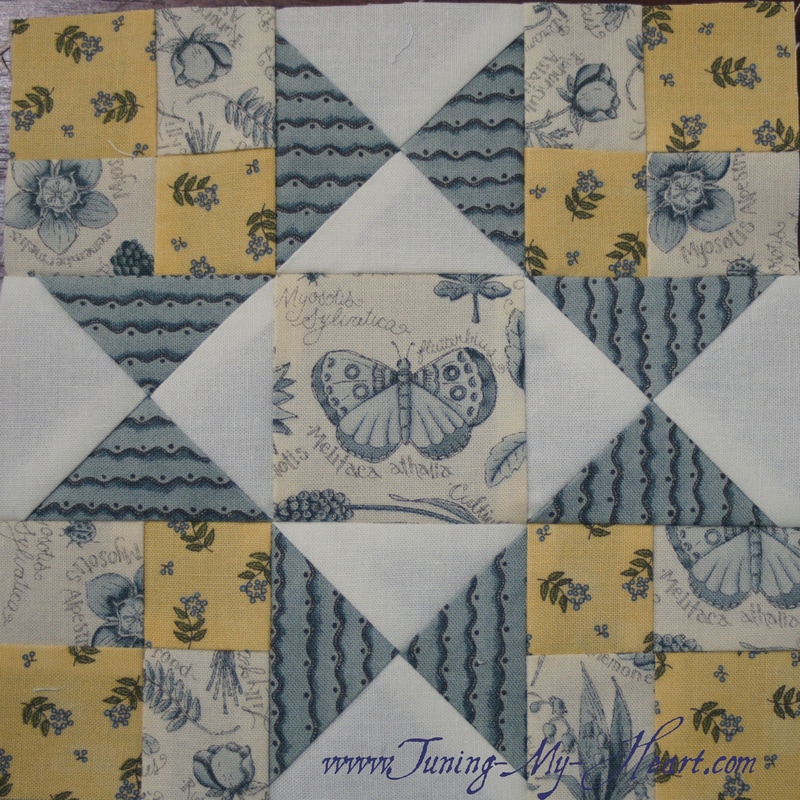 I have heard from so many of you how much help these tutorials have been in successfully making your blocks. Your notes of encouragement are very sweet. Thank you! I enjoy seeing your blocks when you post them to our Facebook page too. Until next time... Happy Quilting!! 
Jean Walker
5/8/2017 07:43:04 pm
You do such a great job of showing exactly the how to, step by step process and instructions!! I love your site! This close up shots are the best!! I appreciate your work very much and look forward to putting your techniques into practice :)
Debra
5/8/2017 08:44:15 pm
Thank you so much, Jean! If you share your photos to the Facebook group be sure and tag me -Debra Davis
Cathy Beal
8/13/2020 08:38:16 am
Debra, thank you so much for keeping these tutorials on your blog! Life got in the way and I had to put the blockhead project away. But now that I am retired and we are in the time of Covid, I am picking it back up. I have learned so much from you and I refer to your blog all the time! Just wanted you to know that you are so appreciated!!! Comments are closed.
|

Welcome to the site of Debra Davis-a woman who loves the Lord and loves to quilt.
My other blog where I share about my walk of faith:
Sitting at His Feet 
|


 RSS Feed