|
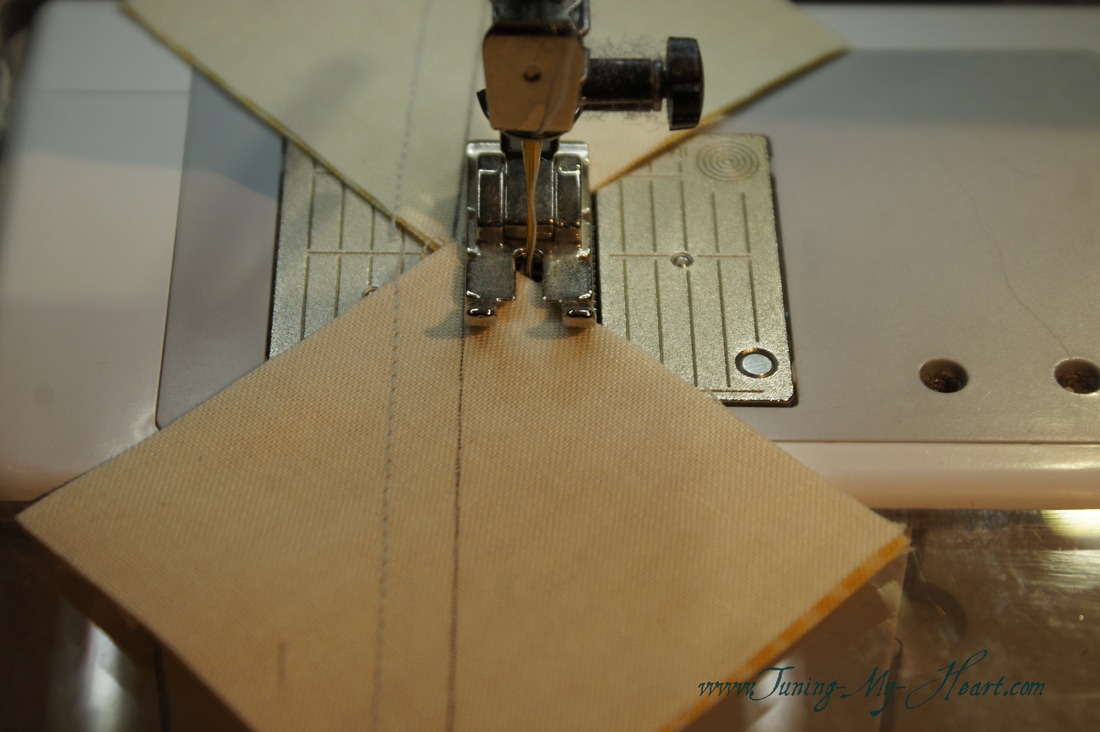
The Basket of Triangles block was designed by Betsy Chutchian and you can find the free pattern by clicking on this link: https://bearcreekquiltingcompany.storage.googleapis.com/uploads/2017/04/26/files/Block8BC_BasketOfTriangles.pdf There are a lot of Half Square Triangles (HST) in this block, and if you have been following me as I make the National Quilter's Circle 9-Week challenge quilt you will know that was all about Half Square Triangles. I have become the queen of HSTs. I find I am more accurate overall when I can trim an oversized unit to the correct size so that is the method I will be using here.  That means that I have made some changes to the cutting instructions. A-(8) squares 2-1/4" x 2-1/4" B-(10) squares 2-1/4" x 2-1/4" -cut (2) B squares in half diagonally C-(1) square 5-1/4" x 5 1/4" Everything else is the same. In order to get my handle and base a different color I cut 5 squares of my plain background and 3 of the blueberry print for the A squares. I cut 5 squares of the green and 5 of the yellow for my B squares. A Word about Starch: I starch my fabric. It has made a huge difference in how well things go together, especially when sewing these smaller pieces together. I use the cheap can of heavy starch, lay out my pieces after they are cut, spray them, let them dry, and then press with my iron. 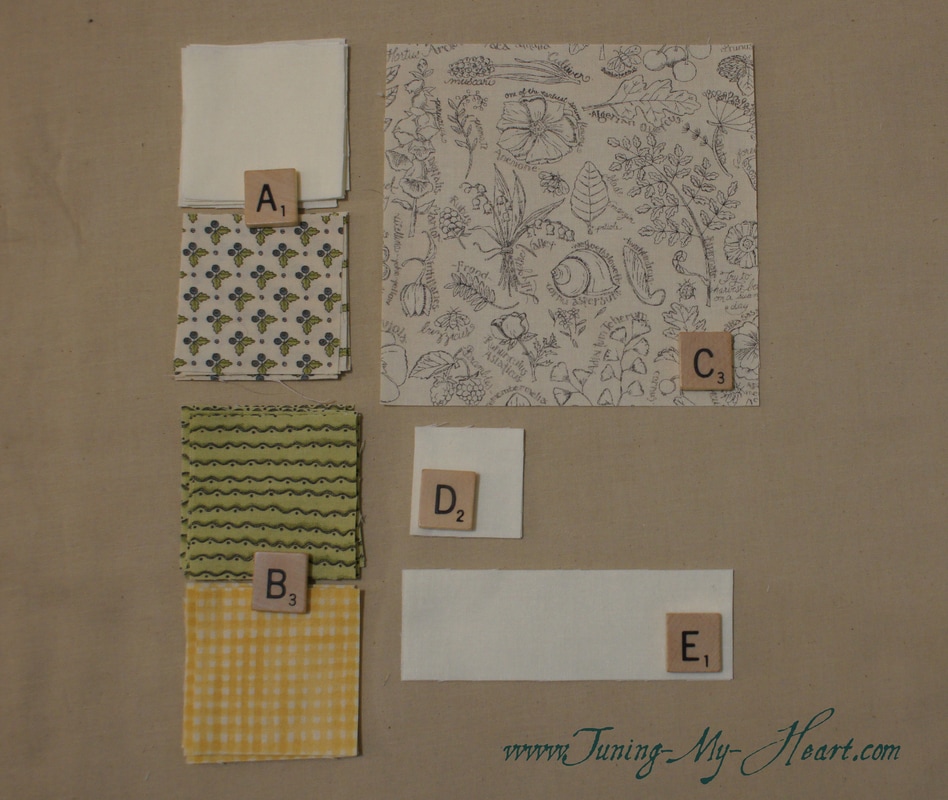 The first thing I did was draw a diagonal on the back of my A squares. Since this line will not show in the finished unit I like to use an ultra fine tip Sharpie. The very fine sandpaper underneath keeps the fabric from moving as I draw my line. 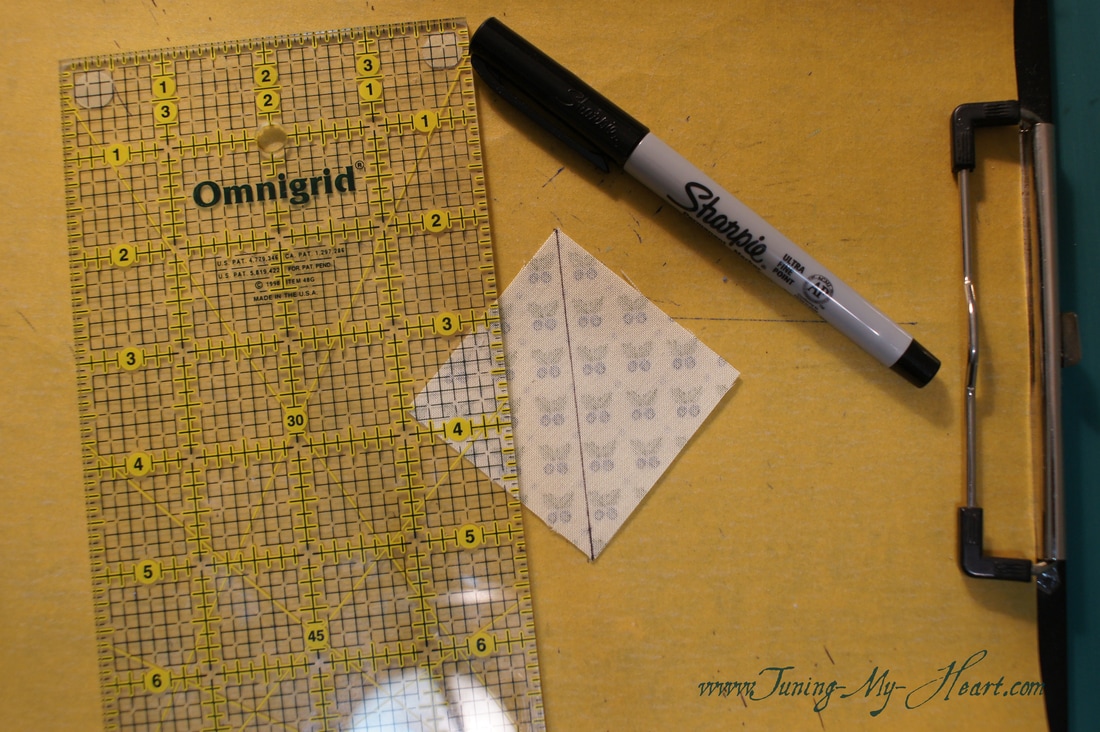 Now I can sew the A and B units together making sure I have the correct background fabric (A) to go with the B squares. 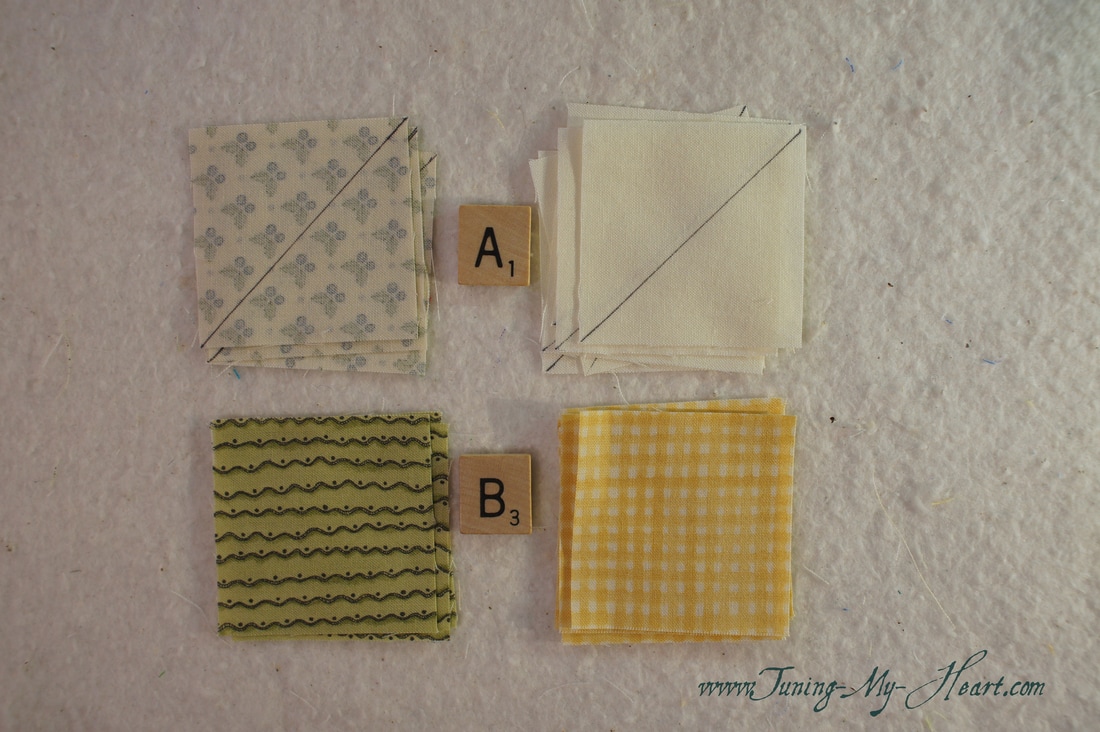 To make the HST units I will sew 1/4 inch from both sides of the drawn line. Chain-piecing these units is very handy, When you come to the end of one, just line up the next one and continue sewing. I prefer a smaller stitch length when piecing and have my needle in the down position. My stitch length is 2.1 or 12 stitches per inch.
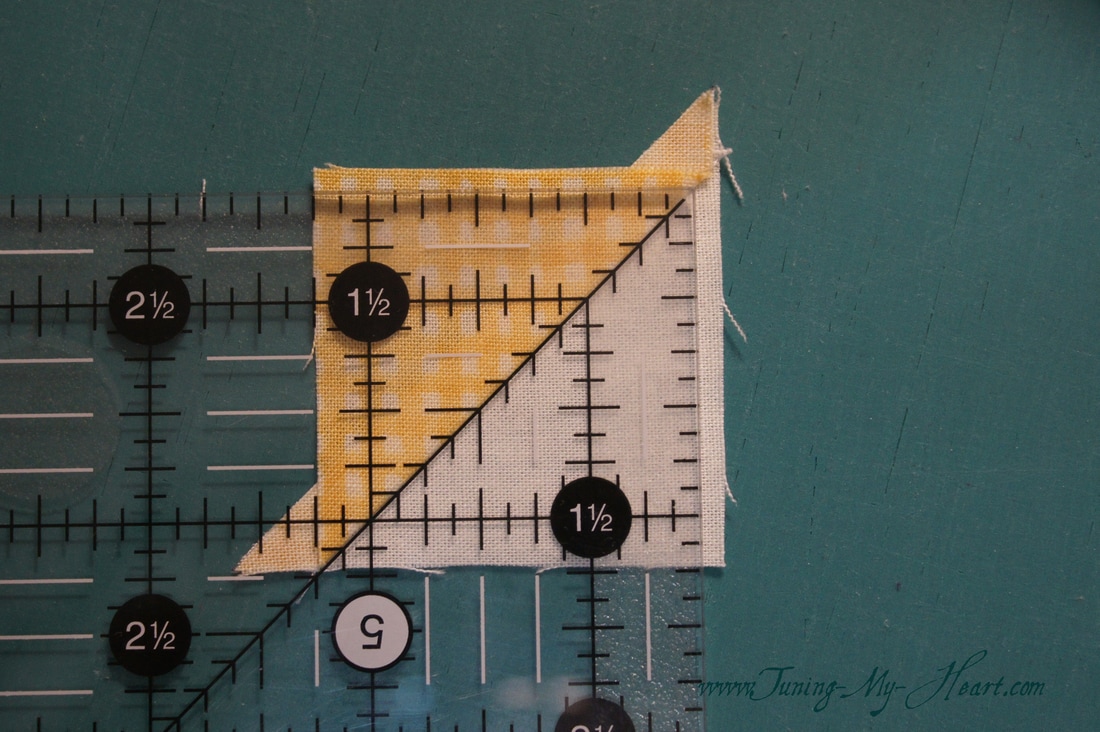
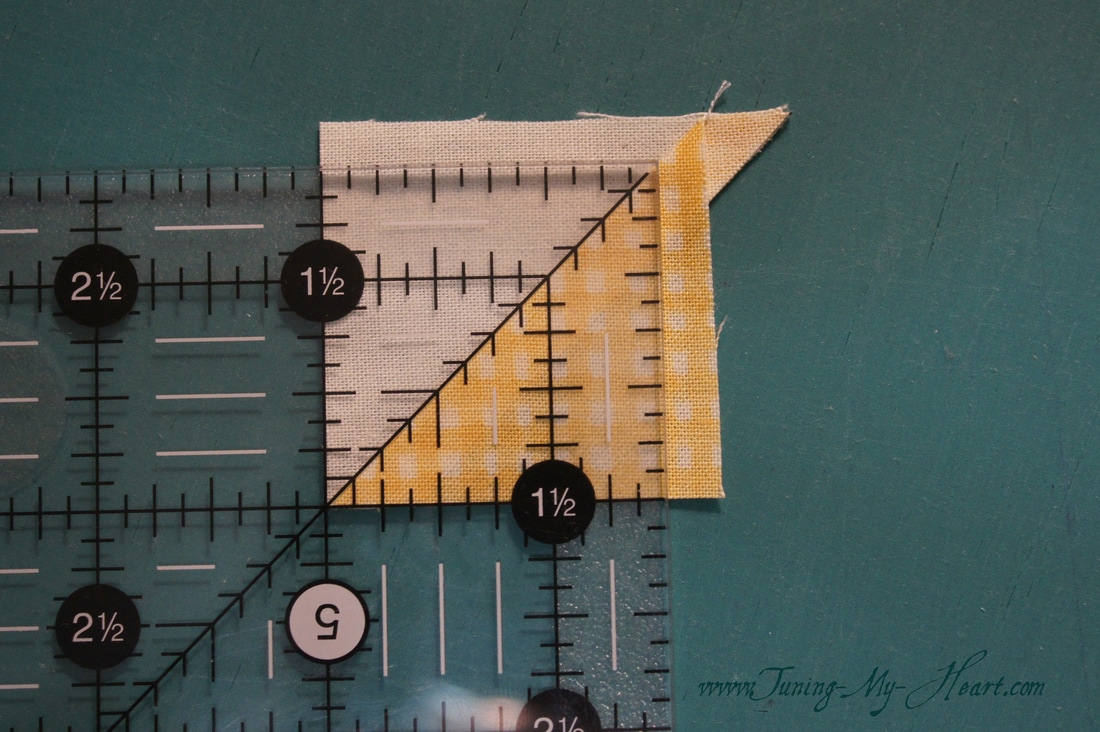
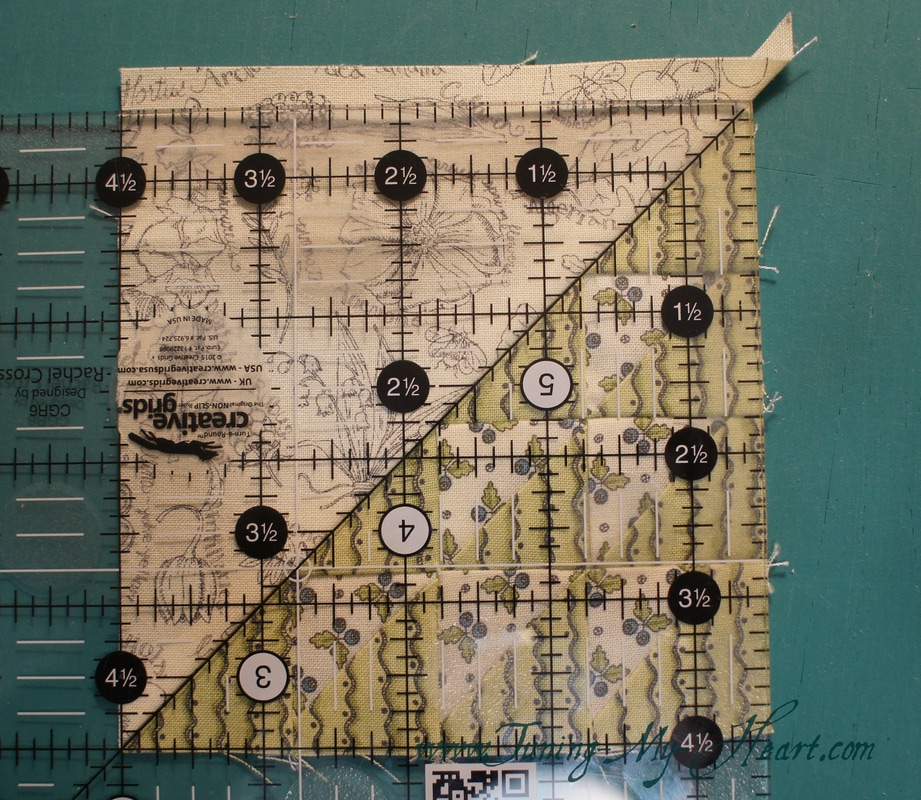
Once all of my A/B units are sewn I cut them apart on the drawn line. 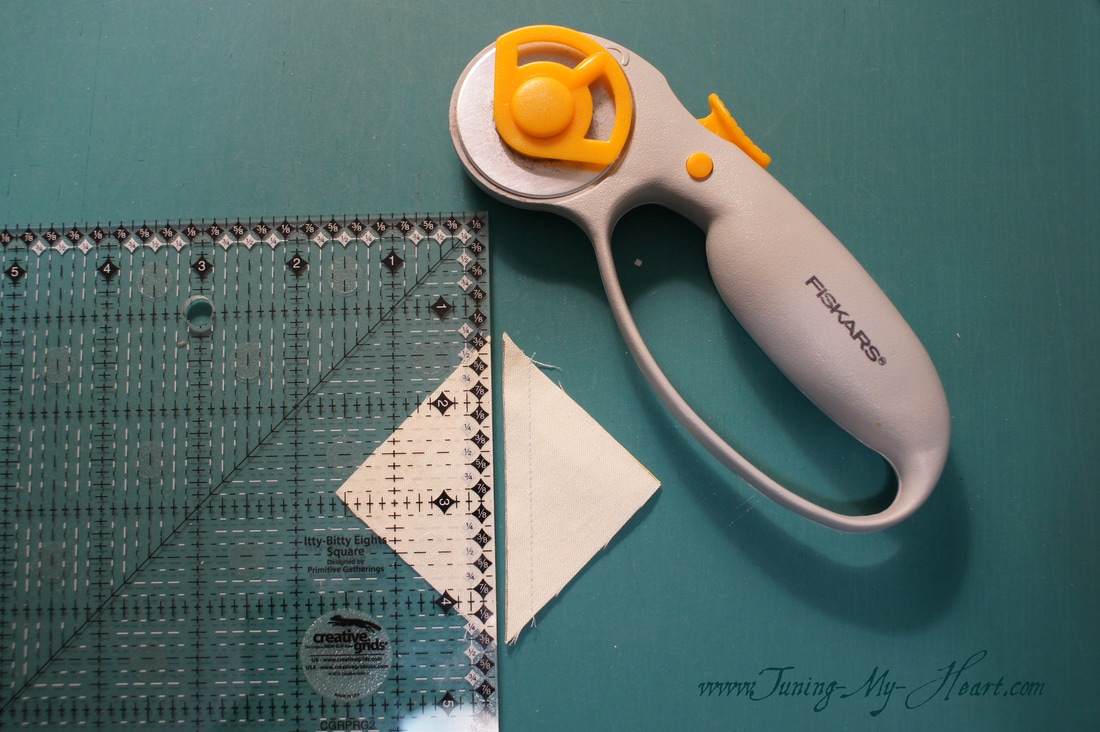 After pressing the A/B units open-pressing towards the dark side I can trim them to size. For this block I need to trim them to 1-1/2 inches. It is important to place the diagonal line of the ruler right on the seam of the two triangles. When that is lined up I trim away the first two sides and then rotate the unit and place the diagonal ruler mark back on the seam. The 1-1/2 inch marks on my ruler need to line up with the cut edges of the A/B unit. When trimmed I have the perfect size needed for Block 8.
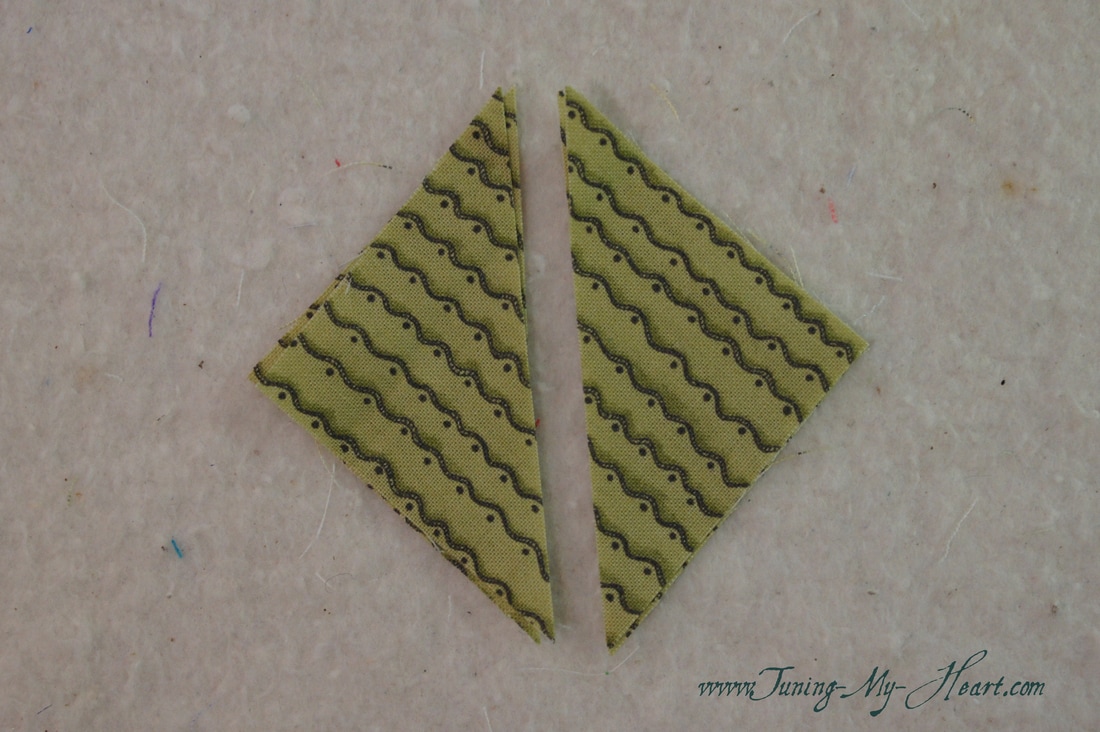
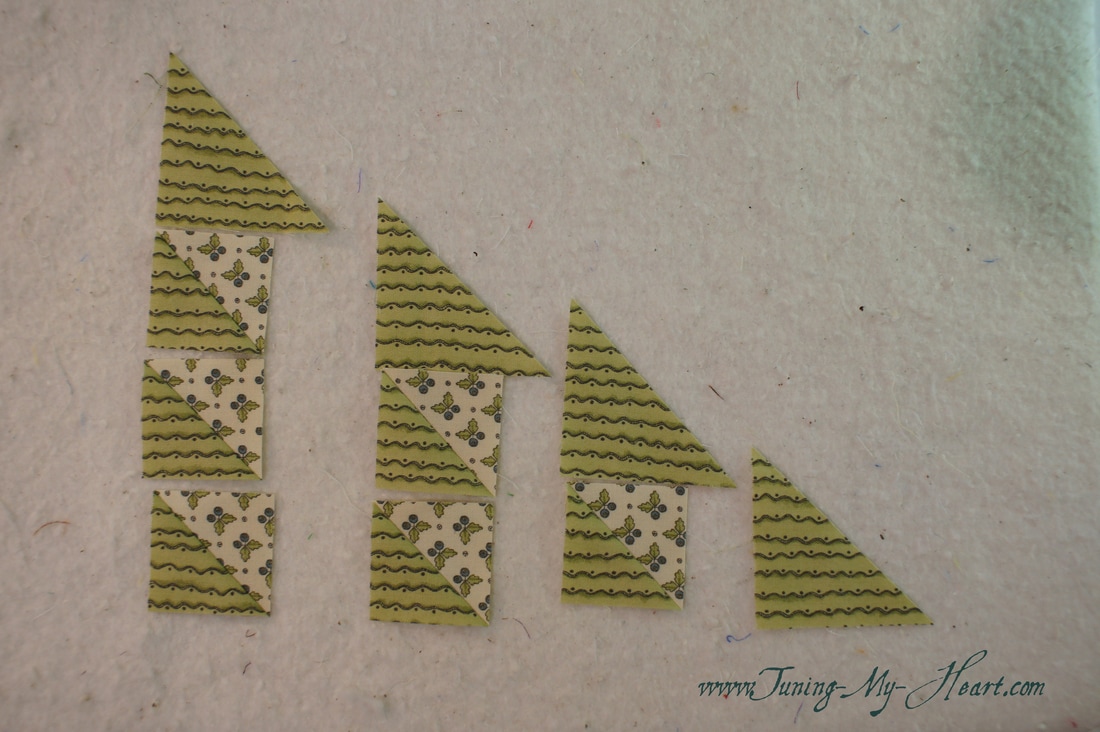
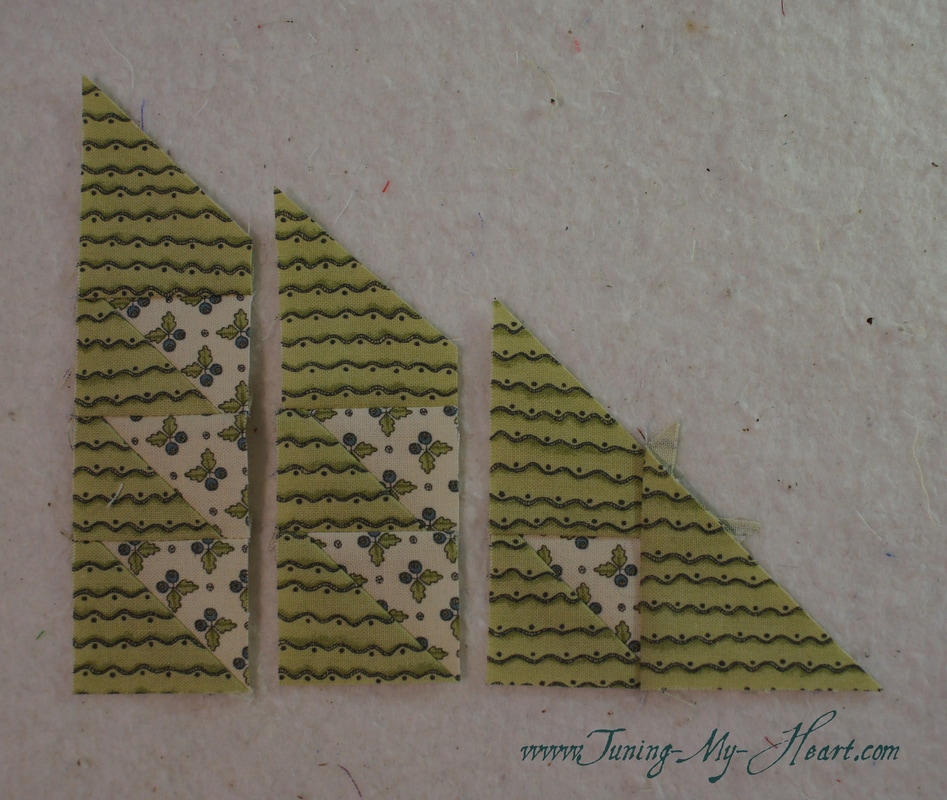
Before putting the basket together, I need to cut the last two B squares in half. I have everything laid out the way it needs to go. When I did this I realized I must prefer to work on the vertical as Betsy pieced hers horizontally-it really makes no difference. When it comes to pressing these I press in opposite directions. The first row was pressed toward the top, the second row pressed towards the bottom, and the third row pressed towards the top. When it comes time to sew these rows together to make the basket having the seams go in opposite directions will help to line everything up.
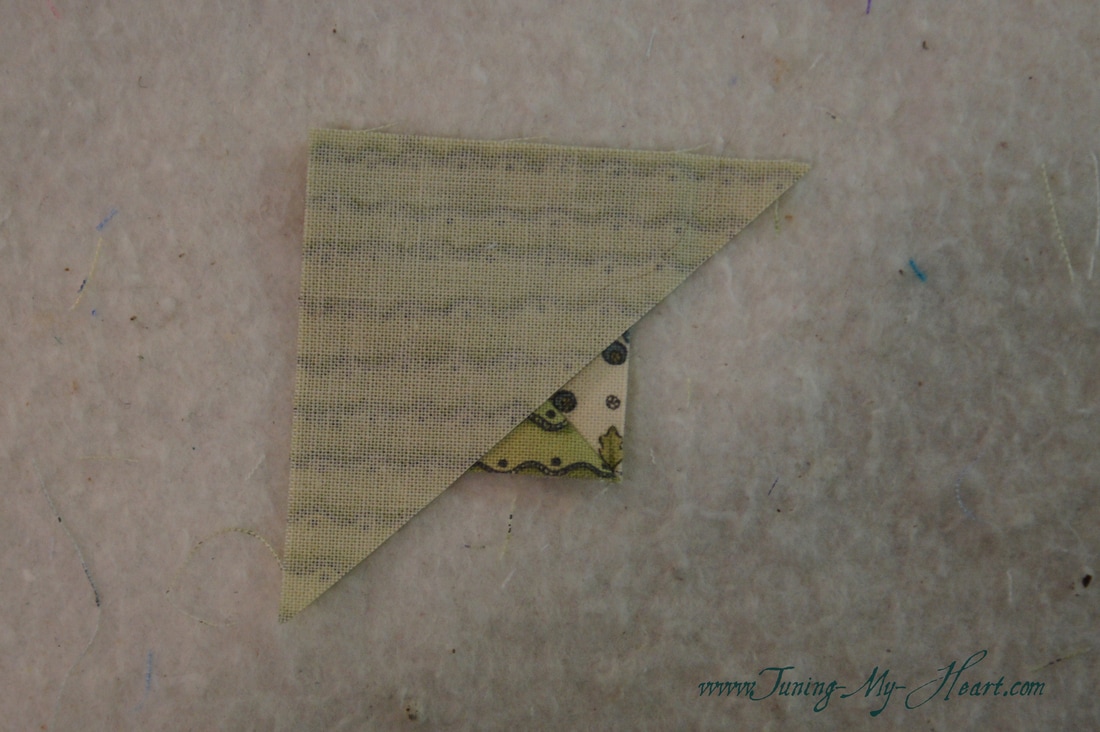
To add the triangles to the tops of my rows I just need to align the straight edges.
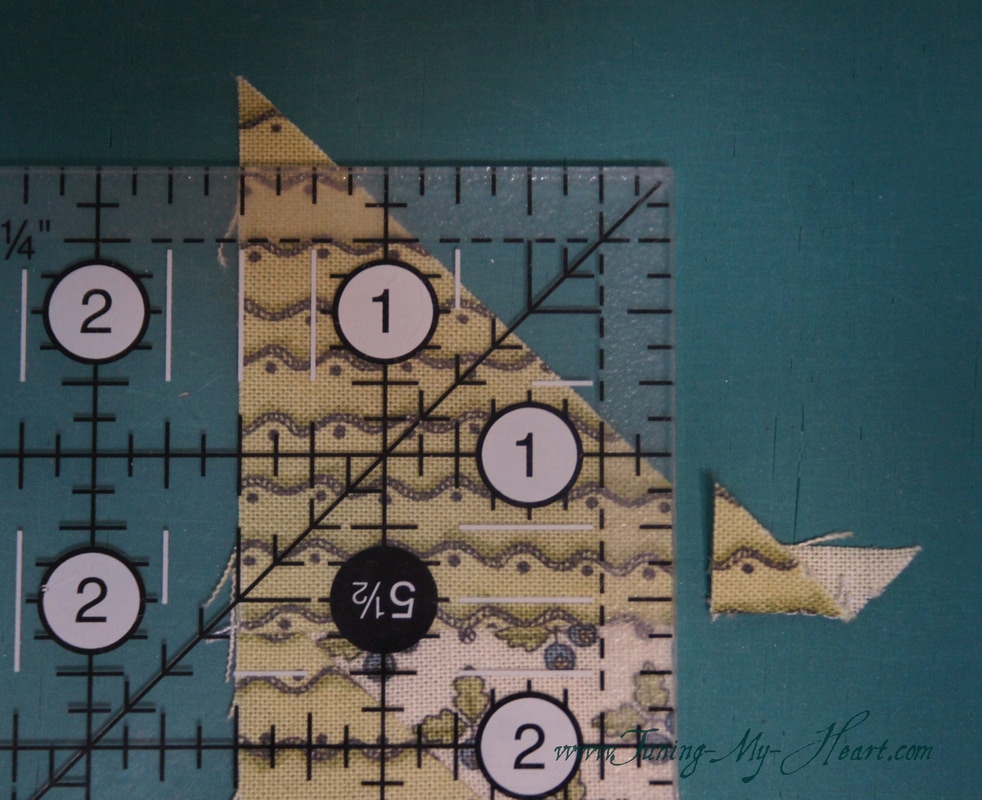
With my rows sewn together I trim off the little extra bits. These will now line up nicely.
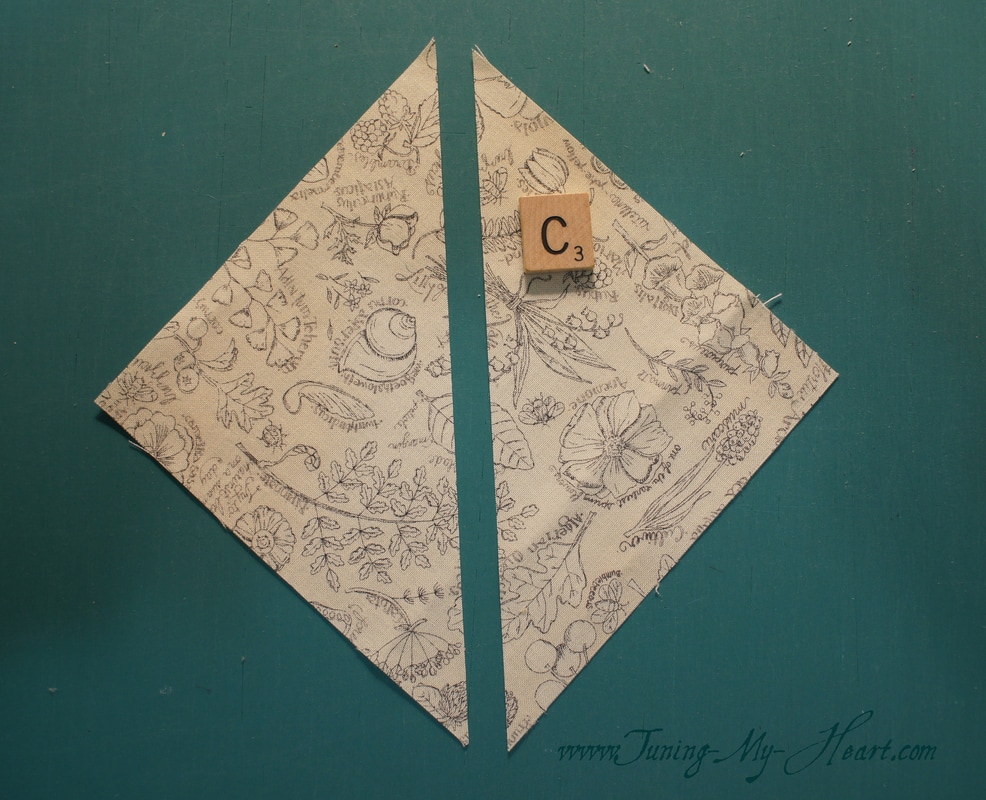
I am a pinner. Where the seam come together I place a pin. Having pressed the seams in opposite directions they will nest together very nicely and pretty much lock in place. Still, I have had them move on occasion so I pin. As I approach the pin I slow down to go over the seam. I sew until my needle comes right up to the pin then take my pin out (My needle in the down position) and continue sewing. I also focus on the needle landing right at the intersection of the previous stitch lines if they are visible. 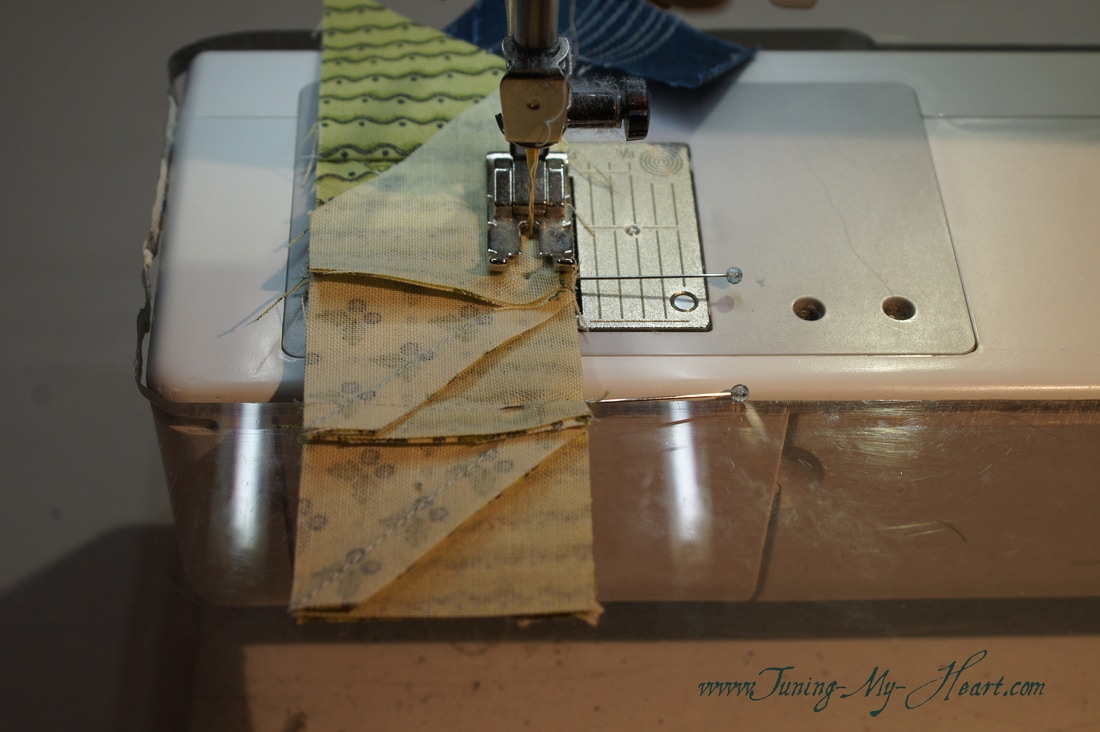 There can be a lot of bulk in these seams so I like to fan them out. In this case you can see how the middle section is not laying nicely-I can solve that by taking a little snip on one side of that seam, being careful not to clip into the stitching. 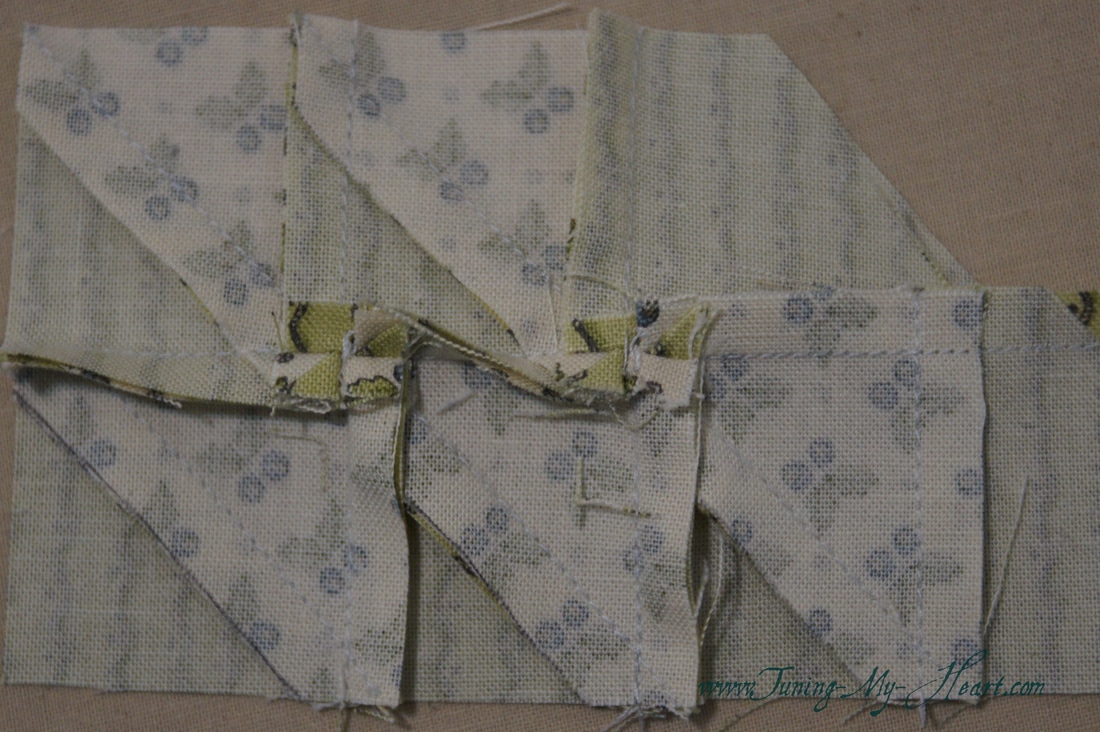 I am happy with it now. 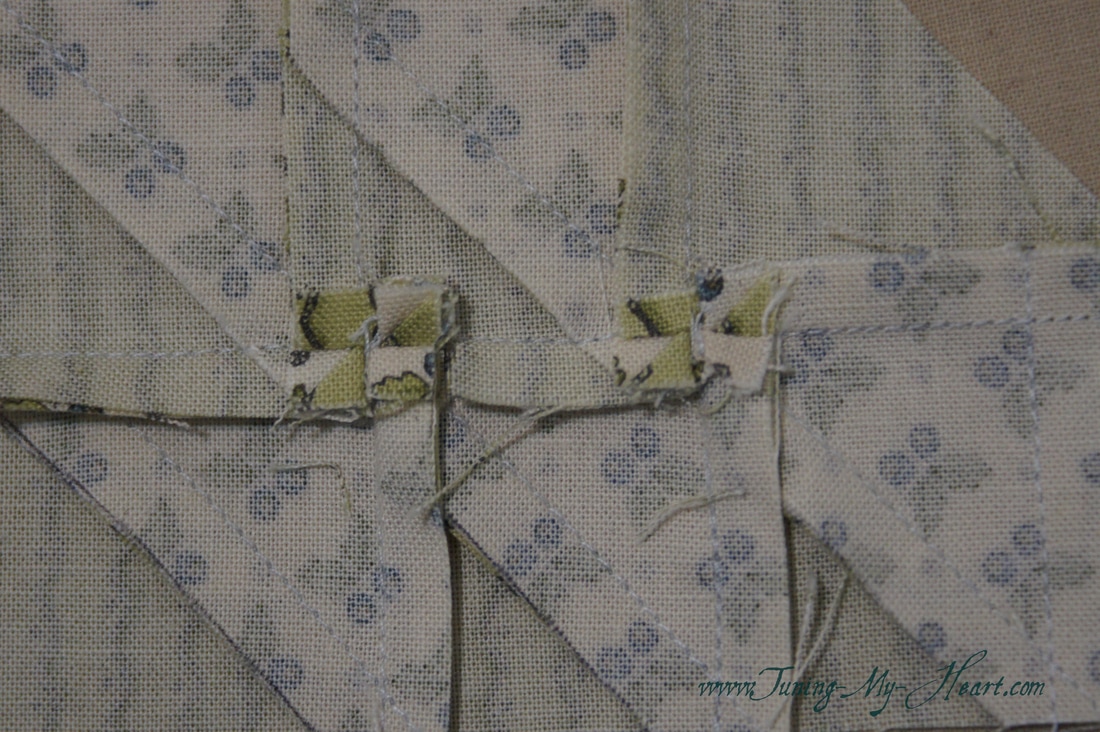 Because my triangles were larger than called for in the pattern I need to trim this edge of my basket. To do this I lay my ruler with the 1/4 inch mark right where the triangles intersect-right where the point is and trim off the extra. 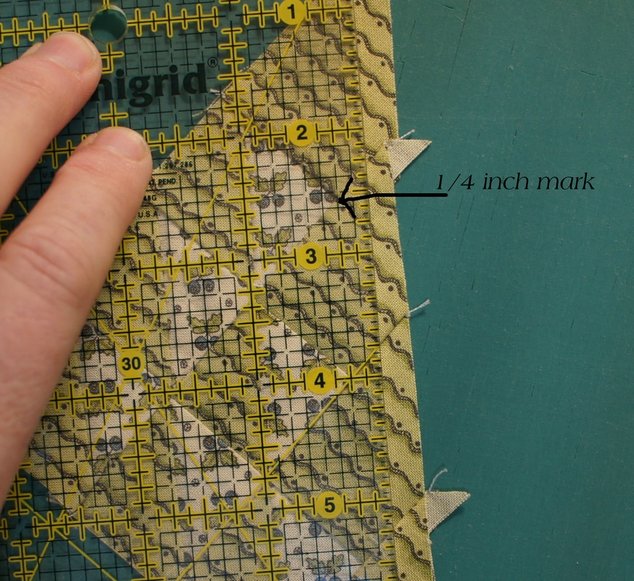 Time to cut my C square in half. This is now ready to attach to my basket unit. Because I have made the C square larger I need to trim the block to 4 1/2 inches after it is sewn in place. Once again, I make sure the diagonal line on my ruler lines up with the seam line.
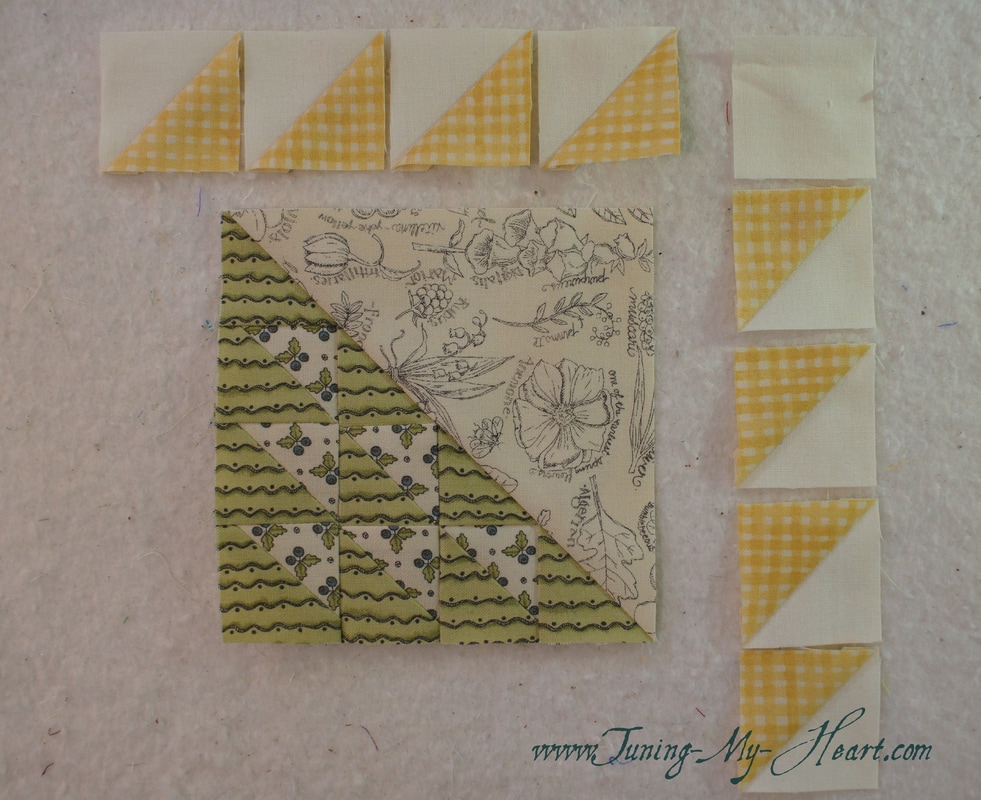
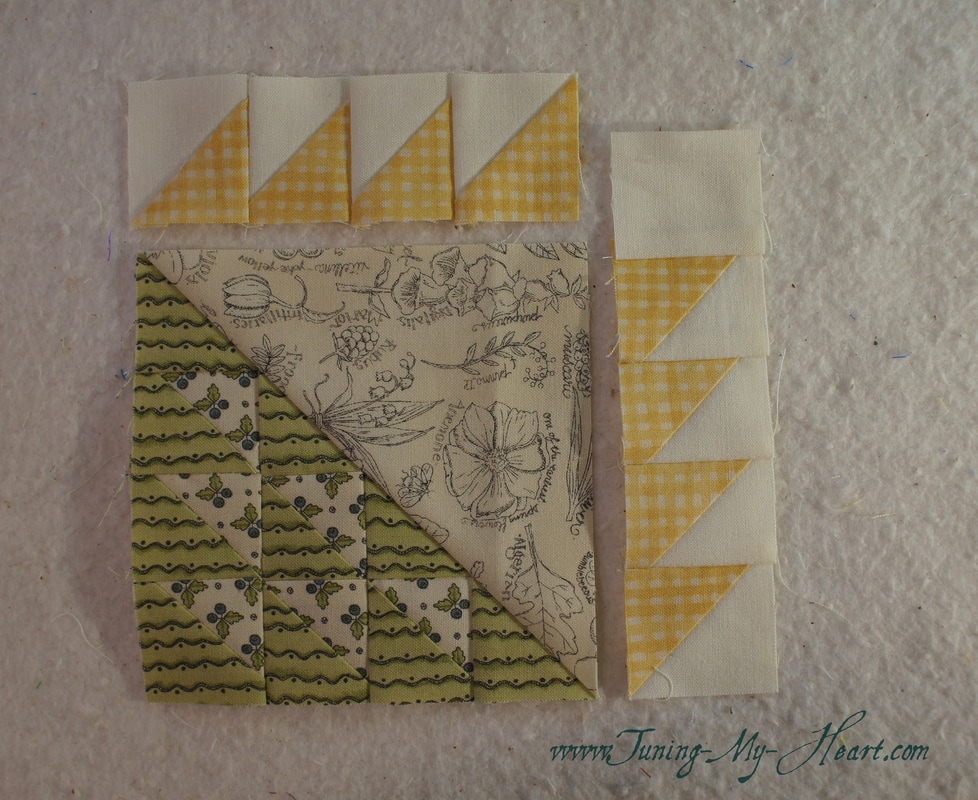
I like to lay out my pieces to make sure I have them going in the right direction. Now I can sew the basket handle units together. I pressed these towards the direction they naturally wanted to go.
I am starting to get excited now! The final two units are ready to be sewn together. 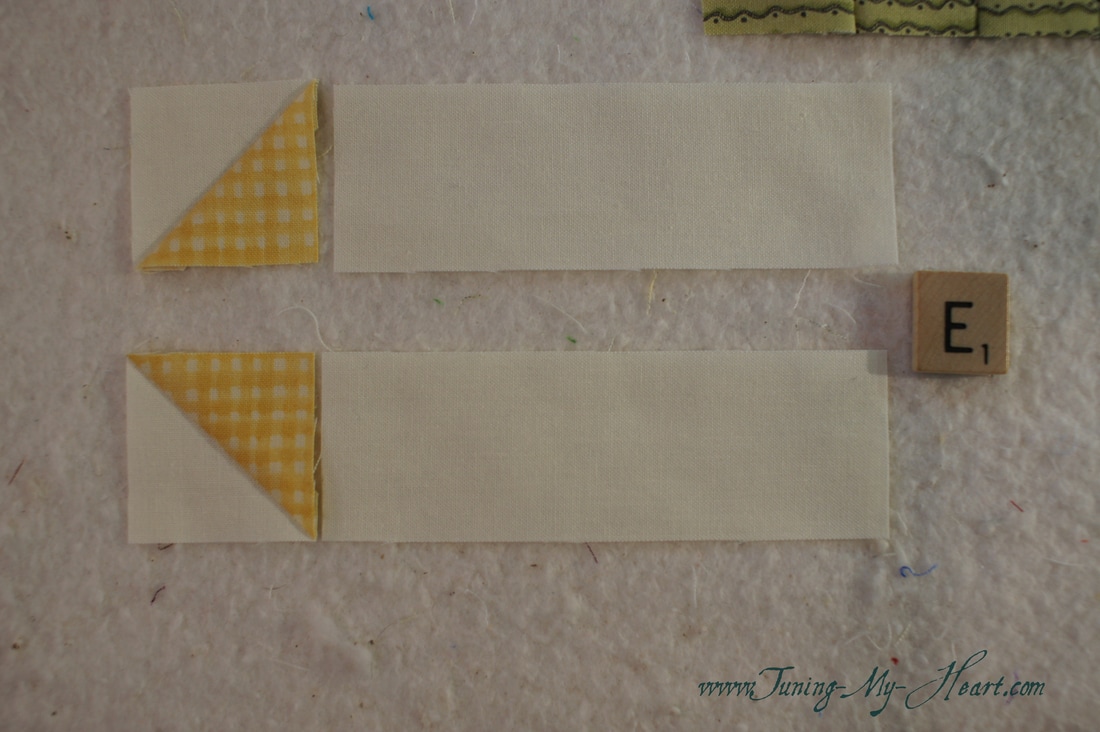 Everything is in place! 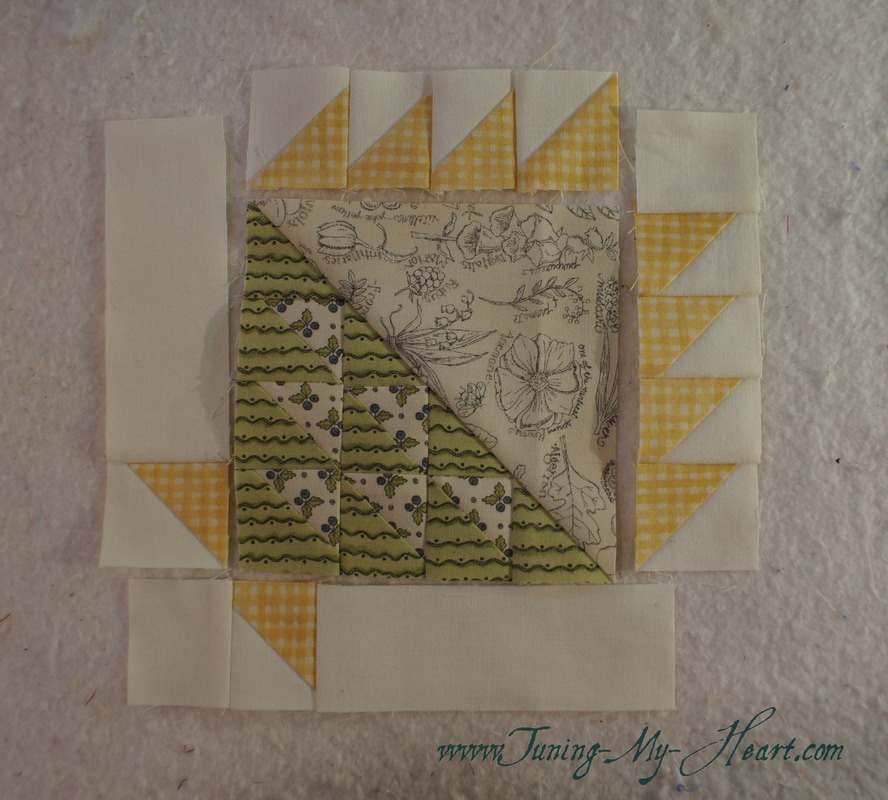 I start by stitching the basket handles in place (Unit # 2 and #3 in the directions) When I come to these intersections I slow way down and aim my needle for that point of the triangle where the previous seams come together. 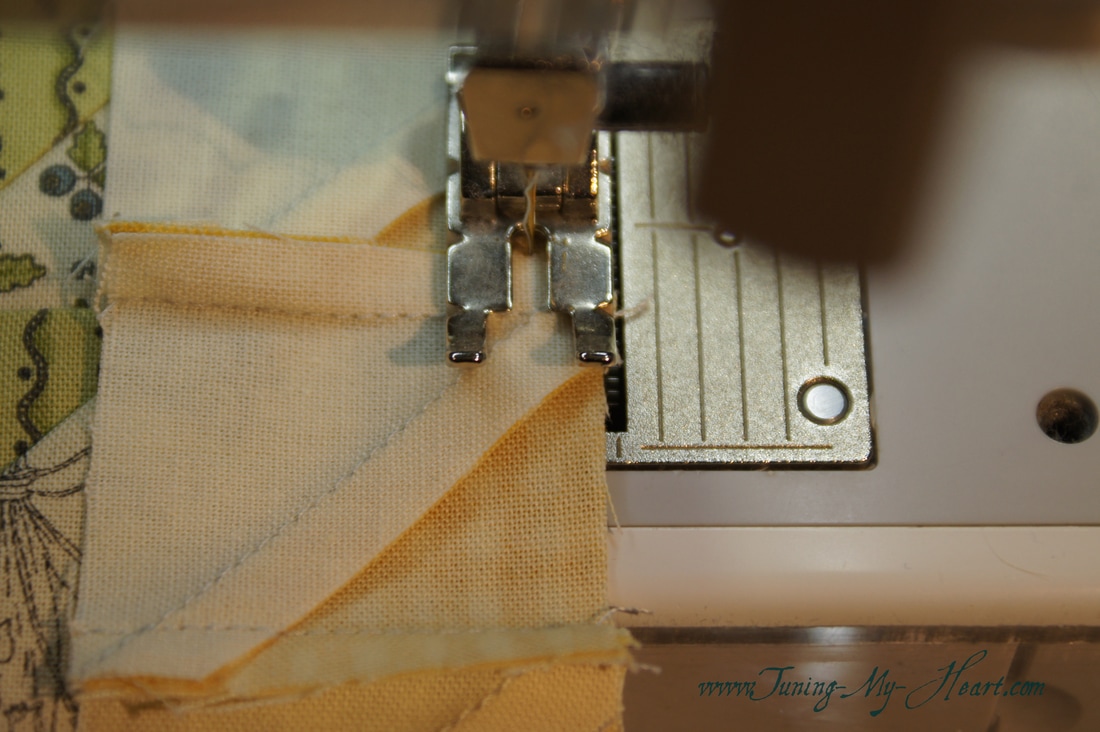 I really do not like pressing towards a unit that has a lot of seams so I have pressed towards the big triangle. 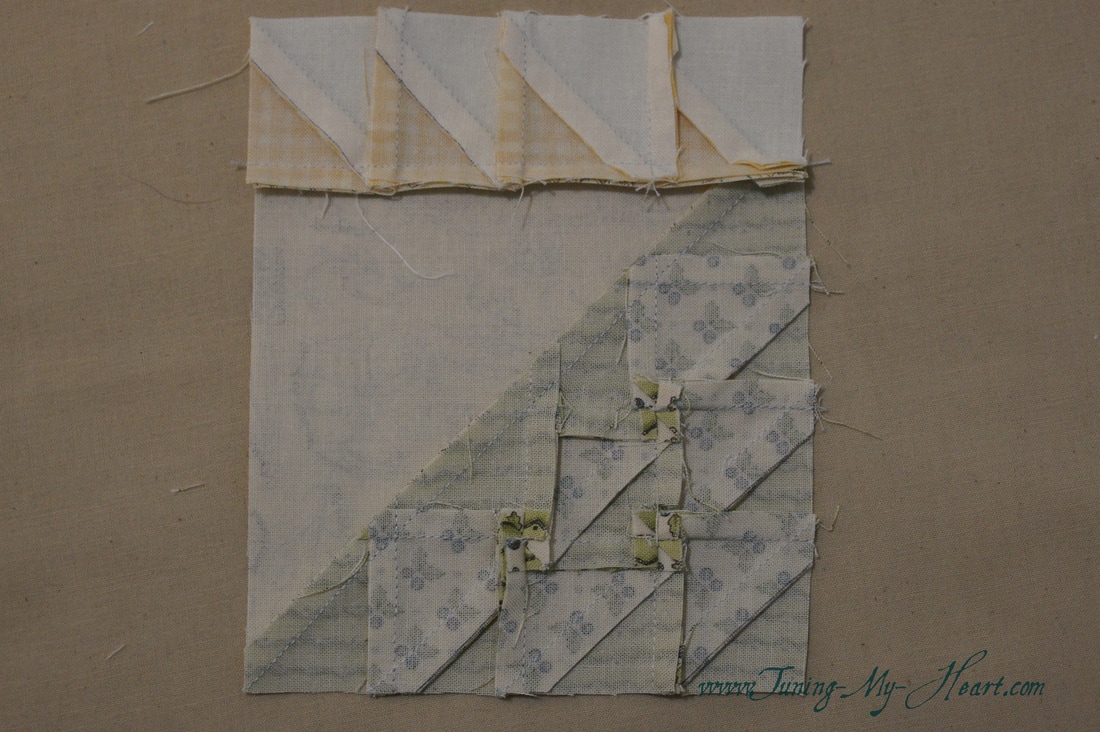 The basket handles are on. Time to add the last two units. 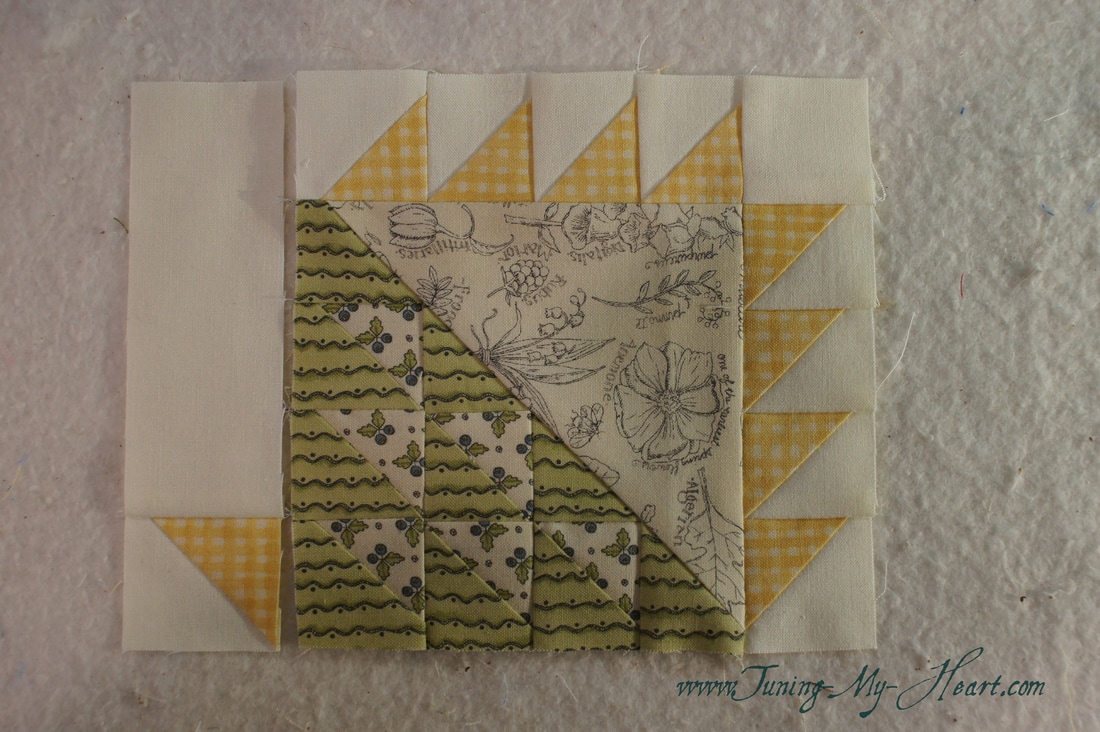 I am pretty pleased with how it came out. 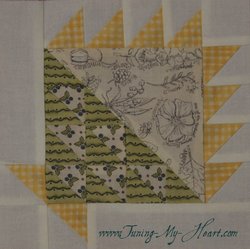 And it now joins my other blocks... 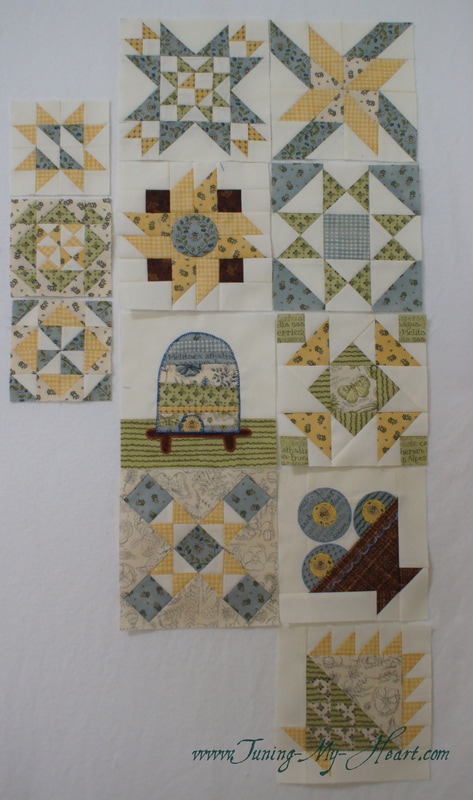 I hope you have fun making your own Basket of Triangles. Until next time... Happy Quilting! 
Shelley
4/29/2017 12:15:14 pm
Thank you for this tutorial! I also like to cut big and trim down. I am doing almost exactly this but I learned something from you so thank you! Do you by any chance have any tips on the alternate block that is set on point? I can't remember which one it is, maybe 4? I can't wrap my head around that one.
Debra
4/30/2017 10:41:47 pm
Hi Shelley,
Yvette hallbick
4/29/2017 02:02:31 pm
This is great. Do you have tutorials for the other blocks?
Debra
4/30/2017 10:43:14 pm
Hi Yvette,
Antoinetta Du Preez
4/30/2017 04:17:02 am
Loved the way you give your lessons. So clear to understand.
Debra
4/30/2017 10:44:00 pm
Thank you Antoinetta. I appreciate that.
beth
5/3/2017 04:38:47 pm
thank you so much, I find the pattern and then I find you to learn. You are a great teacher.
Debra
5/4/2017 09:04:21 am
Thank you, Beth. Comments are closed.
|

Welcome to the site of Debra Davis-a woman who loves the Lord and loves to quilt.
My other blog where I share about my walk of faith:
Sitting at His Feet 
|


 RSS Feed