|
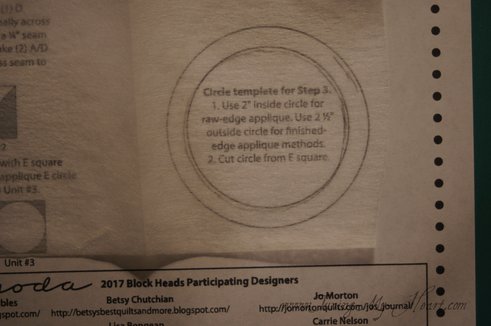
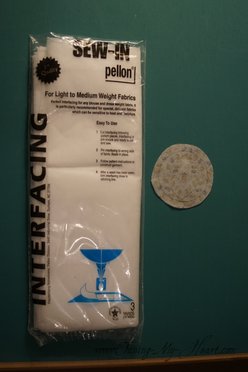
What could be better than a block that has both piecing and applique. I love combining the two. Block 6 was designed by Carrie Nelson and you can get the pattern by visiting Carrie's blog post which is linked here: http://blog.modafabrics.com/2017/04/blockheads-block-6/ Now that I am all caught up, it was hard waiting for the next block to be released on Wednesday. Of course that does give me time to work on some other things that were being neglected last week. I am using Garden Notes designed by Kathy Schmitz for Moda with a cream Bella Solid for the background as the main fabrics in my blocks. This fabric line is the touch of spring to brighten my day here in the still cold and snowy Pacific Northwest. A sunflower will be a great addition to my garden of blocks. I did feel like this sunflower needed a touch of brown so found a perfect one in my stash that even has a bit of yellow in it.  I decided to begin with the applique circle. I have wanted to try a new method for some time now and this seemed the perfect opportunity. I traced the inner circle onto a piece of Pella lightweight interfacing and cut around it with a 1/4 inch seam allowance. I layered my fabric right side up and placed the interfacing on top.
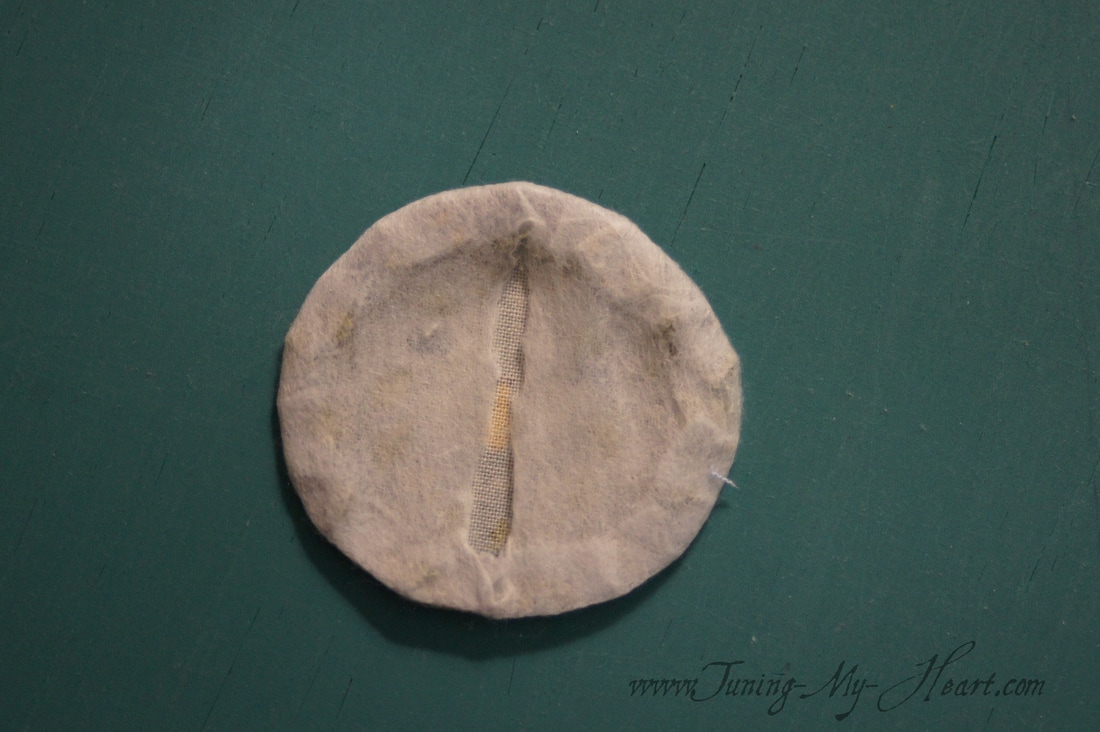
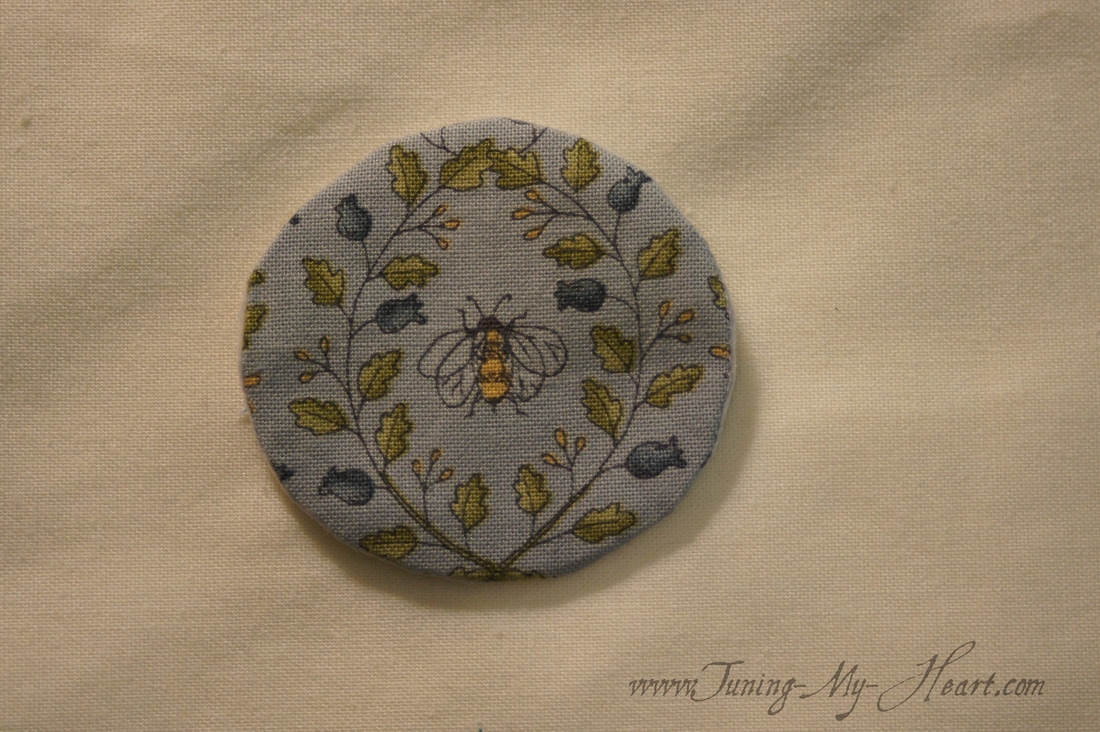
With a lot of stopping and turning I stitched on the line that was drawn on the interfacing and then clipped around the curves. 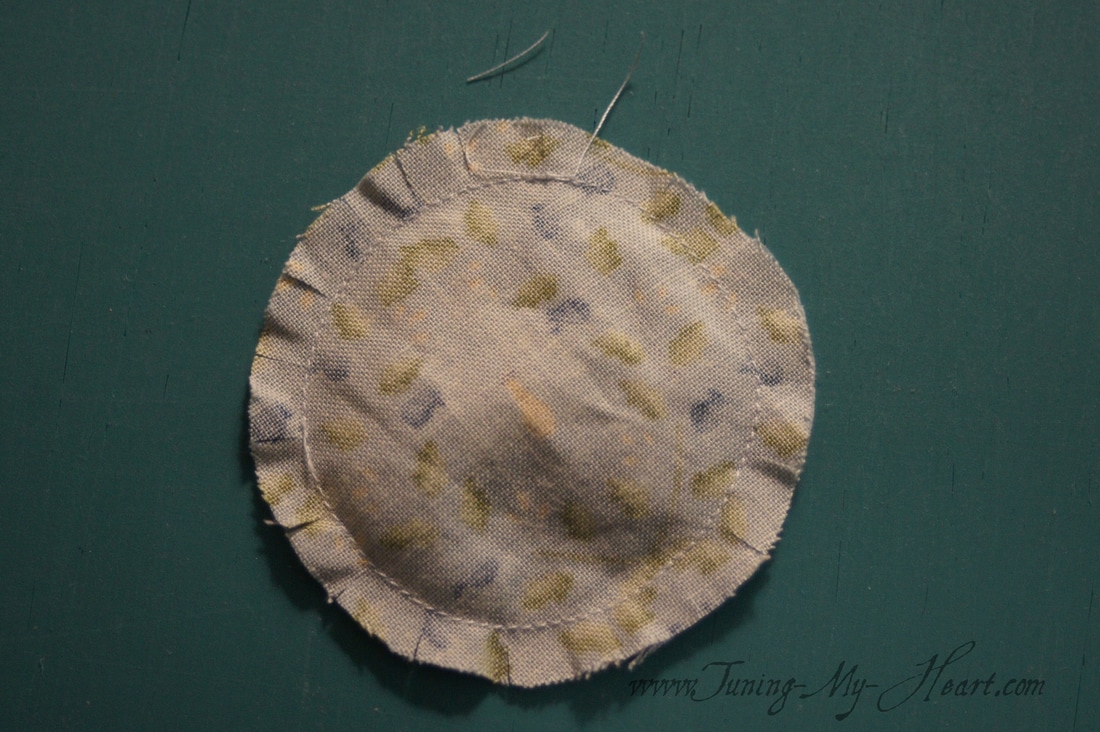 Now I need to turn it rightside out; a careful incision on the interfacing will allow me to do that. 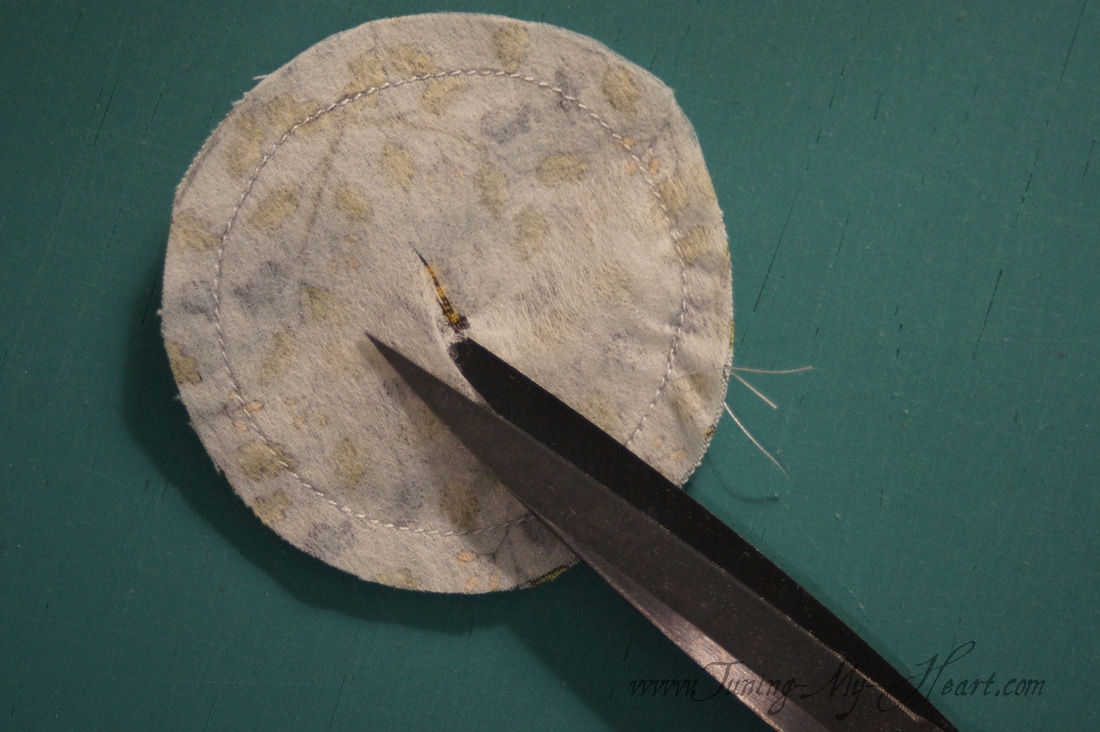 A view from the back and the front after turning and pressing. A sunflower just needed a bee in the middle.
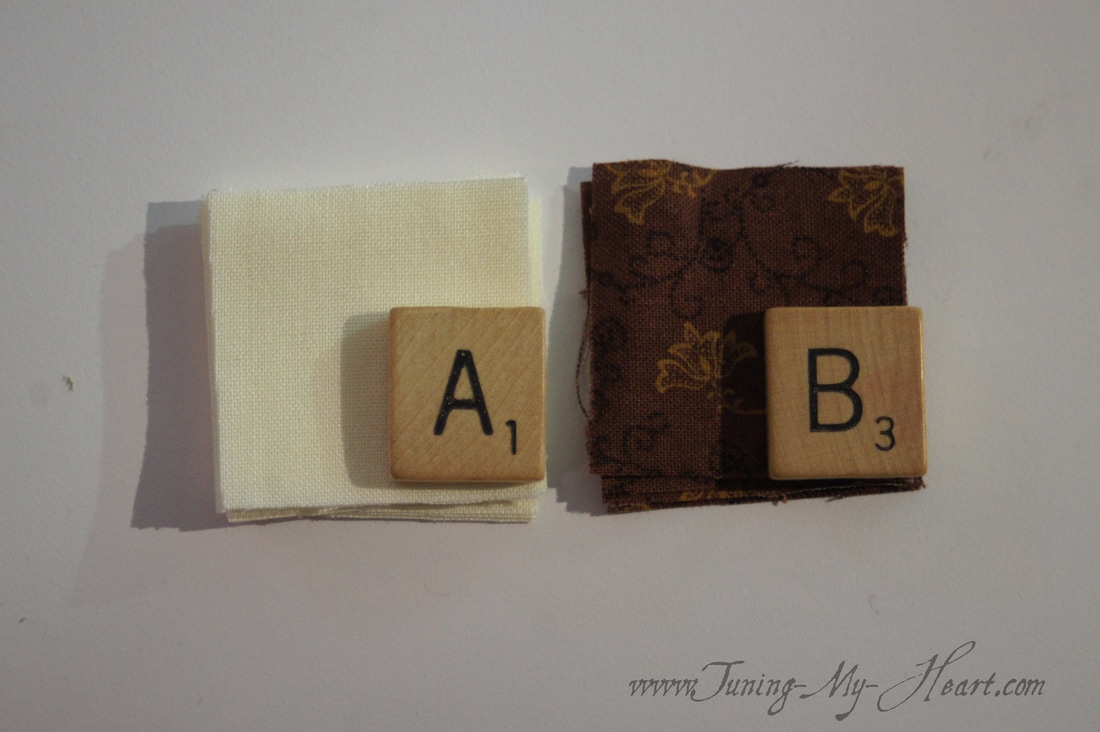
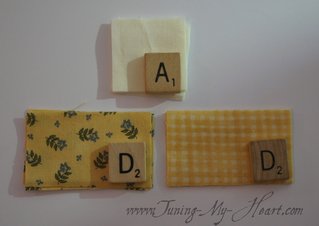
I will set my circle aside now, while I work on piecing the rest of the block. I have two D rectangles stacks as I decided I wanted to add another dimension to this block. I cut 4 of each for my D rectangles. 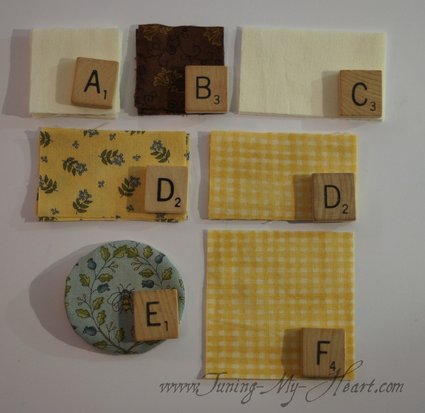 First thing to do is join my A and B squares.
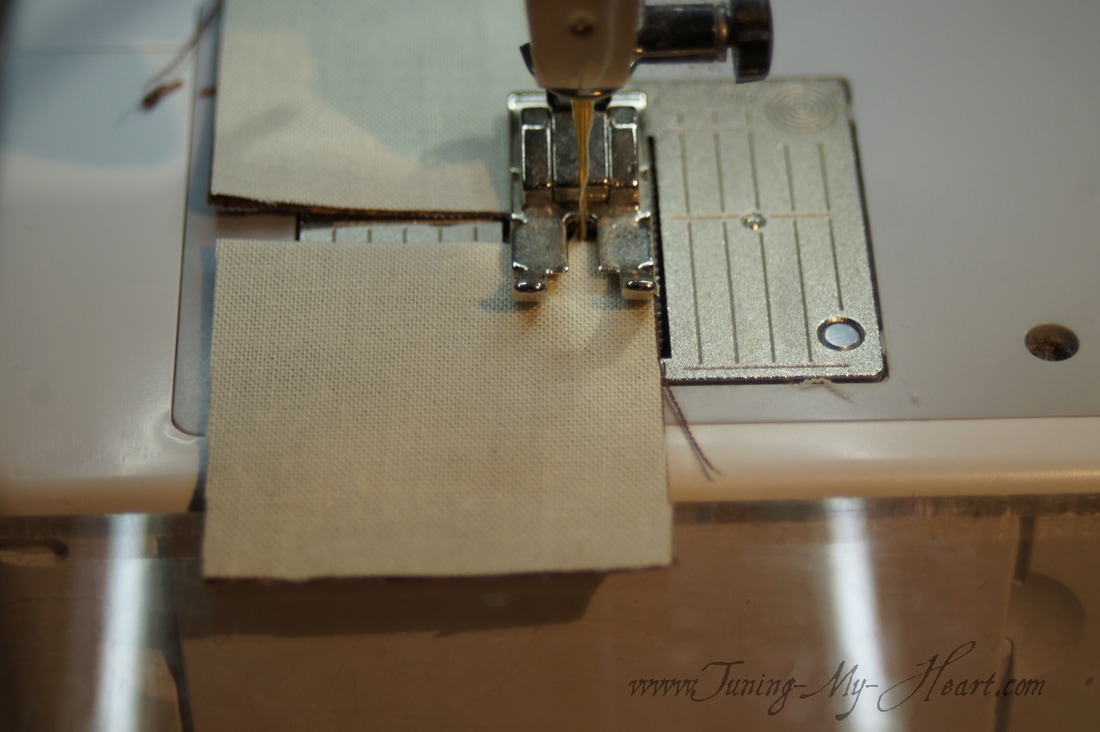
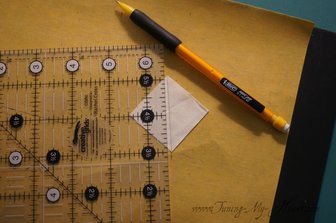
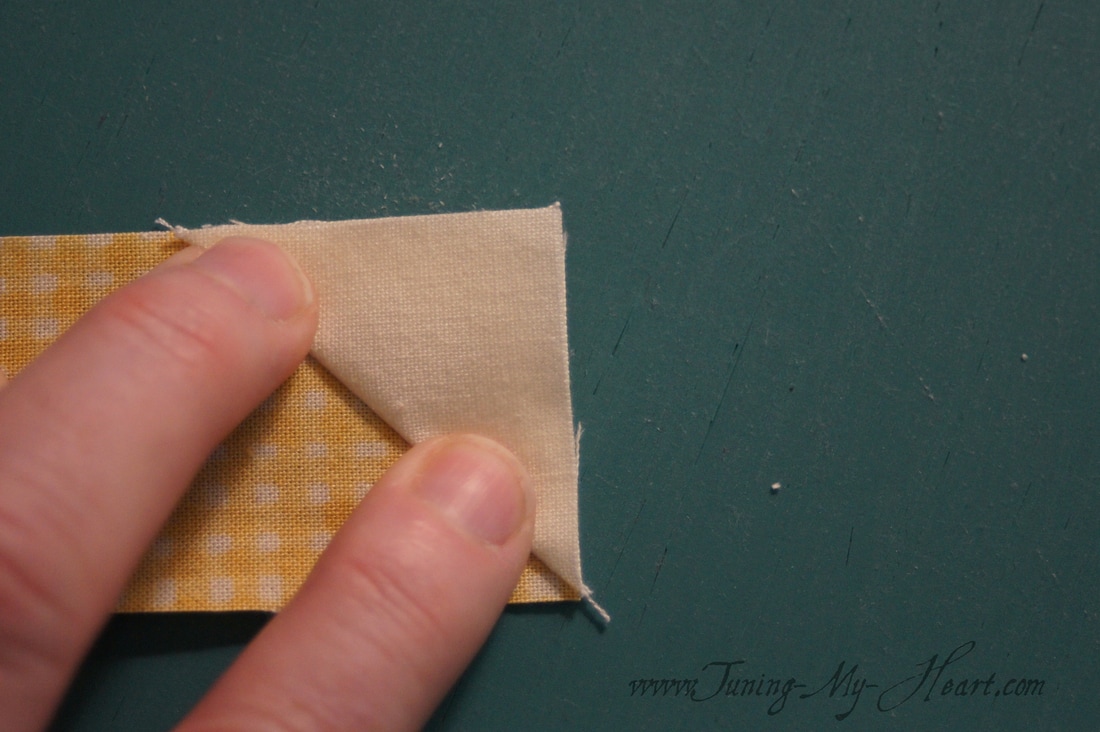
These units will measure 2 1/2 x 1 1/2. 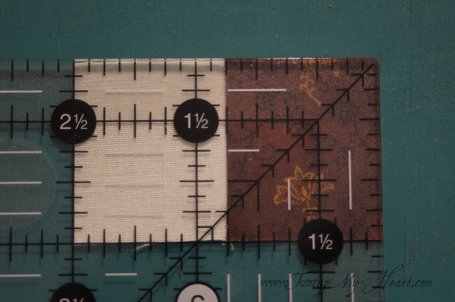 Being careful about the placement of my A/B unit I need add a C rectangle to each. 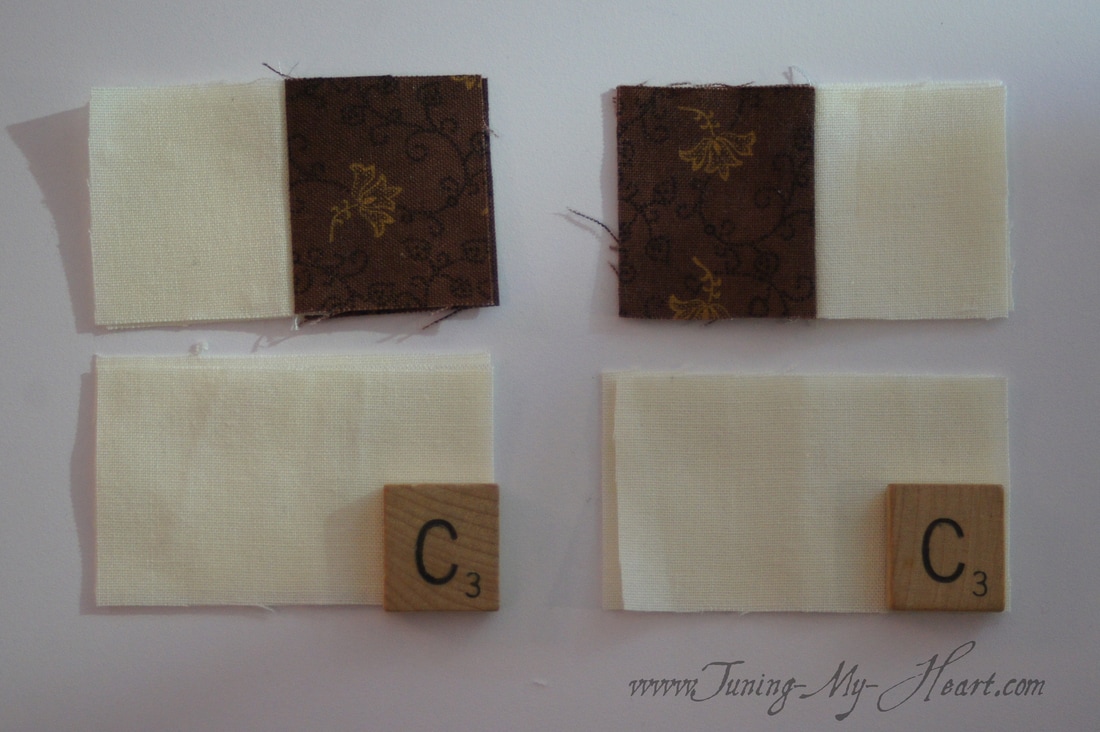 These units should now measure 2 1/2 x 2 1/2 inches. 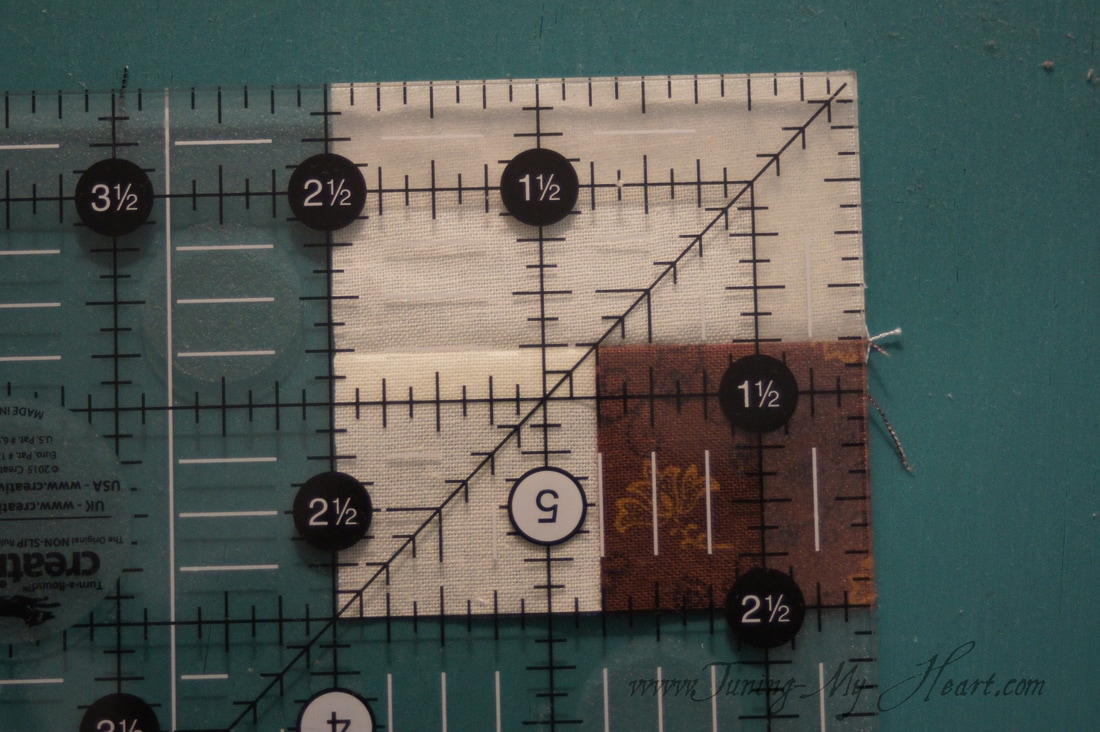 A little note about my machine settings. I like to use a small stitch length. On my machine a length of 1.9 equals 12-13 stitches per inch. I like this size because my seam ripper...I think I have decided to call him Jack like another quilter in the group... Jack will still fit easily into the stitch on those not so rare occasions that I need to remove some stitches. And I love the needle down position! 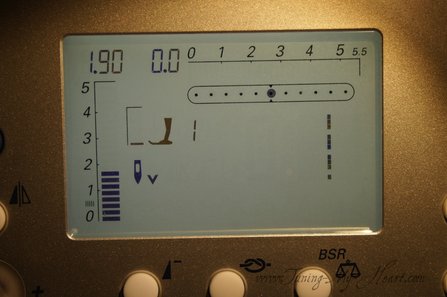 Okay, back to the Sunflower block. I use the remaining A squares to make the petal units. Whenever I need to sew on the diagonal I take the time to mark a line on the back of my squares. This is a line that will stay in the quilt so I use a pencil to make my marks as it does not show through.
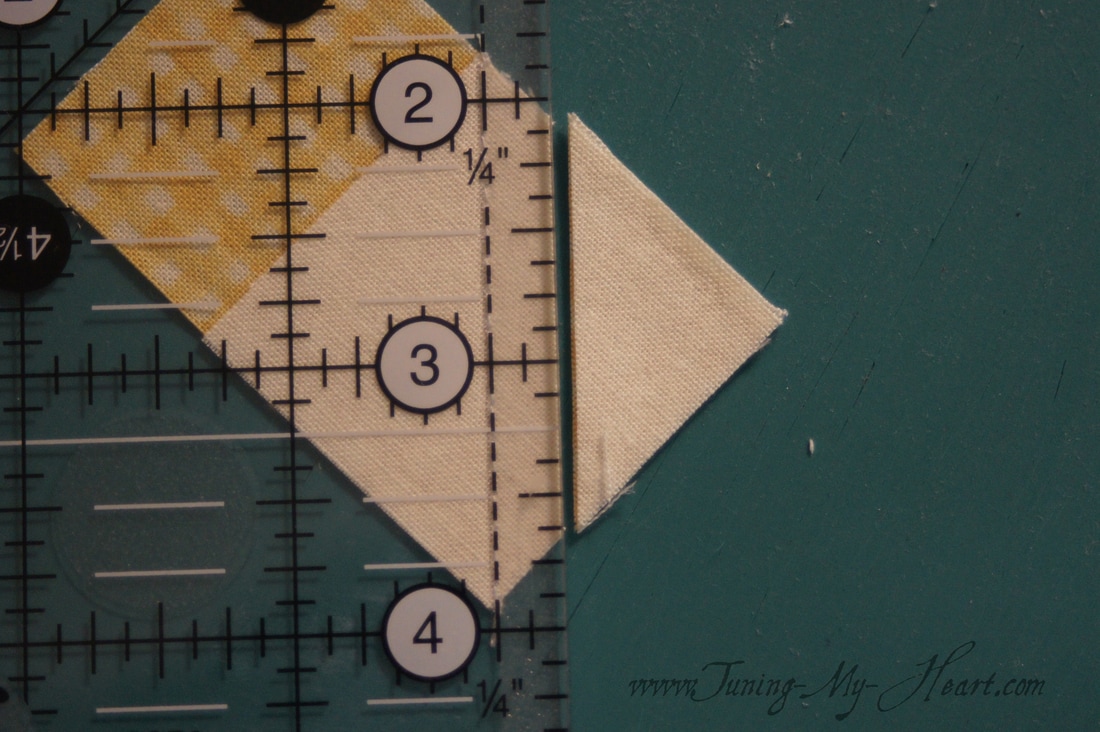
Each D rectangle needs an A square added. For these units to come out correctly all of the diagonals need to go in the same direction. 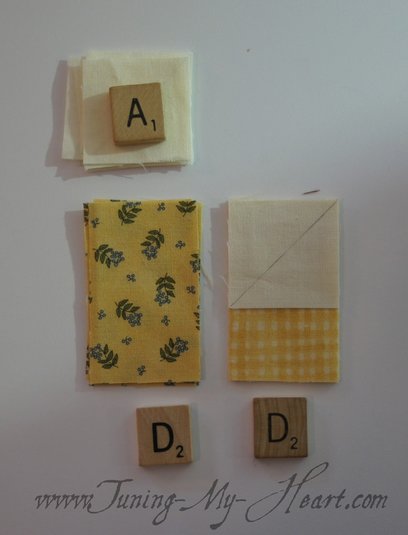 Notice where my needle is here and the way I have laid the unit for chain piecing. It is important to have the needle land just to the right of the drawn line. 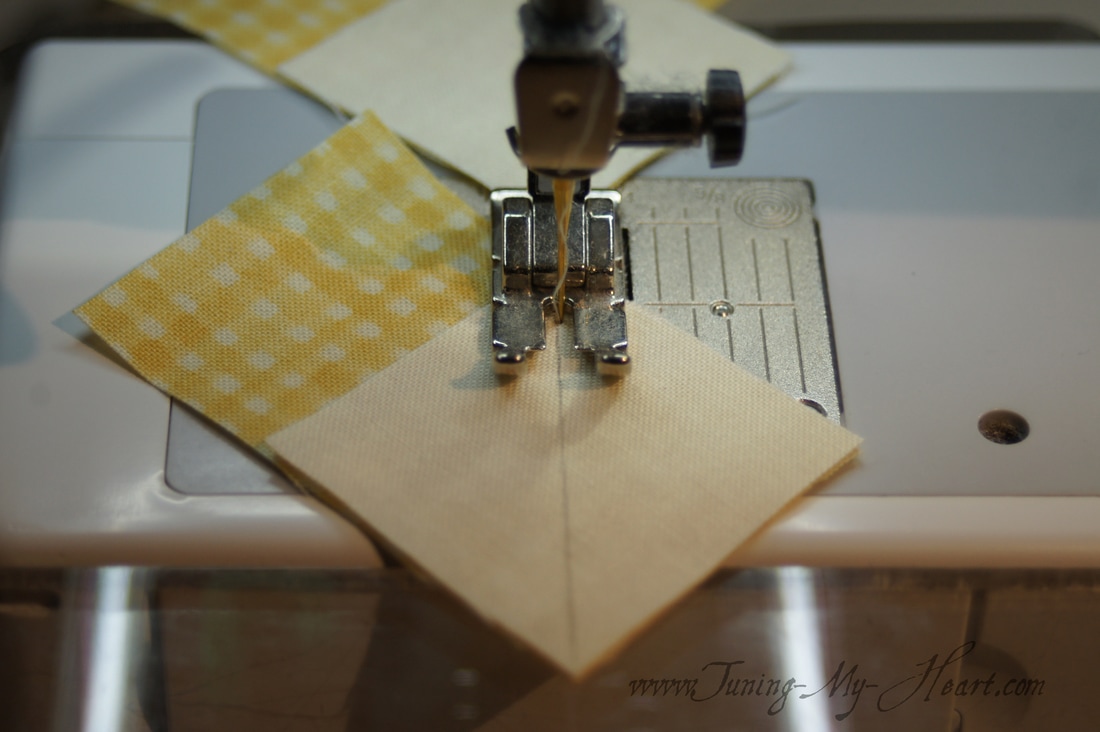 Before trimming off the extra bits I flip the triangle over to make sure it completely covers the rectangle underneath. If everything looks good I trim 1/4 inch from my seam line.
I wanted to show you what can happen when your stitching does not fall to the right of you drawn line. That little bit of black showing through shows how you lose fabric to the thread width and the fold when you try to stitch right on the line. Though it does not look like much, especially with these smaller blocks, it can be enough to throw off your finished size. 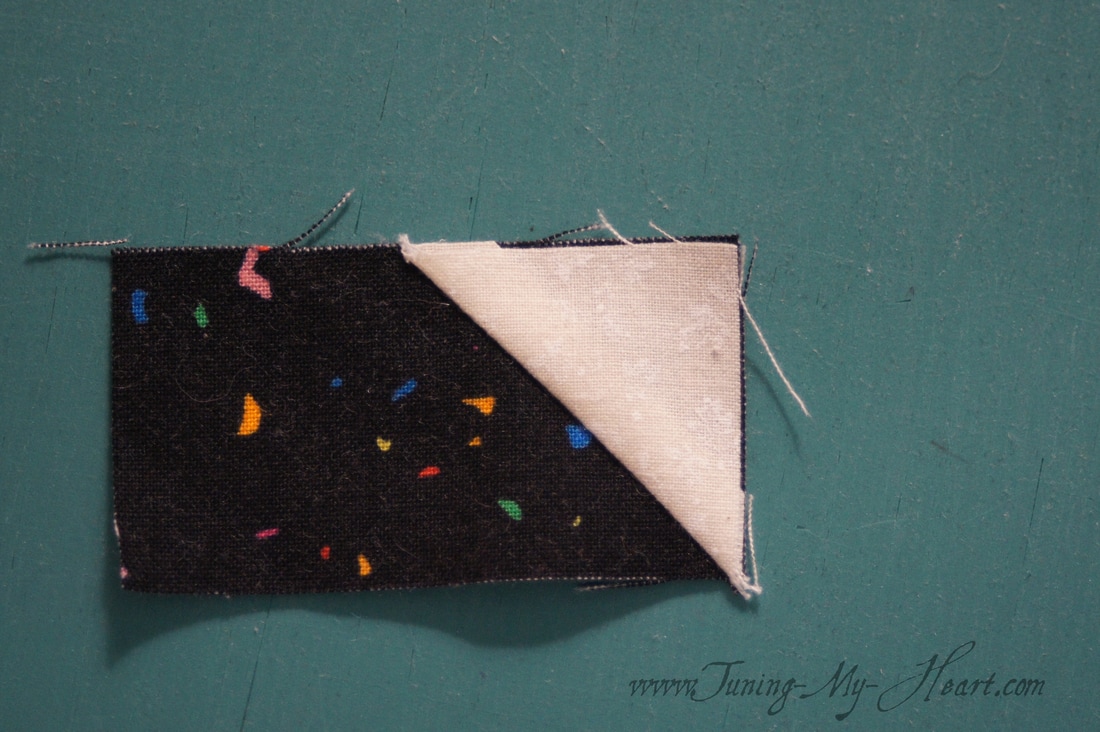 Back to our units: These all get pressed towards the rectangle and should measure 2 1/2 x 1 1/2 inches. 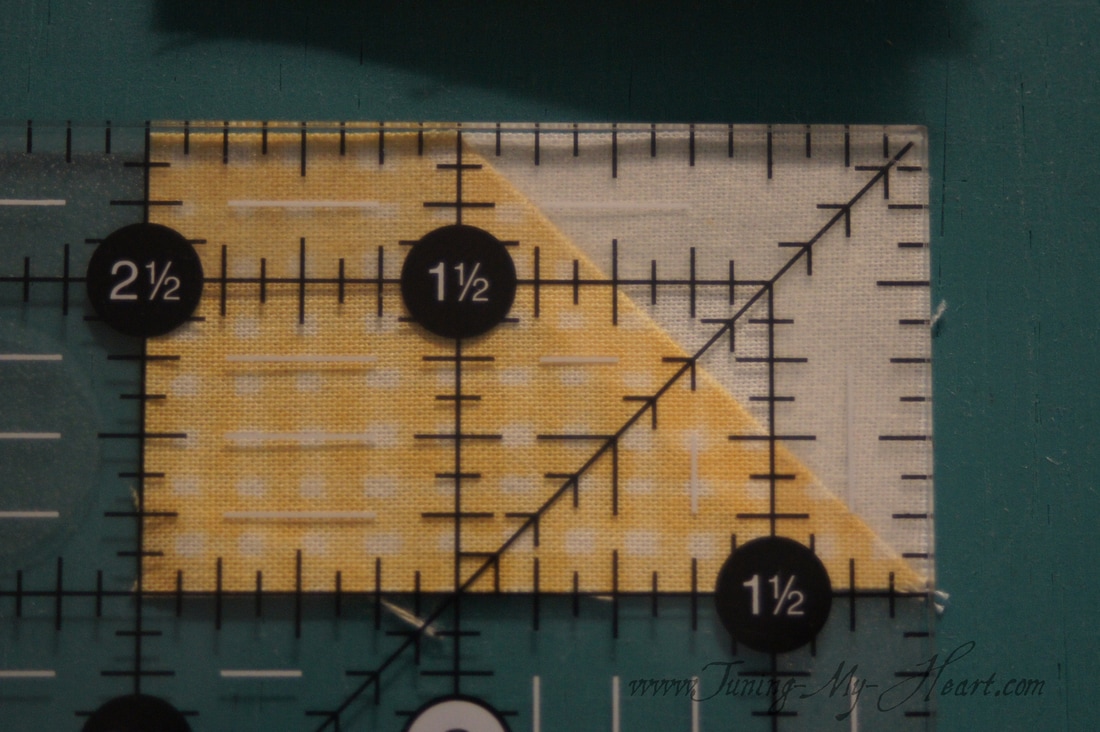 Now I can sew my "petals" together. I want all of my check fabric to be on the same side for the look I am going for. 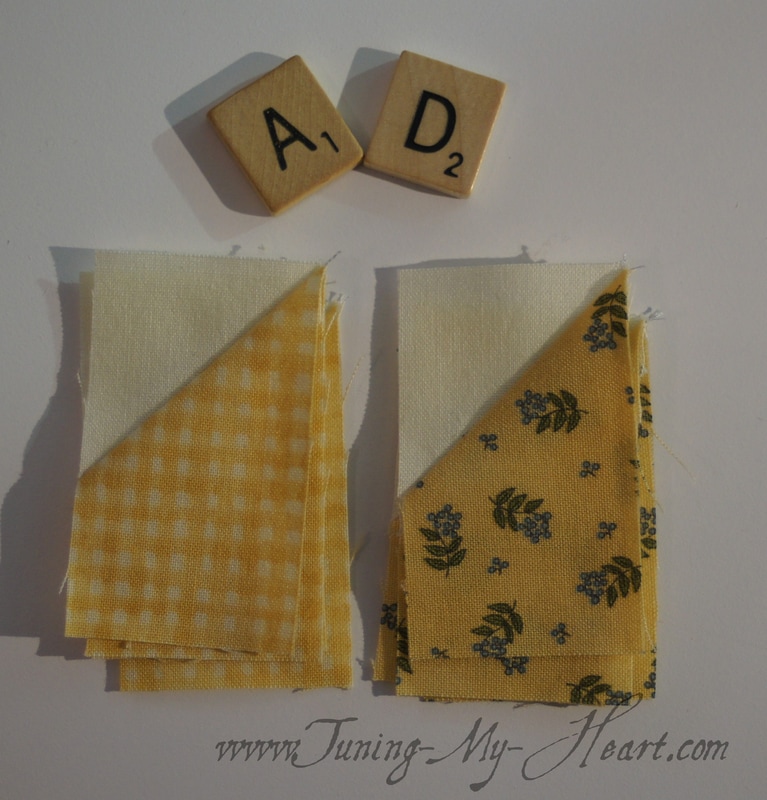 I pressed these so that the point at the top would not be folded over on itself. I like not having a bulky seam at that top point. 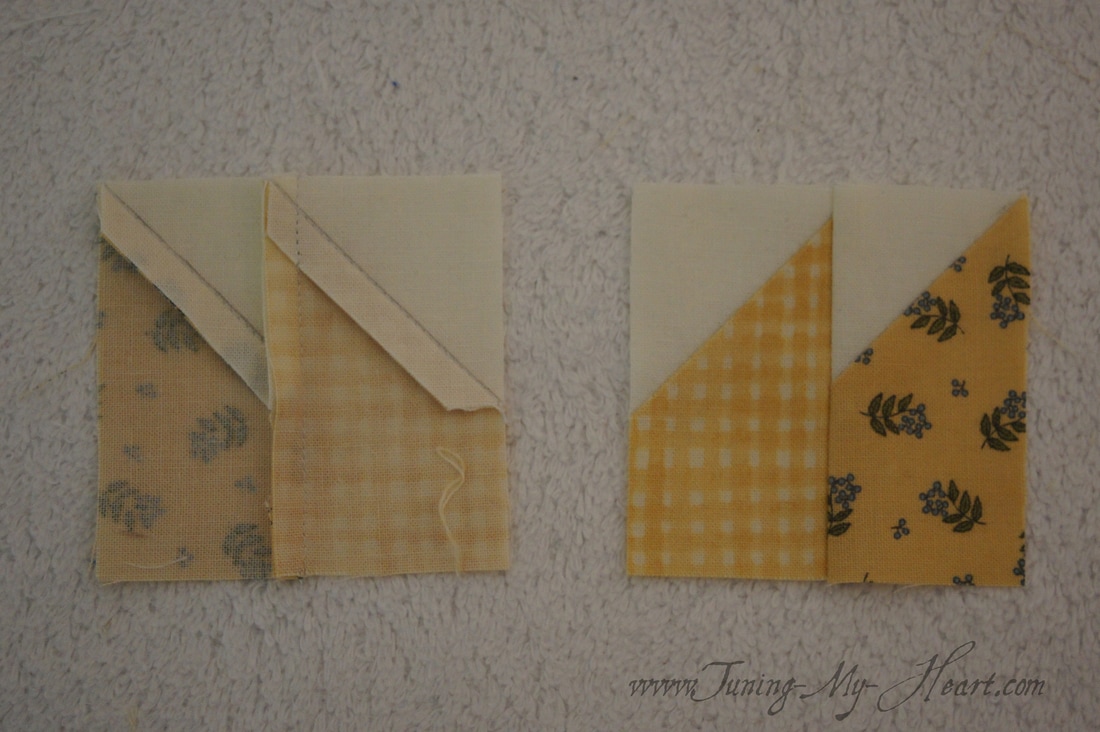 These units should also measure 2 1/2" x 2 1/2" 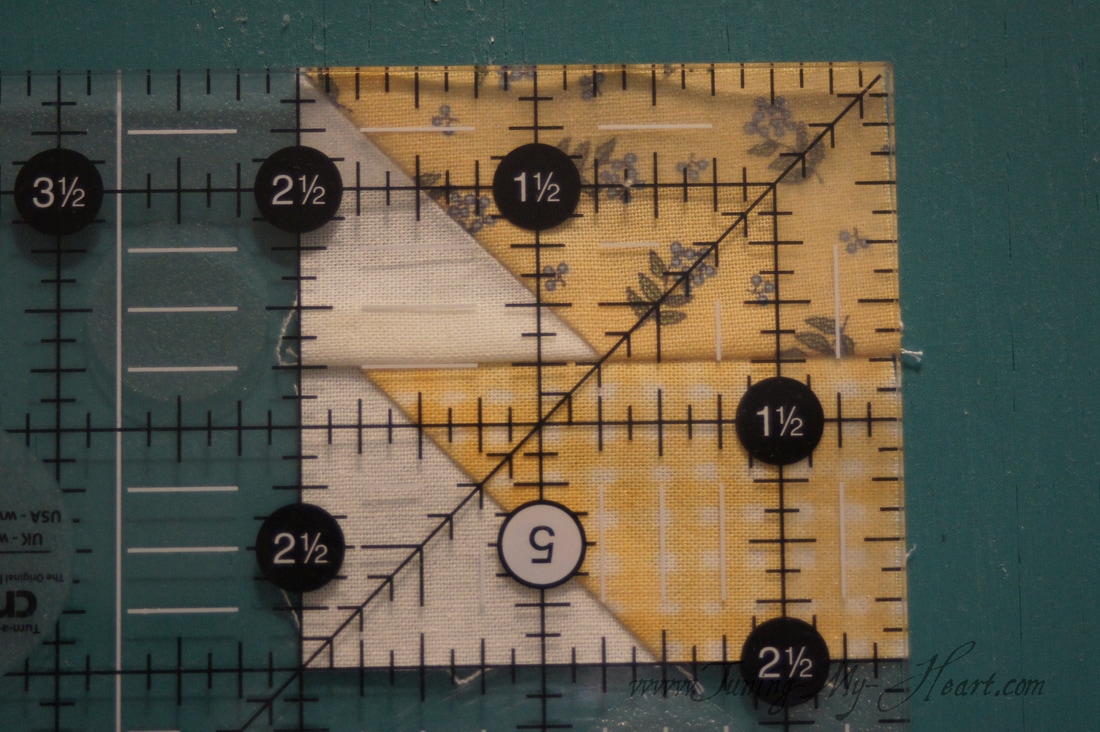 Now I lay out all of my pieces to start sewing the rows together. 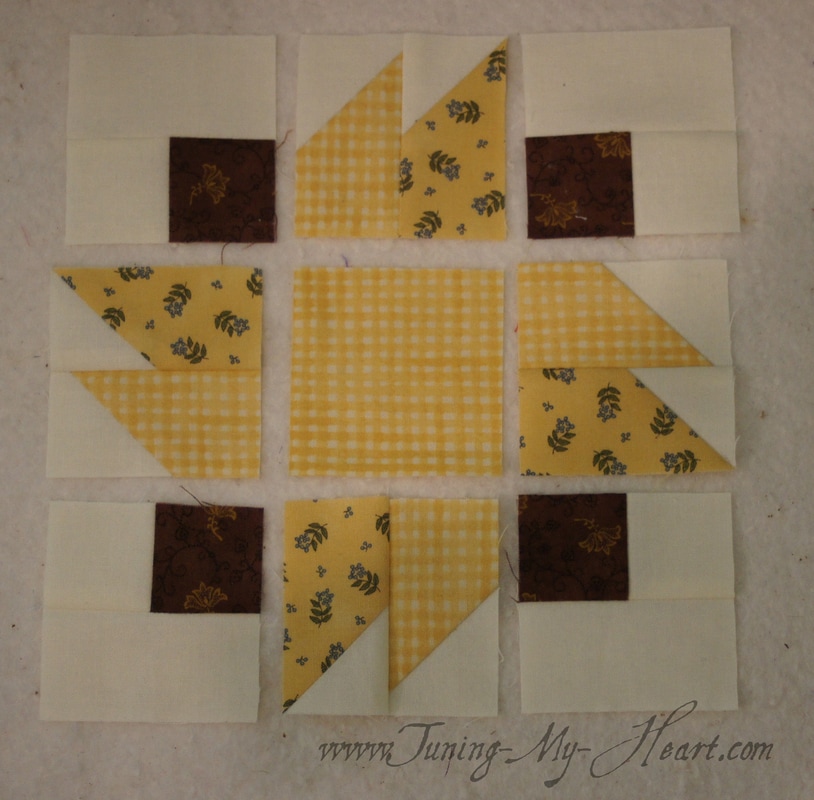 If possible I like to sew with the side that has seams facing away from my needle as I approach. This is not always possible but when it is I go for it. 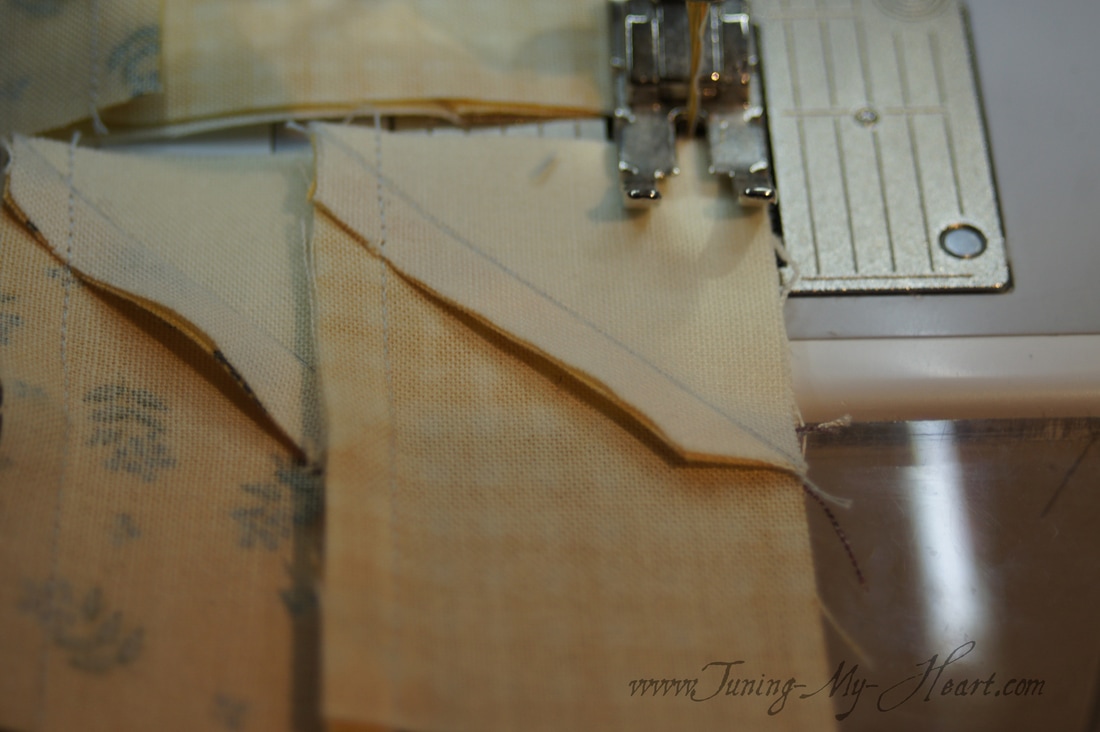 I have pressed the top and bottom rows so that the seams face towards the outer units. The middle row is pressed towards the center square.  I used to try to get away without pinning but have found it is the best way to make sure my seams match. It is hit and miss for me without the pin. I place my pin about 1/4 inch in so that I am sure that where my seam will be is held together the way I want. 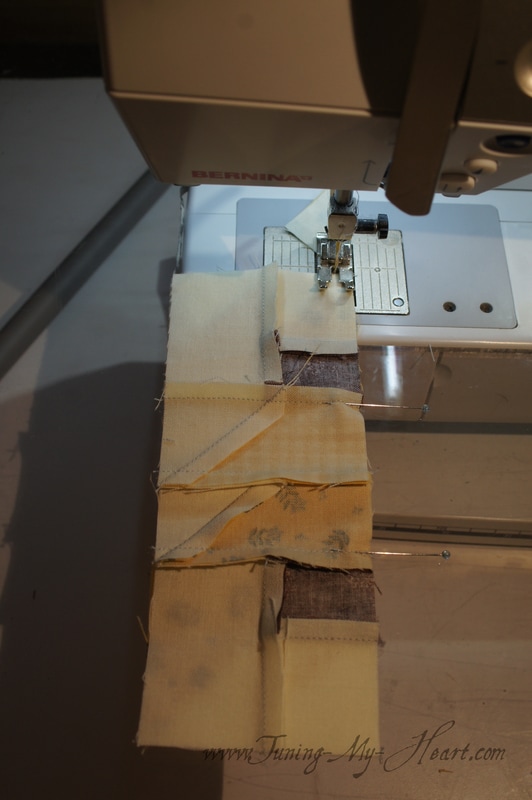 With the block all pieced I can pin my applique circle in place and stitch in place by hand. I like using Kimono silk thread for hand applique as the thread just disappears into the fabric. (And I just happened to have the perfect blue for this on hand.) 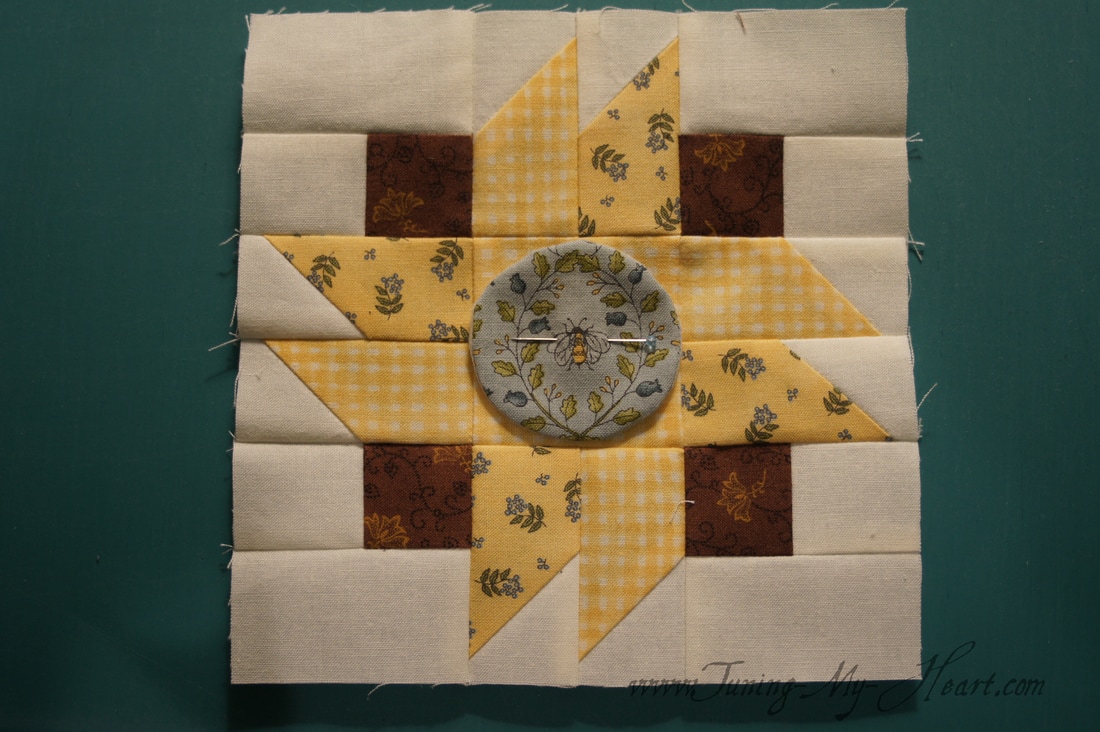 Not yet sure what I am going to do with these tiny things. These are the triangles that I trimmed off of the petal units. I used them for my leaders and enders when I was chain-piecing. Those are going to be mighty small, but I need to make another mini. 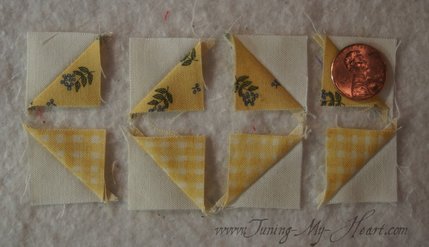 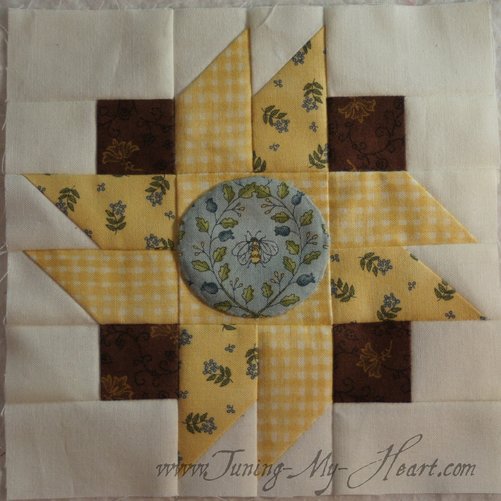 Until next time... Happy Quilting!!  Comments are closed.
|

Welcome to the site of Debra Davis-a woman who loves the Lord and loves to quilt.
My other blog where I share about my walk of faith:
Sitting at His Feet 
|


 RSS Feed