|
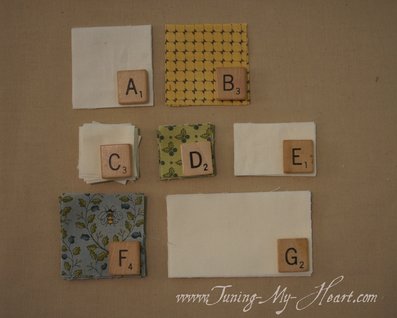
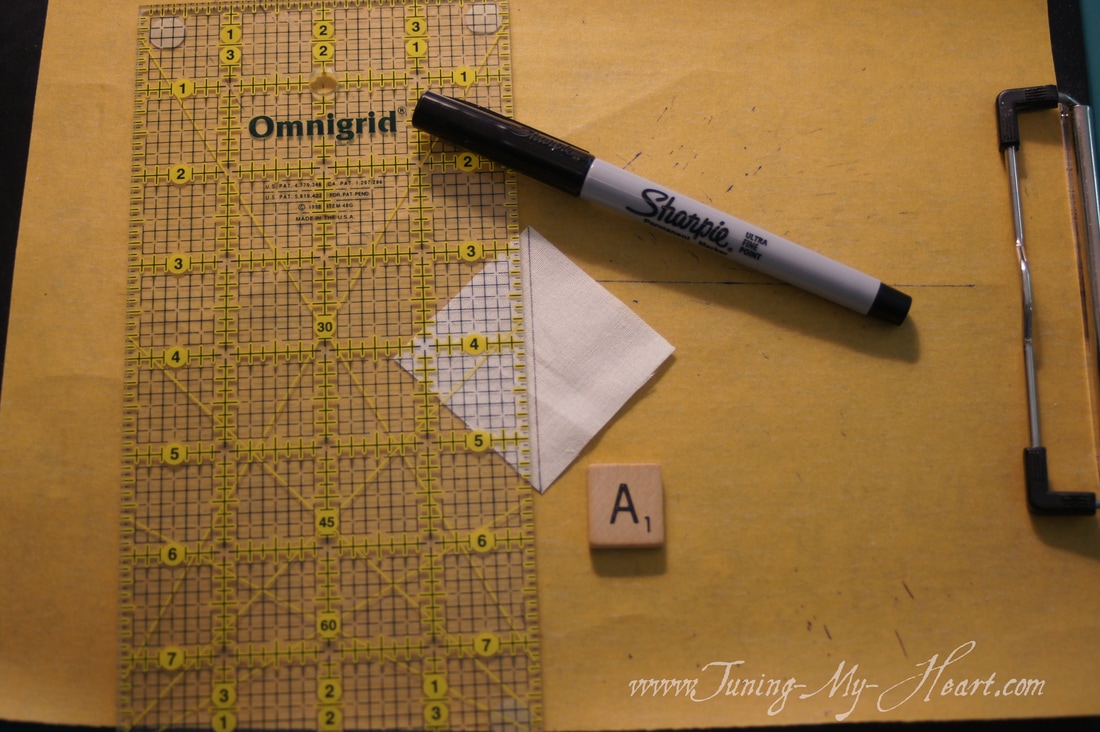
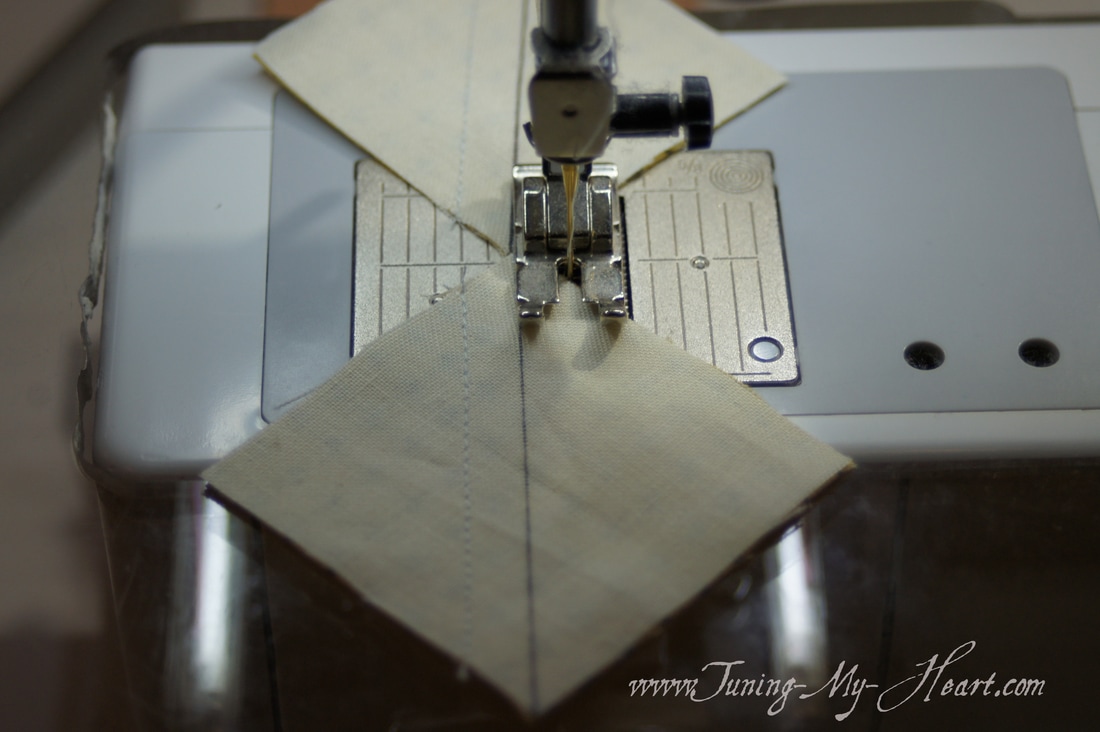
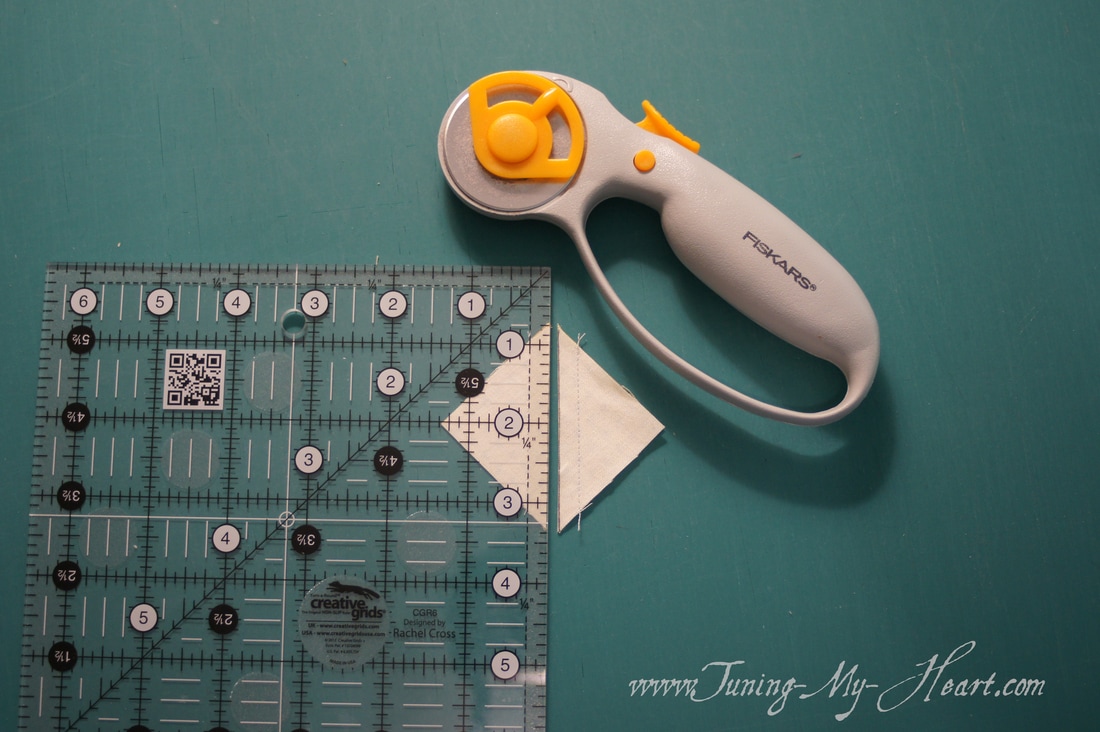
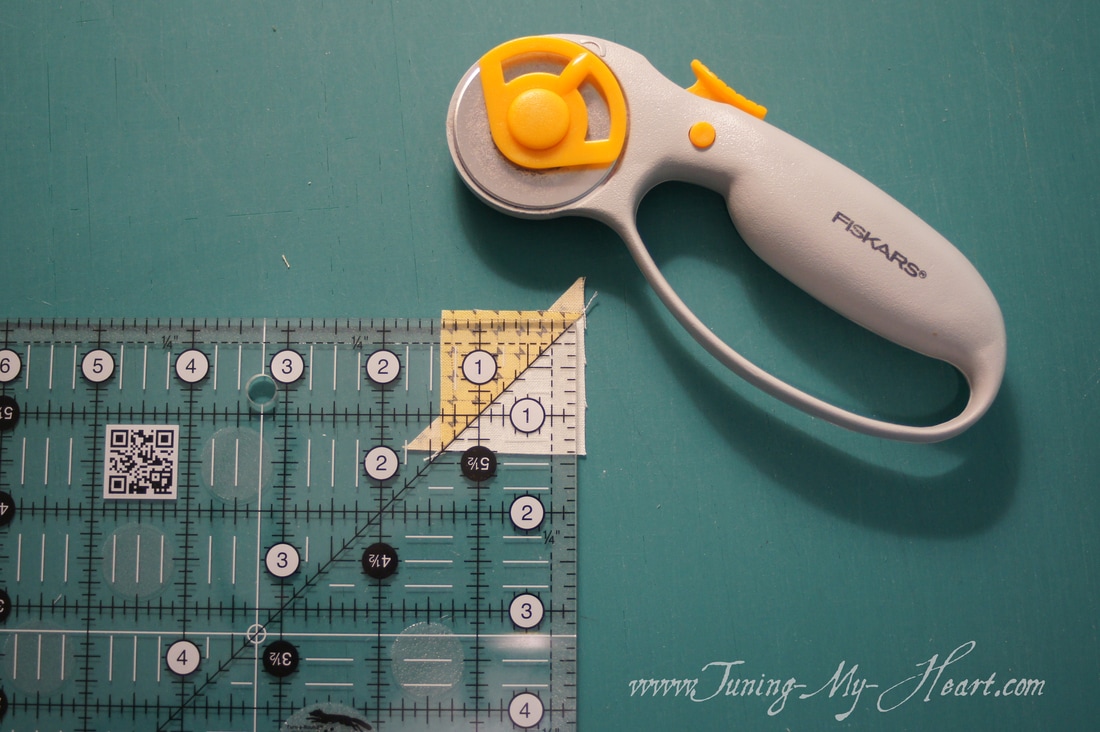
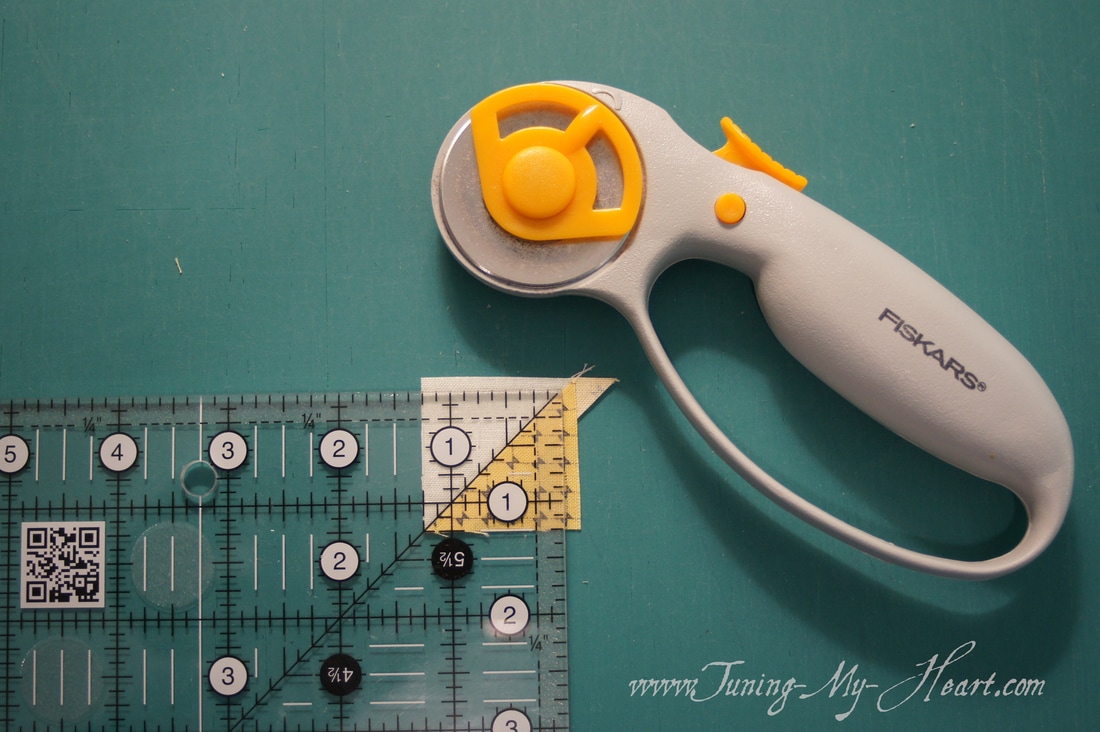
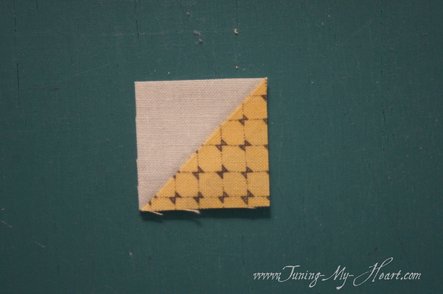
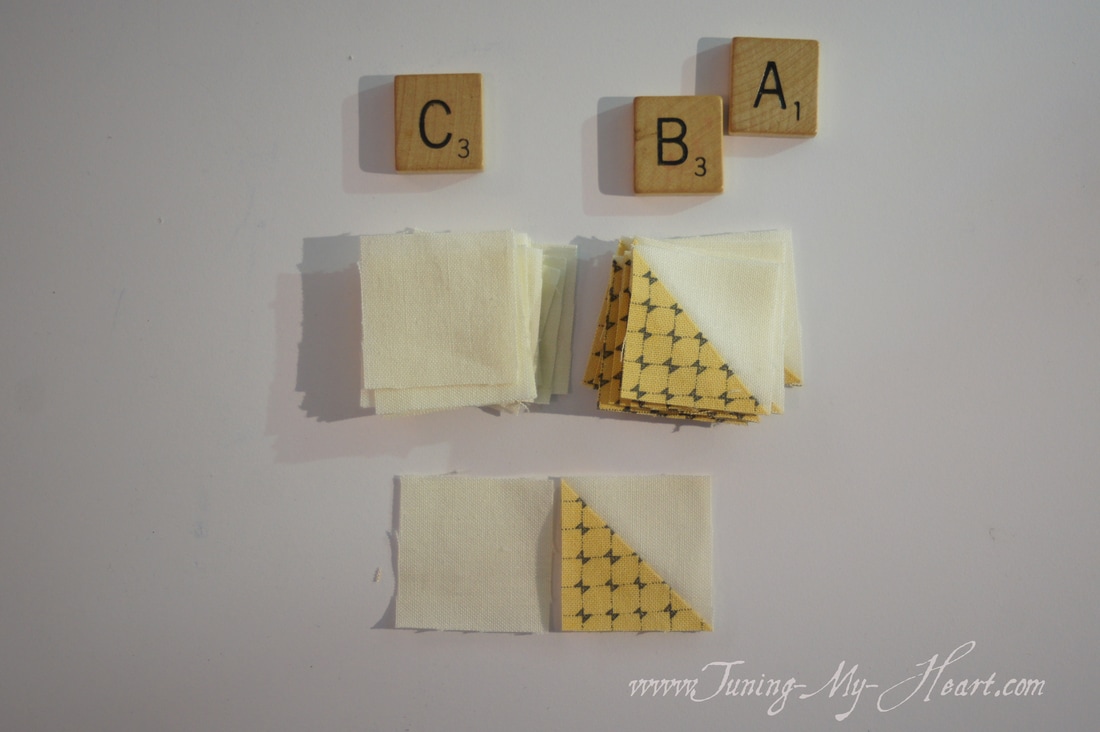
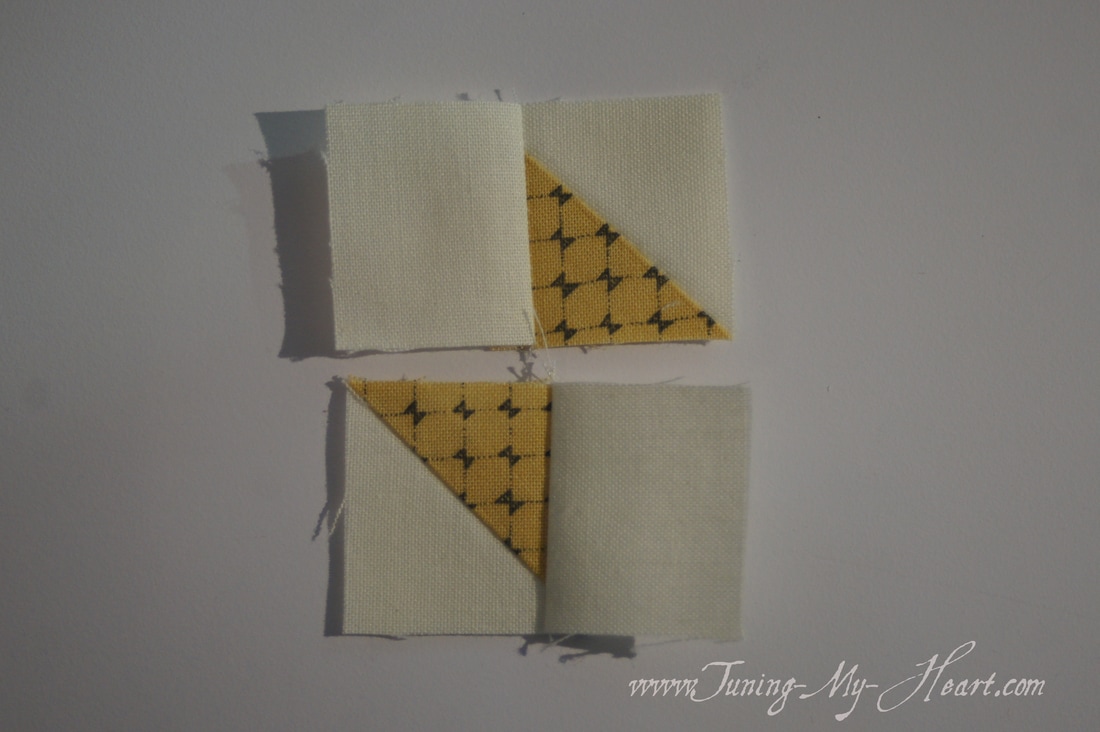
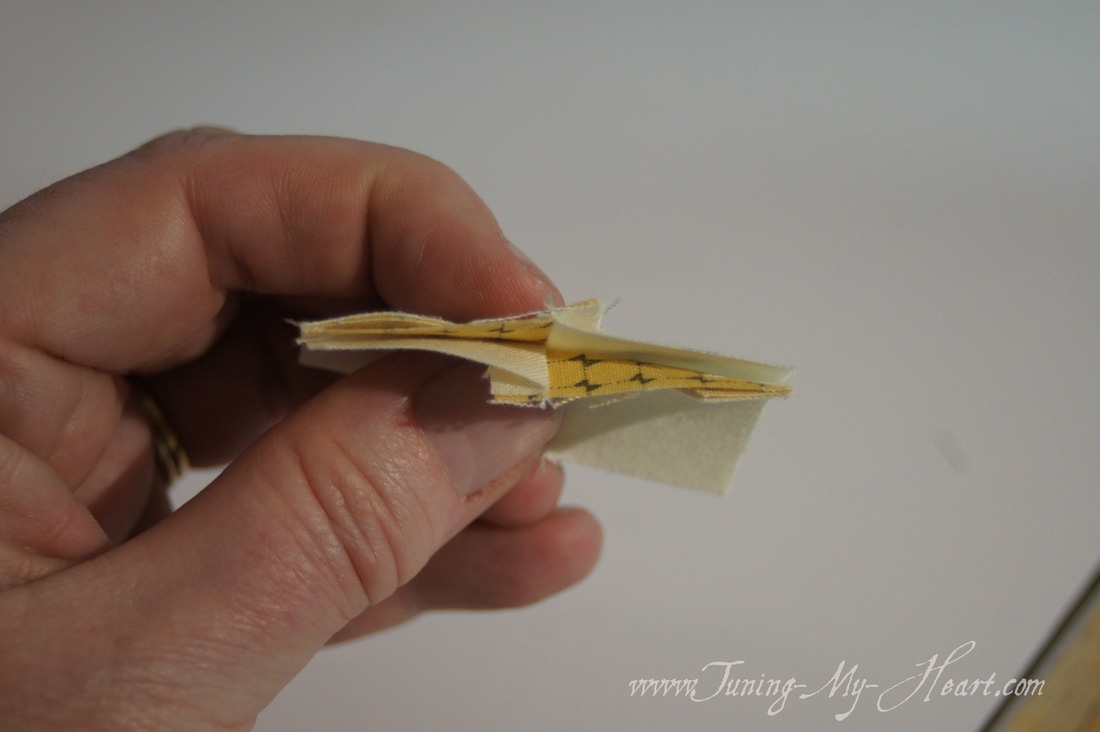
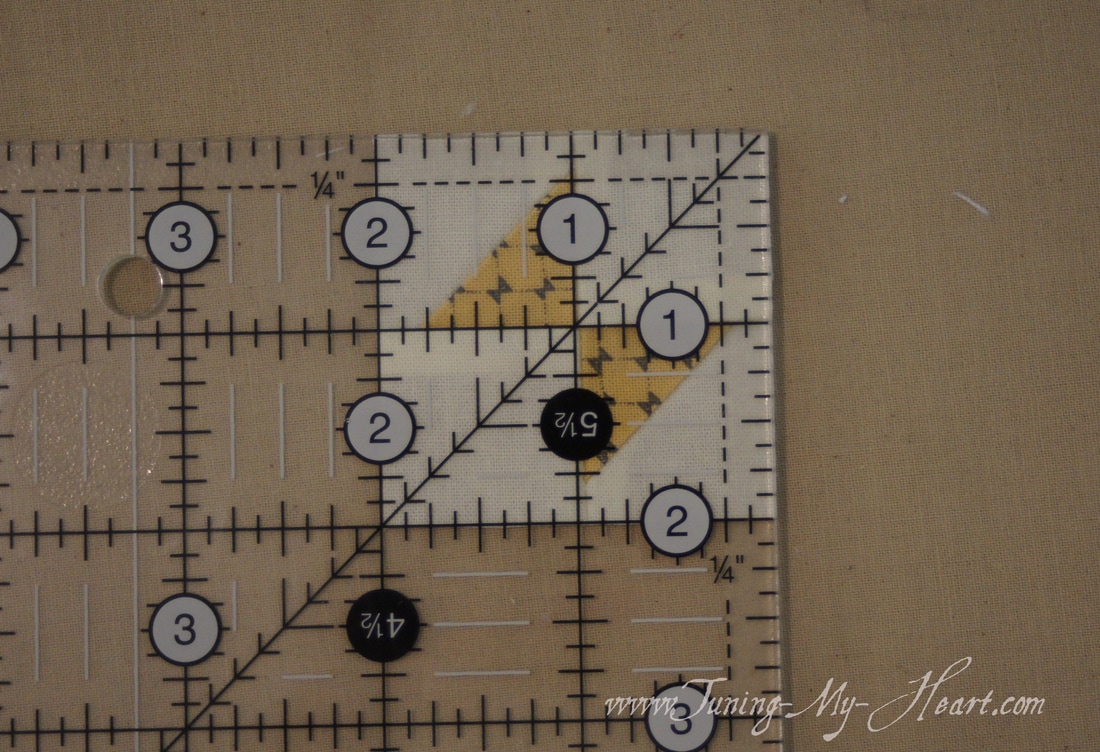
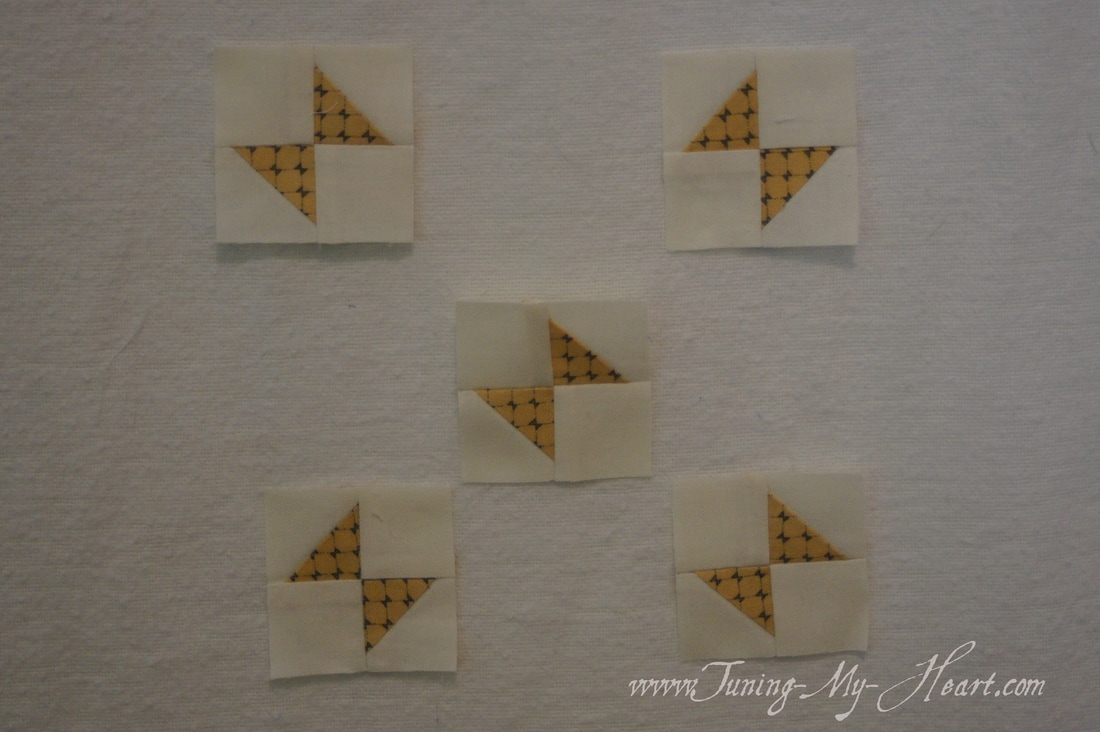
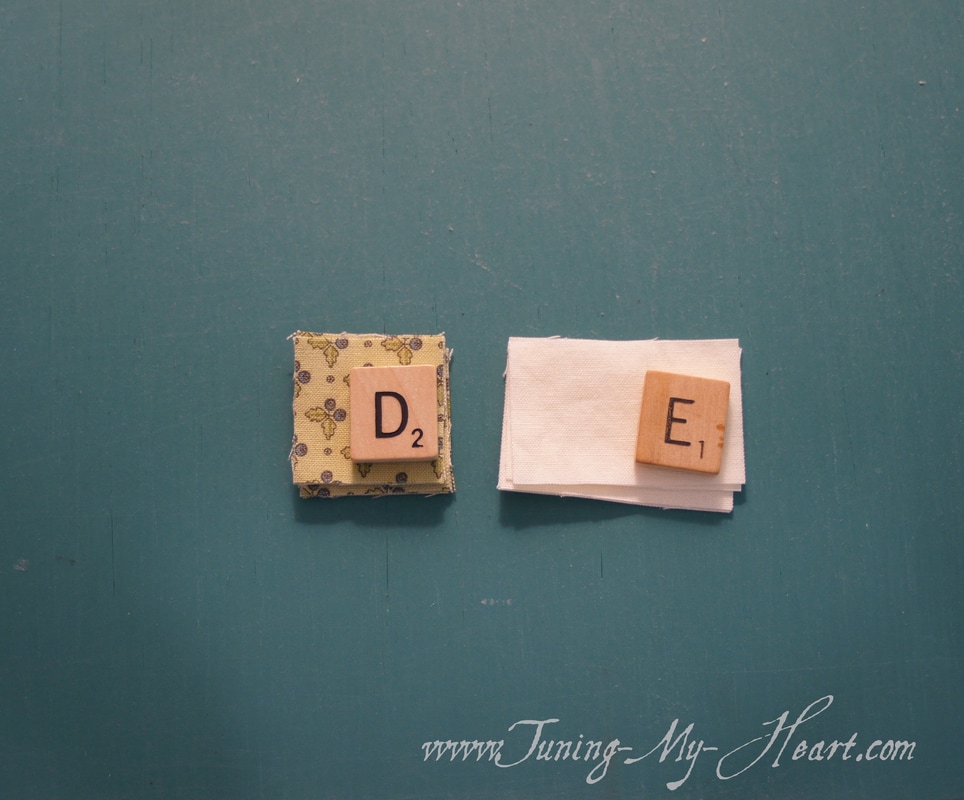
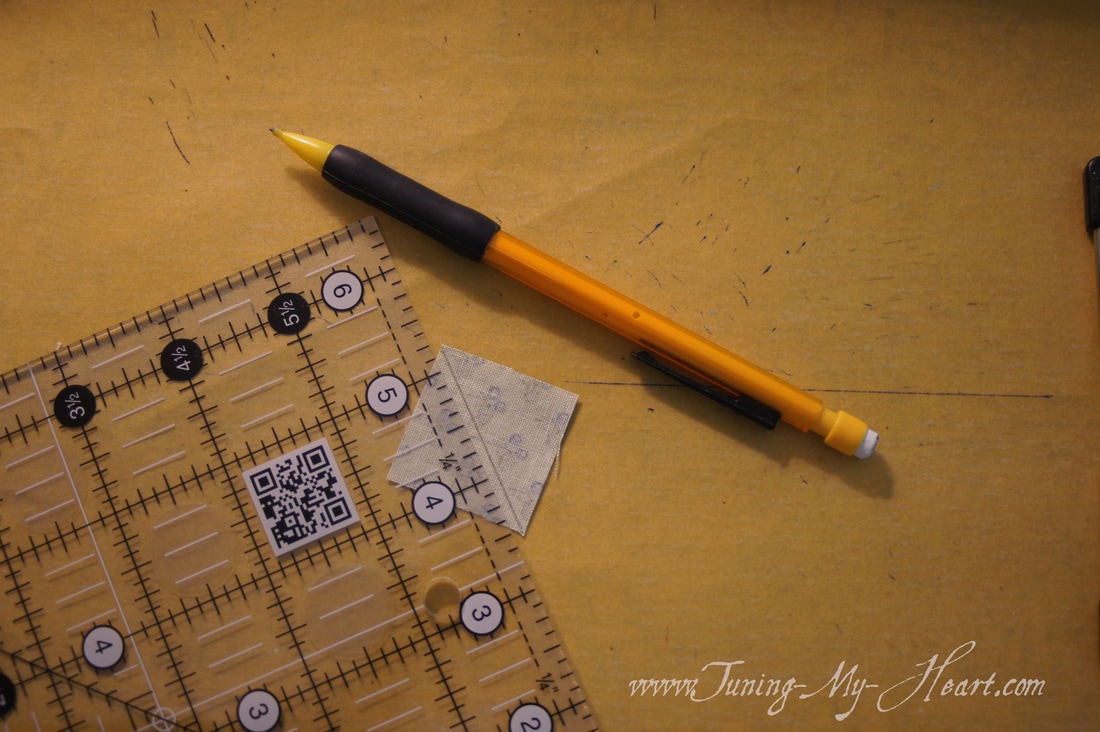
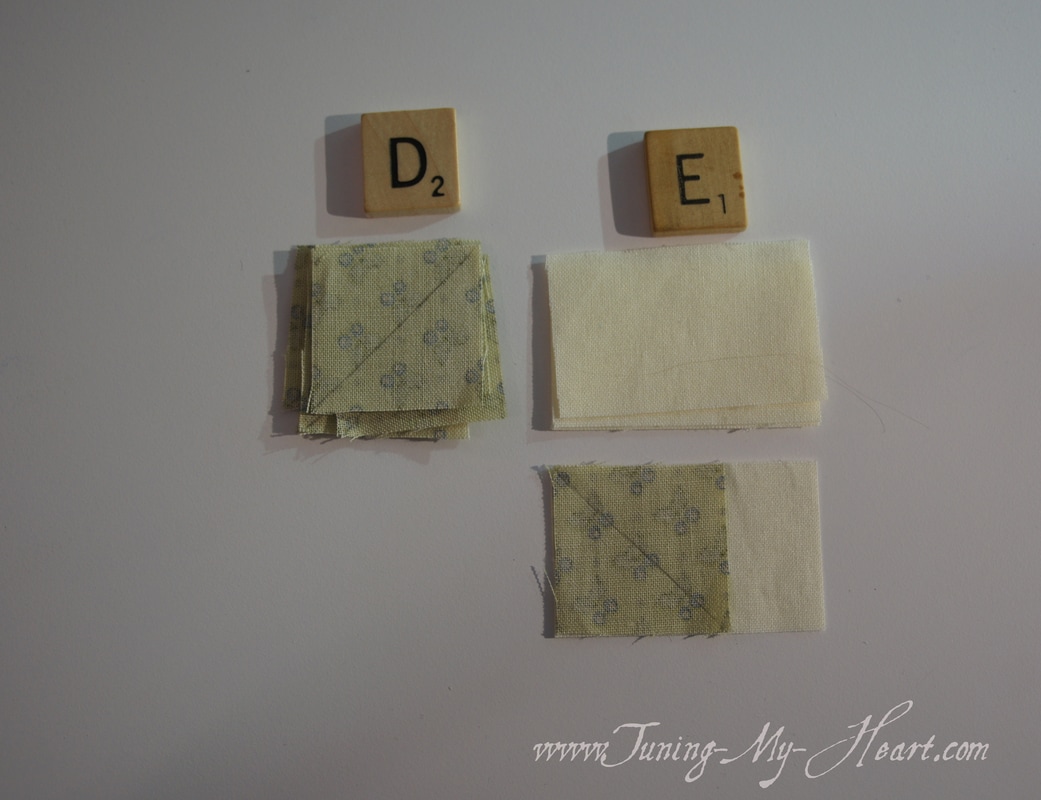
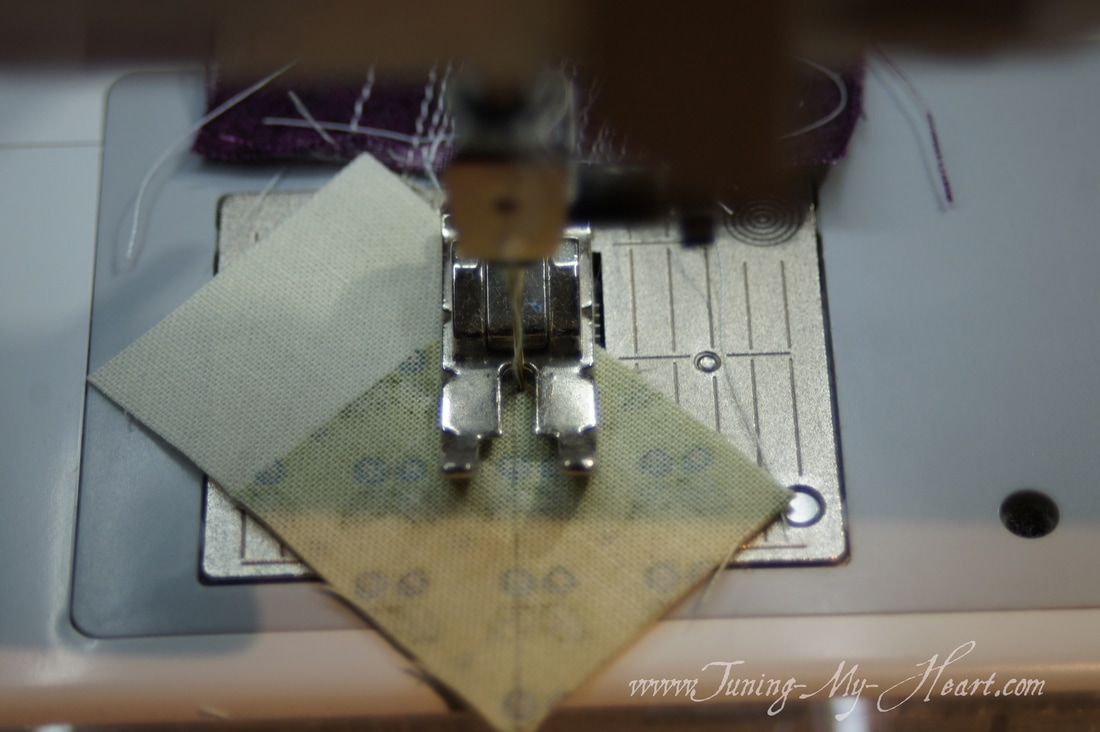
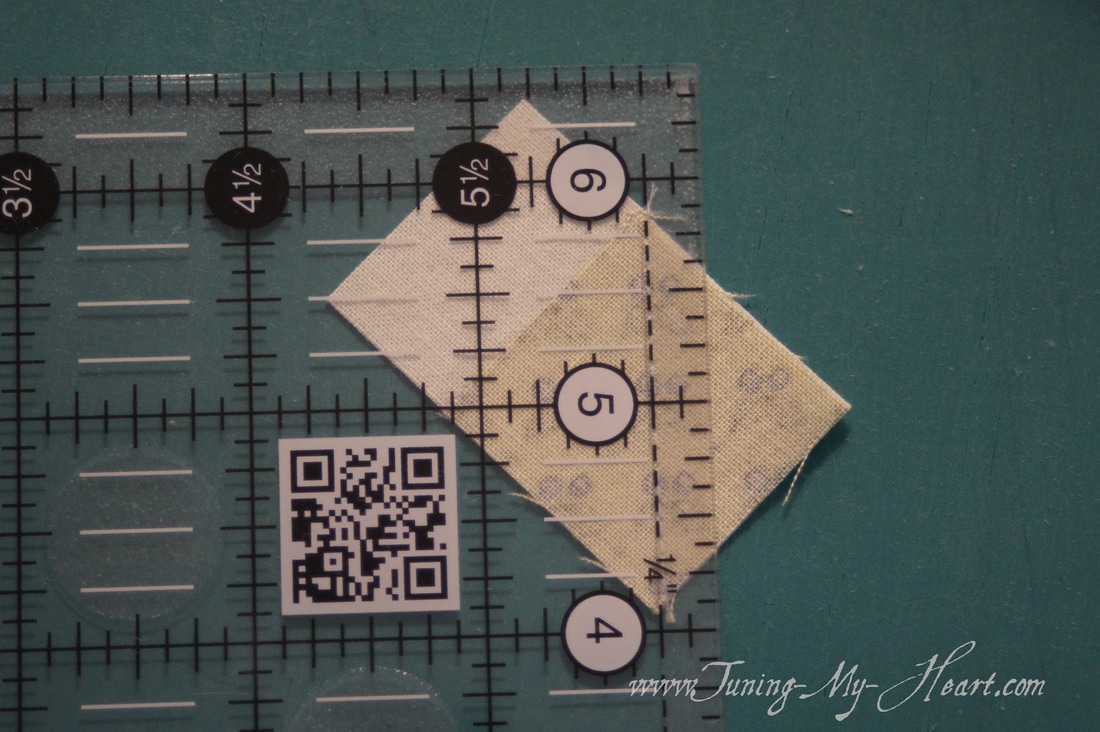
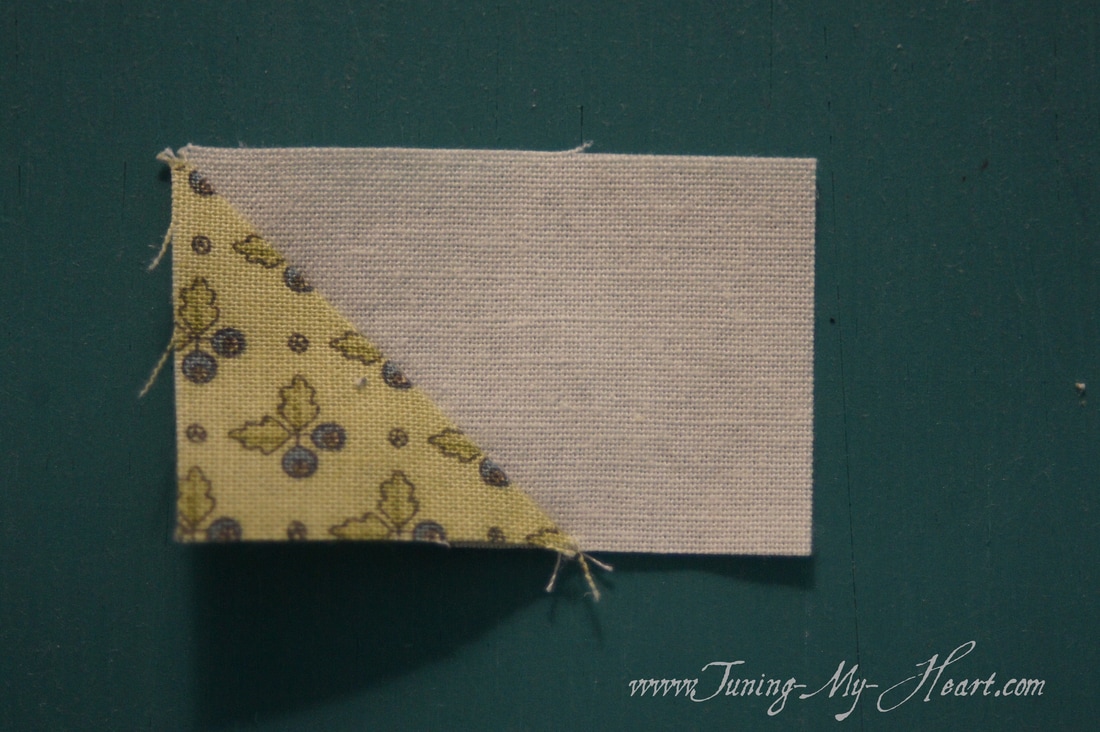
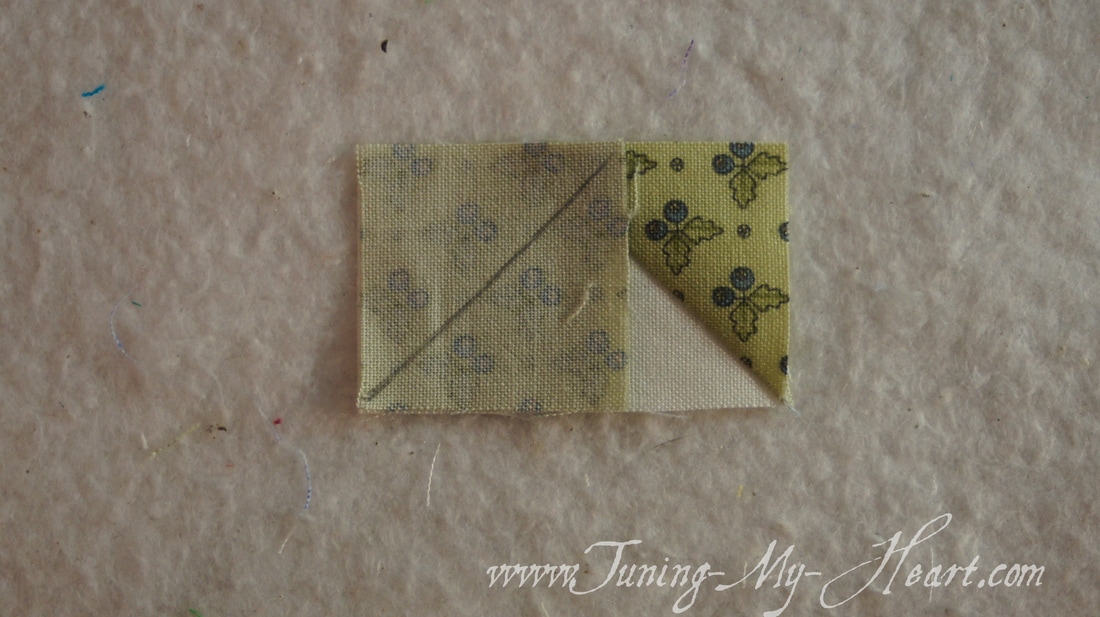
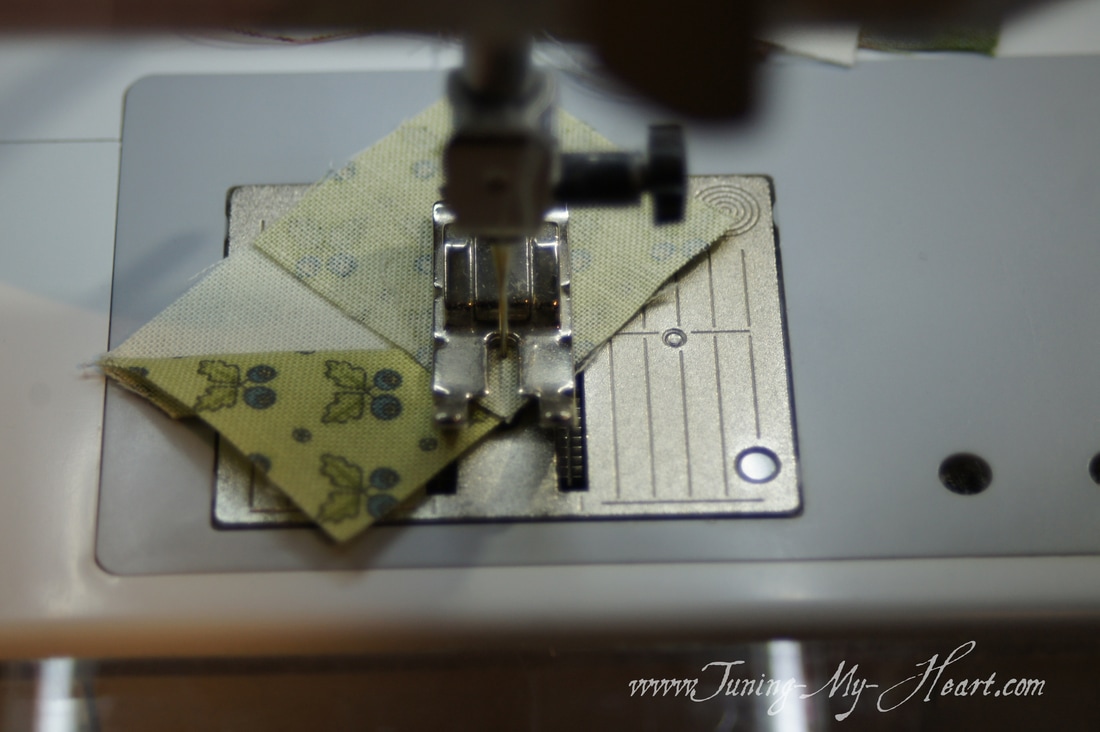
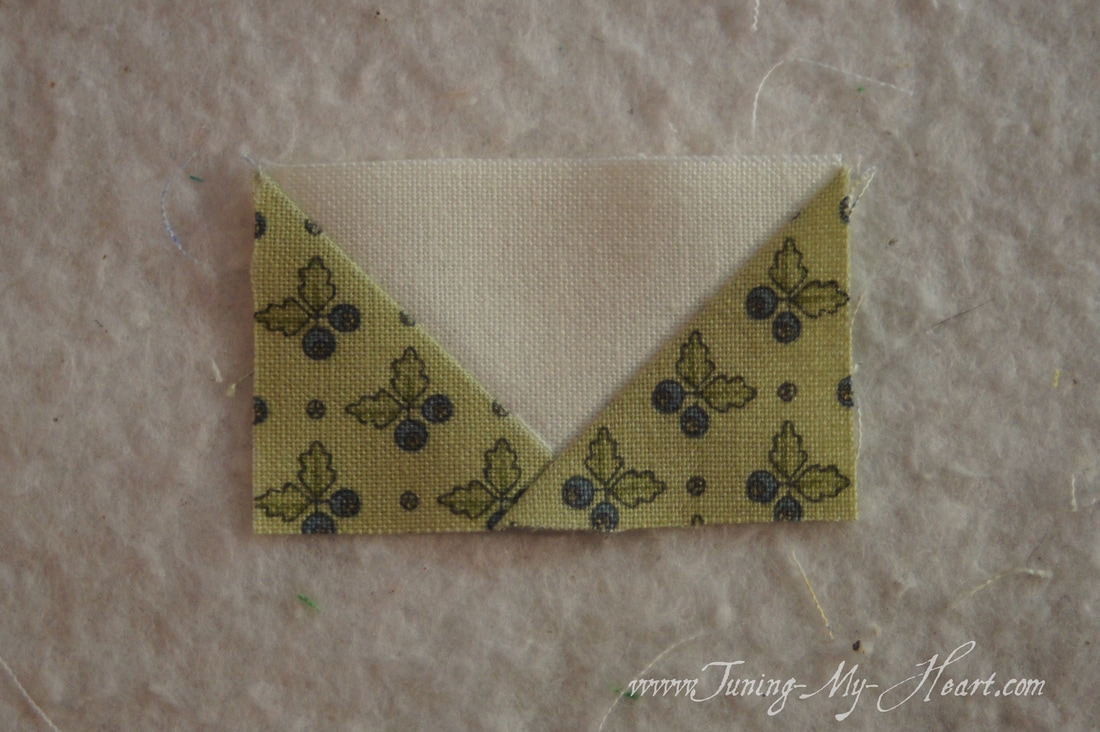
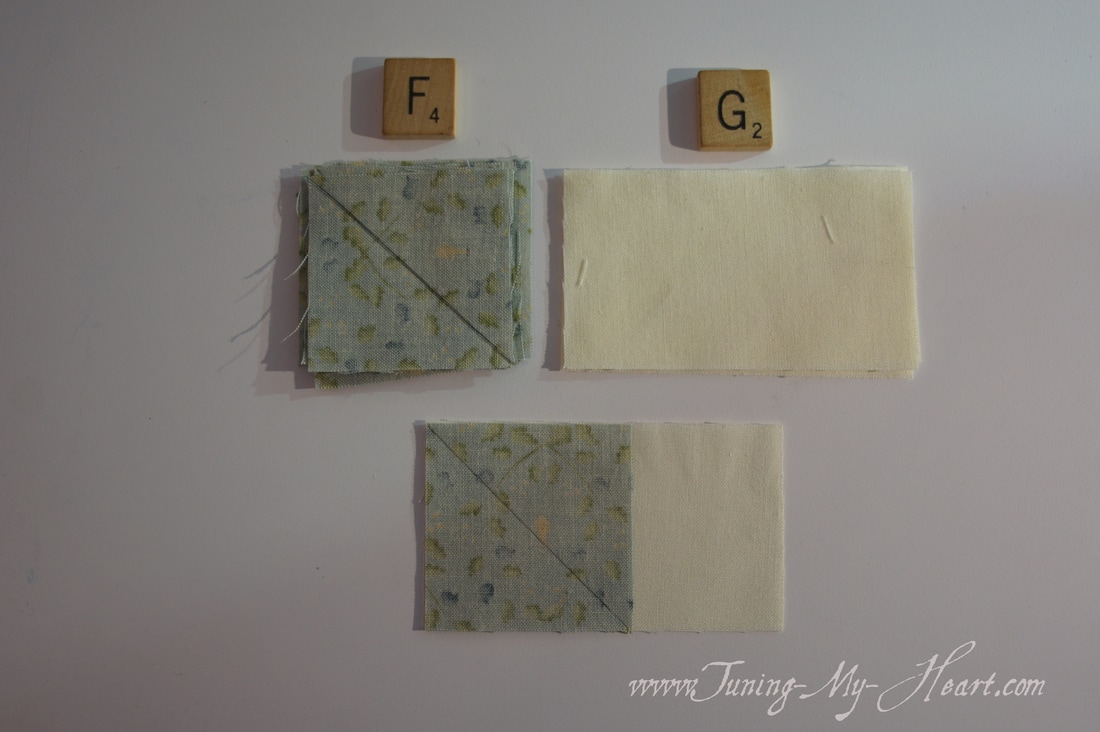
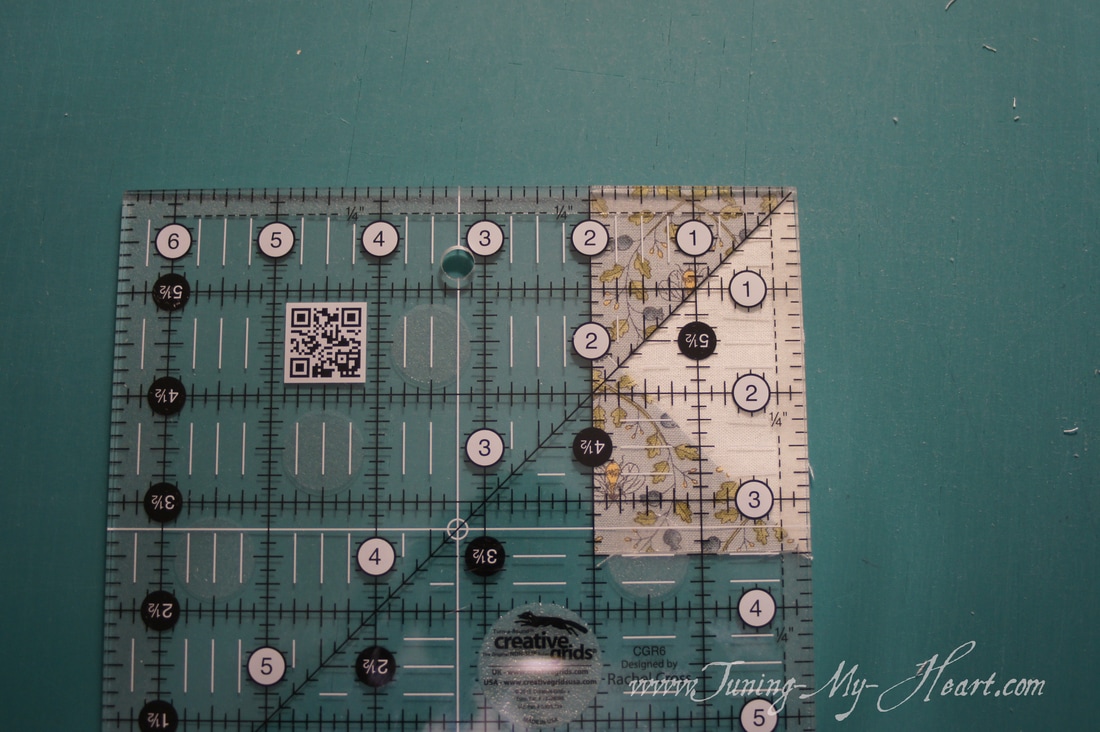
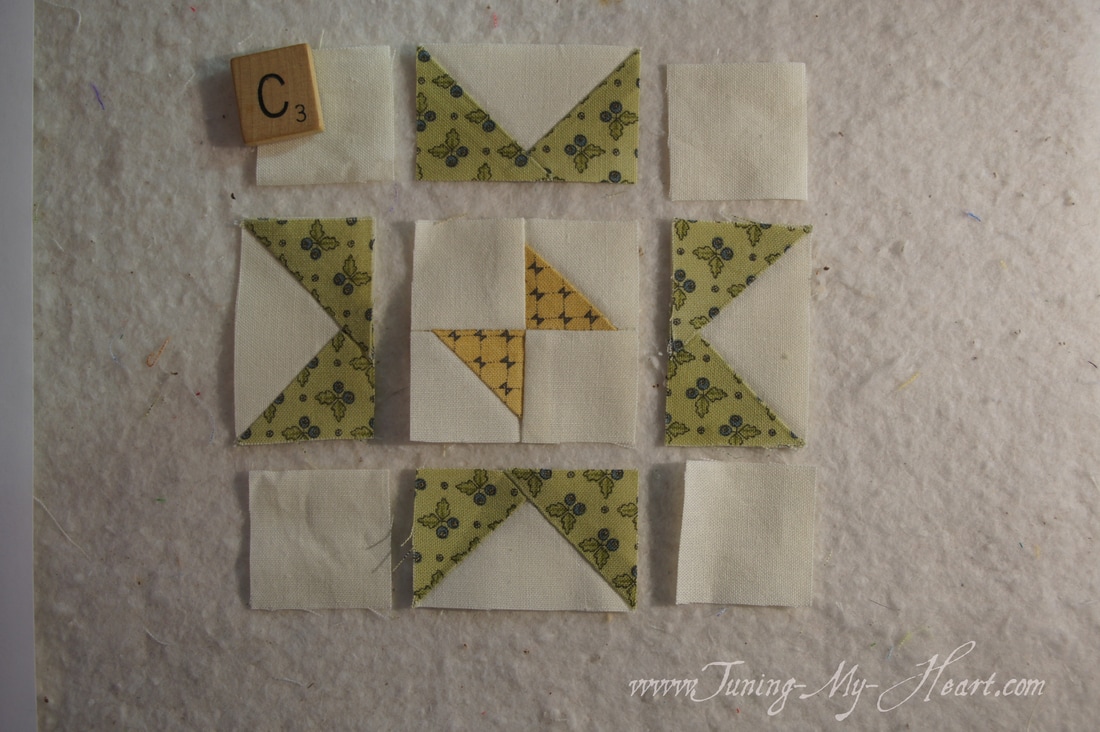
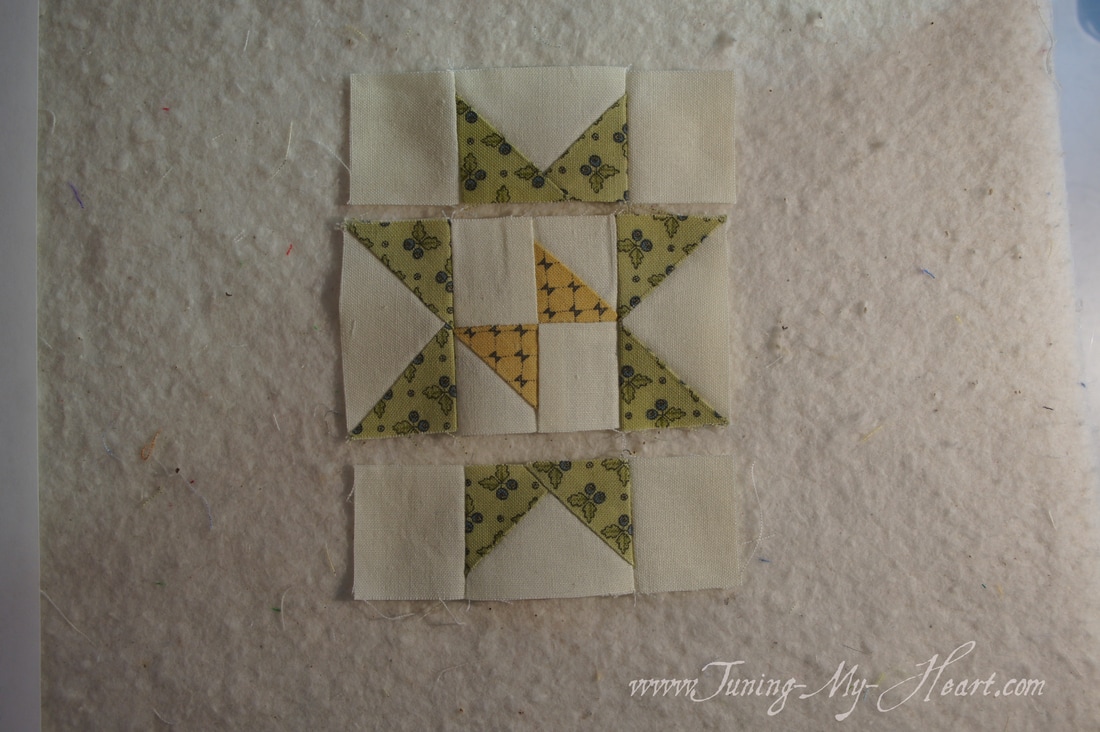
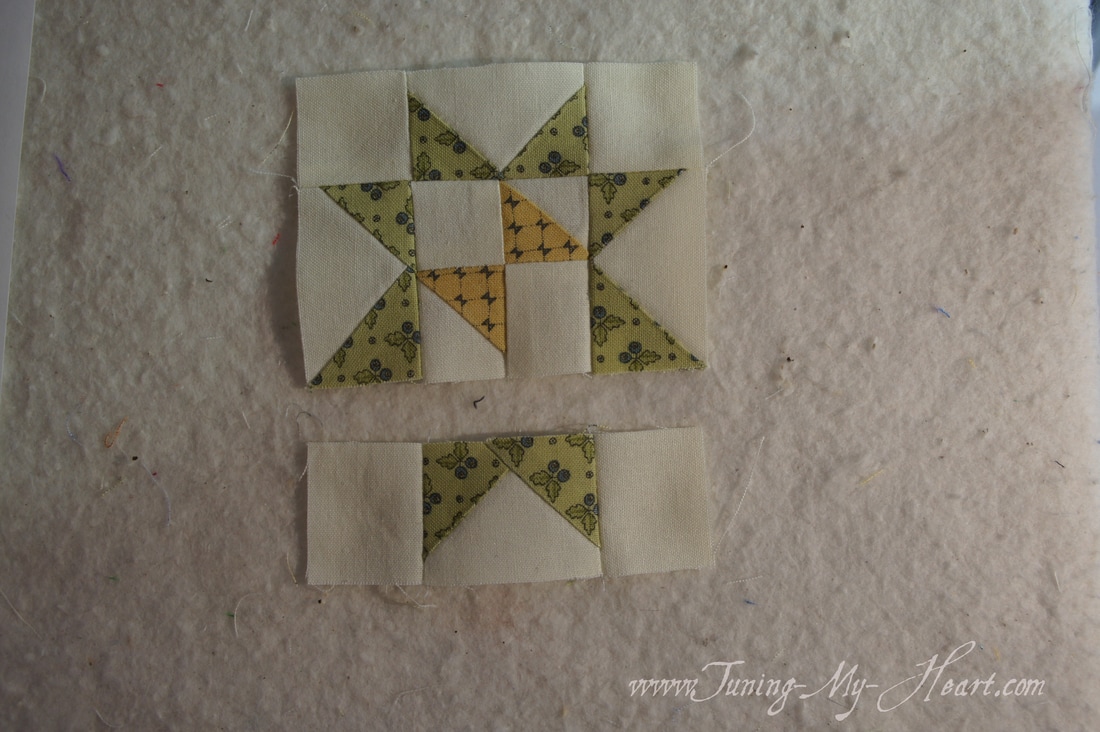
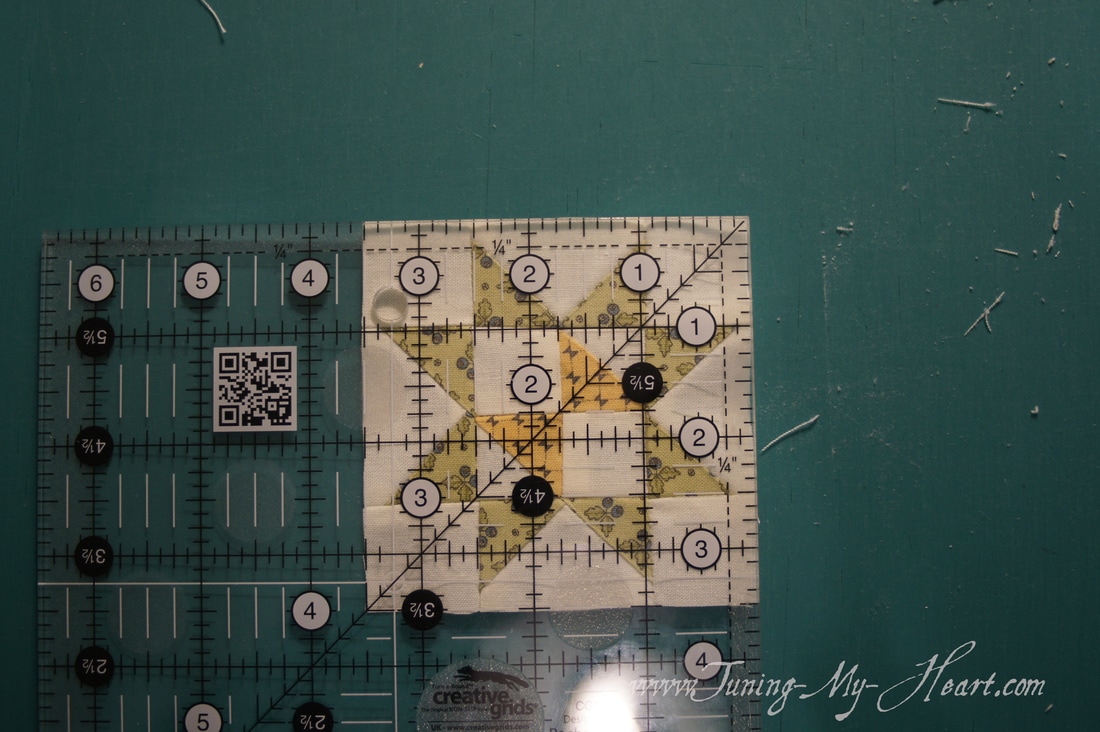
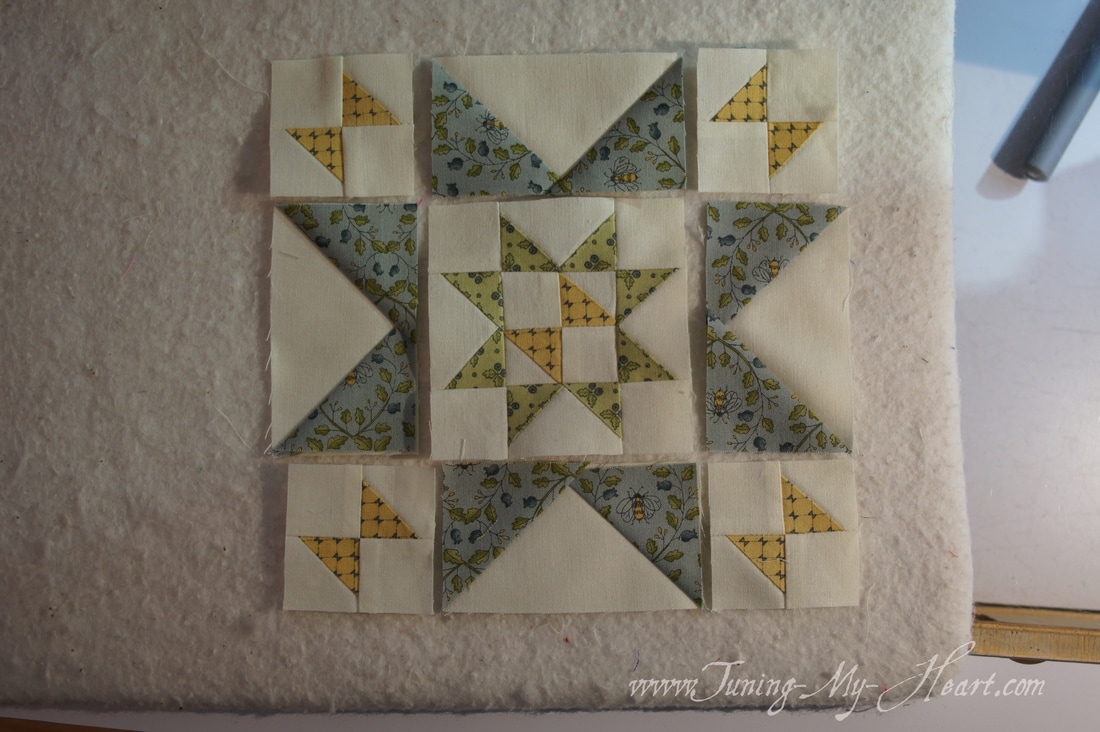
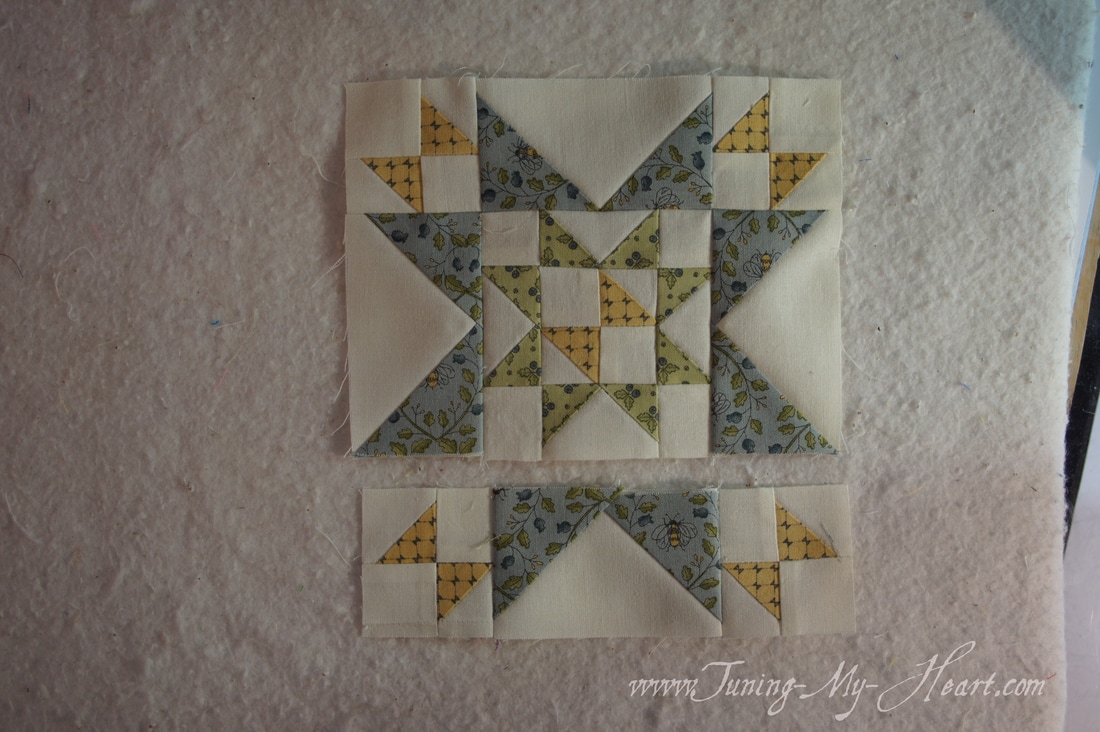
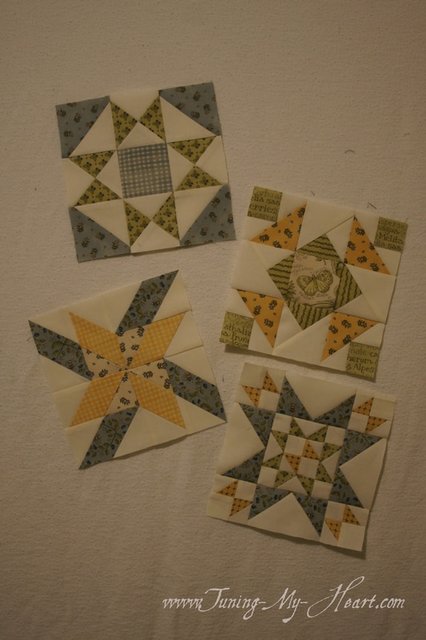
Block 5-Coronation was designed by Lisa Bongean. She has an alternate method of doing this block which you can see on her blog as well as get the directions for the method I am using. https://lisabongean.com/2017/04/05/block-5-blockheads-2/ I confess I went shopping on her website. I absolutely love Creative Grid rulers and she has one with 1/8 inch markings that I just had to have. She links to these on her blog post if you are interested in taking a look. I am slowly replacing all of my rulers with Creative Grids brand as they just do not slip when cutting fabric. I have discovered a nifty solution for slipping rulers though-shelf liner, the rubber like kind- a little square of that under my ruler makes a huge difference. It also works well under my foot pedal, no more chasing it across the room. Wow-I am glad I took up the challenge with Block 1 and made a couple of mini's. These 1 1/4 inch squares do not seem quite as intimidating now. I find the key to success with this block is heavy starch and sewing slowly. More than ever you want to have an accurate scant quarter inch seam. If you are off by a little it will make a noticeable difference with these tiny pieces. I made my A and B pieces slightly larger than what is called for in the pattern. Mine are cut 1 7/8 x 1 7/8 inches which will allow me to trim them down to the correct size. Pulling out my trusty sandpaper clipboard and Sharpie I draw a diagonal line on all of my A pieces. I like the sharp point on these fine line Sharpies and since I am going to be cutting on the line I do not have to worry about it showing in my quilt. With right sides together I place an A on top of a B. I have skewed these slightly just to show you, when I sew them they will be stacked perfectly on top of one another. 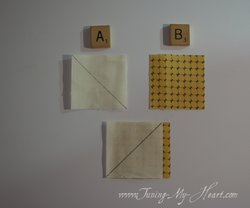 To make these units I sew 1/4 inch from both sides of the drawn line. After they are sewn I cut on the diagonal line and press to the dark side. Lining up the diagonal line on my ruler with the seam on these units I trim them to the required 1 1/4 inch. First trimming off two sides. then I rotating the unit to trim the remaining two sides. Perfect little half square triangles are now the correct size for Block 5. Okay, now I take the units I just made and the C pieces to begin creating the Four-Patch units. (Ever since the Splendid Sampler last year I think of these as little butterflies.) All I need to do to create these Four-Patch units is sew a C to my Half-square Triangles. Once that is done I press them open and lay them out to sew together. These should now measure 1 1/4" x 2." This is where I like having my seams pressed to one side. When I put the units together the seams lock each other in place. I still place a pin just to make sure though. When I come to these seams I slow my stitching down a good bit until I get over the "hump." I have pressed the Four-Patch units open and check to see if they are 2" x 2." Give them a little trim if needed. I will use a unit that is just a hair off, but if it is too small I would pull out my seam ripper and move my seam over about a needle's width depending on how off the unit is. Cute little butterflies playing on my design wall. Step 3 in the directions has us making Flying Geese units with the D and E pieces. Marking a diagonal line on the D squares using a pencil this time. This is a line that could show through on the quilt so no Sharpie here. The pencil tends to want to grab the fabric as I make the line which is where the very fine sandpaper comes in-it helps to keep the fabric from moving. To make the Flying Geese units I start by placing one D square on the E rectangle. I am going to sew with my needle landing just to the outside of the drawn line. Before I trim away the extra I flip the resulting triangle over to make sure that it covers the B rectangle. These all do so I can trim away the extra by placing my ruler on the stitching line and cutting 1/4" away from those stitches. Press towards the dark side. Being careful to make sure the diagonal line is going in the right direction I lay the next A square on my rectangle. Once again I stitch right beside the diagonal line all the way to the end of the square. Trimmed and pressed I now have my Flying Geese units measuring 1 1/4" x 2." Yay! Now to repeat that process with the F and G pieces. These will measure 2" x 3 1/2" when done. Back to the tiny pieces to make the center section of this block. Here the leftover C squares get added. I am sewing slowly today for accuracy sake. I sew the rows together first, pressing the seams on the top and bottom rows towards the center and the middle row towards the outside. Pinning at the seams I slowly stitch the rows together and am pressing these seams open. I had to trim just a bit to get my center block to measure 3 1/2" x 3 1/2." Time to put this baby all together. It is so easy to place one of the butterflies in the wrong direction. I caught this one before I sewed the rows together. Oh, how I wish that happened every time! (Bottom left) Once again I pressed my top and bottom row towards the center and the middle row towards the outside. The pieces just seemed to lay better that way. I was having a discussion the other day about dealing with bulky seams and learned that some quilters take a hammer to them. I might have to give that a try one of these days and see how it goes. I can just see myself knocking them into submission. Lol. Just like in the center block I am going to press these final seams open. Blocks 1, 2, 3, and 5 are done and I am feeling very accomplished. Block 5 is a bit challenging but taking it slowly one step at a time sure helps. Now I can take a break and enjoy looking at all the finished blocks on the Moda Blockheads Facebook page until next Wednesday. Whew! Until then... Happy Quilting!!
Myrna
4/7/2017 02:16:43 pm
Many thanks for your very clear and easy to follow instructions. Might have to invest in one of these rulers with 1/8 markings. Beautiful work. Myrna in Australia
Debra
4/7/2017 02:32:21 pm
Thank you, Myrna. I just had to try that 1/8th ruler with all of the tinh squares I have been making lately. My son spent his junior year in Sydney and traveled a good bit while there. He fell in love with Australia and it's people.
Lisa Bongean
4/8/2017 06:01:45 am
Debra... thanks for taking the time to do your tutorial and giving another option!
Debra
4/8/2017 08:46:29 am
Thank you, Lisa. I just remember how daunting it all could be as a new quilter and want to encourage everyone not to be afraid to try your block. Thank you for sharing your talents with all of us!!!
Alycia
4/8/2017 07:16:49 am
Very nice job on the tutorial Debra! I've cut my pieces, but haven't yet started piecing. Appreciate the tutorial and all of the tips. I ordered the 1/8" ruler, too!
Debra
4/8/2017 08:48:55 am
Thanks, Alycia! I keep checking my mailbox!
Barbara
4/13/2017 04:46:45 pm
Thank you so much for the tutorial. I had tried this block the other day and just couldn't get it right. Followed your tutorial and I am almost done. Your tips and instructions are appreciated. Thank you
Debra
4/13/2017 10:37:01 pm
Yay, Barbara! I am so glad to hear this helped you with your block. Comments are closed.
|
Welcome to the site of Debra Davis-a woman who loves the Lord and loves to quilt.
My other blog where I share about my walk of faith:
Sitting at His Feet This website uses marketing and tracking technologies. Opting out of this will opt you out of all cookies, except for those needed to run the website. Note that some products may not work as well without tracking cookies. Opt Out of Cookies |


 RSS Feed