|
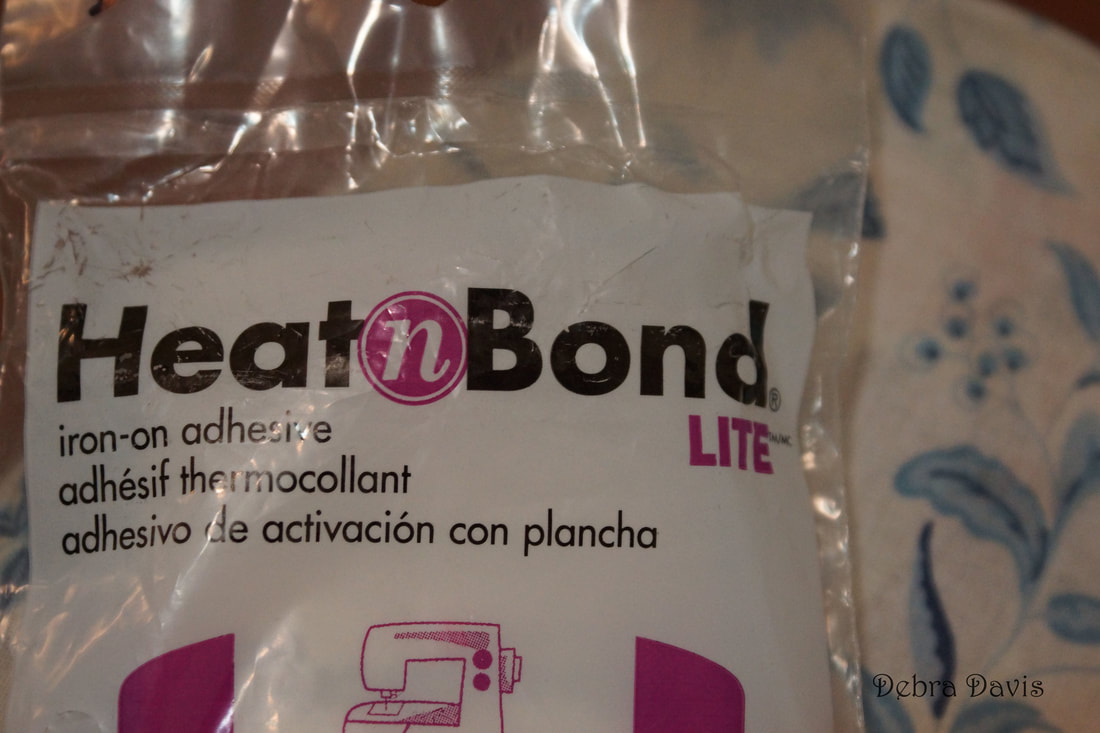
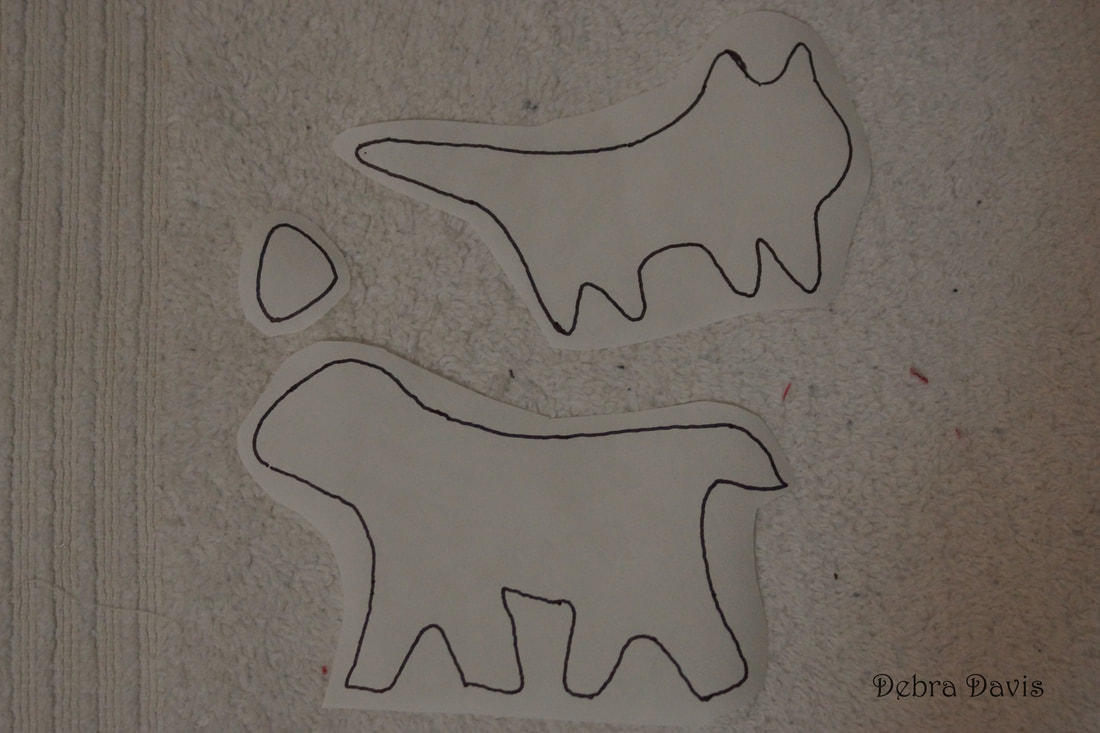
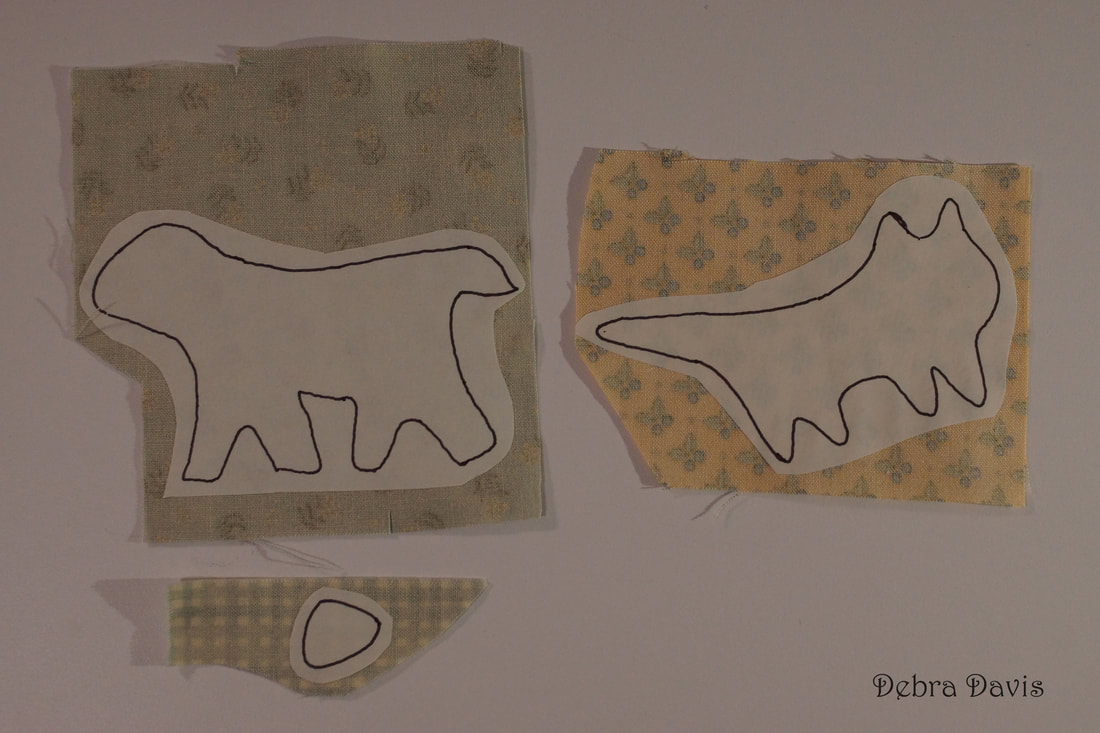
Somehow I managed to get this block done on the day it came out-that hardly ever happens. This week's block was designed by Jan Patek with her primitive style look. You can find the free pattern on her blog by clicking on this link JanPatek.blogspot.com. I did add some little details to the design and oops-I forgot to reverse the pattern for fusible applique so my block is actually backwards but I decided it really did not matter. I think Miss Goldie the Cat and Blue the Dog will enjoy romping among my other garden blocks.  I have been using the fusible applique method for my applique blocks and stuck with it on this one. I traced the patterns onto my fusible (Heat N Bond Lite is my favorite.) Be sure and reverse the patterns if you want yours to face the right way on the block
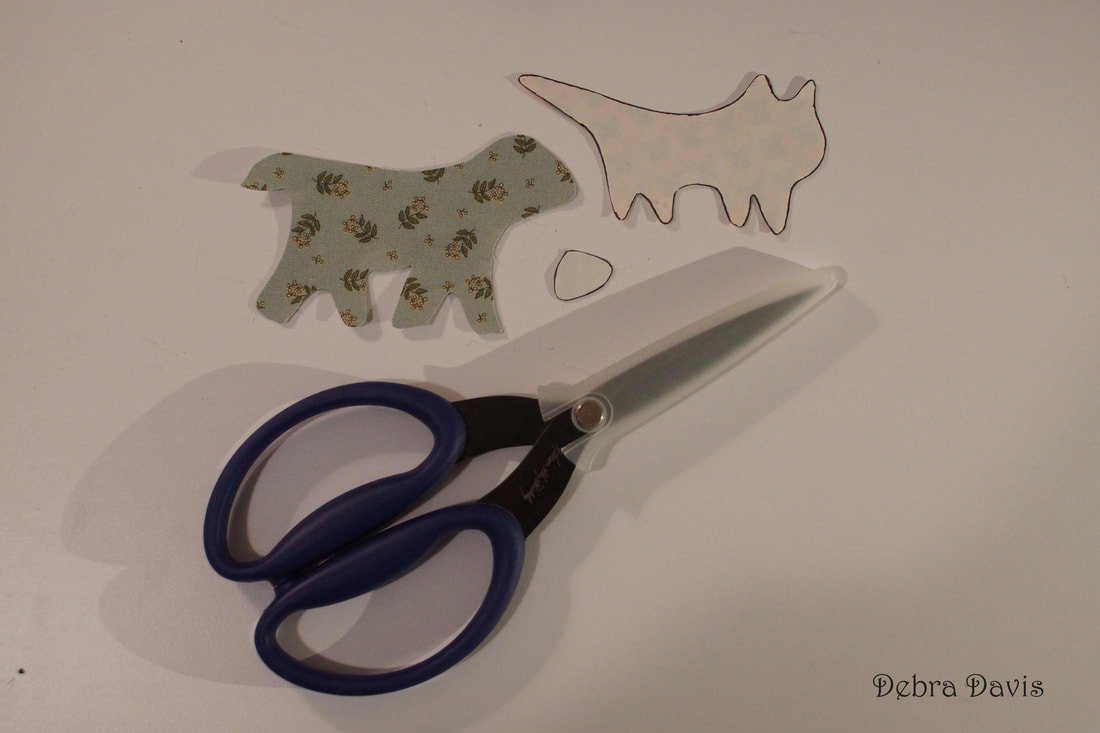
I cut around the patterns leaving a little extra and then fused them to the wrong side of my fabric. The ear for the dog is not part of Jan's pattern-I just drew it on the pattern and then traced onto the fusible. After fusing the pattern to my fabric I cut out on the lines.
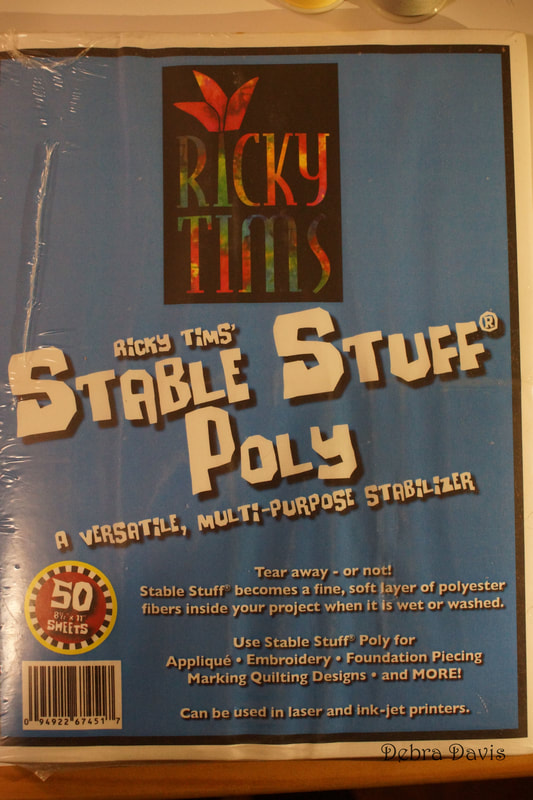
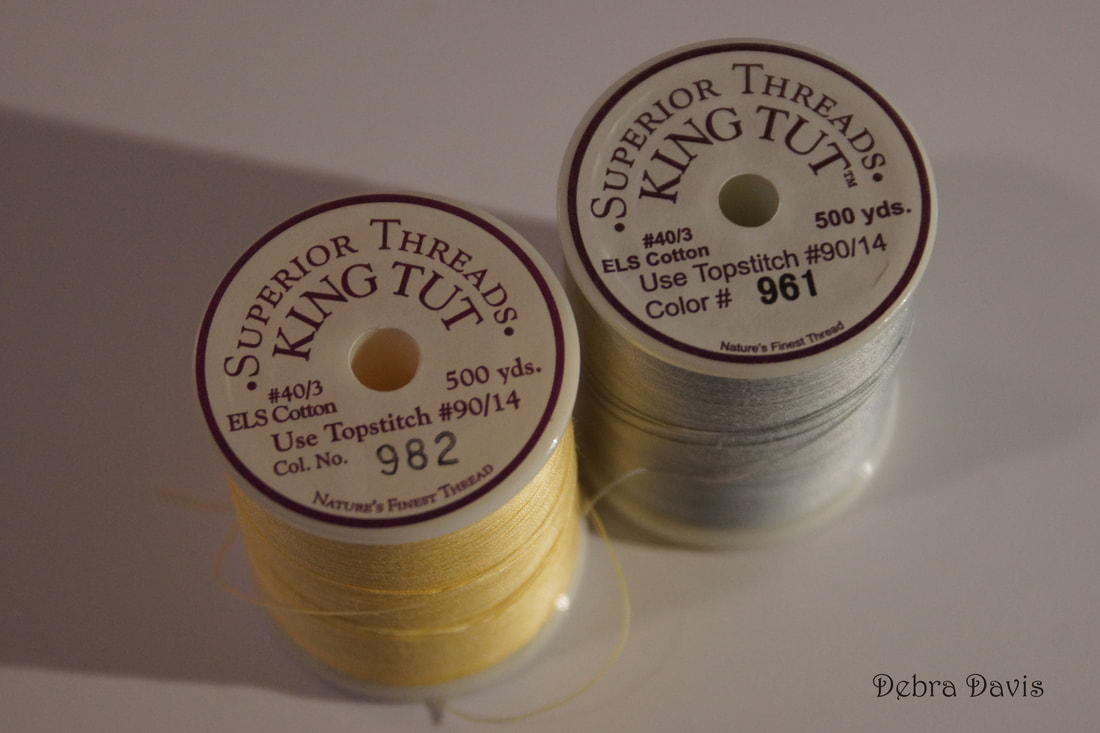
You can place the pattern sheet under the background fabric for guidance in placement if needed. When I was happy with how things looked I fused the cat and dog (complete with ear) onto a 7" x 7" square of background fabric. 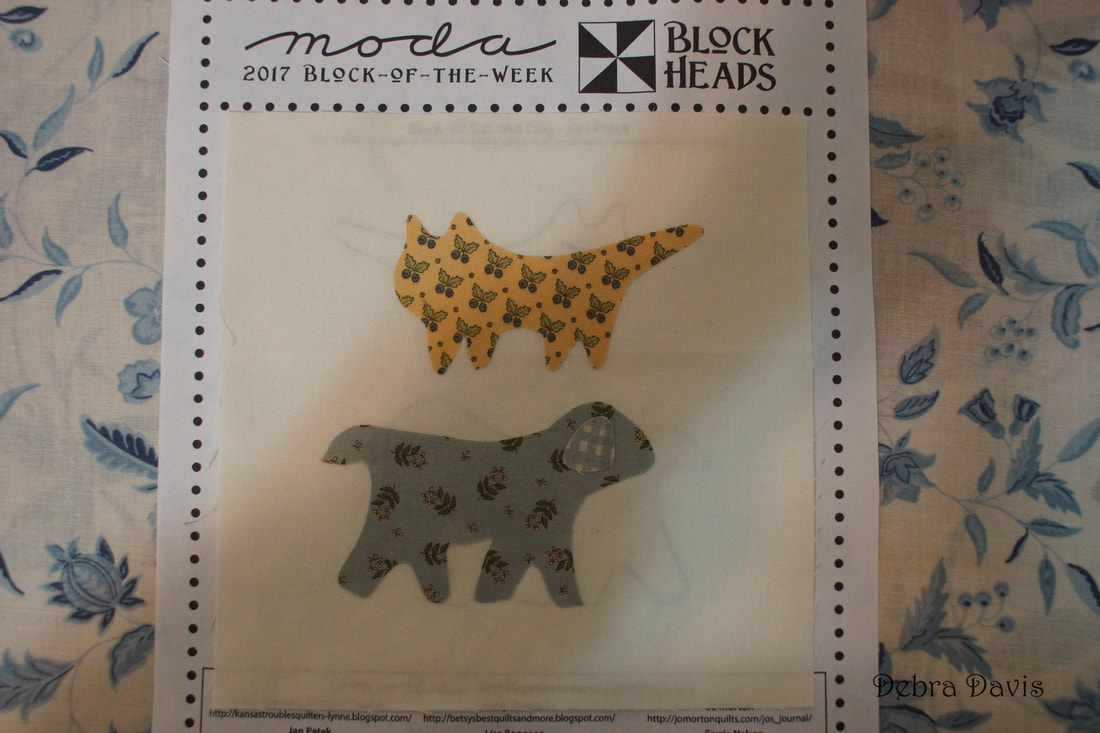 Before starting to sew I always add a piece of stabilizer to the back of my block. The stitches come out much nicer. I have several types and today I grabbed a sheet of Ricky Tims Stable Stuff and pinned it to my block. I pulled out a couple of threads from my ut stash to use.
If you have followed along with me on these blocks then you know I like to start with a straight stitch and always keep my needle in the down position. For the applique I am using a small stitch 1.9 on my machine which is about 14 stitches per inch. I also move my needle over 2 positions to the right. 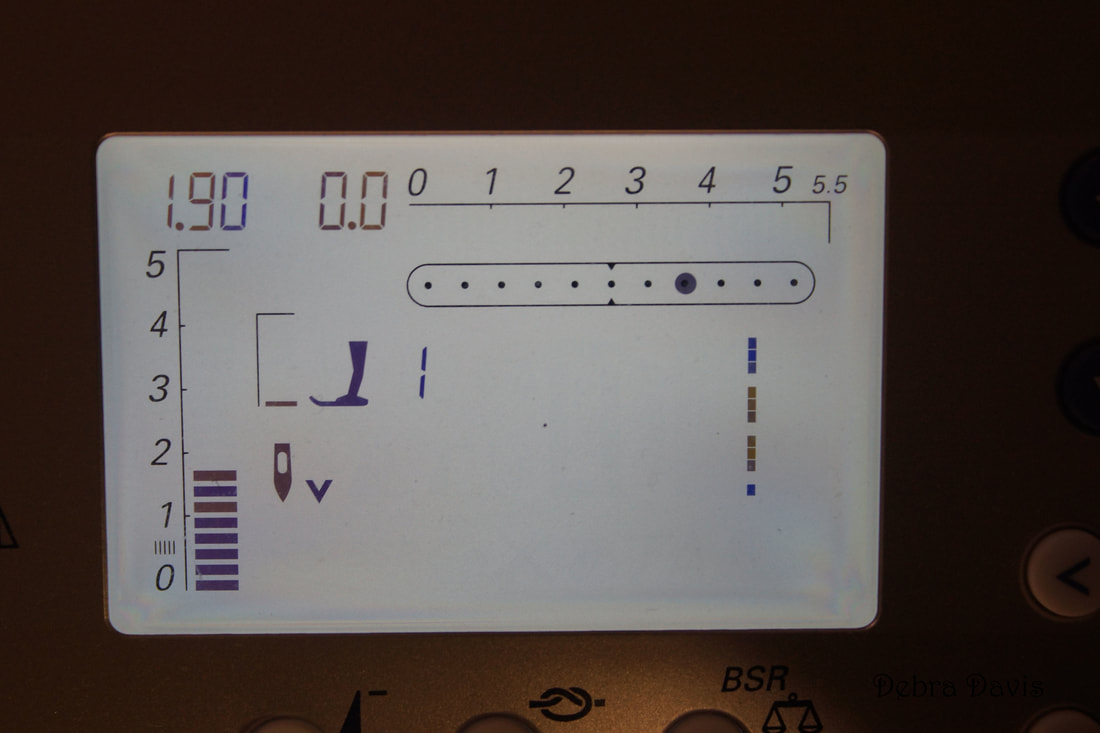 I picked a starting point and began with 5 straight stitches right along the edge of the applique. 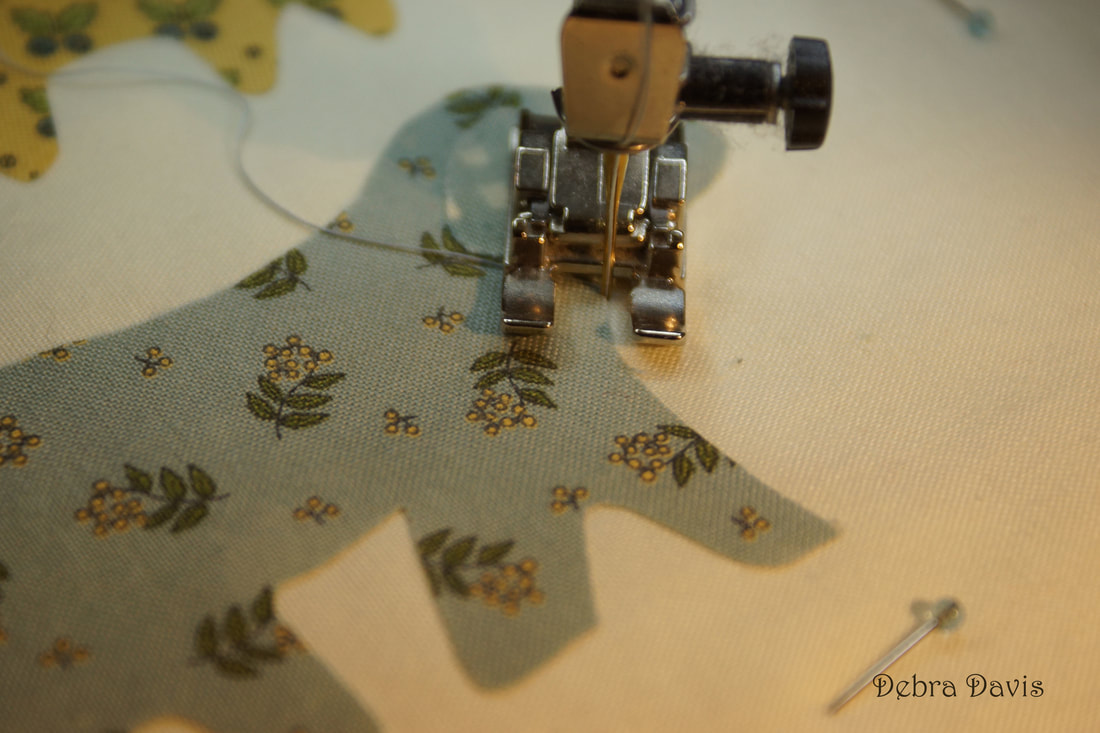 Next I switch to the double buttonhole stitch on my machine. The stitch length is again 1.9 and the width I like is 2.0. My needle is in the down position and is centered rather than moved to the right as in the straight stitch settings. I love that my machine has a memory and I jsut have to press a button to move between these two stitches. 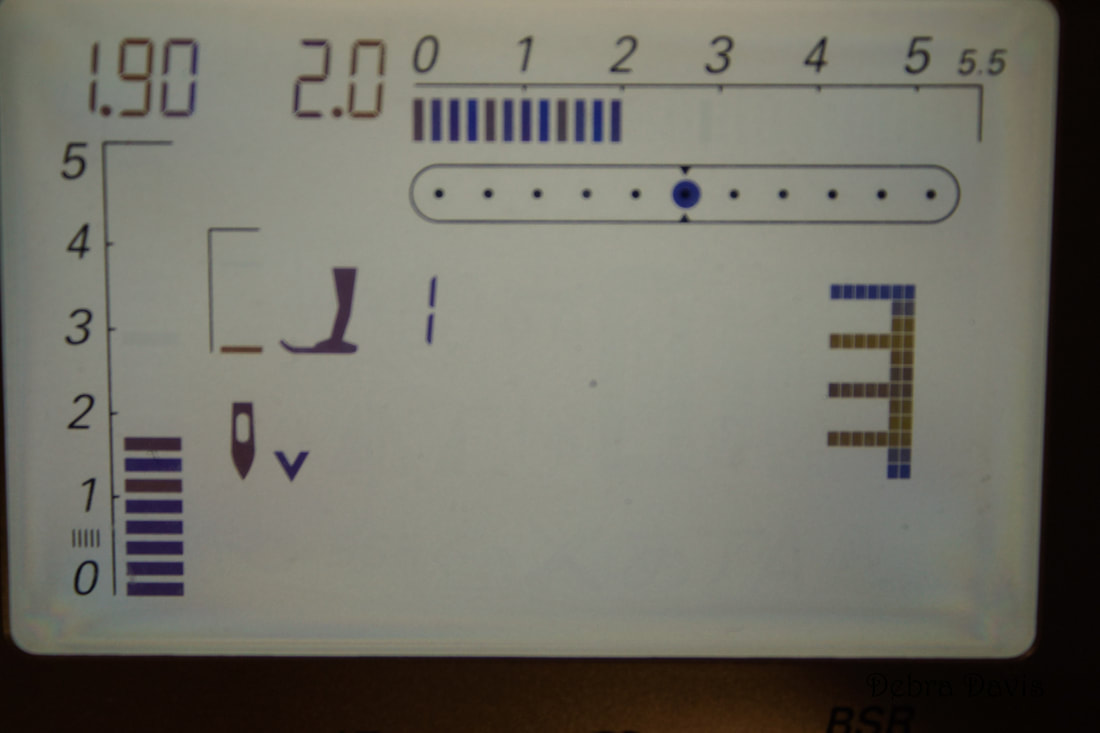 Now I am ready to start the buttonhole stitch. I still want the straight part of the stitch to land right alongside the applique piece. Notice the needle is just beside it not on top of it.  Here you can see the "bite" of my buttonhole stitch. I take my time as I work my way around the applique. 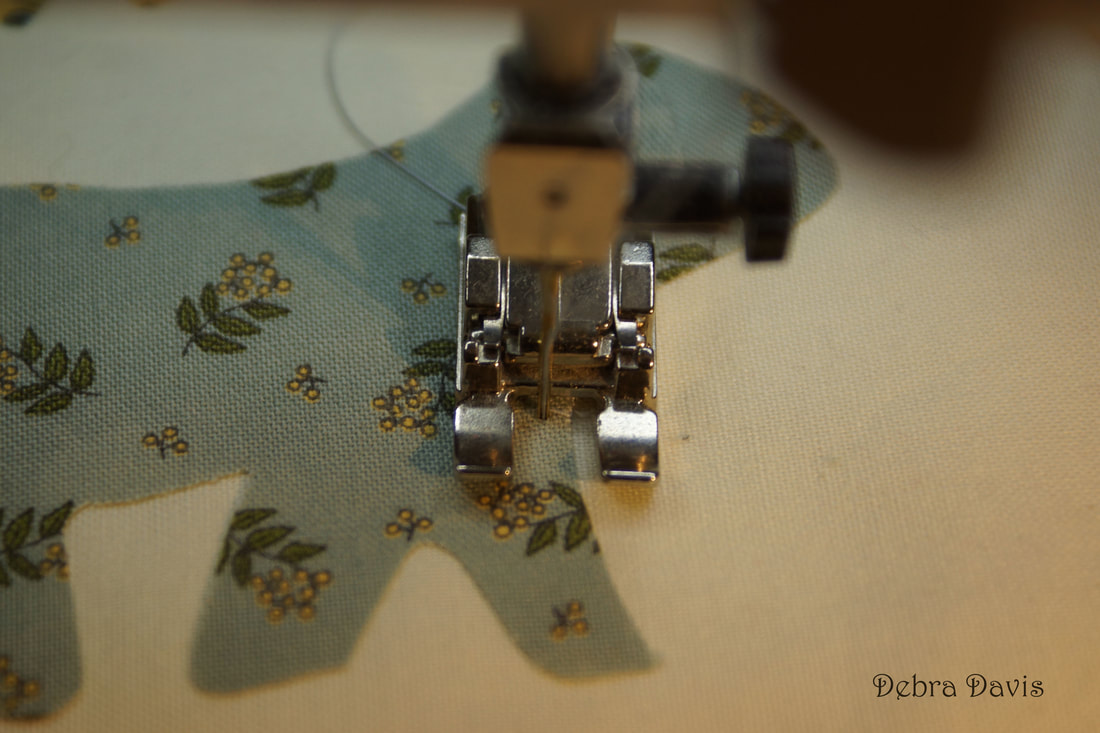 When I come to a turn like this I lift the presser foot, making sure that my needle is still down in the fabric. The pivot and turn. 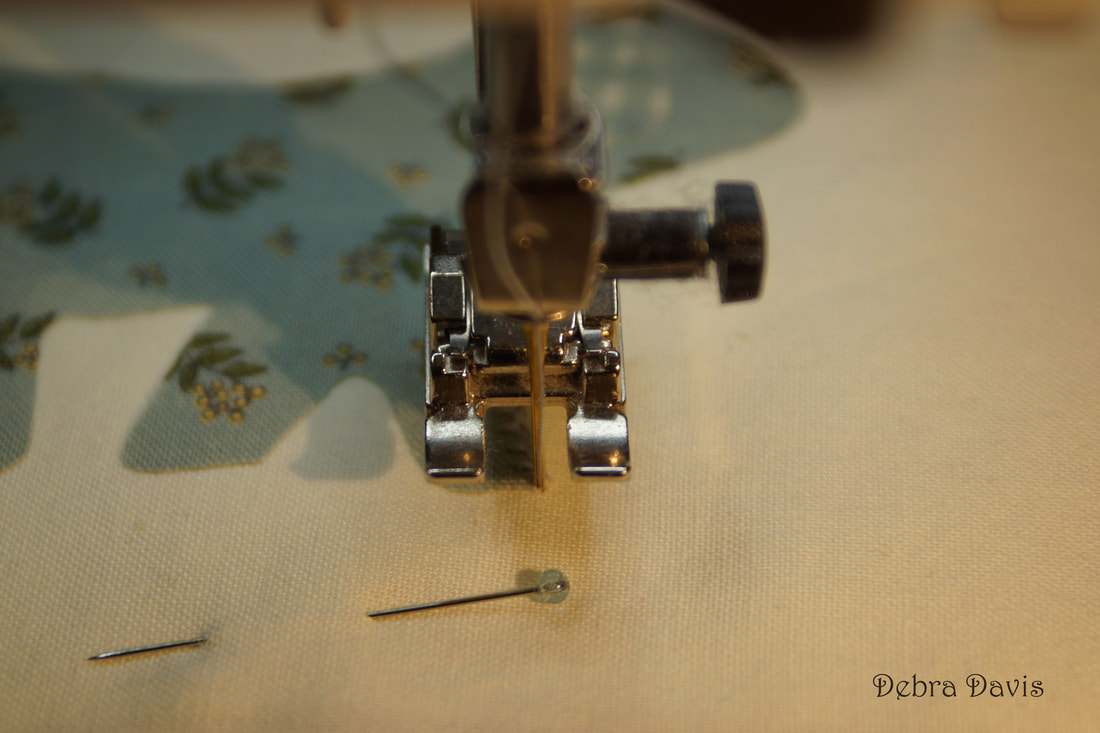 If a turn like this comes on the straight part of the stitch I pivot right before the "bite" part of the stitch. Then when I make the turn the "bite" will go over those same straight stitches I just made. before proceeding across the applique. There are lots of little turns and adjustments to make going around the legs. I just take my time and lift and pivot as needed.  When I get back to the beginning straight stitches I continue the buttonhole stitch right over the top of them. I have already clipped the top and bobbin threads off so they do not become a tangled mess on the back of my work. 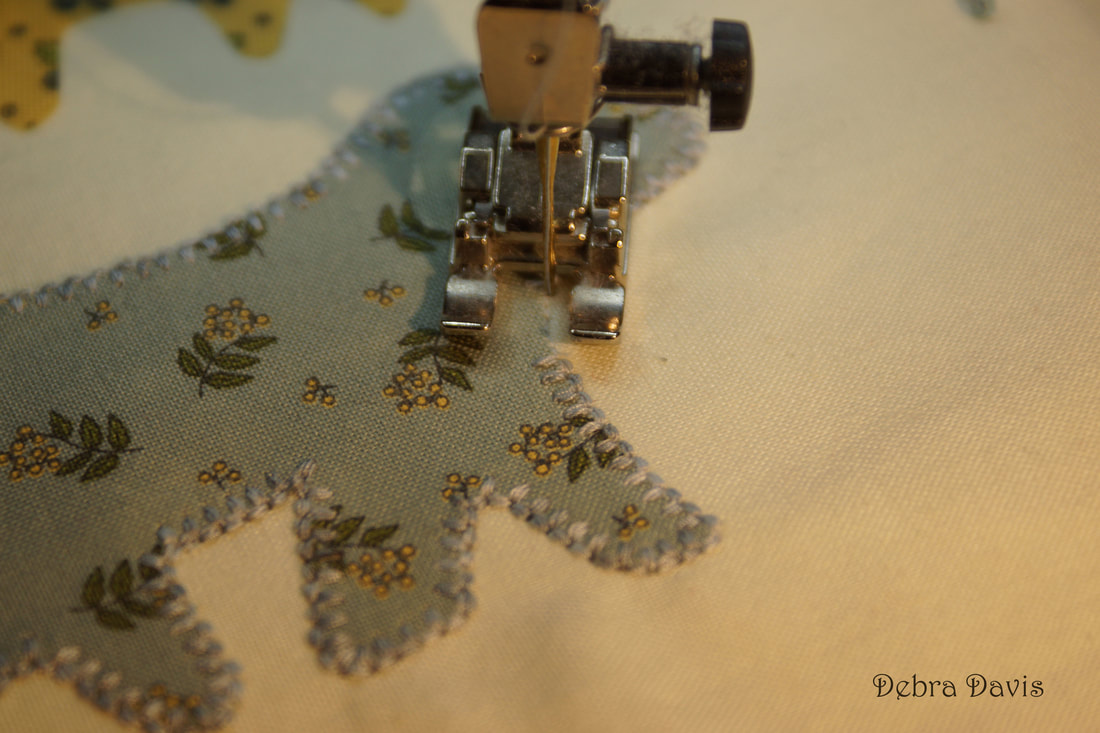 When I get to the start of the buttonhole stitch I switch back to the straight stitch (with the needle 2 positions to the right) and take 5 or six stitches ending with a locking stitch. 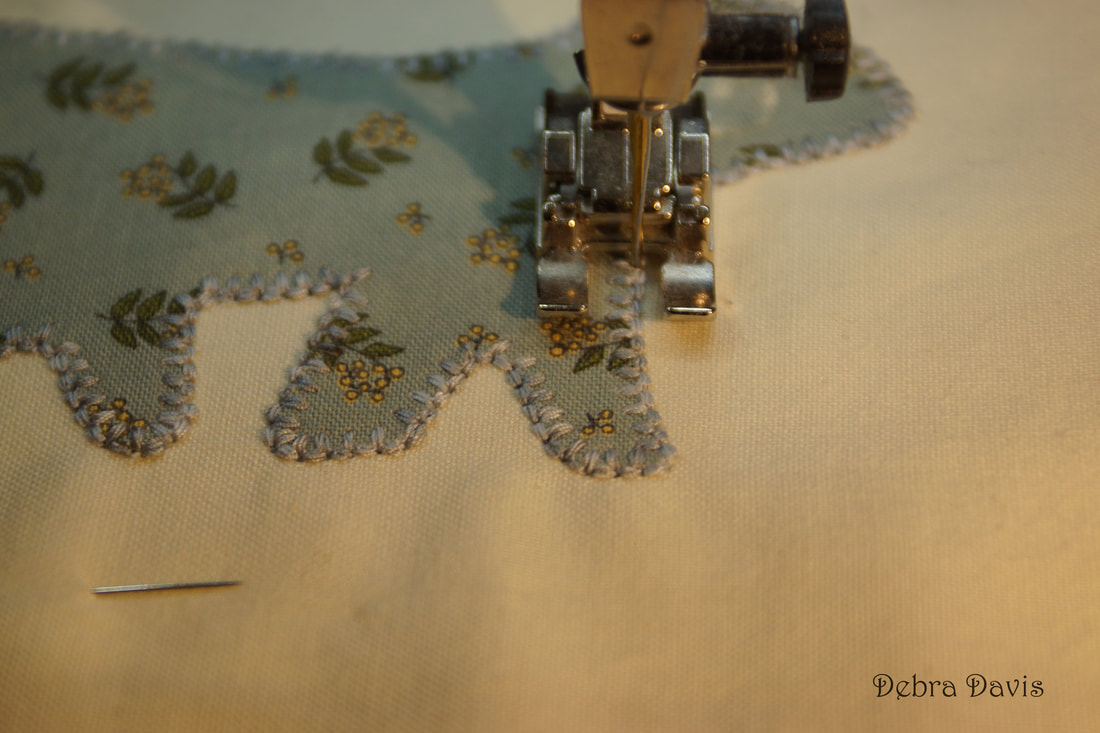 I use the same process to go around the ear. 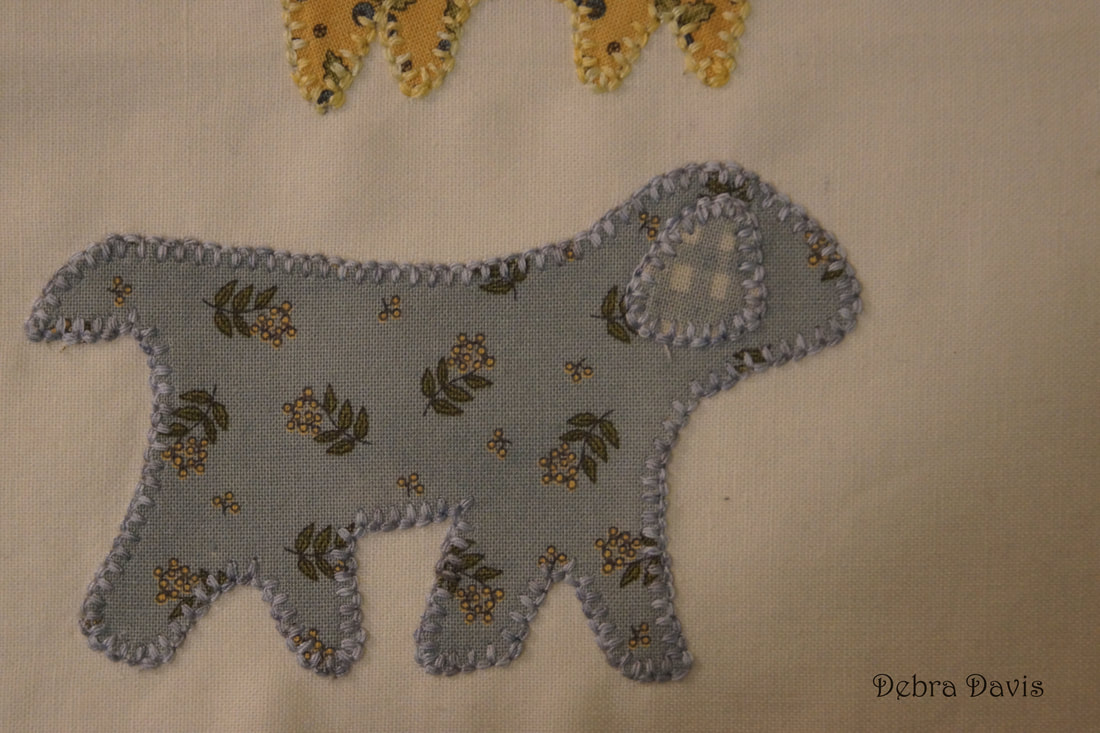 And the cat too. 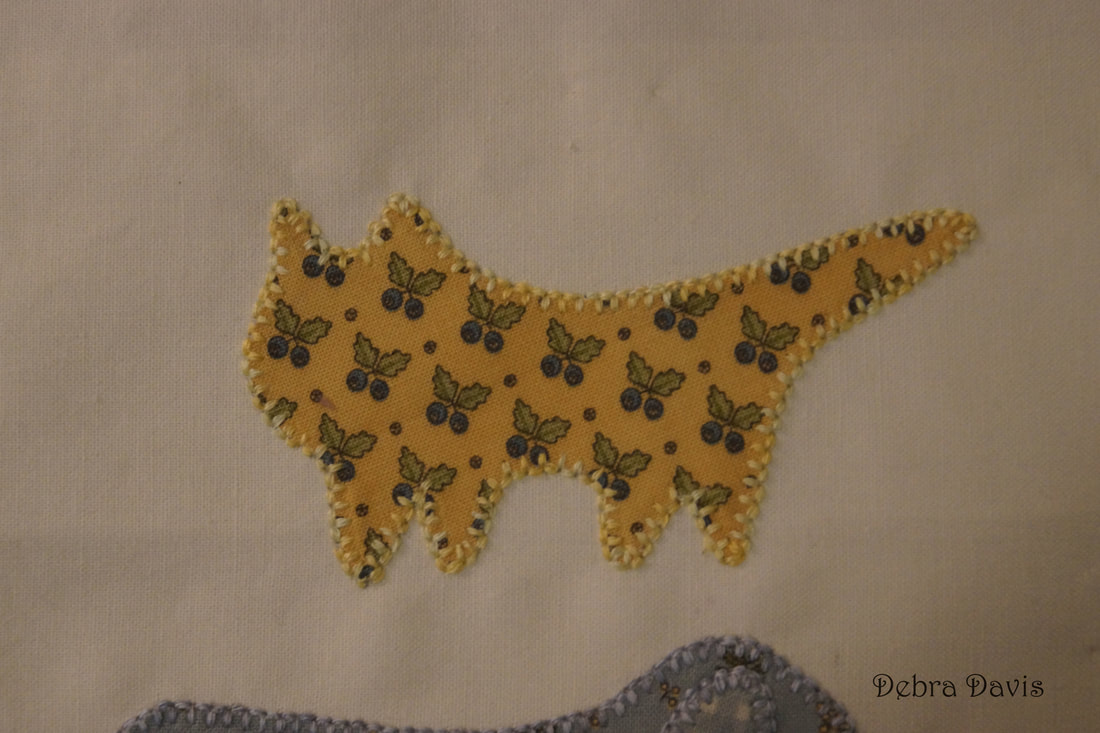 At this point I just felt my two friends needed some features rather than their blank faces. 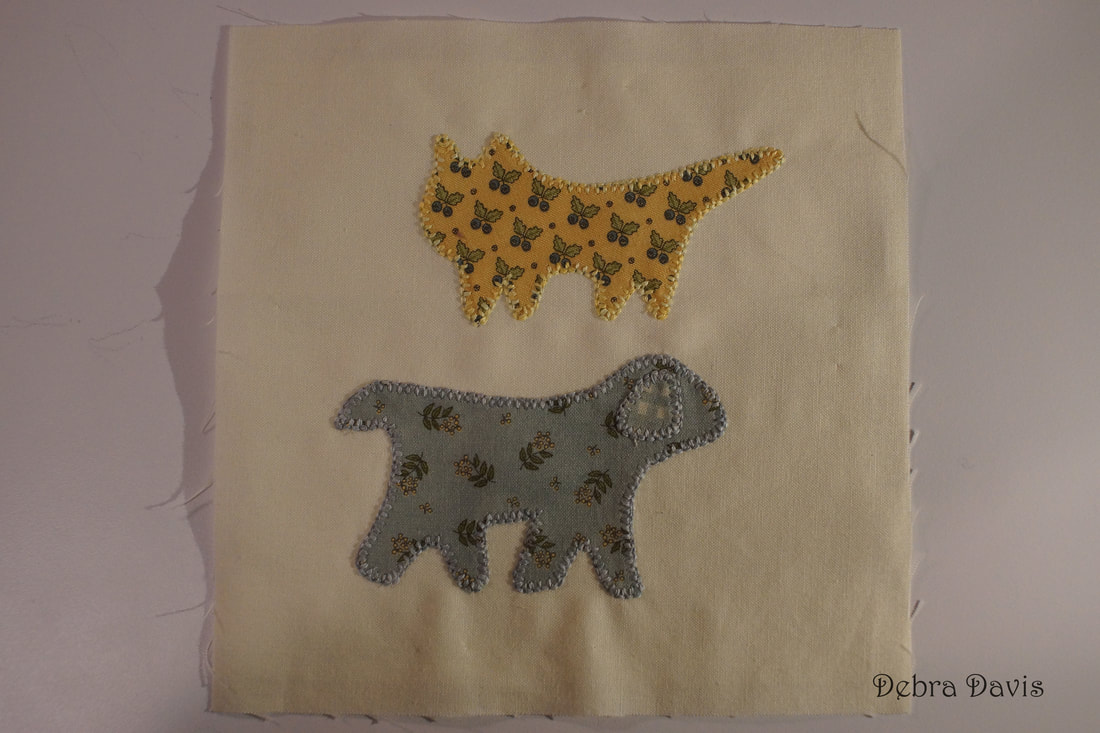 Using a satin stitch I hand embroidered an eye and nose onto the dog using two strands of black DMC floss. 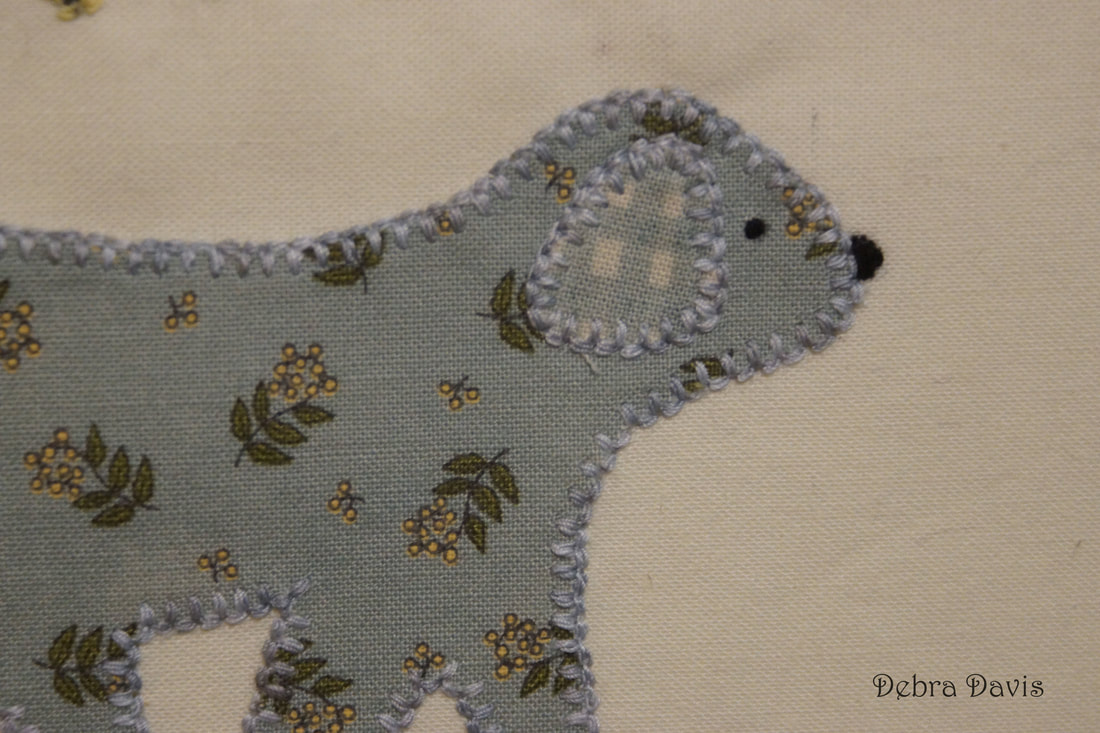 I used one strand of floss and a backstitch for the whiskers on the cat as well as the outline of the nose and her smile. I used two strands of floss to satin stitch a nose and two eyes. The ears are backstitched using two strands of pale pink floss-the same color as the nose. 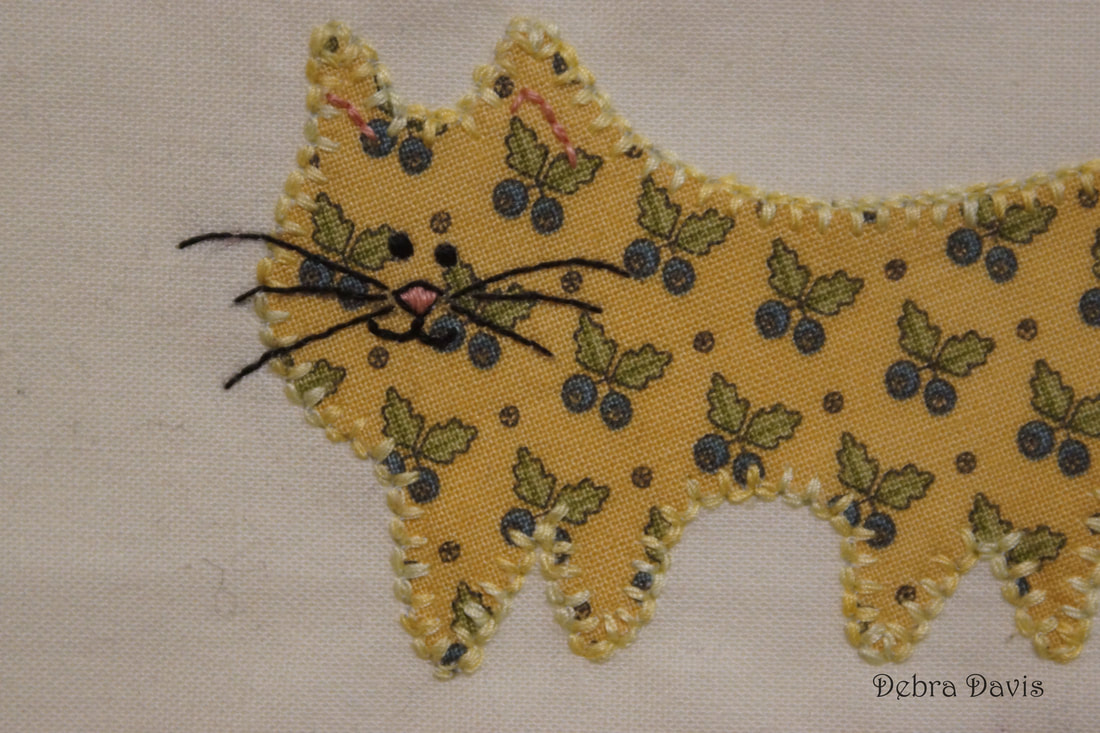 One again here is the finished block. 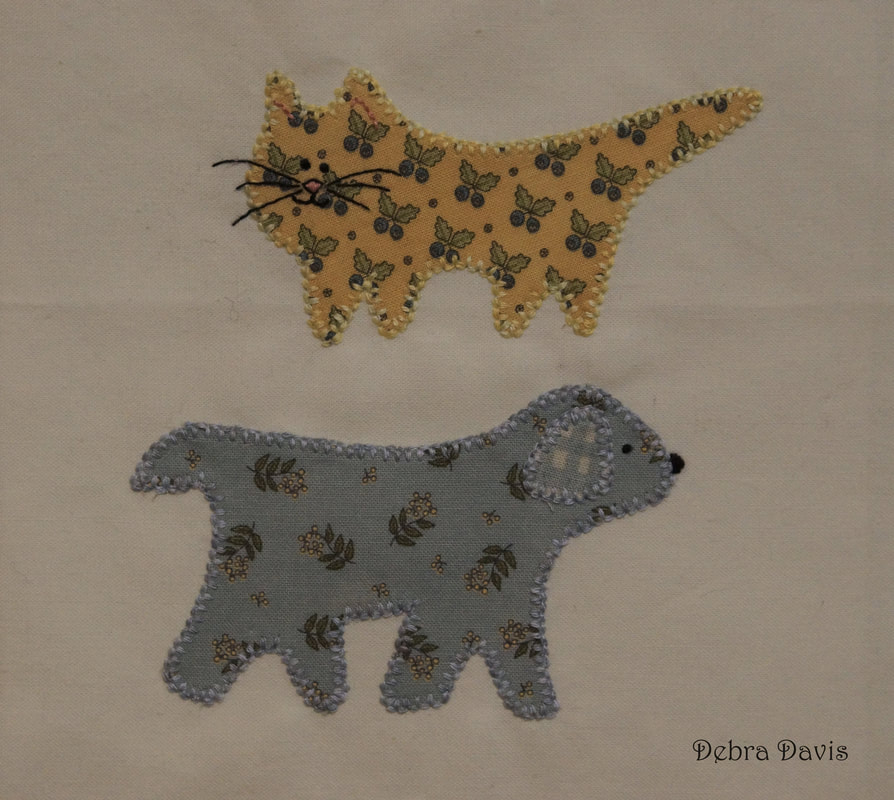 Whatever applique method you use I hope you have fun with this one. I can hardly wait for Block 47-though hope to do some more catching up in the meantime. Happy Quilting! 
Cootje
1/18/2018 01:47:00 am
Thank you so much, Debra, for this very clear explanation. I have certainly learnt a lot by it!! Happy day!
Debra
1/18/2018 02:53:58 pm
I am so glad, Cootje! Comments are closed.
|

Welcome to the site of Debra Davis-a woman who loves the Lord and loves to quilt.
My other blog where I share about my walk of faith:
Sitting at His Feet 
|


 RSS Feed