|
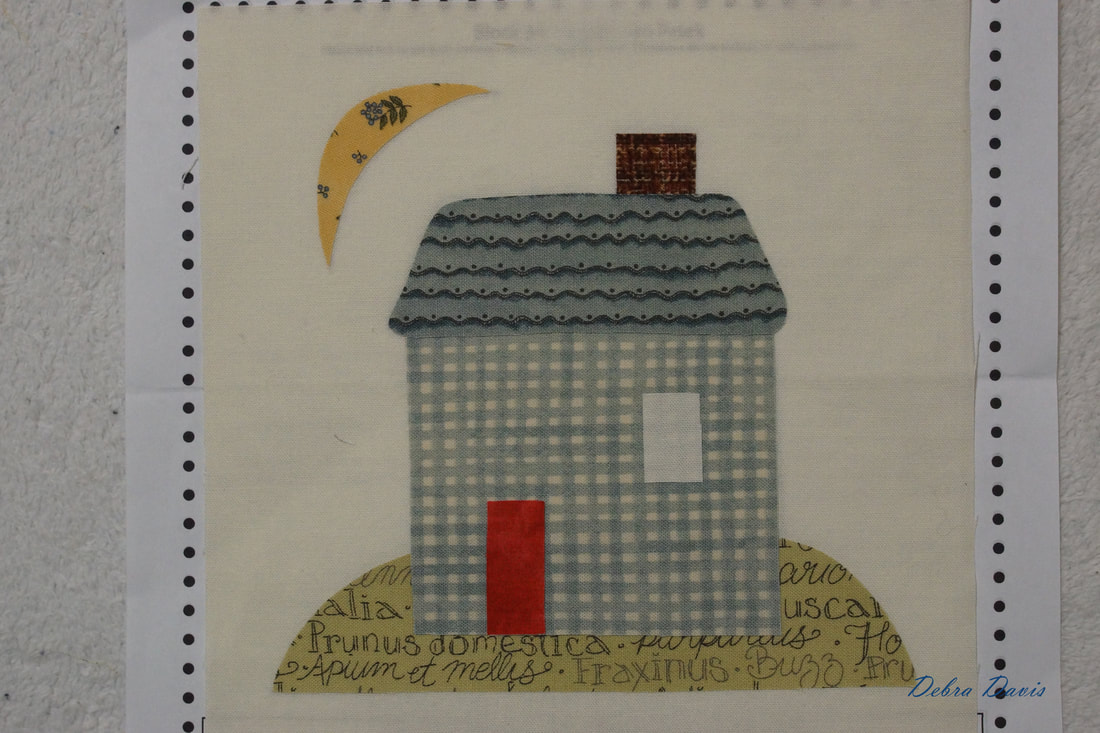
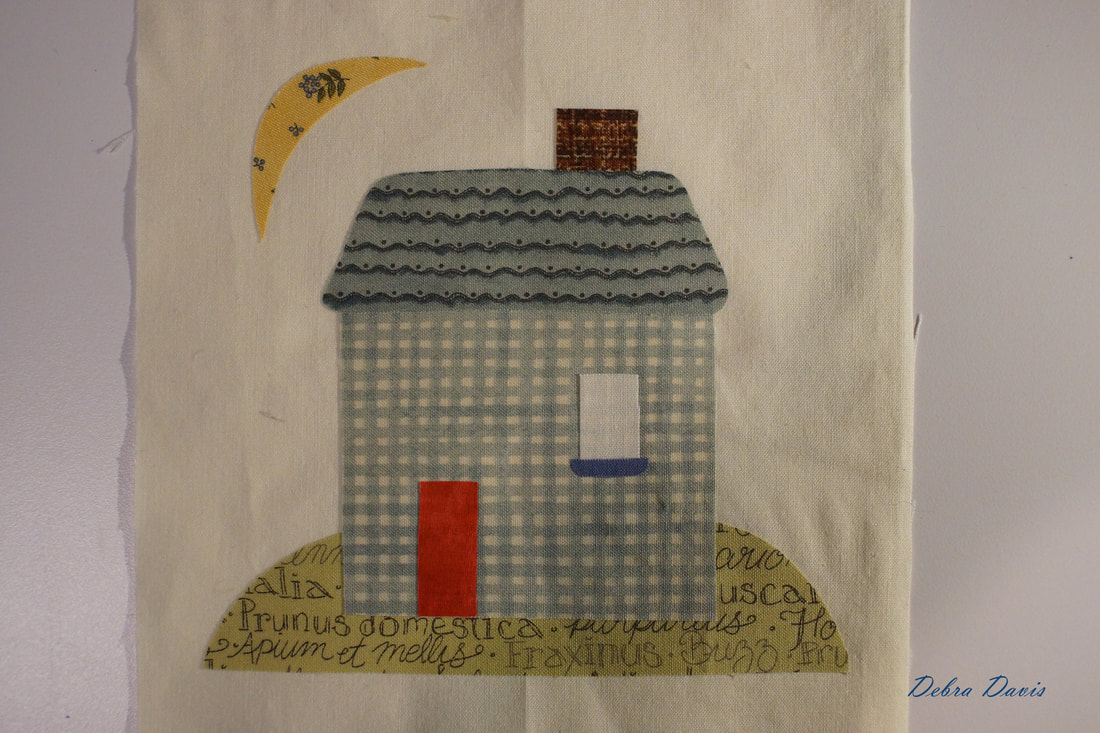
Jan Patek designed this cute little log cabin house. This is a photo from her blog of how she envisioned the block. She has a great little step-bypstep on her blog showing how to use her method of applique. You can read it HERE and also get a copy of her pattern. 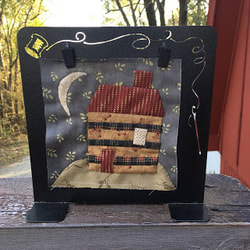 After much thought I decided I wanted to change it up a bit to fit my garden theme and I came up with a little cottage which uses the fusible applique method. 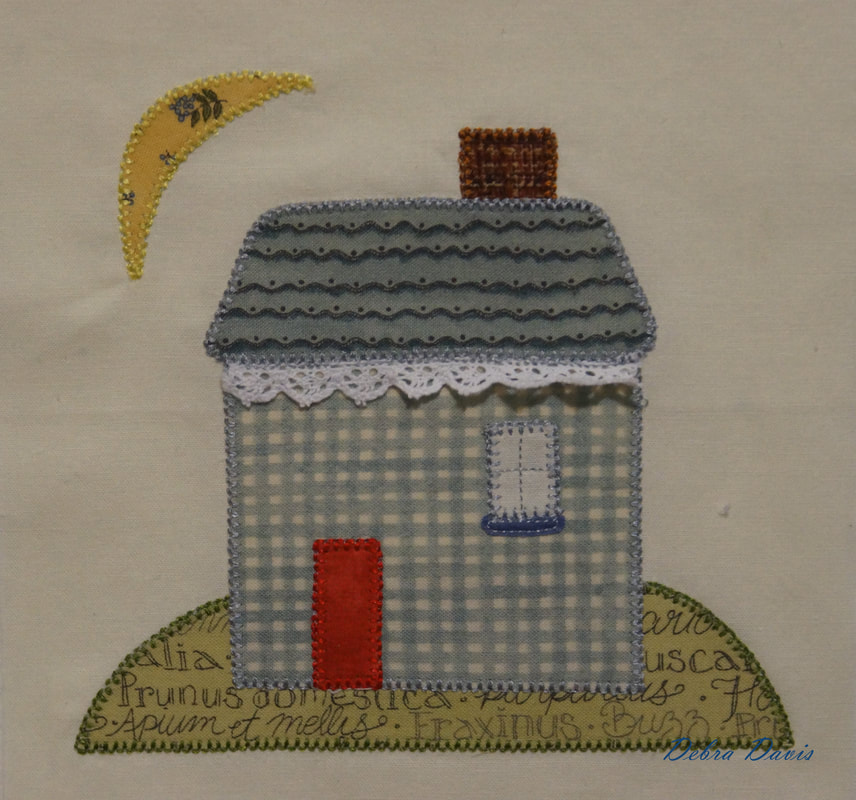 Using a light box I traced all of the pattern pieces onto the paper backing of my fusible. I flipped the pattern over so that all of the pieces are reversed and then numbered them iaccording the order they will be added to the background piece. Using my iron I fused all of the pattern pieces onto the wrong side of my chosen fabric. 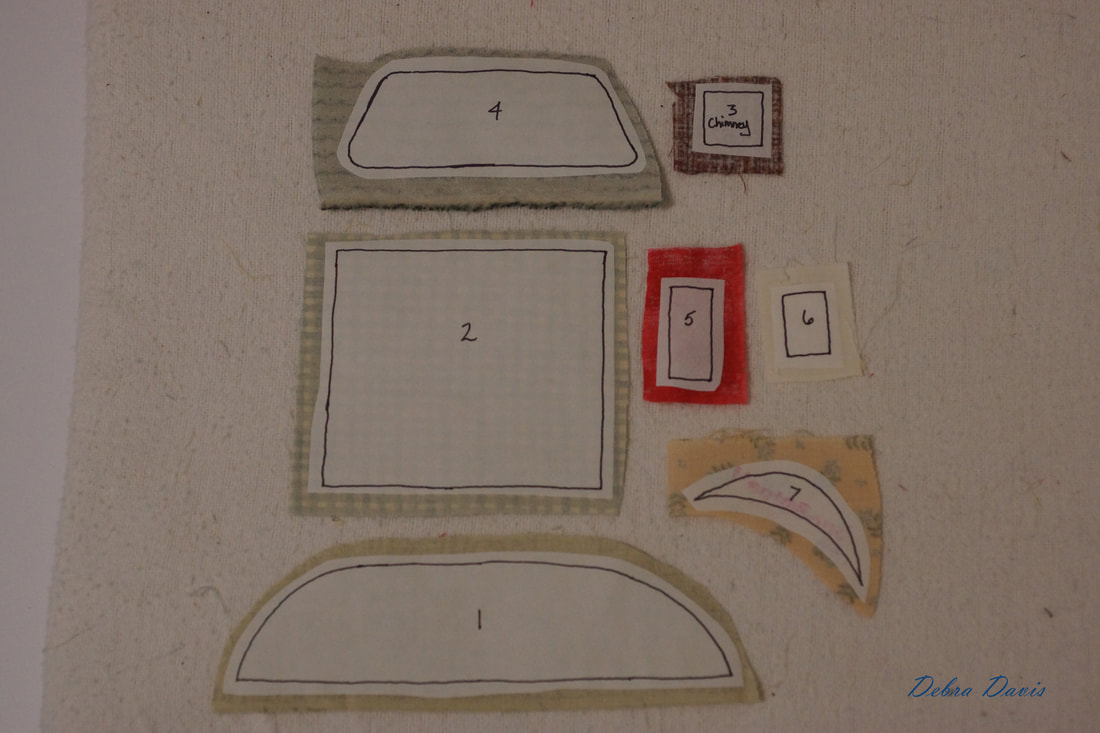 Once the pieces have cooled I cut them out . 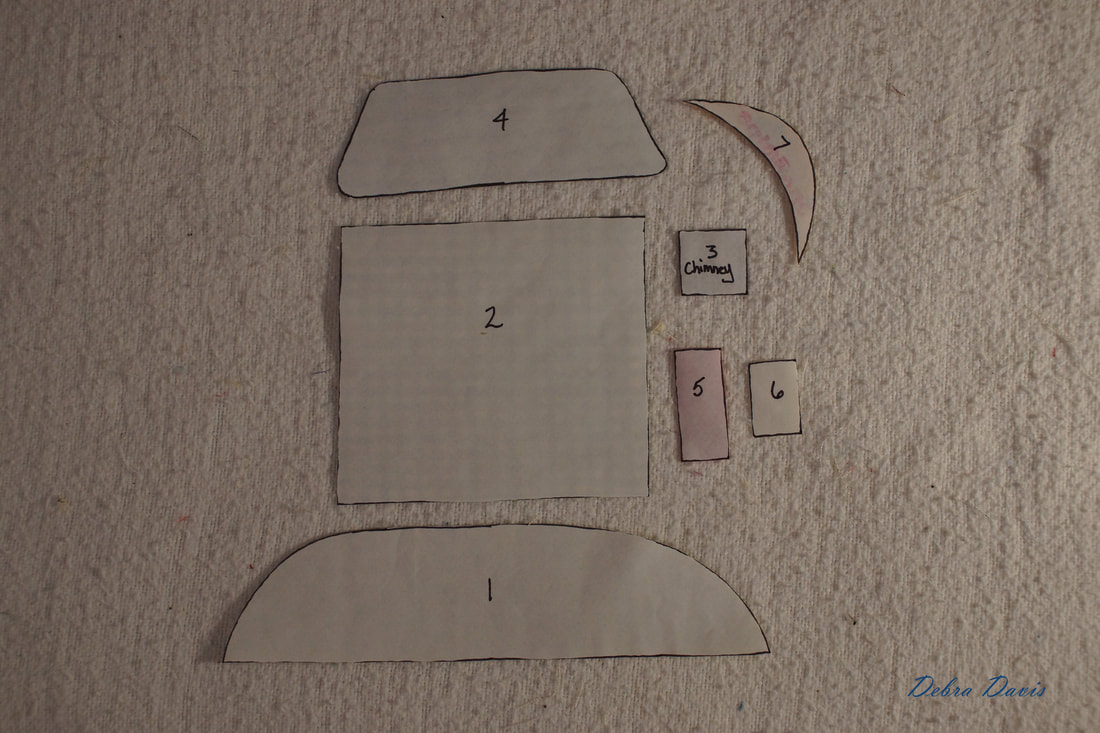 I have cut my background piece a little larger than the finish size: 7" x 7" Since I am using a light colored backgroung I am able to easily see the pattern when I lay it underneath the fabric. I have found the center of both the fabric and the pattern and line them up to get ready to start placing the parts of my cottage on the background fabric. 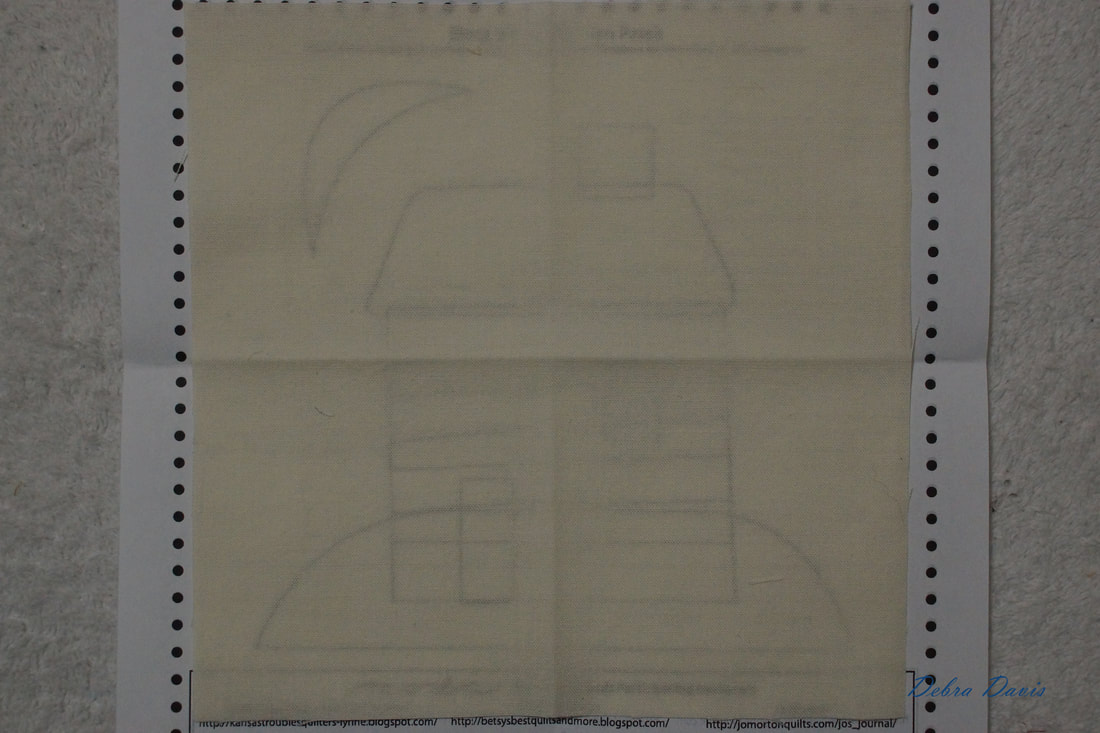 I begin by placing all of the pieces onto my background working from the back to the front of the design. I will not iron them until I am sure I have everything just the way I want it. 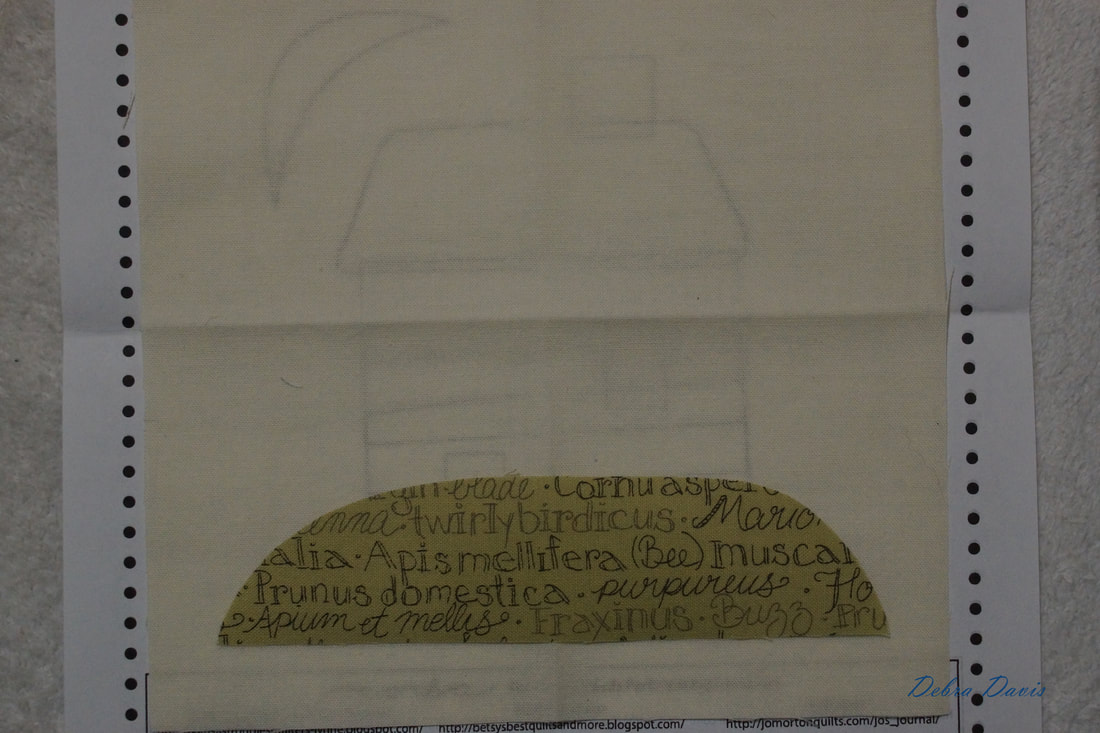 Everything is in place and ready to be fused to the background with my iron. I decided a garden cottage needed a window flowerbox so added that as well.
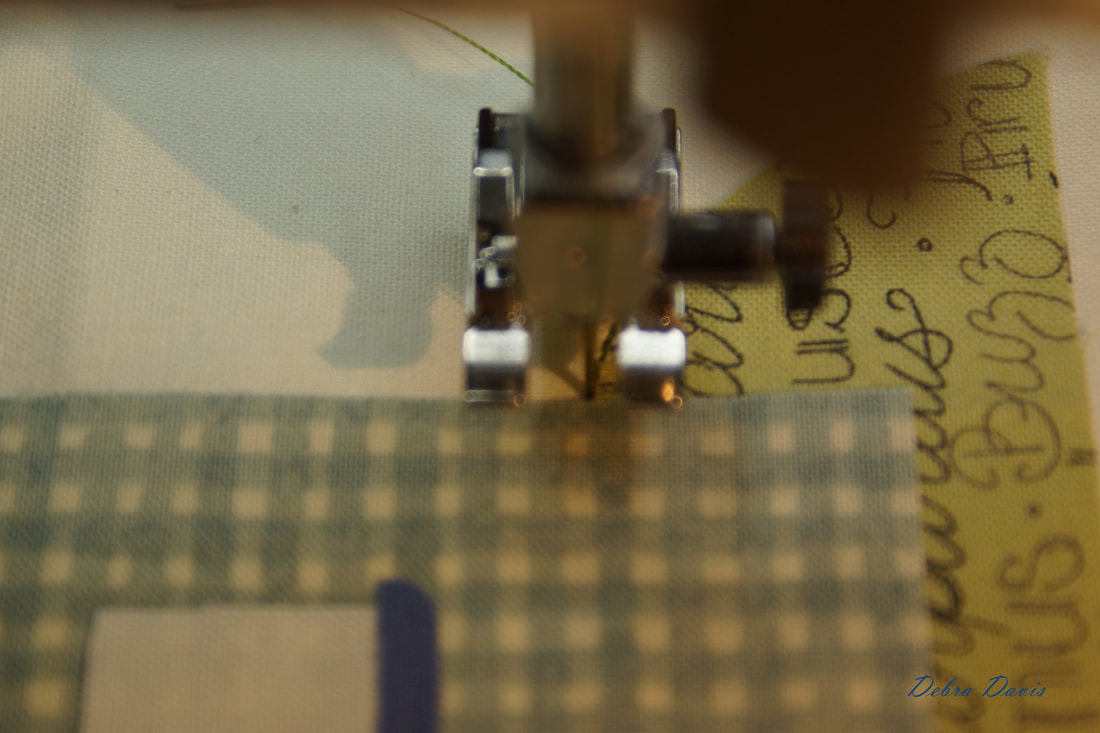
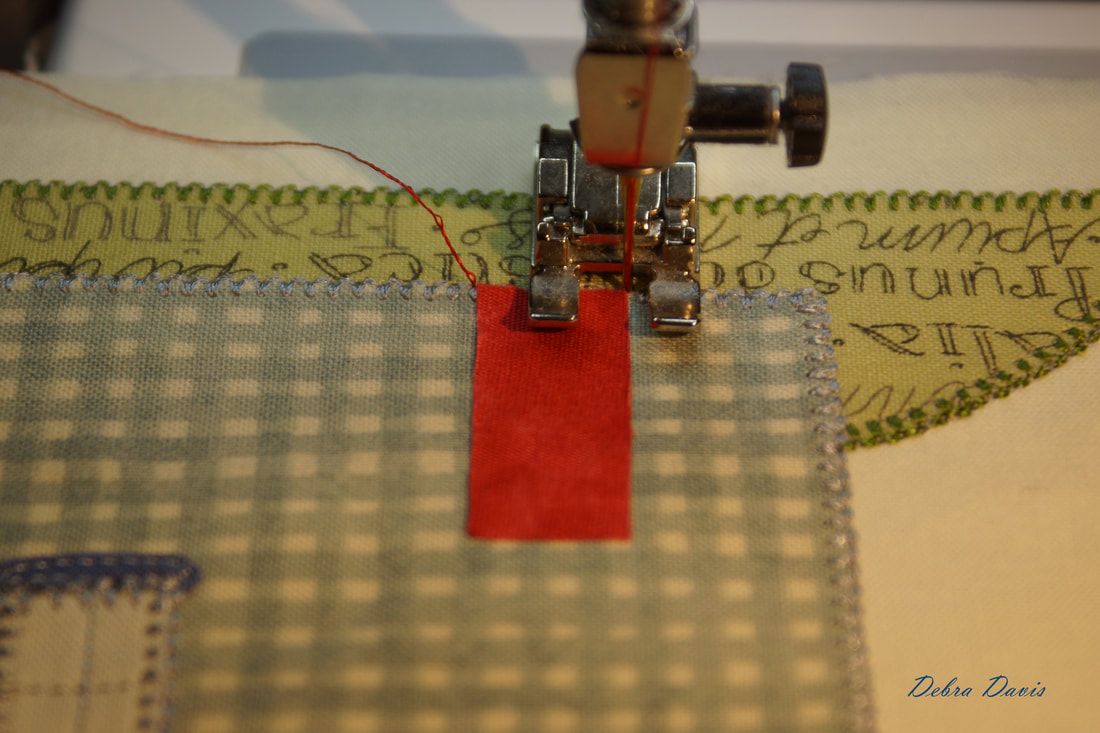
I always place a piece of stabilizer onto the back of an applique. I find the stitches are much smoother and more uniform that way. 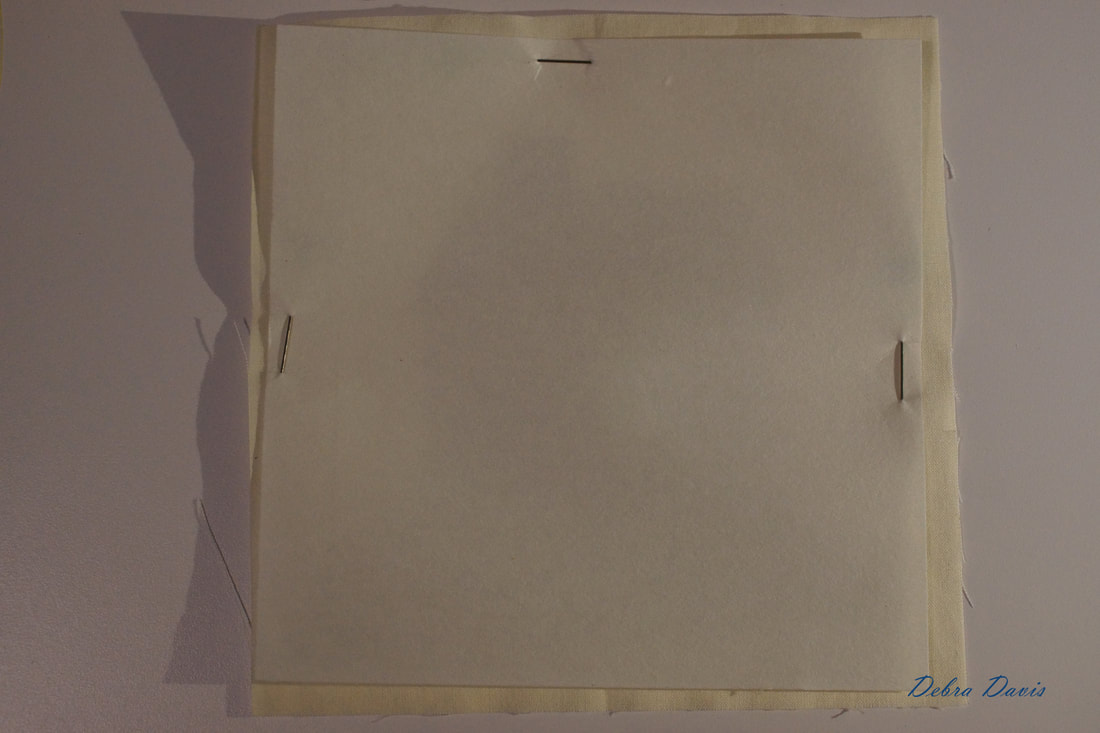 I will be using two stitches-always beginning and ending with a straight stitch. I have set the length to 1.9 and moved the needle over two positions to the right. I also use the needle down feature on my machine. 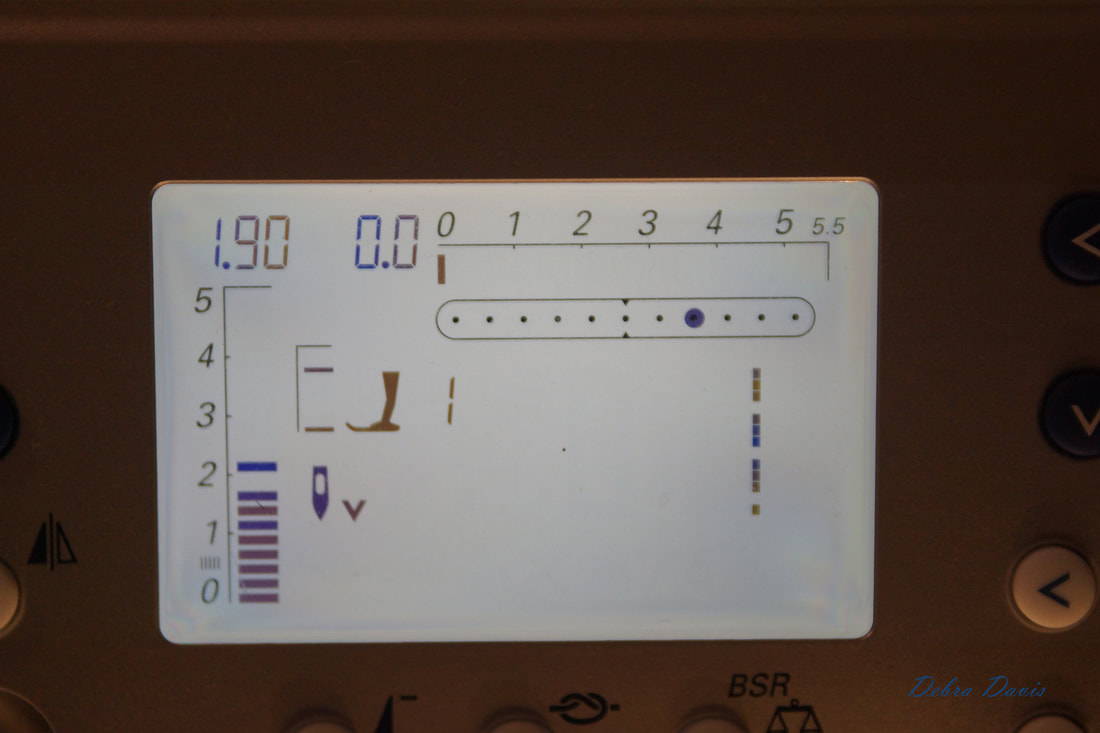 I will work from back to front as I stitch around the applique pieces-using the same order that I placed them. So beginning with the hill I take a few straight stitches towards the spot where I want to begin my buttonhole stitch. 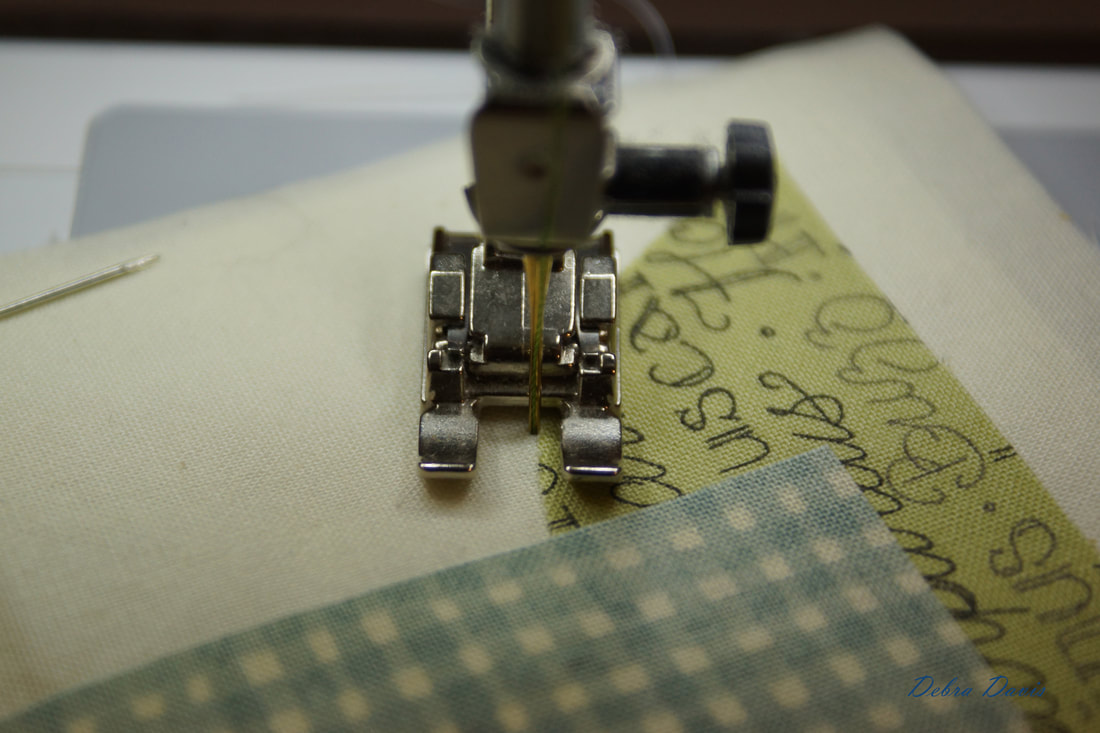 Once I reach my starting point I lift the presser foor, keeping the needle in the down position and pivot the work around. This is a good time to clip both the top and bobbin threads to keep the work looking neat.
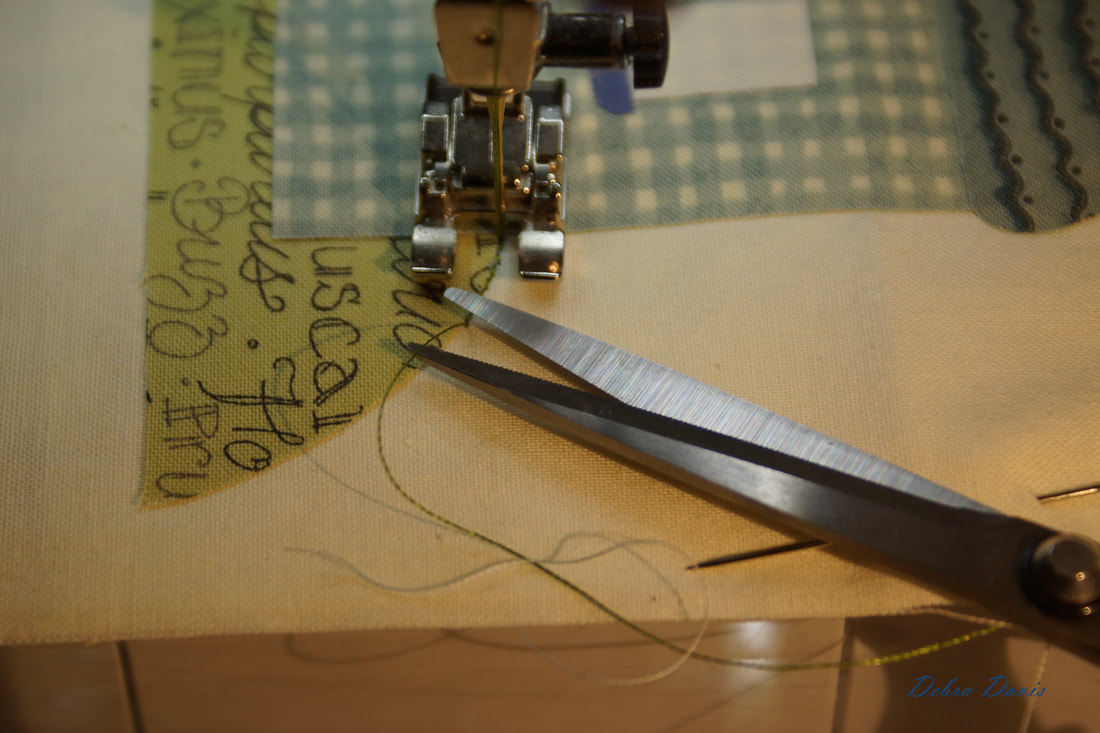
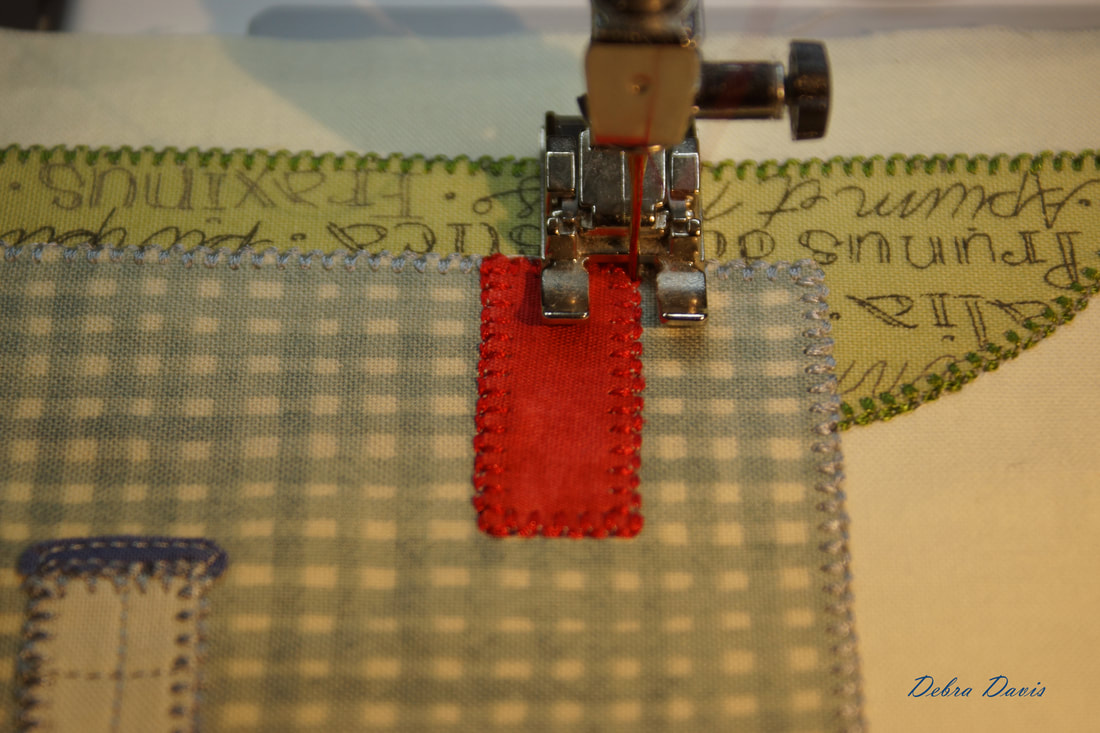
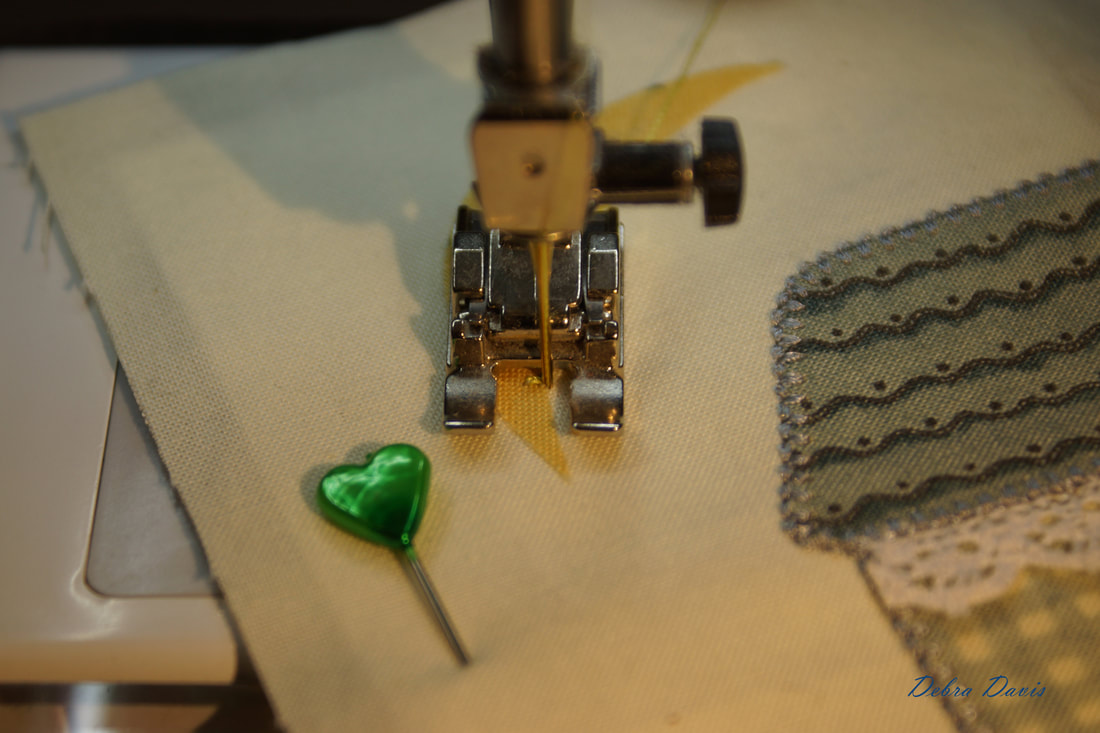
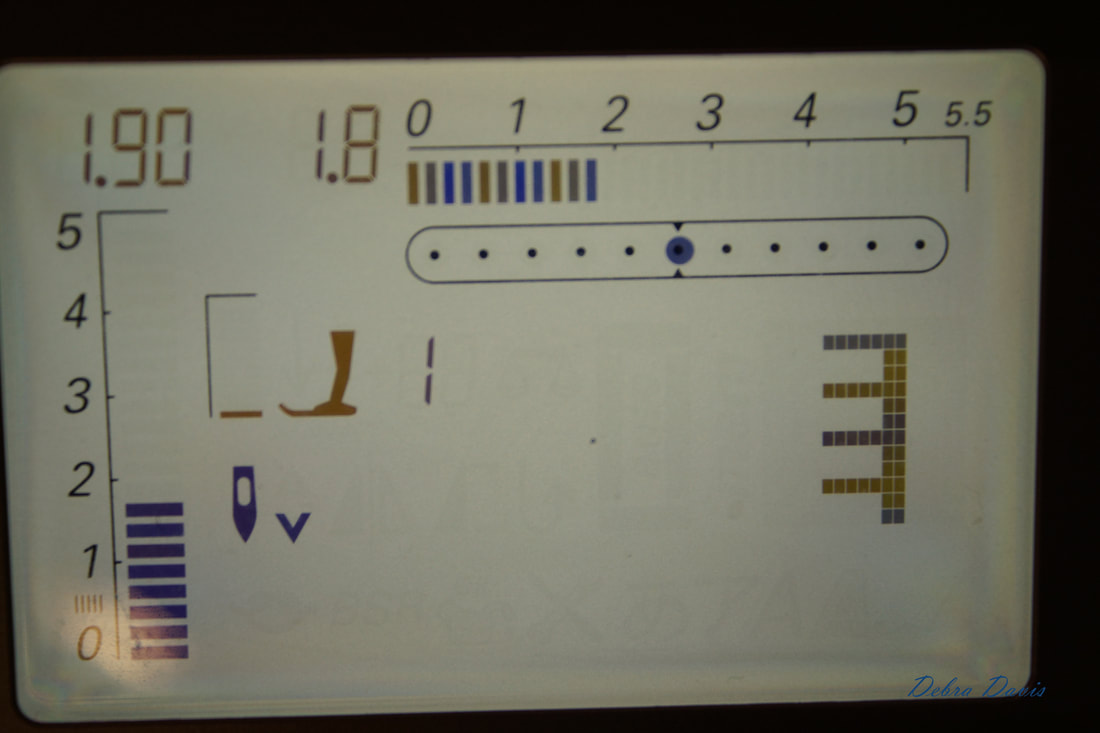
Now I will begin my buttonhole stitch. My stitch length is 1.9, width is 2.0 and my needle is in the center position. I want to start with my needle right along the outer edge of the piece I am appliquing in place. The straight part of the buttonhole stitch needs to run along that edge. 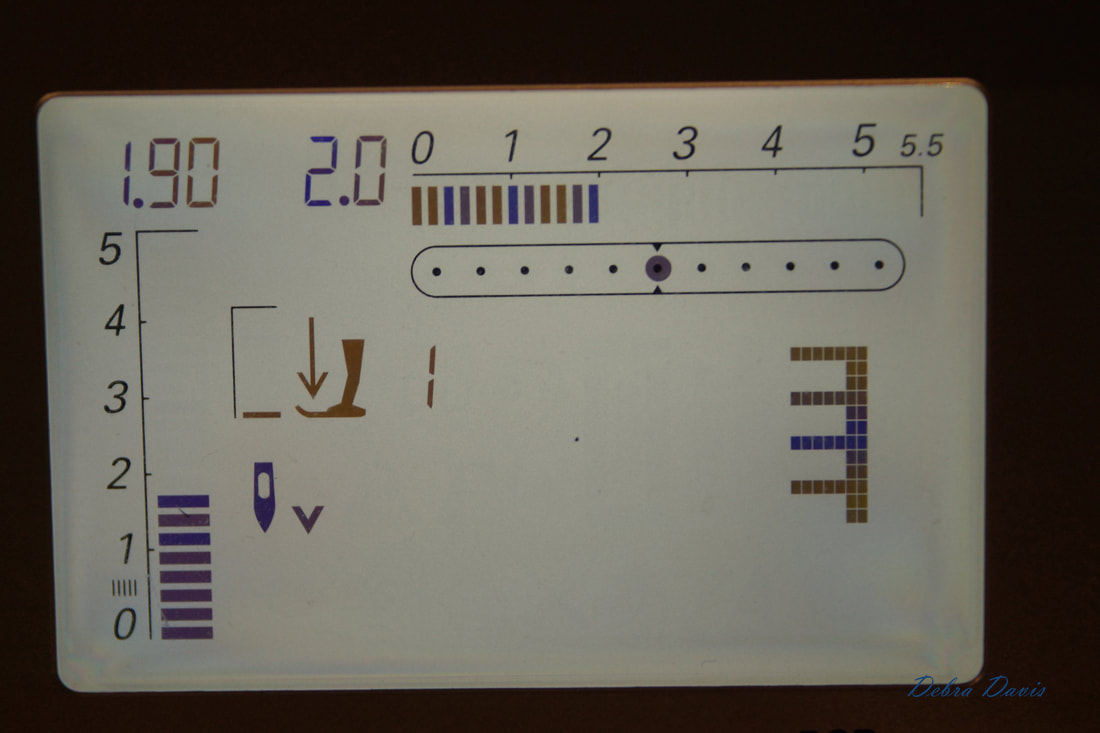 Once I have made it around to the other side of the applique I pivot and take a few straight stitches and a locking stitch to finish off. 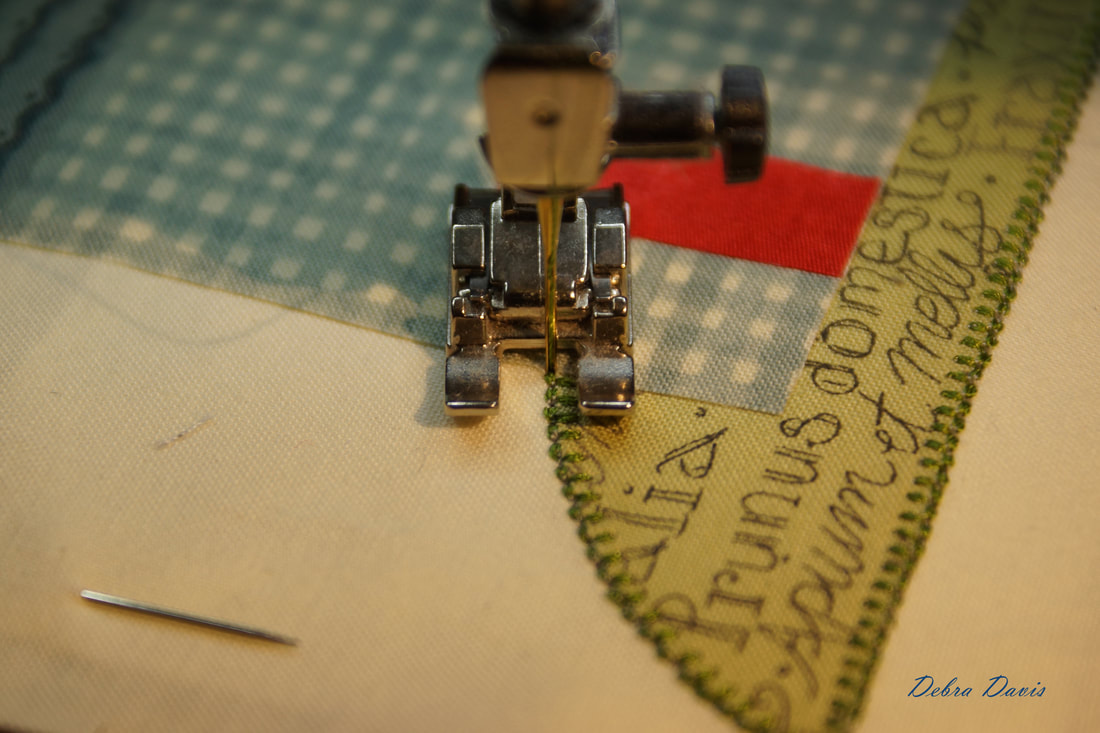 I move on to the chimney next. You can see where I took a few straight stitches to get started. I clip the threads out of the way before pivoting and starting my buttonhole stitch. 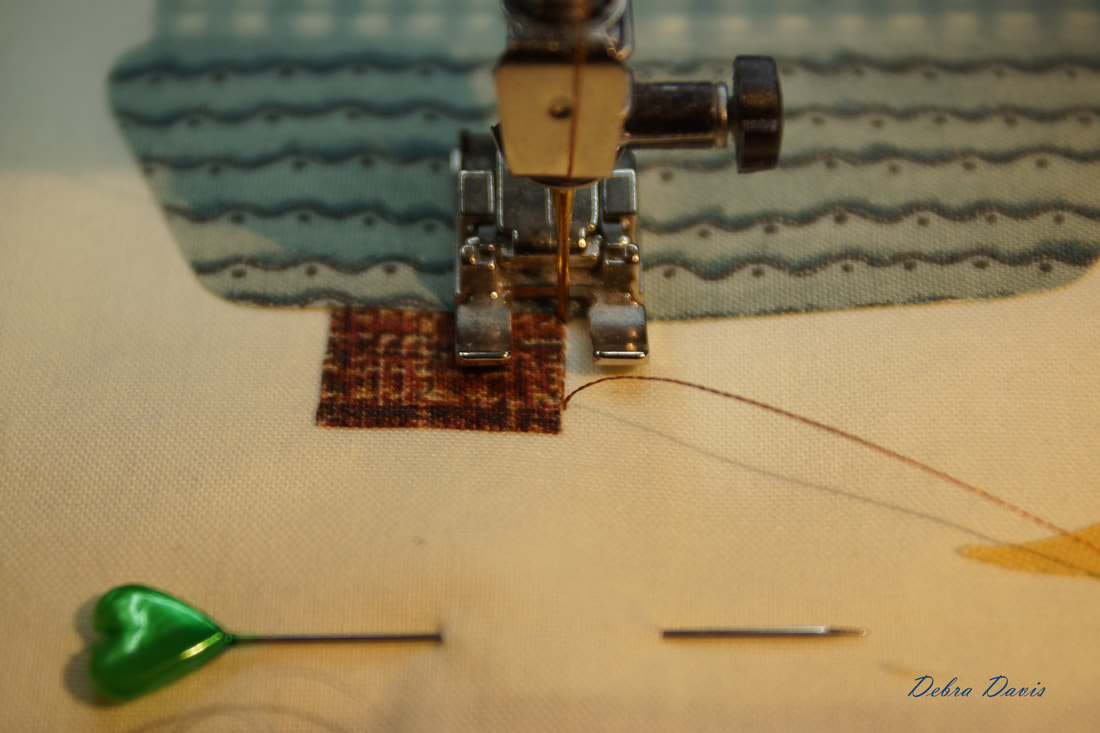 There is a little trick I use when I come to a corner like this. I stop the buttonhole stitch at the end of the straight part of the stitch, before it takes the bite into the applique. With my needle down I pivot and line up the edge so that the buttonhole stitch will now go over the straight part of the stith I jsut made. It is taking the "bite" just not into the chimney. 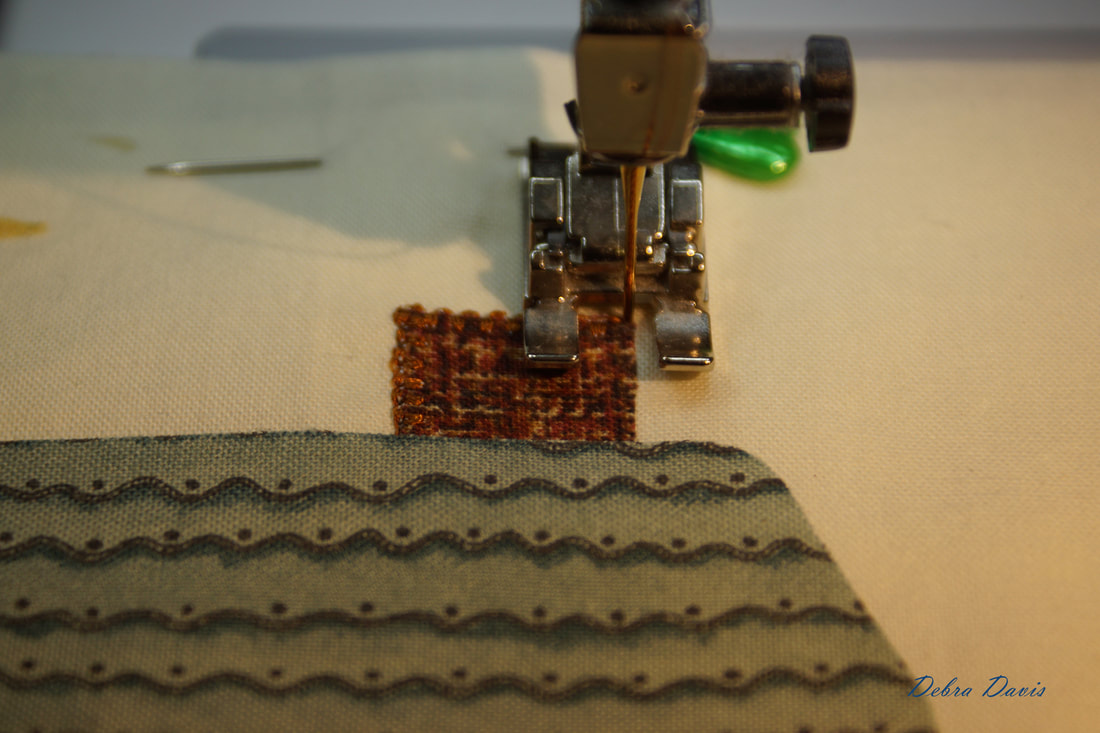 Here you may be able to see how that "bite" portion of the buttonhole stitch is landing on the edge. When it comes back for the straight part of the stith it will be in exaclty the right place along the edge of the applique. I finish off with a straight stitch once I reach the roof applique-just like I did on the hill, a few straight stitches back over the buttonhole stitches and finish with a locking stitch. 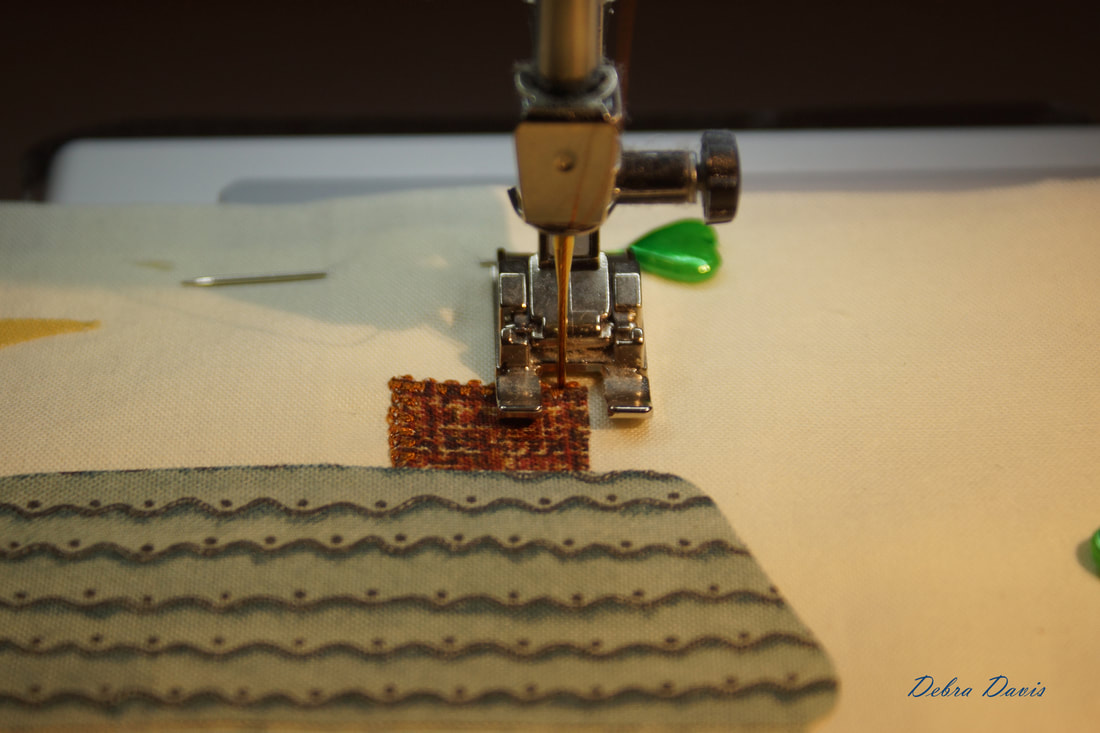 Now I am moving on the cottage itself-again starting with those straight stitches before pivoting around to do the buttonhole stitch. 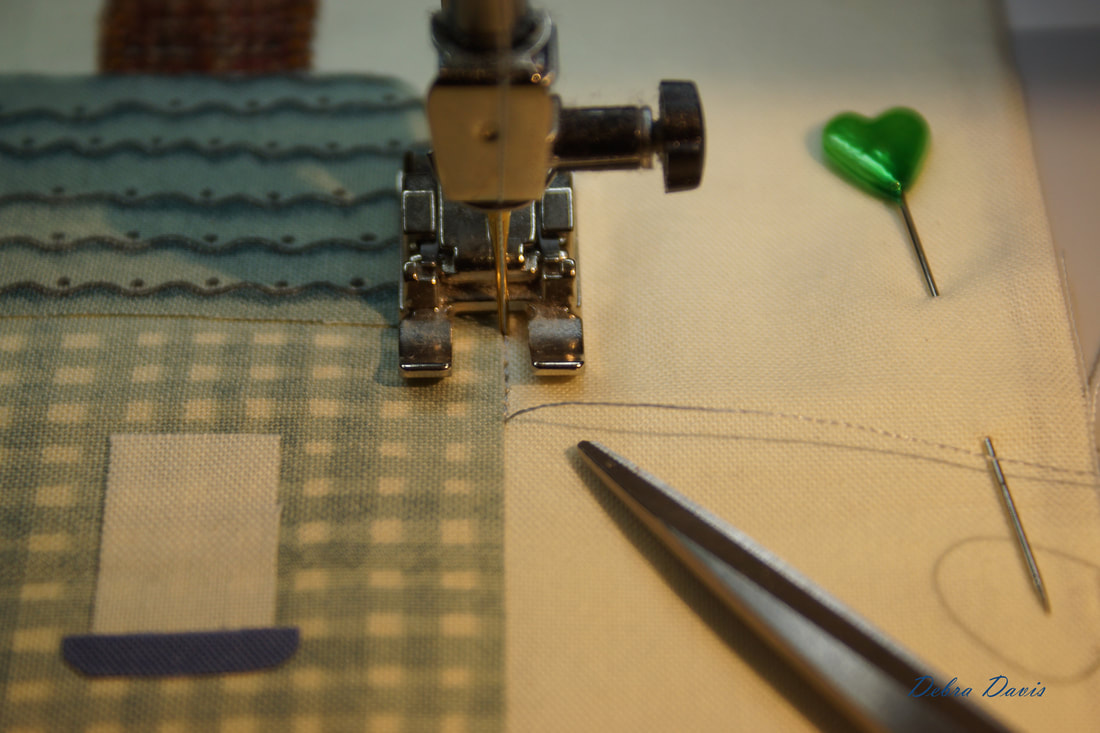 I have done the buttonhole stitch up to this point but because I do not want to use my blue color thread on the door I am just going to do a straight stitch across the bottom. I am lazy when it comes to starting and stopping a stitch so if I can avoid it I do.  Now that I have worked my way across the bottom of the door I can pick up with the buttonhole stitch again and continue around the cottage. 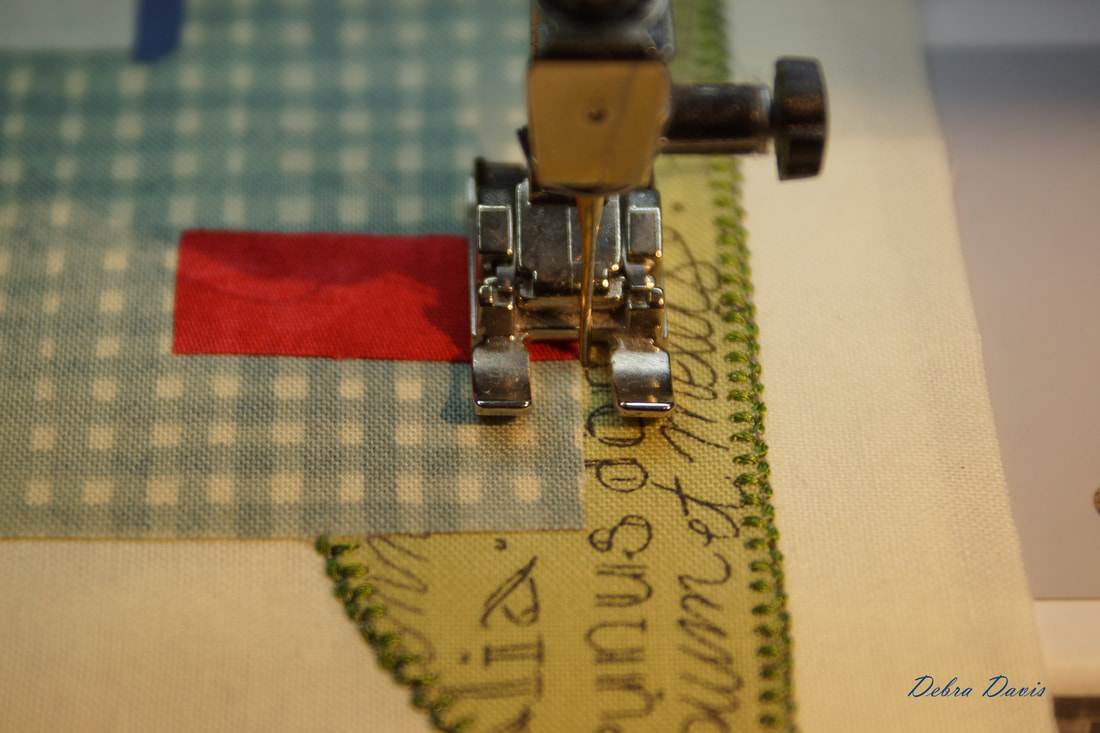 At this point I have decided a little garden cottage needs a cute trim along the roof. With my needle in the down position I switch back to my straight stitch. 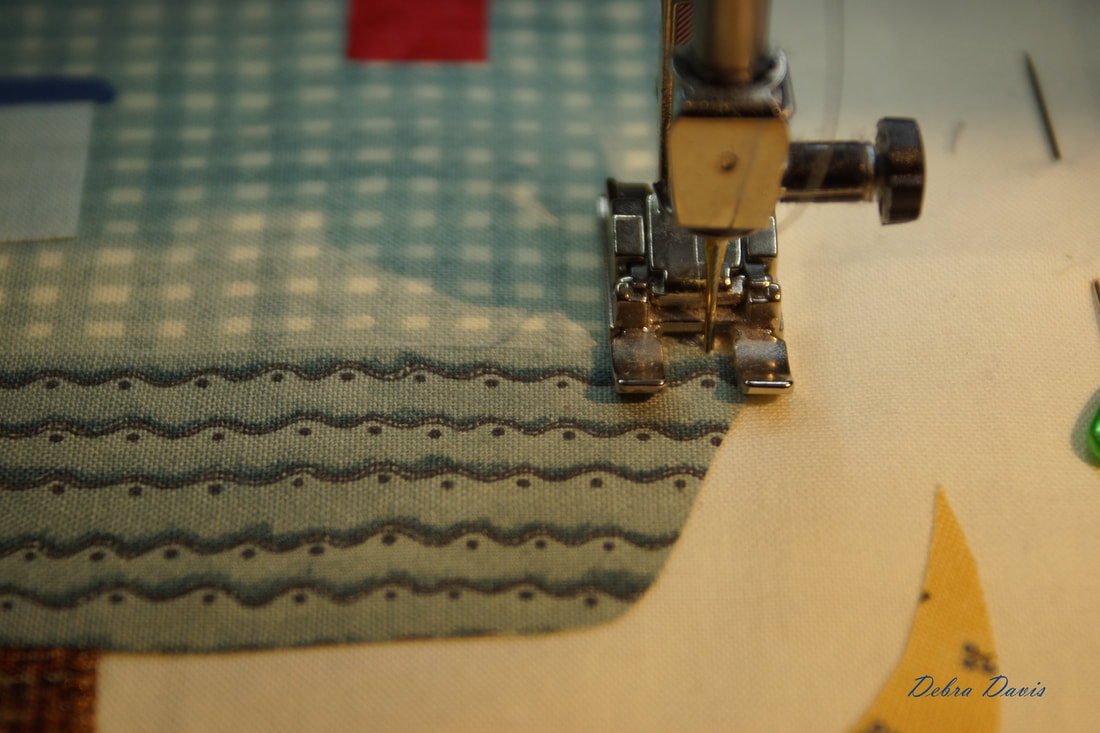 I have cut a length of lace trim and will attach it now with a straight stitch across the bottom of the roof. 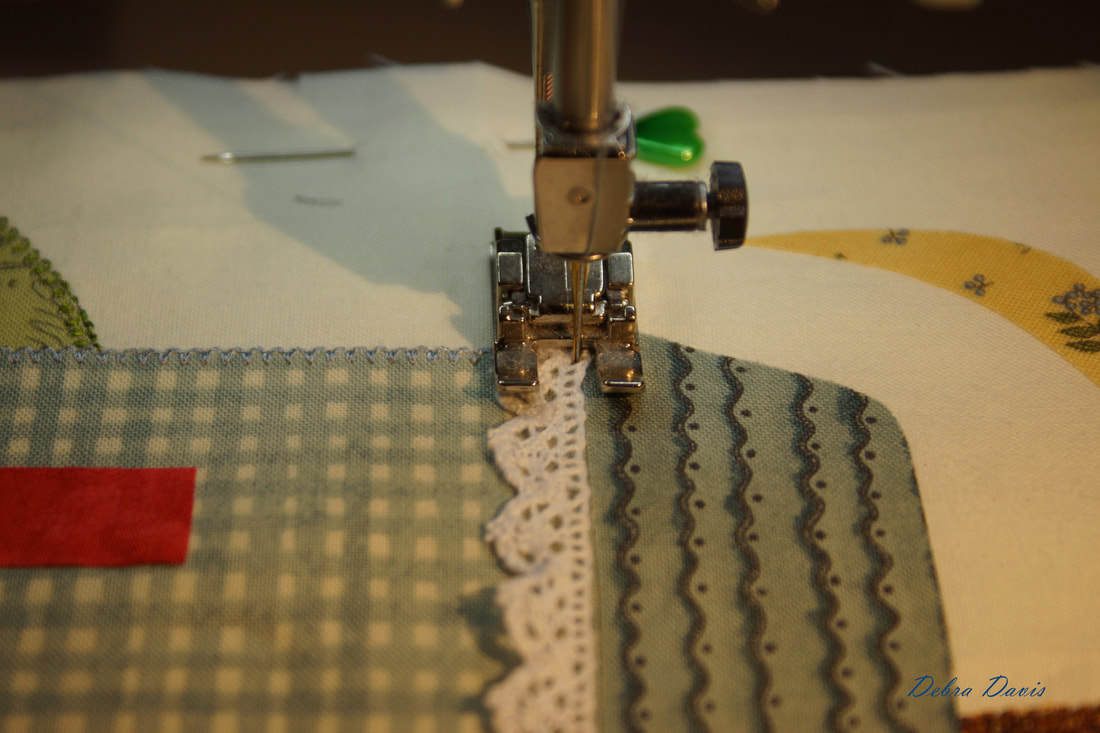 When I get to the other side, I pivot back around and switch to the buttonhole stitch. 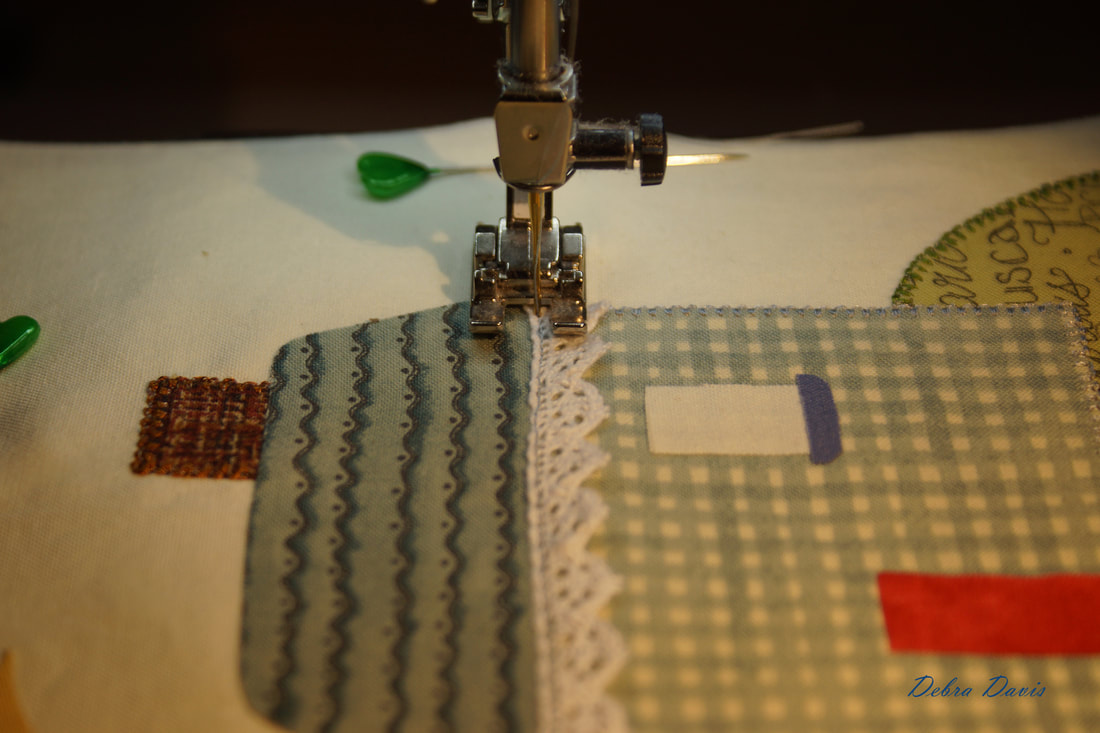 Now I will go back over the lace with the buttohhole stitch and continue on around the entire roof. Once I am back to where I started the buttonhole I finish off with a few straight stitches ove the buttohole stitches. 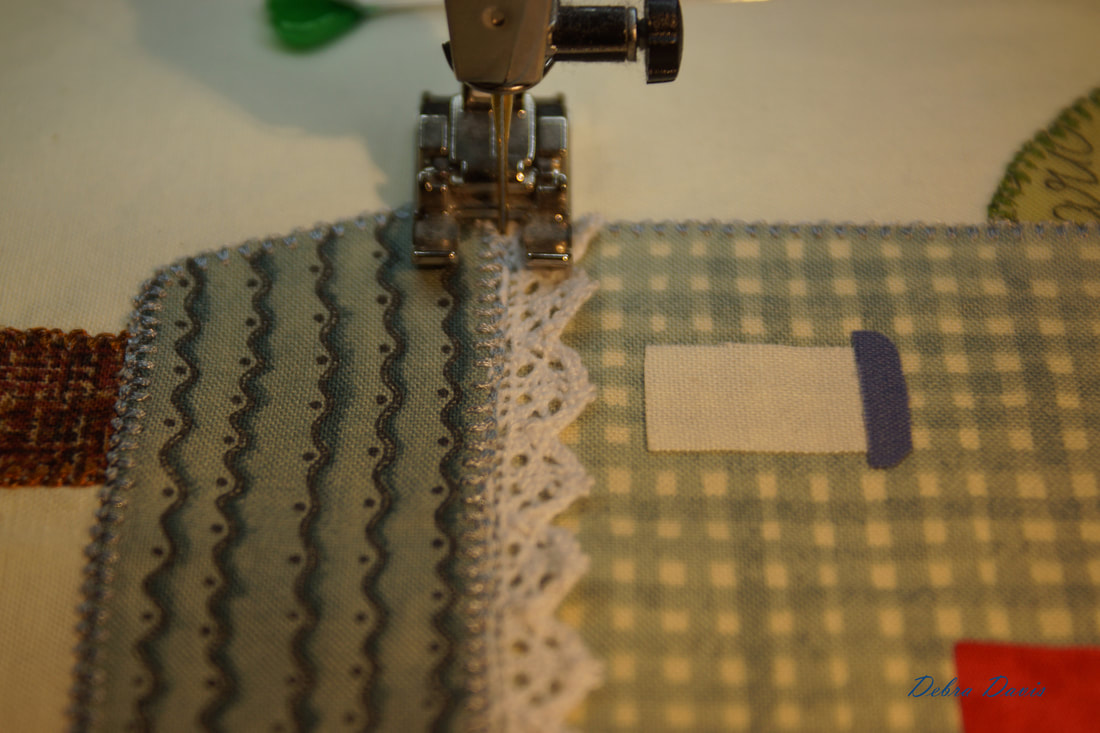 Now I am on to the window and I am going to play a bit with it. 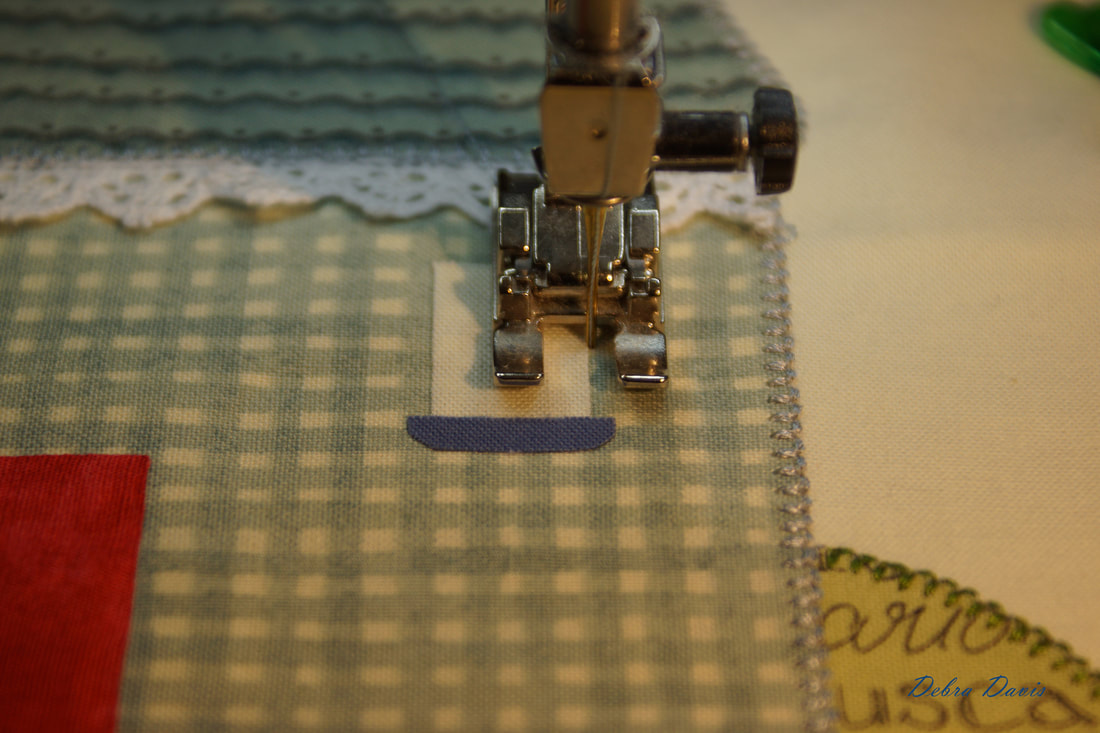 I started with a few straight stitches, and because the flowerbox is so tiny I use straight stitches to go completely around it. 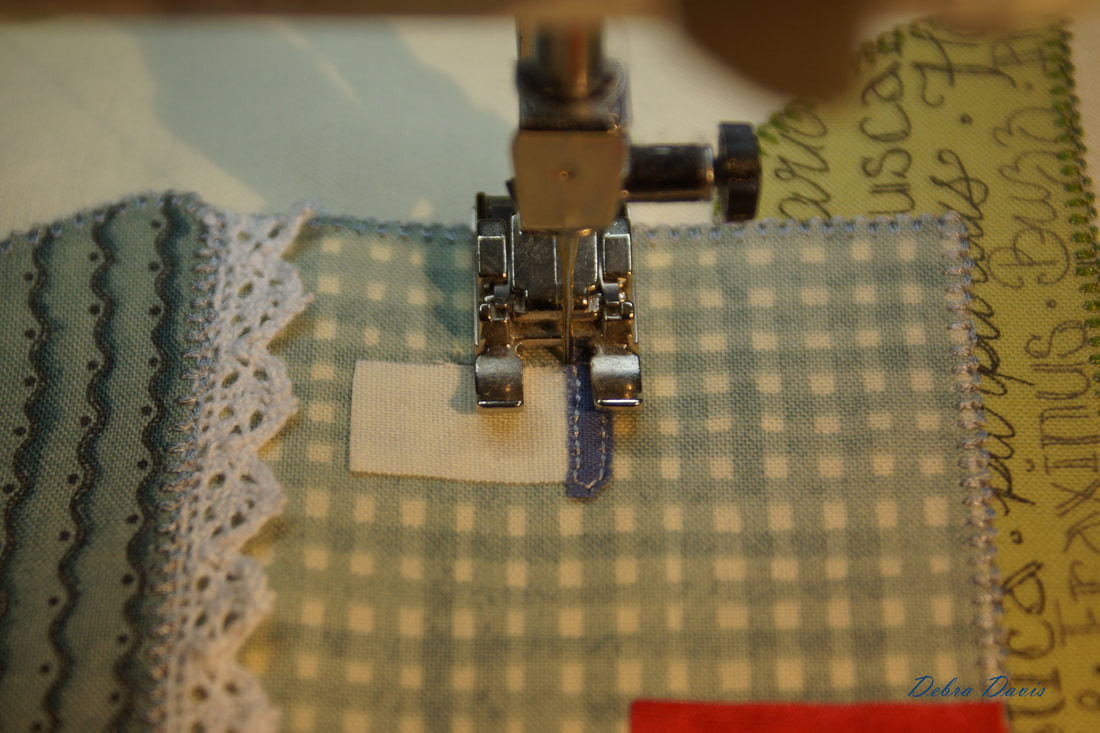 I want to add some window panes so I use straight stitches to move to the center of the window and go right up the middle of it with a straight stitch. (Getting out of my comfort zone by not having a line to follow!) 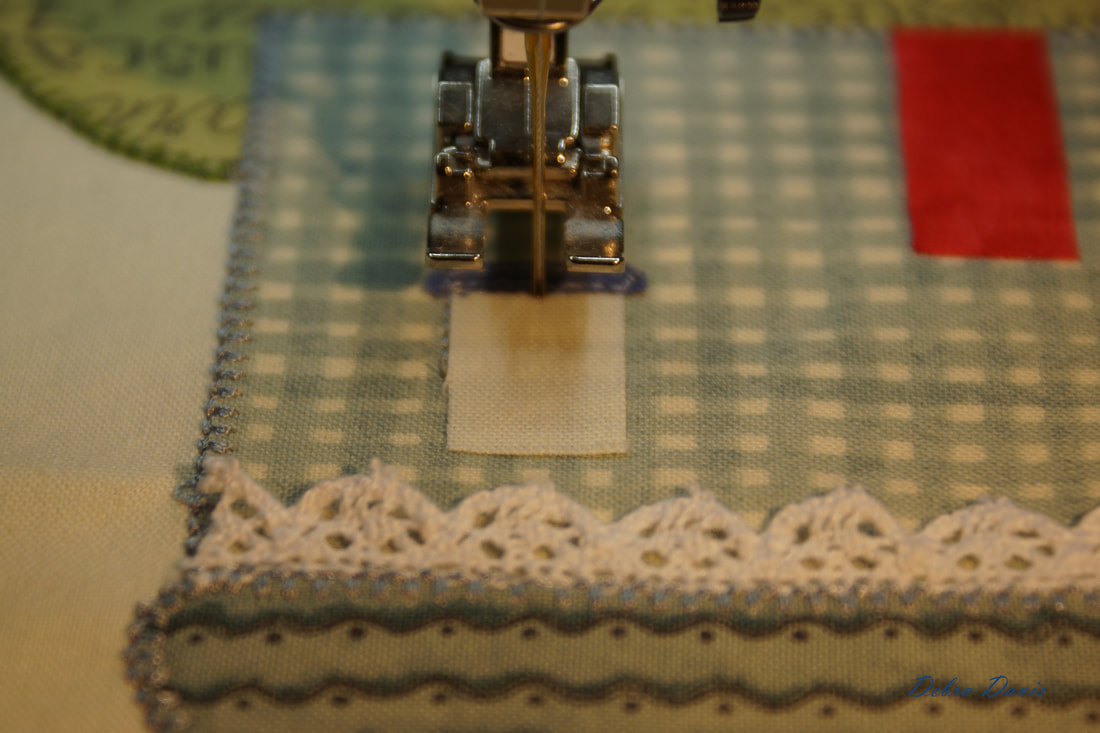 Again, because I hate stopping and starting I use the straight stitch to get around to the side and create the other window panes across the middle. 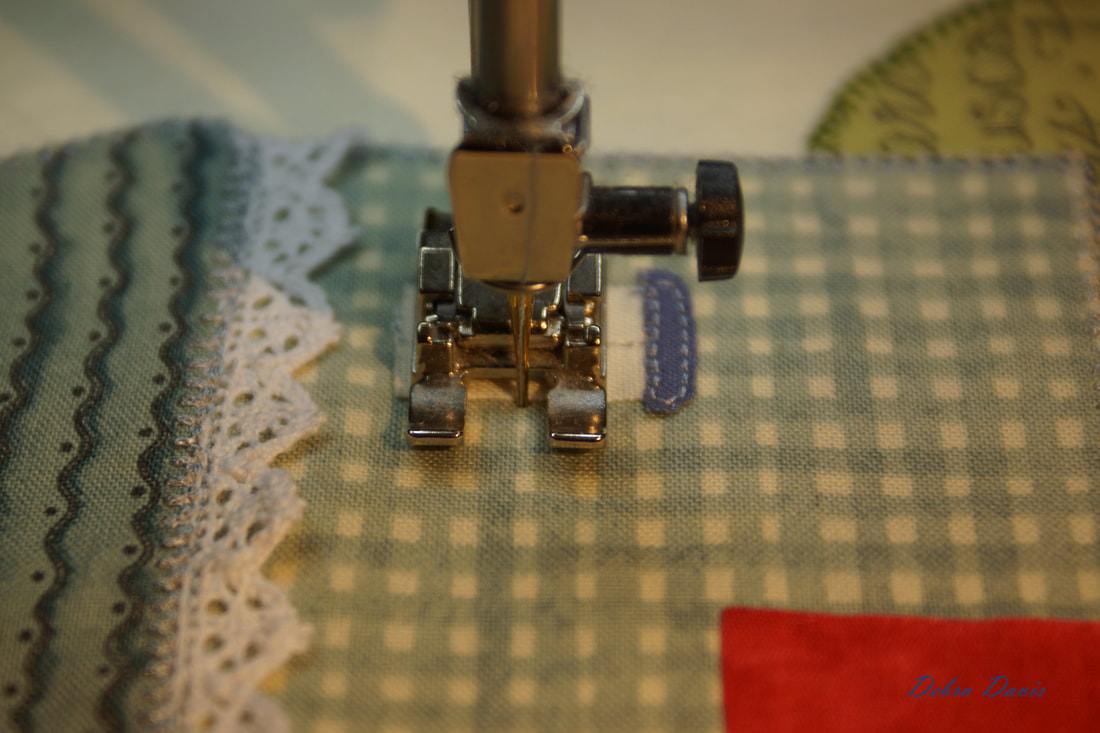 Next I just go around the entire window with the buttonhole stitch. 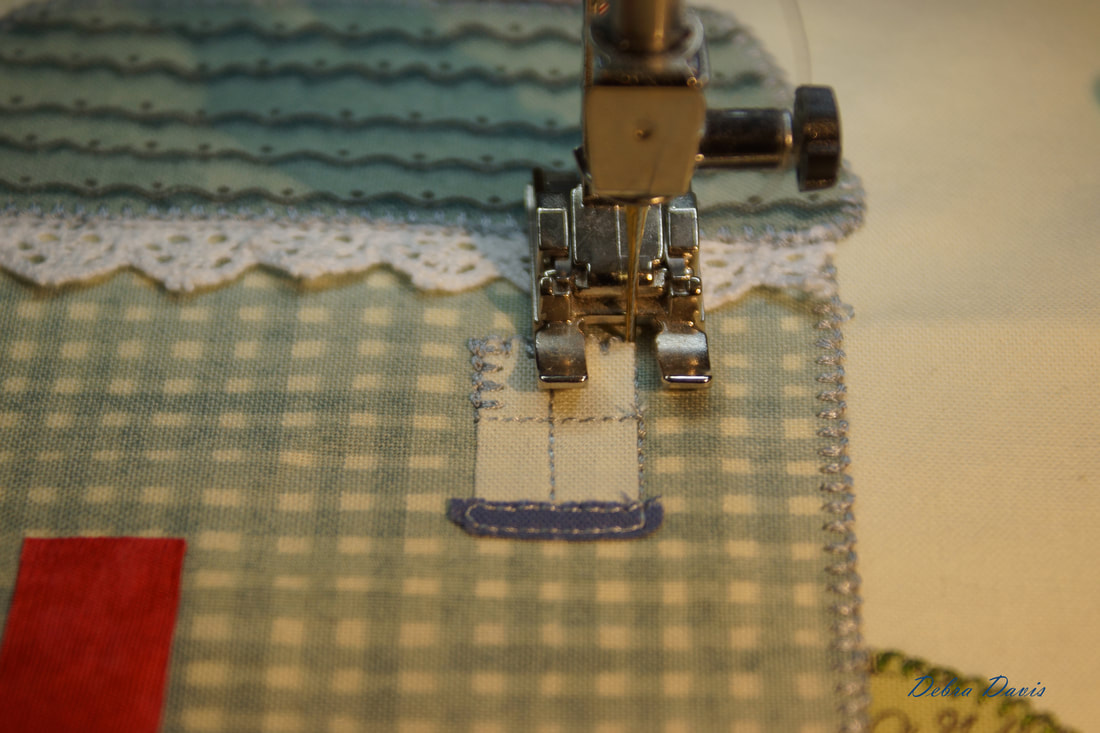 On to the little red door using the exact same method of straight and buttonhole stitches.
All that remains is the moon. I am going to do this in the same way. The only difference comes with those very narrow points. My buttonhole stitch wil be too wide so I will need to make some adjustments as I go. Of course the other option is just to sew the whole thing with a narrower stitch width, but where is the fun in that? lol. 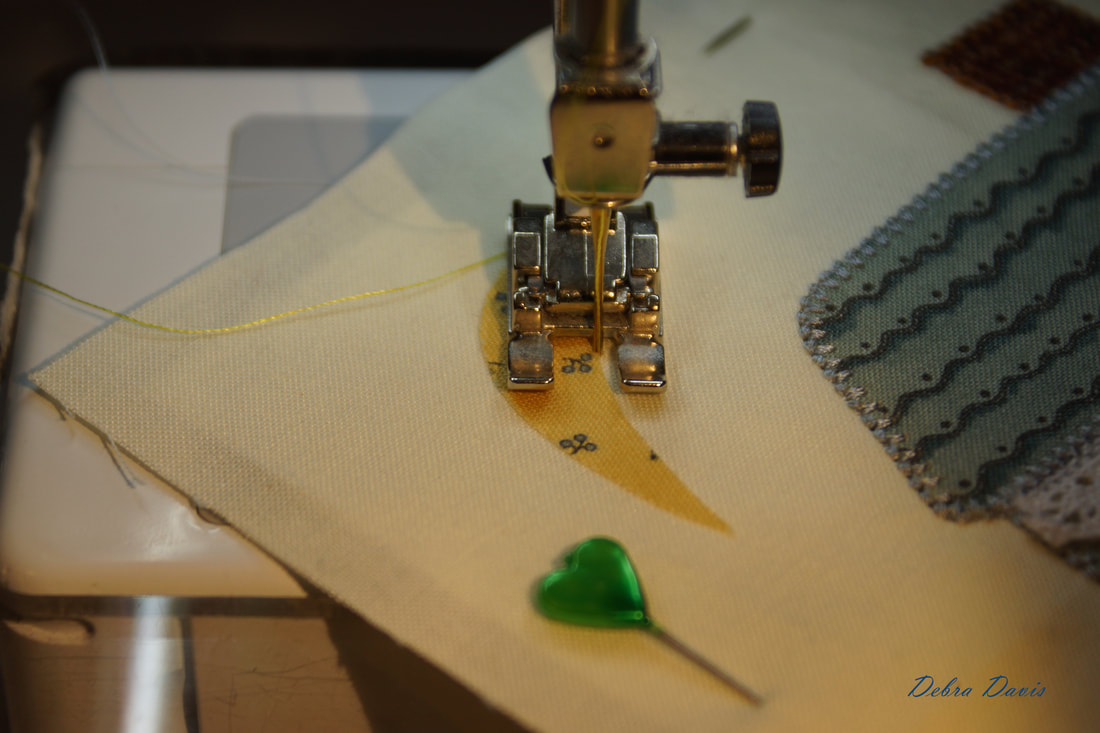 As I approach the points I decrease my width a couple of times.
I found that at the very tip I needed to use a width of 1.6. 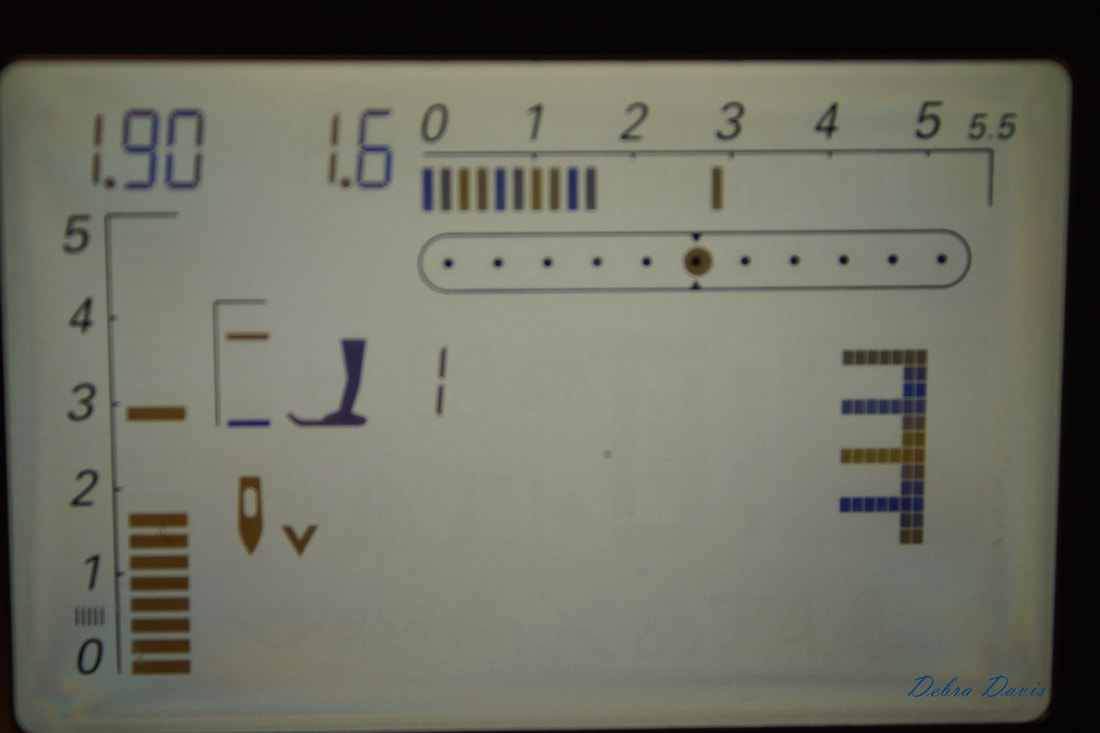 The tricky thing with this way of handling the points is to remember to widen the buttonhole stitch gradually back to 2.0 and then repeat the same decreasing/increasing thing at the other end. Though, honestly, I think I am the only one who ever looks at my stitching that closely, so if i foget to adjust it is really not a big deal. 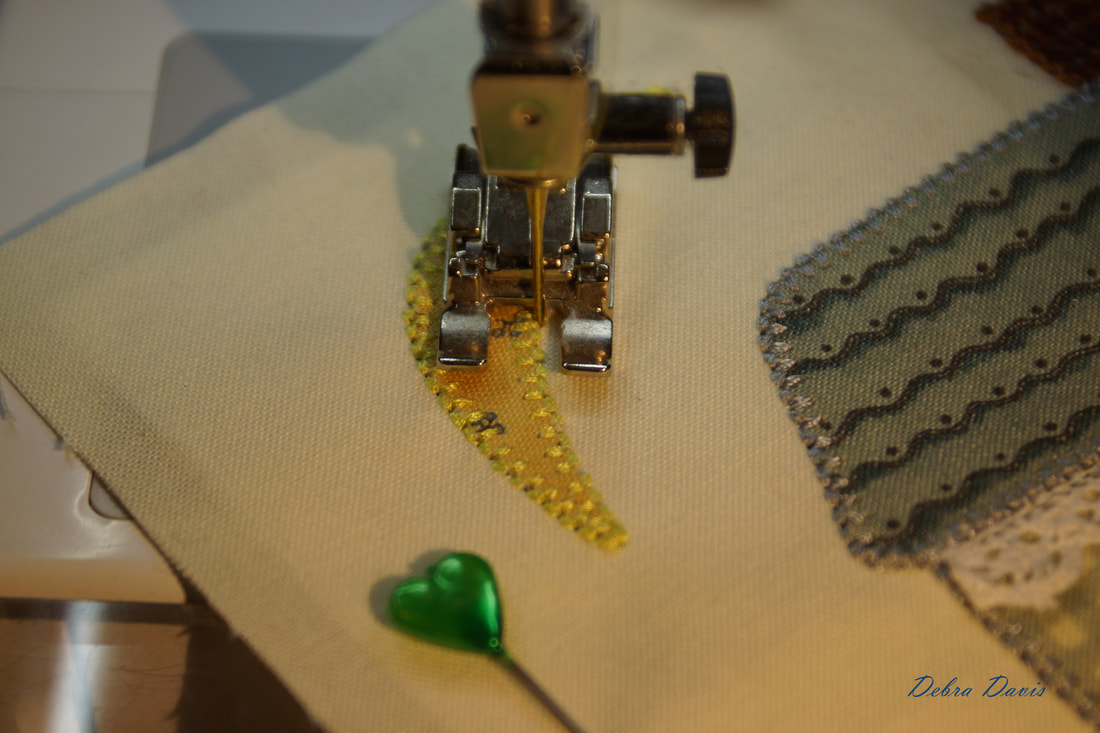 I am pretty pleased with how this came out but I still want to try Jan Patek's version-perhaps in a mug rug for the winter. A cozy llittle log cabin in the snowy woods might be in my future.  I hope you have fun making your little house.
Until next time... Happy Quilting! Debra 2/7/2018 09:53:20 pm
What an incredible way to teach us what you’ve done with this project! I’m sure that everyone who’s going to see this post will be very pleased with your work. Quilting is one of my hobbies and I always look forward in starting a new project. It makes me feel relaxed and fulfilled. You really are good with this! You even took that time to capture every step that you’ve done. I think I have to collect more fabrics so I can follow your guide! Comments are closed.
|

Welcome to the site of Debra Davis-a woman who loves the Lord and loves to quilt.
My other blog where I share about my walk of faith:
Sitting at His Feet 
|


 RSS Feed