|
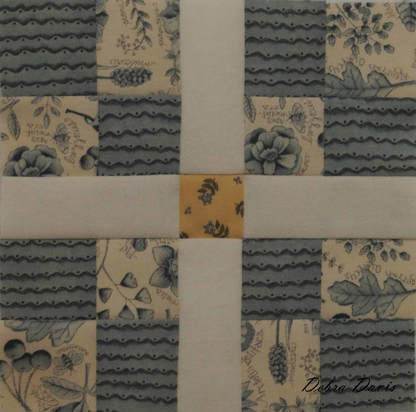
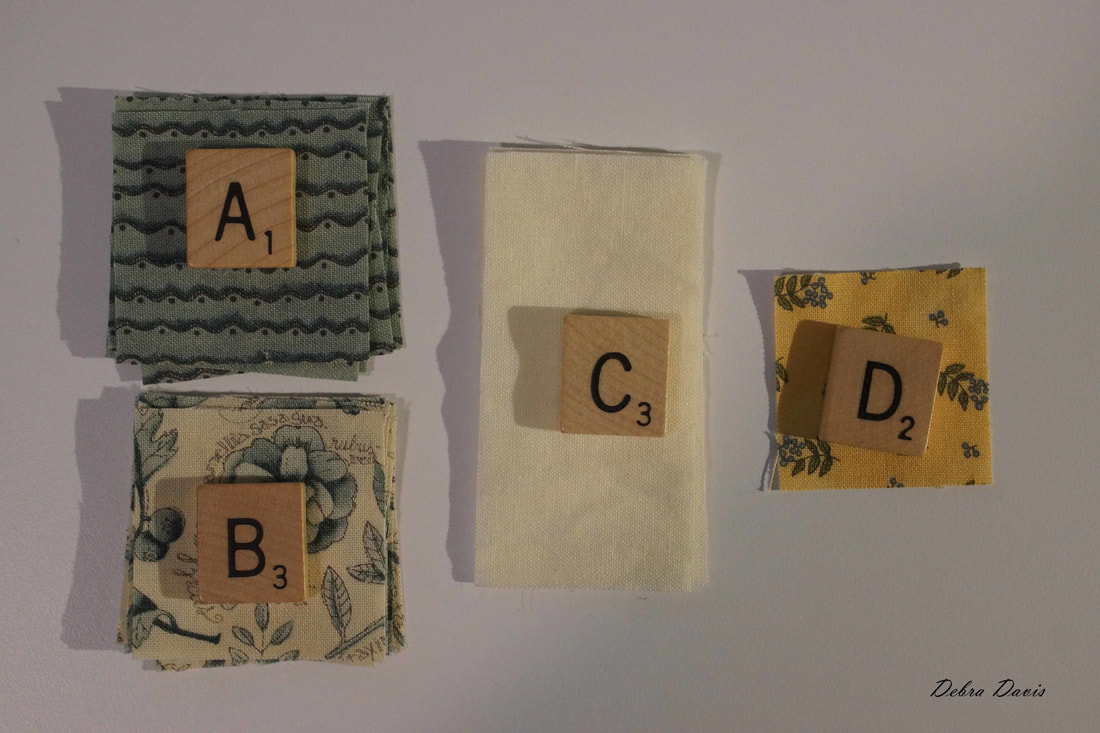
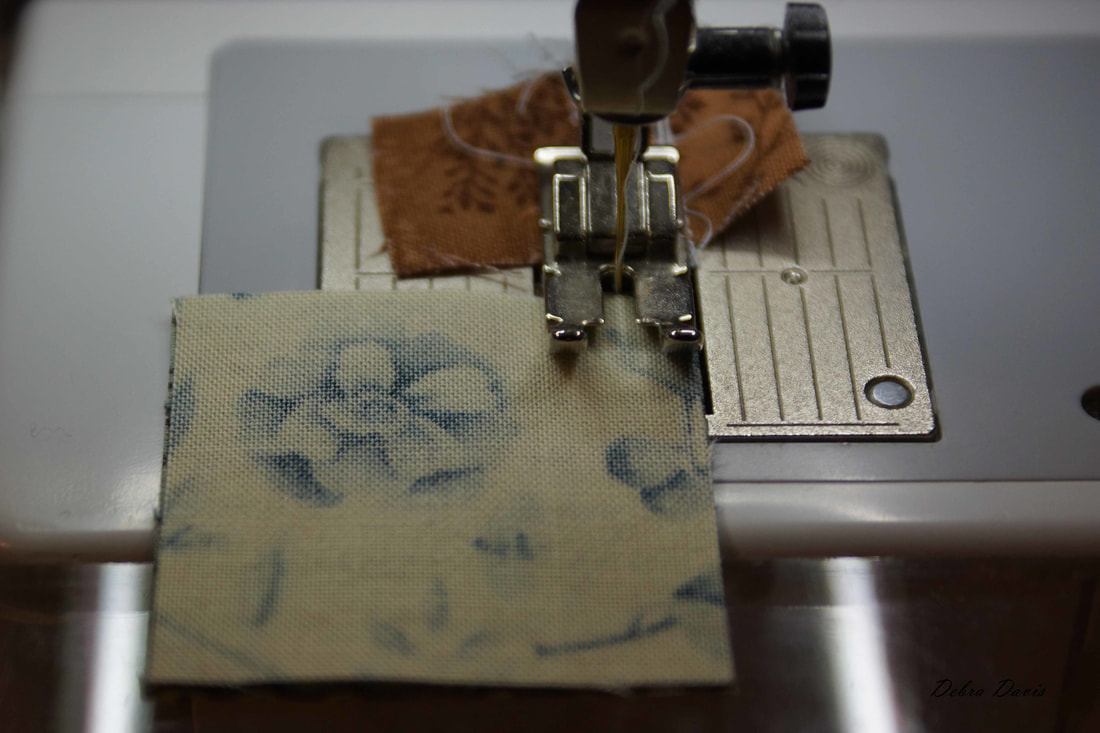
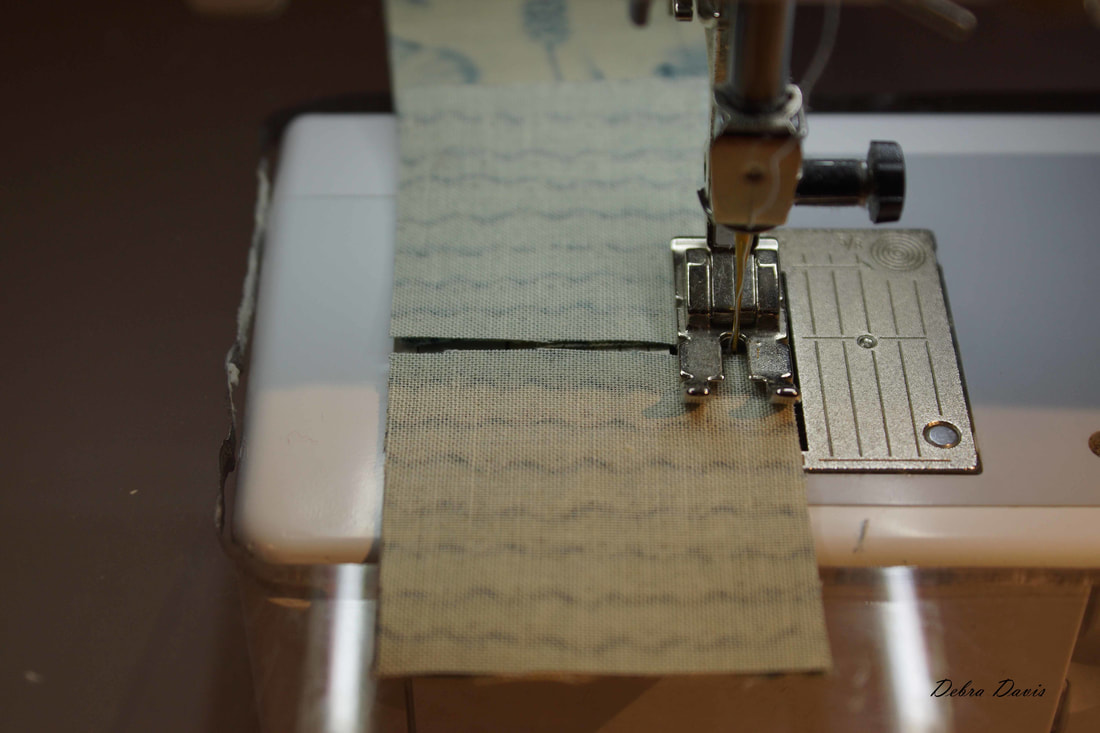
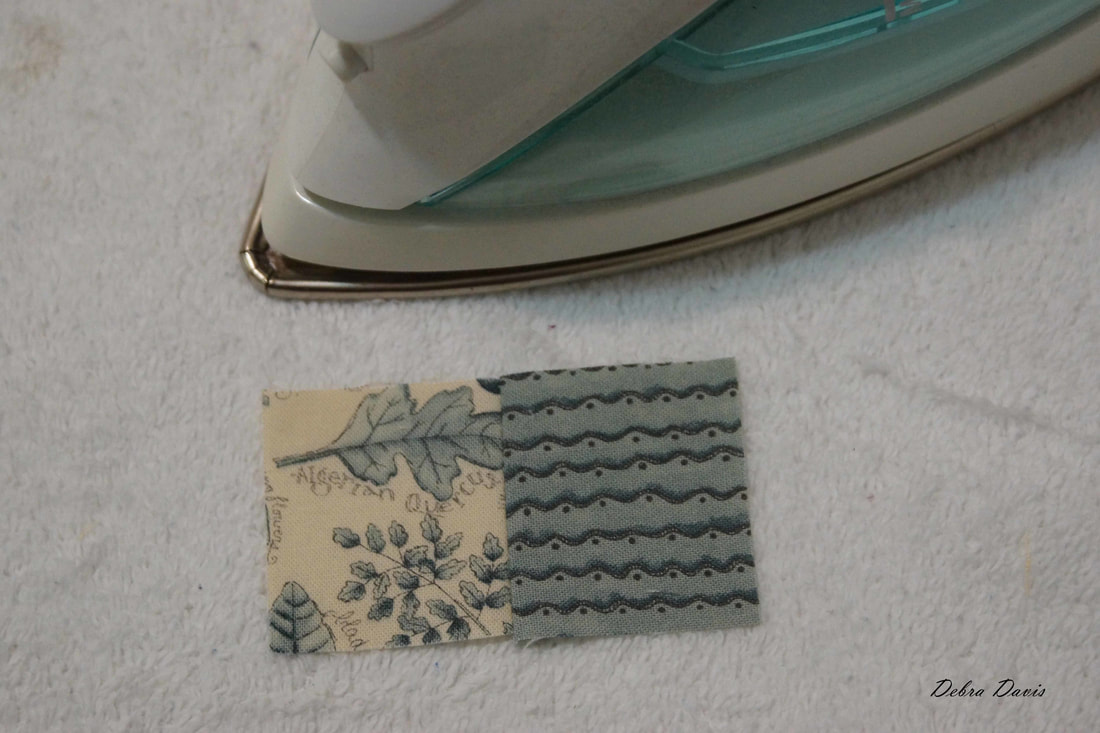
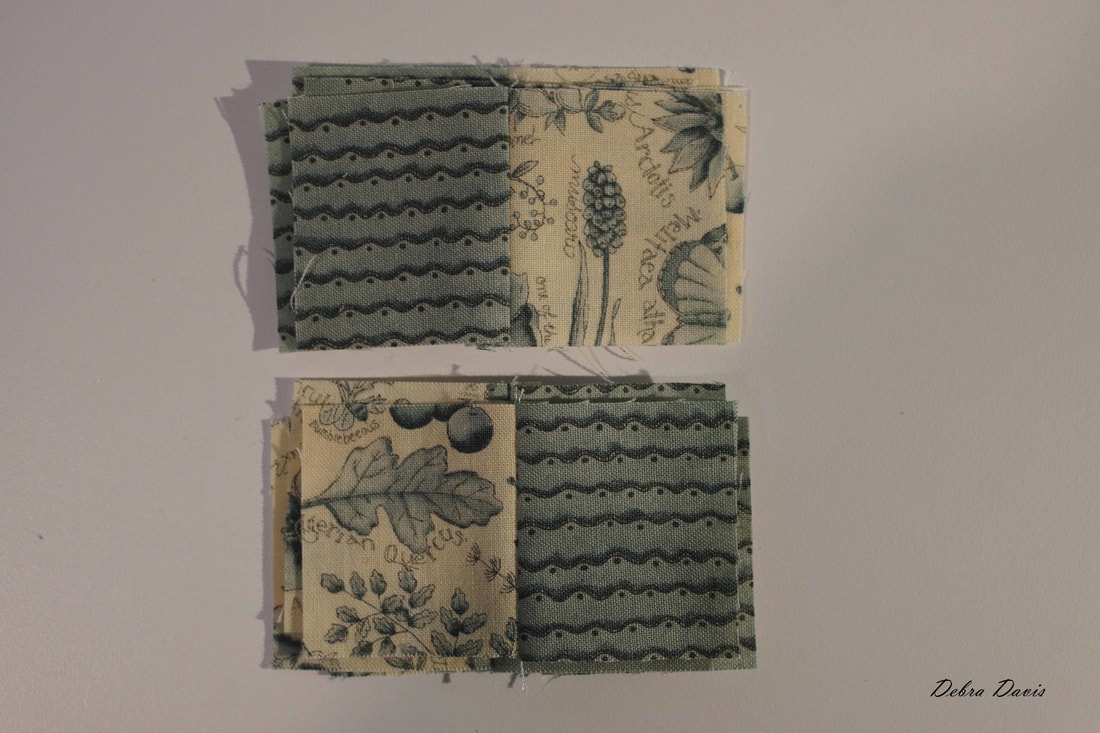
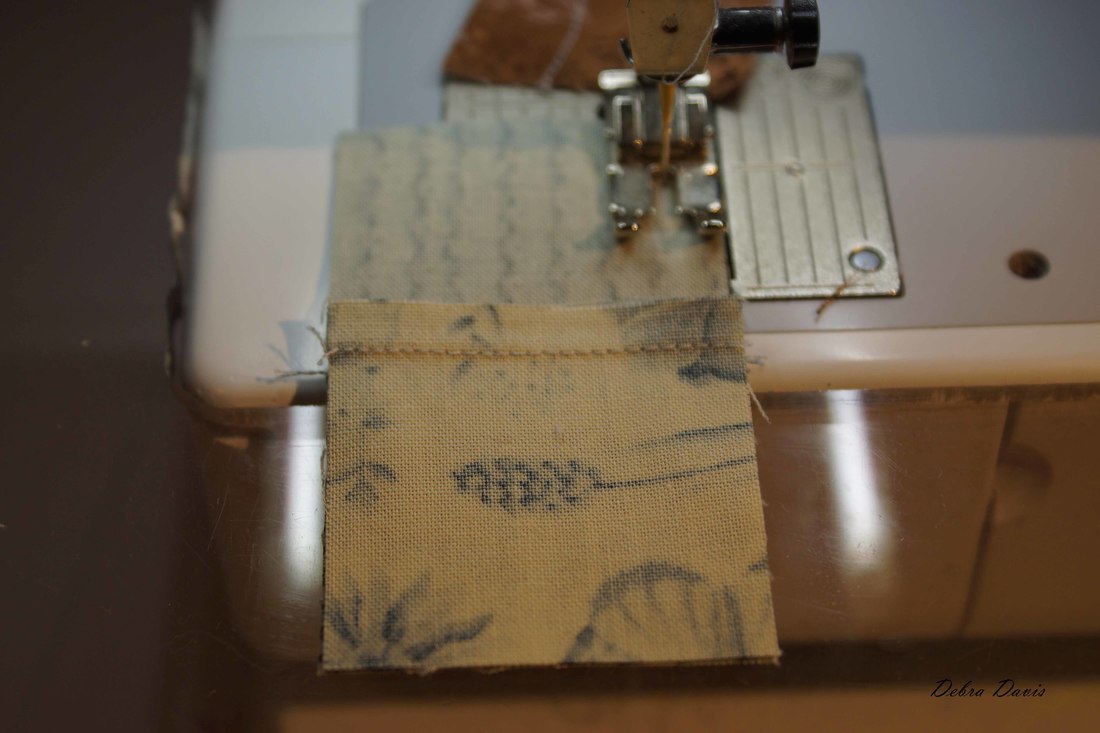
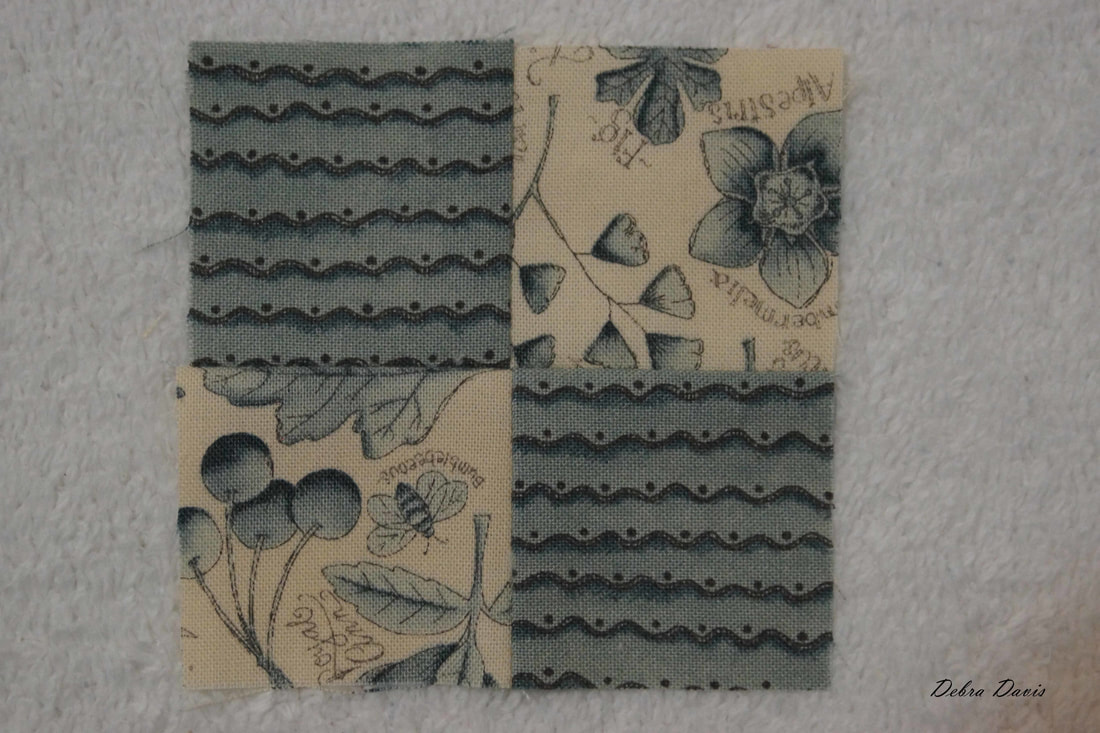
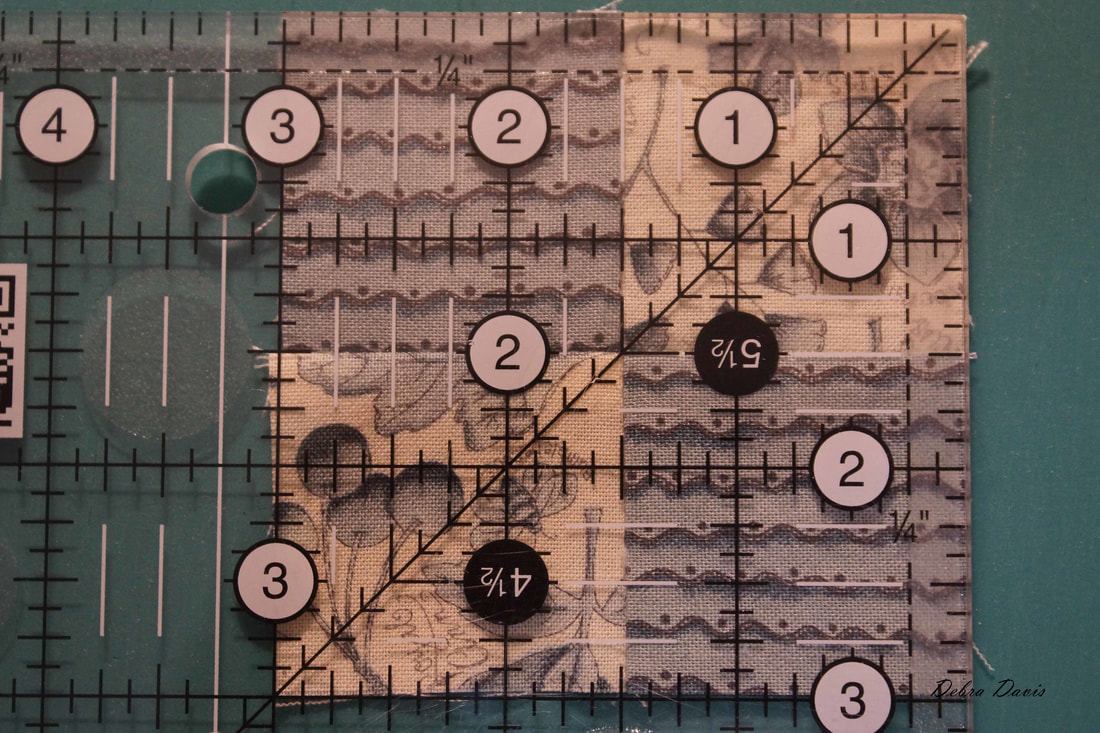
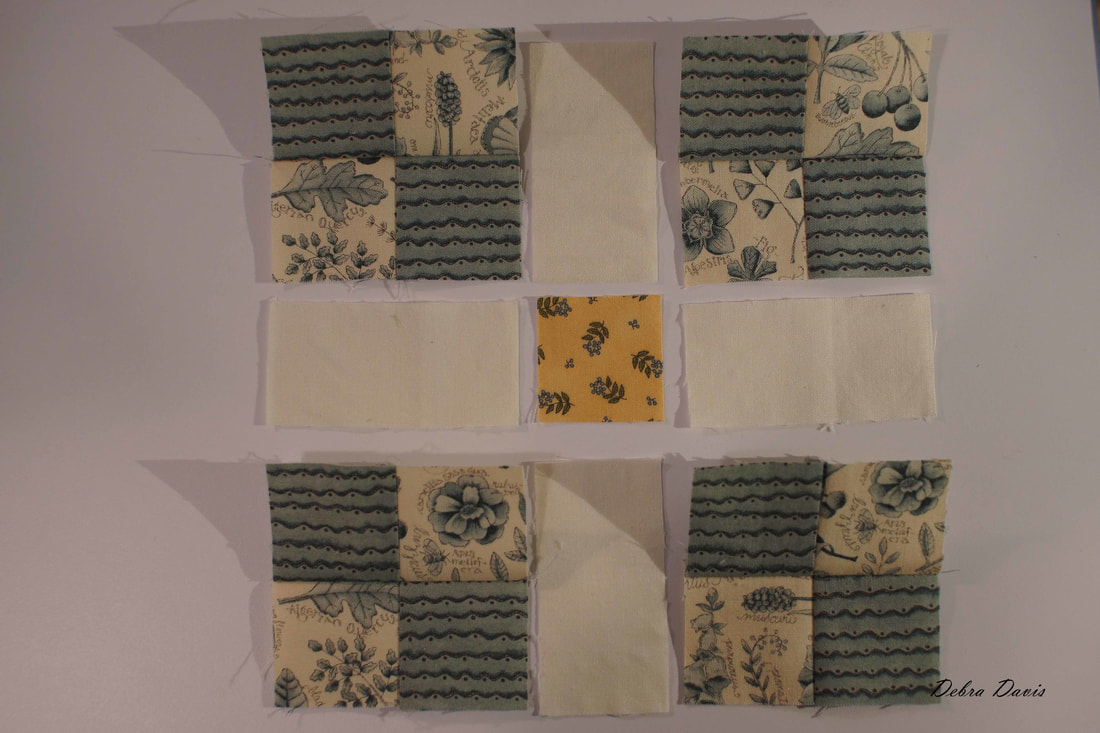
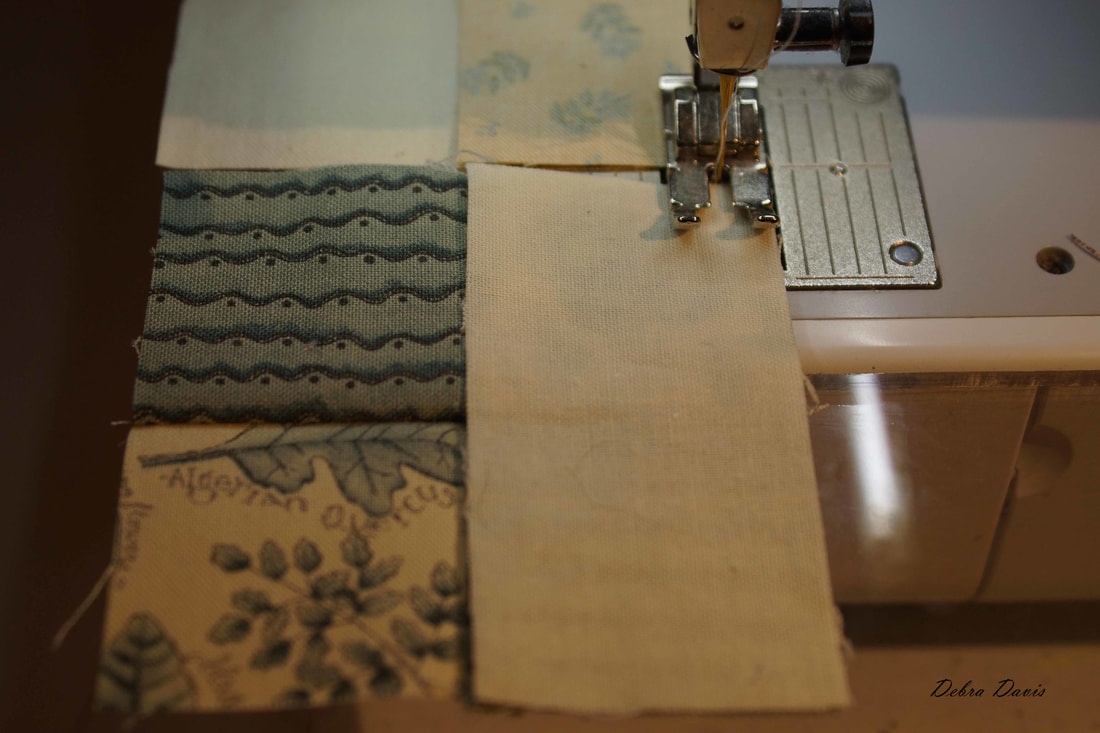
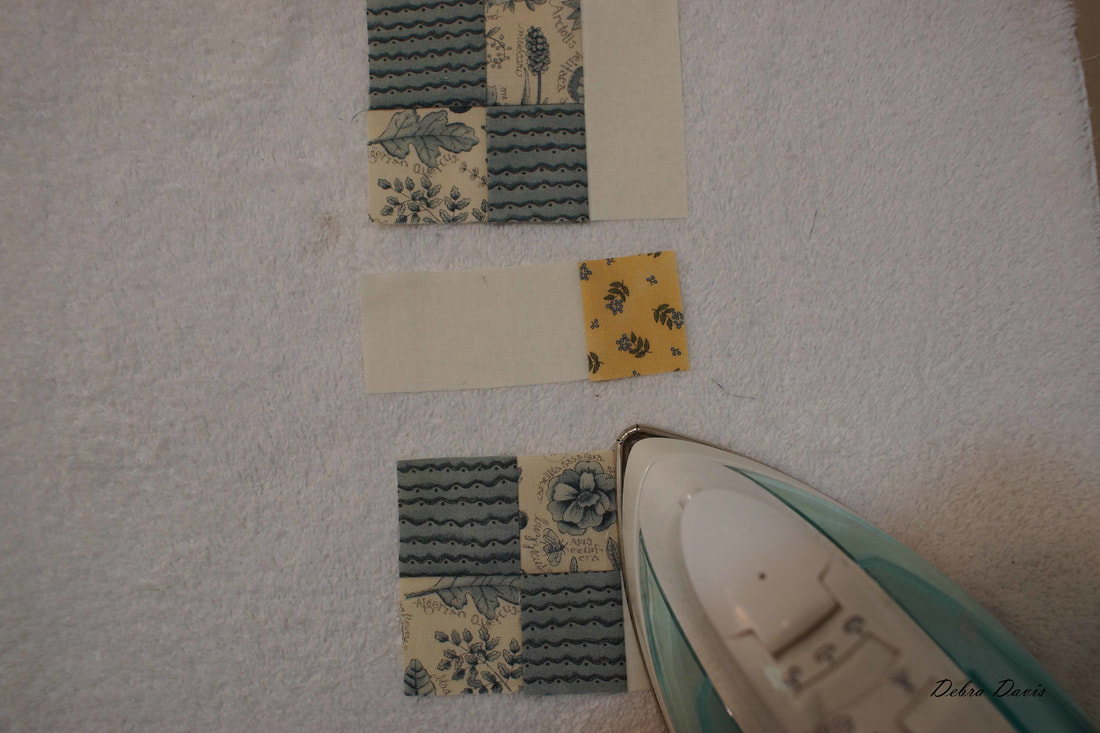
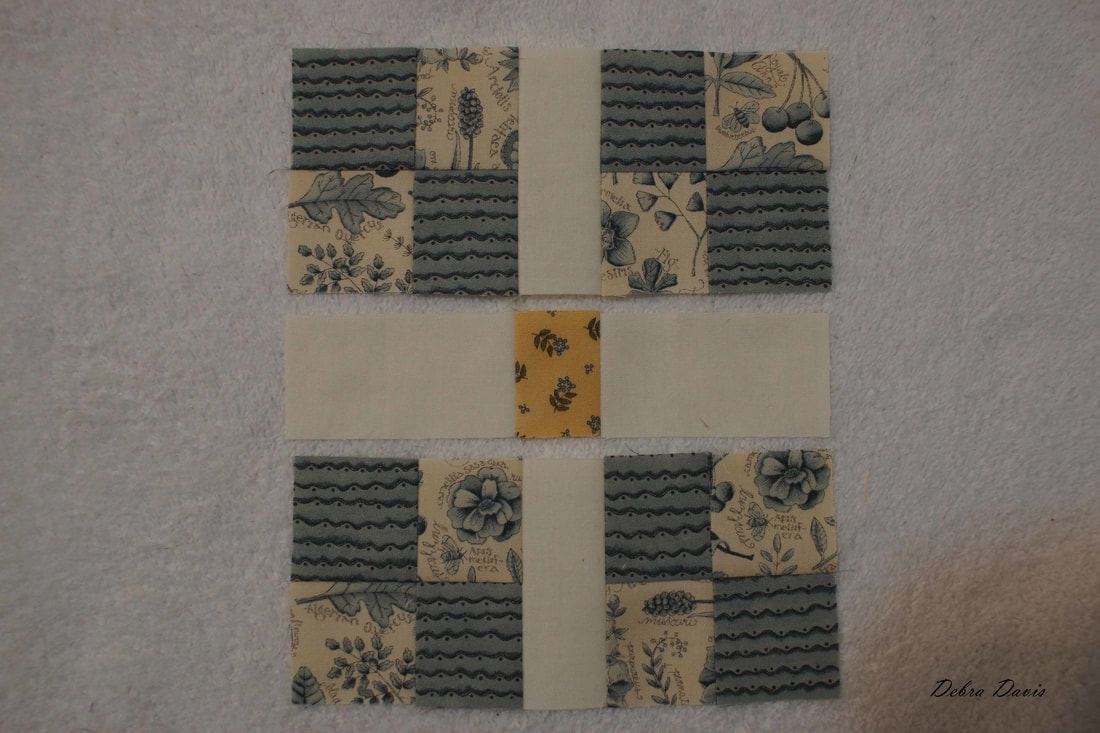
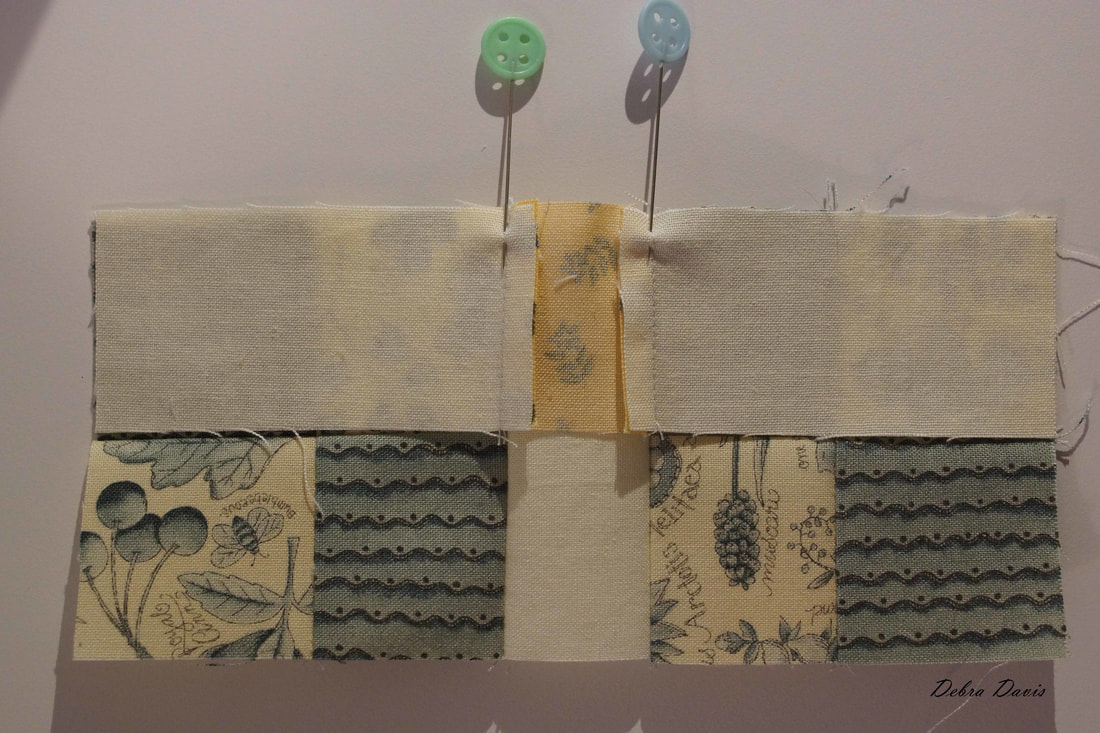
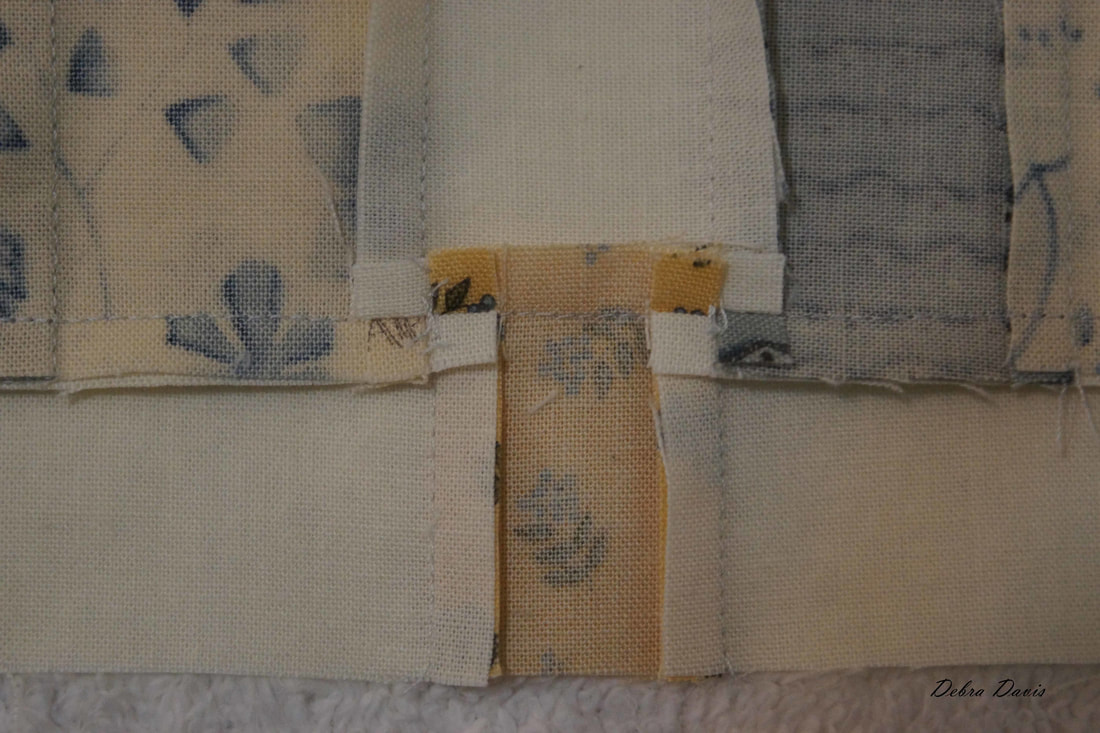
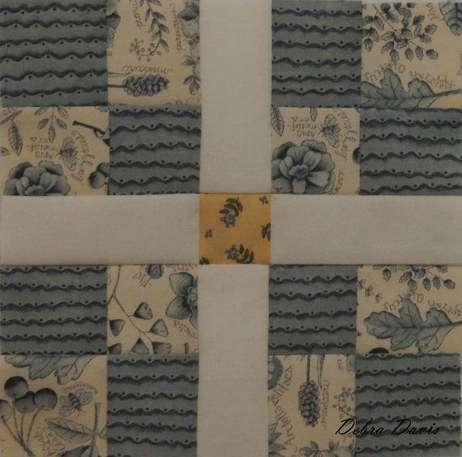
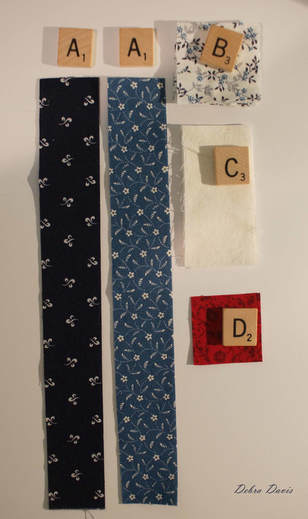
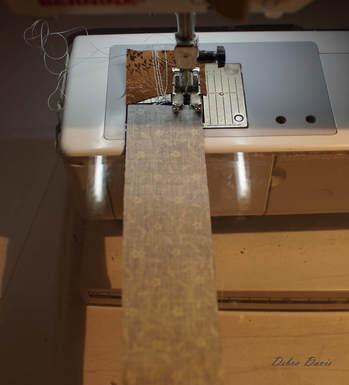
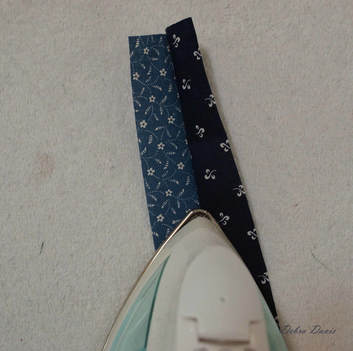
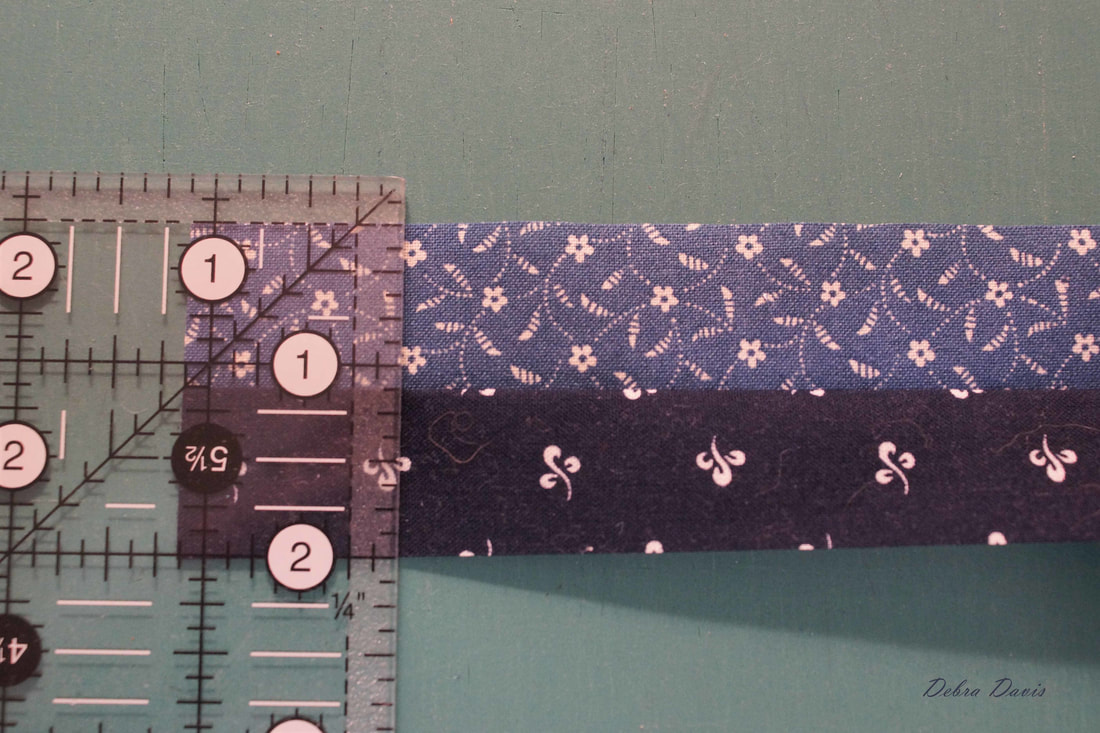
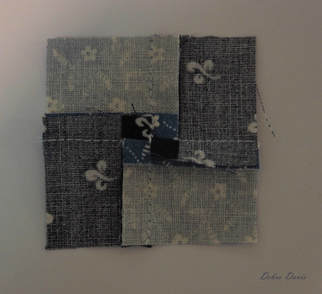
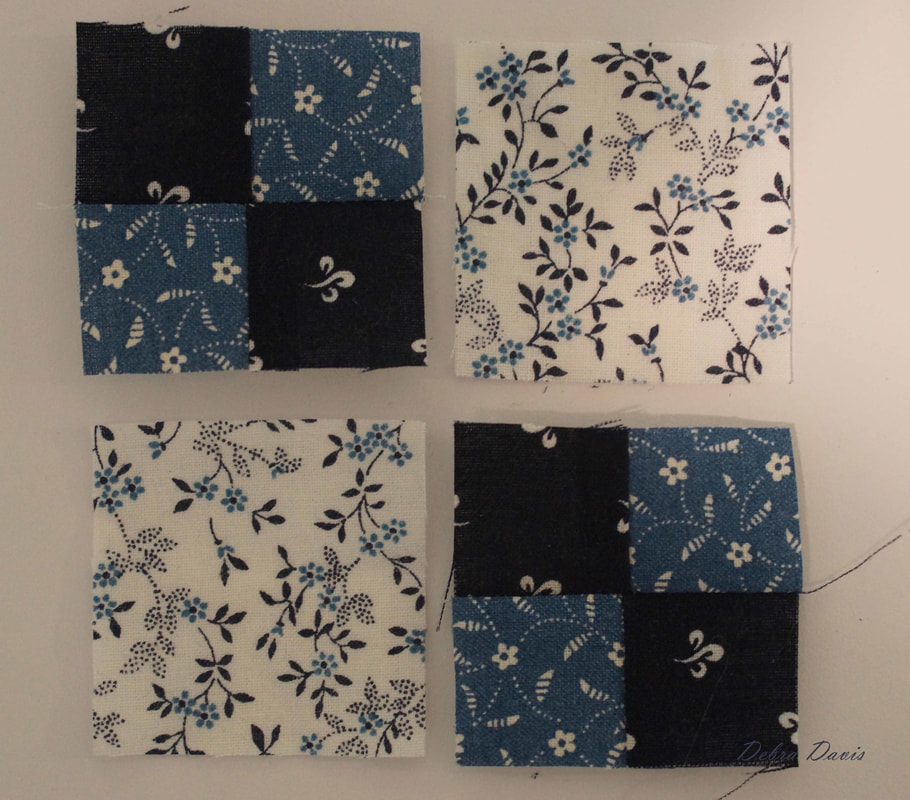
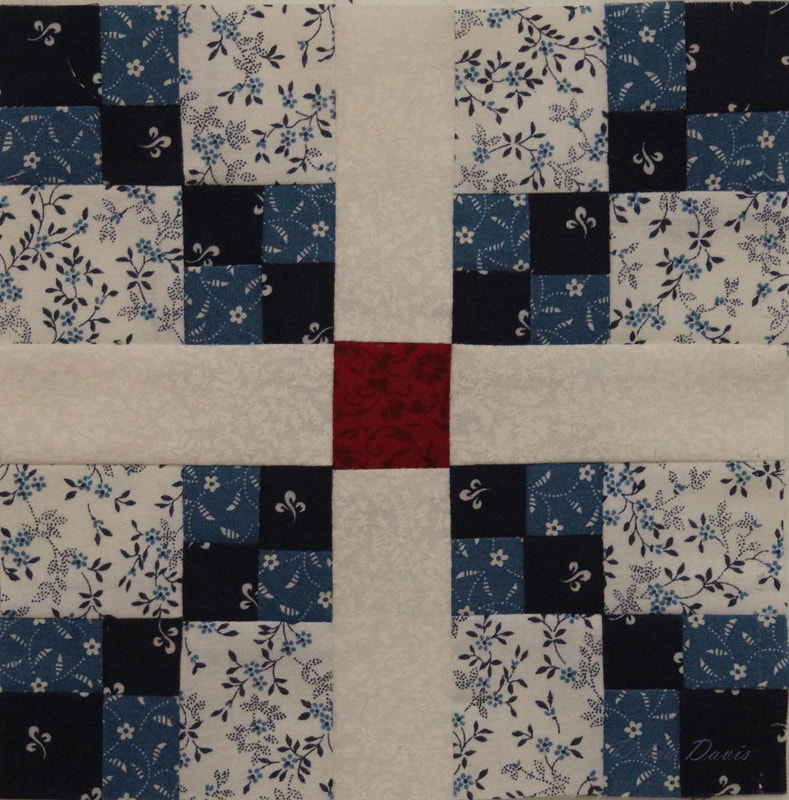
Whew, with all the catching up I need to do on these blocks-not to mention my other projects-I am very thankful for these easy ones. Four-patch Dash by Carrie Nelson is just what I needed. You can find the link to her blog with the pattern HERE. Since I am using some using some directional prints for this block I have decided to cut out the A and B squares, but you could strip piece the four-patch units using two strips that are 1 3/4 inches wide and then trimmed to 1 3/4 inch units after the strips are sewn. (I will show you how at the end of this tutorial.) I start by chain piecing the A and B squares together. If you are using directional fabrics it is important to flip which side has the seam as I have done with the last four units. I stitched the first four pairs with the floral on top, and the last four with the stripe on top. Press towards the darker fabric Once all of the units are pressed they can be pieced together into four-patch units. Having pressed to the dark side the seams will nest together very well. 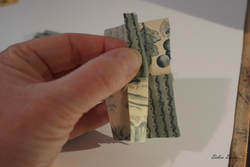 I chose not to pin the seams this time, sewing smaller units like this I like to just make sure the seam on top is pointed away from me which helps to nest it into place with the bottom seam as I sew. I pressed the seams in one direction for the four-patch as it did not seem to be too bulky. At this point I checked to make sure my units were 3 x 3 inches and trimmed if needed. Here I have laid out all of the pieces. Notice that we in essence have a nine-patch block now. Starting on the left side I begin to sew the rows together. I pressed the top and bottom rows towards the four-patch units and the middle row towards the center square. I did so since my rectangles were a light color and the seams would not show through. It would lay better if pressed in the opposite way however so feel free to play with that. As long as the middle row is pressed in the opposite way from the top and bottom it will all work well. Now that the rows are sewn together I just need to join them. This time I did decide to pin the seams. And I opened up the intersections as I pressed allowing the block to lay flatter. Tada! All done in less than an hour! Carrie Nelson did another version of her block which I am including here. This is where you will see how to do strip piecing as well. For this version I have cut two 10" strips of each blue print that are 1 1/8" wide. The rest of the pieces have all been cut the same as in the original block. Laying the two strips right sides together I just sew along the edge to make a strip set. Press both strip sets towards the dark side. Next I cut the strips at 1 1/8" to yield 16 units. (These are smaller than the units you would need for the original block-see above for those measurements.) The units are sewn together to make a mini four-patch block and can then be sewn to the B squares to make the larger four-patch unit. With the small four-patch I decided to press open the seam intersections as shown in photo A. The rest of the block goes together just like the original. Moda has provided a complete list of all of the blocks so far and their pdf directions which can be found at this: Moda Blockheads Debra
Eileen
10/8/2017 01:47:03 am
Debra, thank you for these amazingly clear, concise tutorials. Your work is much appreciated! I’ve learned so much from them.
Debra
10/9/2017 12:39:01 pm
Thank you, Eileen! I am so glad to hear that. Comments are closed.
|
Welcome to the site of Debra Davis-a woman who loves the Lord and loves to quilt.
My other blog where I share about my walk of faith:
Sitting at His Feet This website uses marketing and tracking technologies. Opting out of this will opt you out of all cookies, except for those needed to run the website. Note that some products may not work as well without tracking cookies. Opt Out of Cookies |
Tuning My Heart Quilts by Debra Davis is licensed under a Creative Commons Attribution-NonCommercial-NoDerivs 3.0 Unported License.
Based on a work at www.tuning-my-heart.com.
Copyright 2010-2022 by Tuning My Heart Quilts, LLC. No part of this website can be reproduced without written permission from the author. All rights reserved.
Proudly powered by Weebly


 RSS Feed