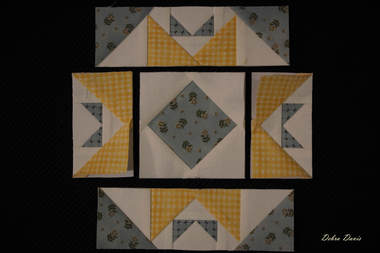
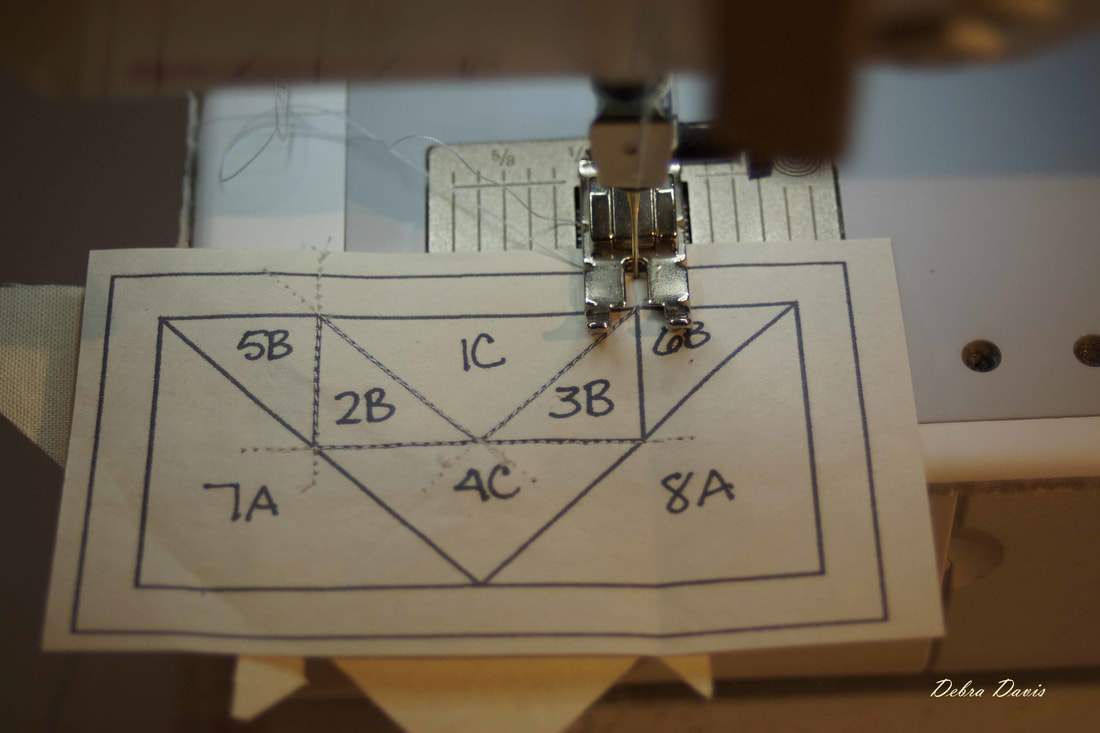
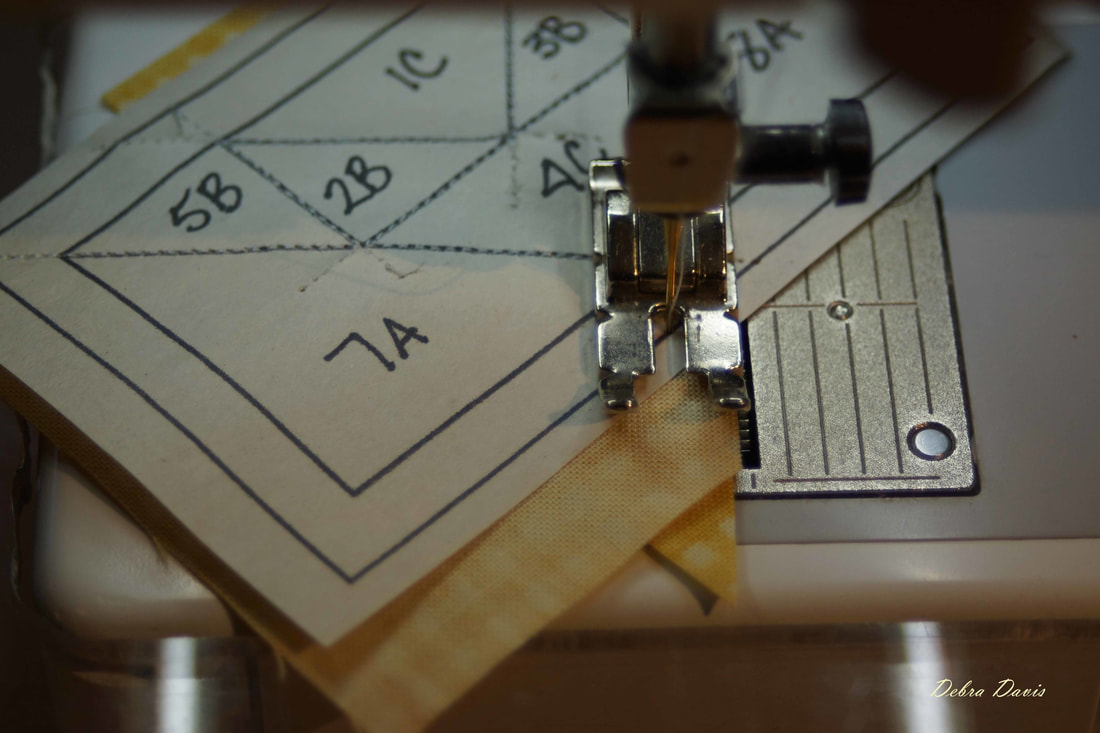
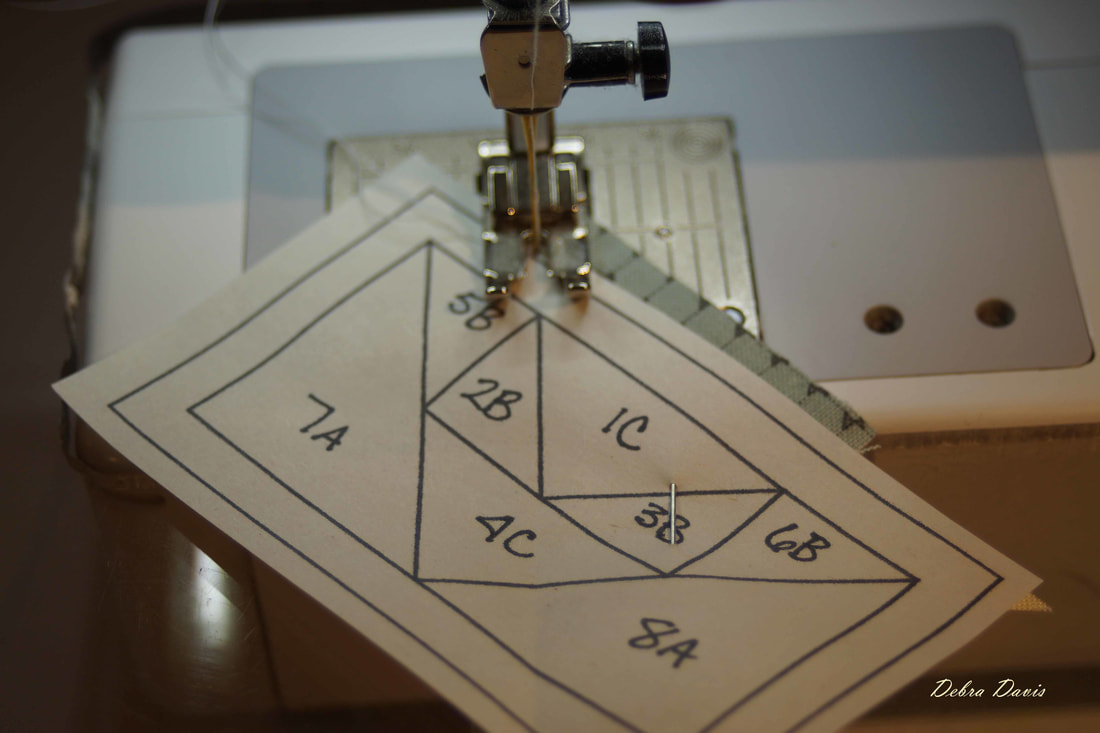
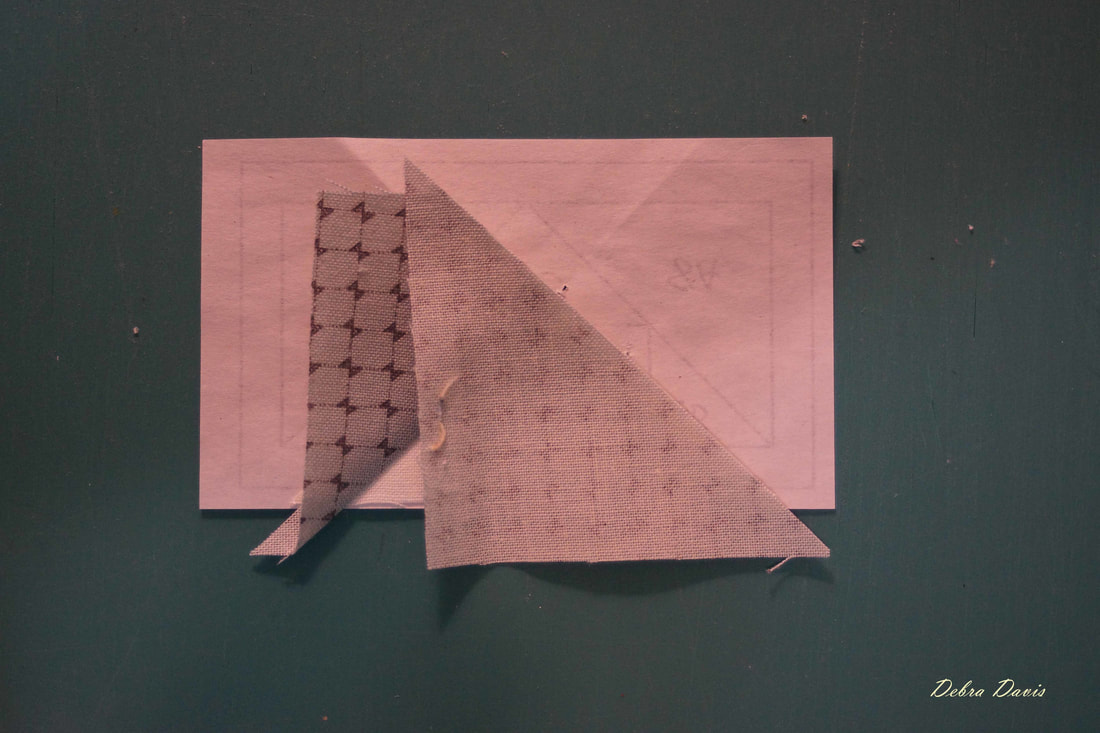
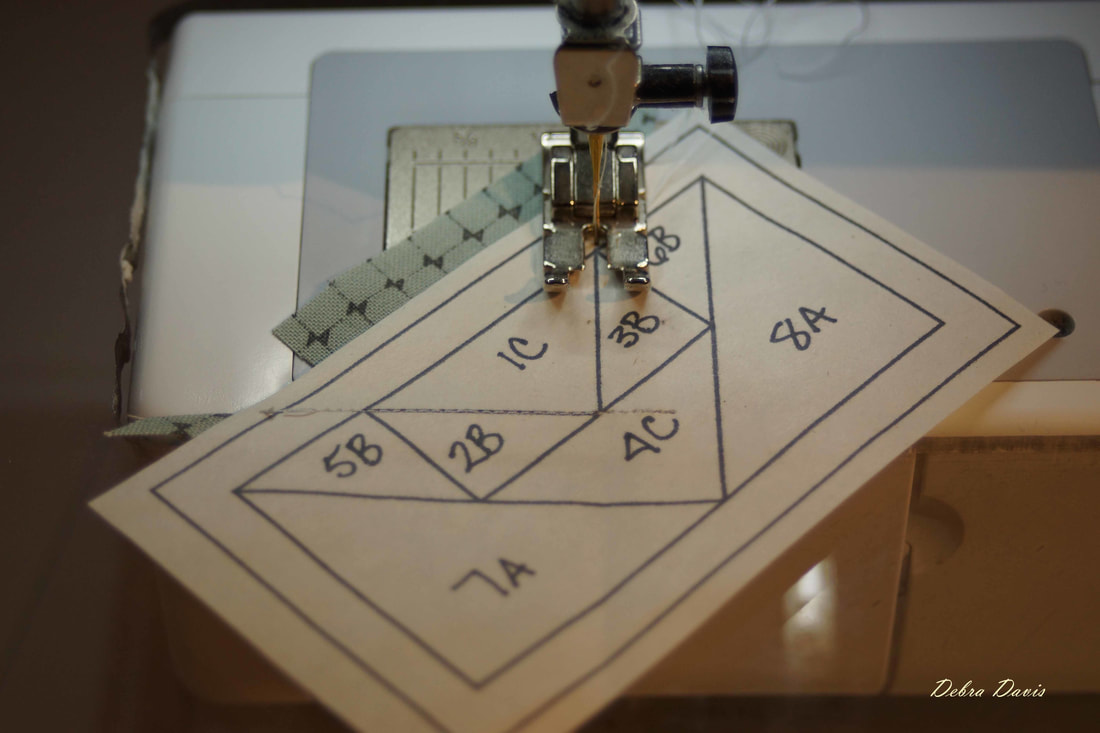
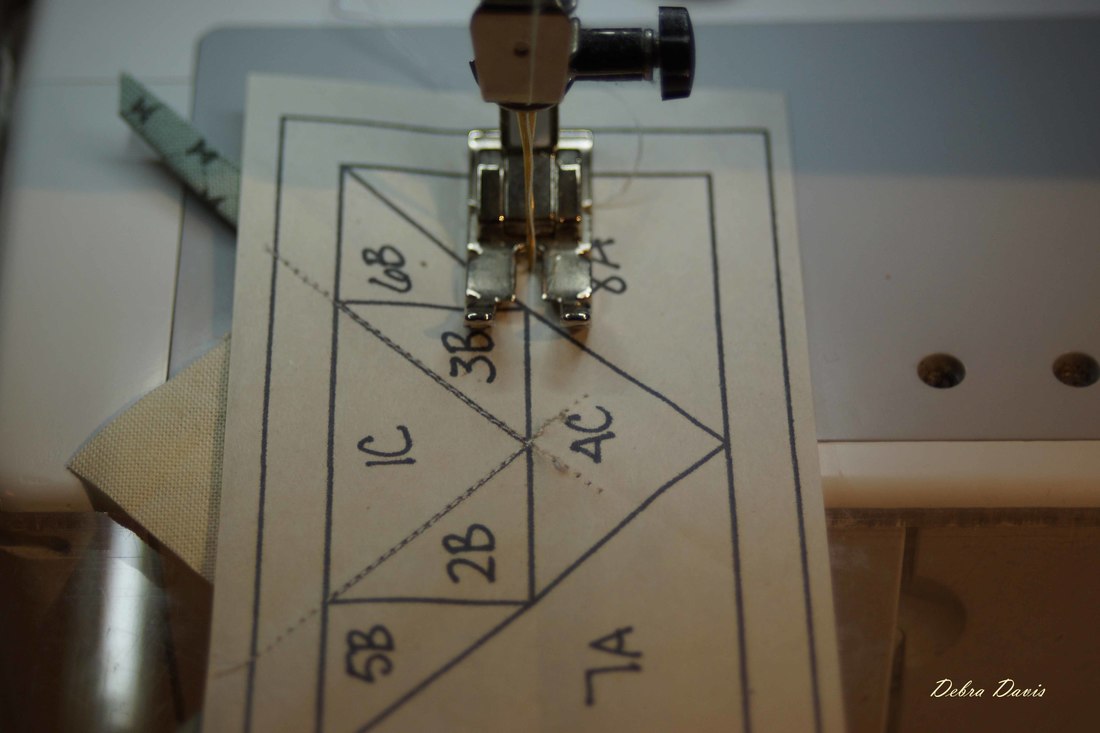
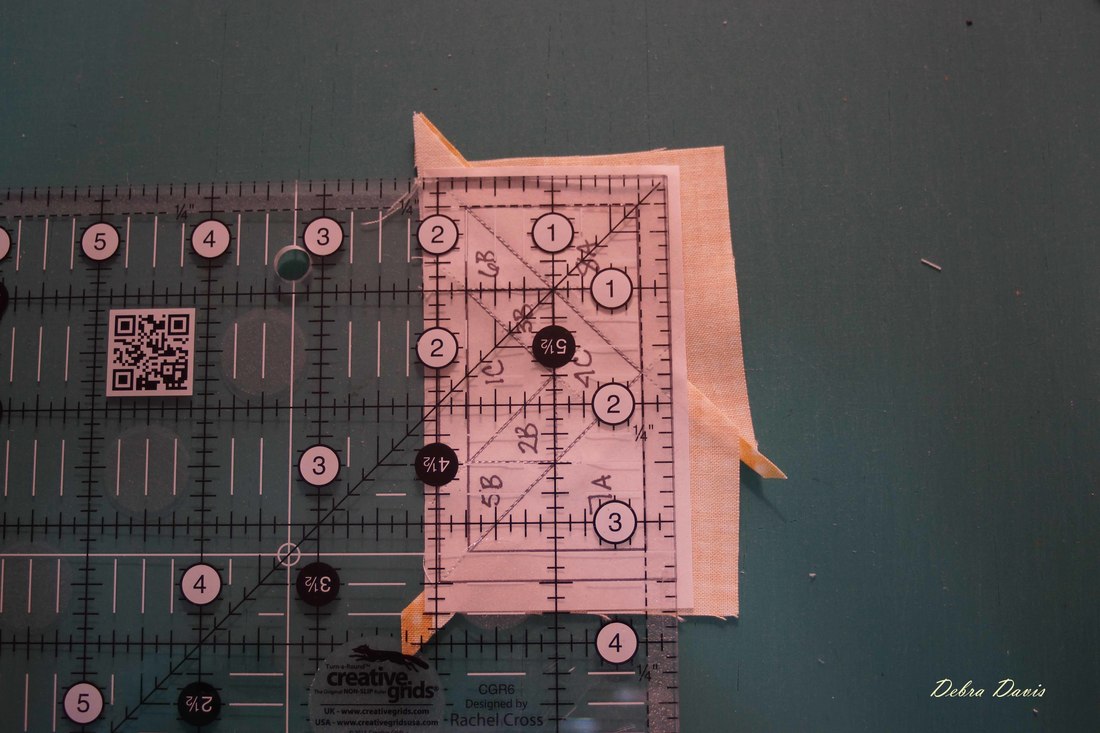
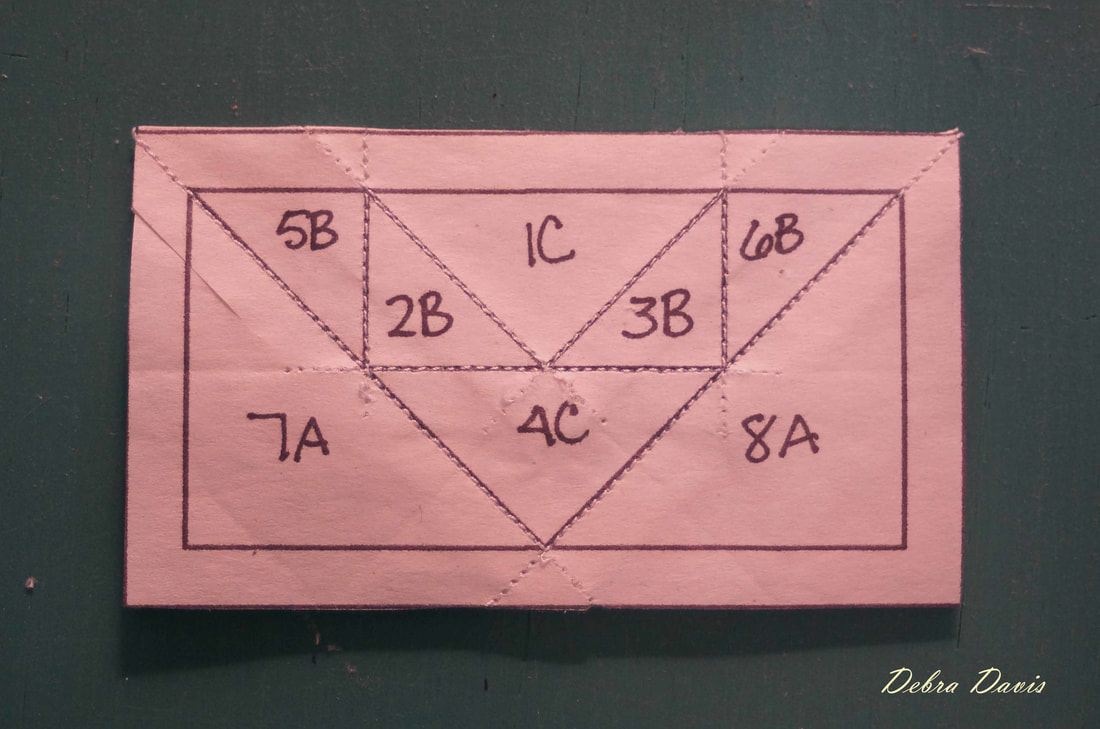
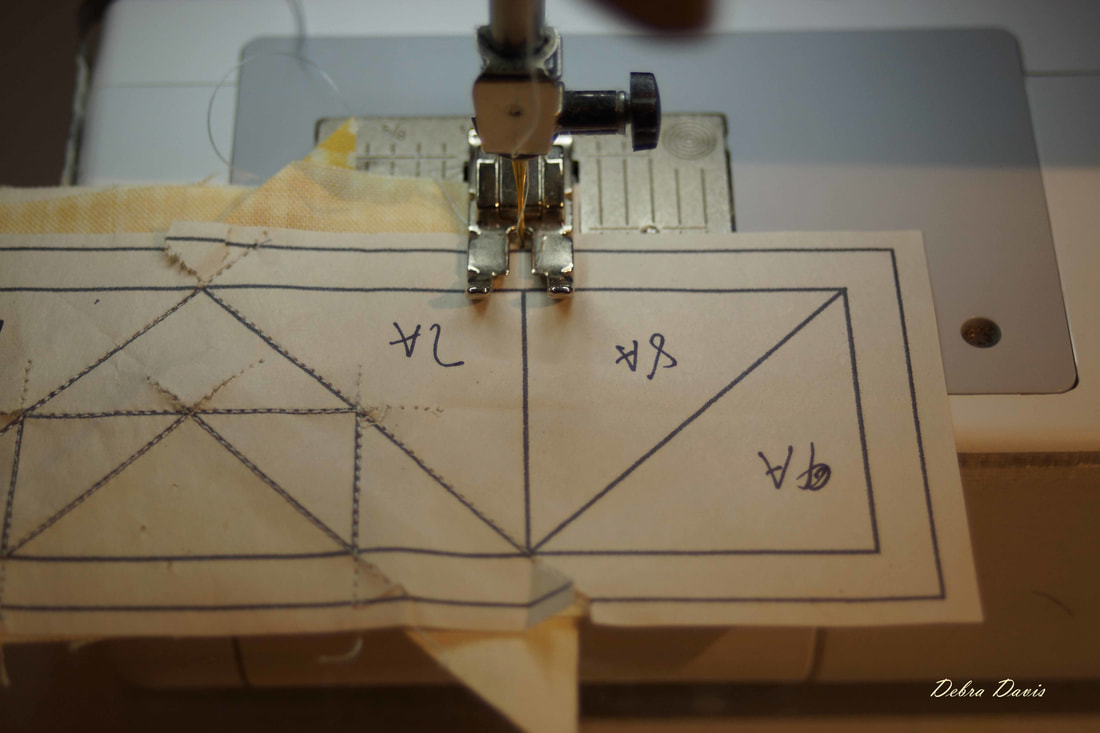
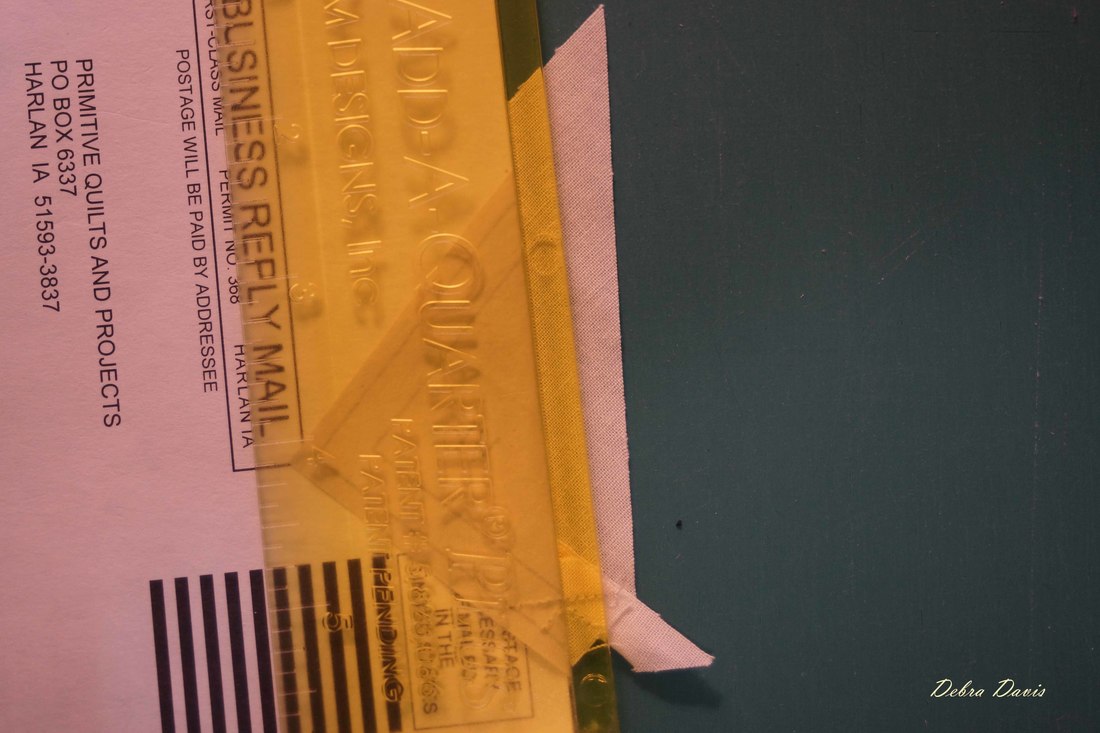
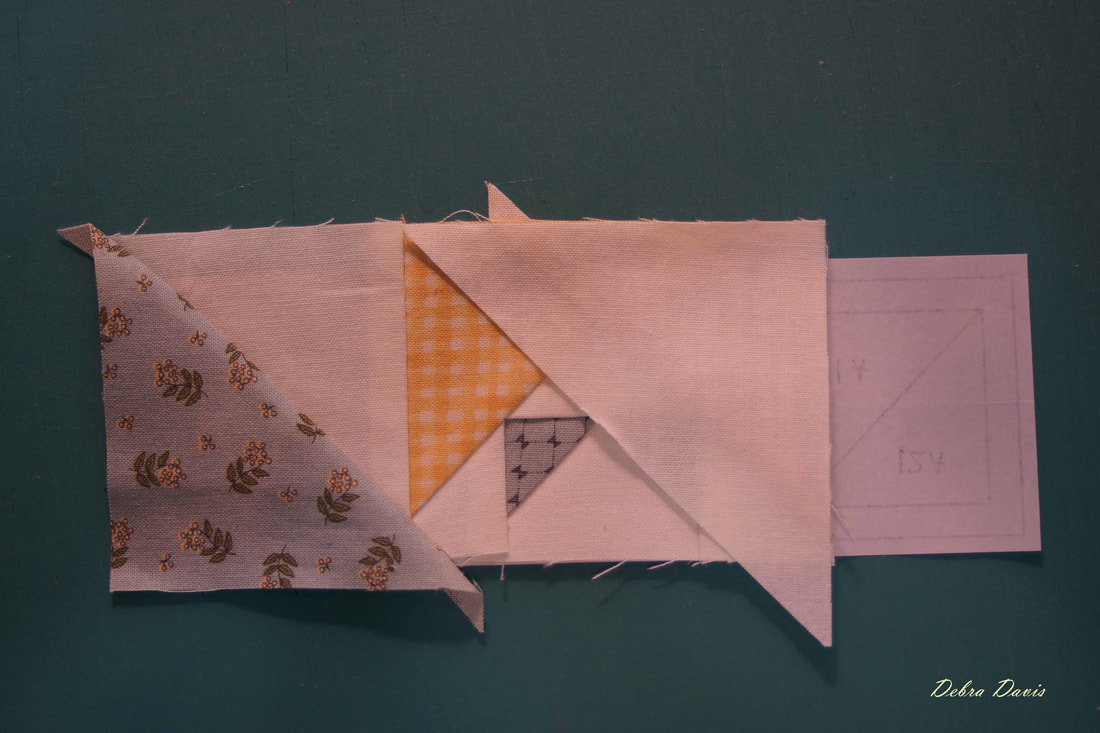
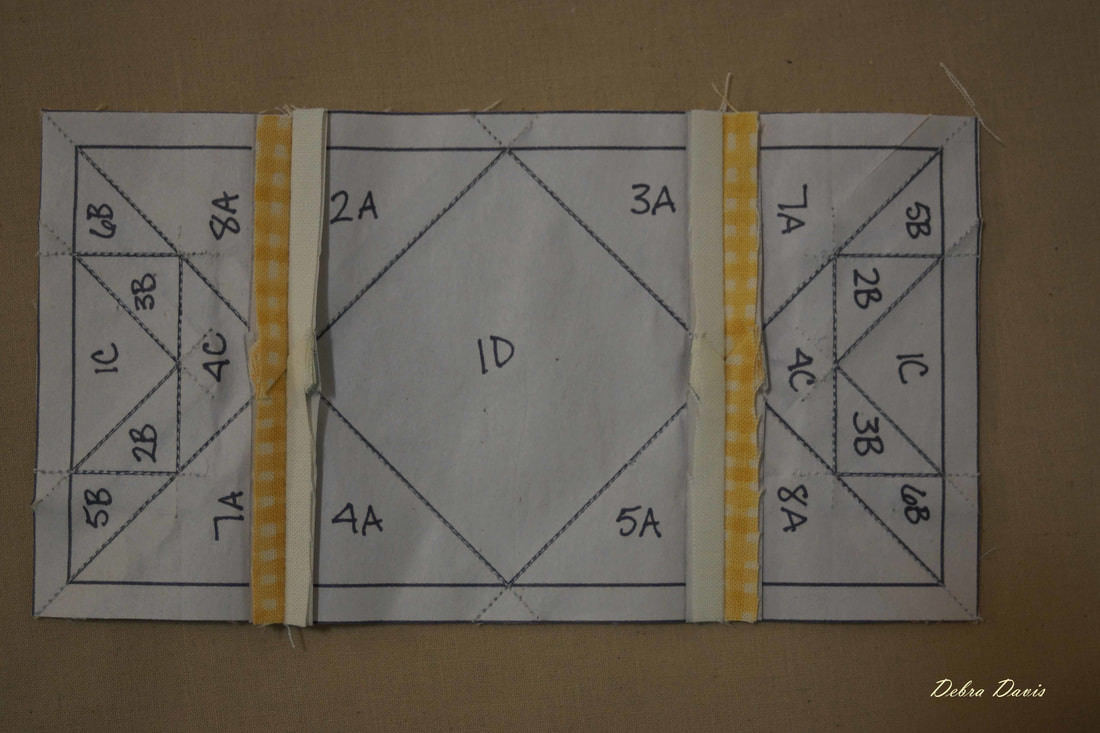
 I hope the first part of this block went together well for you and that it is starting to make sense. Paper Piecing does not really work well for chain-piecing, however I am going to make these next four units all at the same time since they are made the same way. I am going to start with the two middle units, and since the top and bottom units are the same to begin with, the directions are the same for all. 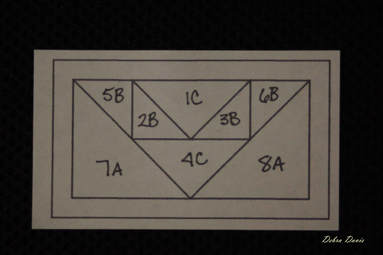 Here is my little cheat sheet that tells me which fabrics I am using for these units. As a reminder; A(BF) is my blue floral; A(C) is my cream; A(Y) is my yellow plaid; B(B) is my blue print; B(C) is my cream, C(C) is also cream and why it is important to find a way to label the A,B,C pieces so you do not get them mixed up.  The first piece (1C) gets placed on the back of the paper pattern with the right side of the fabric facing up. It always seems backwards to me, so I have to remind myself each time-first piece right side up. Place a pin at this angle to hold it in place while you flip and cut. 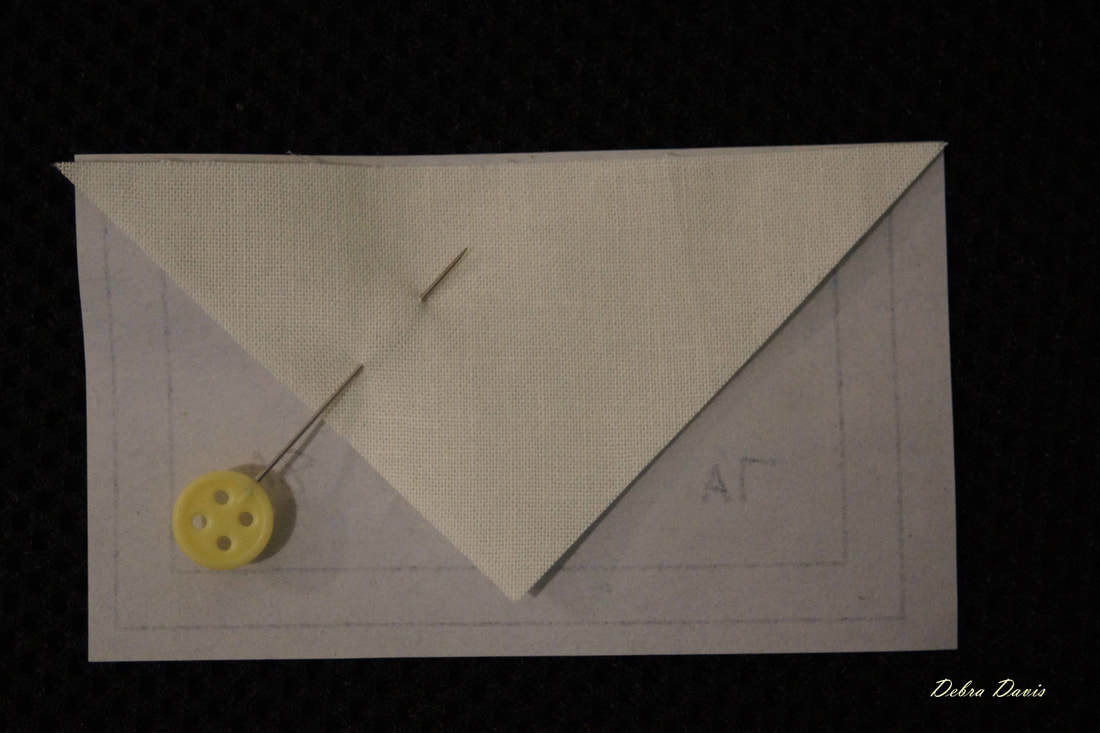 I have lined up the postcard along the stitching line that joins 1C and 2B. 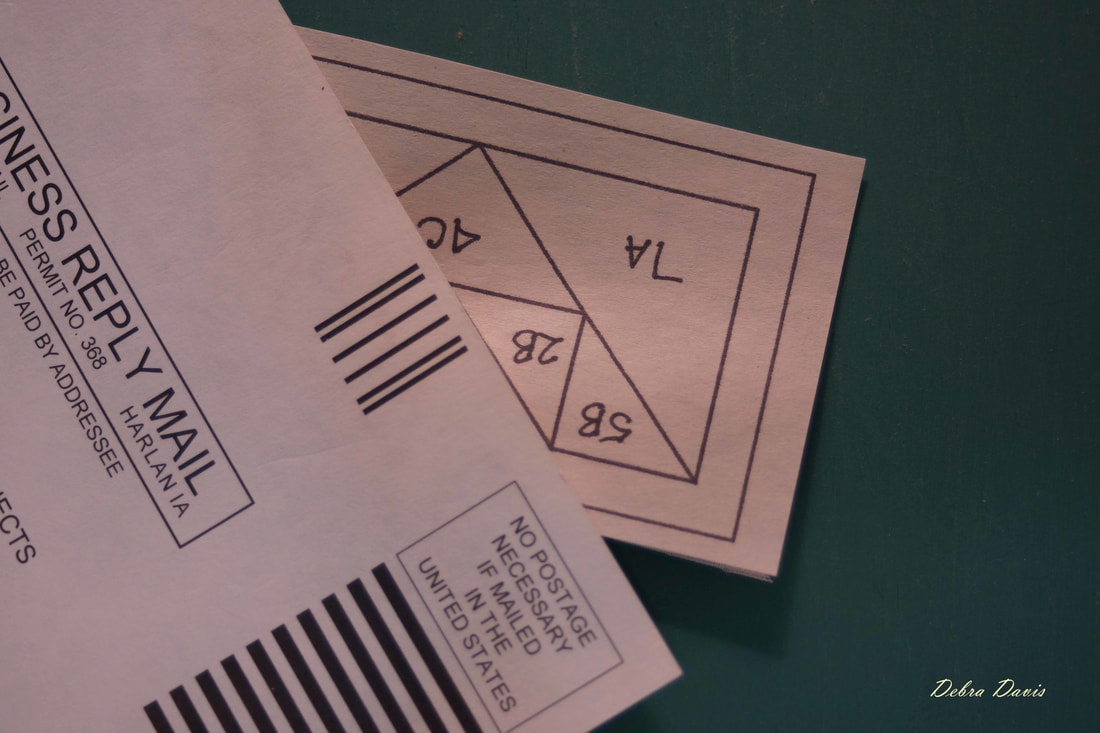 Fold the paper back over the postcard along that stitching line exposing the fabric underneath and trim 1/4 inch from the edge. 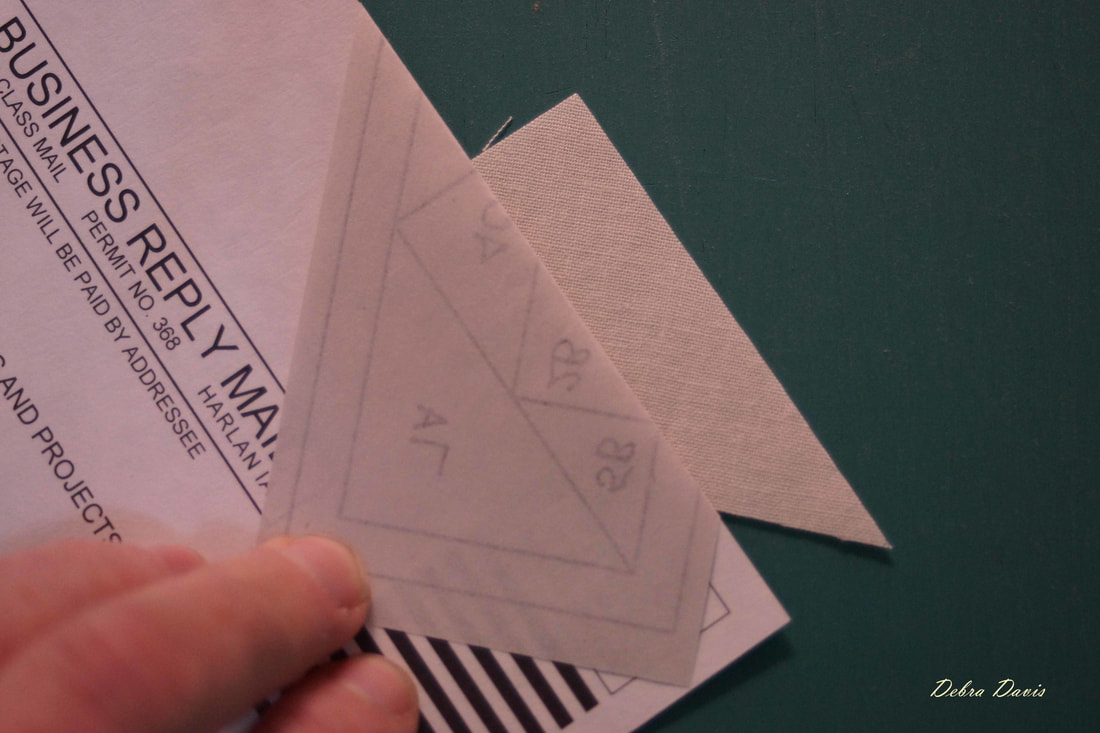 With right sides together place the 2B piece on top of the 1C fabric. 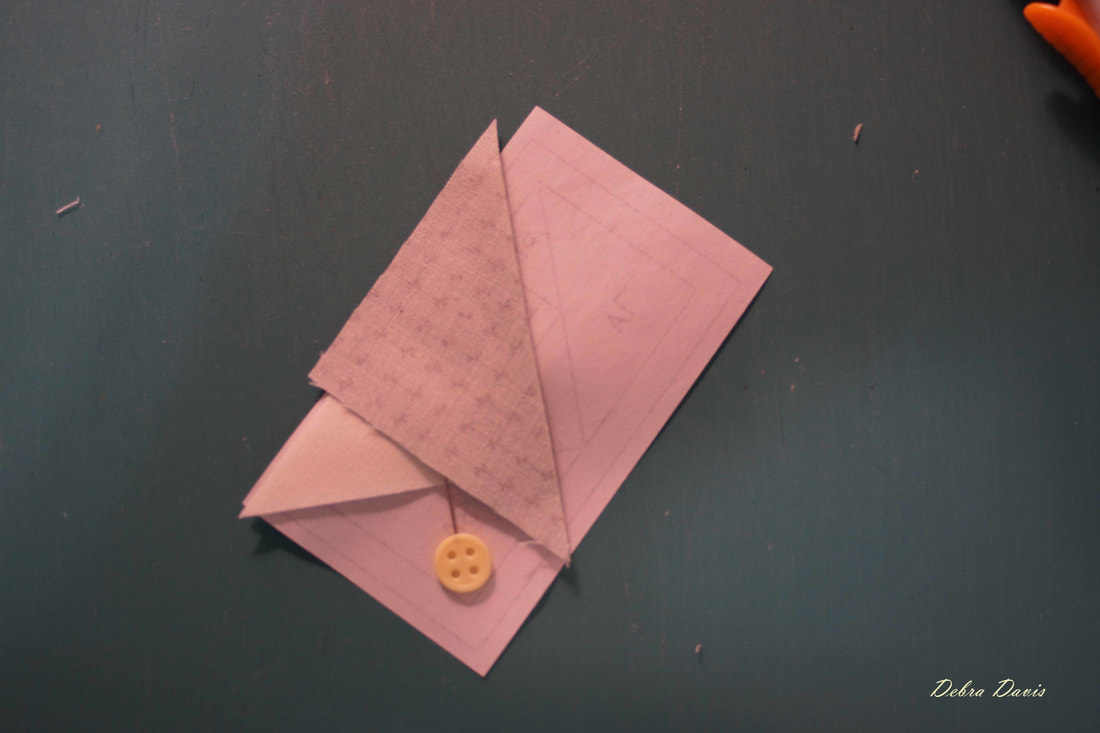 Carefully flip the unit over and sew along the seam line, beginning 1/4 inch from the marked line and ending about 1/4 inch beyond it.
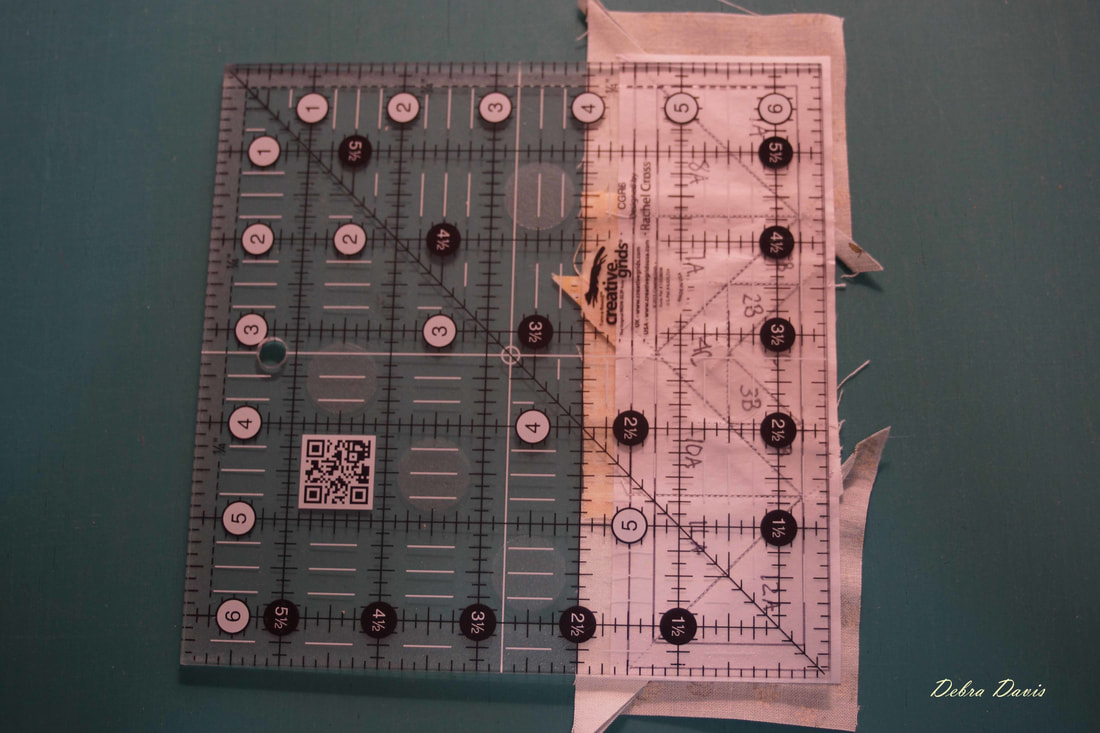
Press open. 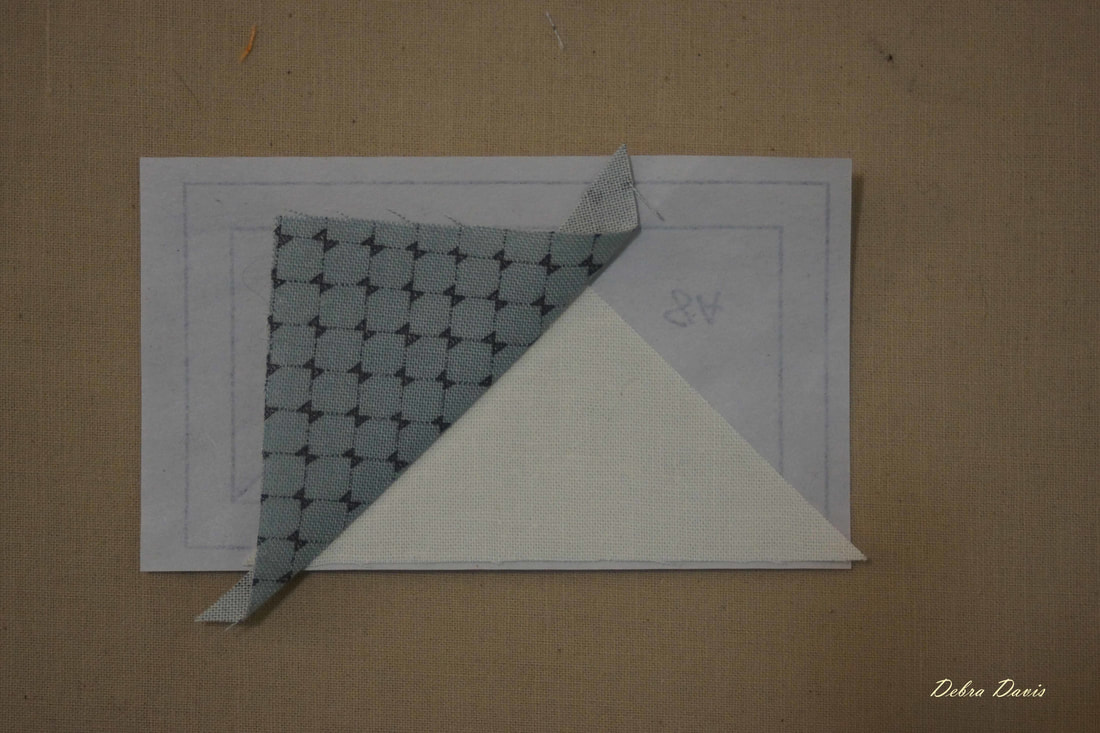 Using the postcard and ruler trim along the 1C/3B stitching line. 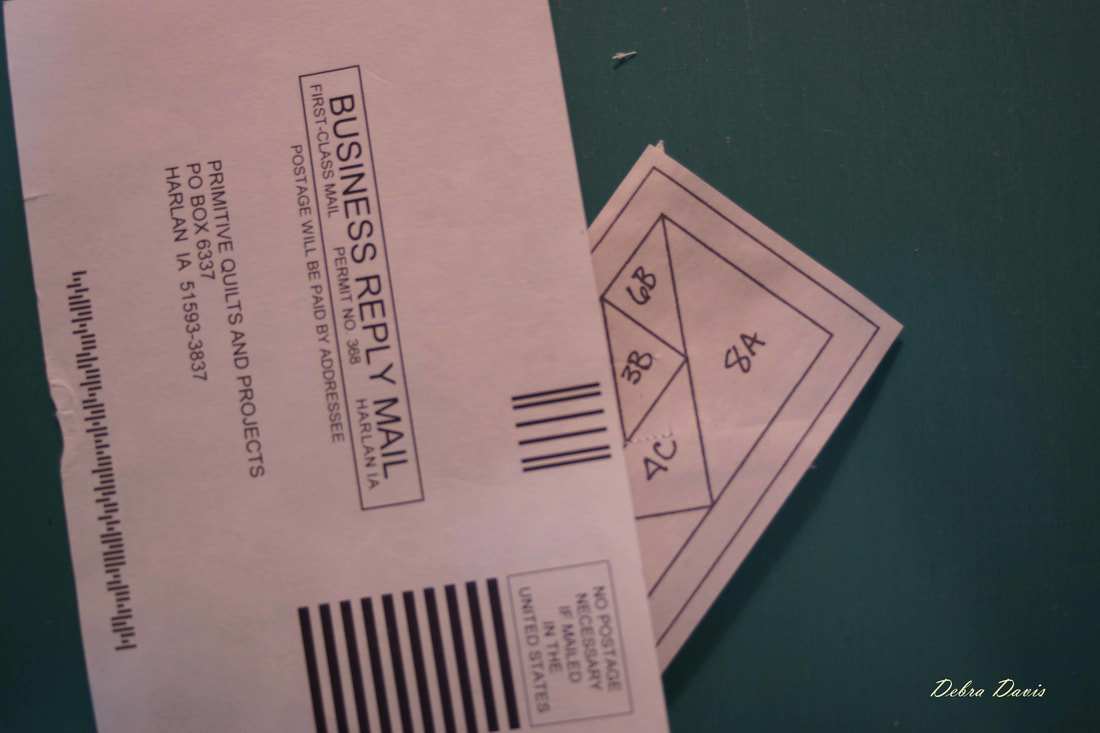 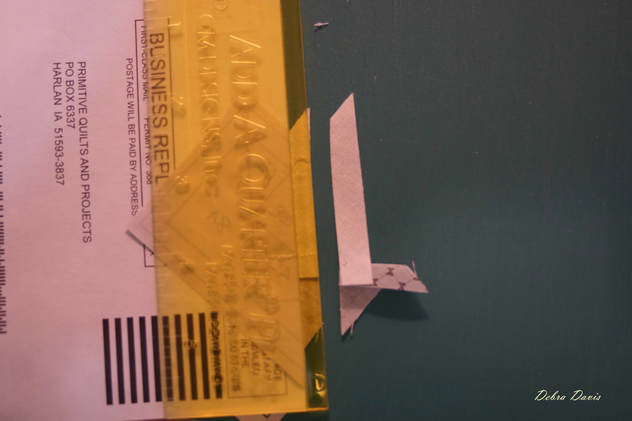 Place your 3B triangle along the trimmed edge of 1C, right sides together and sew in the same manner.
Press and trim as before lining up the postcard with 4C stitching line.
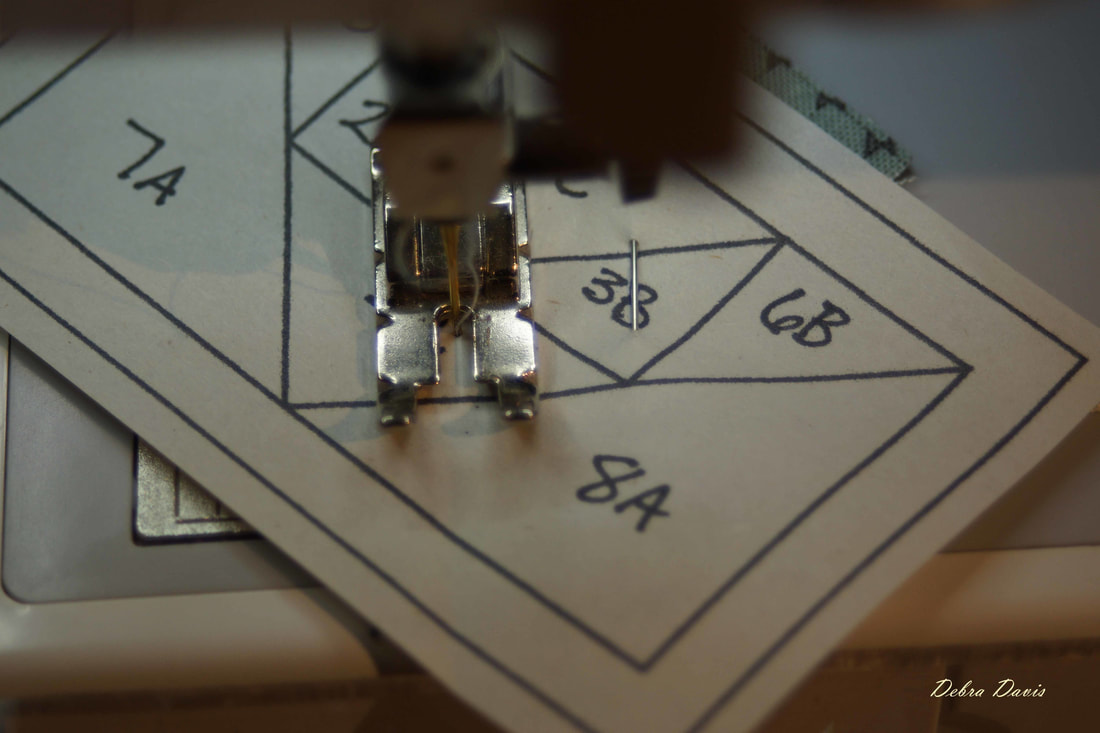
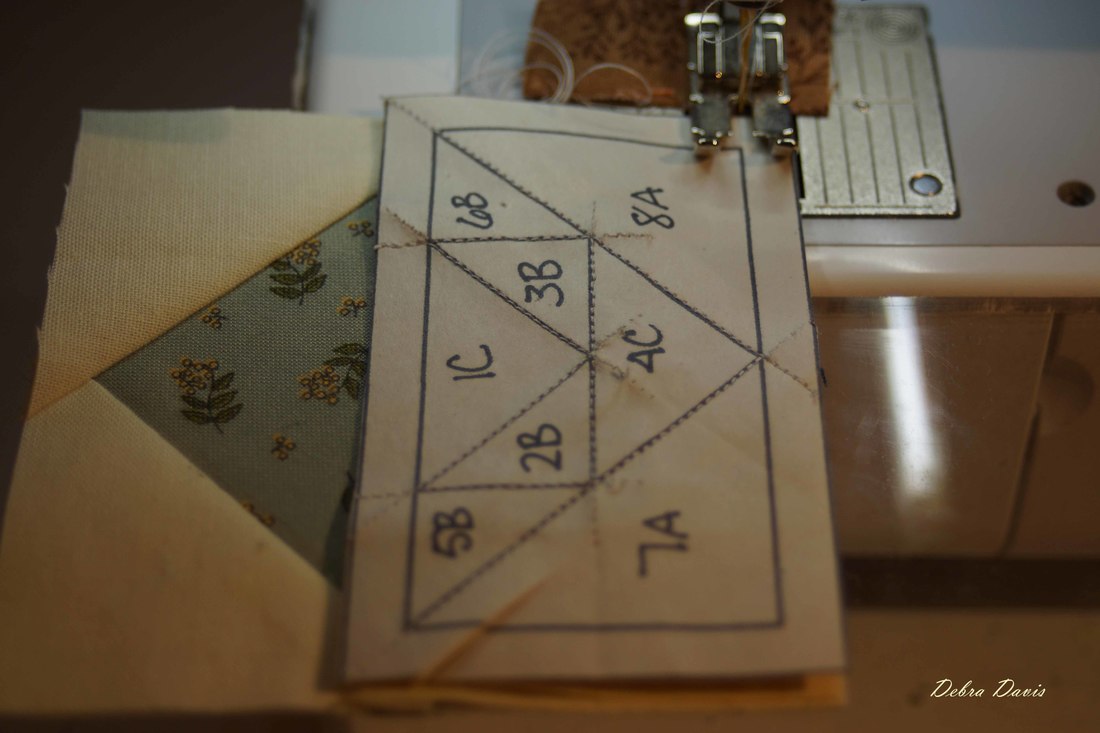
Place 4C across the unit as pictured. 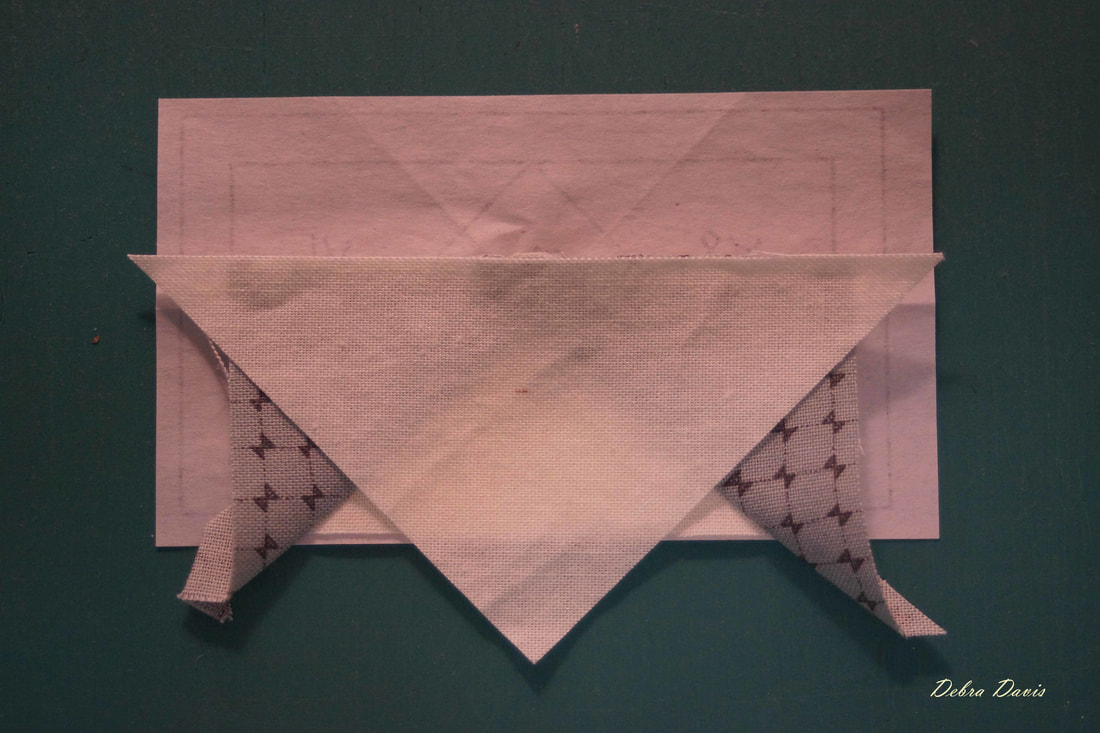 Stitch along the line, starting about 1/4 inch away and ending about 1/4 inch on the other side of the line. Press open and admire how perfectly your point comes out.
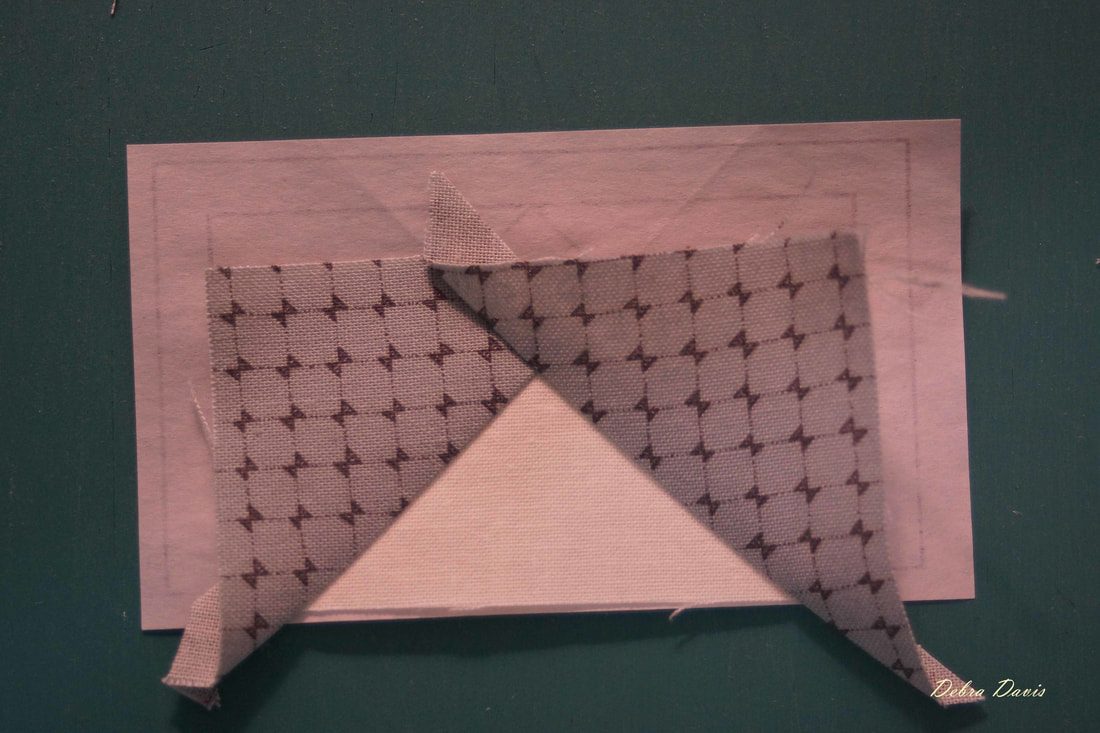
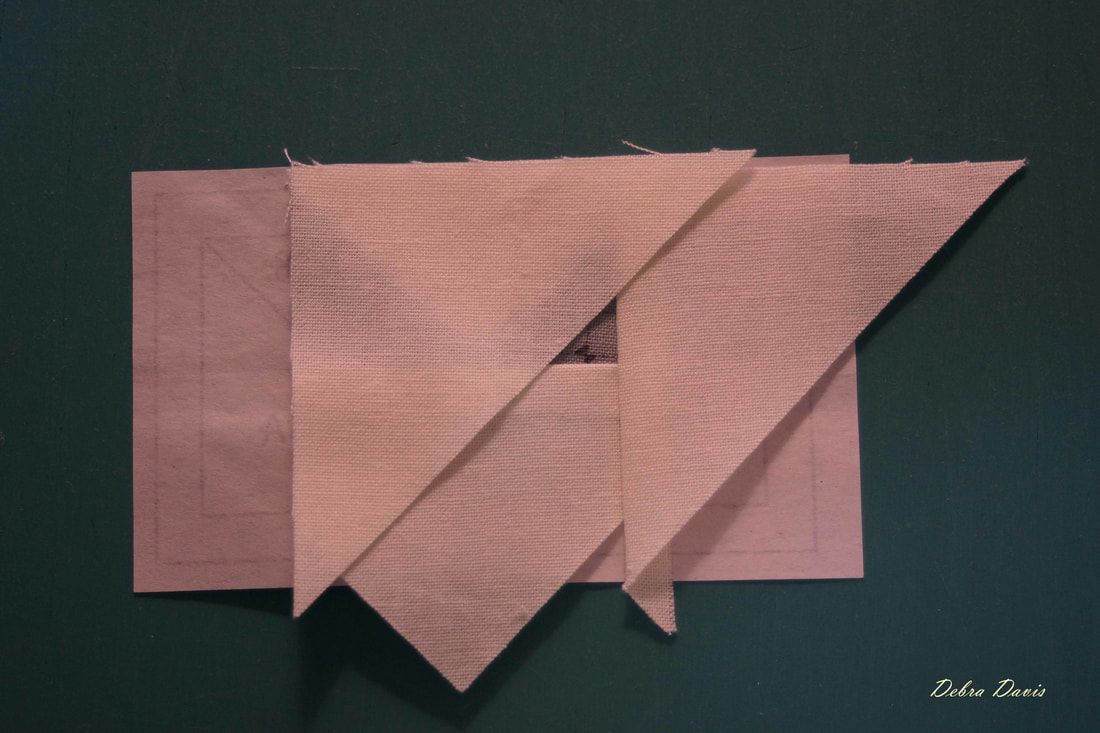
Now trim along 5B, carefully pulling the paper pattern away from the fabric as you fold it back. If the pattern does tear you can use a piece of scotch tape (regular clear tape) and it will still be fine to sew over. I found I did not need to use tape on these as the sewing lines were still easy to follow. 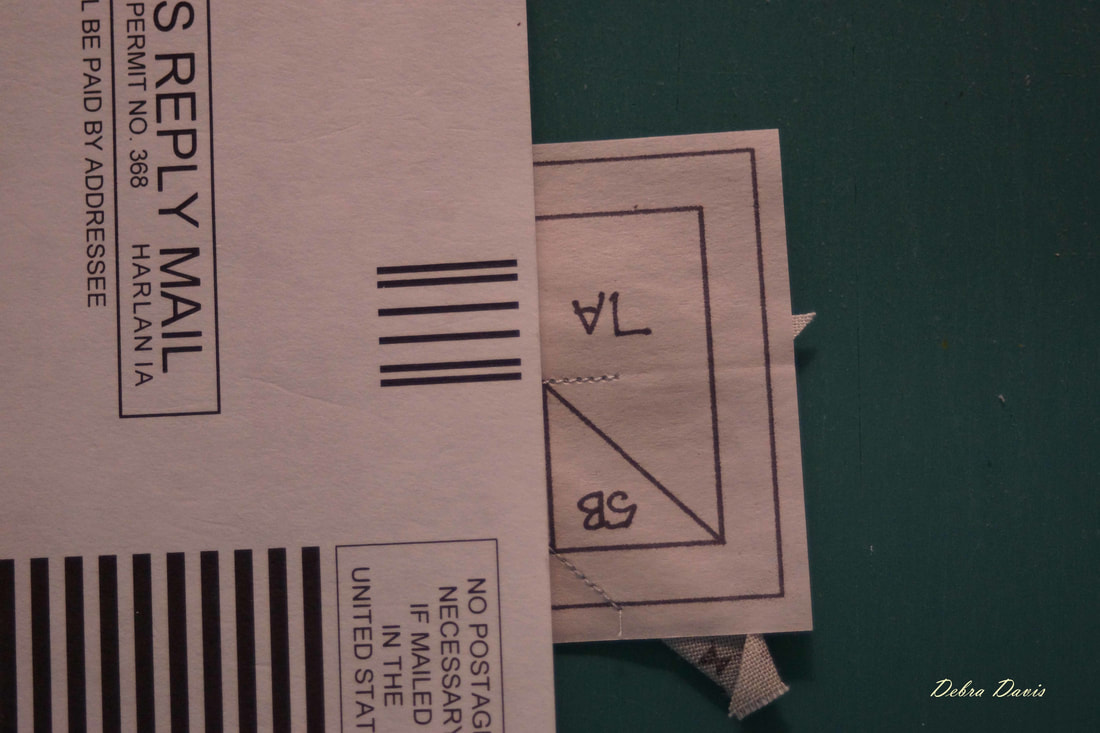 Place piece 5B on the unit as pictured. Notice I have aligned the outside edge with edge of my paper pattern. 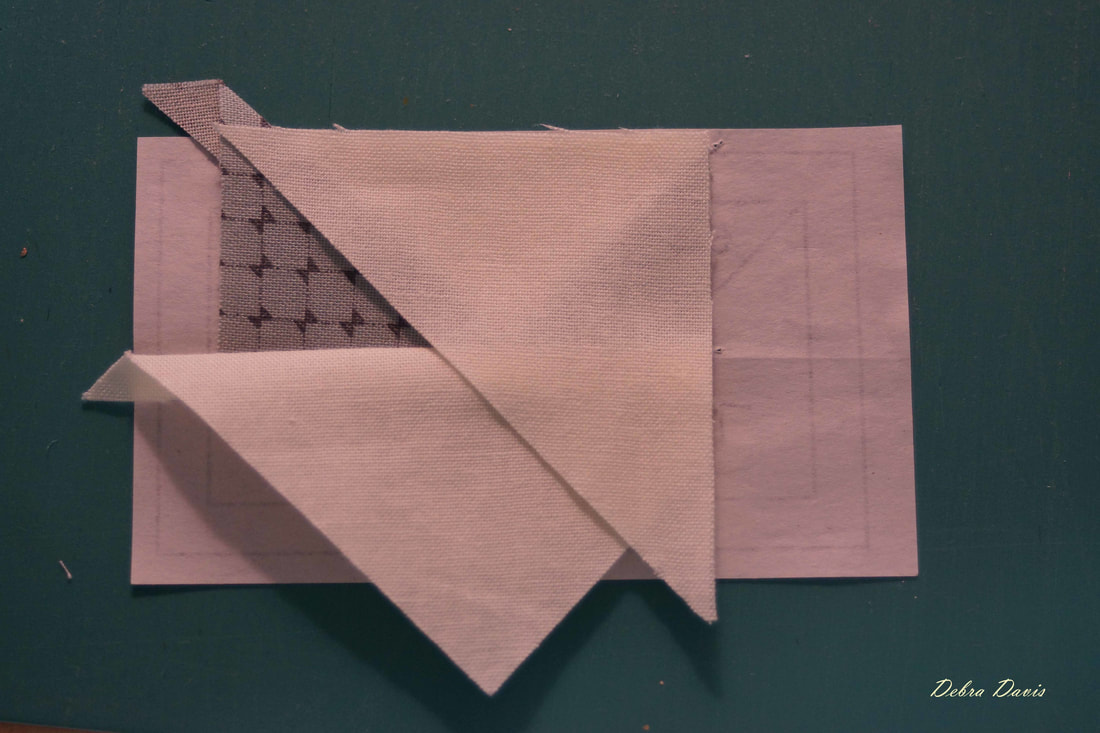 Starting 1/4 inch before the stitching line, sew along the line stopping as you reach the outside line of the unit. 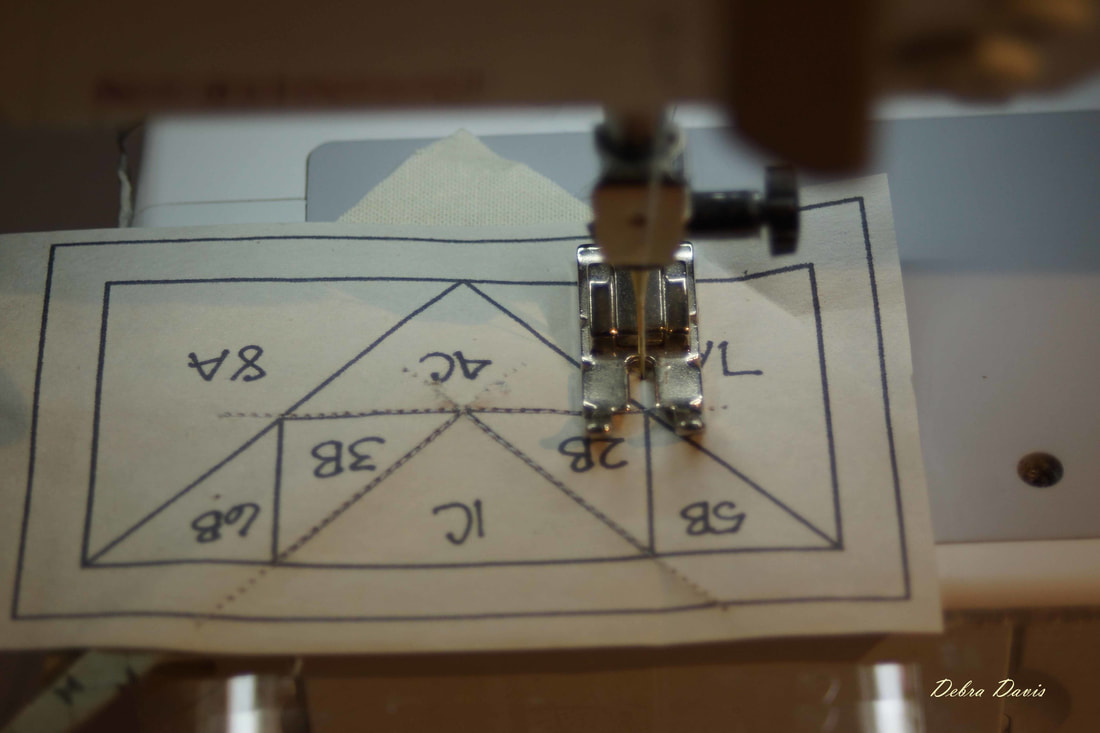 Do the same thing on the other side with the 6B piece.
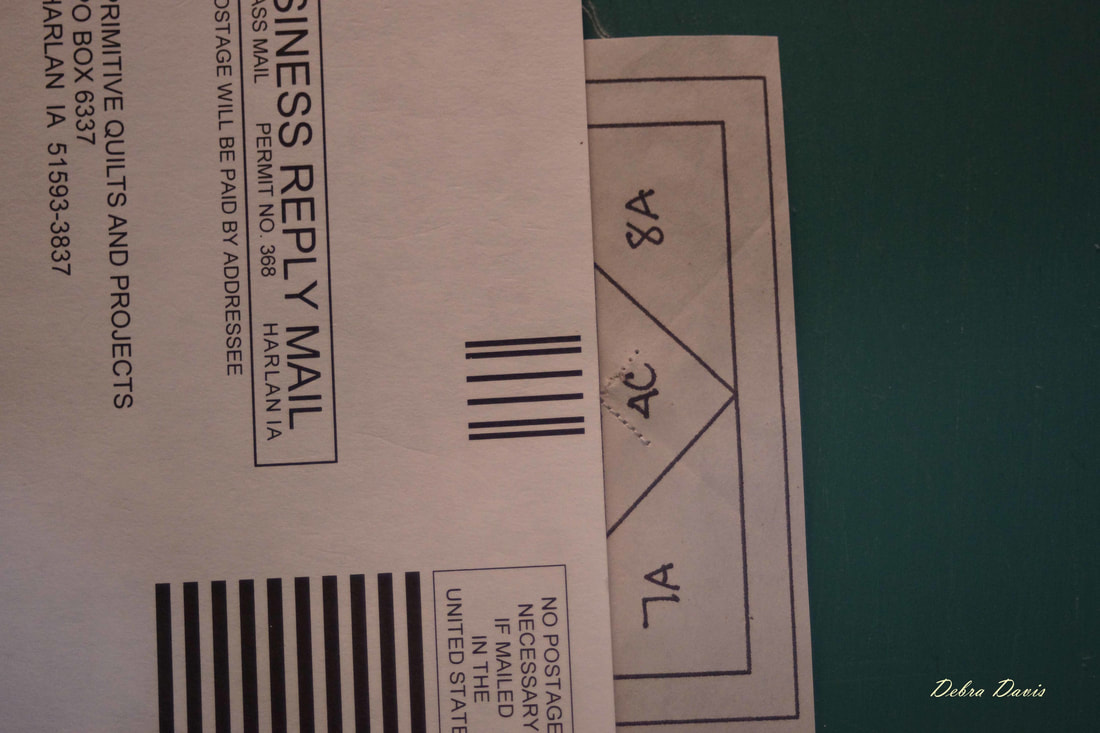
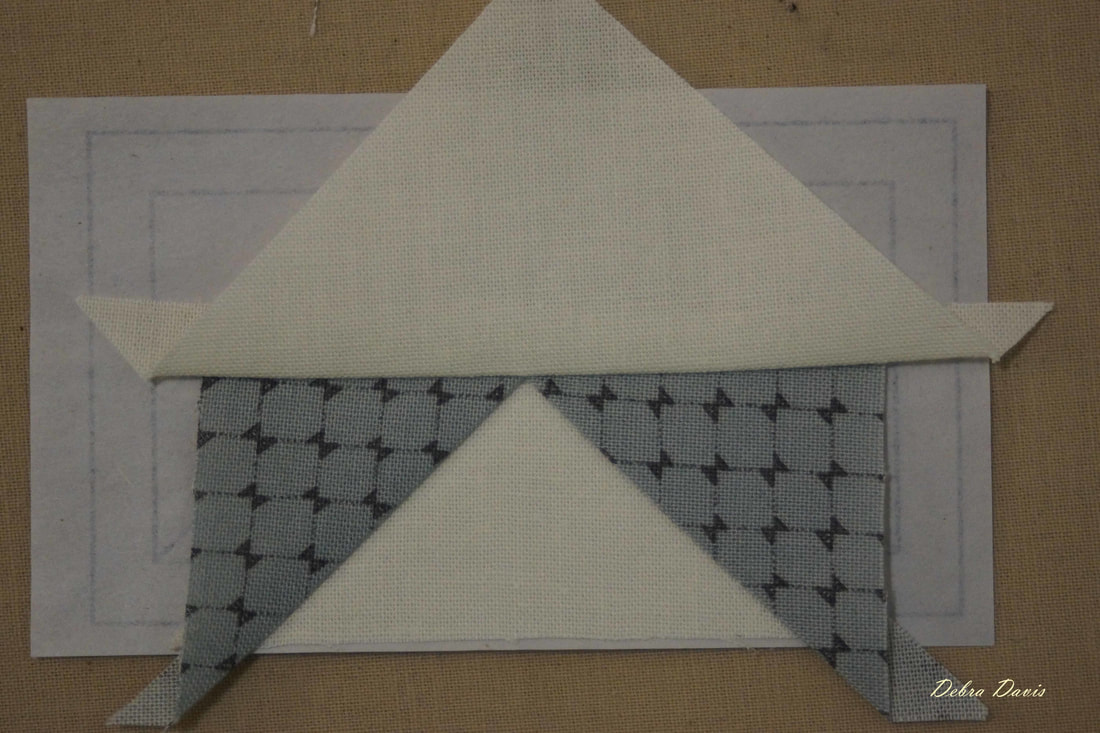
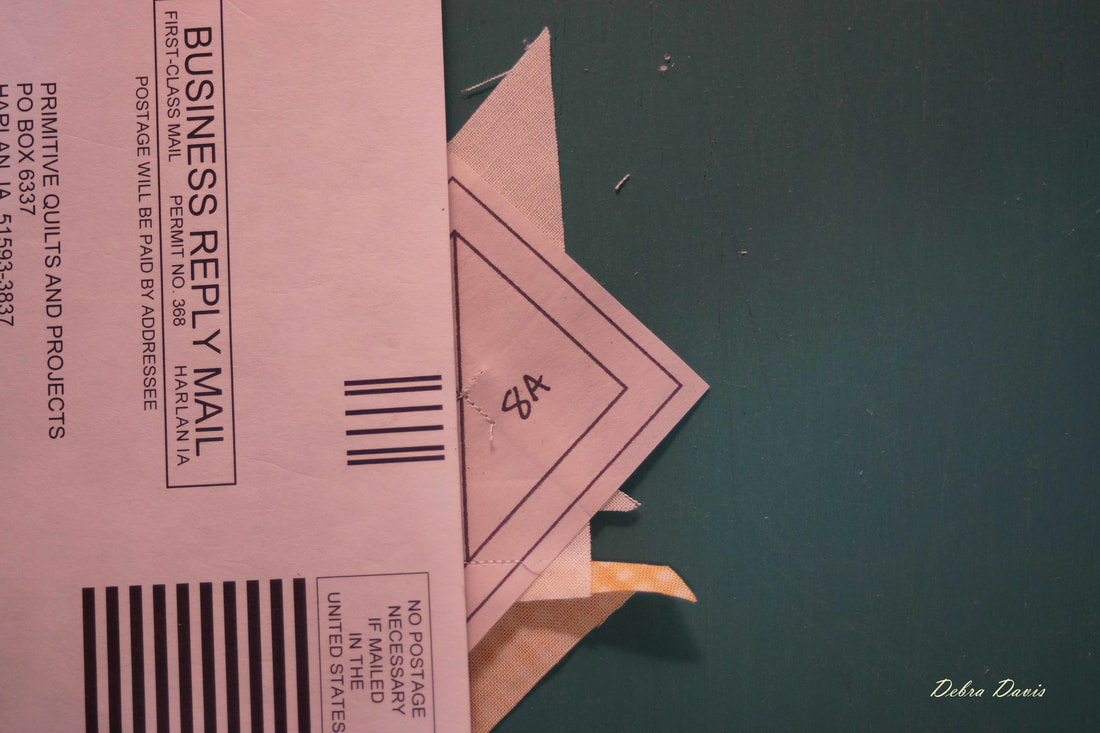
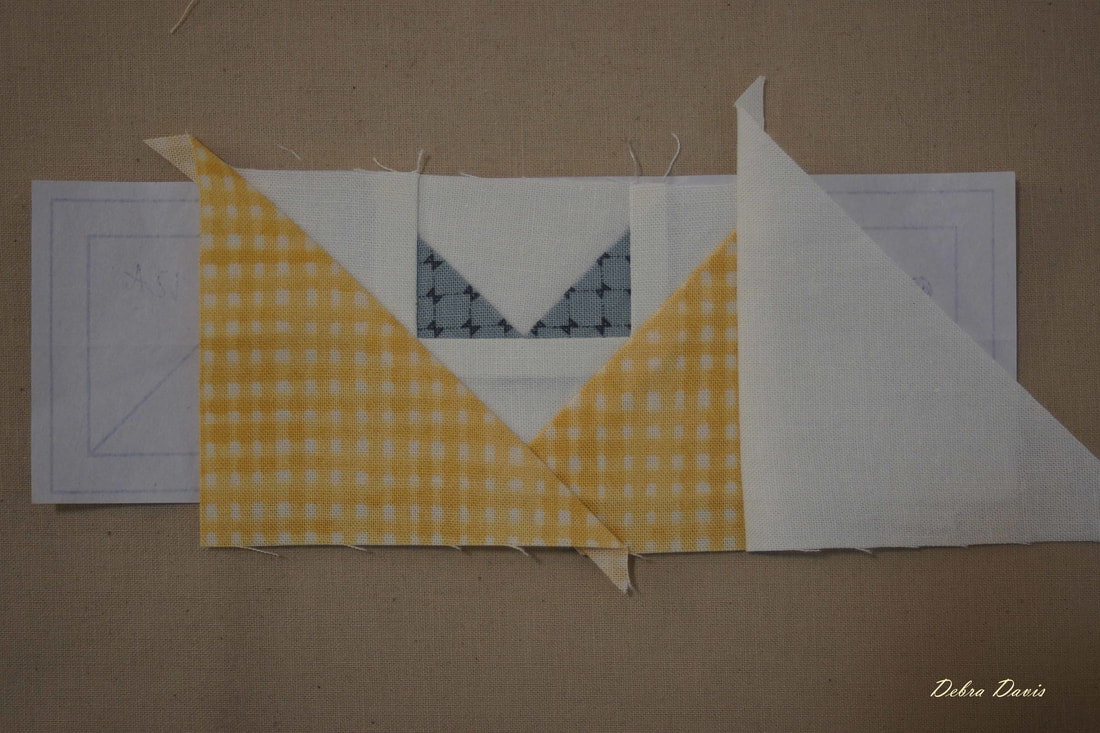
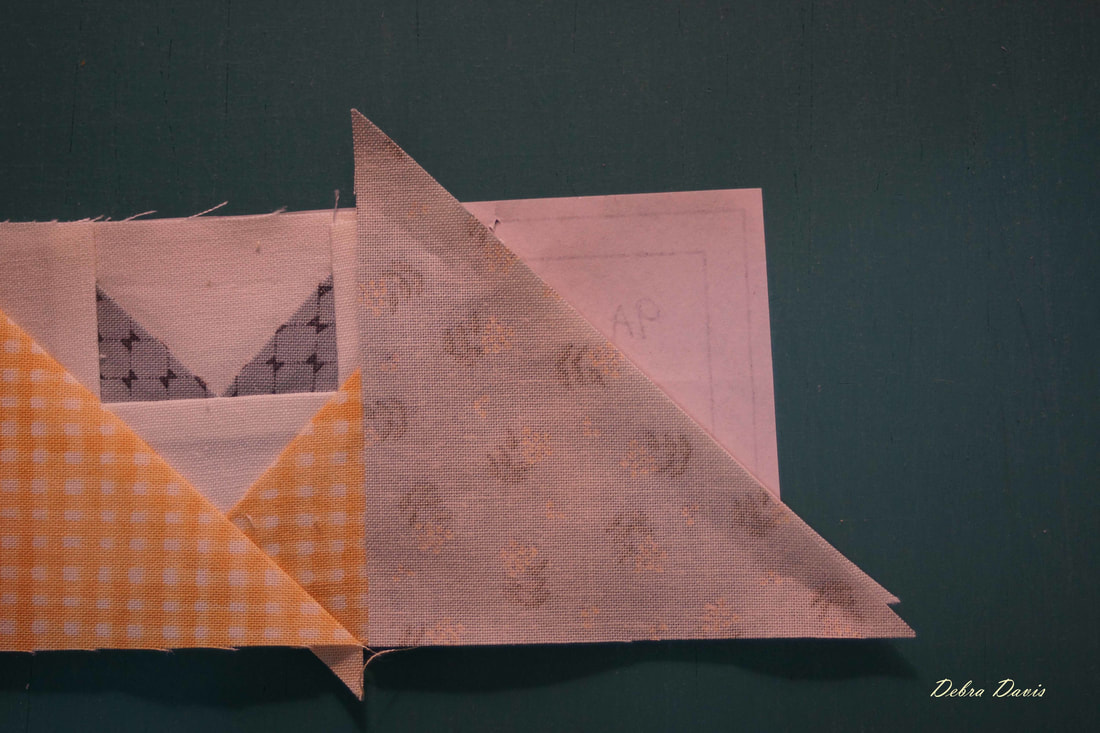
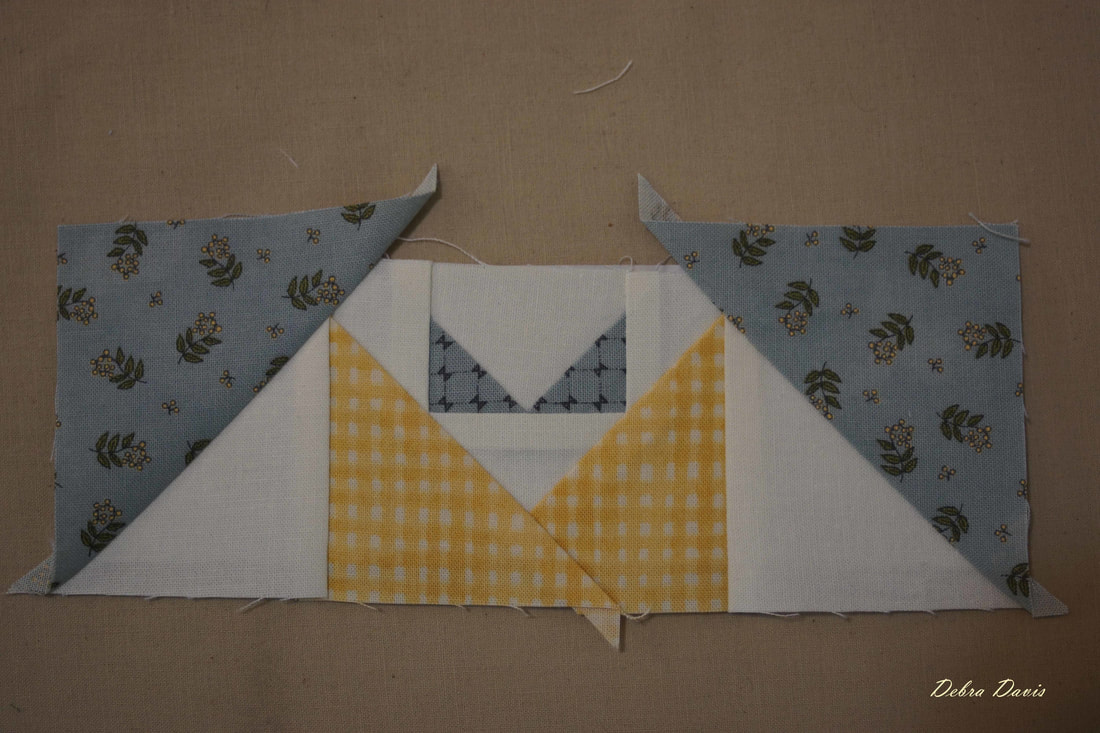
 Press open and trim along the 7A line now.  Here I have placed my 7A fabric and made sure it will cover the paper when it is flipped over. 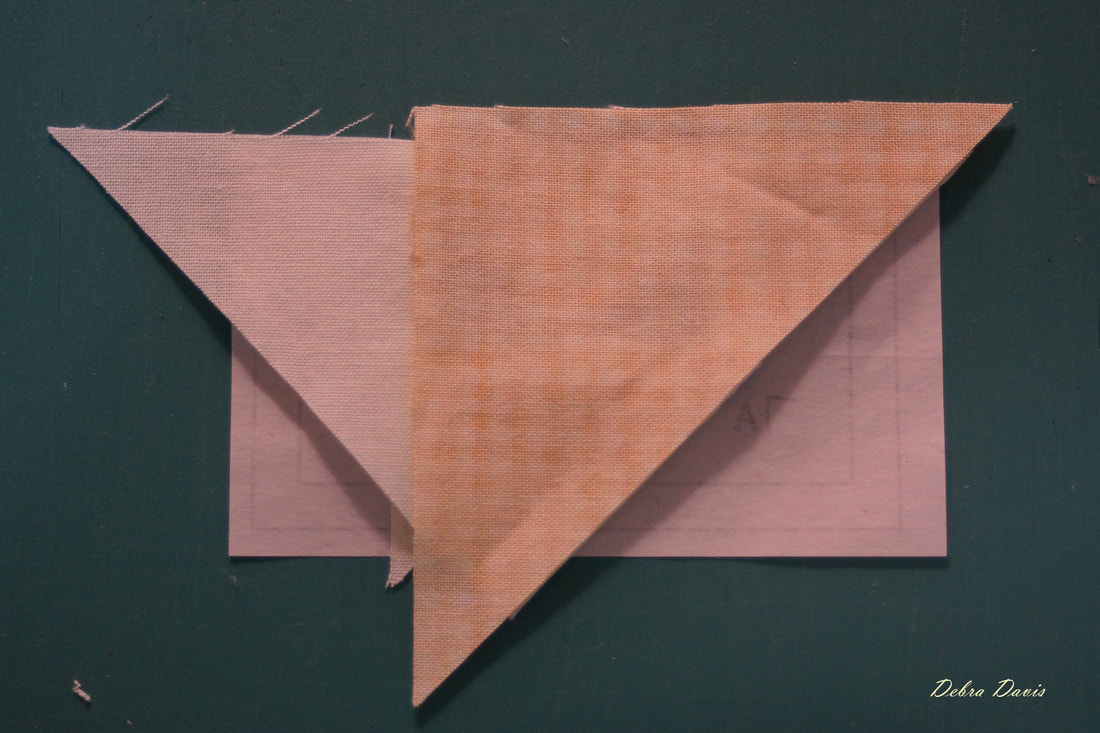 Swe along the line remembering to start and stop about 1/4 inch away on each end. 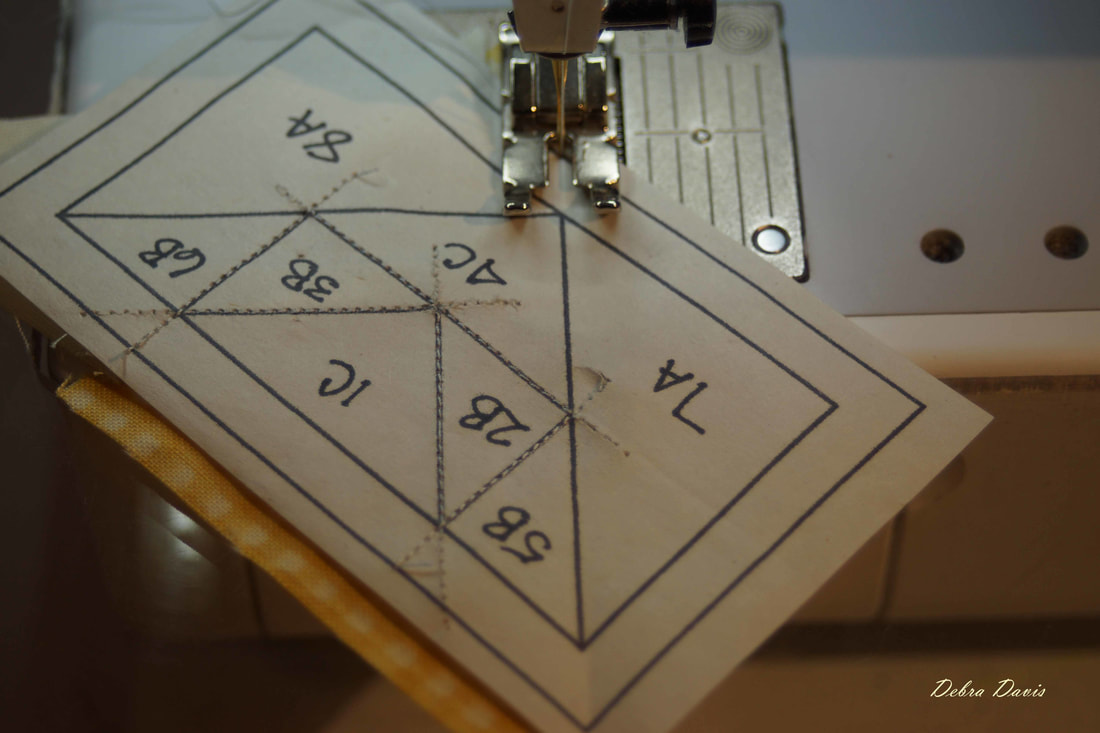 I love pressing these open and seeing my perfect points appear! 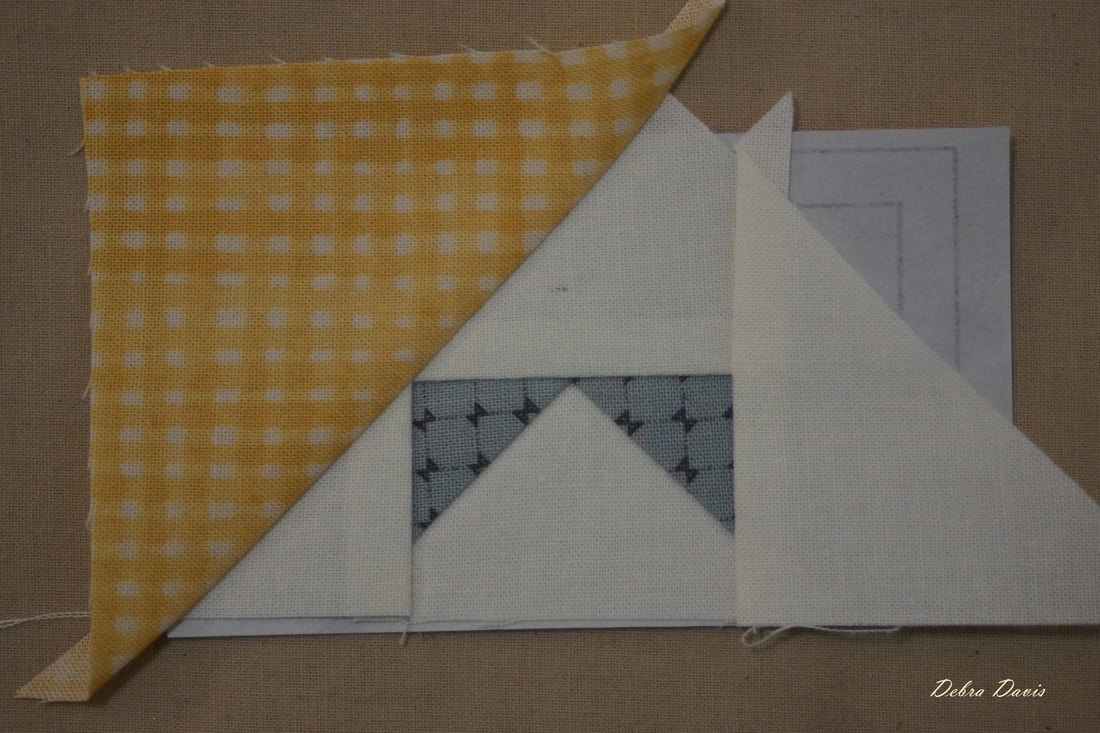 Now we do the same thing on the other side with 8A.
 I did not rename the top and bottom patterns, but 10A is the same as the 8A we just did on the shorter units. So do these in the same way.
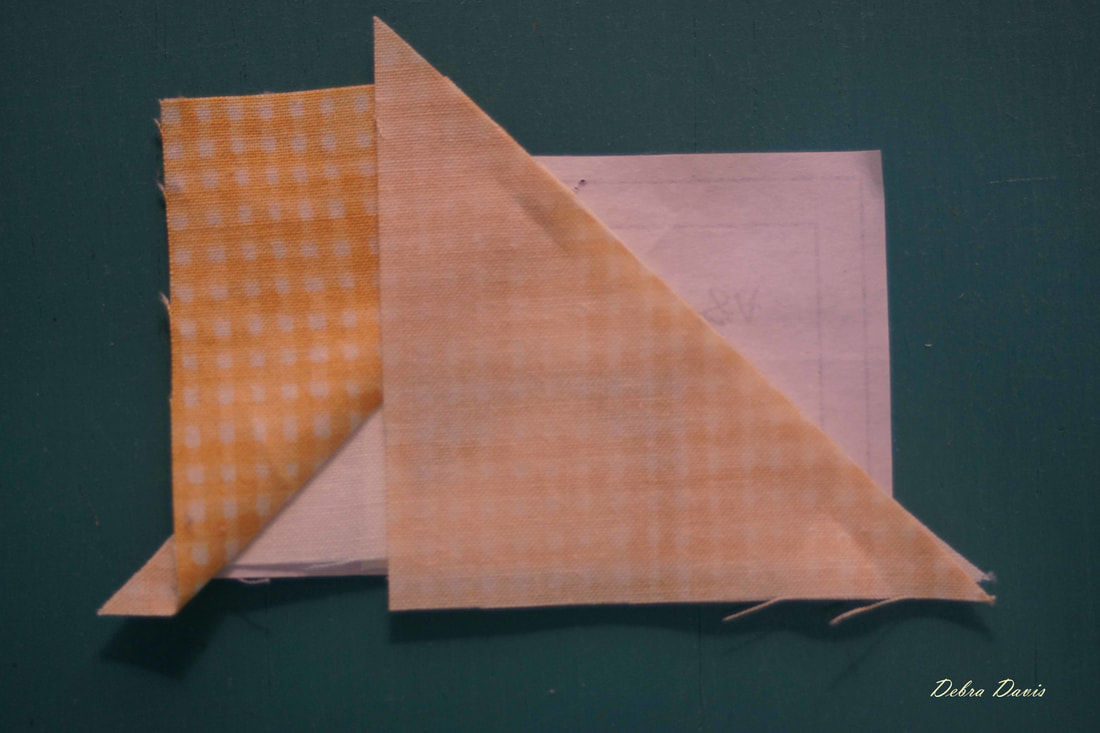
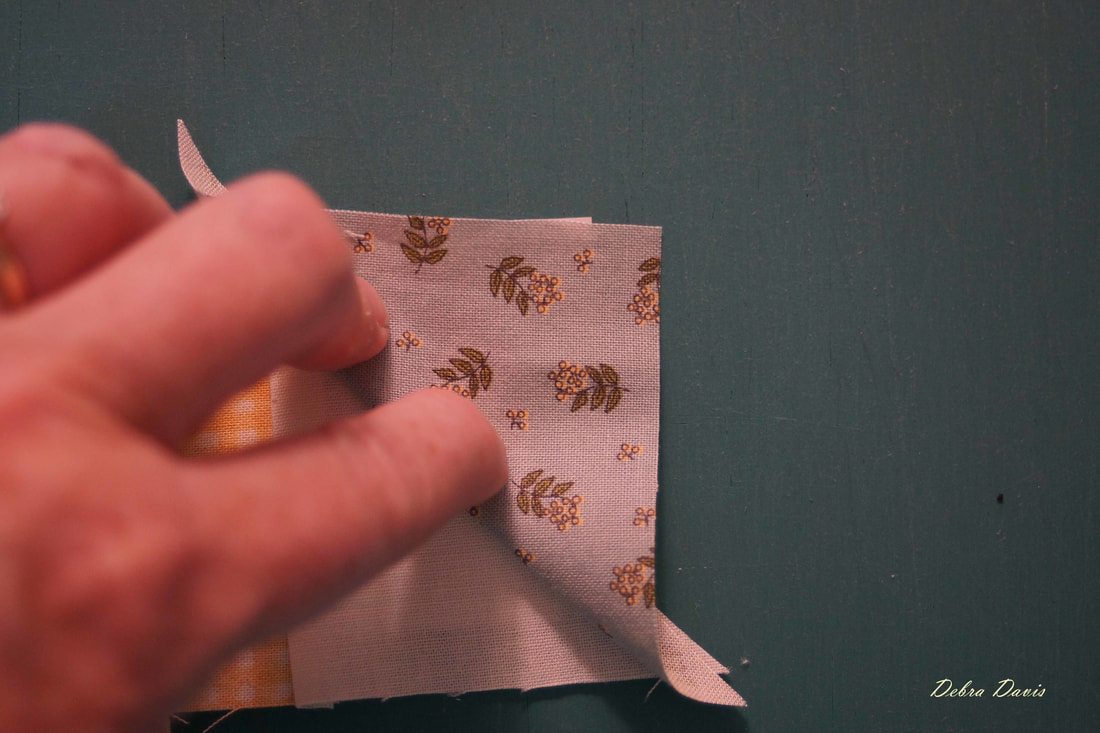
The middle units are almost done-they just need to be trimmed. 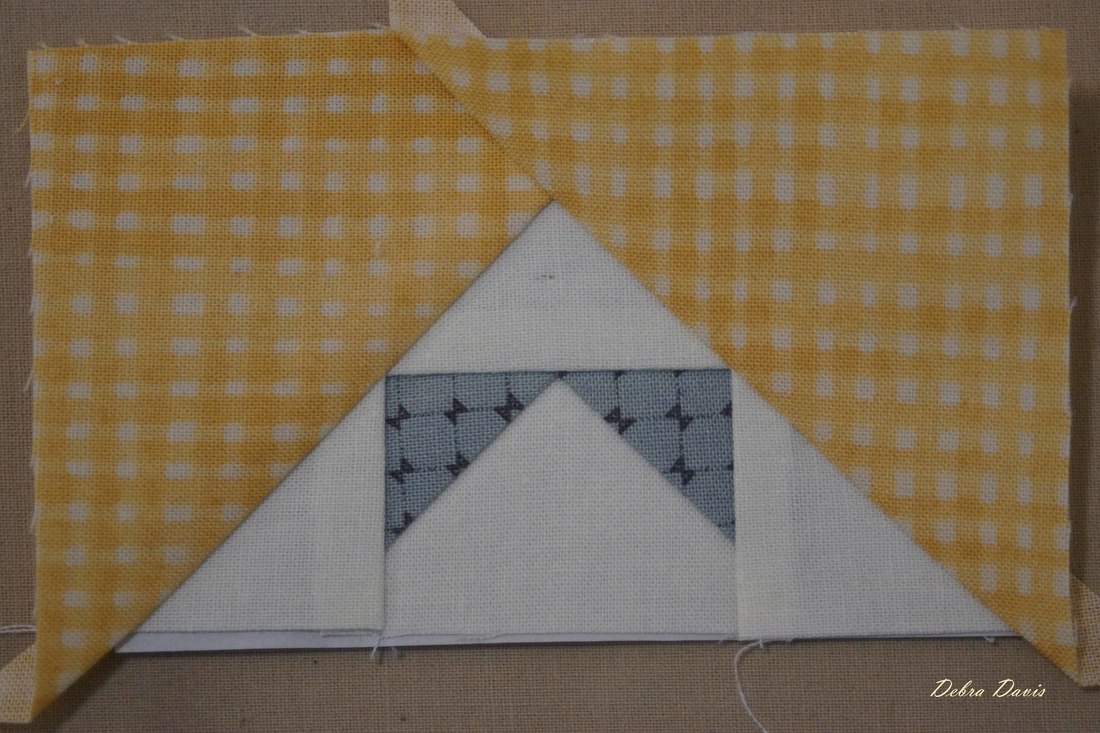 Since the smaller center units are now complete we can trim those on the outside line.
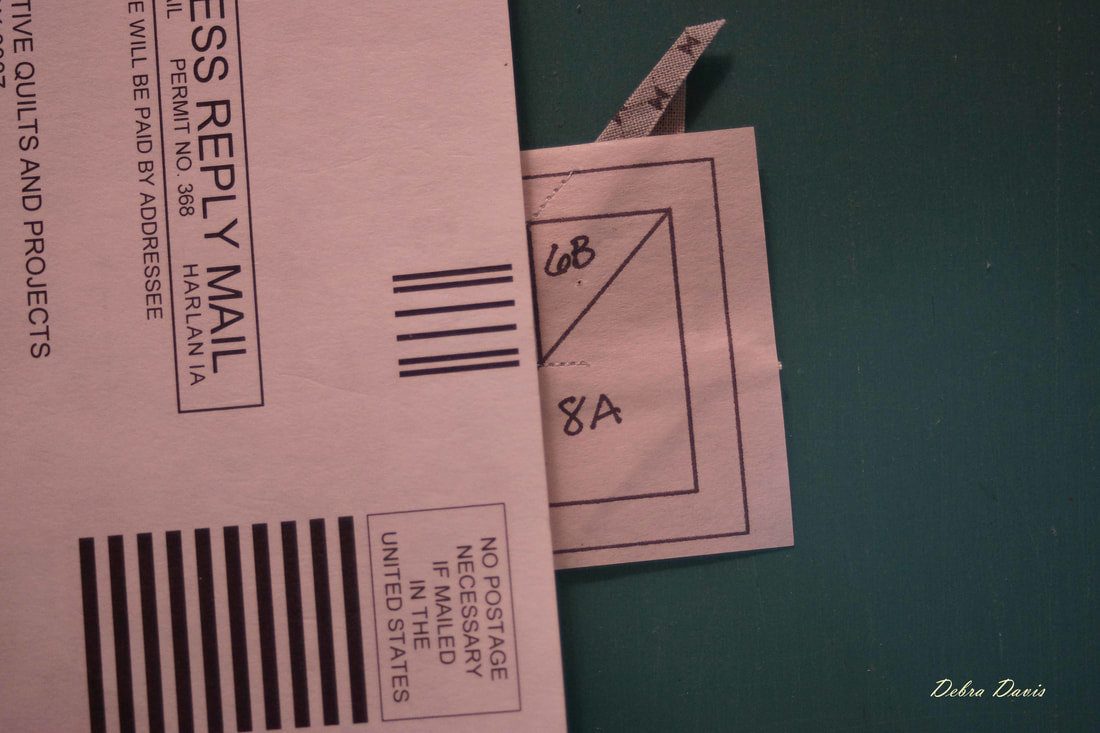
Looking good so far. 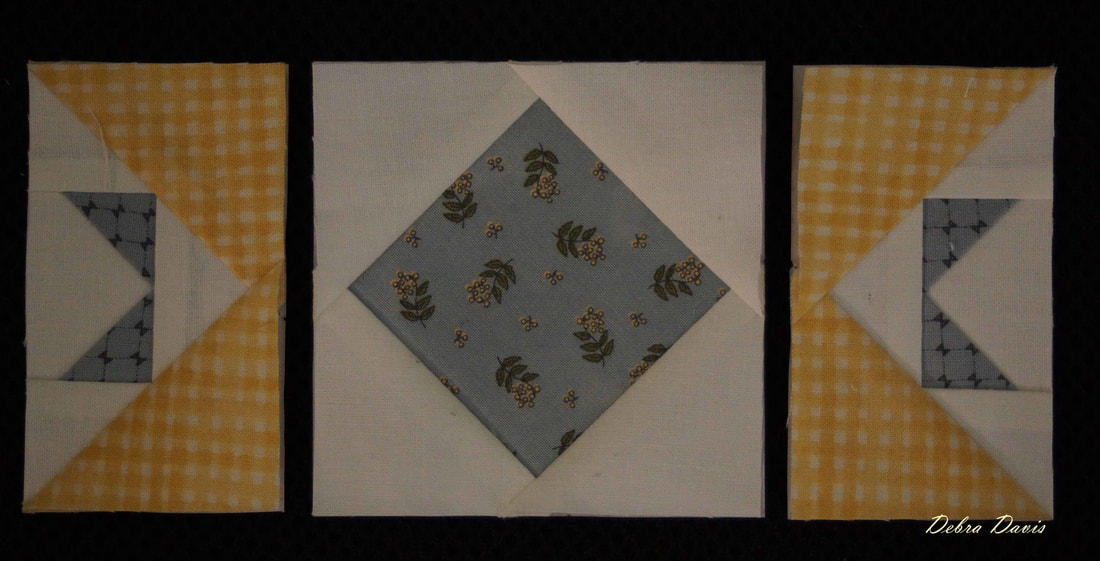 We just have to finish the top and bottom units now so time to trim. 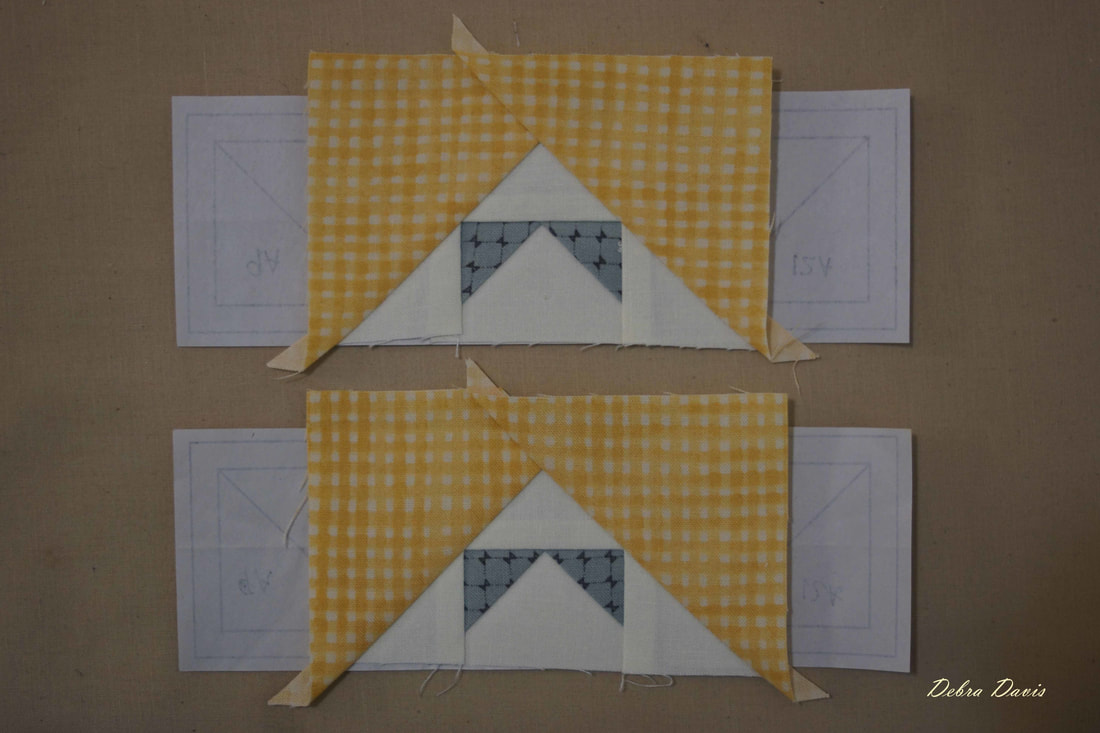 Use the postcard and ruler to trim 1/4 inch from the 8A line. 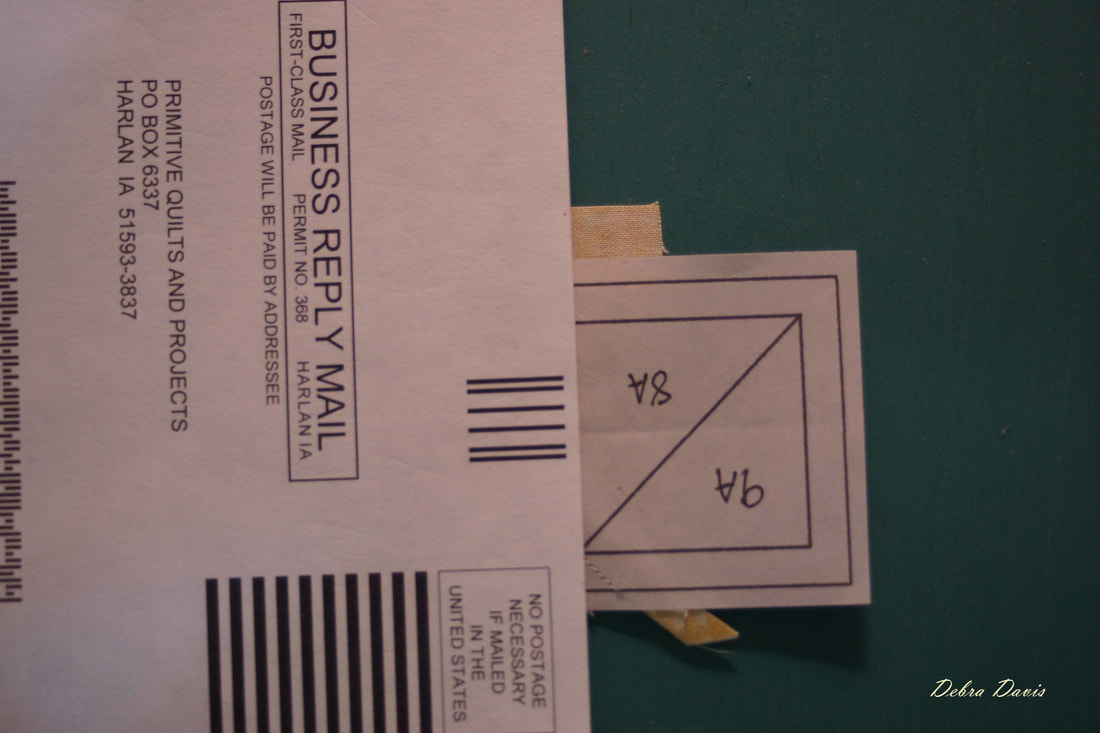 Place the 8A piece so that it covers the paper when flipped over. 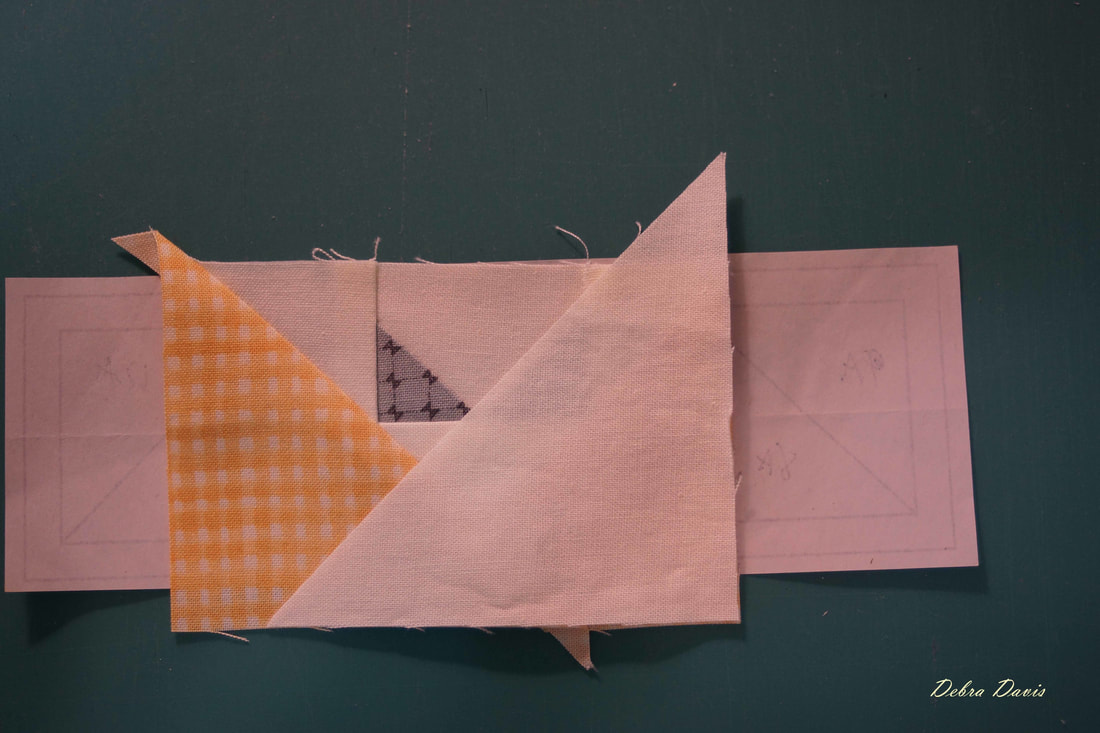 Stitch along the line, just as before and press open.
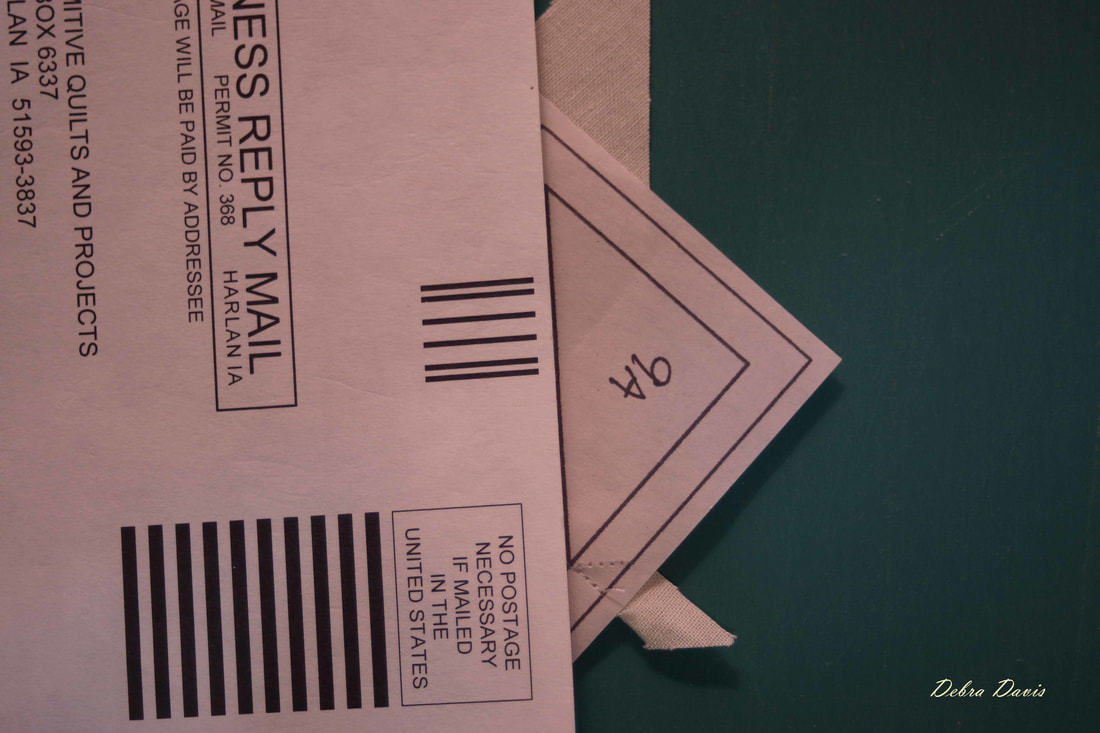
Trim 1/4 inch from the 9A line being sure to fold the paper pattern out of the way.
Add piece 9A and check to make sure it covers the paper pattern when folded back. Sew and press.
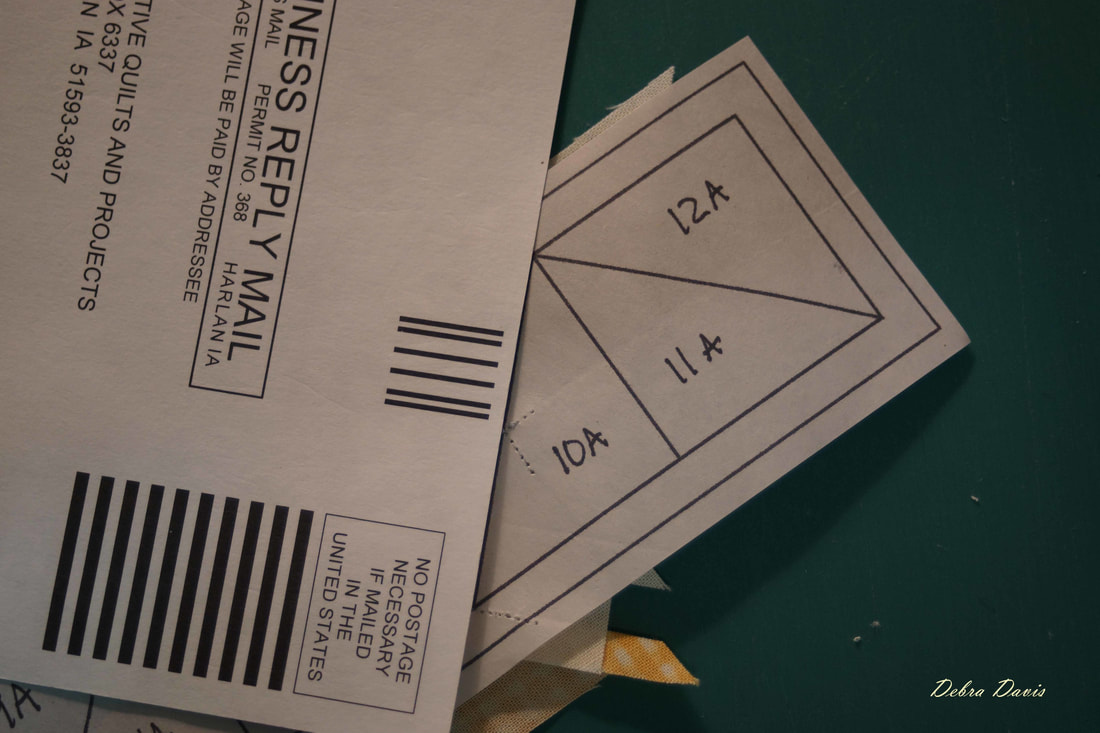
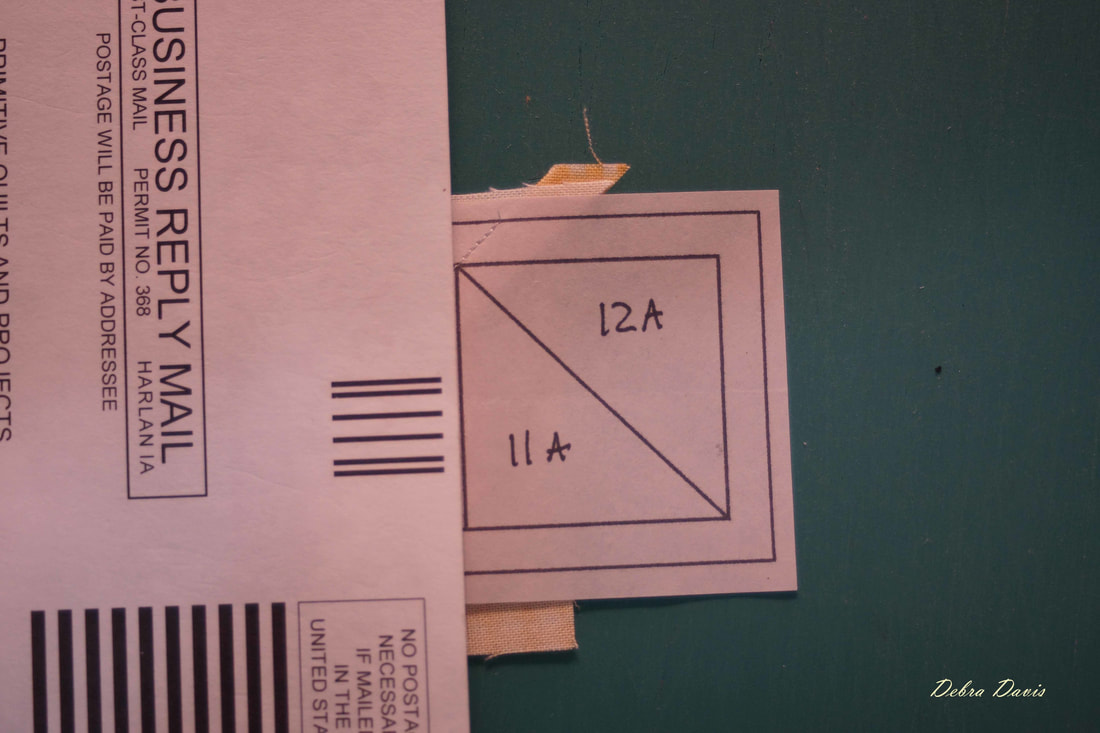
Repeat the process on the other side for pieces 11A and 12A.
Just like before we need to trim around the outside line of the paper pattern and then we will be ready to sew our units together to make the block.
The middle units need to be joined first. Place them right sides together and sew along the seam line. One on each side of the square unit. I ended up pressing the seams open on these.
Time to attach the top and bottom sections to our unit. I pressed these seams open as well. 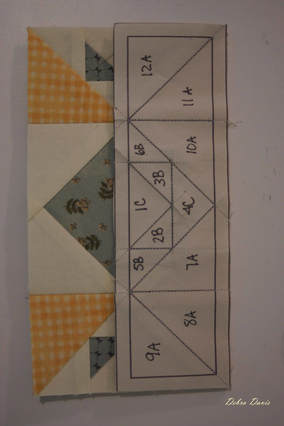 Now that everything is pressed and the block is complete I remove the paper pattern from the back. It is a little tedious but I can admire my beautiful block in the process. 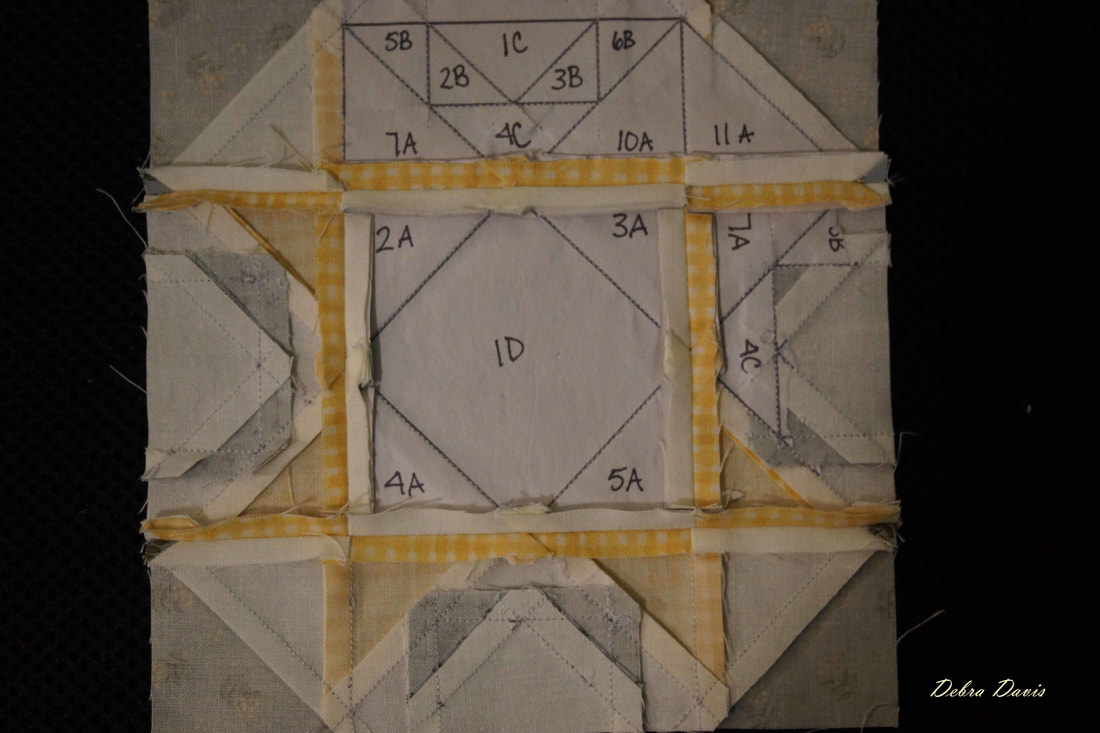 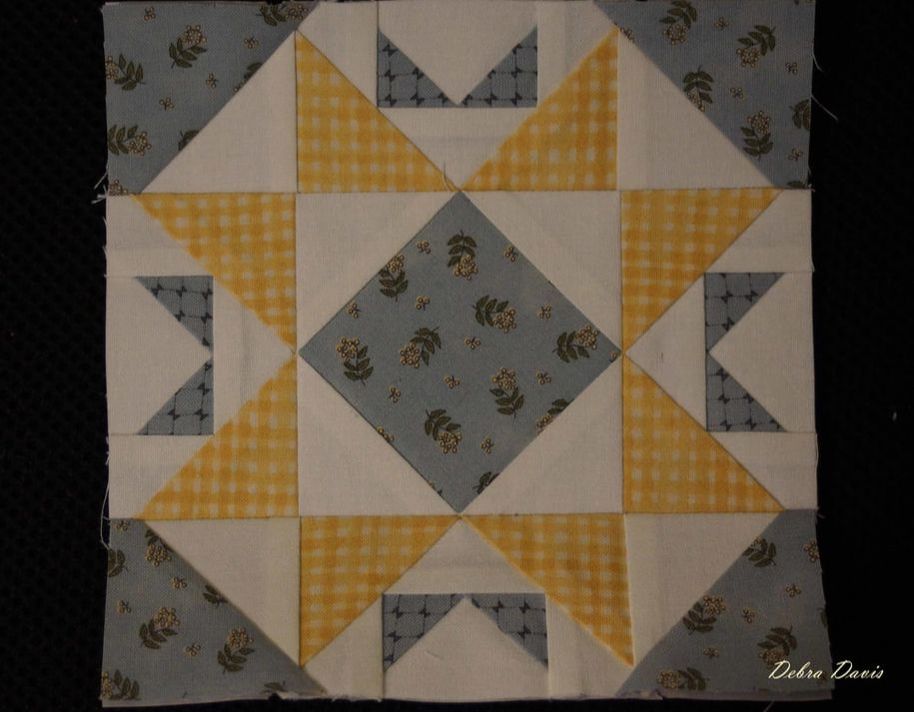 I would love to hear from you if you gave the paper piecing a try. I have to say the method is growing on me and I shall be doing more in the future I am sure.
PDF Version Here Also be sure and let me know in the comments which block you would like to see me do next. I have some catching up to do with Blocks 22-28...and I hear there are some alternates in there as well that I have already gotten requests for. It is a pleasure quilting with you! Happy Quilting! Debra Comments are closed.
|

Welcome to the site of Debra Davis-a woman who loves the Lord and loves to quilt.
My other blog where I share about my walk of faith:
Sitting at His Feet 
|


 RSS Feed