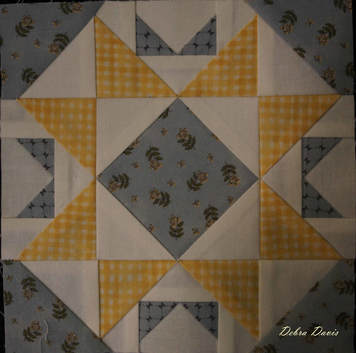
 Wow-what a block to come back from an extended summer vacation to. Block 29 comes to us via Lisa Bongean and the pattern for her block can be found on her blog, HERE. When I checked in with the Moda Blockheads Facebook group I noticed that the wonderful David Schulz has provided a Paper Pieced pattern for this block. I am fairly new to this method, it can seem a little awkward at first, but I have been very pleased with the results, especially when working with itty bitty pieces. David's pattern can be found HERE. You will want to print it out for reference. This will be a quite lengthy post as I plan on taking you on a very detailed step by step look at the process for making this block. I believe you will be able to succeed if you follow along with me and view the video I link to later on.
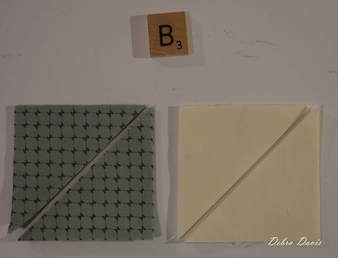
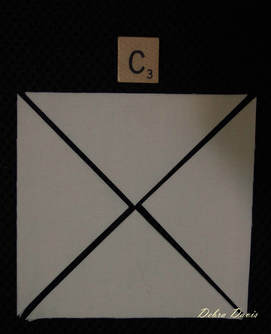
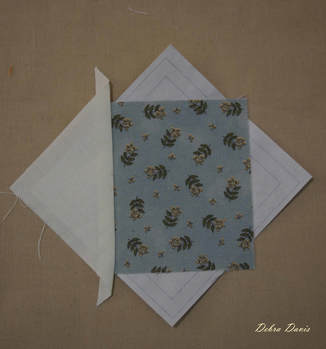
Now on to the block construction. The first thing I did was to decide what my color placement was going to be. I used David's Pattern Page to fill in what my A, B, C, and D fabrics were going to be. Unlike our usual directions we will be cutting three different fabrics for A, and two for B so I labeled them to represent my A-(BF)Blue floral, A-(C)Cream, and A-(Y)Yellow etc. I recommend that when you cut your fabrics you label whether they are A.B, C, or D to avoid confusion. However, David has been very generous with his cut sizes and when I grabbed a cream B instead of an A it was not a problem. I used Lisa's original pattern to get a sense of how I wanted my light and dark prints to work) 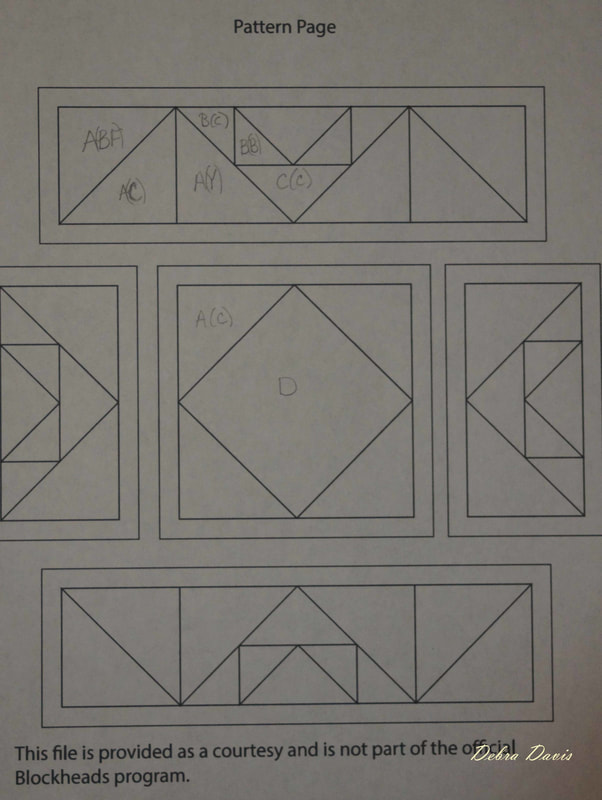 Here are all of my squares cut out 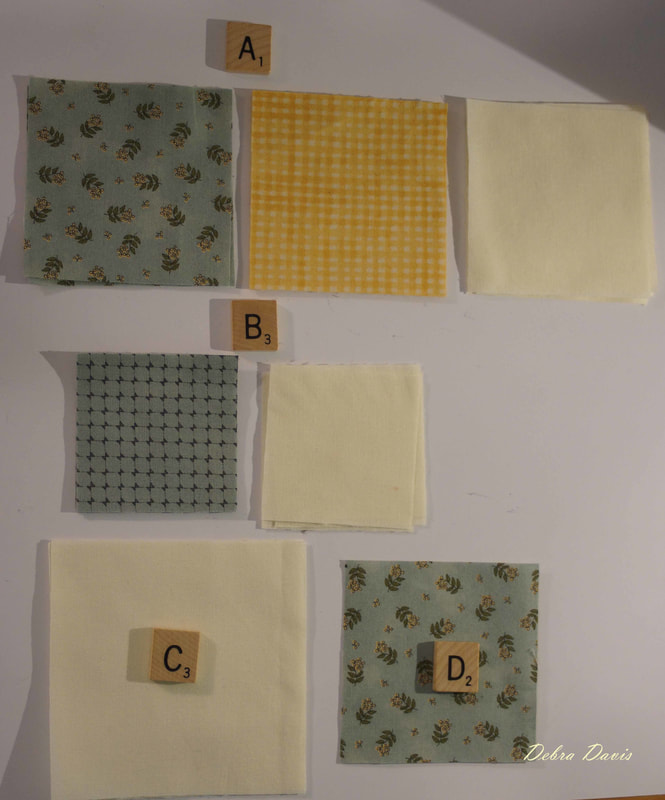 The A,B, and C squares all need to be cut into triangles.
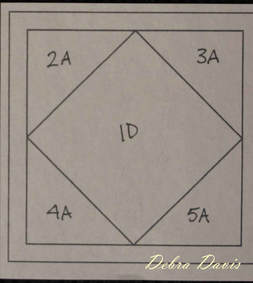
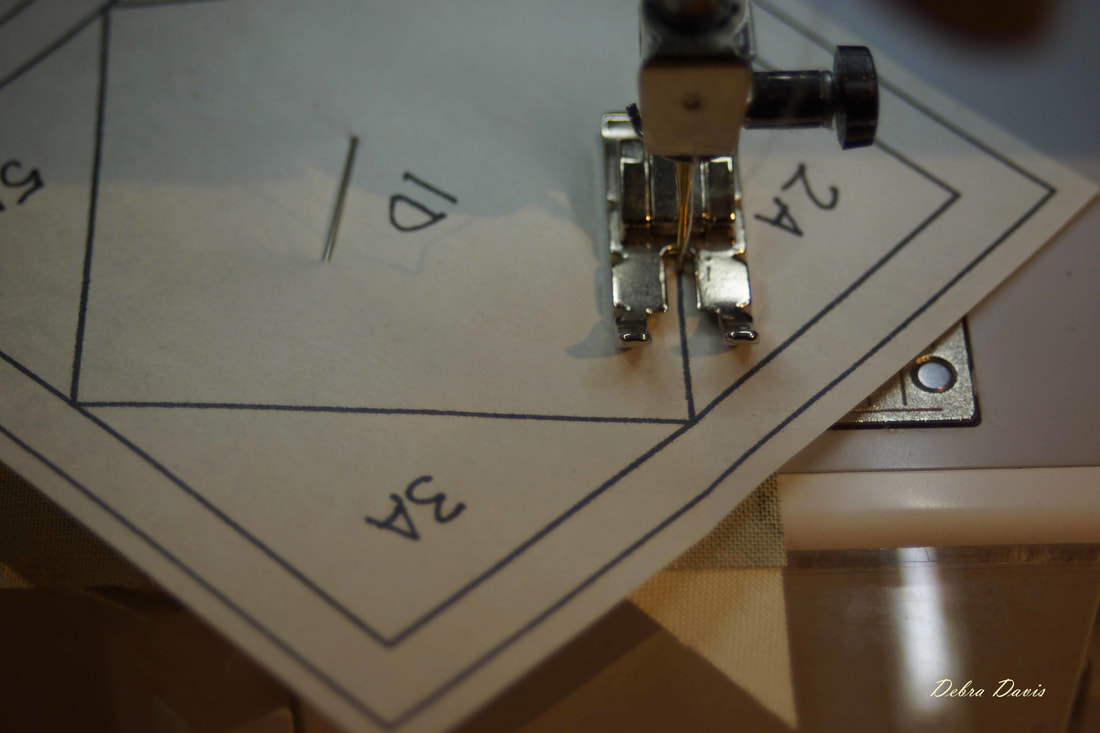
I labeled all of the sections with the order and piece number to keep from getting mixed up. You can get a copy of it at this link-Debra's Paper Piecing Guide. Be sure that your printer is set to print actual size. You can check by making sure that the top section measures 6 1/2 inches across. 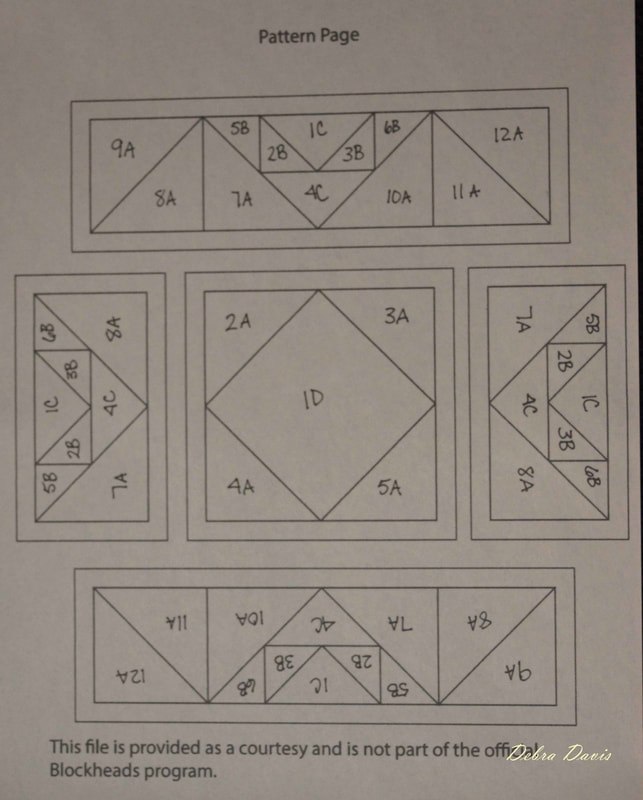 First thing to do is cut apart the paper piecing sections. You do not want to cut on the line as that is going to be your 1/4 inch seam allowance. I cut mine about 1/8 inch beyond the outer line. 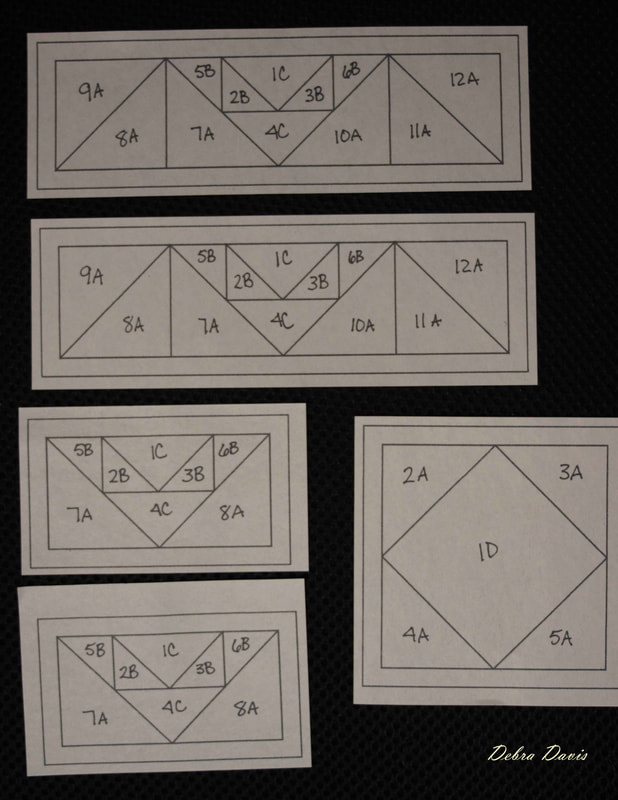 This is a good section to start with for learning the process of paper piecing that I have found easiest so far. The trickiest part is the starting piece which gets placed over its spot with the right side facing up on the back side of the paper. You can see here that I have pinned the D square onto the back of the paper. You can still see the lines through the paper which helps to make sure that my fabric covers up 1D on the paper completely.
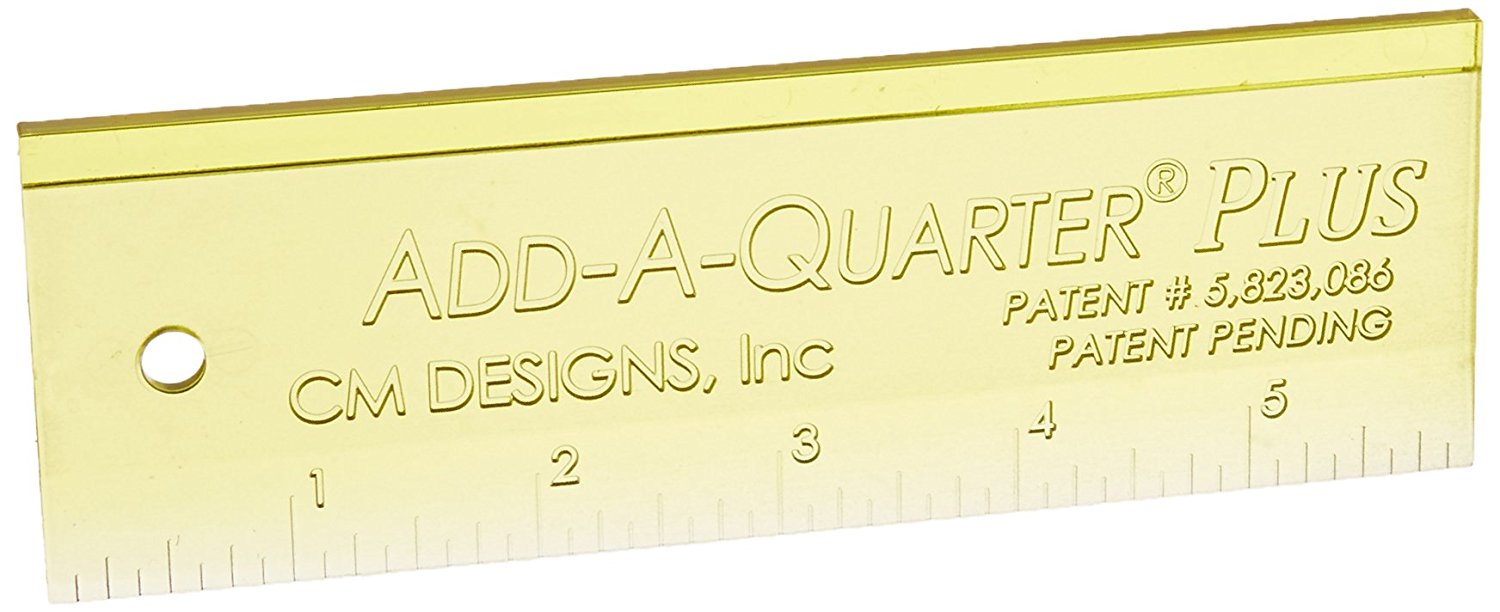
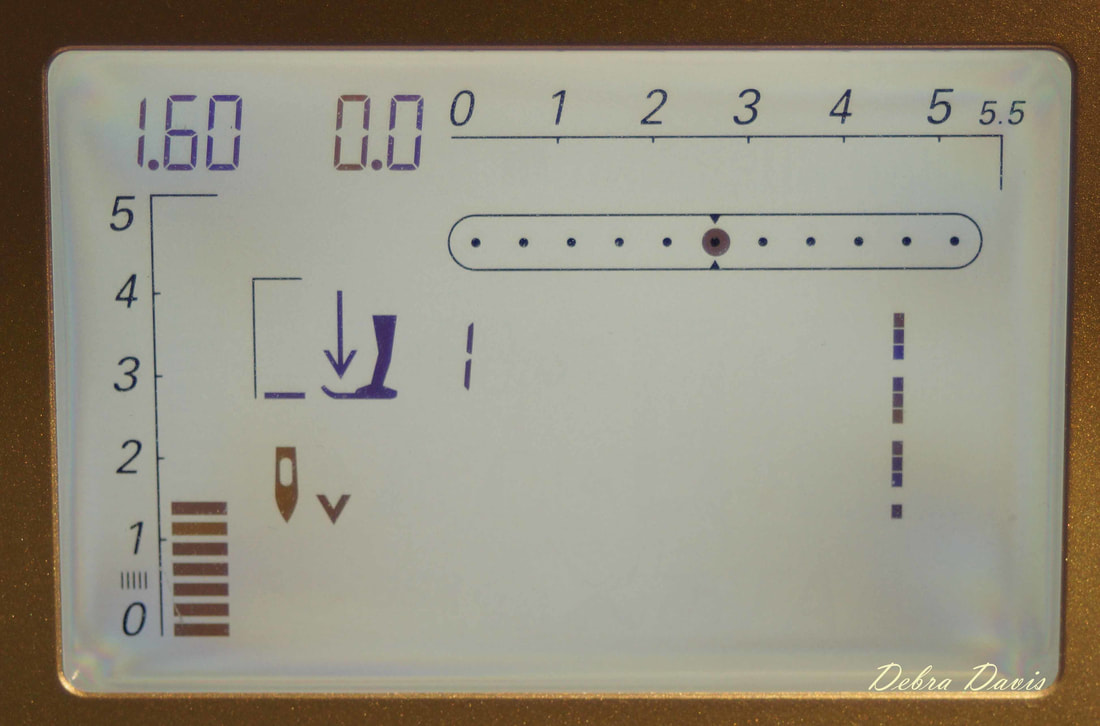
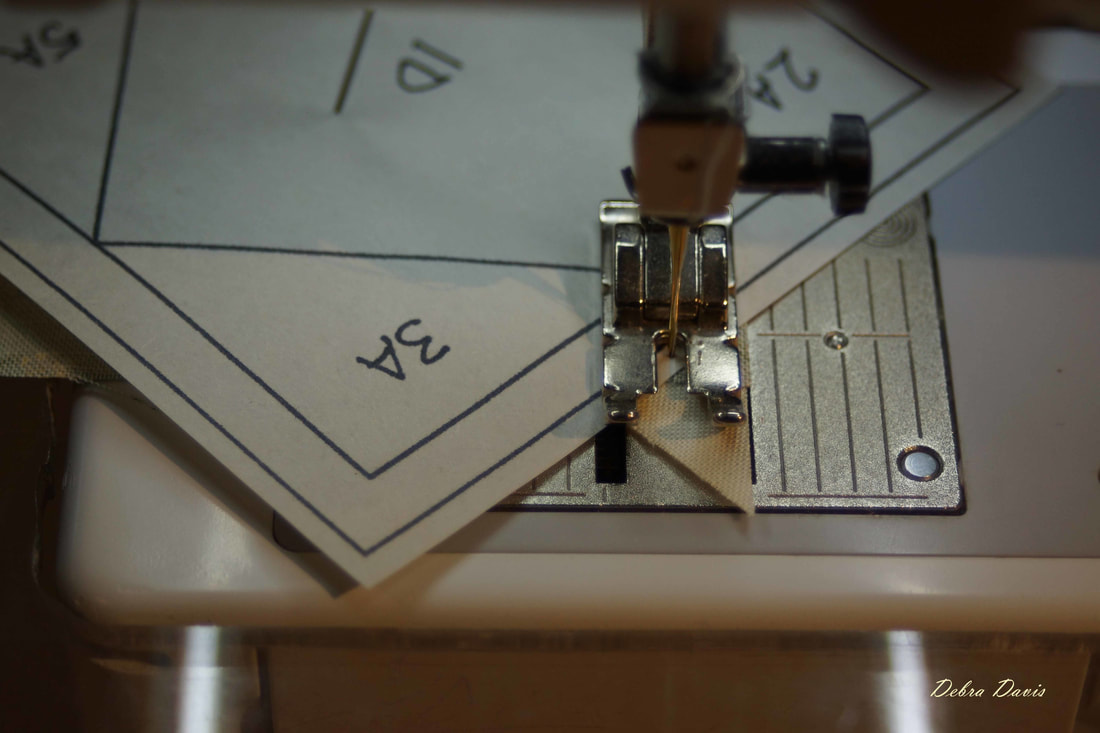
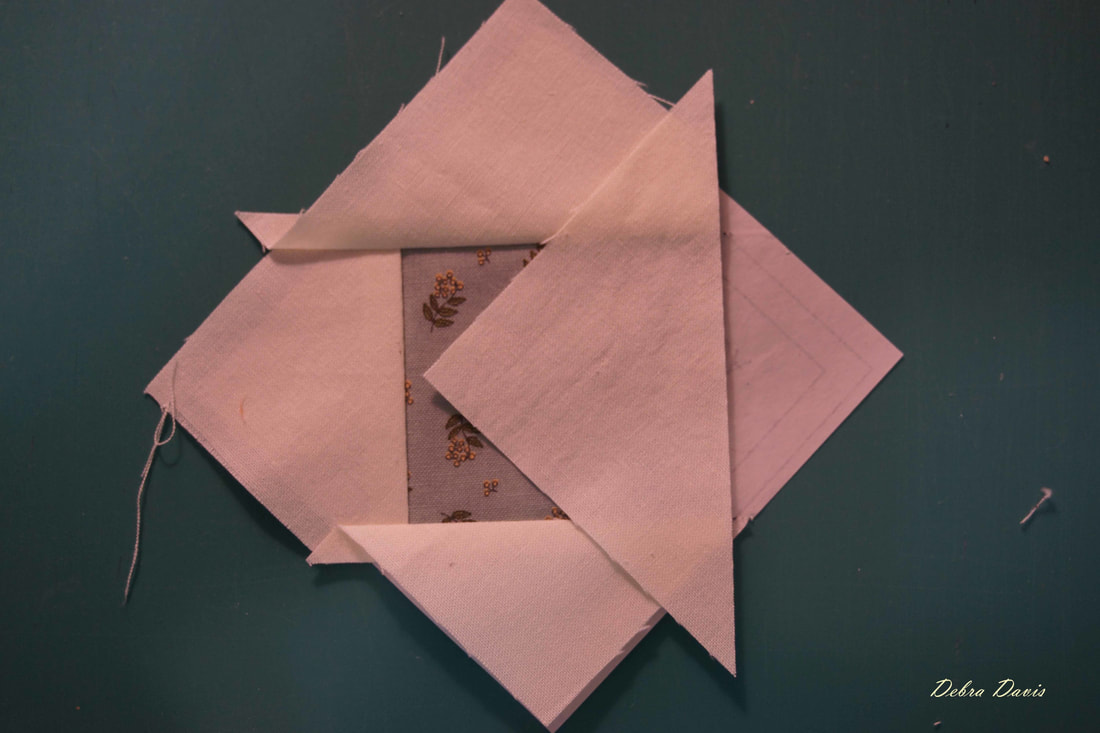
Flip the paper piece section over so that the right side is facing you. I then take a postcard (one of the cards that you get in magazines works just fine for this) and lay it right along the line where 1D and 2A meet. This is going to be our first seamline. 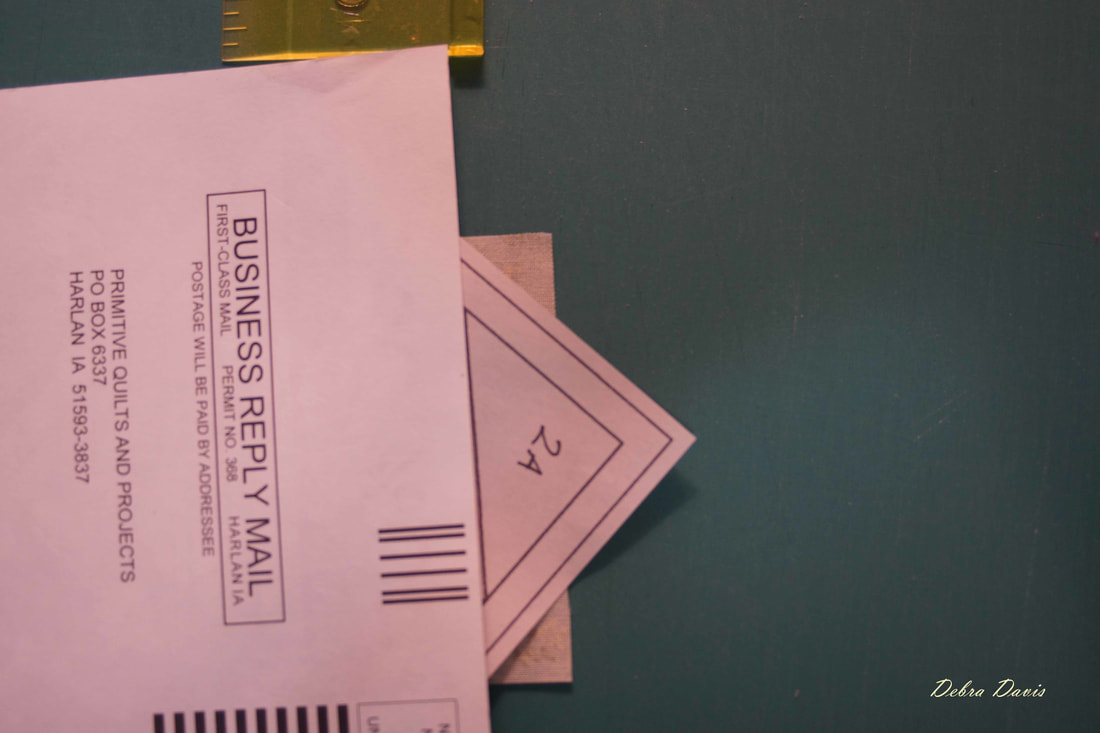 Now just flip the paper using the edge of the card as your straightedge guide and fold along the edge-leaving your fabric showing underneath. 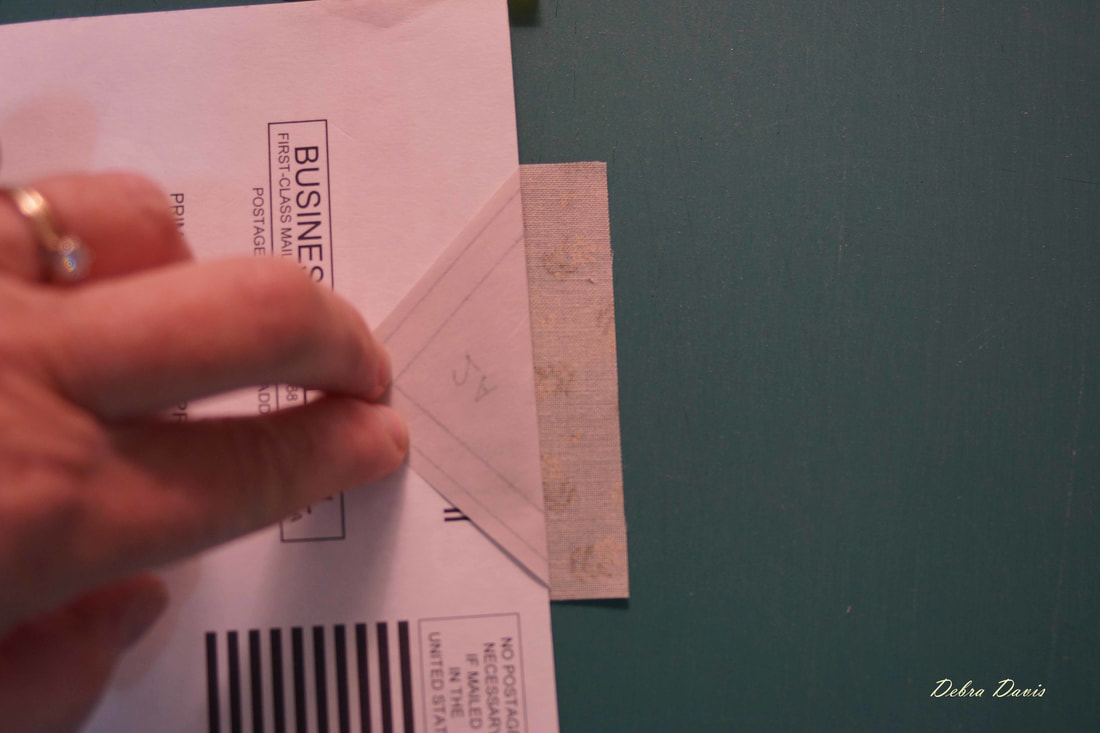 I picked up this little tip from watching Youtube videos-I have attached my Add-A-Quarter ruler with a piece of tape to the end of the postcard. I flip it down in place and it lays quite nicely along the straight edge of the postcard, giving me a quarter inch seam. I can then use my rotary cutter to cut away the extra fabric.. Here is the link for a video tutorial that will help you see exactly what I am doing. Foundation Paper Piecing How To 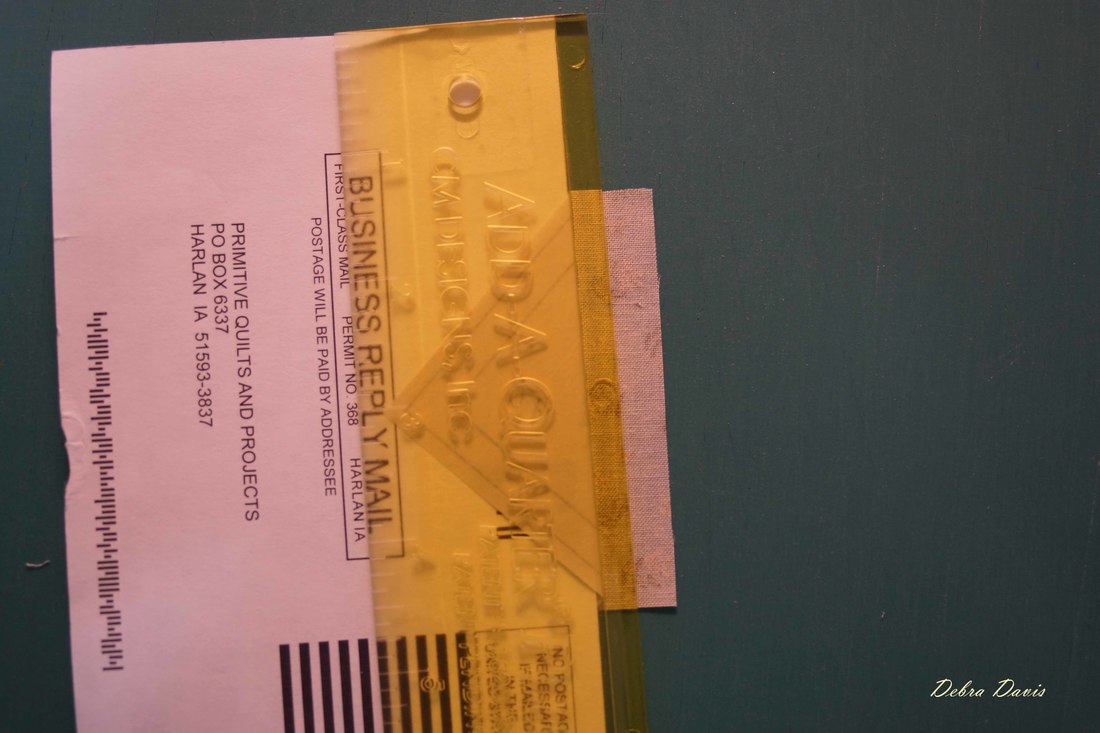 Now I lay the next piece on top-with right sides together-lining up the edge I just trimmed (1D) with the long edge of 2A. 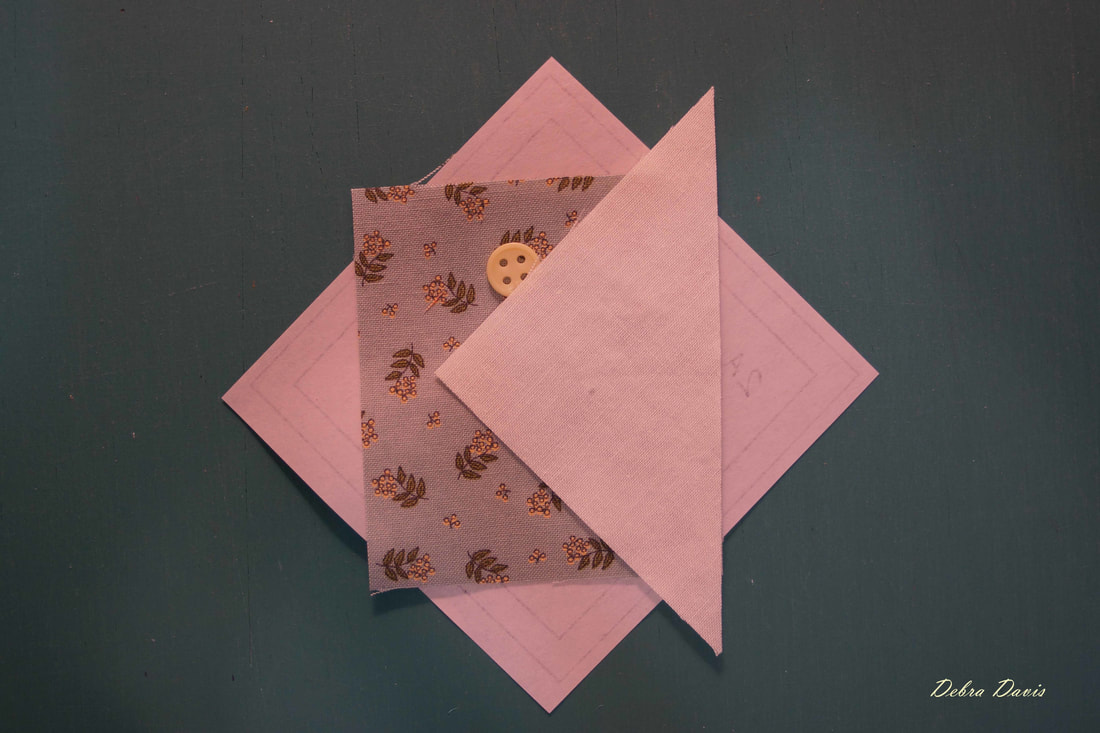 A good practice is to flip the new piece over and make sure the it completely covers the area over the pattern, including the seam allowance in this case. I am not going to place another pin, instead I have found I can just hold the new piece in place and just flip the whole thing over for sewing. 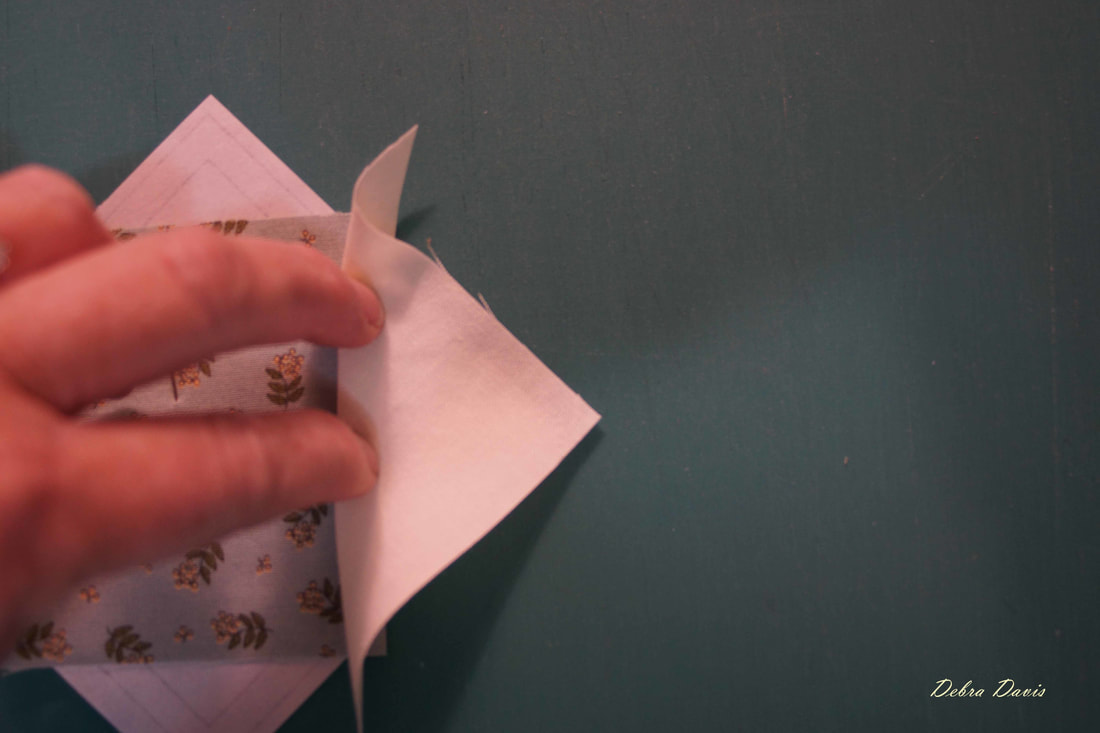 On to the sewing machine! Starting just outside the seam line, and with the help of that fold line that was made in the paper pattern when I trimmed, I will sew along the line and right off the other end. I am using a very small stitch length for this; setting my machine to 2.5 or 10 stitches per inch. These small stitches can be a pain to remove if I make a mistake, but they perforate the paper so that it is easily removed when I am all done with the block.
Stitching along the line and then off of the other end...
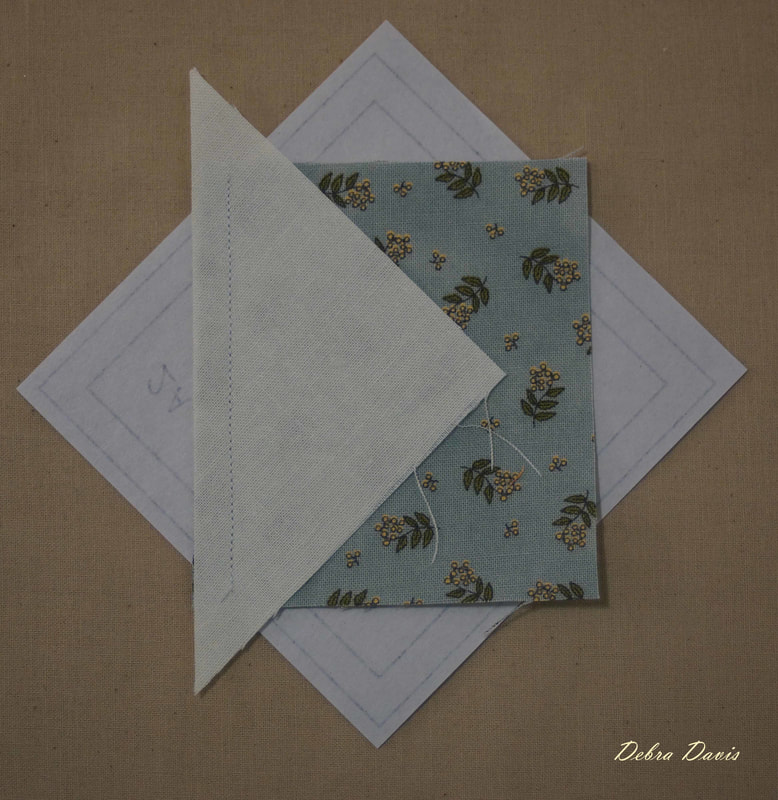
Just like with any piecing, we need to press our unit after every piece we add.
Now I lay the postcard on the line where I need to add 3A and do the same steps as before.  Since there is some stitching I will need to carefully pull the paper away from the fabric to get it to fold over the postcard.  Once again, I trim away the extra fabric. 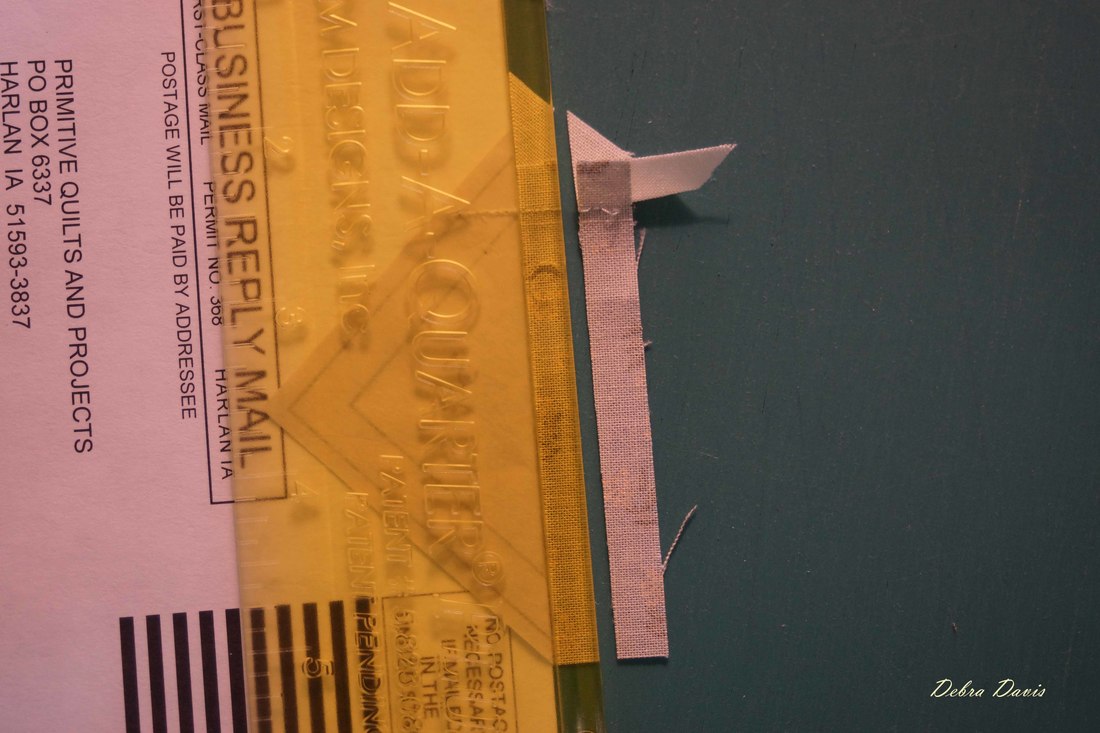 Now I am ready to place piece 3A on top of the unit. One trick is to line up a ruler with the points of the paper pattern and make sure the point of the 3A piece lines up with the them. 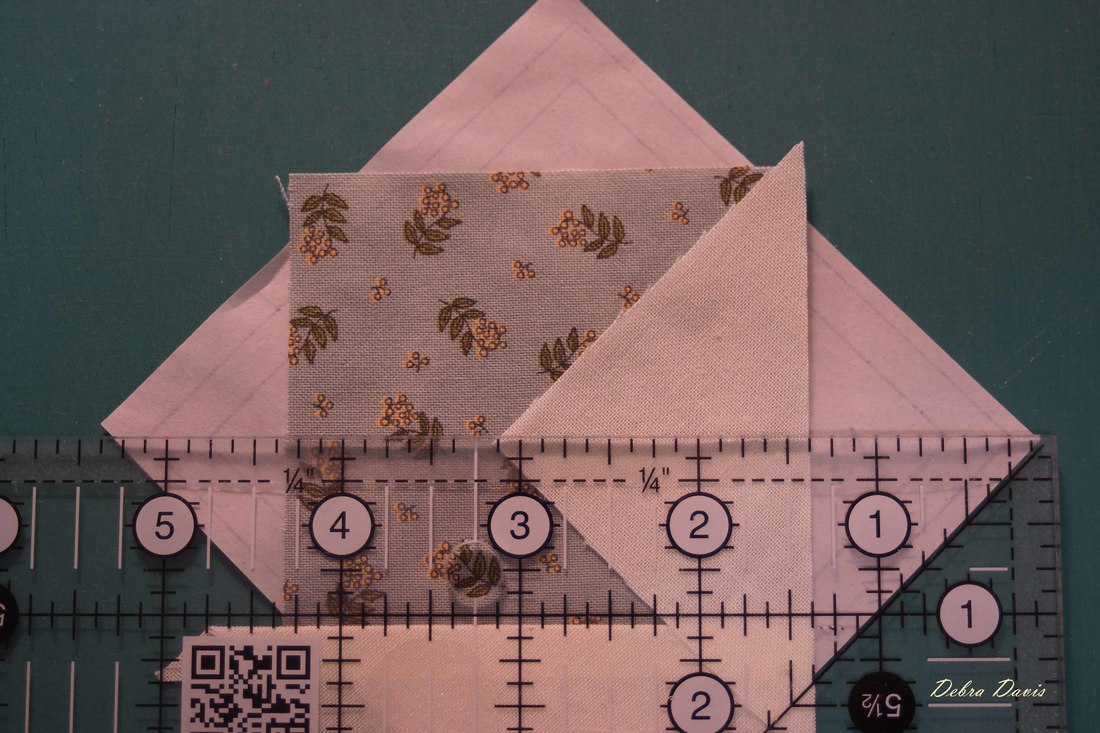 Just like before I sew across the pattern to add 3A to the unit. 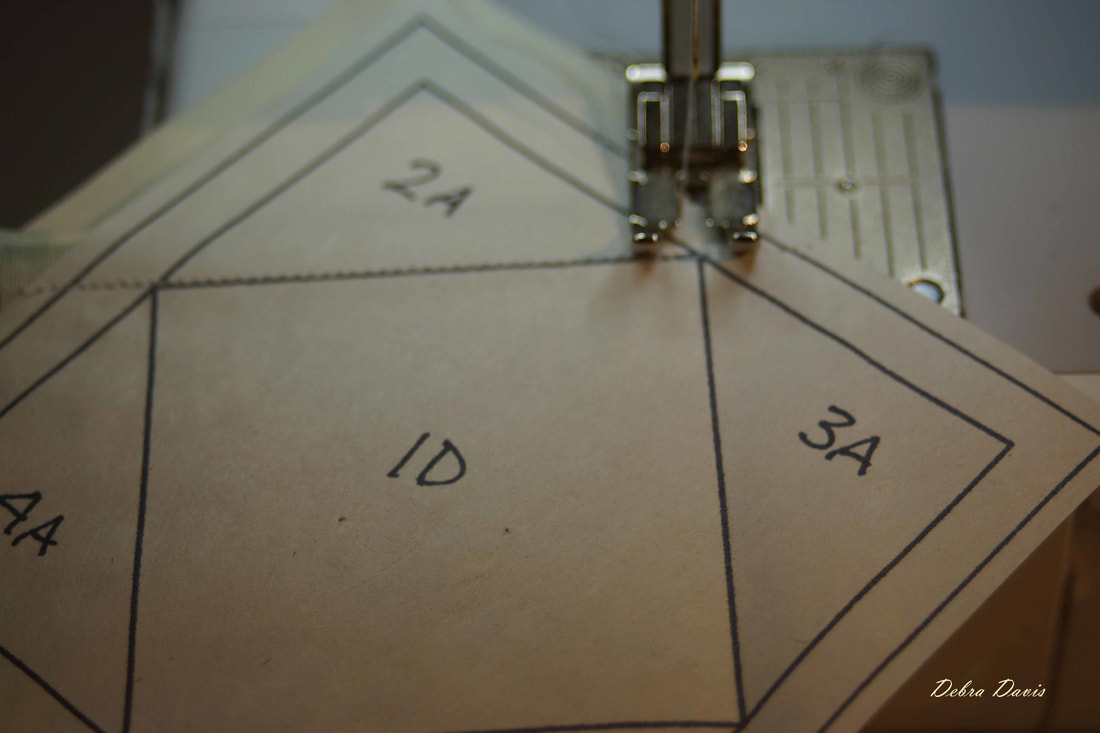 After pressing and trimming as in the previous steps I can add 4A to the unit, again placing it right sides together on to of the unit.. Then sew and press in place. 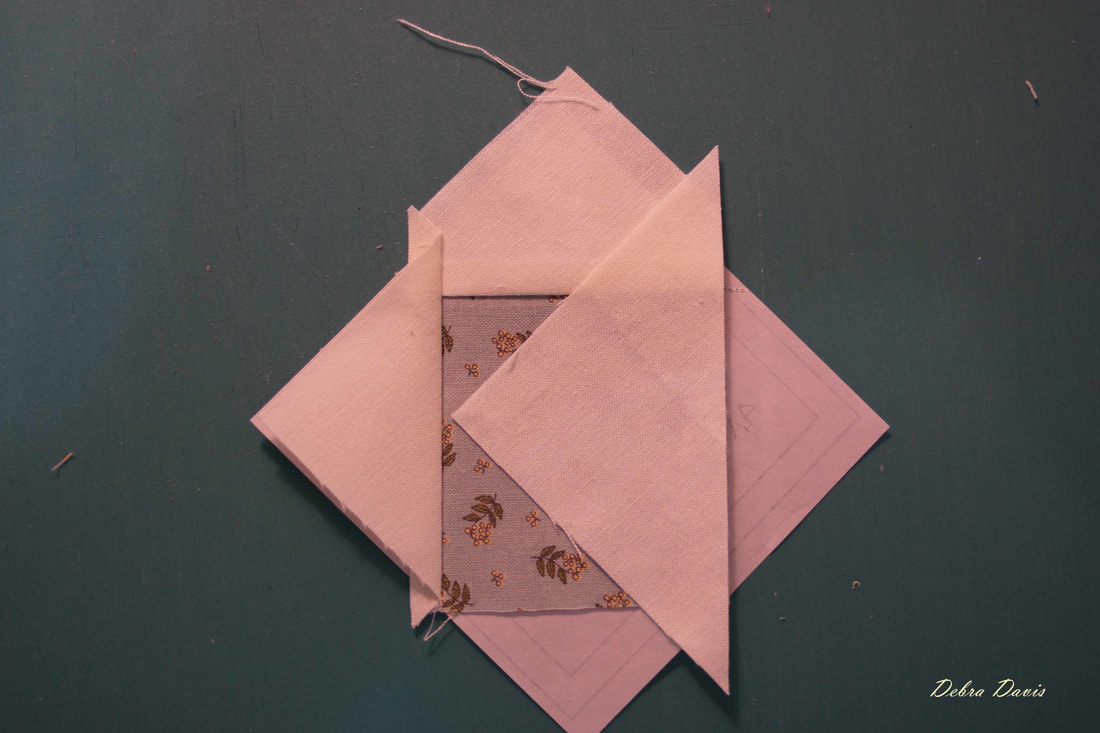 Trimming away just like in the previous steps.  And the final piece (5A) is now added and pressed-yes, I used the wrong triangle (one is smaller than the others) but it still covers the way I needed it to so I left it. Next we will see how to trim this unit.
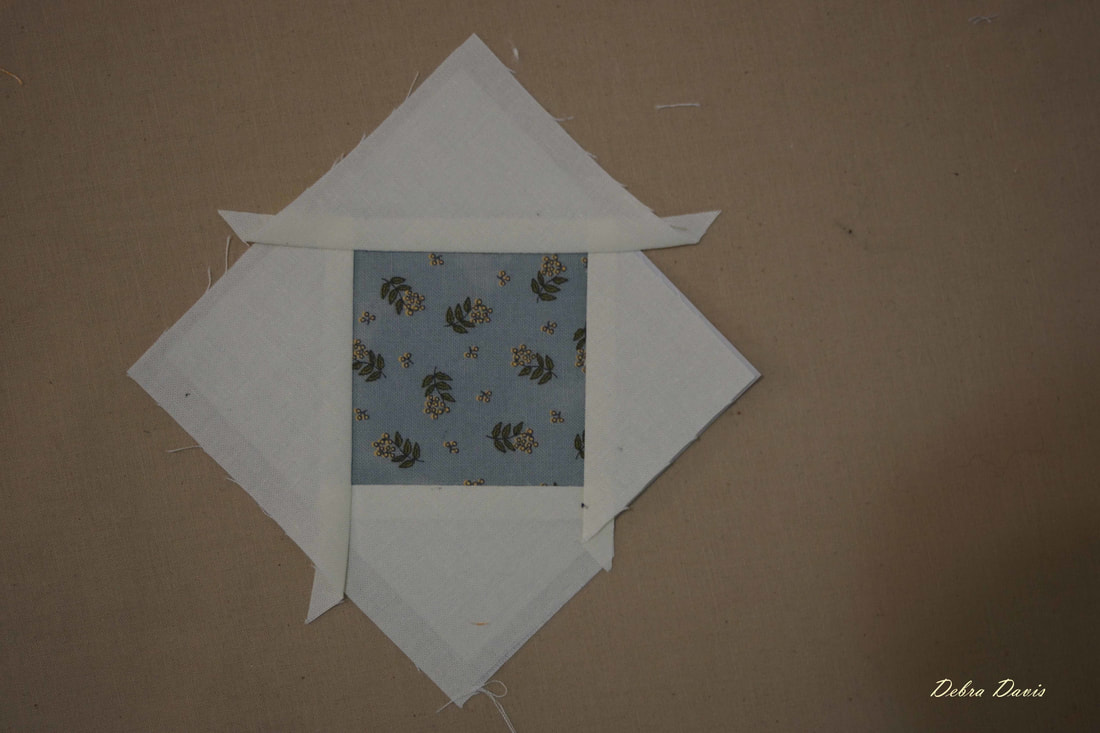
The last step is to trim away the extra fabric. Line up your ruler with the seam line and trim away any extra. 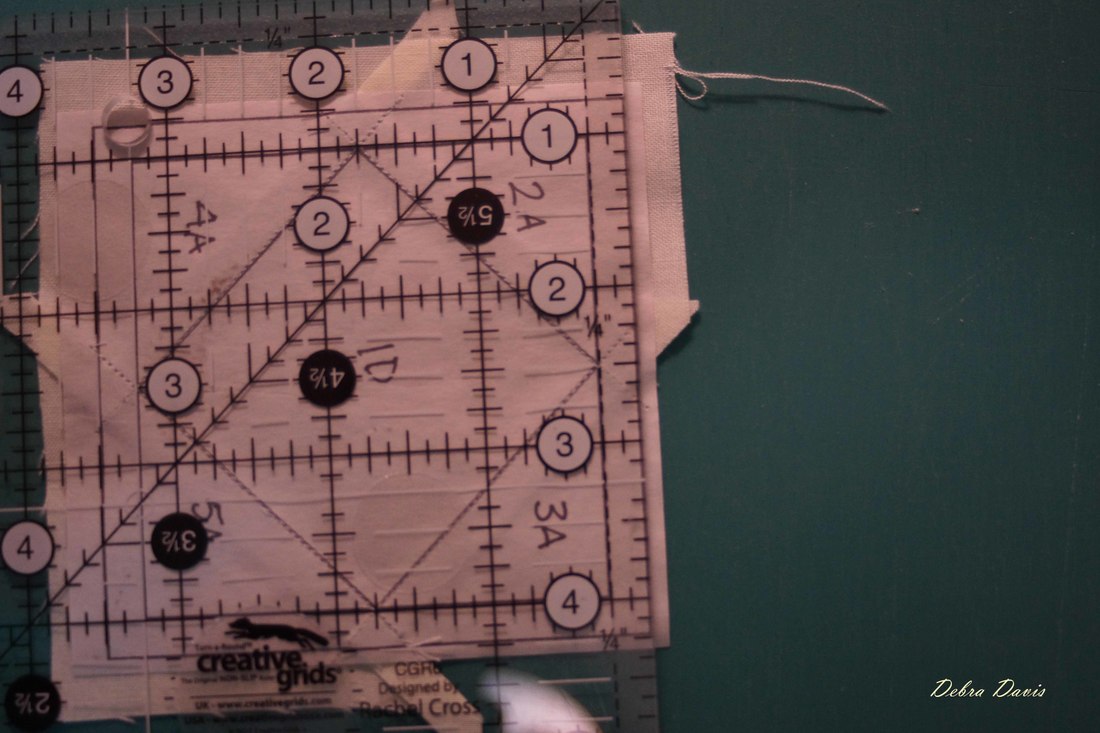 This is what it looks like with two side trimmed. 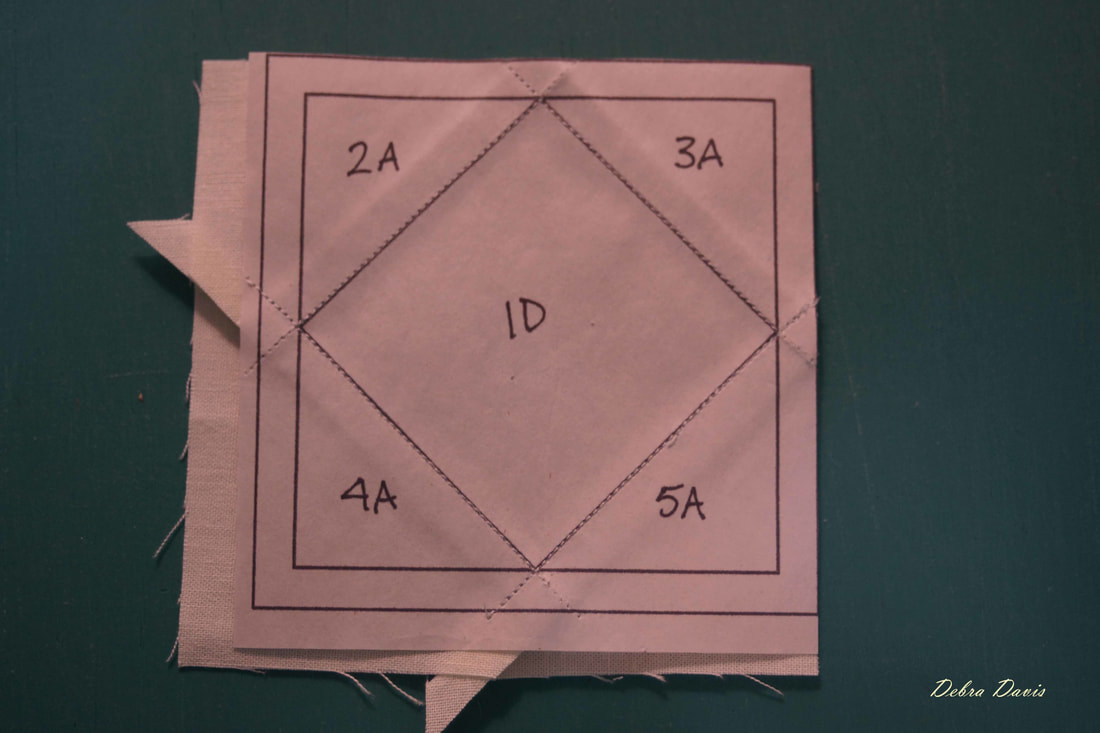 And this is how it looks from the front after trimming all four sides. At this point we still need the paper patterns to stay, so do not remove them just yet. When I first decided to try my hand at Paper Piecing I was concerned about using my rotary cutter on paper. I have always been told that paper will dull the blades of scissors and cutters and to never use our fabric scissors on paper. After doing a little research it turns out that is a myth and I have to say that I have not noticed a problem with dulling of my blades. 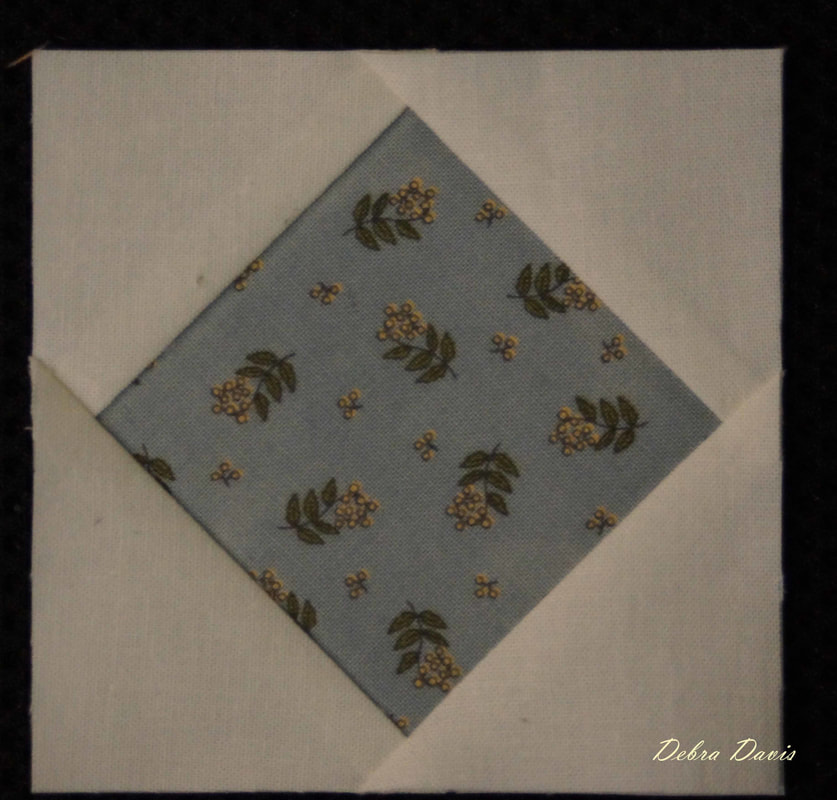 As this tutorial is getting very long and we have more yet to do I will break it into two parts.
PDF Version of Part 1 Block 29-Juneau Part 2 is next! Happy Quilting! Debra Comments are closed.
|

Welcome to the site of Debra Davis-a woman who loves the Lord and loves to quilt.
My other blog where I share about my walk of faith:
Sitting at His Feet 
|


 RSS Feed