|
Betsy Chutchian designed Block 26 and I had a lot of fun making it this week as I continue to play catch-up. You can read about Betsy's block on her blog and get the pfd pattern HERE. 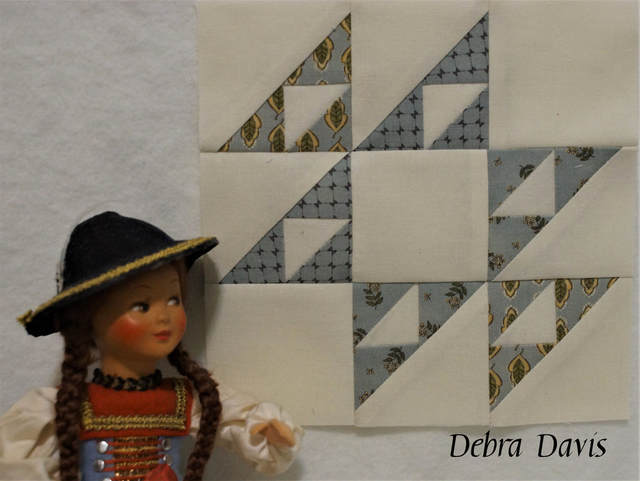 I did change up the cutting directions a wee bit as I like to be able to trim the Half-square triangles (HST's) to size. A-(cut 3) 2 1/4" x 2 1/4" AB-(cut 3) 2 1/4" x 2 1/4" B-(cut 6) 1 7/8" x 1 7/8" and cut them in half on the diagonal ( / ) C and D same as directed in pattern 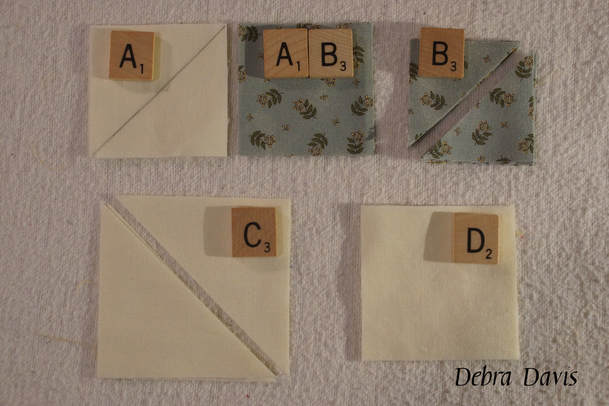 I started with the A and AB squares. On the back of all of the A squares I drew a diagonal line. Place these right sides together with the AB squares. 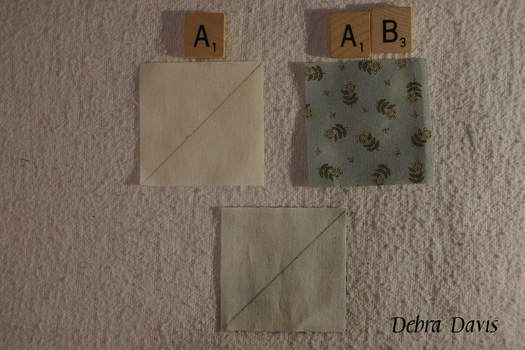 Stitch 1/4 inch from each side of the diagonal line. 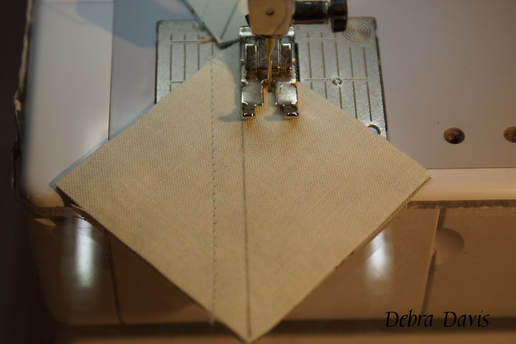 Cut on the line and press towards the dark side. These HST's need to be trimmed to 1 1/2" x 1 1/2" squares. Be sure to line up the diagonal line on the ruler with the seam line as you trim.
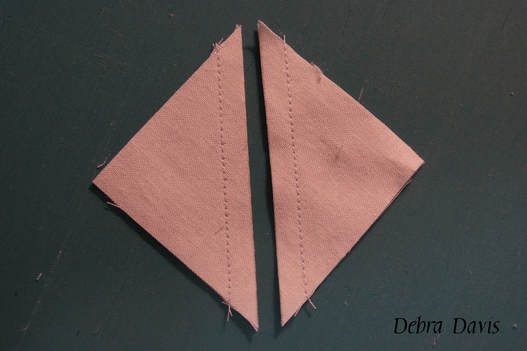
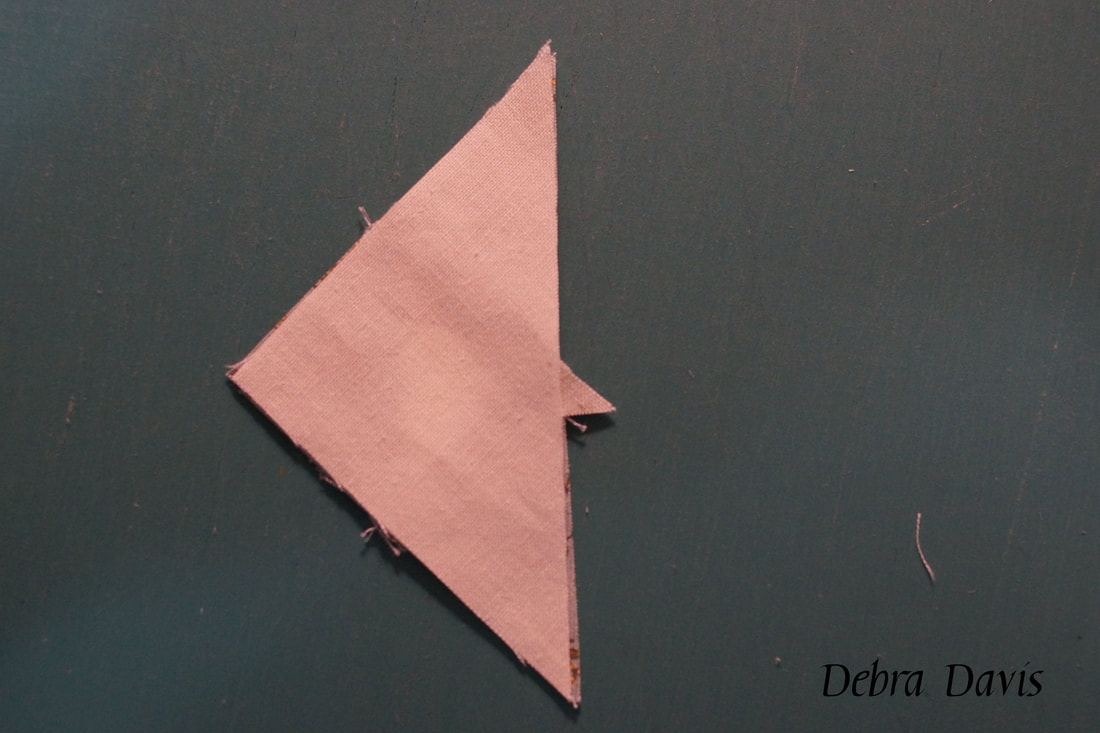
Next I add the B triangles to each side of the HST's as shown. Laying one triangle on top with right sides together, matching the corner edges as shown.
I chain piece all of these making sure that I am sewing on the correct side of the unit. 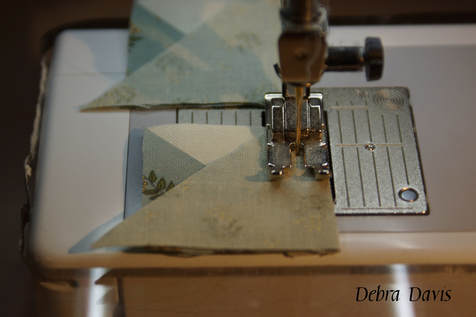 Press towards the triangle. I like to trim off the little extra bit before adding the triangle to the other side. 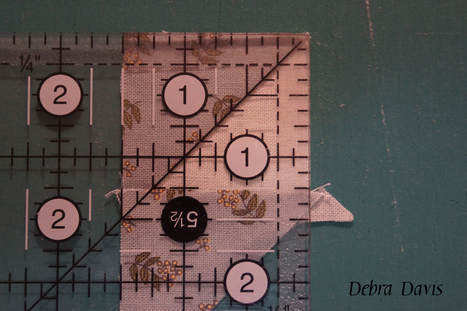 Just like before, I lay a triangle on top and chain piece the units. I pressed towards the triangle.
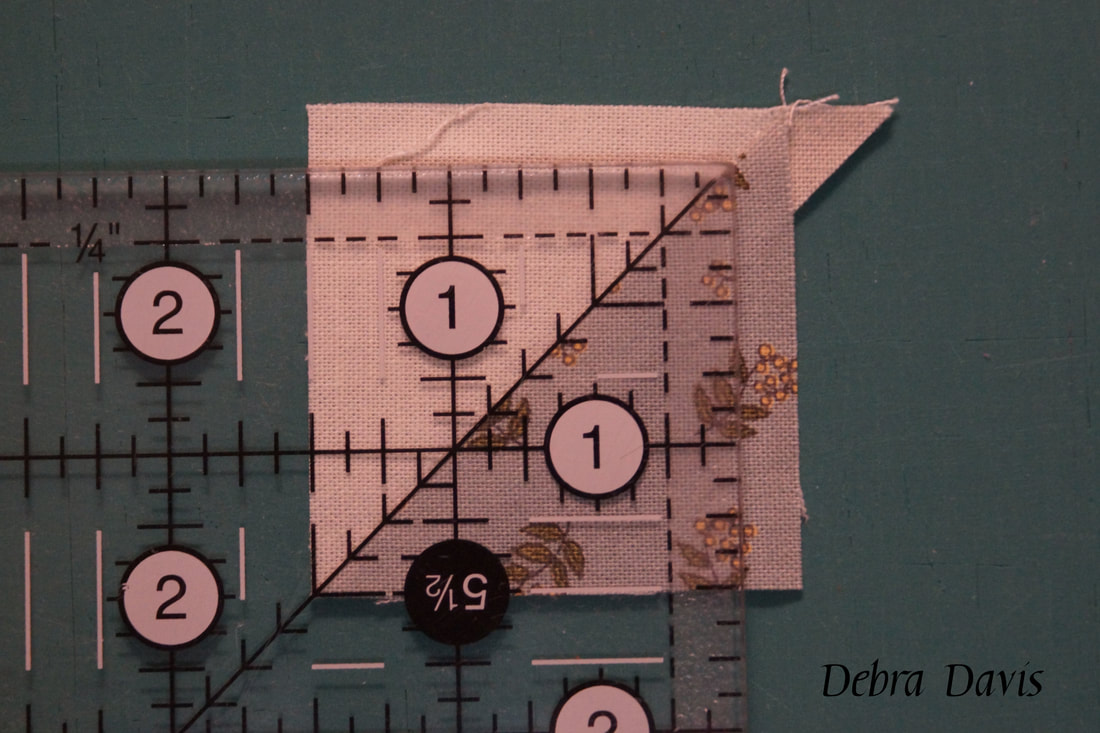
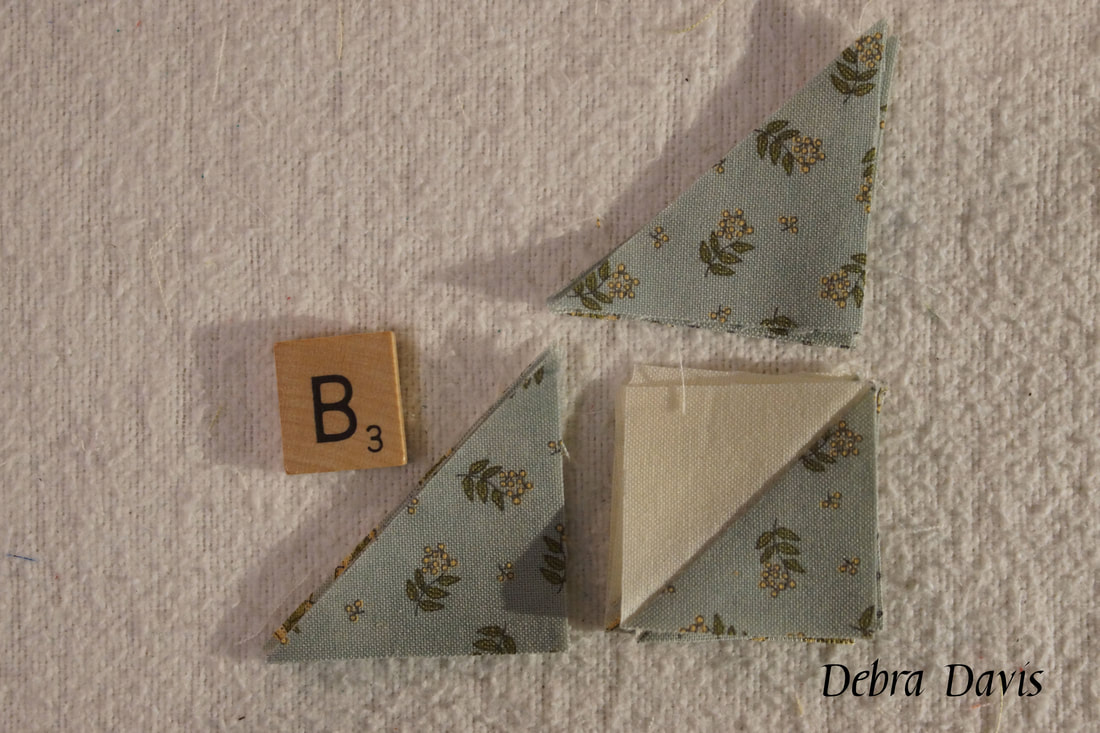
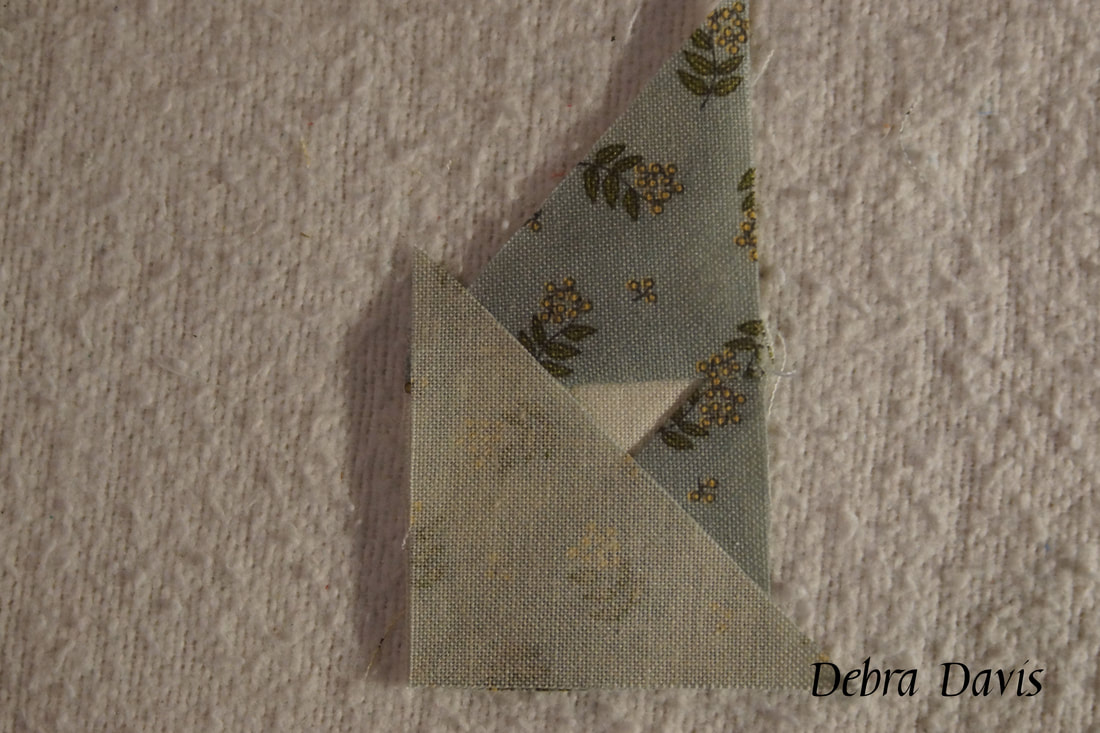
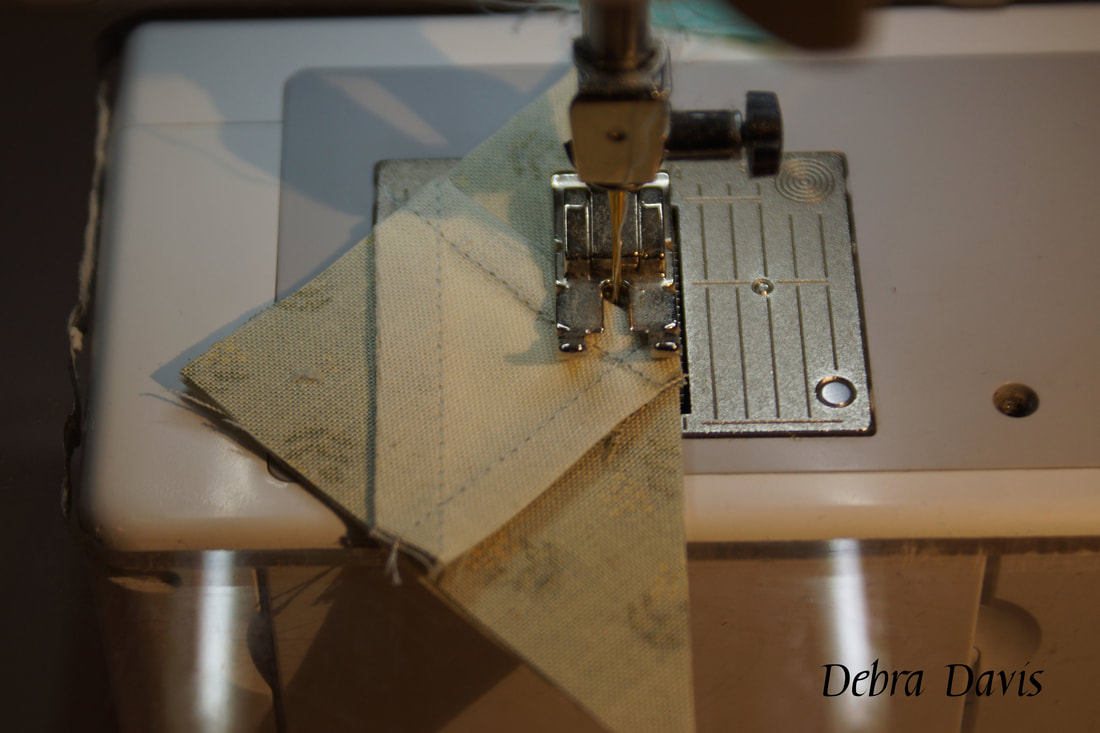
These pieced triangle units should now be the same size as the C triangles. I trimmed off the little extra point that extended out before proceeding. When sewing these together I placed the pieced unit on top so that I could watch my needle to make sure it went over the "X" the previous stitching formed. The center of the X will hopefully fall on my 1/4" seam line each time.
I pressed these towards the C triangle due to the bulky seams and then trimmed to 2 1/2" squares-making sure the diagonal line on my ruler lines up with the seam line on the unit. 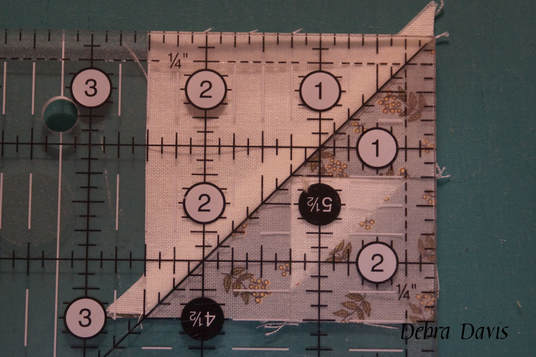 Adding the remaining D squares I lay out my squares the way I want them for this block. 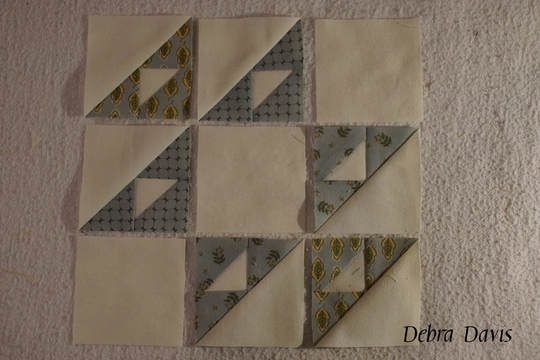 As I sew the rows together I am going to make sure once again that my needle lands on the "X." 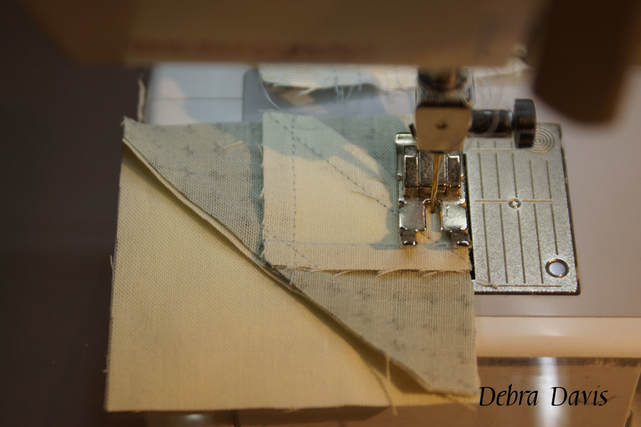 I pressed the top and bottom rows one direction and the center row in the opposite way. I am not totally happy with the bulkiness of some of those seams, but with a little convincing (if you have a rubber mallet you can hit them into submission if needed) they did eventually lay pretty flat. 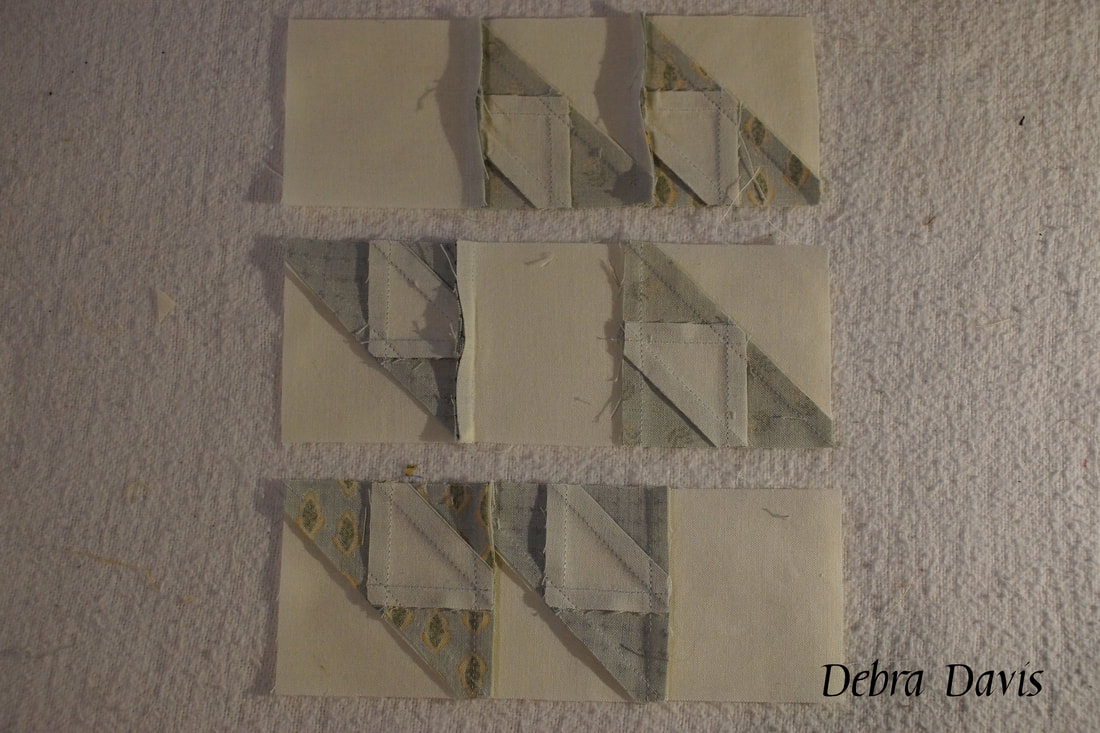 I placed a pin where the seams join together and slowly sewed the rows together. 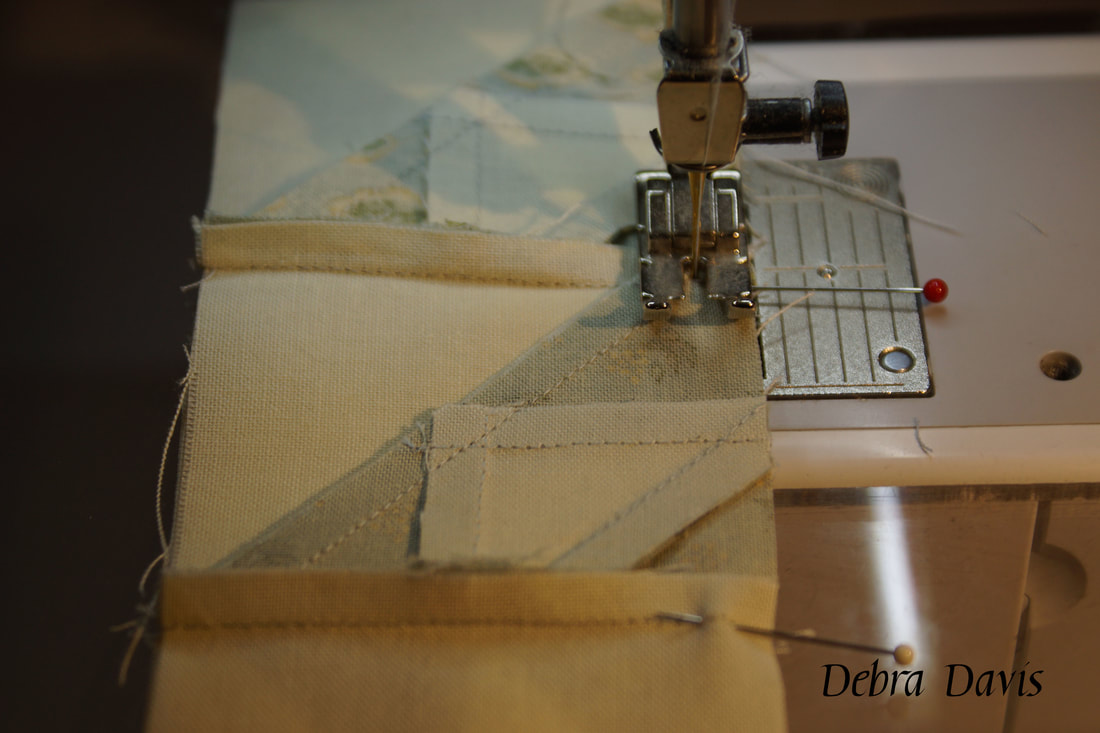 The finished block looks pretty good. 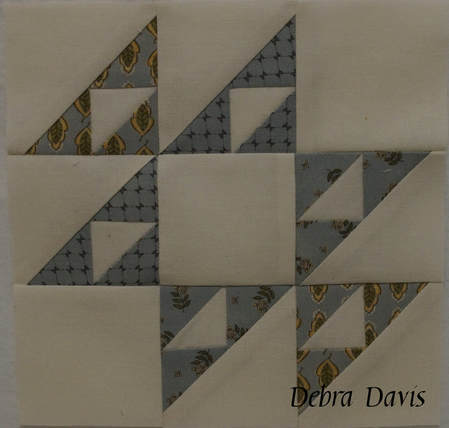 I just might need to put all of my blocks up on my design wall to enjoy them as a whole next time. I hope you are enjoying your quilting journey as much as I am. Until next time... Happy Quilting!  Comments are closed.
|

Welcome to the site of Debra Davis-a woman who loves the Lord and loves to quilt.
My other blog where I share about my walk of faith:
Sitting at His Feet 
|


 RSS Feed