|
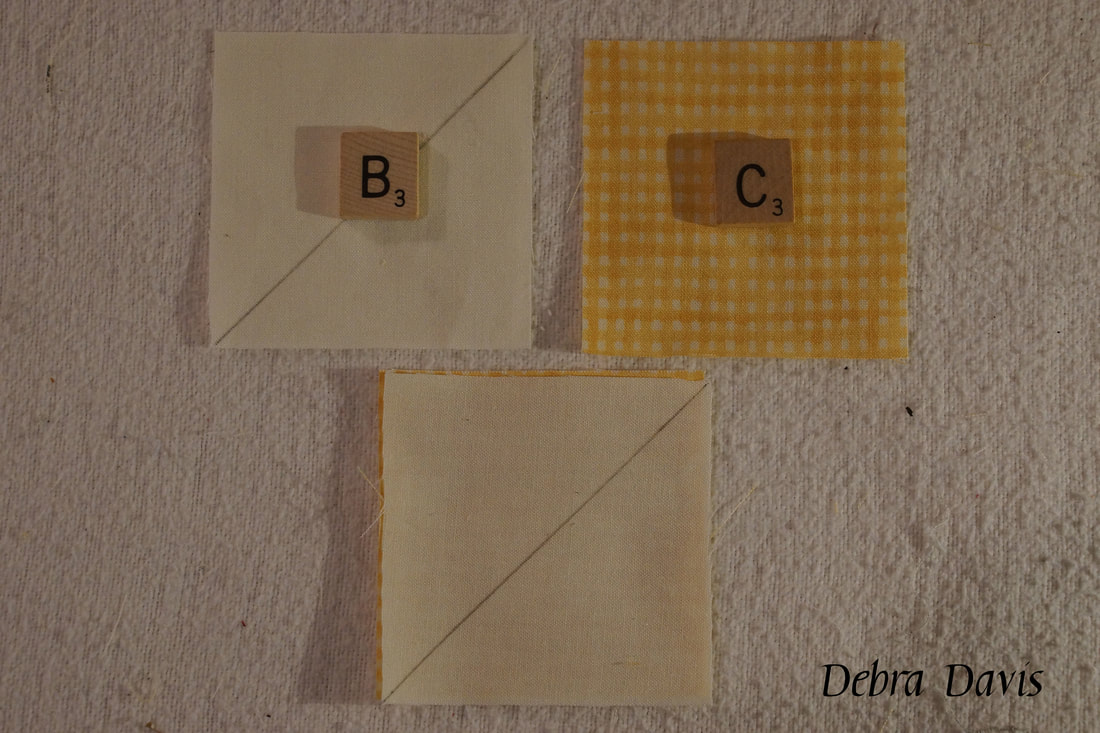
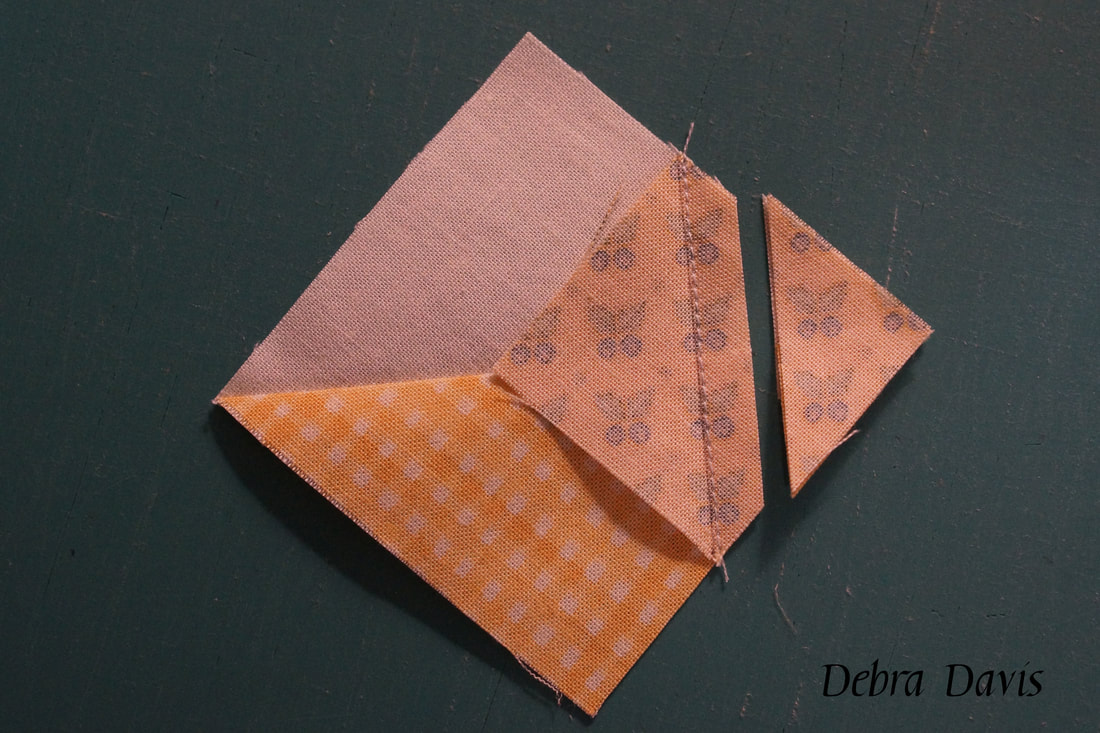
I love this block designed by Lynne Hagmeier. Not only is it quick and easy to put together, but the finished result is darling. You can read Lynne's post and get the directions for either her layered patchwork version or her traditional patchwork version HERE. I have not tried Lynne's layered patchwork but there are quite a few in the Facebook group who seem to enjoy it. This block was another one that allowed me to feature a little bee from the Garden Notes collection. While bees and I do not generally get along I embrace them as the meaning of my name, Debra, and delight to think about what it means to bring forth honey. 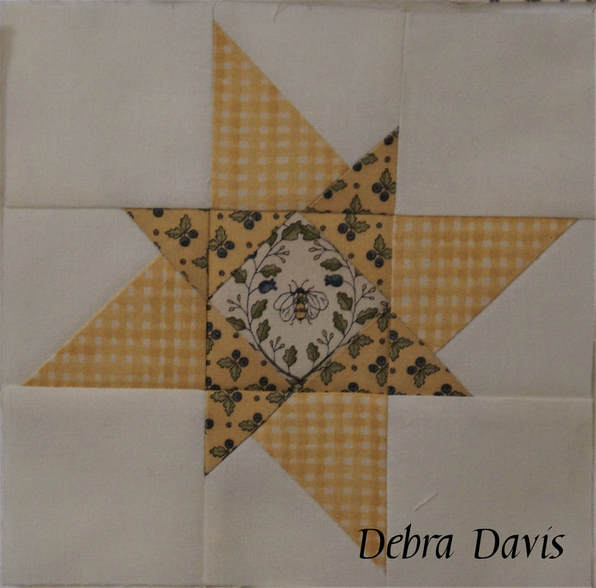 To get started I made a change in the cutting directions. I cut my B and C squares 3 1/4" to give me some wiggle room to trim to the right size. I also cut one A square from a different fabric from the rest as it will be used for the center unlike the A squares that will be used in the corners of this block. 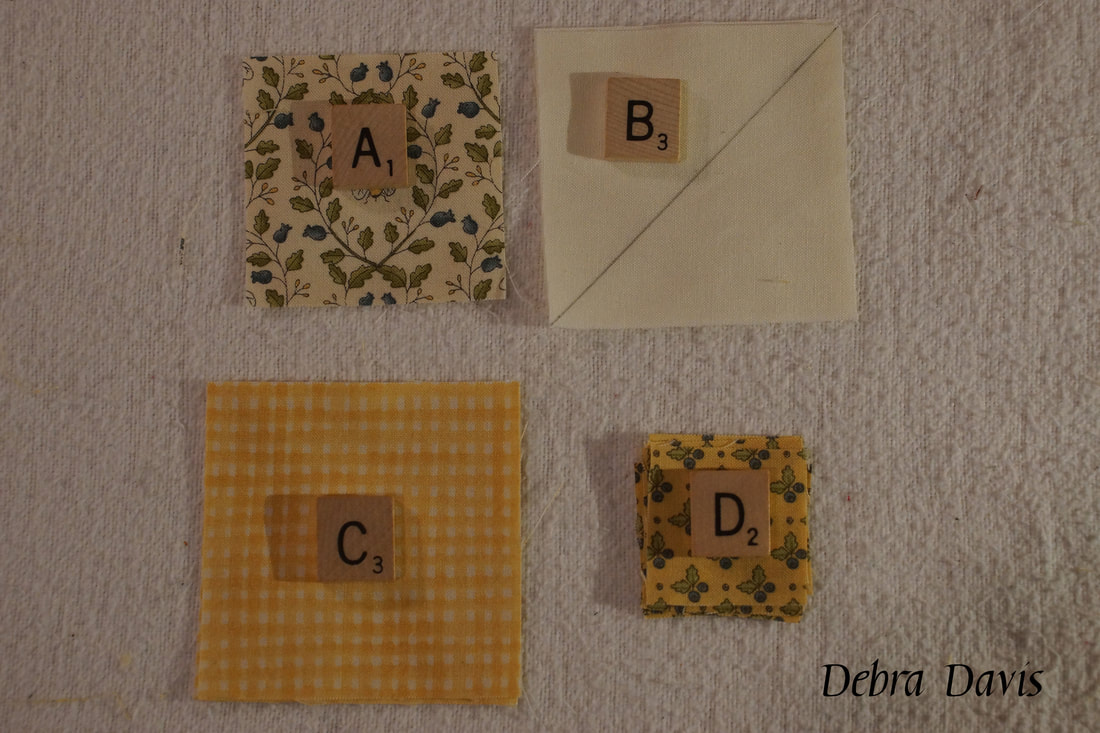 Just like in Lynne's directions I start with the B and C squares. I have drawn a diagonal line on the back of each of the B squares. These will be joined right sides together sewing 1/4 inch from each side of the diagonal line.
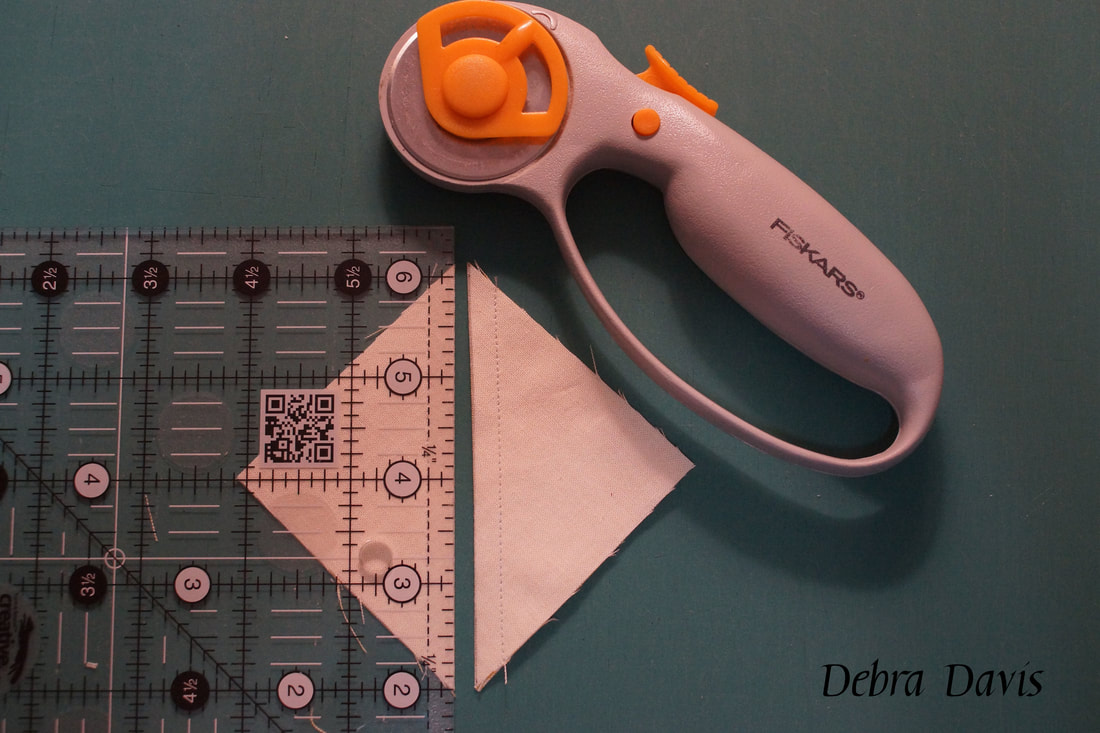
I cut along the diagonal line and press towards the dark side. The units get trimmed to 2 1/2" x 2 1/2". I do have to make sure that the diagonal line on my ruler follows the diagonal seam.
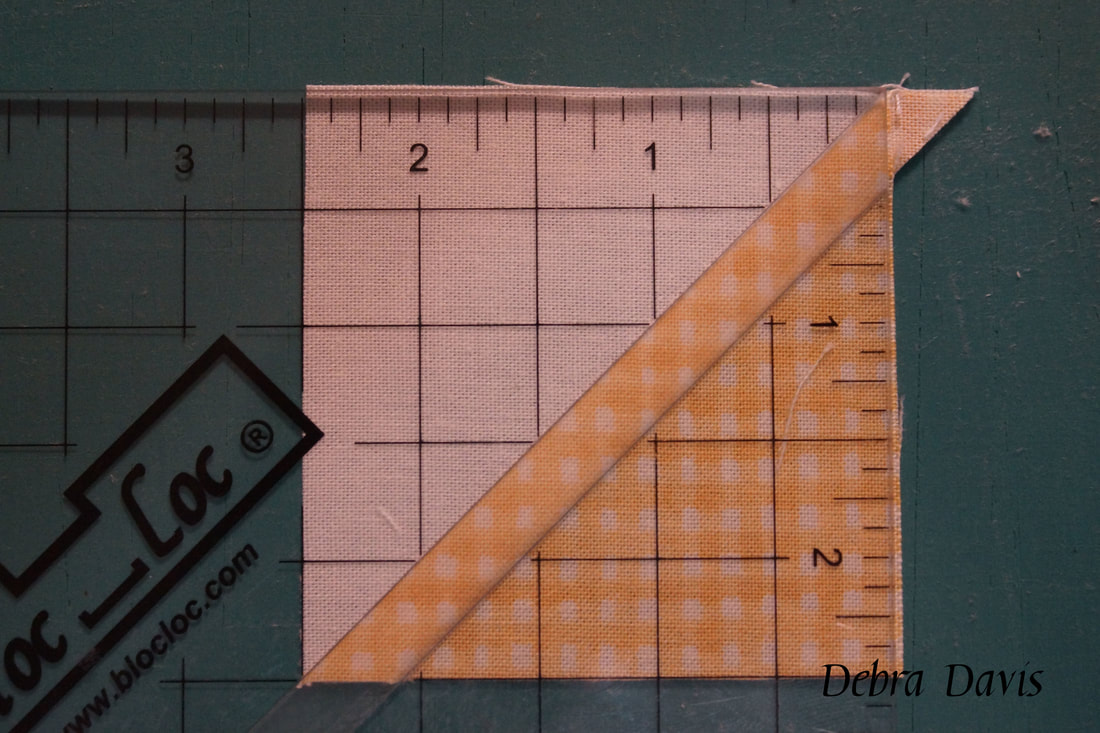
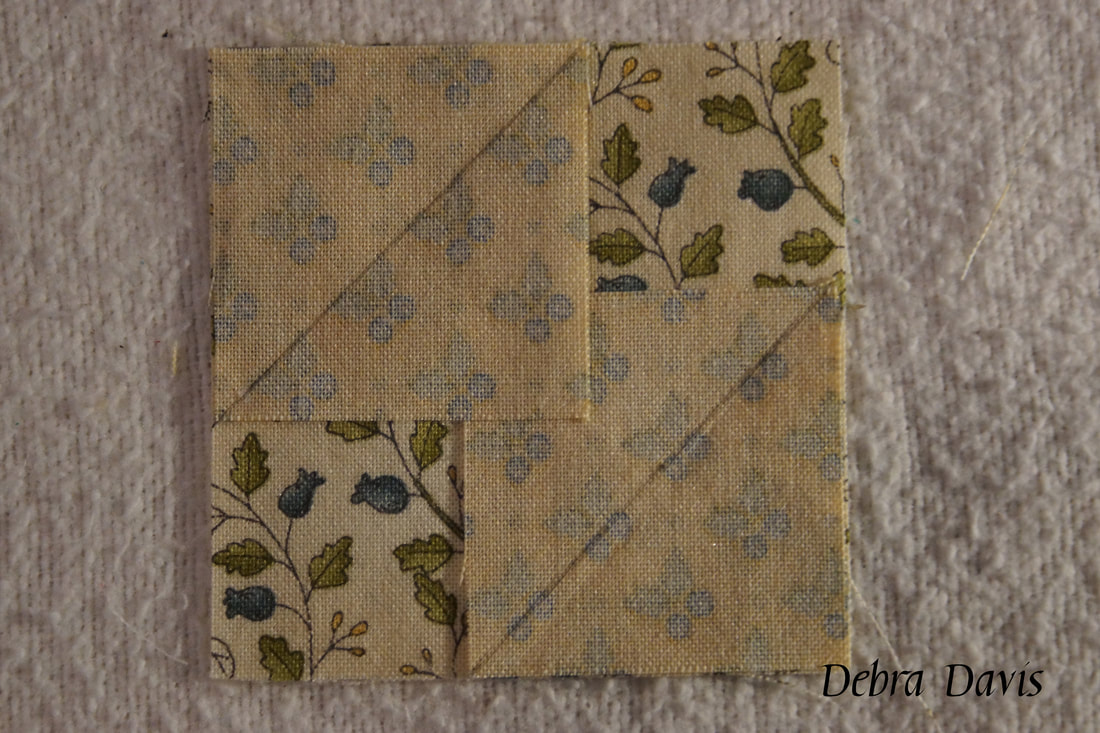
I have drawn a diagonal line on the back of all of my D squares. I will use four of them on the units I just made. They need to be added as shown in the photo below. 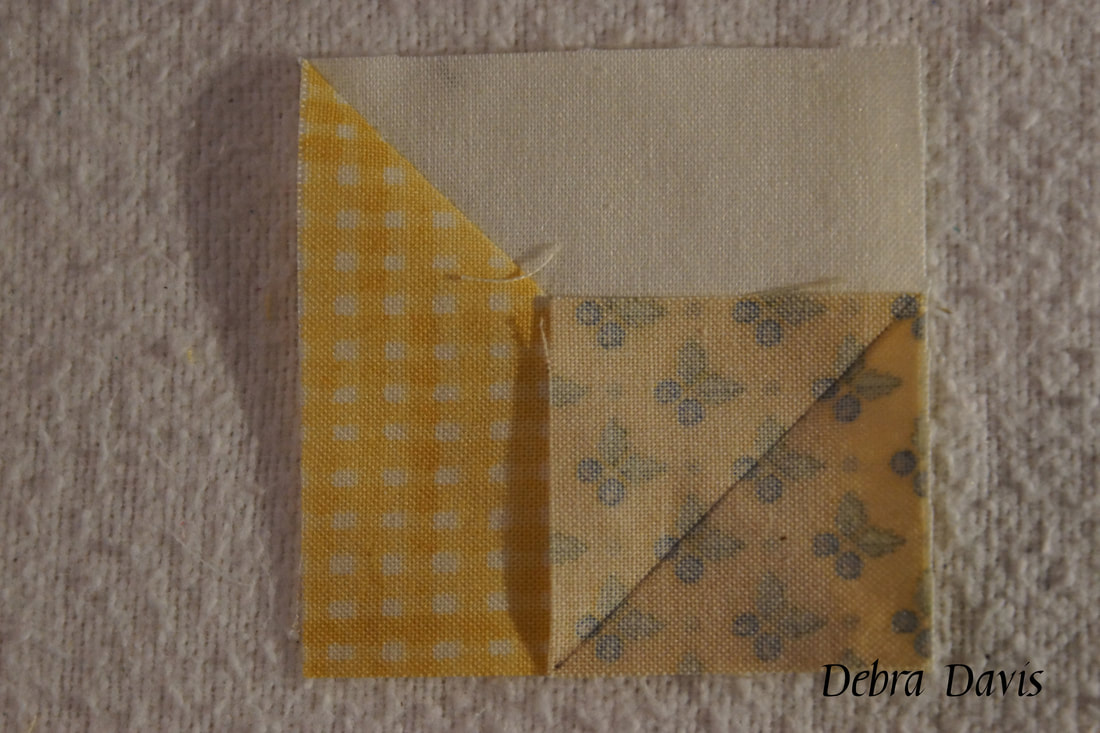 This time I sew right along the line I have drawn...not on top of it but just to the outside. 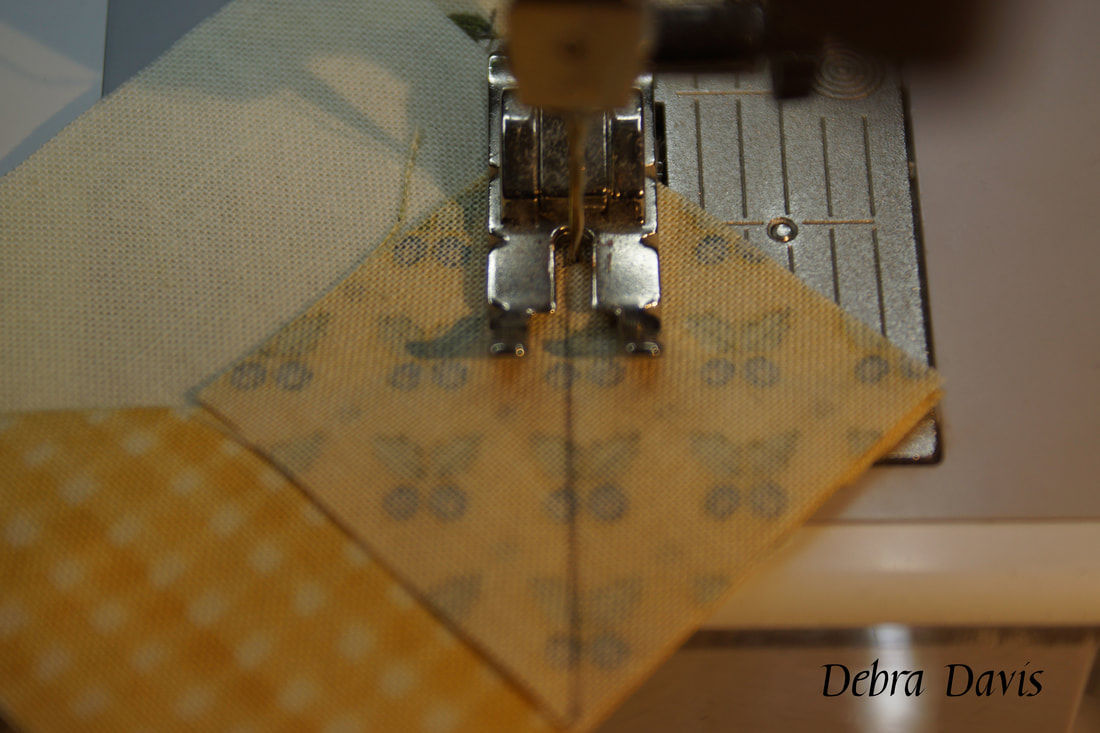 I like to check and make sure that when I fold the triangle over it covers the square underneath completely. Satisfied that it does, I trim 1/4" from the seam line.
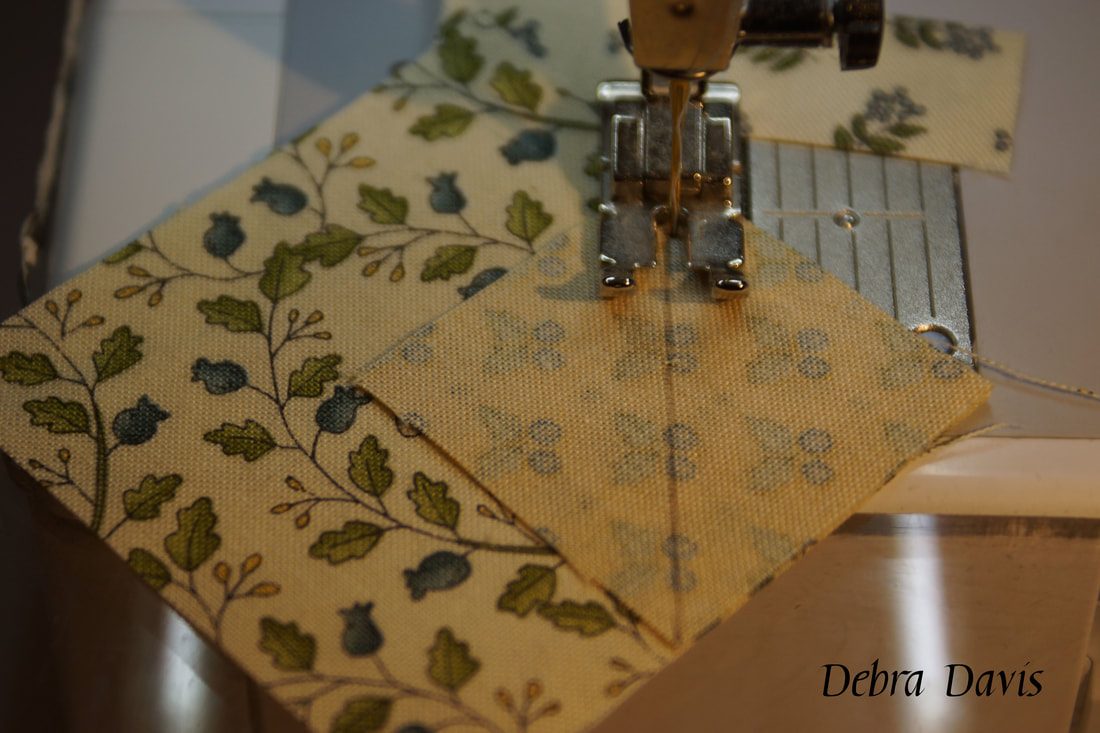
Press towards the small triangle and check to make sure the block still measures 2 1/2". I am going to call the finished units, Unit 1. 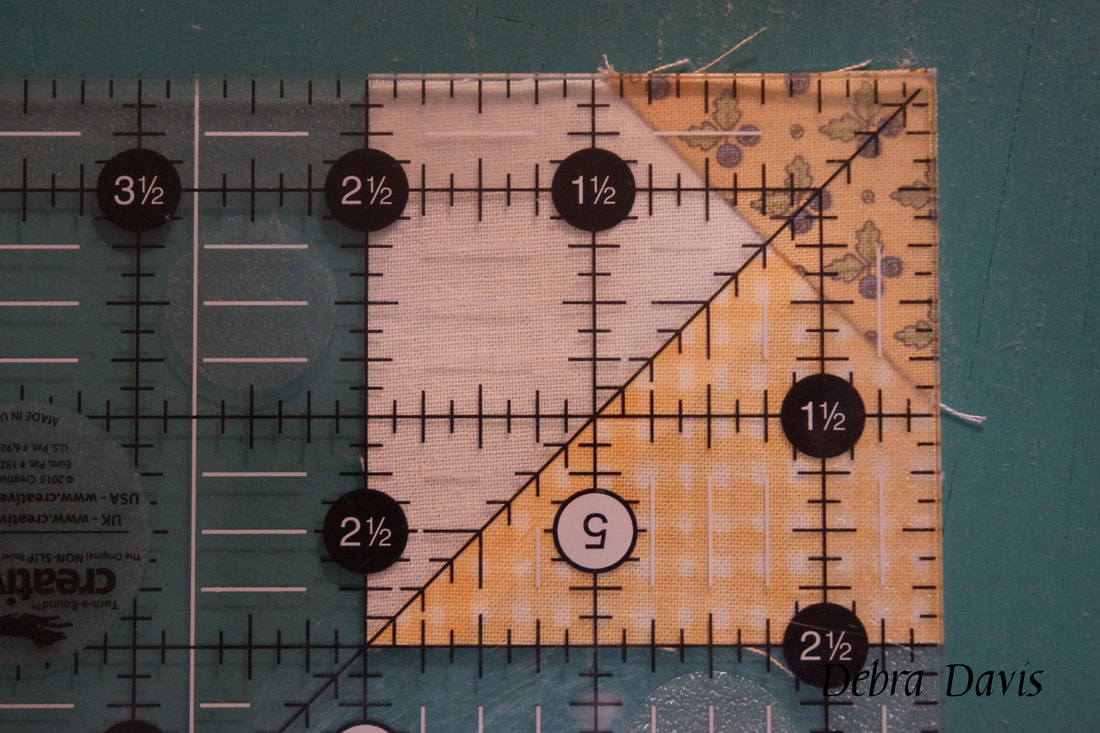 Next I will work on the center unit-a diamond in a square. For this I take the A square I want to us in the center and will add D squares to all four corners.  This is where I will place the first two. Once again, I will sew just to the outside of my line.
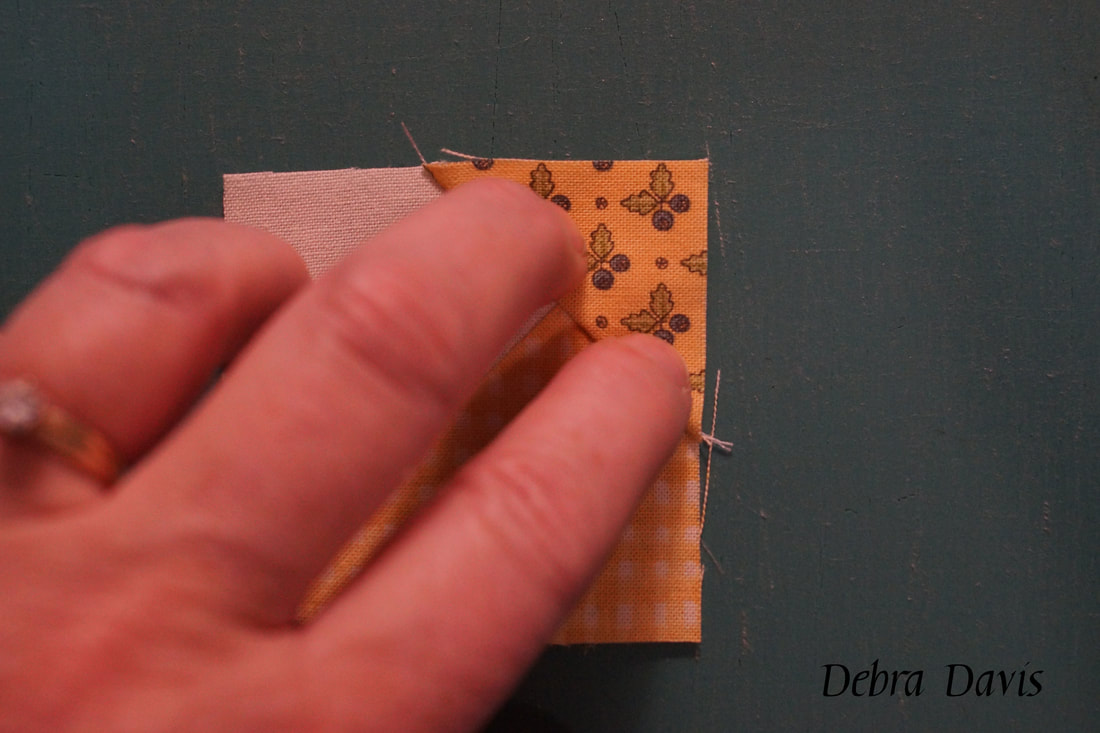
Occasionally when I fold my triangle over to see if it covers the square underneath I will find that it does not completely cover it. One trick is to trim away only the remaining top square and leave the underneath square alone. Now when I press the triangle over I will still have an accurate 2 1/2" square to work with rather than one that is just a touch off. 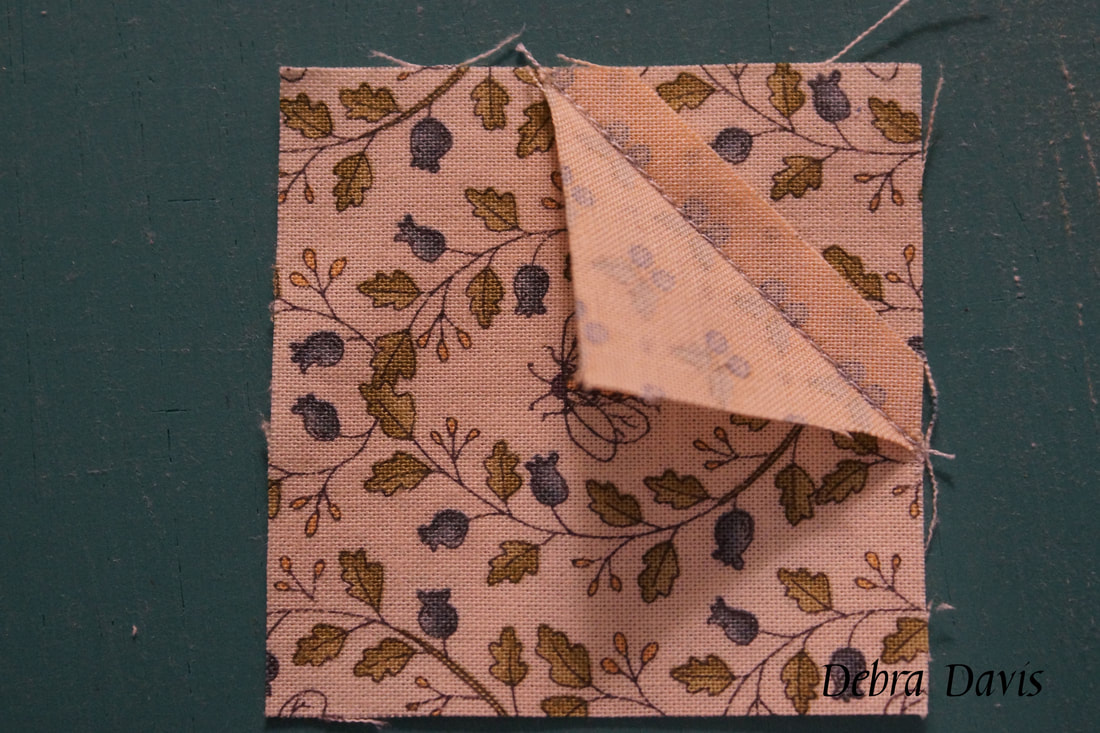 I continue to add the D squares to the next two opposing sides of my unit.
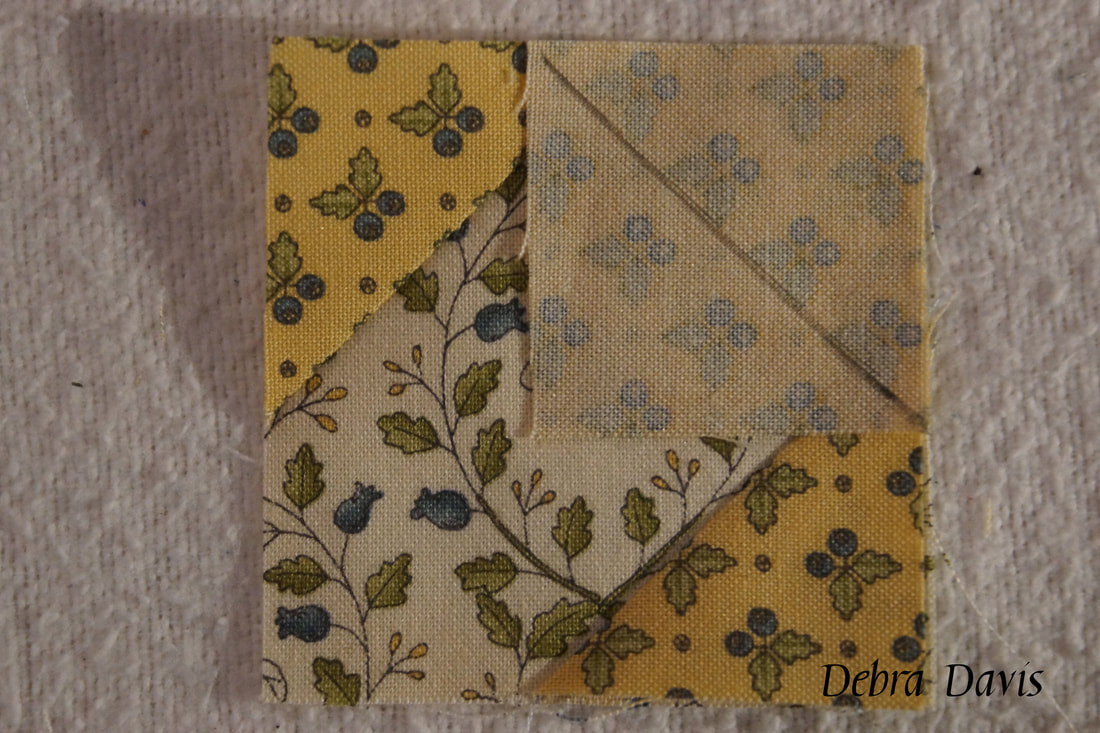
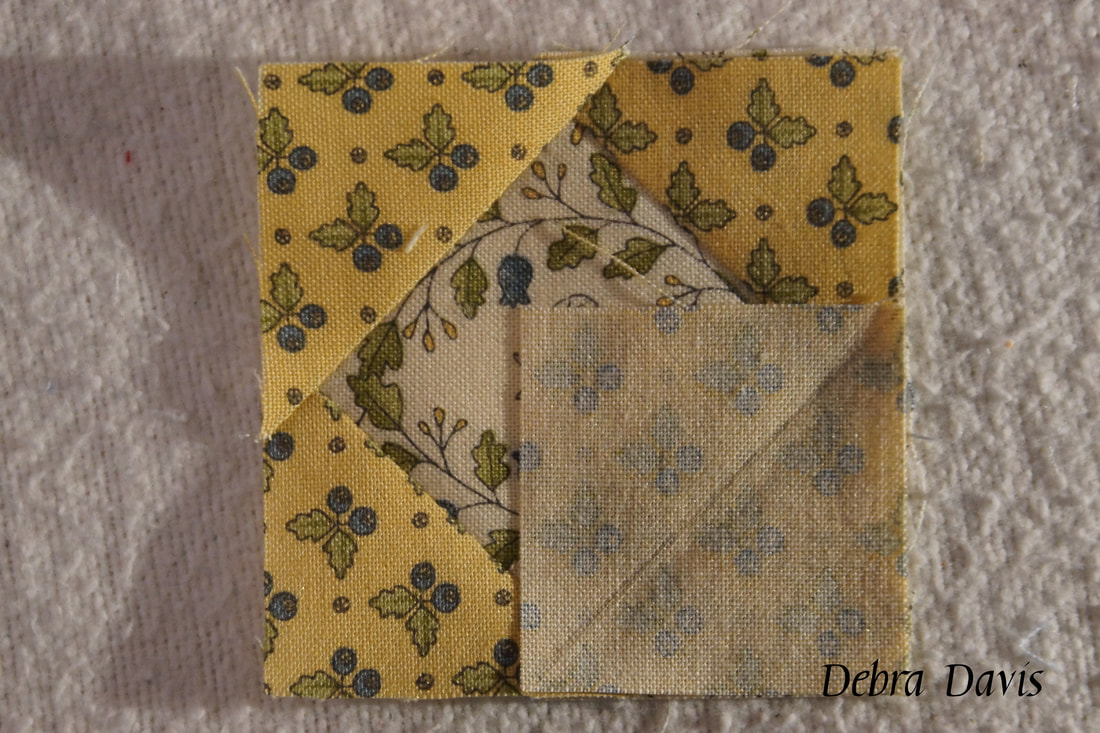
One last check to make sure it still measures 2 1/2" x 2 1/2". If you look closely at the bottom right you can see where the A square is peeking out just a wee bit under the yellow print on top. 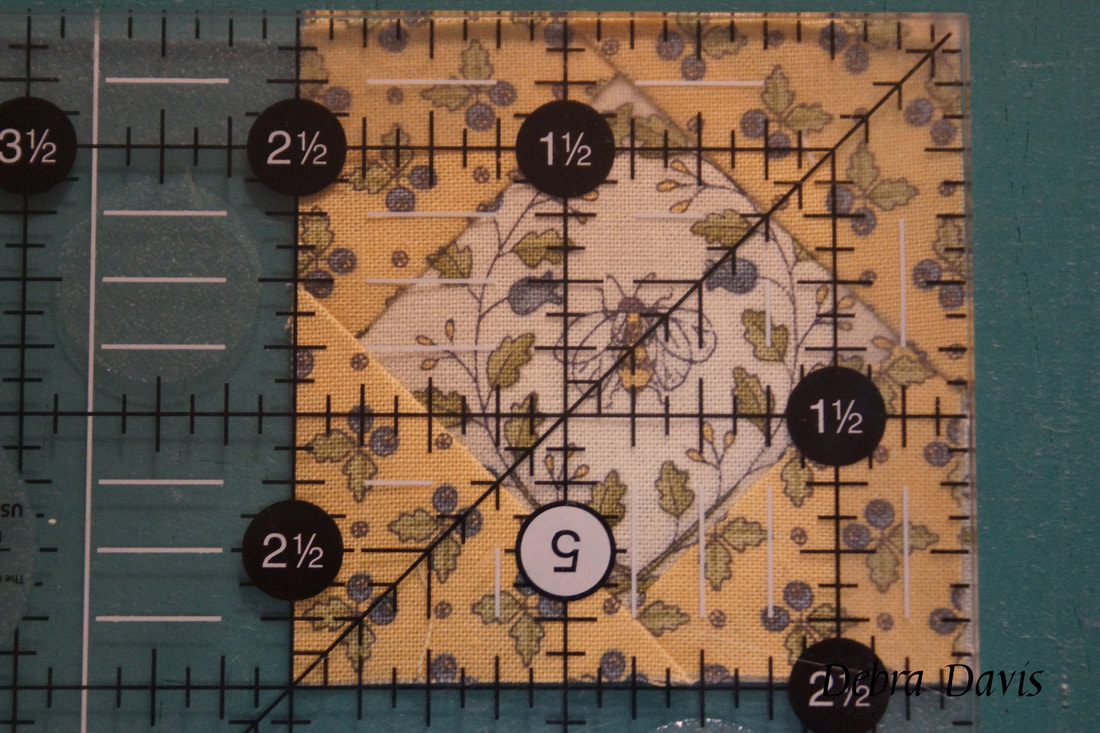 Now I add the A squares to the corners and all is ready to be sewn together. 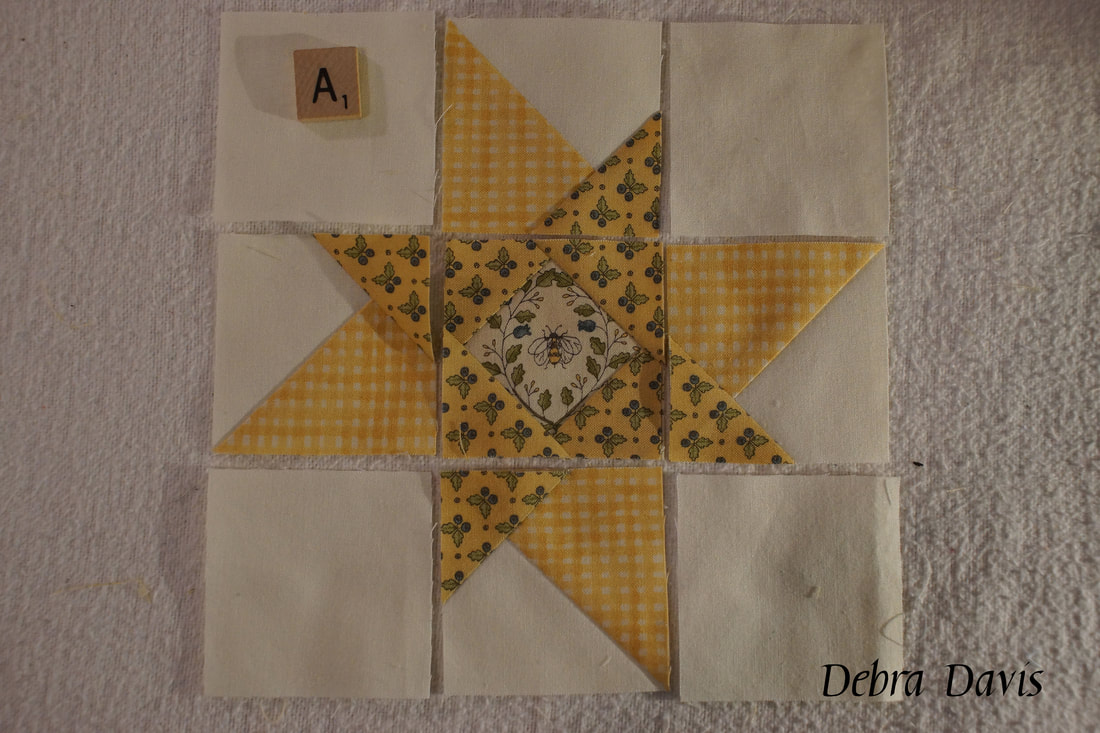 I sew with the center square on top every time as I want to make sure that my needle lands on the point-the intersection of the seams. I pressed the top and bottom rows towards the middle unit (unit 1) and the center row towards the outside units (unit 1). 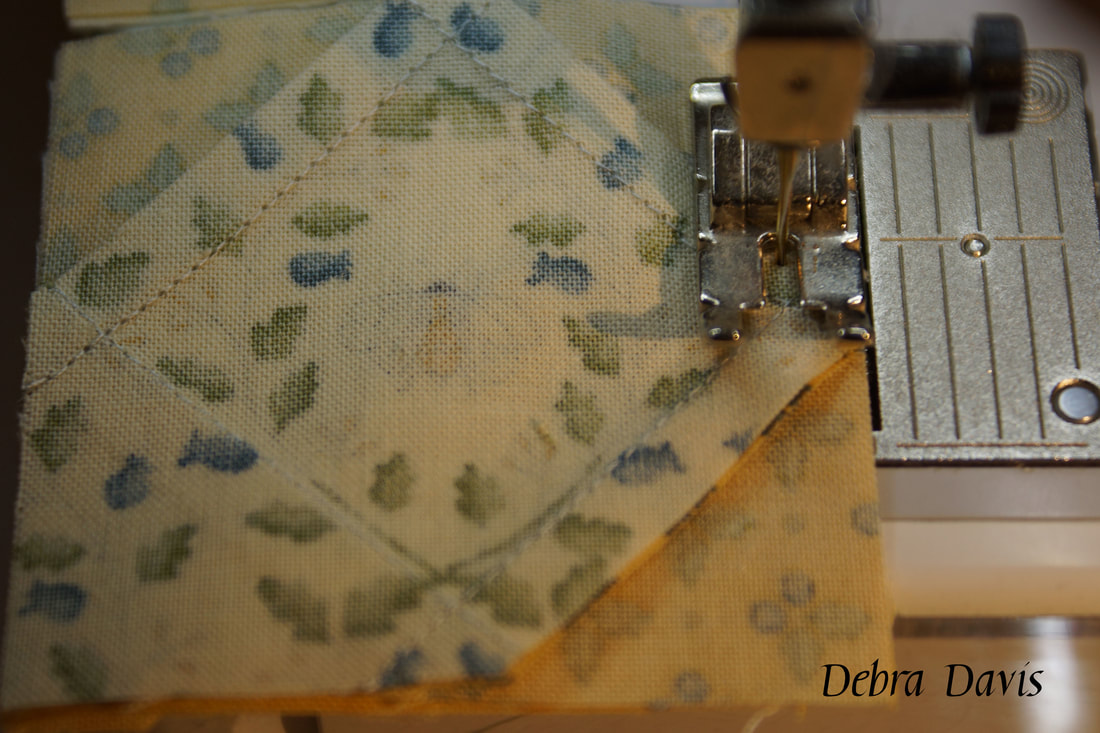 I placed pins where the seams join together and carefully sew a 1/4" seam. It helps to gp slowly over those bulky seams, and I will often lift my presser foot once or twice to keep things lined up nicely and laying flat. 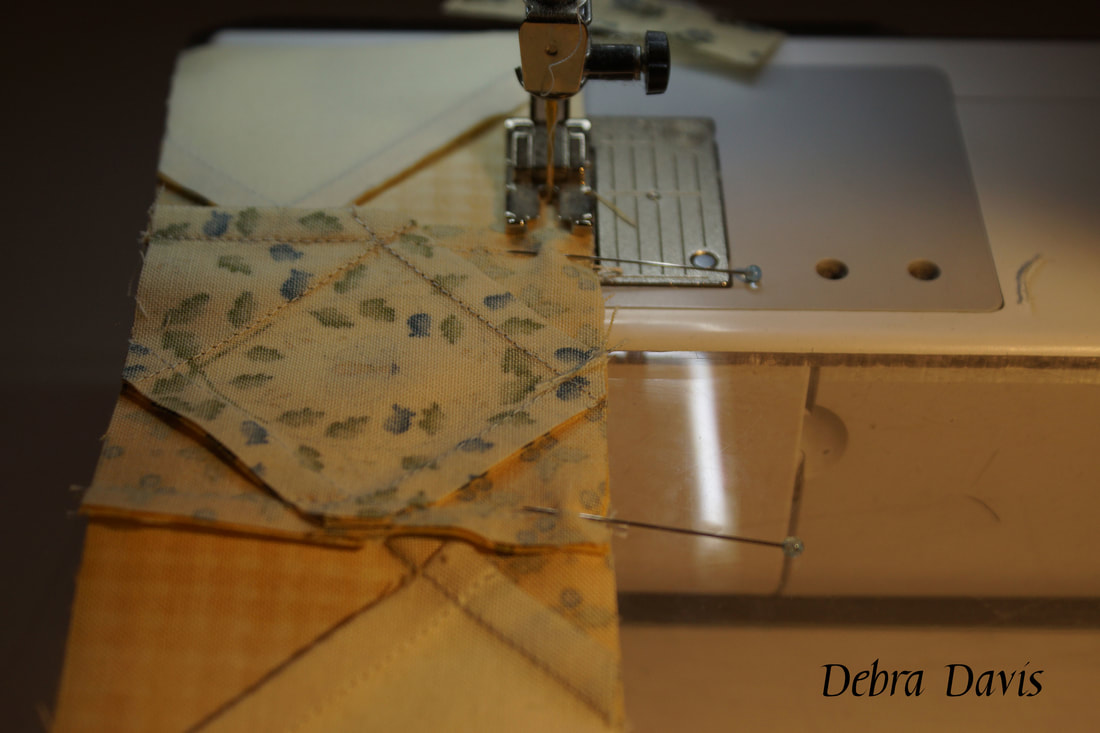 A cute finish! 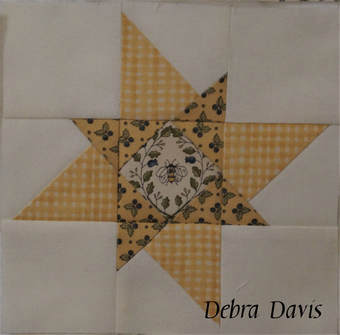 I am making good progress-just a few holes left to fill in with those blocks I have yet to do. 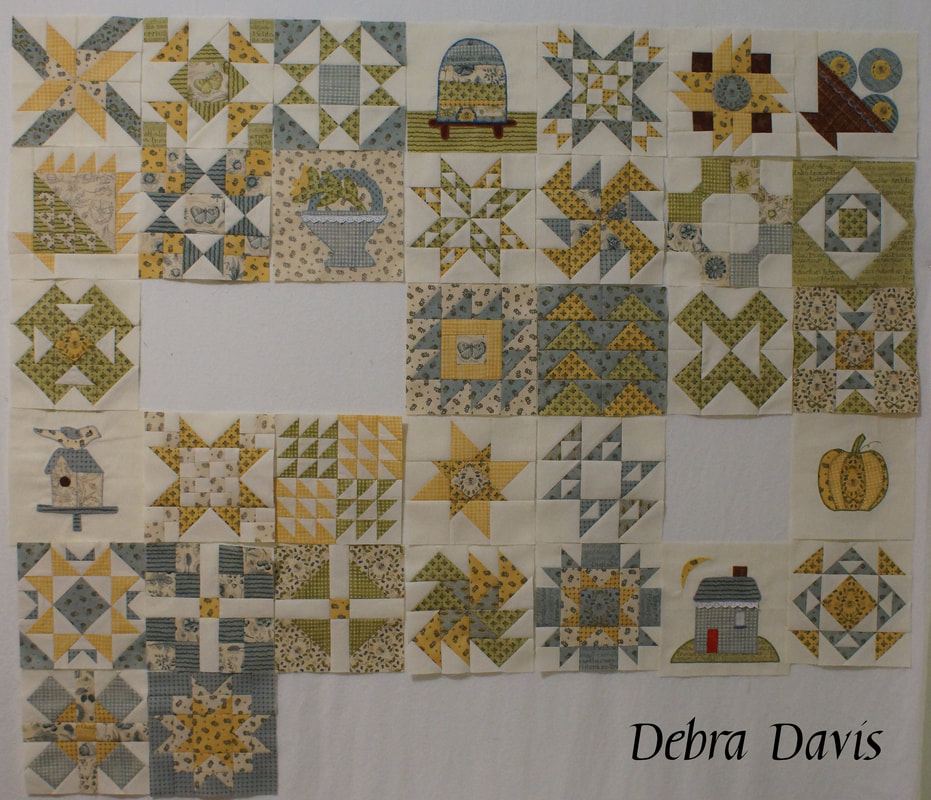 I hope you are enjoying your own Moda Blockhead journey! Until next time... Happy Quilting!!  Comments are closed.
|

Welcome to the site of Debra Davis-a woman who loves the Lord and loves to quilt.
My other blog where I share about my walk of faith:
Sitting at His Feet 
|


 RSS Feed