|
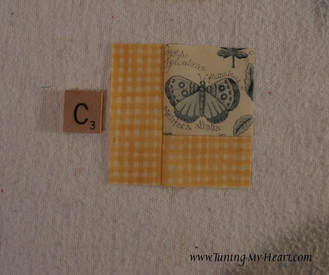
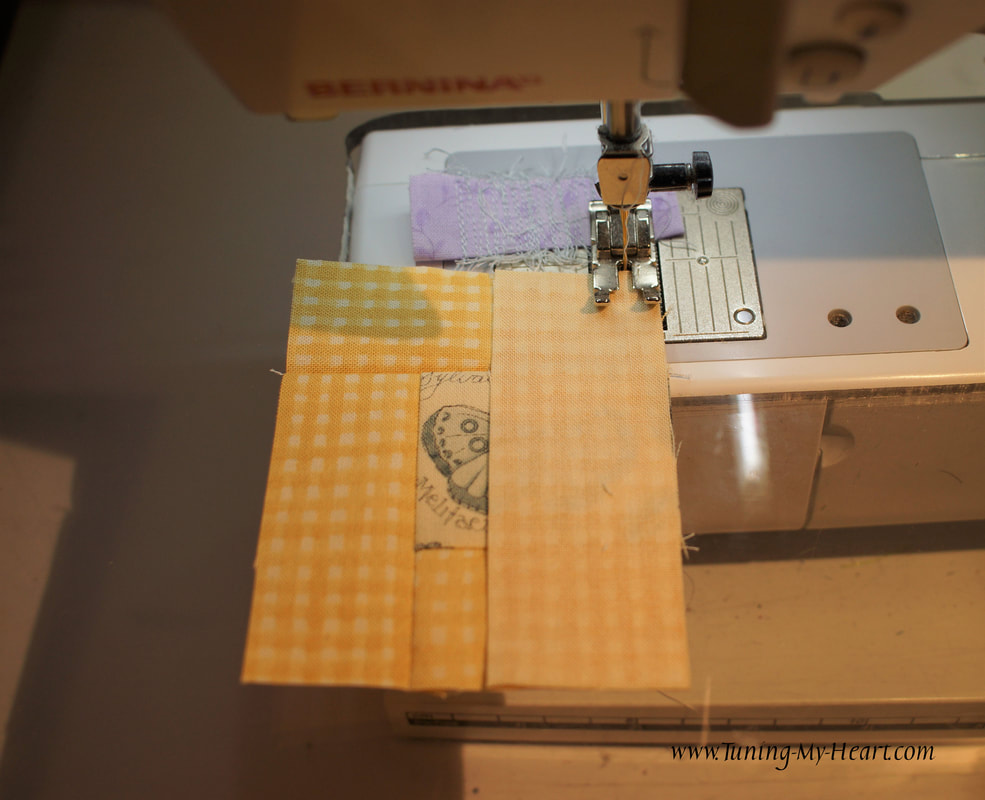
Whew, time to play catch up with the blocks I have missed. I am starting with Carrie Nelson's Block 18-it just looked like fun. It also happened that our son who lives in Colorado at the base of the Rocky Mountains was here for a visit so it seemed fitting as well. The little bear was given to me in celebration of his birth and normally sits on a shelf in my quilt room. You can find the link for this pattern on her blog by clicking below: http://blog.modafabrics.com/2017/07/blockheads-block-18/ 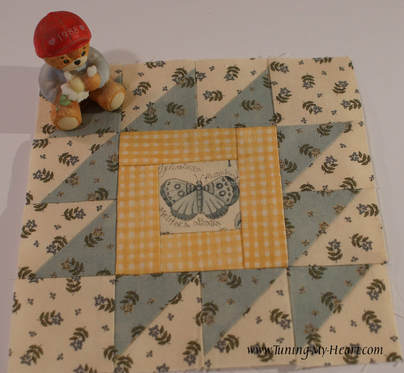 I started with fabric that had been starched and proceeded to cut out all the pieces for this block. I like to have a little extra for trimming Half-square triangles so cut those pieces a little larger than Carrie's directions state. E and F are cut to 2 1/2 inch squares. 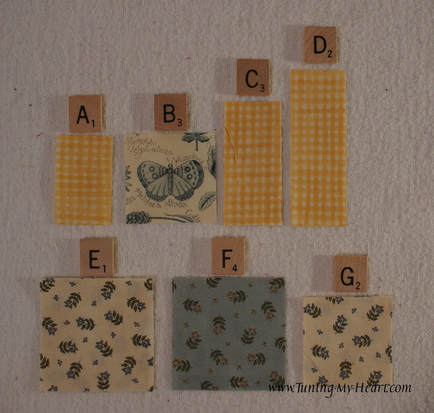 To make unit #1 start with the A and B pieces and join with a quarter inch seam. 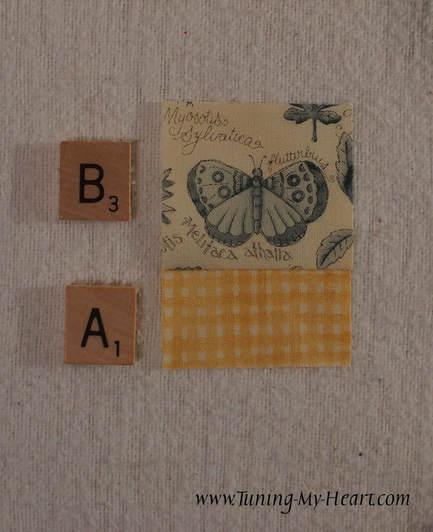 Continue adding the C and D pieces-working around the square. I pressed towards the piece that was just added rather than towards the B square; just like I do when making a Log Cabin block.
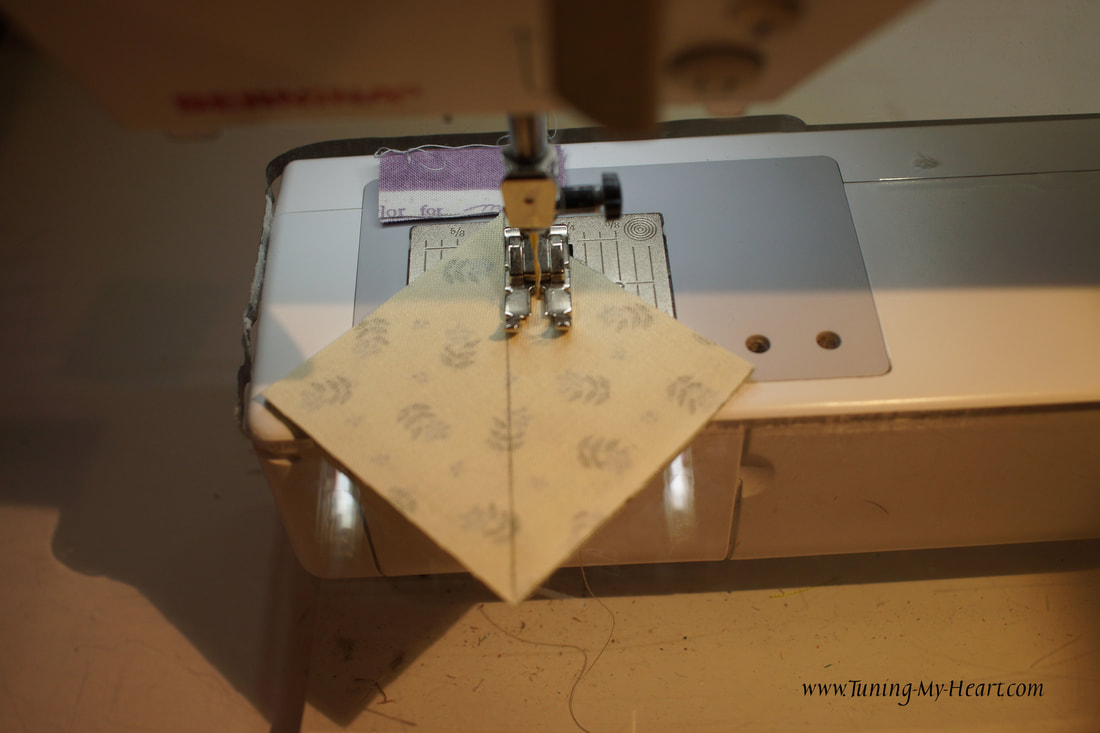
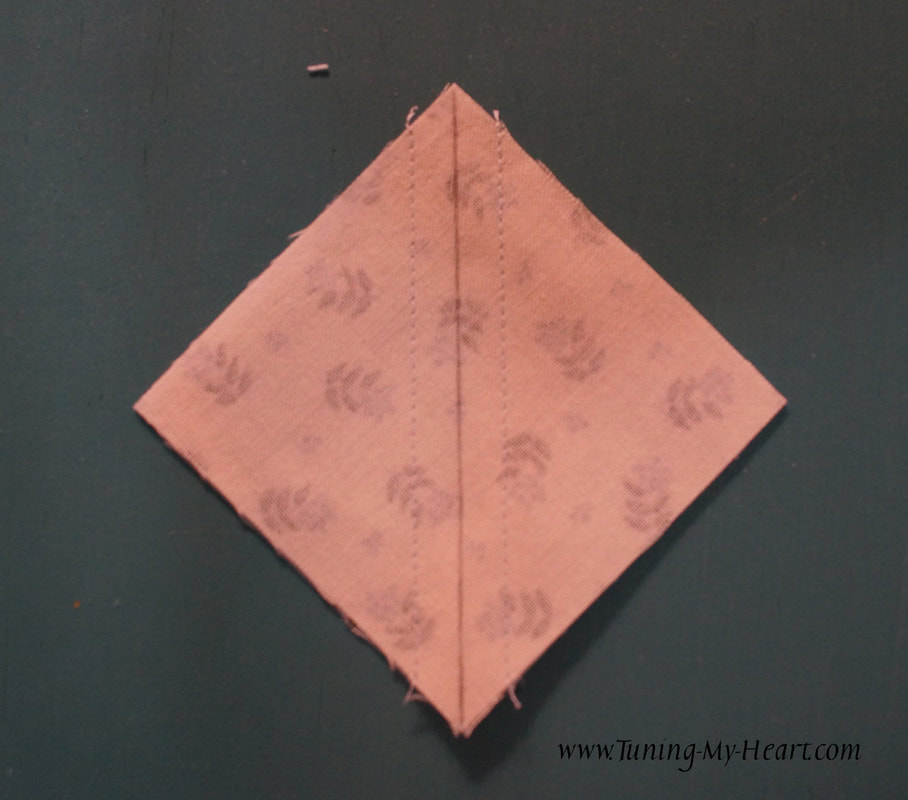
Unit #1 should measure 3 1/2 inches square when done. 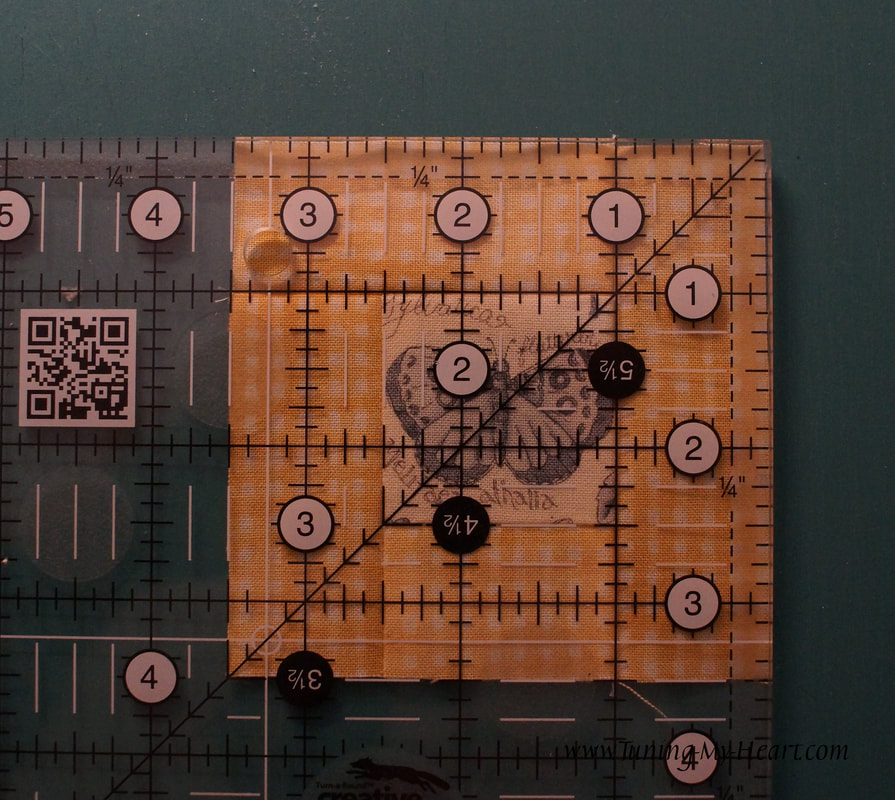 Next I made the Half-square triangles-it is the year of the Half-square triangle for me it seems. I started by drawing a diagonal line on the back of all of the E squares. 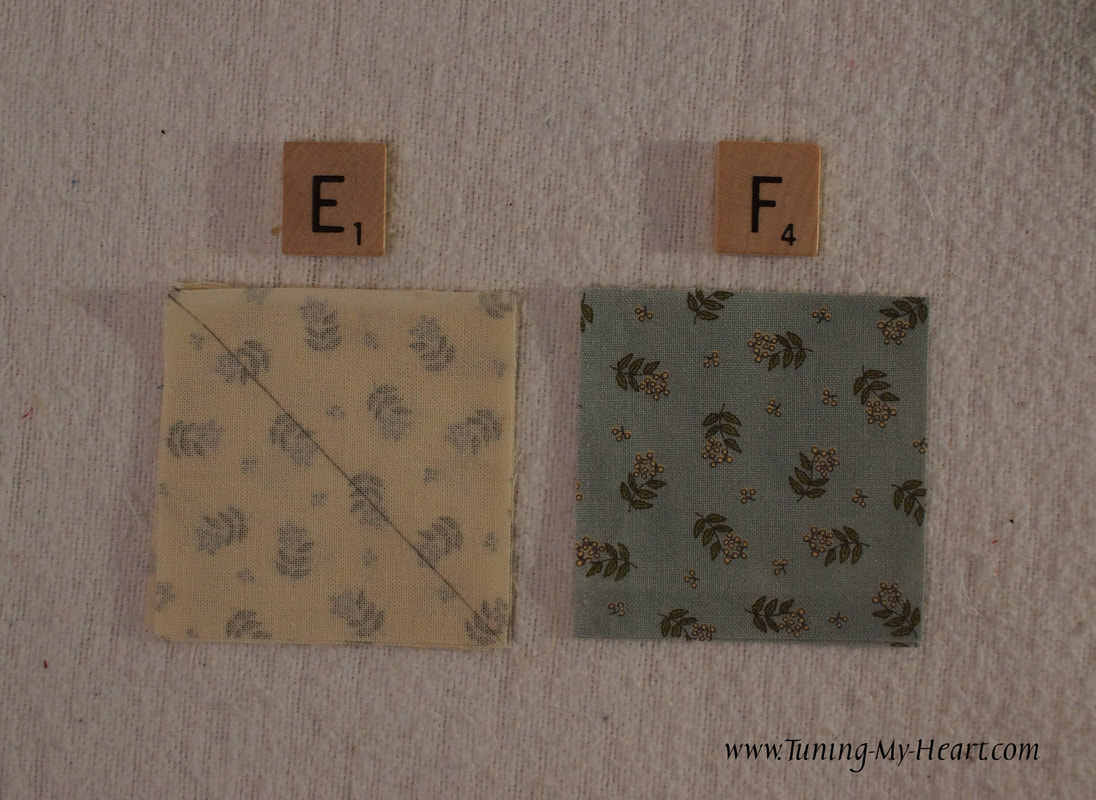 Placing an E and F square right sides together I sew 1/4 inch from each side of the drawn line.
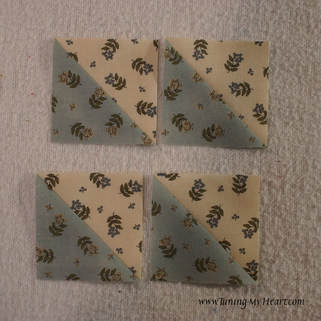
These are cut apart on the drawn line and pressed towards the darker side. 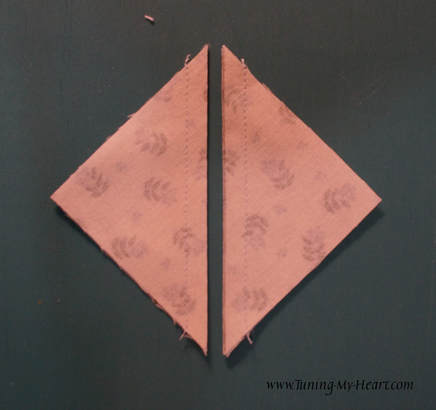 Since these squares were cut a little large I need to trim them down to 2 inch squares. I do this by lining up the diagonal line on my ruler with the diagonal seam line, trimming two sides then rotating the unit and trimming the next two sides. 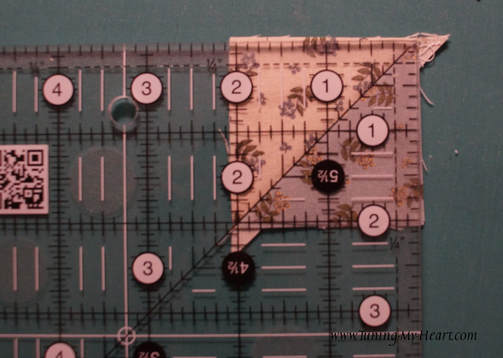 Using the Half-square triangles we just made, join two sets of them together to make two Unit #2's.
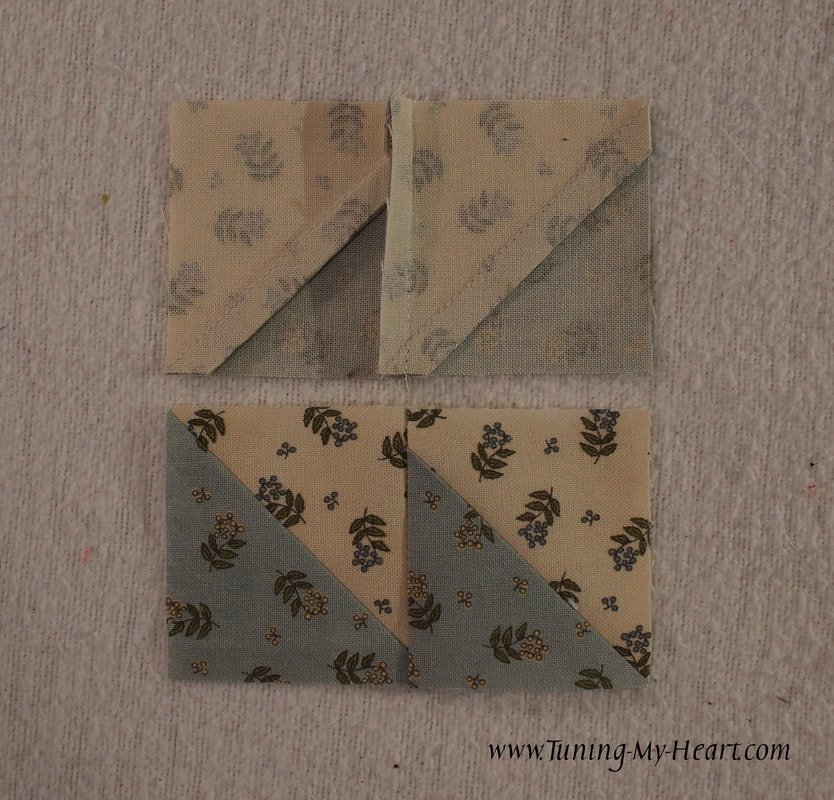
The next step is to make the Unit #3's. This time we need three Half-square-triangles and one G square for each unit. 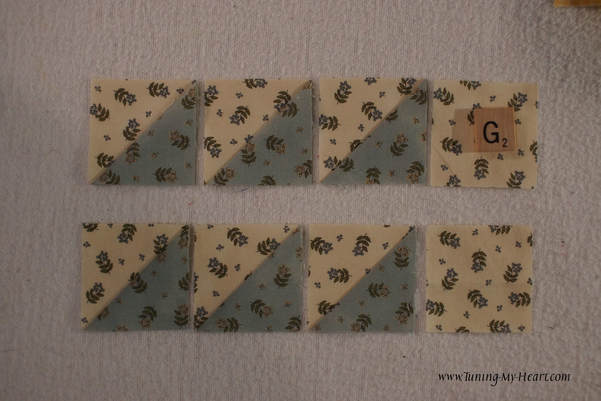 I chain-pieced in groups of two and pressed the two outer seams towards the outside. I pressed the middle seam the direction it wanted to lay better. 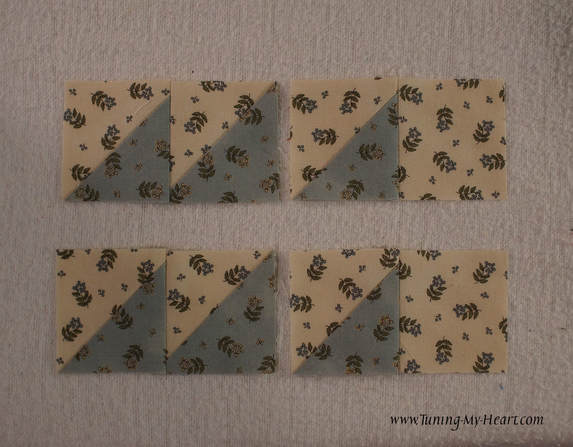 Two Unit # 3's are finished and here you can see how I have pressed them. 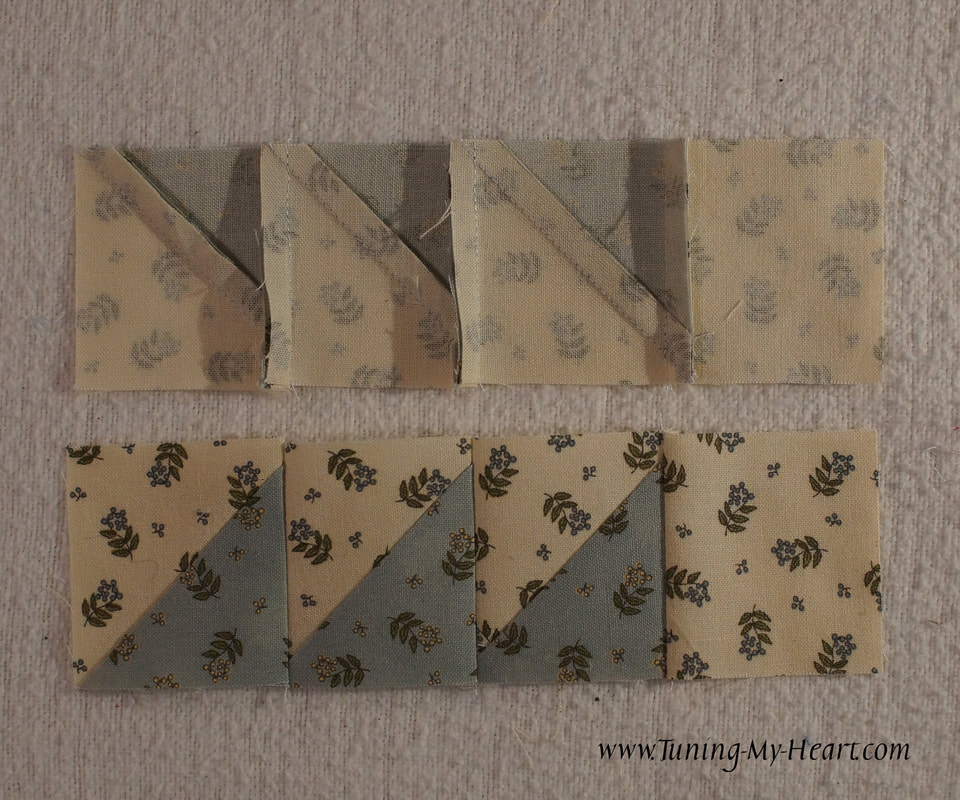 Now it is time to put all of the units we have made together. Starting with Unit #1, add a Unit #2 to each side making sure the triangles are going in the correct direction. 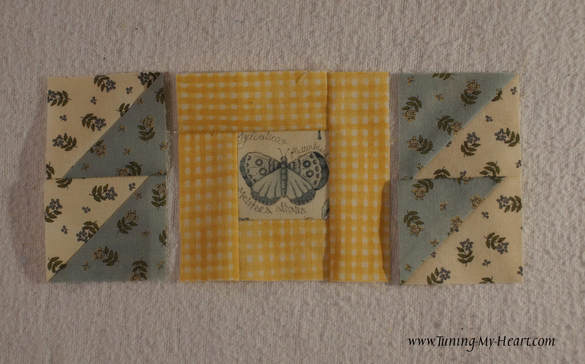 Lay out the Unit # 3's on the top and bottom making sure they are facing the right direction. 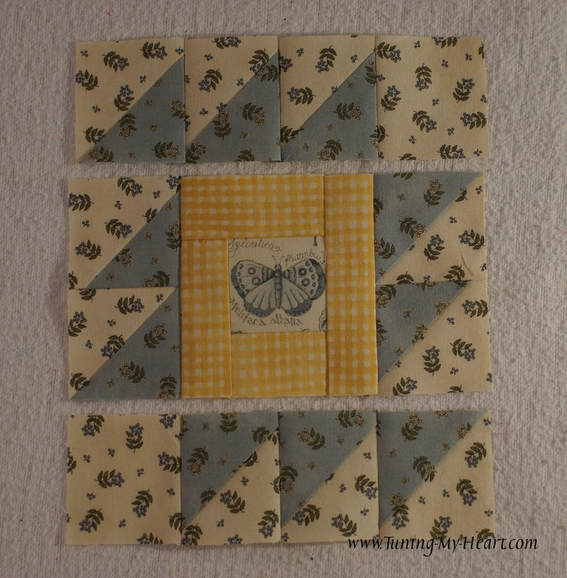 Because of the way I pressed these units the seams nest nicely and I placed two pins to hold everything together where the seams met. 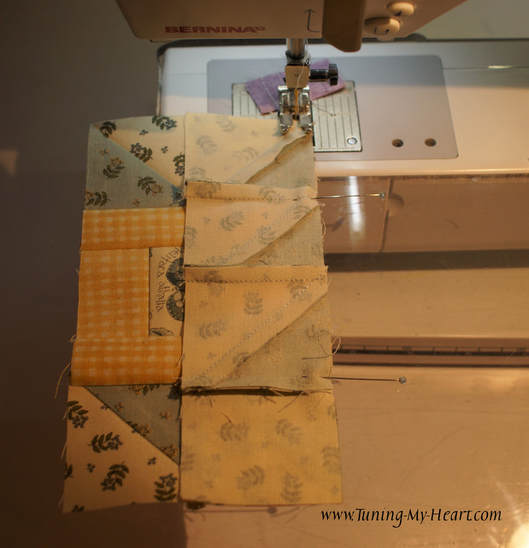 And there we have the finished block! 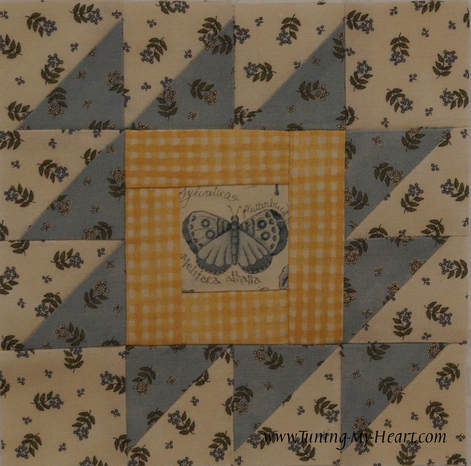 Now I just need to go back and do the two blocks I missed while we were vacationing-I think there is an alternate too that I would like to try so... until next time, Happy Quilting!!  For a PDF version of this tutorial click HERE.
Linda Cates
7/12/2017 05:47:12 am
Thank you so much for your tutorials. They are the most helpful to me of any that I've found. I really appreciate the time you put into this!
Debra
7/13/2017 08:34:48 am
Thank you, Linda-I appreciate that very much!
Roxanne
11/20/2017 08:48:19 pm
Debra,
Debra
11/21/2017 10:59:04 am
Yay, Roxanne! I am so glad you are having fun! Comments are closed.
|

Welcome to the site of Debra Davis-a woman who loves the Lord and loves to quilt.
My other blog where I share about my walk of faith:
Sitting at His Feet 
|


 RSS Feed