|
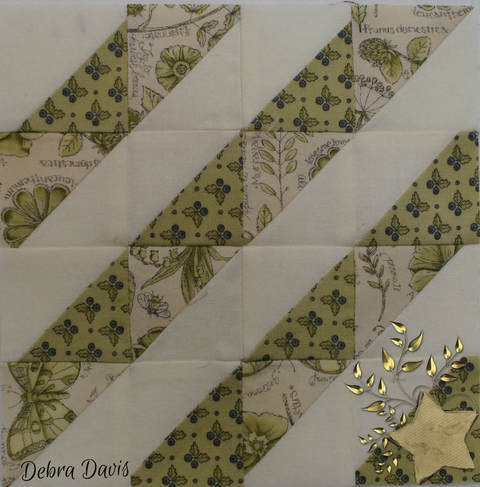
I am still catching up on past blocks. Block 17 was one by Lisa Bongean. Lisa has a couple of very colorful versions on her blog as well and the link for the pattern can be found there as well.
You can click on the link for her blog here: Lisa's Blog
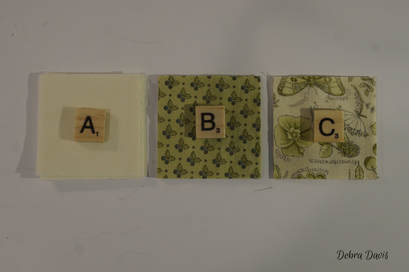
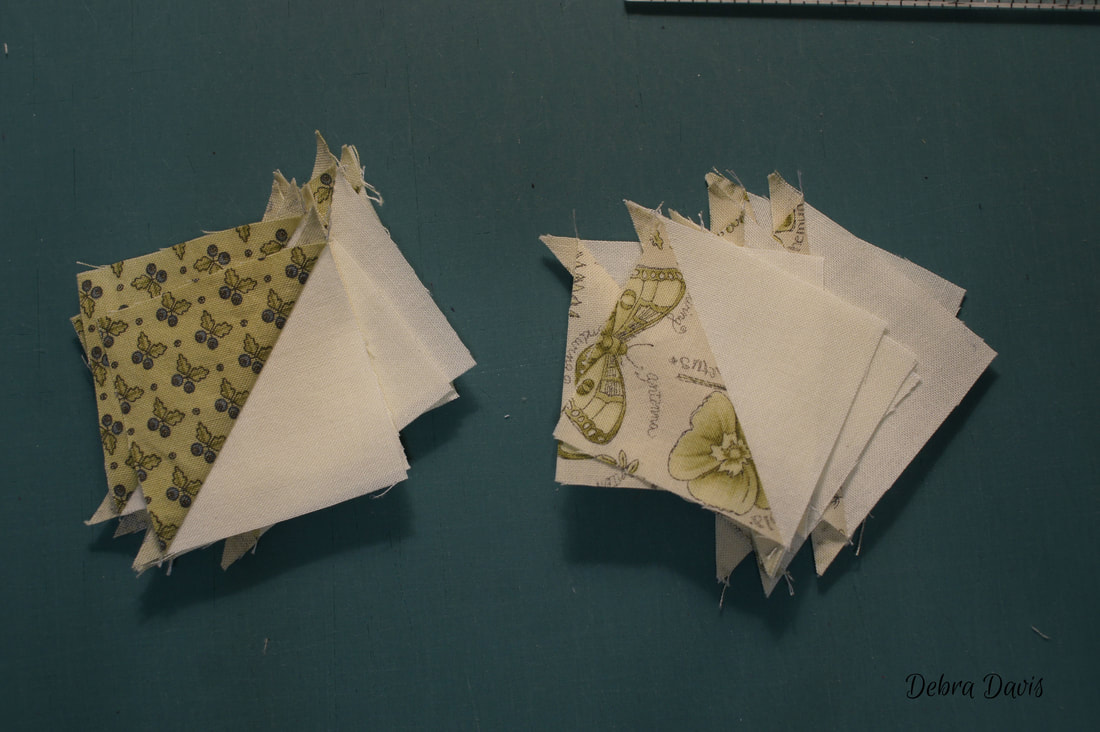
Looking at all of the block I have done so far I saw a need for more green in my garden so that is the direction I went with this one. I did c my squares a little larger to give me room to trim them down to size. I cut them all 2 1/2" x 2 1/2"
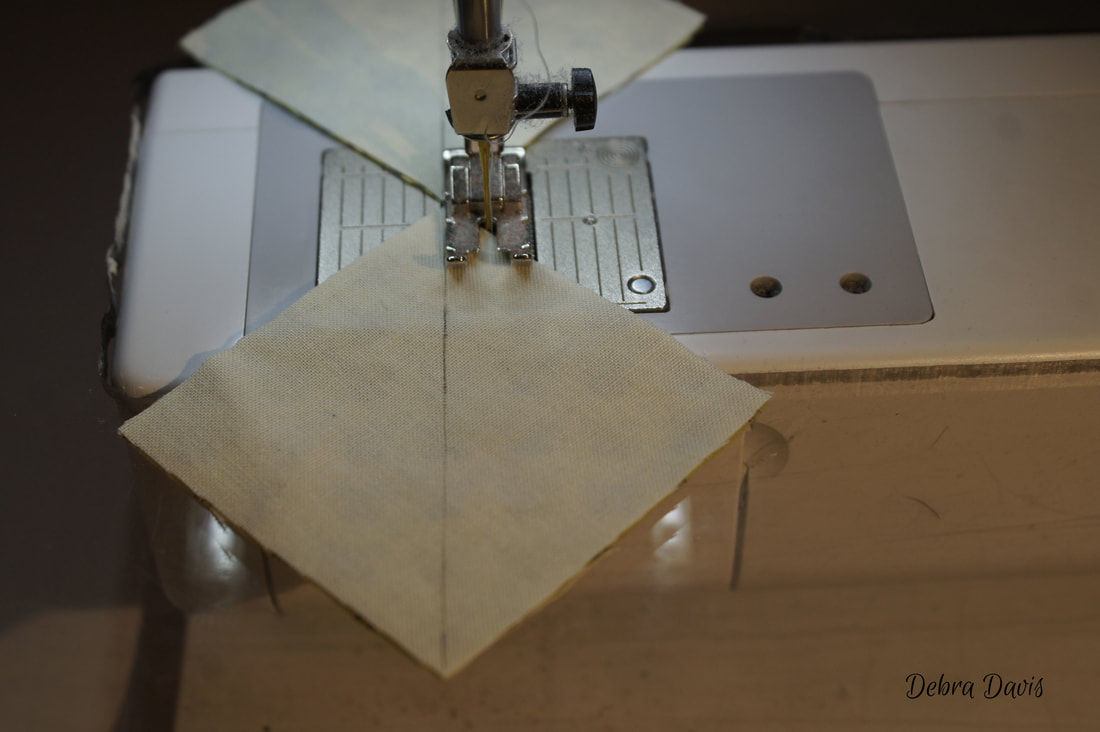
This was a pretty easy one really, just making a bunch of Half-square Triangles. (HST's) I started by drawing a diagonal line down the middle of all of the A squares.
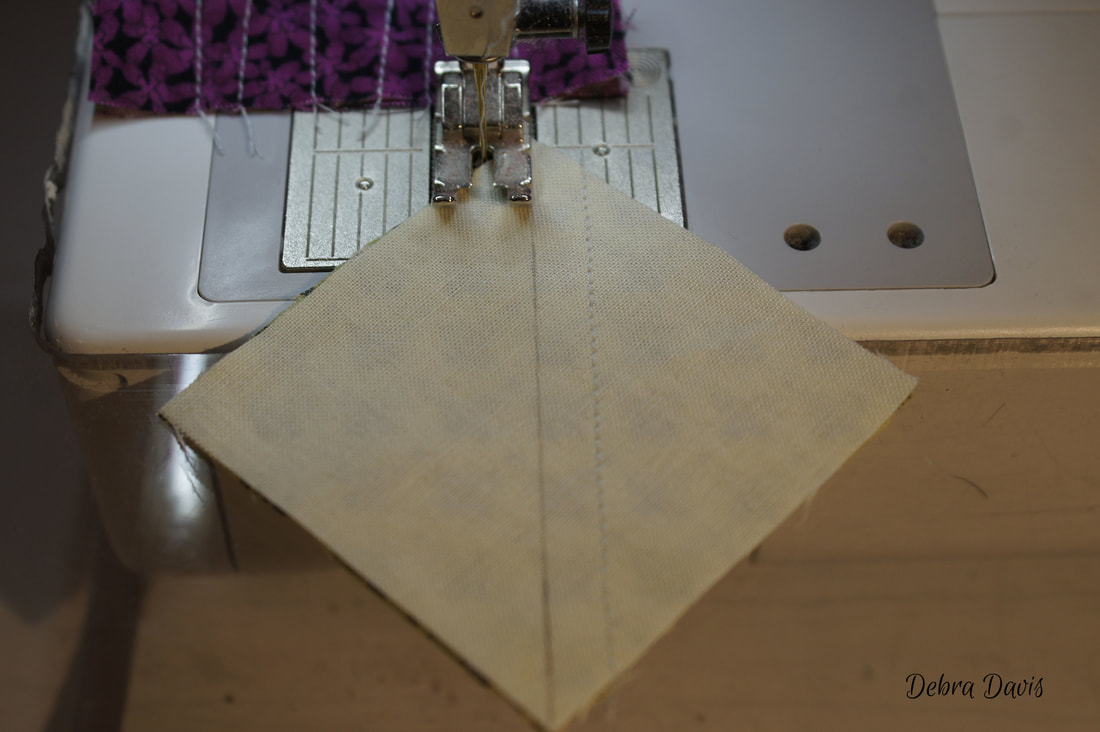
Then a simple matter of sewing 1/4 inch from each side of the drawn line. I chain-pieced all of them at the same time; both the A/B HST's and the A/C HST's
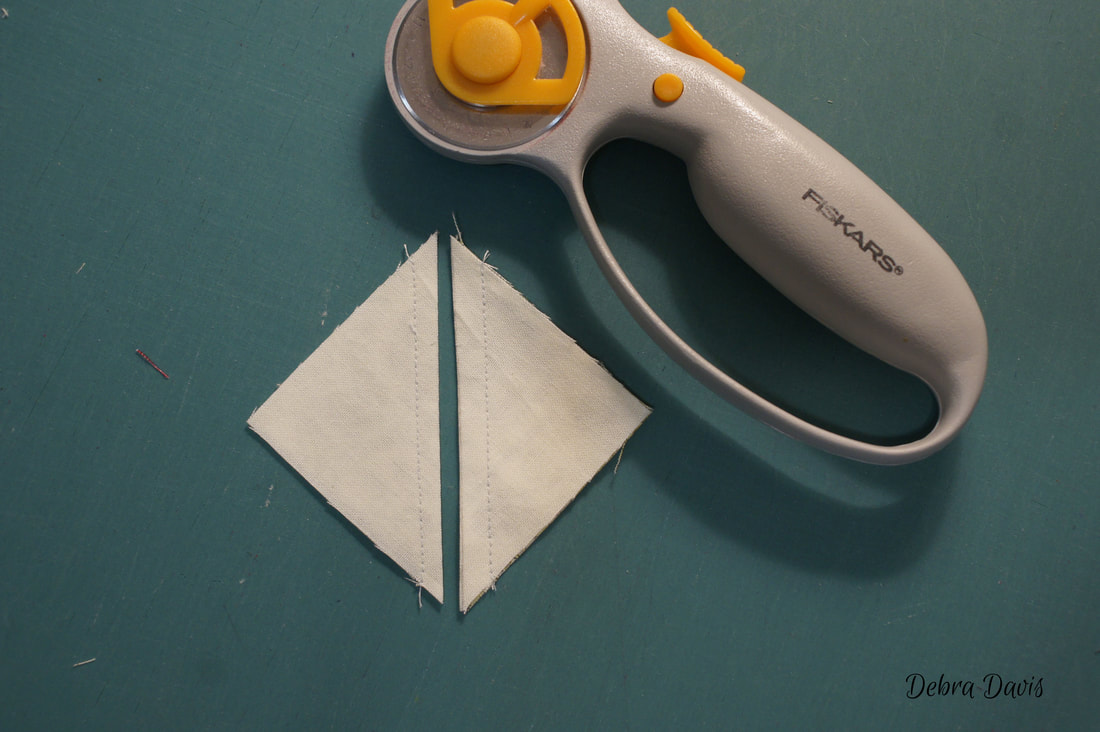
They all get cut apart on the drawn line and pressed towards the dark side.
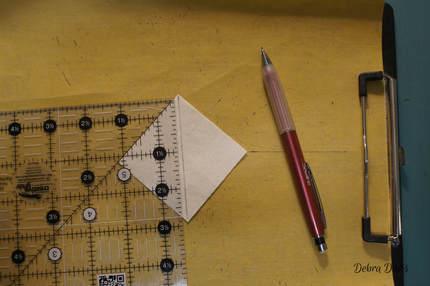
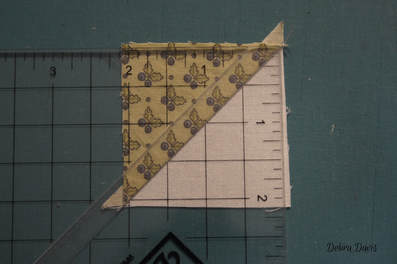
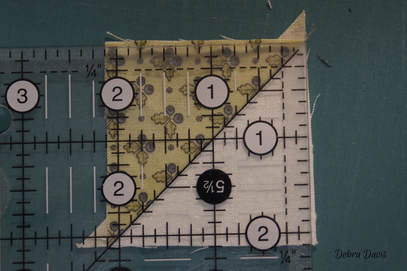
I then used my Bloc-Loc ruler to trim them to 2" x 2"
If you are using a regular ruler, and I highly recommend Creative Grid rulers since they do not slip as much, be sure to line up the diagonal line on the ruler with the seam line on the HST.
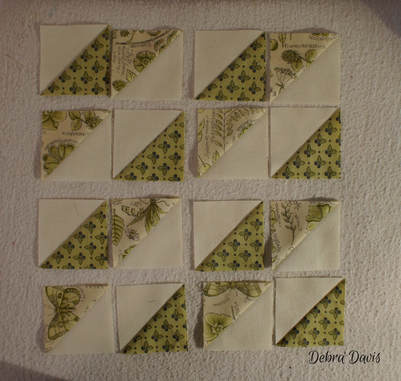
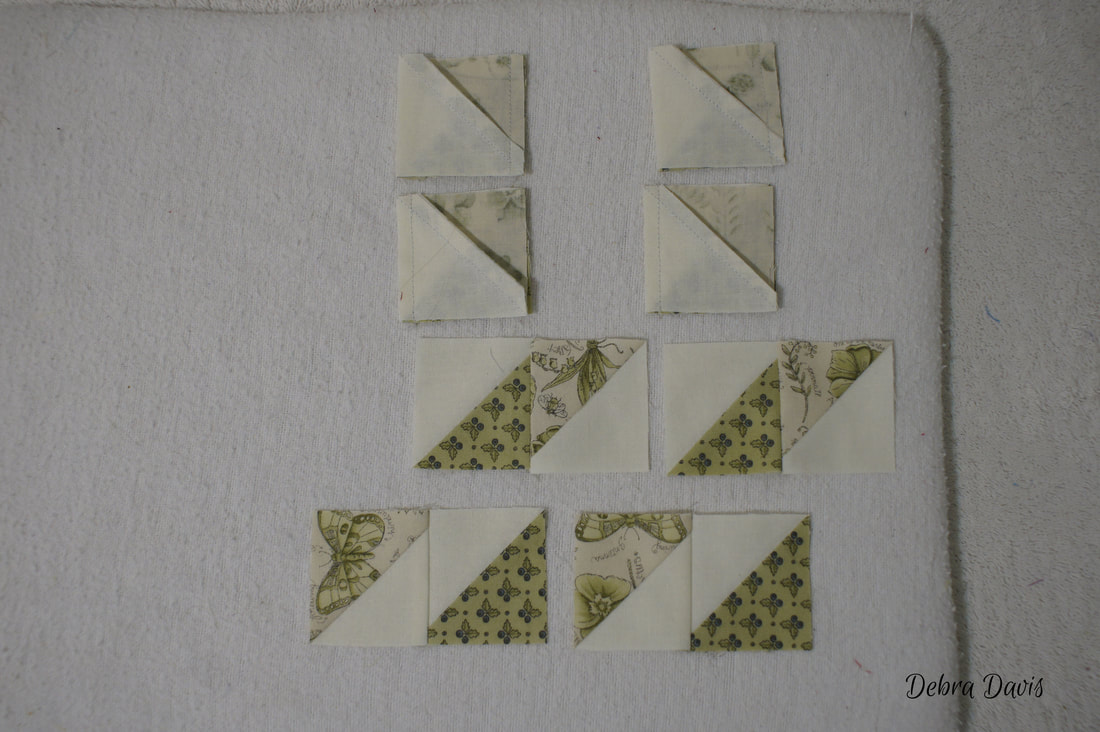
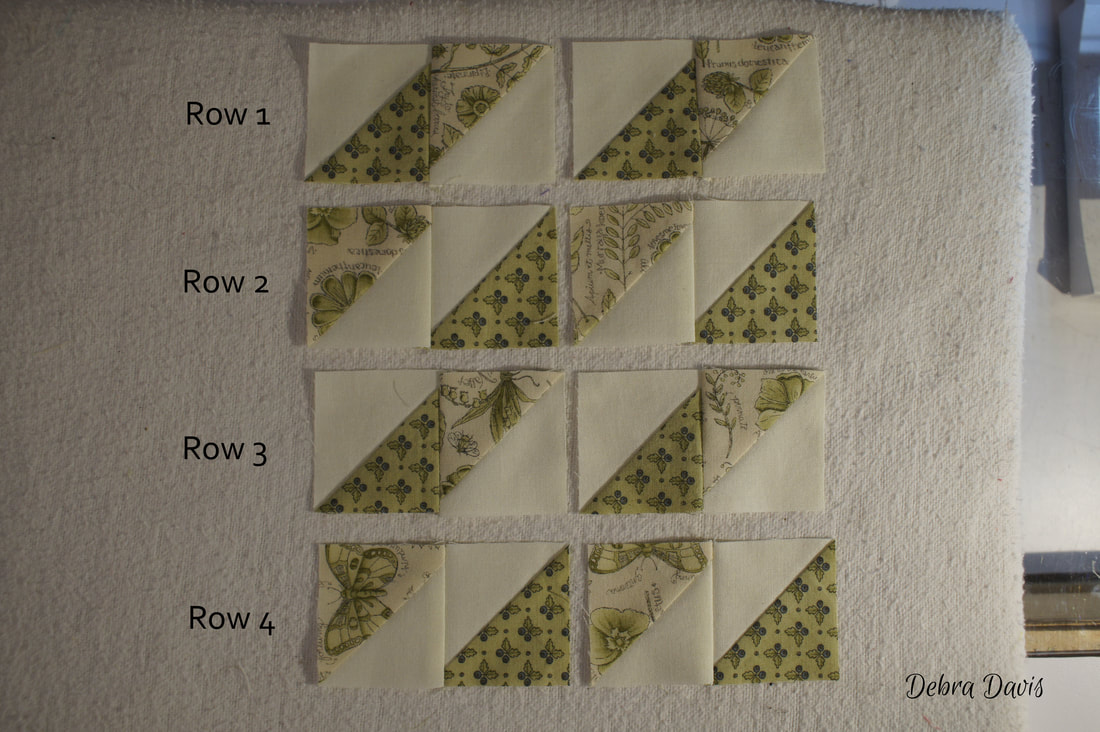
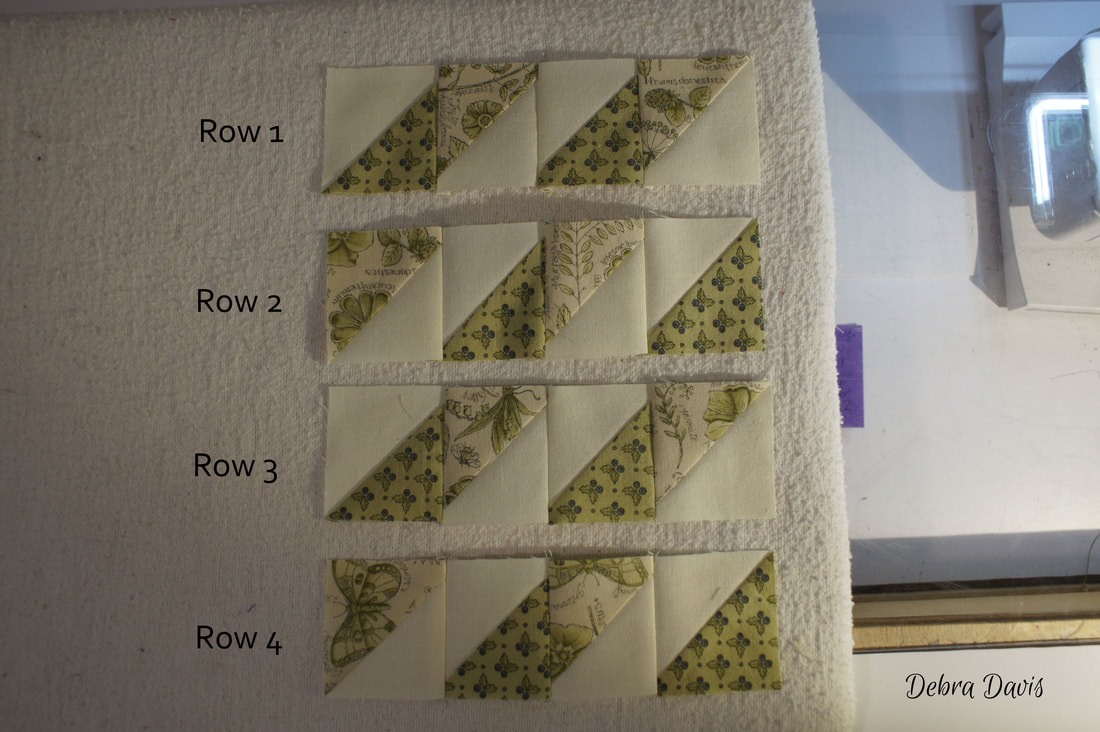
I have a small flannel board that I lay my pieces out on in the order they are going to be sewn.
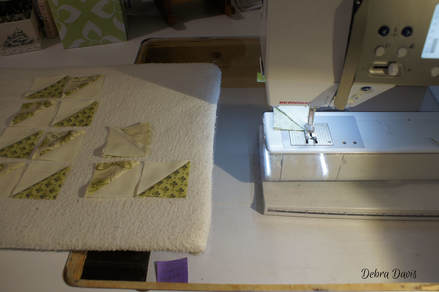
I first sewed together the pairs in each row.
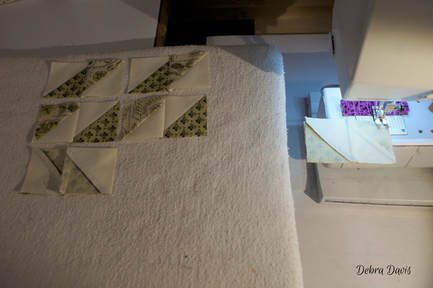
Here you can see how I have things arranged for ease of reaching the next pieces to sew as I chain-piece all of the pairs together.
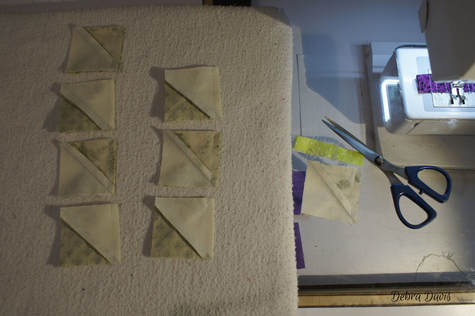
After sewing I clip them apart one by one and lay them back in the order I sewed them in.
Each row gets pressed in a different direction.
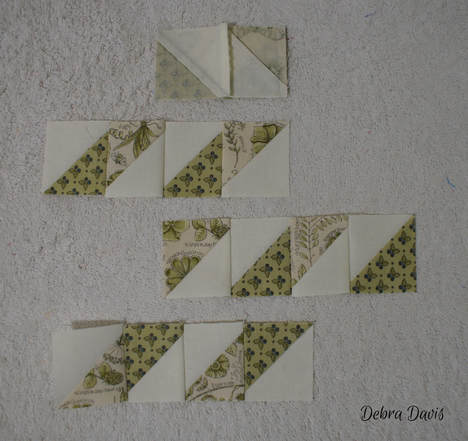
Then I join the pairs to finish each row.
For these small blocks the flannel board is really handy-I can move fomr my machine to the ironing board and keep everything in perfect order. My flannel board is just a piece of sturdy cardboard covered with a couple of layers of batting and an old flannel sheet on top-all taped to the back with duct tape to keep everything snug and wrinkle free.
Press the rows in the same direction as previously.
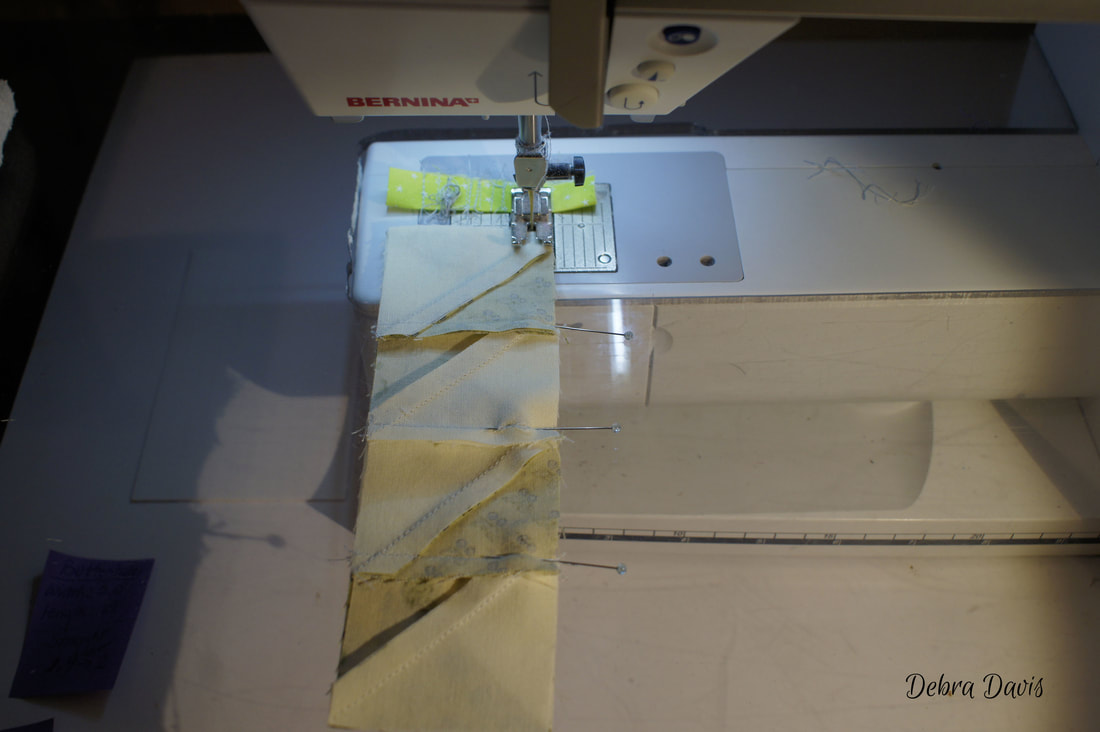
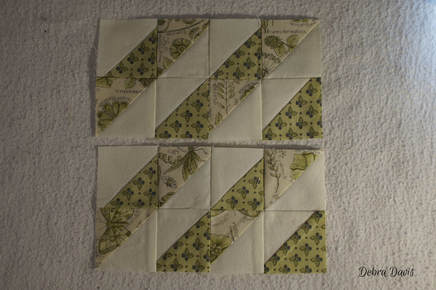
Next I will join Rows 1 and 2 together, and 3 and 4 together.
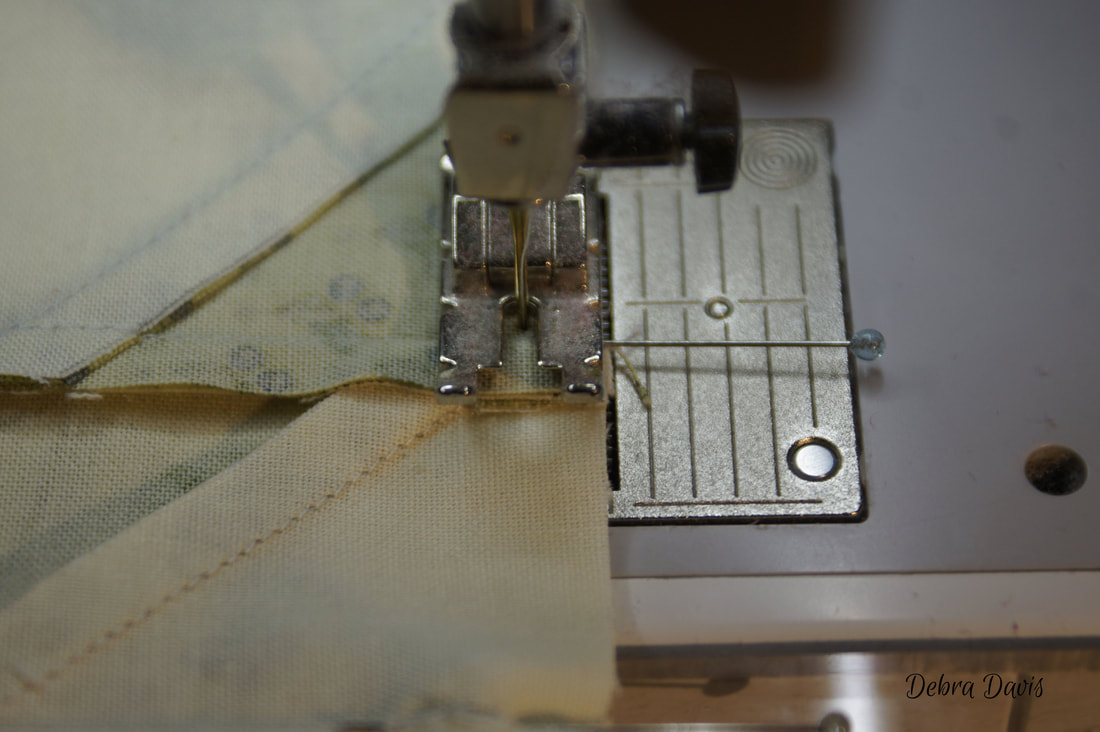
Pinning the intersections and going SLOW over those seams.
When I am using a pin like this I sew right up to the pin, stop with my needle in the down position, remove the pin, and continue sewing carefully over the seams.
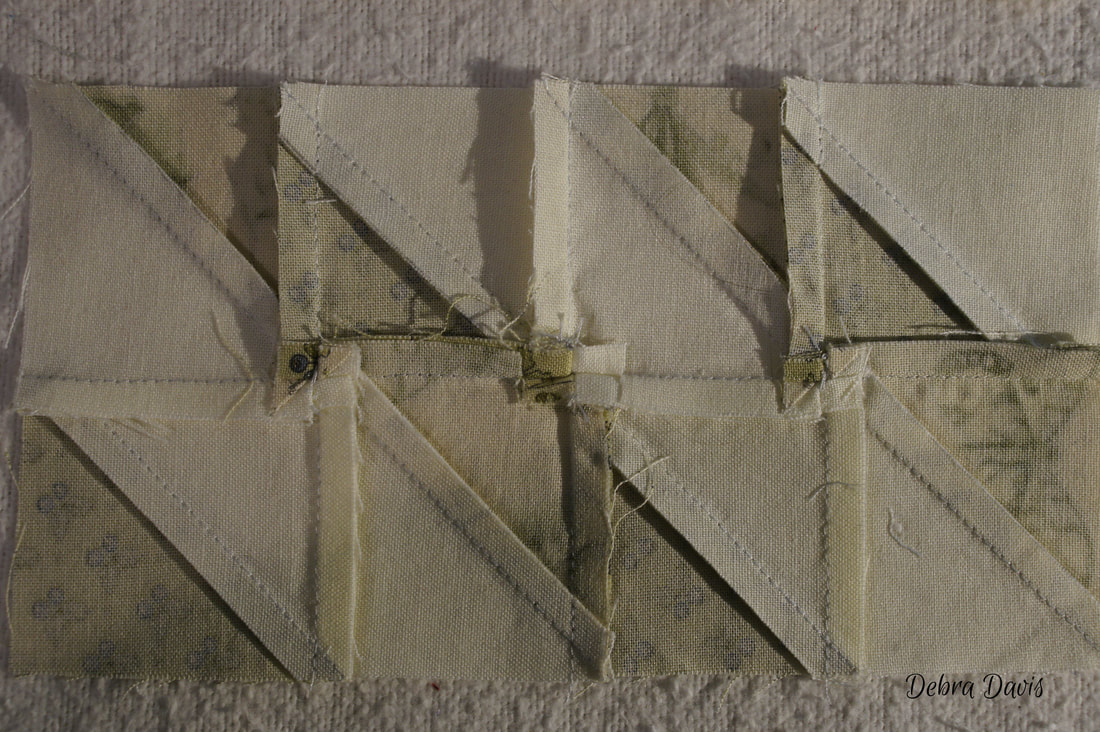
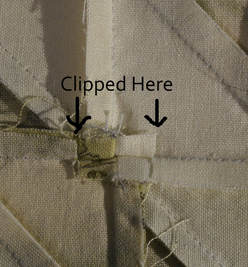
These are pretty bilky seams and I just do not like to press my seams open if I can avoid it, so I have fanned the seams here. I had to make a couple of clips to get them to lay the direction I wanted. If I need to clip, I use my very sharp scissors and clip right up to the stitching. Then the fabric in the seam will fild over as it needs to. Sometimes all you need to clip is just one layer of fabric to make it work.
All that is left is to sew these two sections together. I fanned the seams open here as well,
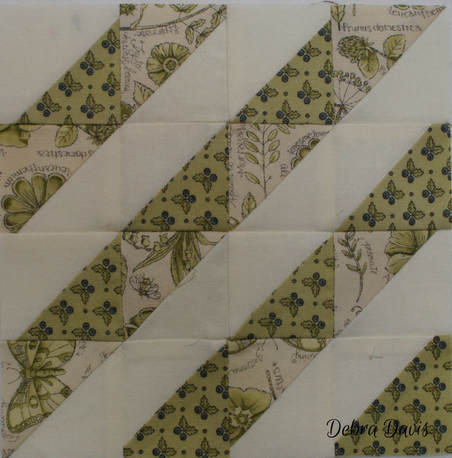
And the block is complete.
Seven bloskc to go and I will be able to start putting this one together. I have been playing with the setting for this quilt and come up with something I think expresses my garden idea, and my little bees too, in a fun way. I can hardly wait to see how it all comes together.
So until next time... Happy Quilting!!
Links to all of my Moda Blockhead Tutorials can be found Here
|
Welcome to the site of Debra Davis-a woman who loves the Lord and loves to quilt.
My other blog where I share about my walk of faith:
Sitting at His Feet This website uses marketing and tracking technologies. Opting out of this will opt you out of all cookies, except for those needed to run the website. Note that some products may not work as well without tracking cookies. Opt Out of Cookies |
Tuning My Heart Quilts by Debra Davis is licensed under a Creative Commons Attribution-NonCommercial-NoDerivs 3.0 Unported License.
Based on a work at www.tuning-my-heart.com.
Copyright 2010-2022 by Tuning My Heart Quilts, LLC. No part of this website can be reproduced without written permission from the author. All rights reserved.
Proudly powered by Weebly


 RSS Feed