|
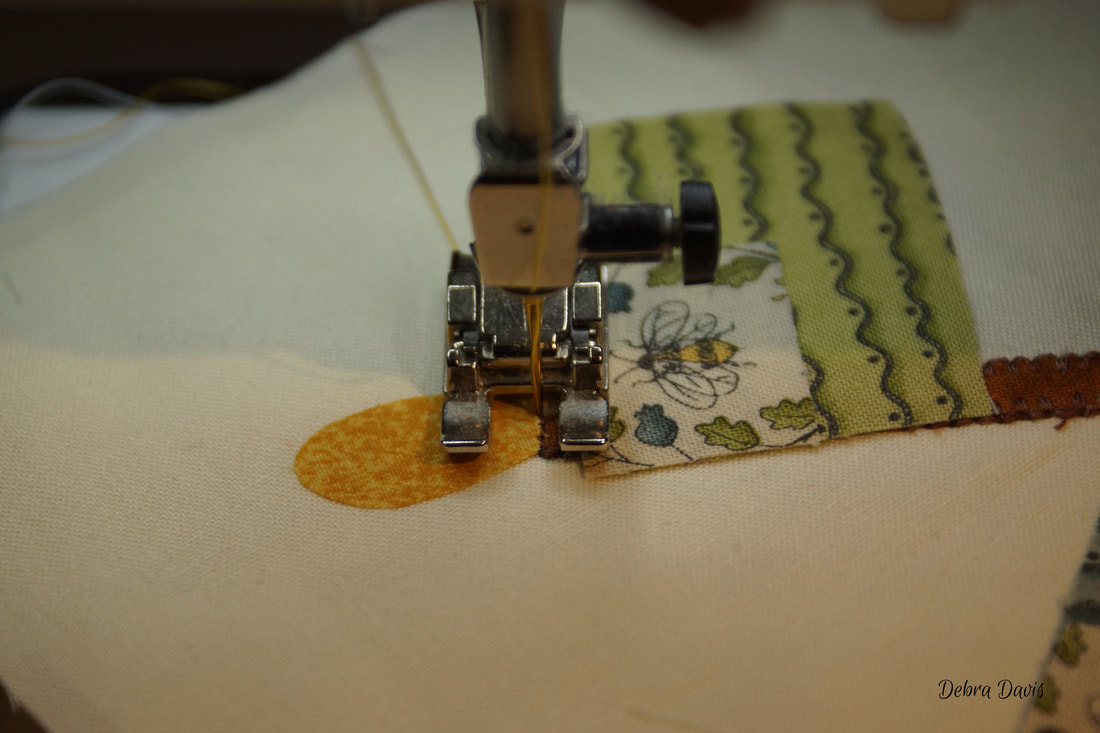
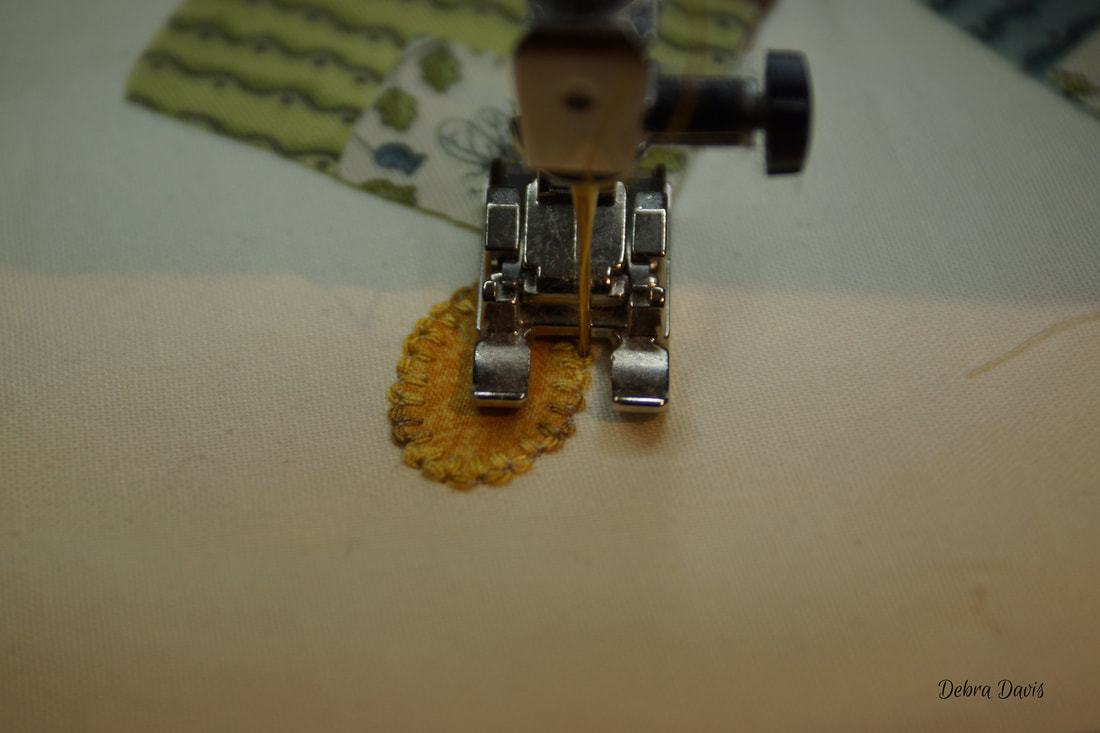
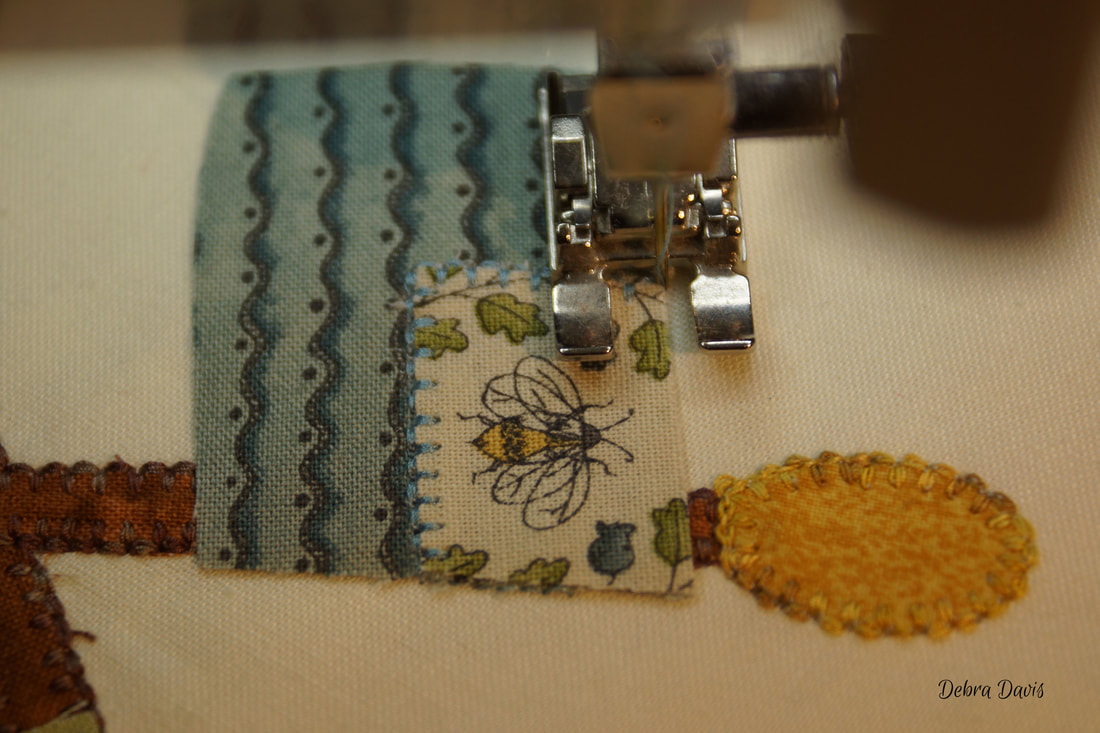
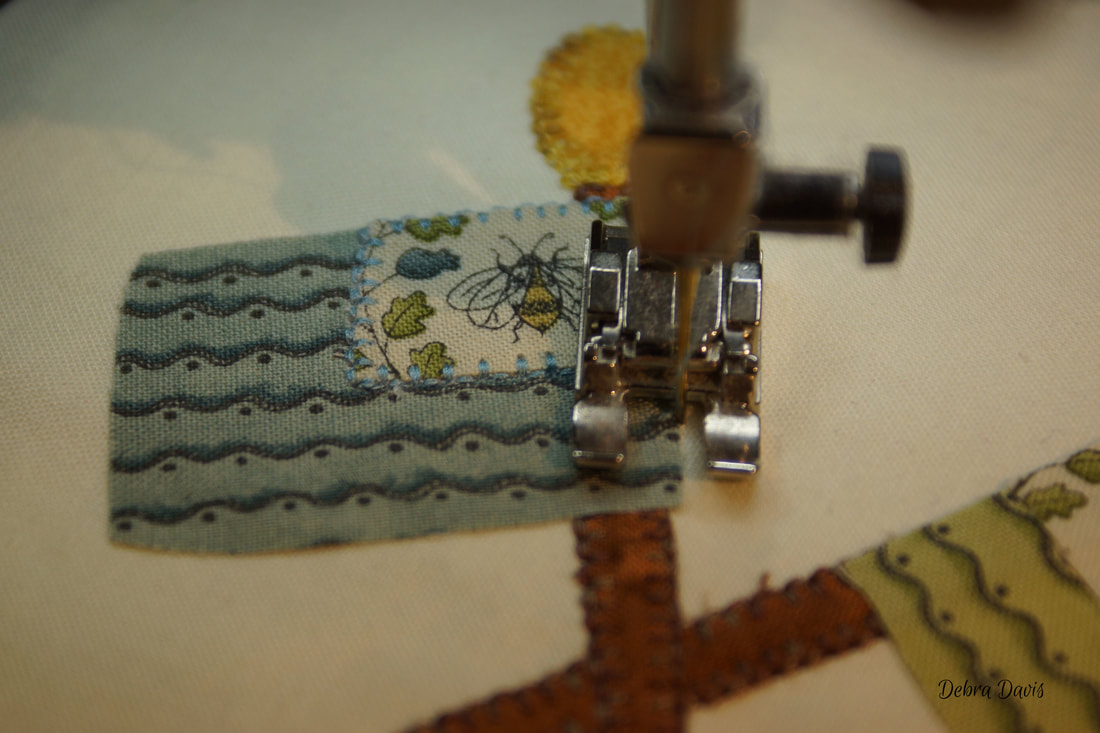
Today I worked on the Flag block by Jan Patek-a cute little applique block. You can find Jan's pattern on her blog by clicking this link: http://janpatek.blogspot.com/2017/06/moda-blockheads-16-me-again.html I decided my flags would feature the bees-perfect for my little garden of blocks.  I am continuing to use the fusible applique method-one of these days I will sit down and learn to master needle turn-but that day is not today. Here I am showing how I drew the flag poles-just filling in what is hidden behind the flags. With the pattern flipped over to the back I can still see through to trace all of the pieces on to my fusible. (Remember: when doing fusible applique you have to reverse the pieces.) I wish I had numbered the pieces for flag one and flag two-it would have made putting them together a little easier. 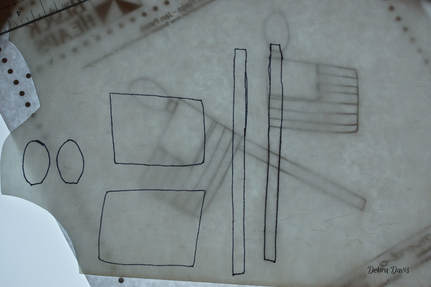 Following the directions for my fusible I iron the pattern pieces on to the wrong side of my chosen fabrics and then cut them all out.  I cut my background a little larger than the finished size, used my iron to make fold lines (as well as found the center of the paper pattern and created fold lines on it as well. Then I just line up the folds of the fabric with the folds of the paper to find the middle. 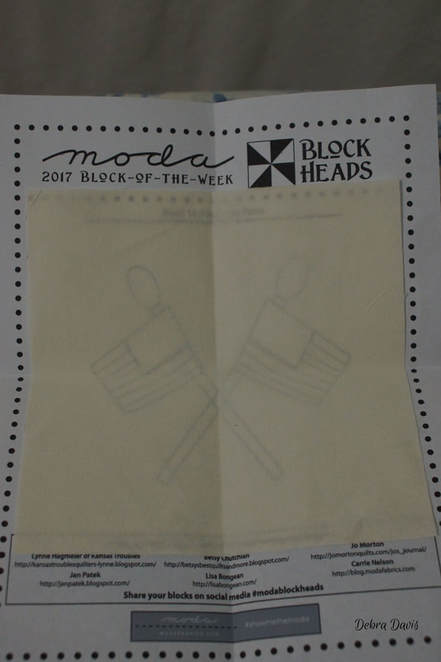 I am giong to start with the pieces that go in the back-the flagpoles, I used a pencil to make marks on the flagpoles to show where the flags will cover them up. (shown in more detail later) 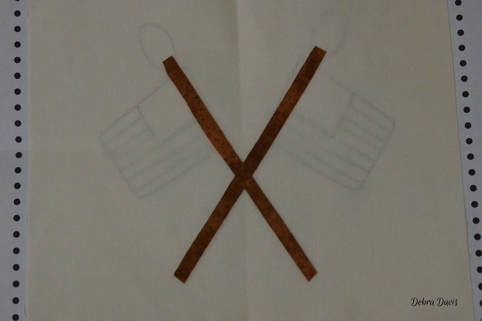 I decided to try something new and sew around these before adding the rest of the flag pieces. So after pinning a piece of stabilizer in place I went to my maching to start sewing. I like to start with a few straight stitches. (stitch length is 1.9, needle is in down position moved two places to the right.) 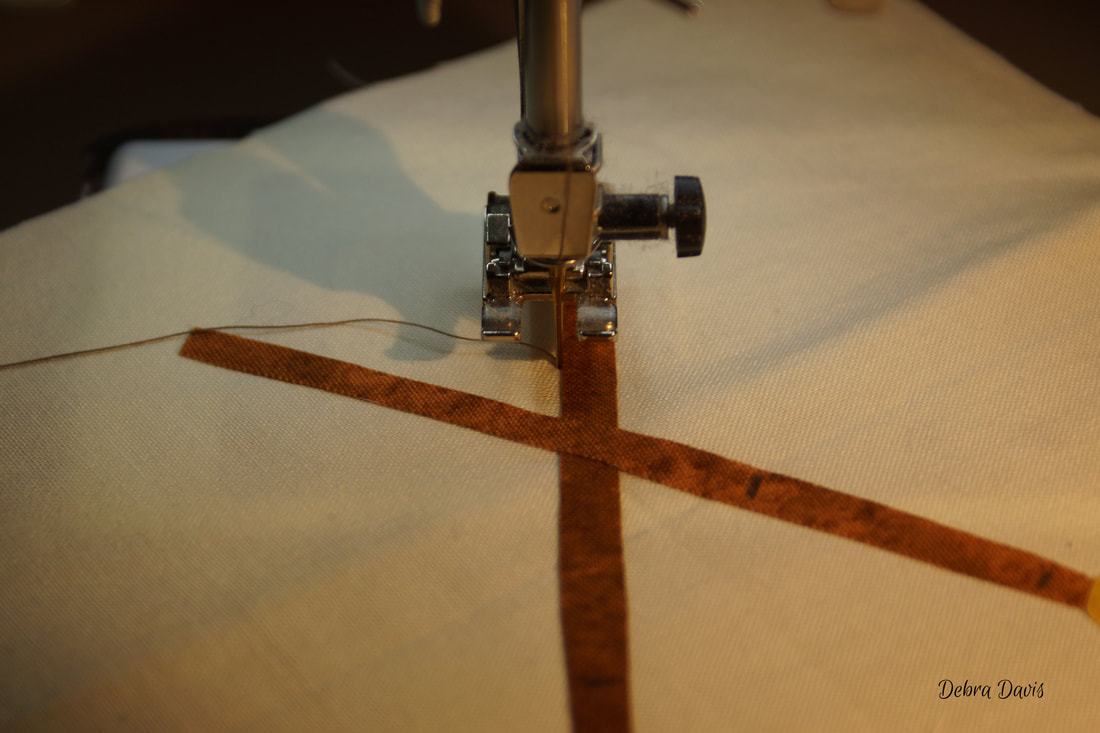 When I come to the place where I want to begin the Double Buttonhole stitch I pivot and clip the threads before proceeding. With these narrow pieces I decided to set my stitch width to 1.8, the length is still 1.9 and my needle is in the centered again and in the down position (Meaning when I stop sewing my needle stays down in the fabric.) 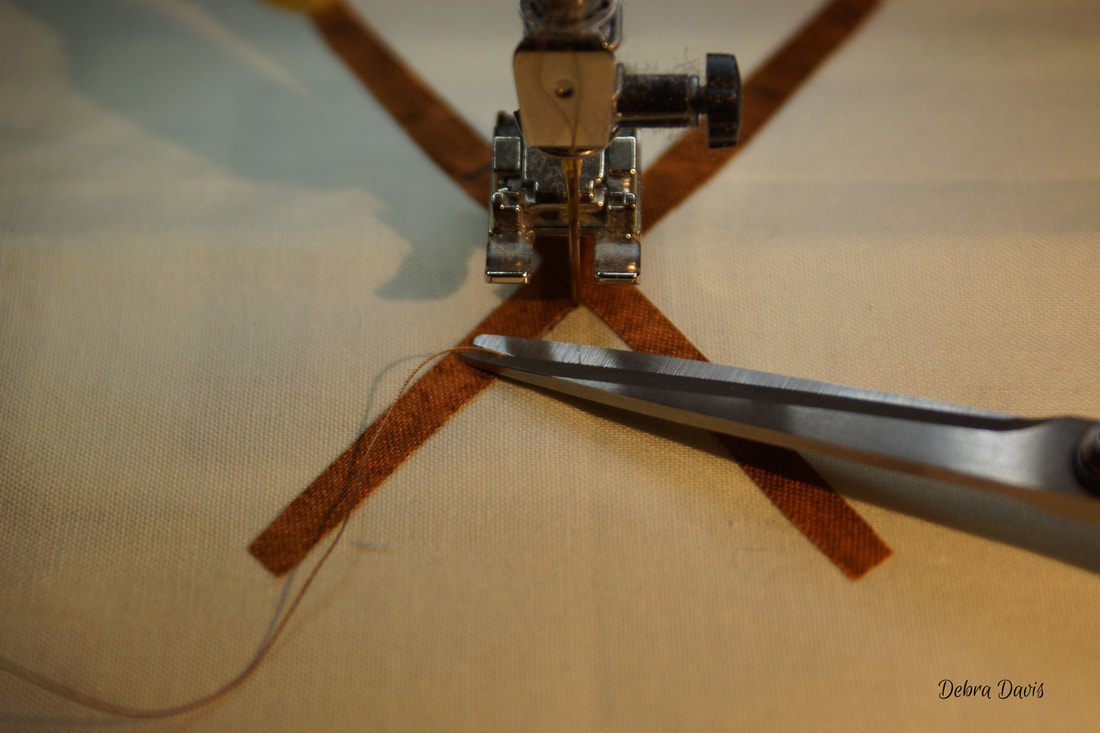 The proceed with the buttonhole stitch around this section of flagpole. 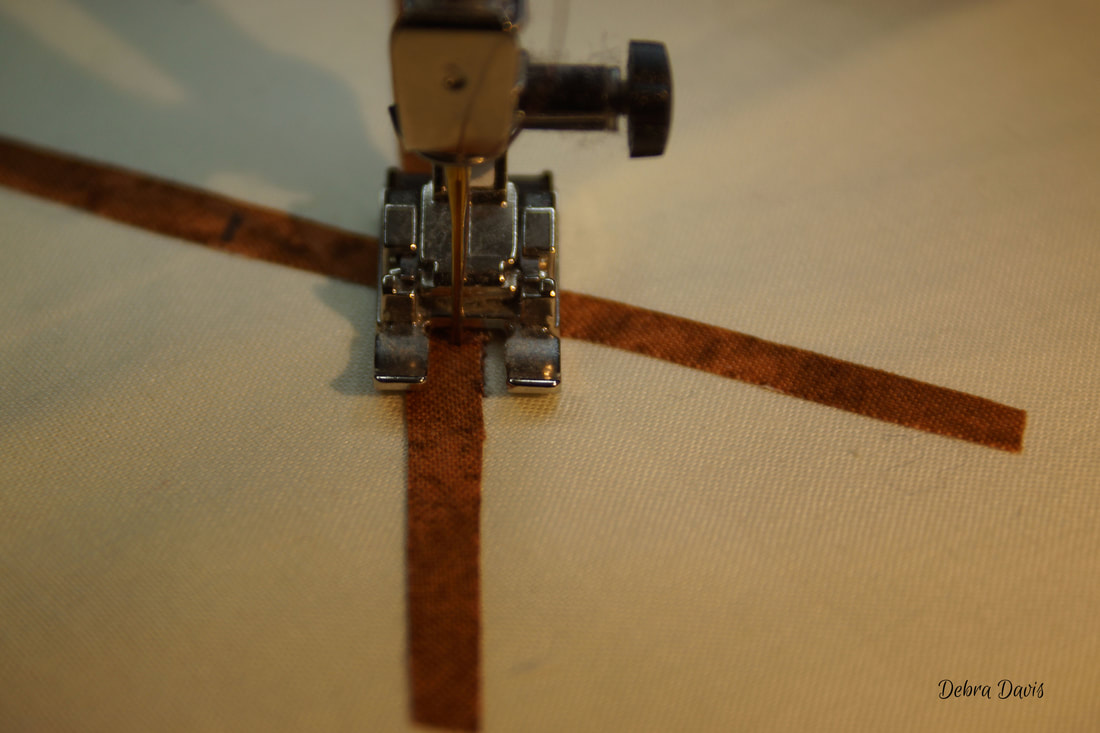 On the straight part of the stitch I want to keep my needle right along the edge of the applique piece-not on top of it but to the side. 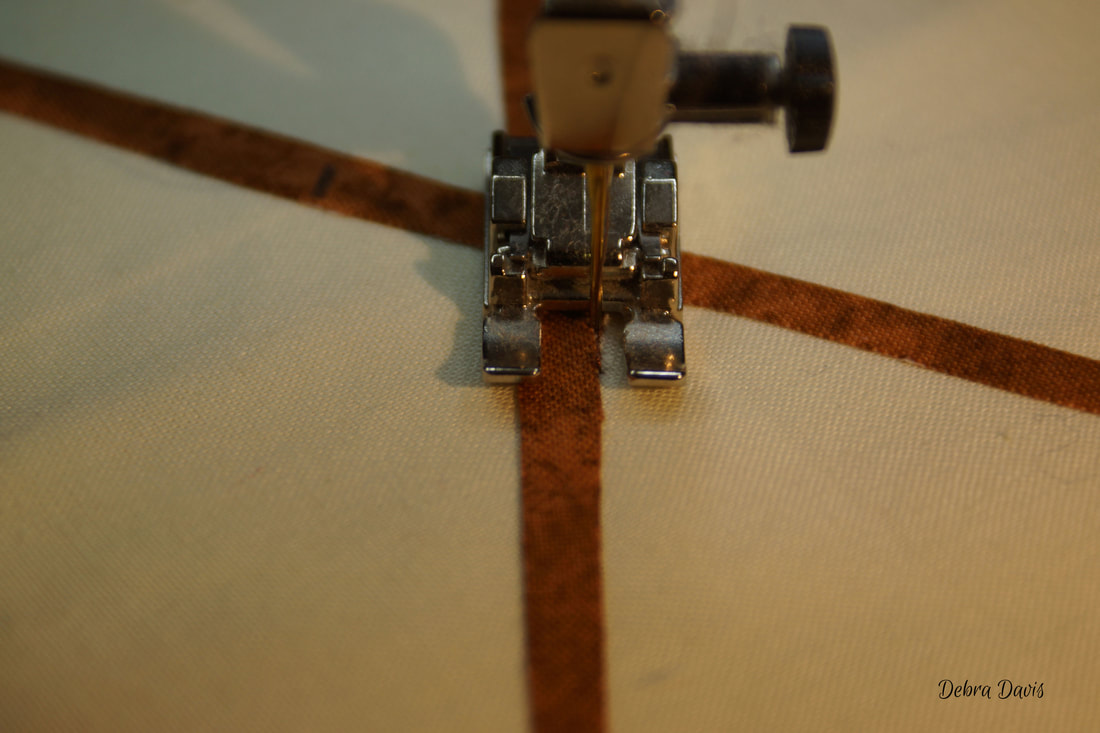 When I come to a corner where I am going to pivot and continue. 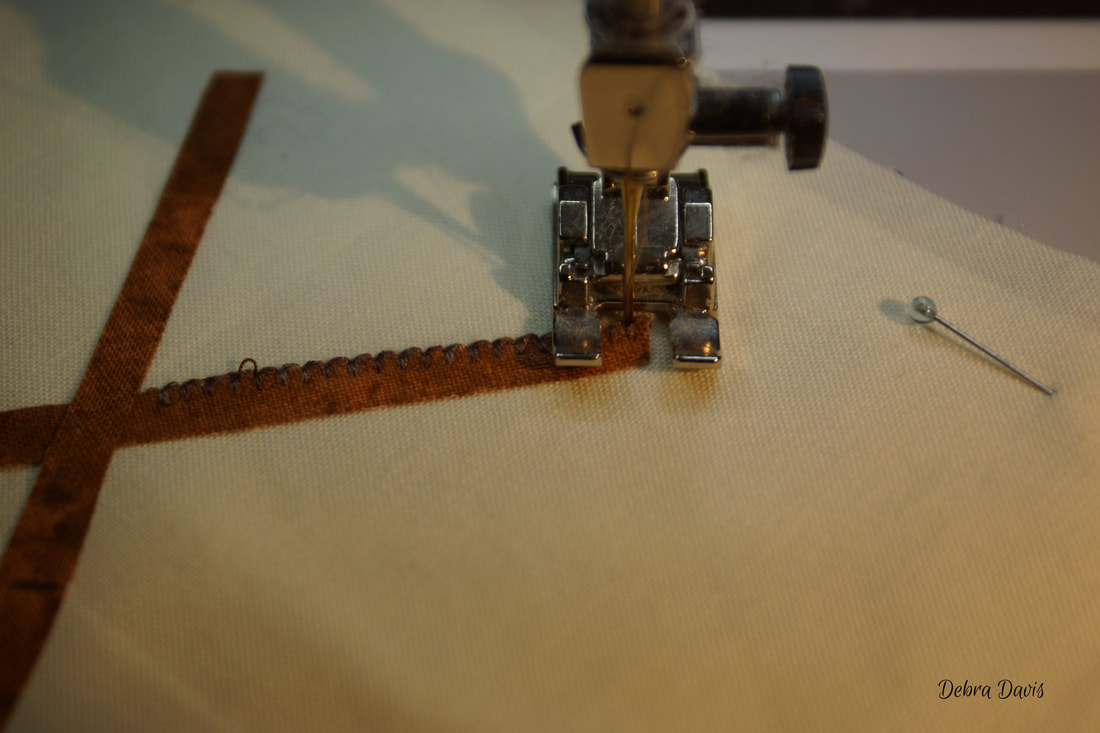 Since I started with the flagpole that is underneath the other I stop, pivot and end with a few straight stitches going back over the stitches I have just made, and finish with a locking stitch. 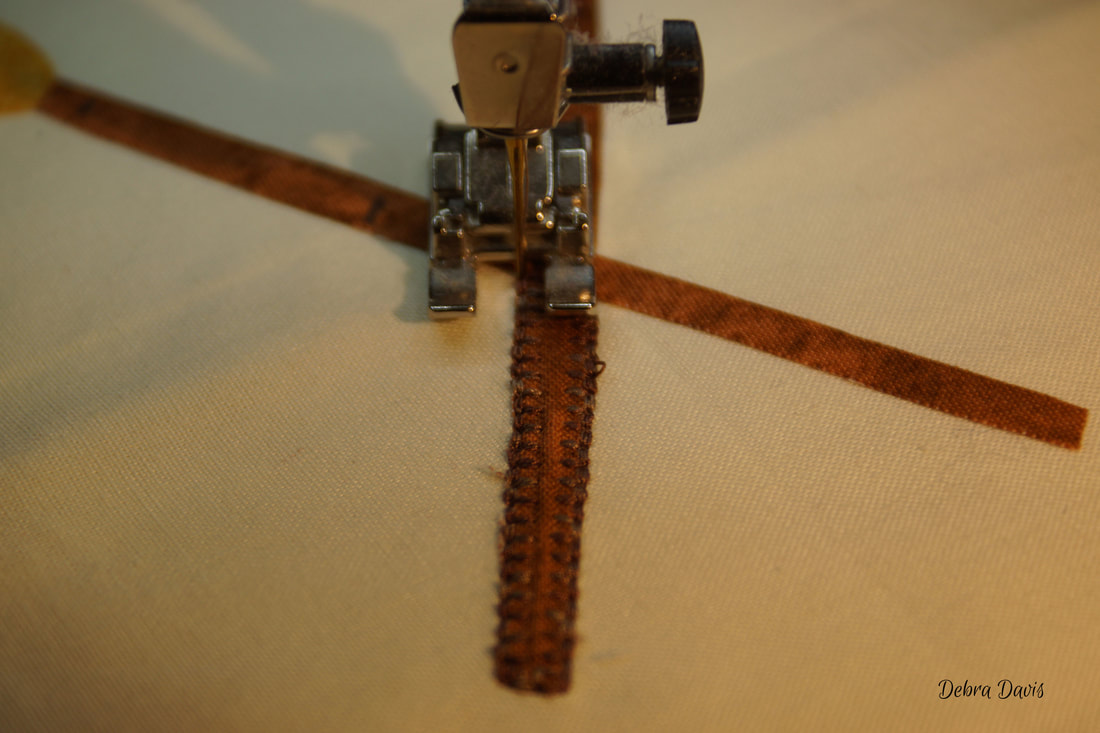 Next I went to the other side of this flagpile andbegan in the same way-starting with a few straight stitches, pivoting around the other direction to begin the buttonhole stitch... 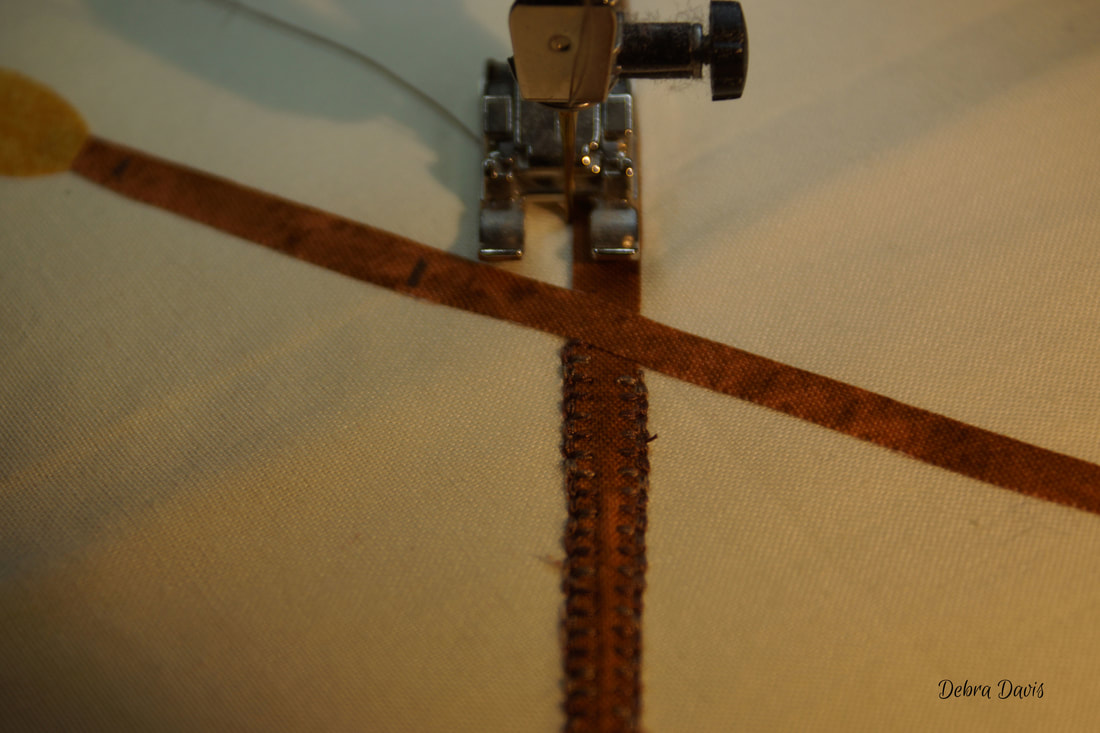 Before I brought the piece to my machine I made a couple of marks on each flagpole just inside where the flags will cover them up. As I want to avoid the bulk my buttonhole stitch would create underneath I will switch to the straight stitch and use it to go between the marks I have made on the flagpoles-those marks just barely show up in the photos but I was able to see them just fine. 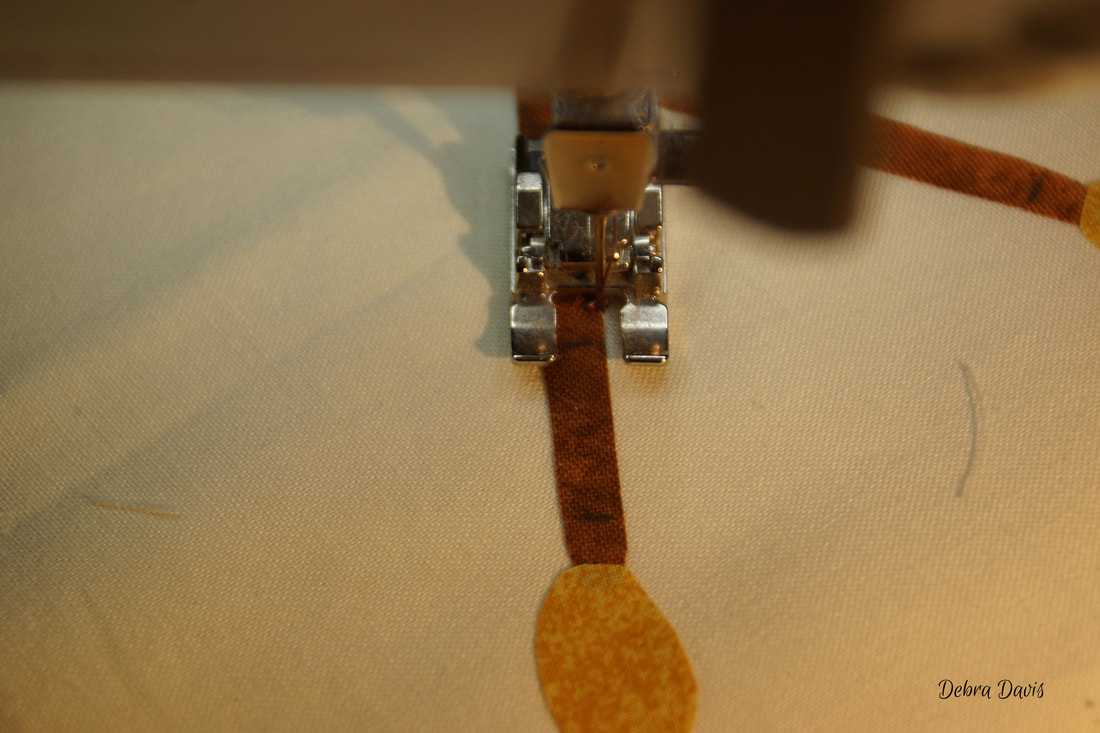 Made it to my first mark so switch to the straight stitch. 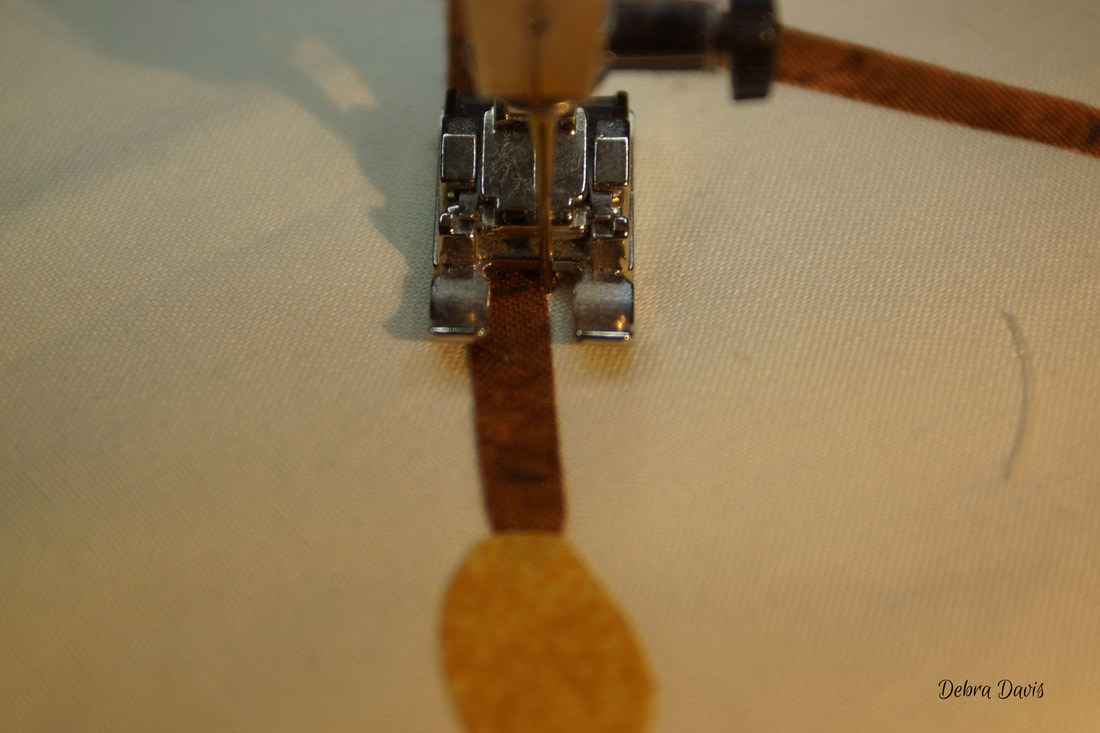 When I get to my second mark I go back to the buttonhole stitch 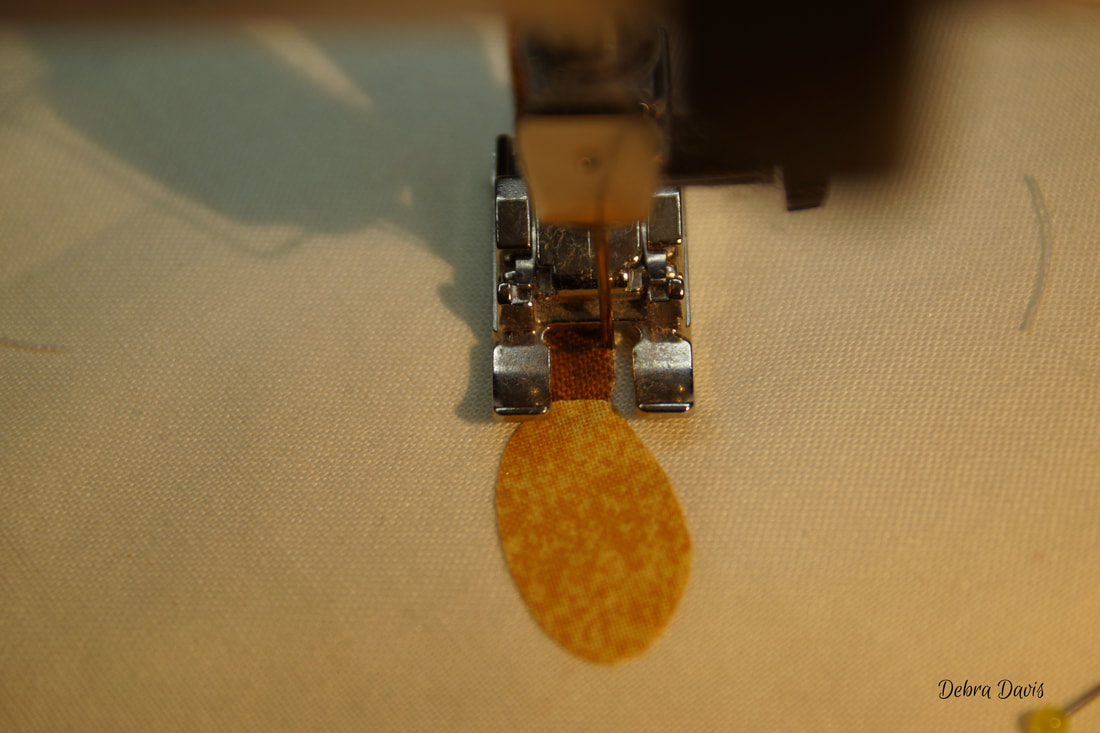 After only a couple of stitches I pivot, switch back to the straight stitch to go across the top of the pole at the finial, pivot and resume the buttonhole stitch until I come to my mark again-then straight stitch down to the next mark before going back to a buttonhole stitch-sounds complicated but it worked out well in the end. 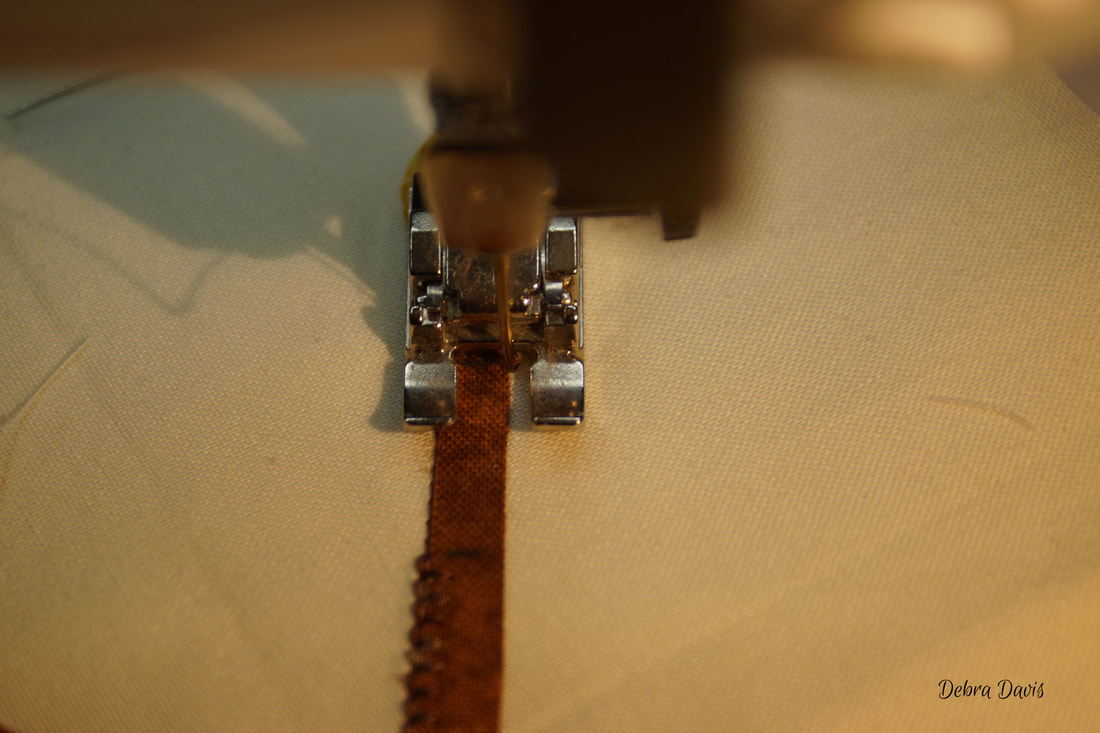 This time when I got back to the flagpole on top I just pivoted and continued to work my way around that one too. 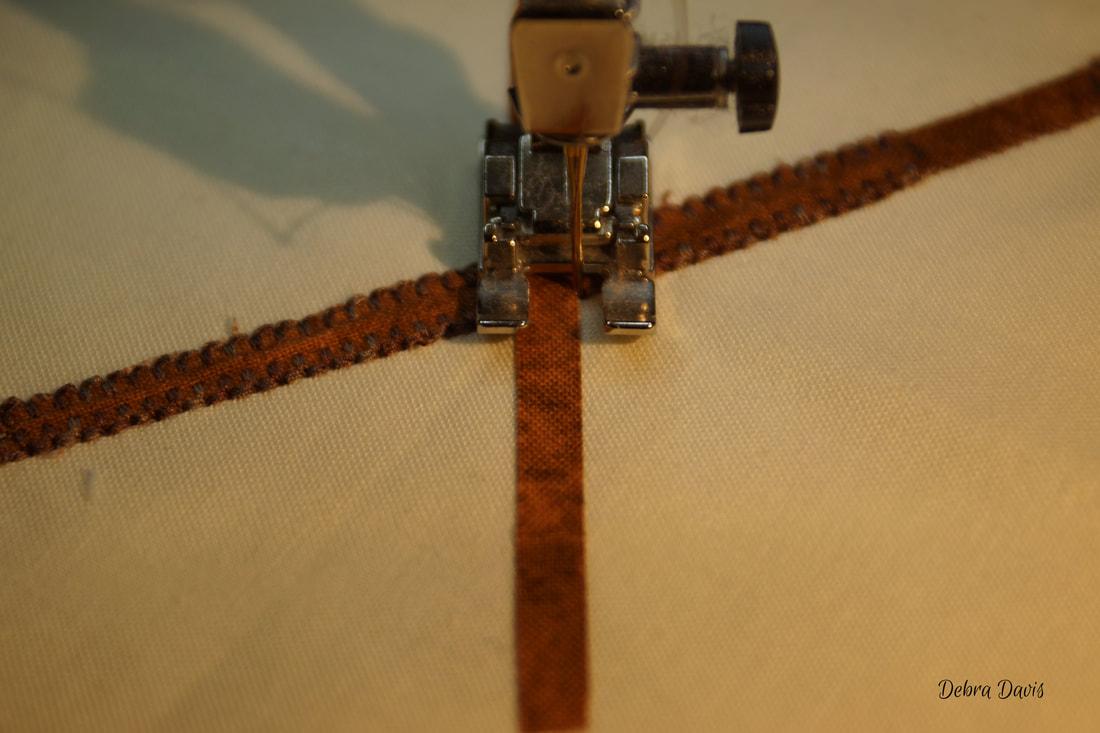 Making the switch to a straight stitch between my marks. When I get back around to where I started sewing on this second flagpole I finish off with a few straight stitches and a locking stitch. 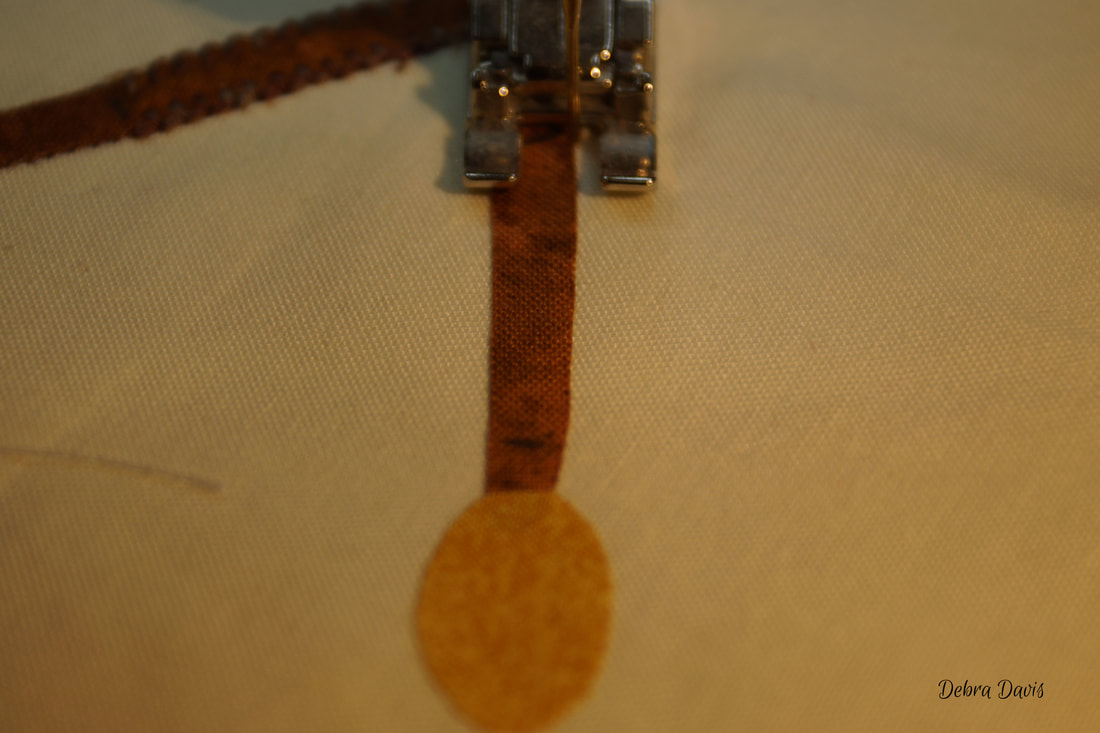 The stabilizer made it a little harder to see the pattern underneath when I brought it back to the ironing table to add the flags, a drawback to how I am approaching this, but workable. 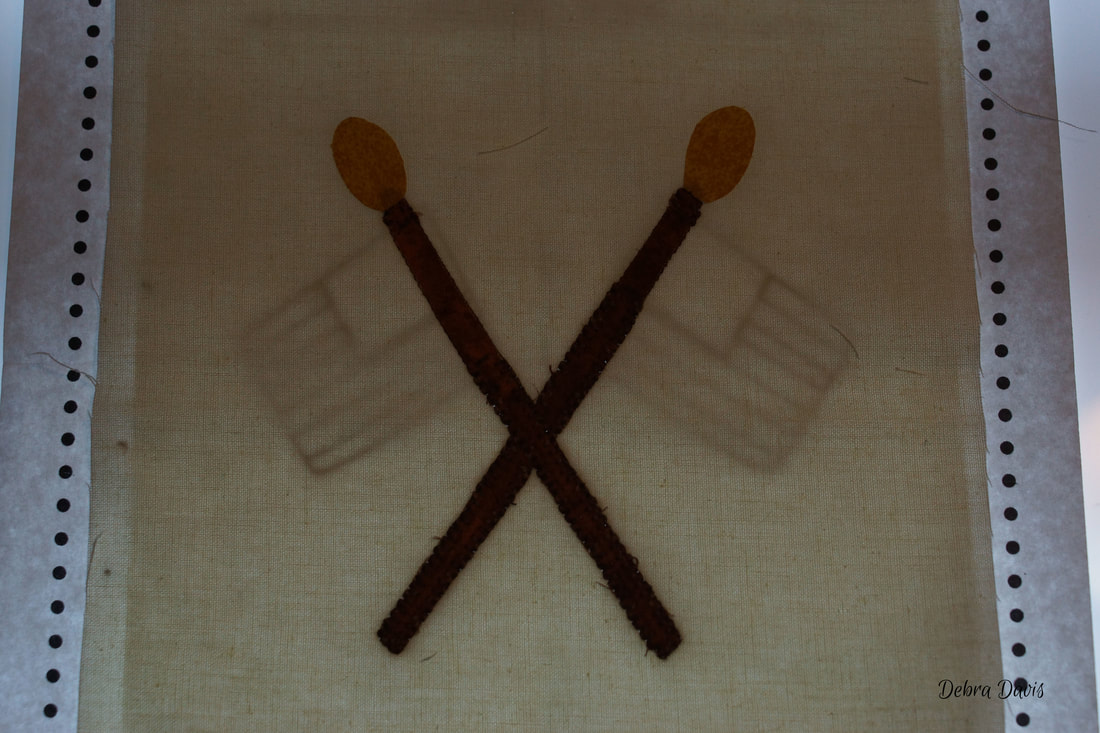 Before I add the flags I lightly pressed the pieces for each flag together-leaving the backing paper on the flag for now. I also placed a piece of paper on my ironing board to protect it from any fusible that might be hanging over the flag. 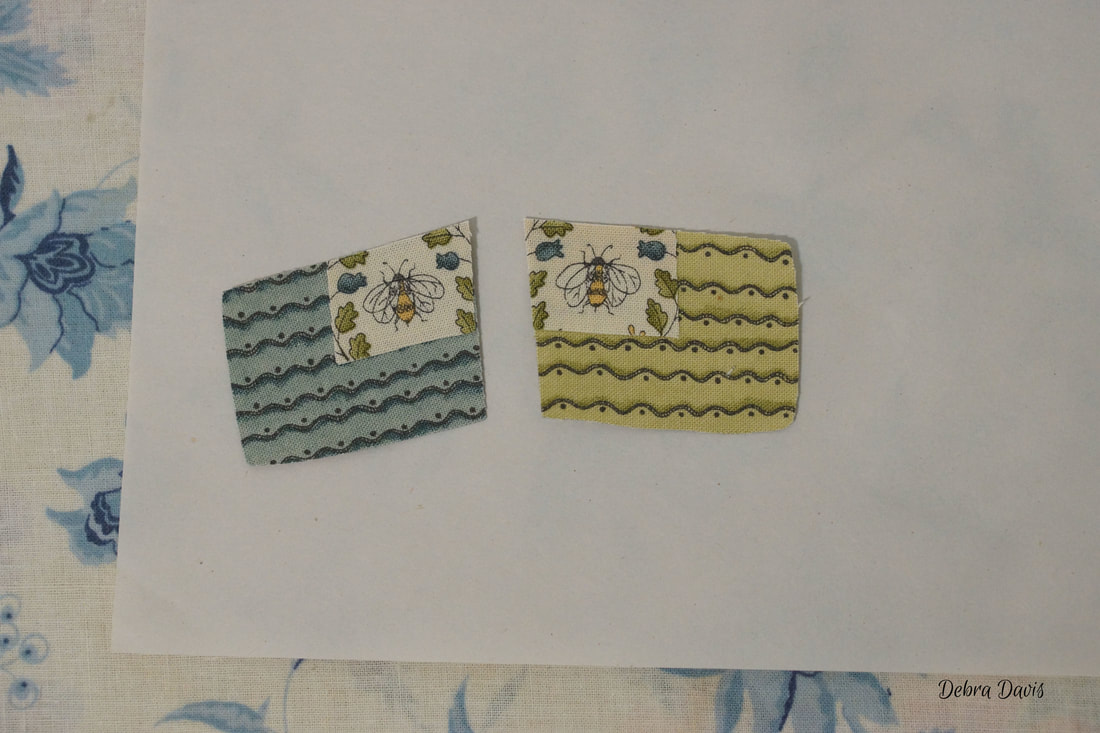 Now I can add the flags to the whole. 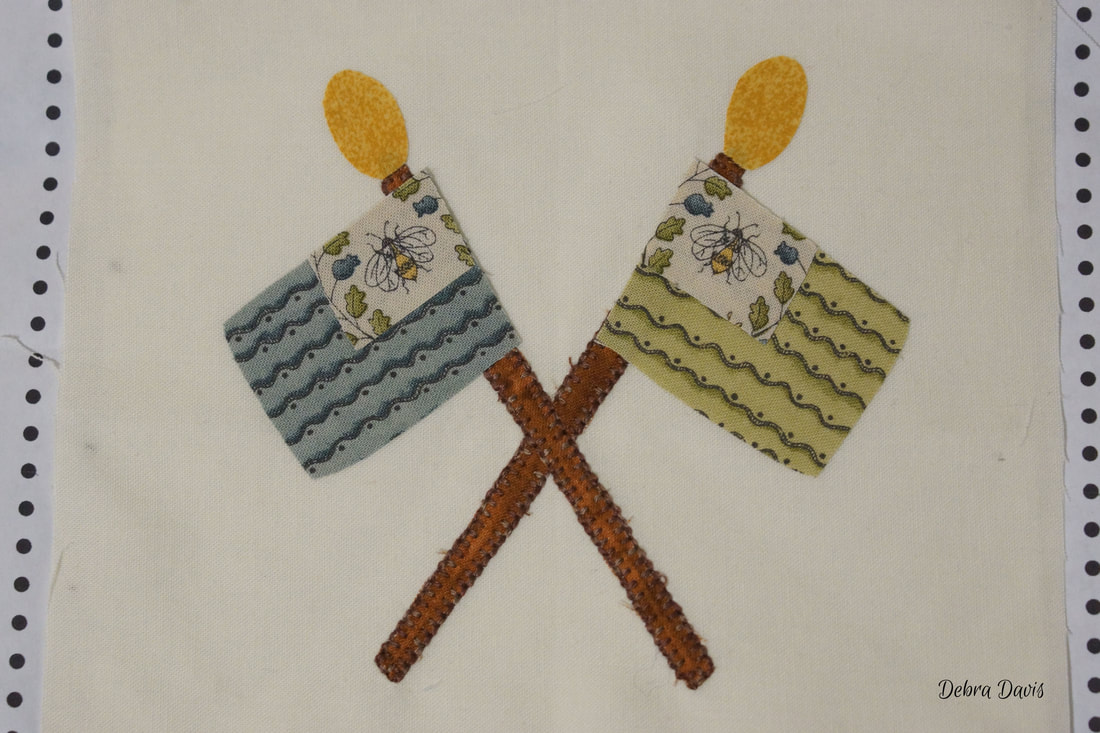 I stitched the finials next. There was a lot of stopping and pivoting to do around these curves.
The flags were pretty easy-I started with a few straight stitches along this edge. 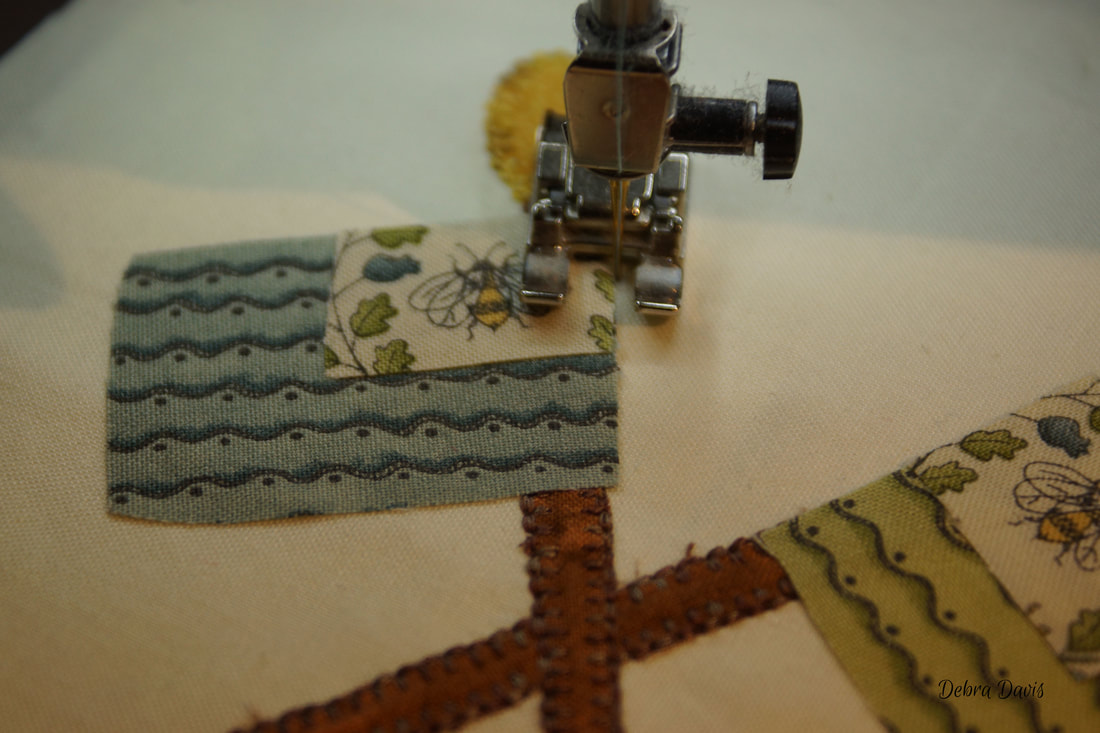 Turned and began the buttonhole stitch around the corner section. 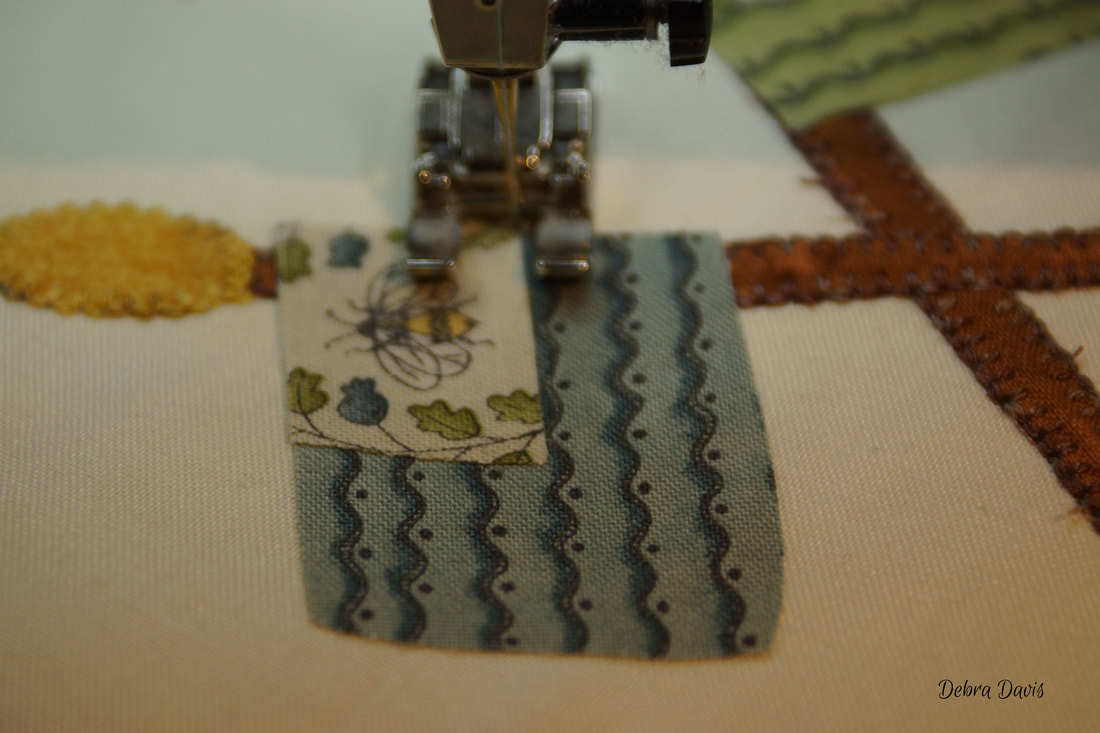 When I made it back to the top of the flag I just pivoted again and made my way around the entire flag with the buttonhole stitch.
Then just finished off with a few straight stitches and a fianl locking stitch. 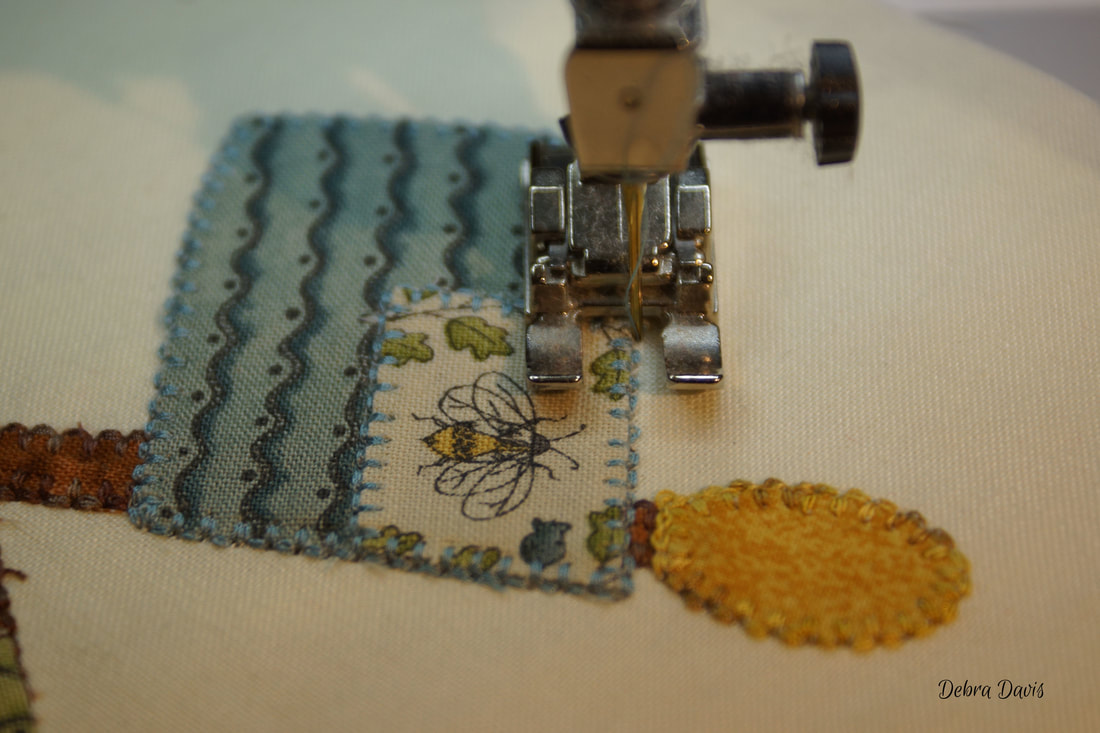 And there it is-Flags. 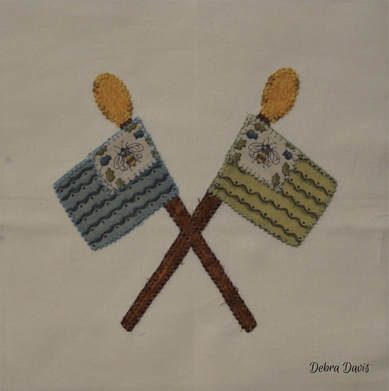 Until next time when I tackle another block I missed... Happy Quilting!  Comments are closed.
|

Welcome to the site of Debra Davis-a woman who loves the Lord and loves to quilt.
My other blog where I share about my walk of faith:
Sitting at His Feet 
|


 RSS Feed