|
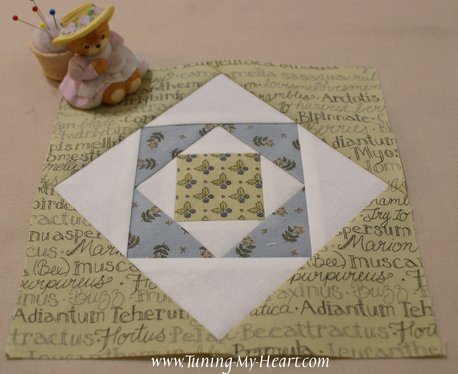
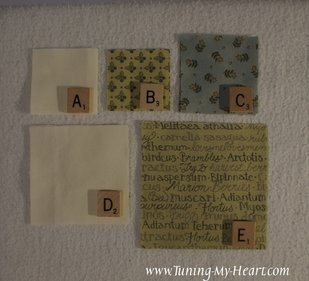
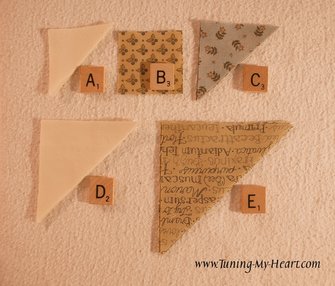
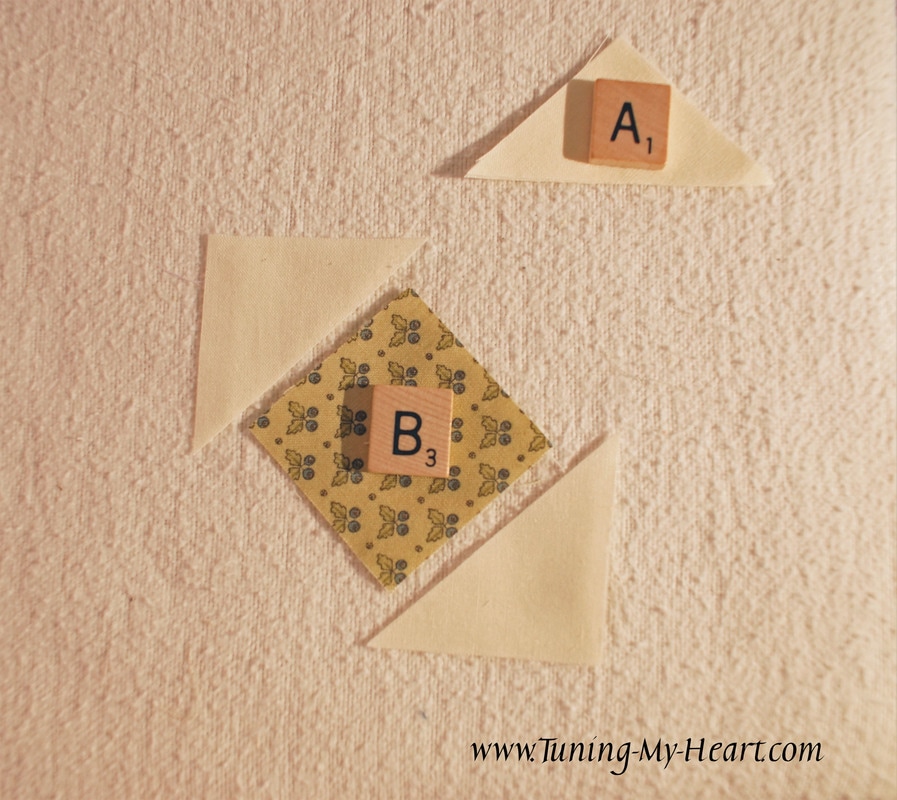
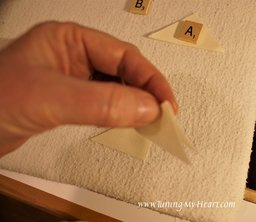
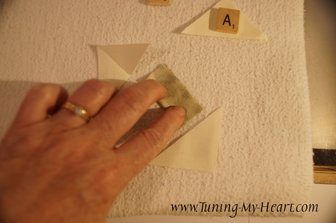
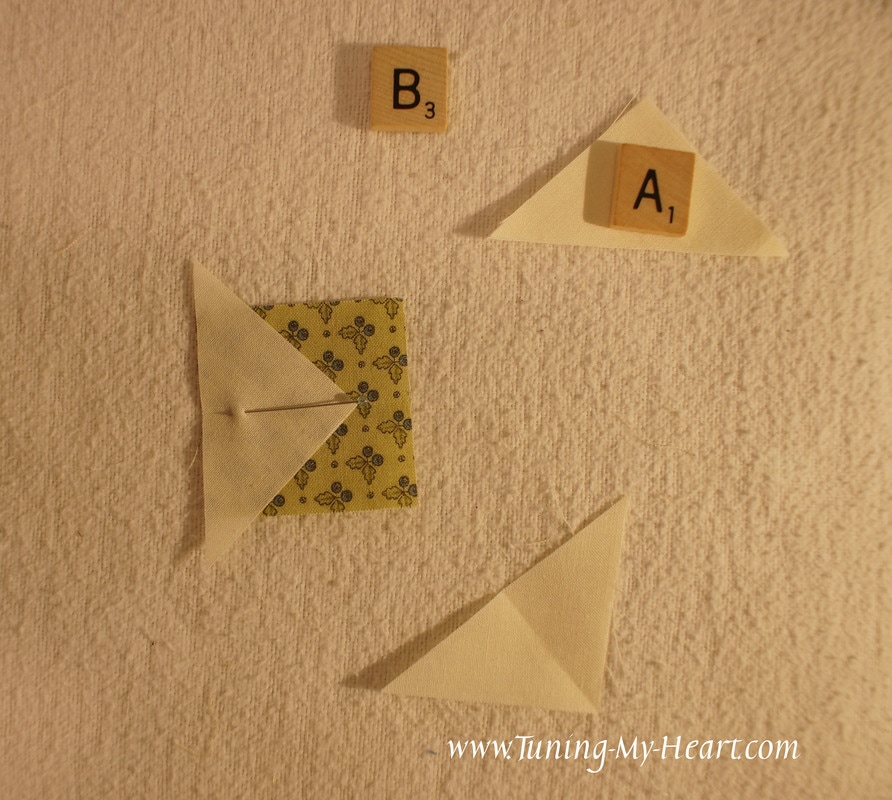
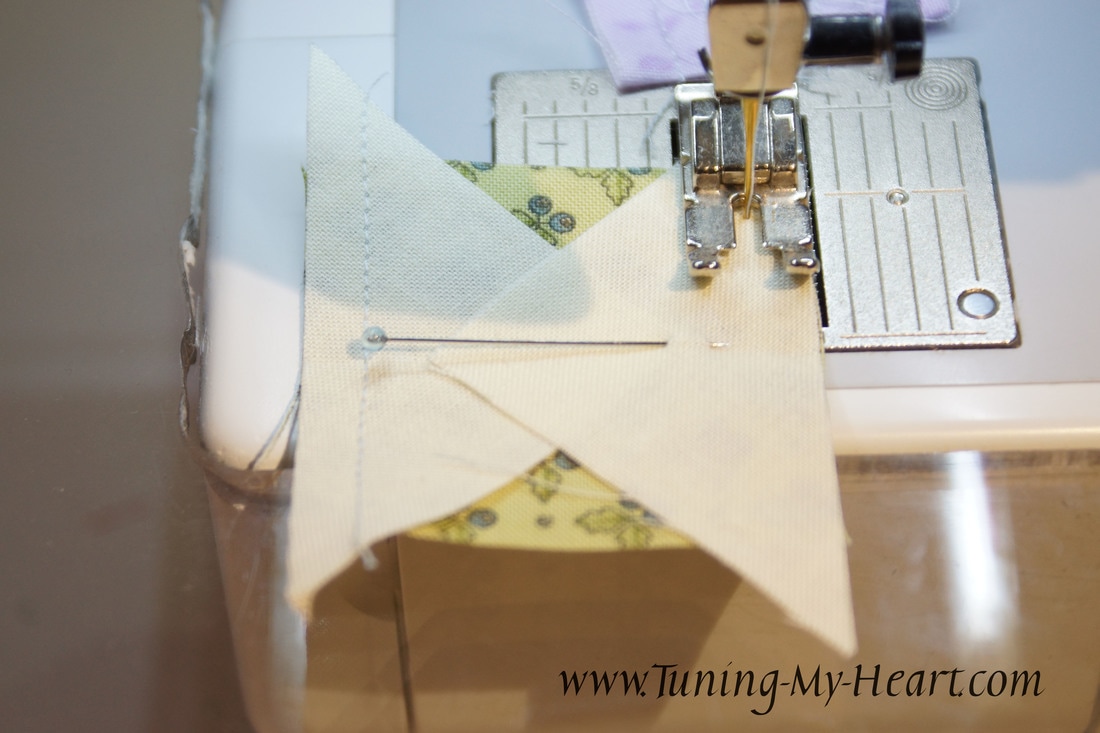
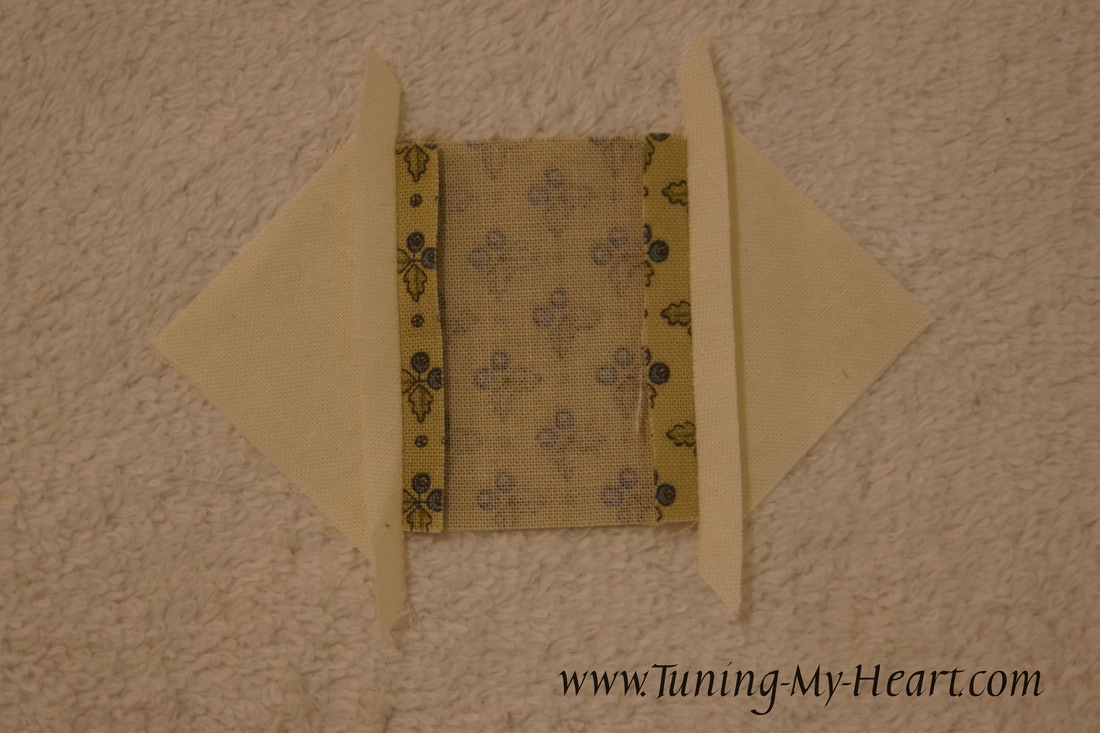
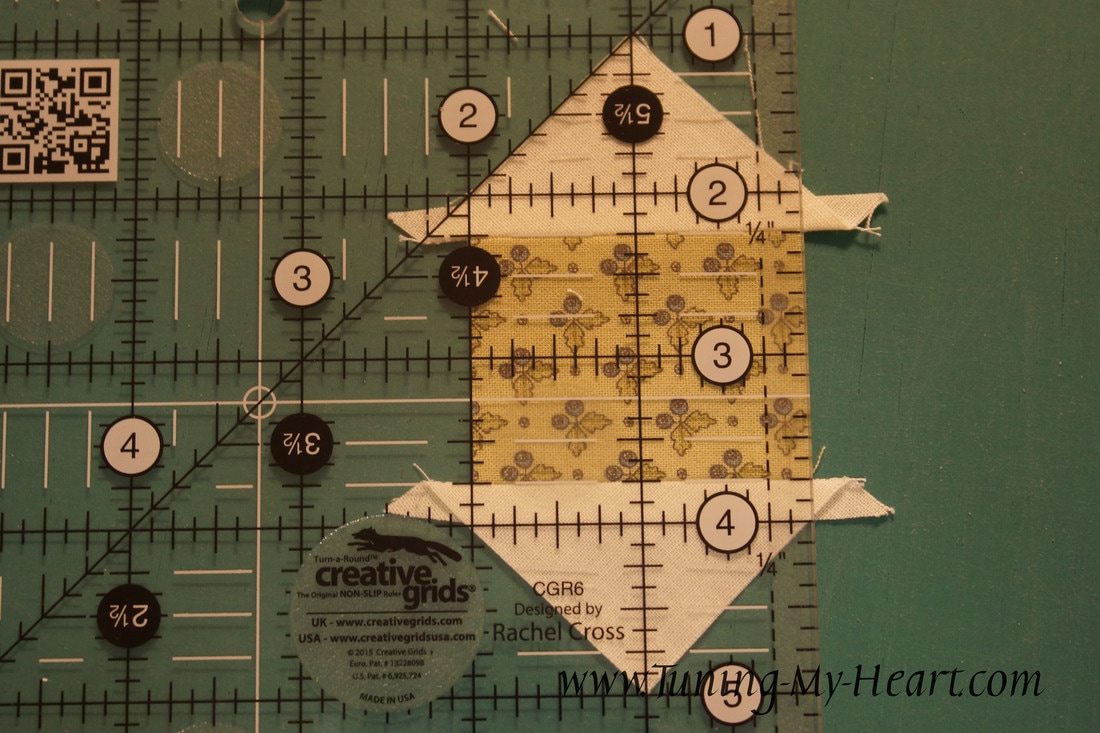
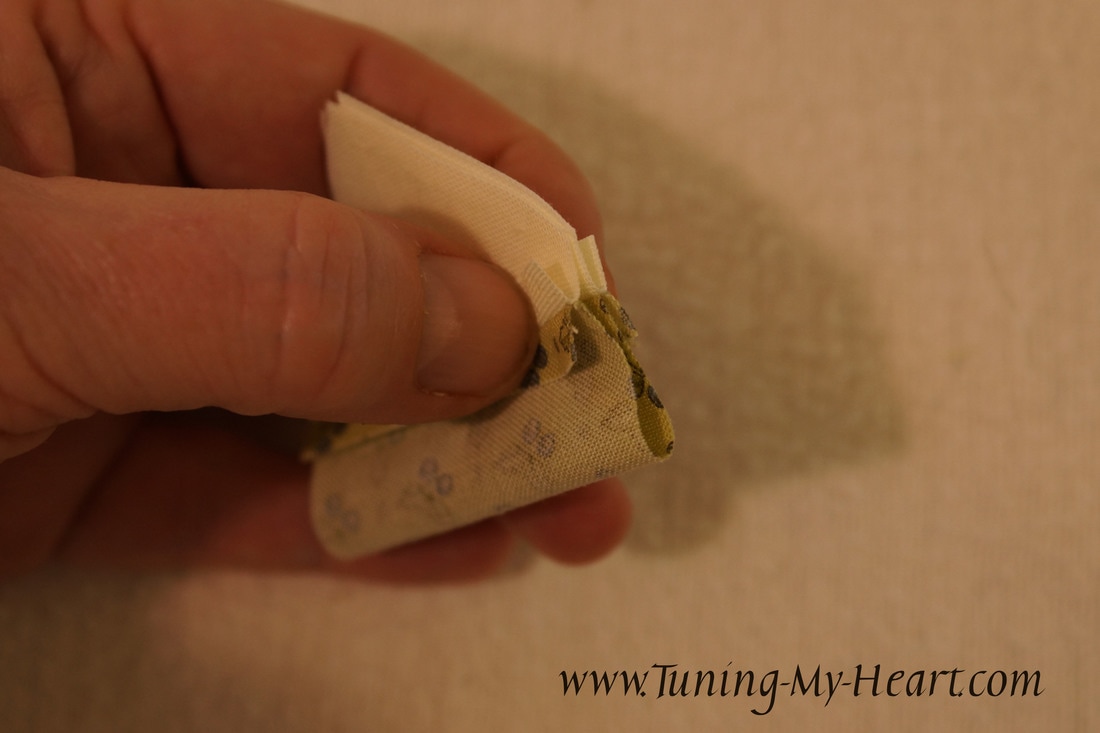
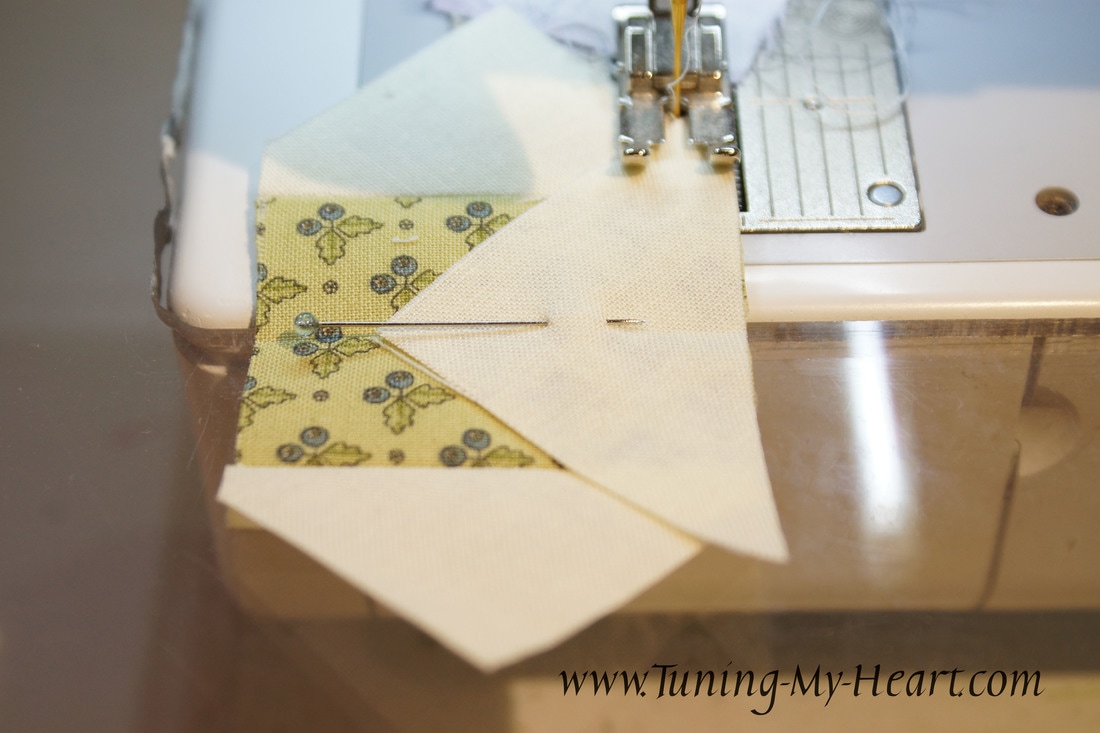
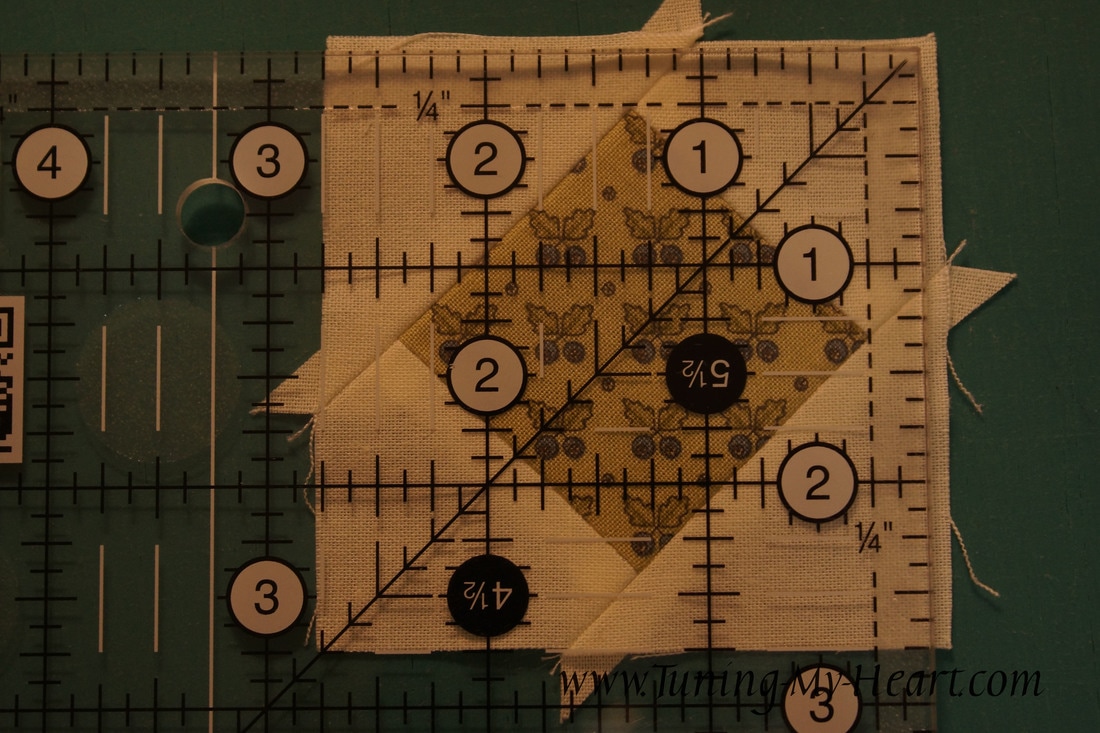
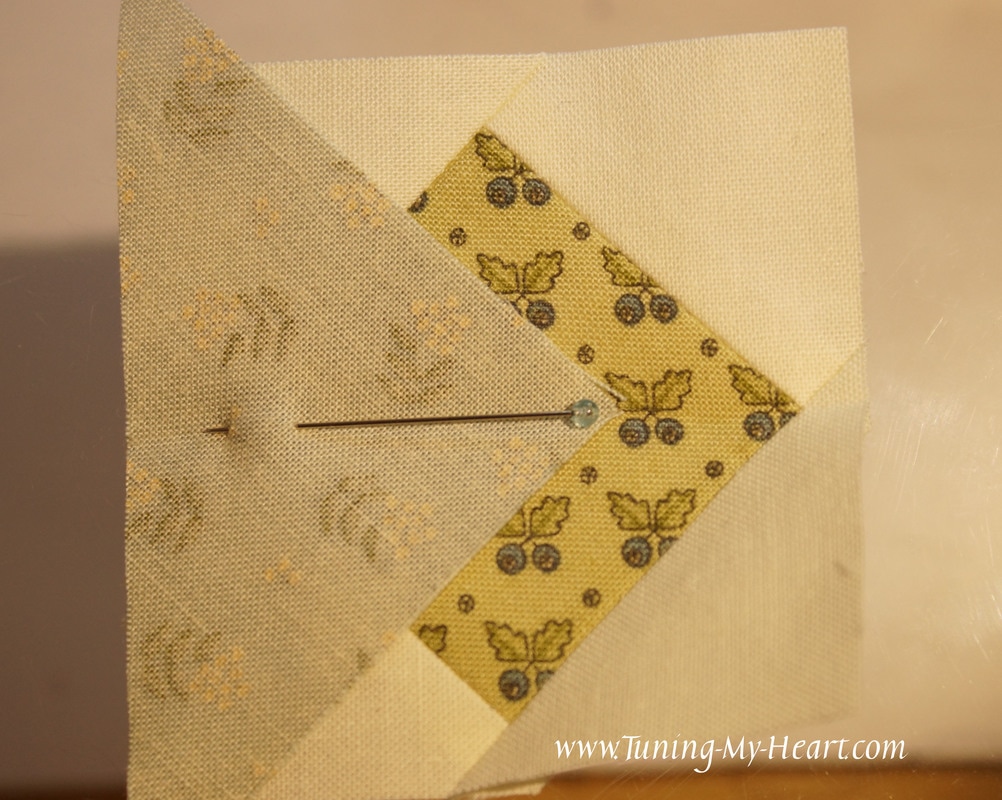
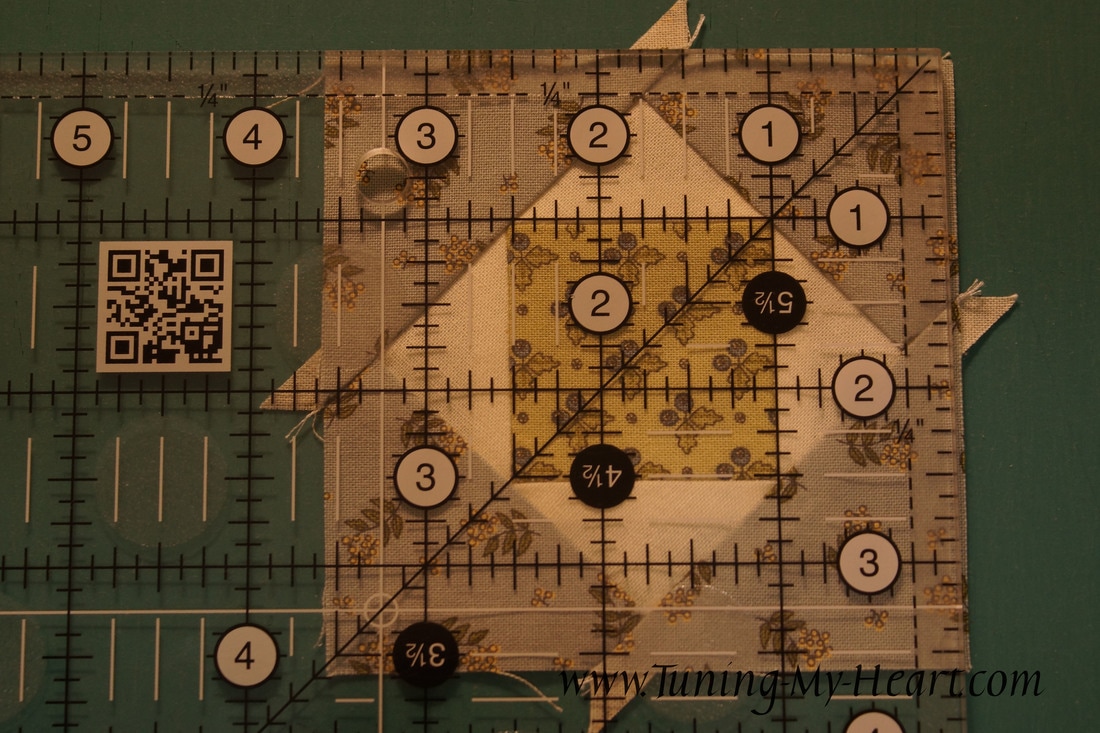
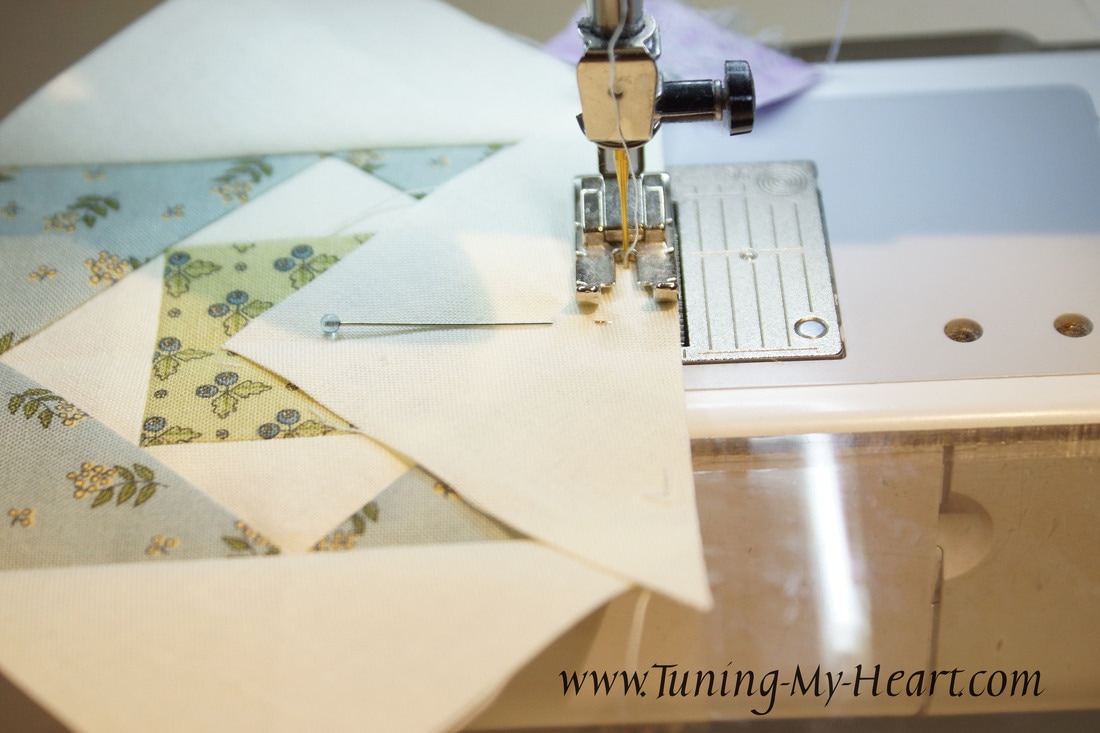
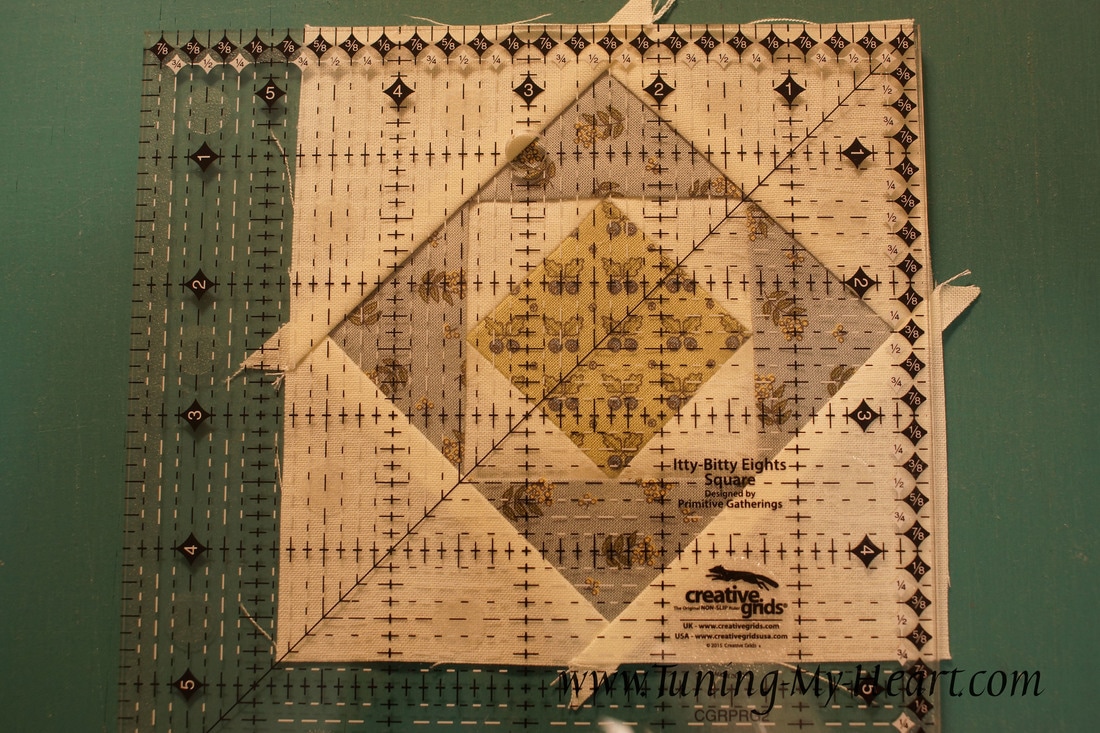
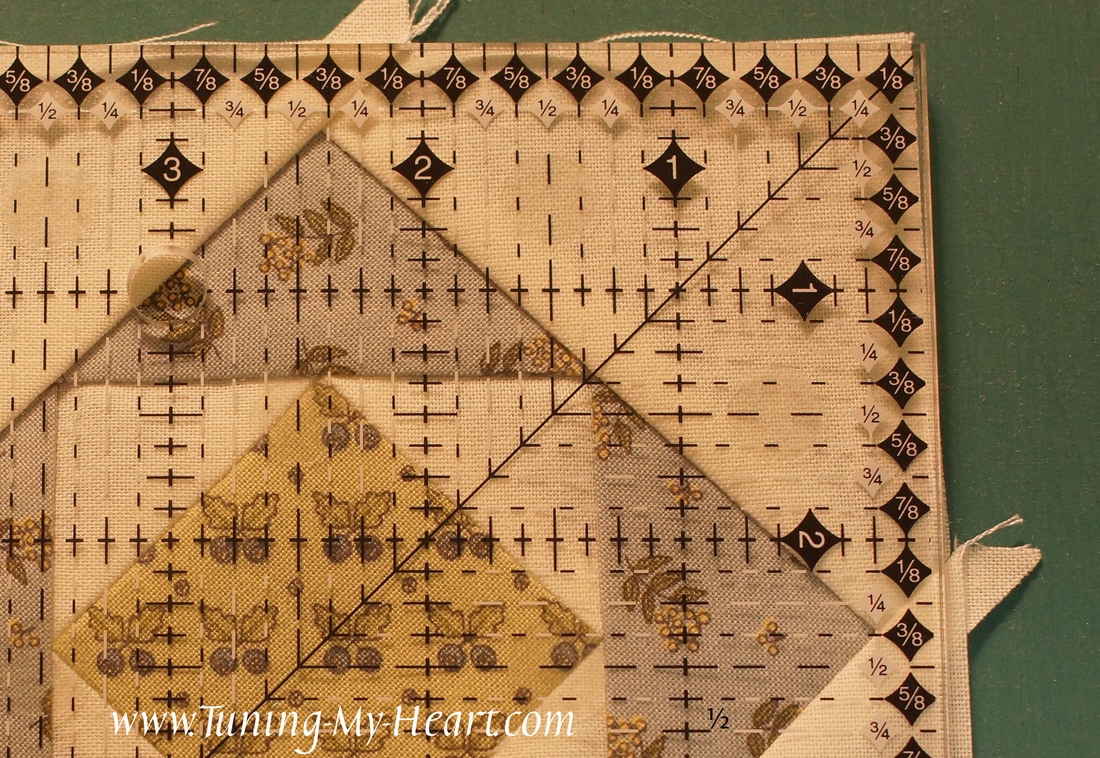
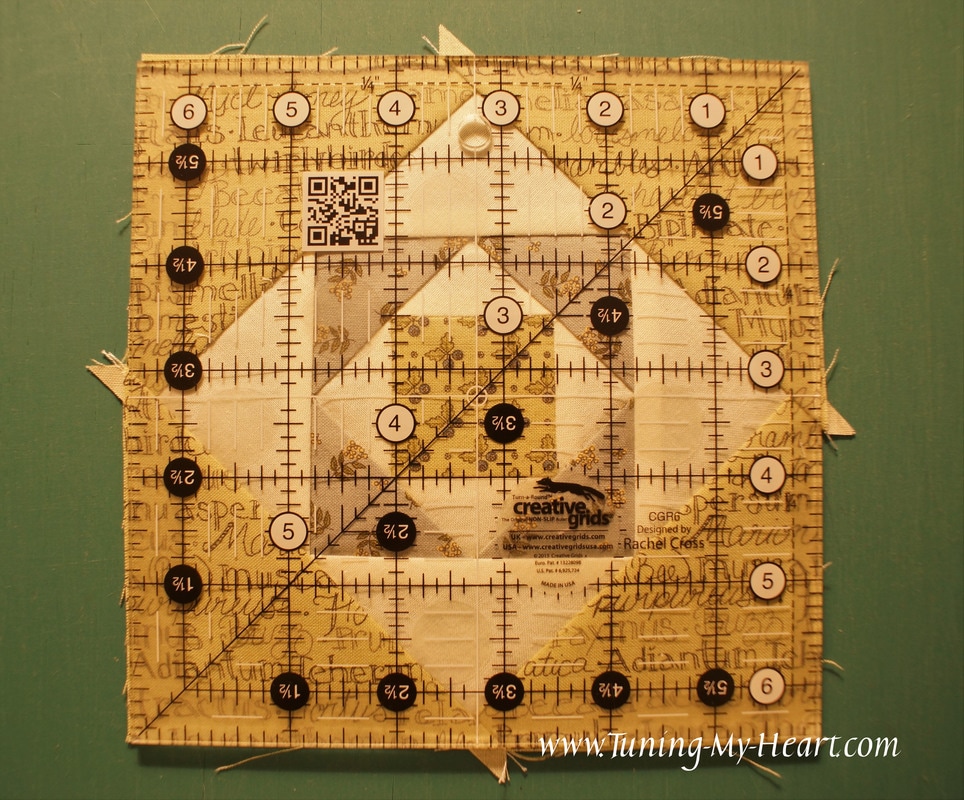
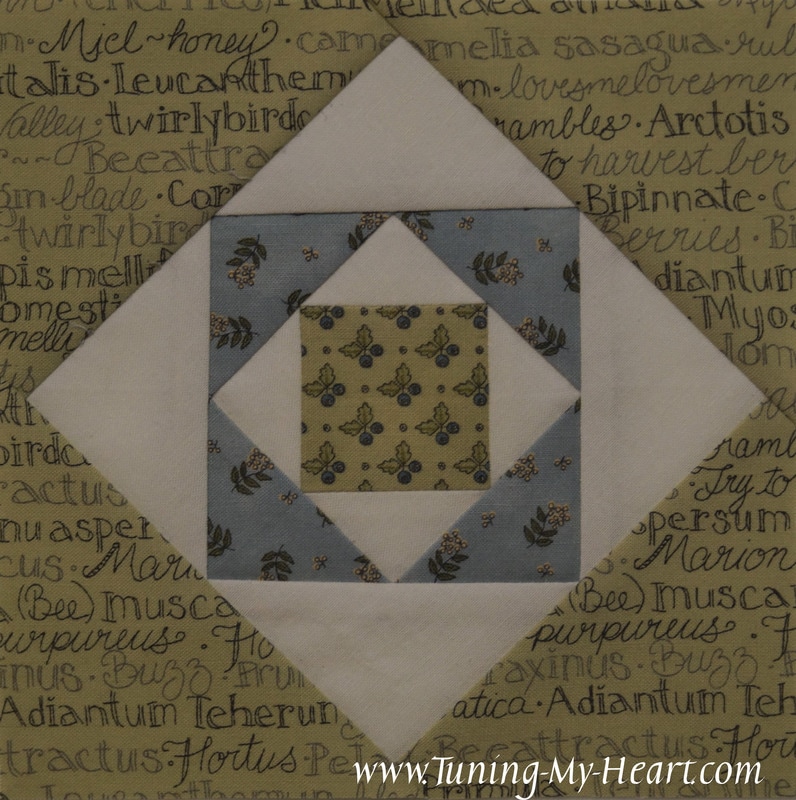
This week's block comes to us from Betsy Chutchian. You can download the PDF pattern at: betsysbestquiltsandmore.blogspot.com/2017/06/ Square in a Square goes together rather quickly, but there are some tricks to it. I thought Betsy did a great job of walking us through it in her post-especially since she did all of the math for us and cut the pieces oversize so they could be trimmed down. The hardest part for me was to figure out which of the fabrics in my Moda Garden Notes collection to use! As usual, I started with fabric that had been starched before cutting the pieces. The A, C, D, and E squares need to be cut in half on the diagonal. To begin, two A triangles are placed on opposite sides of the B square. I need to know where the middle is on both the square and the triangles so I fold them in half. The square is folded with right sides together and the triangles are folded with wrong sides together and gently finger pressed. This allows the triangles to lay nicely on top of the crease in the square so that they are centered. Once I have the triangle centered on the square I put a pin in near where I will be sewing to hold the center-point in place. I am pinning differently than my norm here as I am going to leave this pin in place as I sew the seam. I have sewn one side and now do the opposite side. You can see again how I have placed my pin so that the needle will not actually hit it as I sew. It was suggested that we press these seams open so I have done so here. I am also using a towel on top of my pressing table as suggested by Betsy in her post last week. A trick she uses to get her seams to lay flat and when it needs washing after using starch you can just toss it in the wash. After pressing there are some little extra bits that need to be trimmed. I lined up my ruler so the marks ran along the seam and the edge to keep things square. To prepare for the adding the triangles to the remaining sides I fold the square in half, matching the seams and finger press the crease in. Now I proceed just like before with the two remaining triangles. Notice I am starting with my needle down right in the notch where the two triangles meet. This unit needs to measure 2 5/8" square. I need to make sure that I have a quarter inch beyond each of the points of the green square. According to Betsy the middle of the unit will be just a "skoosh" over 1¼". It looks like it is pretty much in the middle of the 1/4 mark and the 3/8 mark on my ruler. I am also lining up the diagonal line on my ruler with the corners before trimming away the excess. Using the same process I add the next four triangles to my square. I found that rather than pressing my seams open at this point I started pressing towards the triangle I just added. There was so much bulk if I tried to open them up like I did on the first ones. Now the unit gets trimmed to 3 ½" square. I am again making sure that I have a quarter inch beyond the points of the square and that these points are lined up with the 1 3/4 inch mark on my ruler. I also make sure that the diagonal line is running from corner to corner of the inner green square. It is a lot to pay attention to but important for a nice square block. On to the next cream colored triangles. I pulled out my itty bitty eights ruler to trim the unit to 4 3/4" square. Half of 4 3/4 is 2 3/8 so I want those marks on my points. Once I check my diagonal line and quarter inch seam allowance I then trim off the excess. After adding the final four triangles I once again trim to the correct size. Lining up everything as before, I make sure my points are on the 3 1/4 inch lines and trim the block to 6 1/2 inches. That was fun! Until next week... Happy Quilting!!
ANA MOLINARY RUIZ
6/8/2017 12:19:52 am
Muchas gracias por tus tutoriales
Debra
6/10/2017 09:04:26 am
De nada, Ana! Comments are closed.
|
Welcome to the site of Debra Davis-a woman who loves the Lord and loves to quilt.
My other blog where I share about my walk of faith:
Sitting at His Feet This website uses marketing and tracking technologies. Opting out of this will opt you out of all cookies, except for those needed to run the website. Note that some products may not work as well without tracking cookies. Opt Out of Cookies |
Tuning My Heart Quilts by Debra Davis is licensed under a Creative Commons Attribution-NonCommercial-NoDerivs 3.0 Unported License.
Based on a work at www.tuning-my-heart.com.
Copyright 2010-2022 by Tuning My Heart Quilts, LLC. No part of this website can be reproduced without written permission from the author. All rights reserved.
Proudly powered by Weebly


 RSS Feed