|
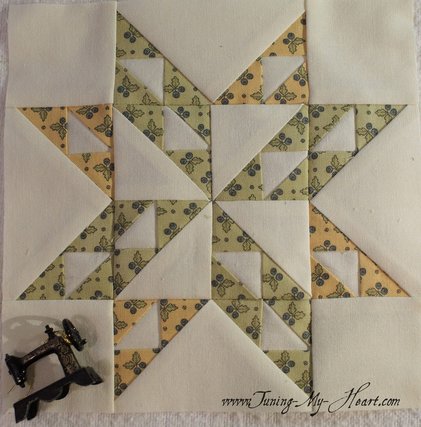
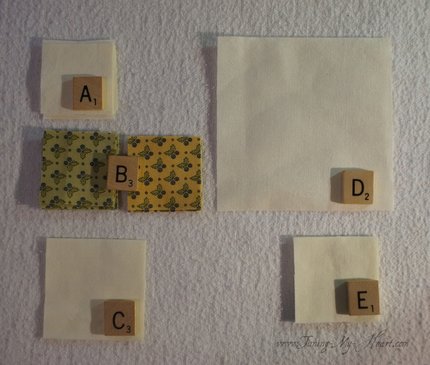
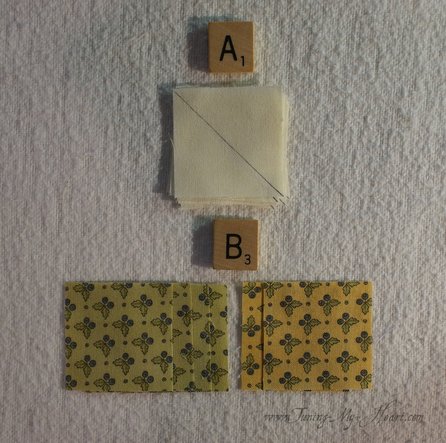
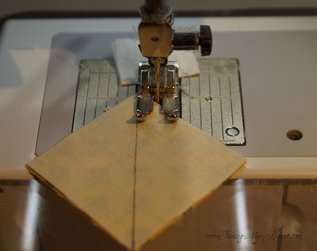
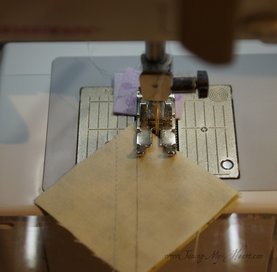
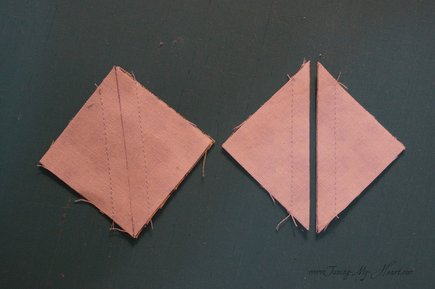
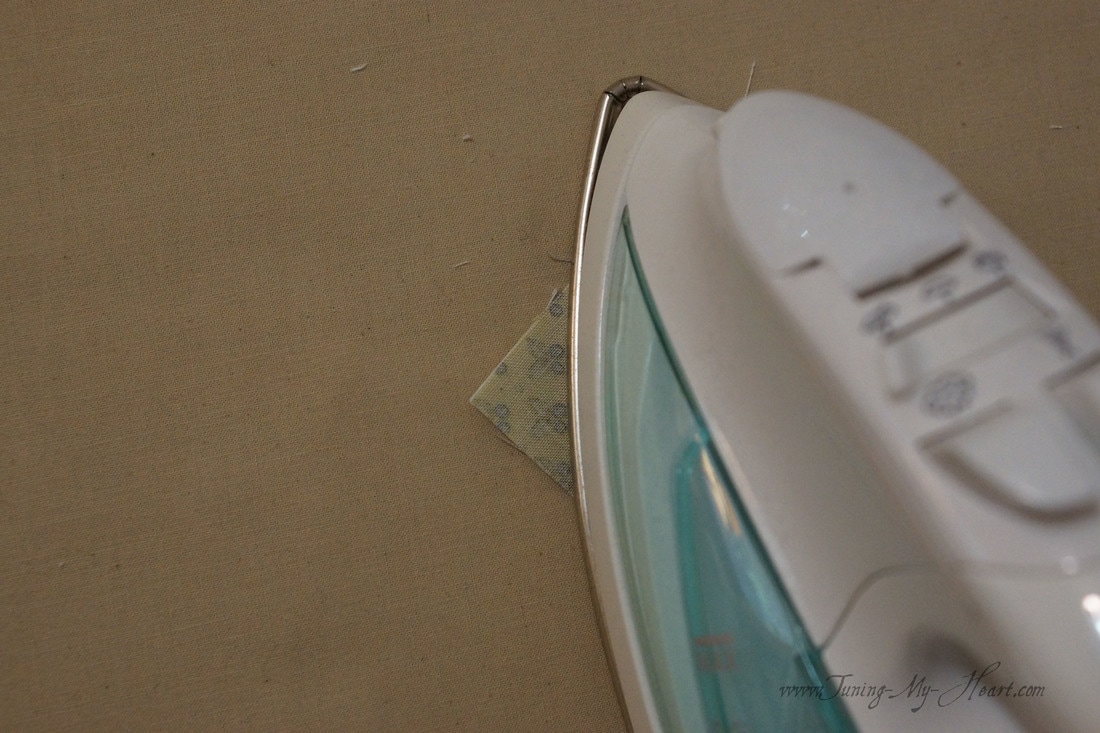
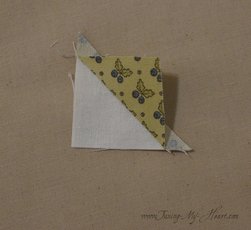
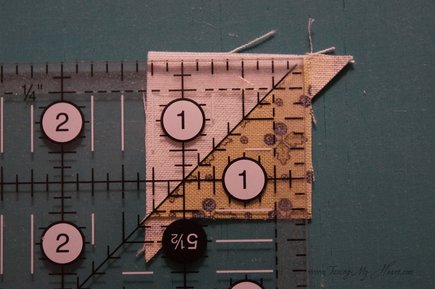
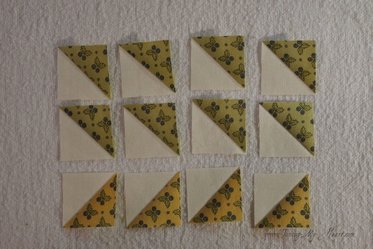
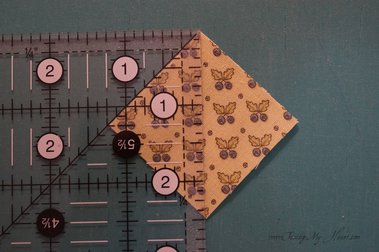
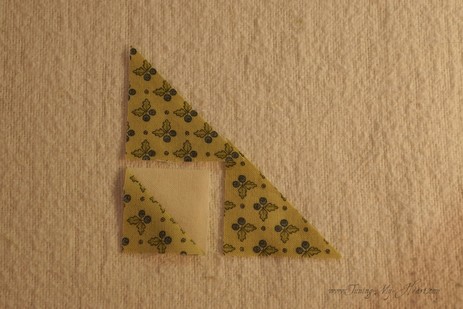
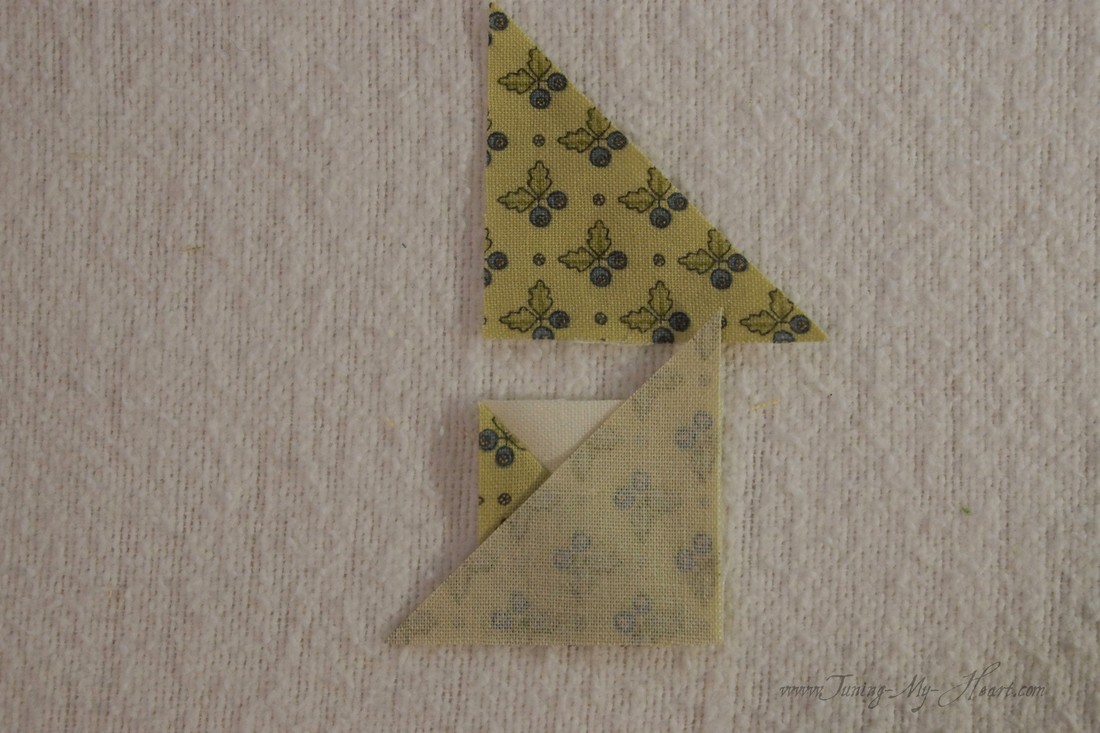
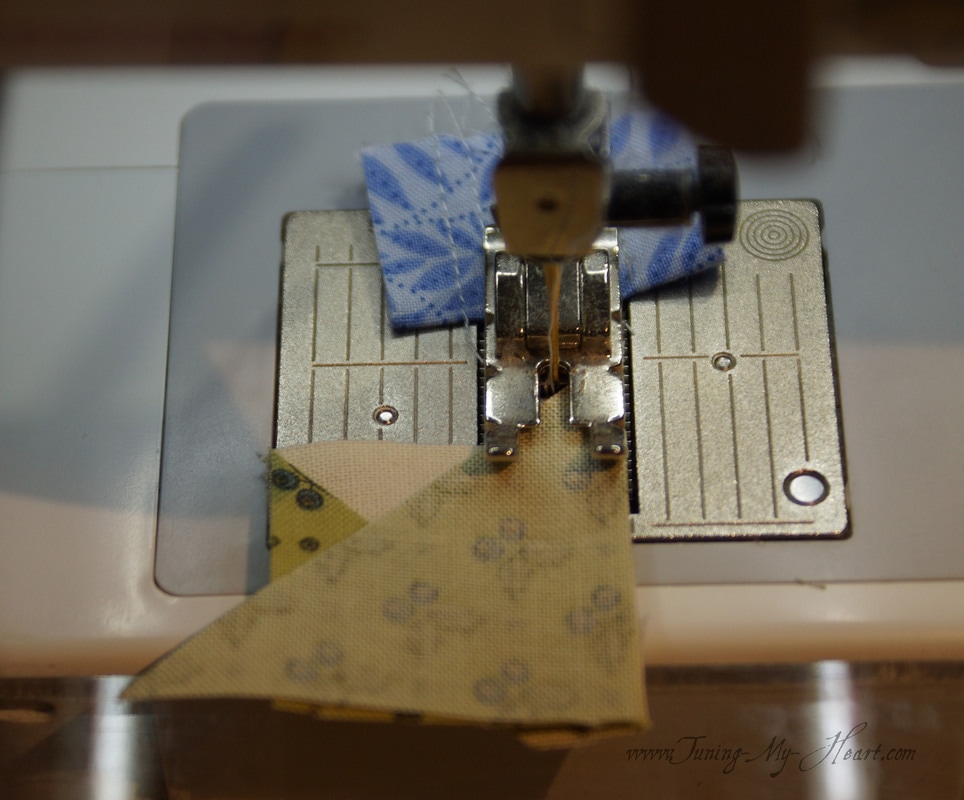
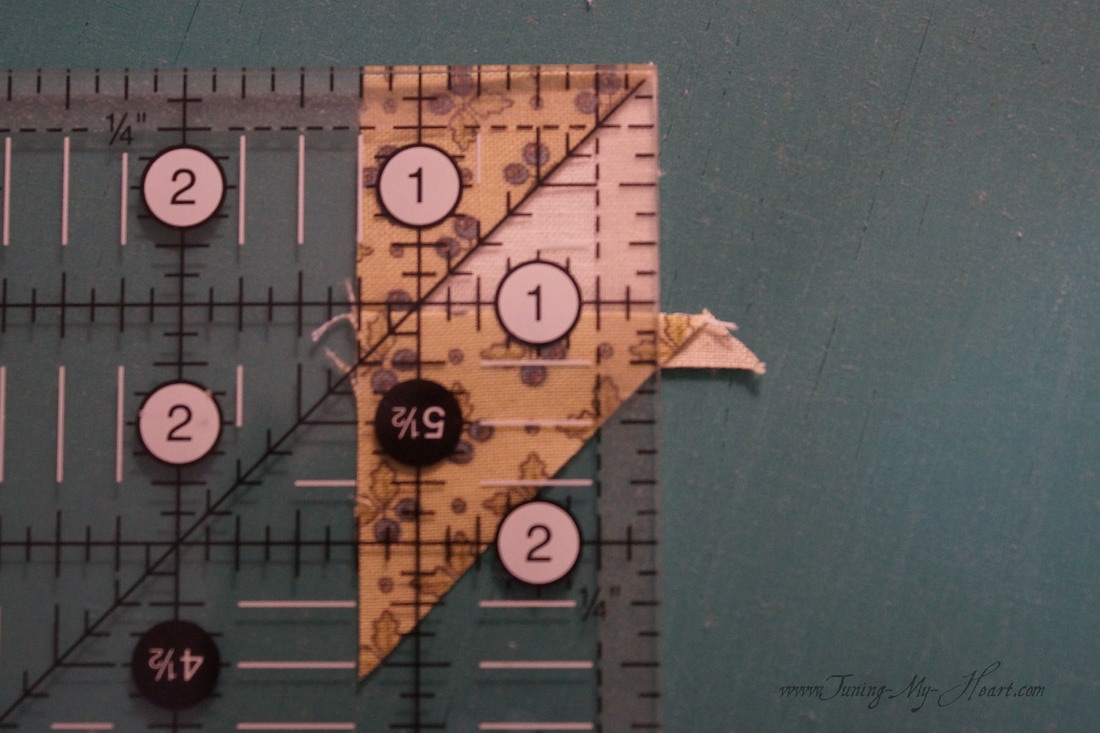
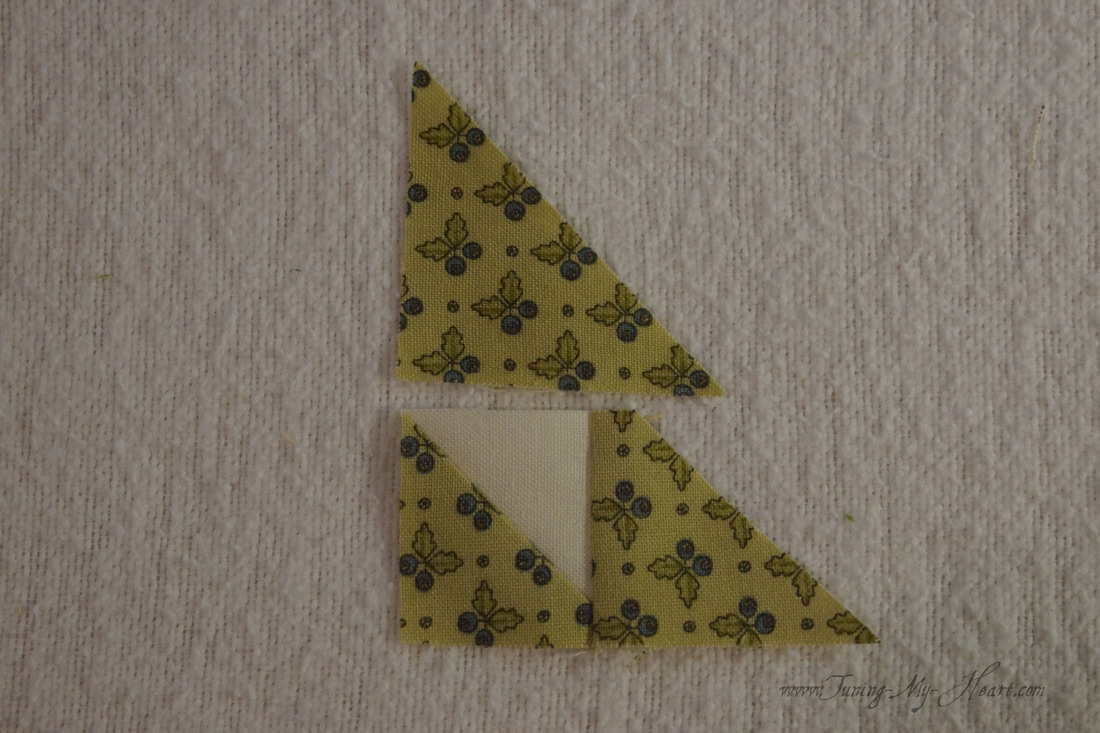
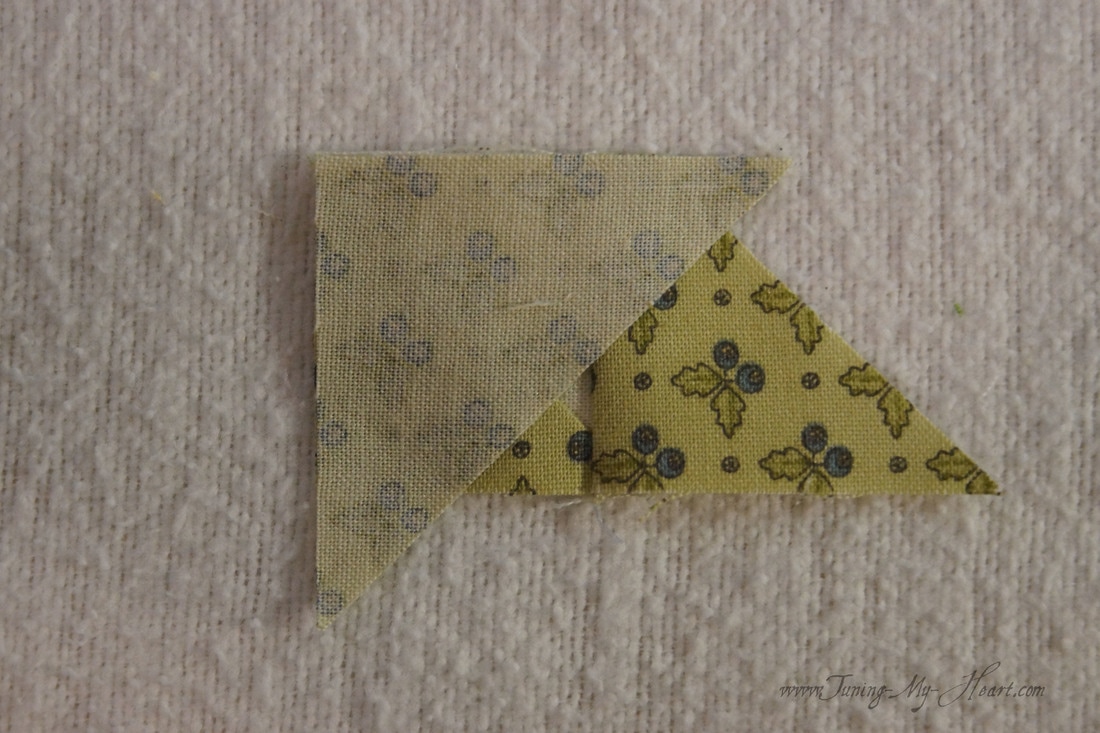
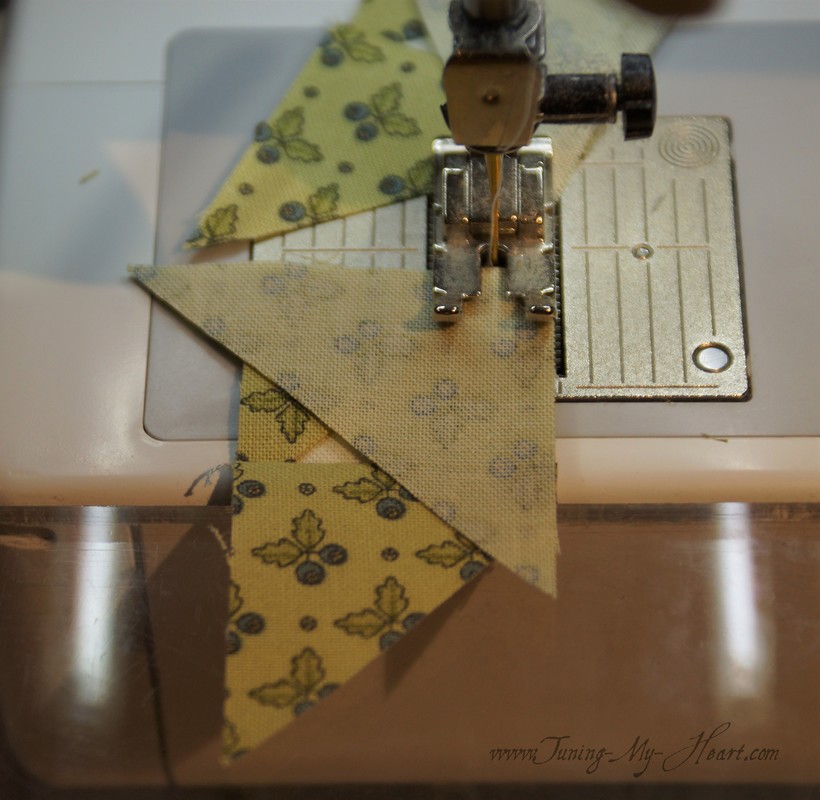
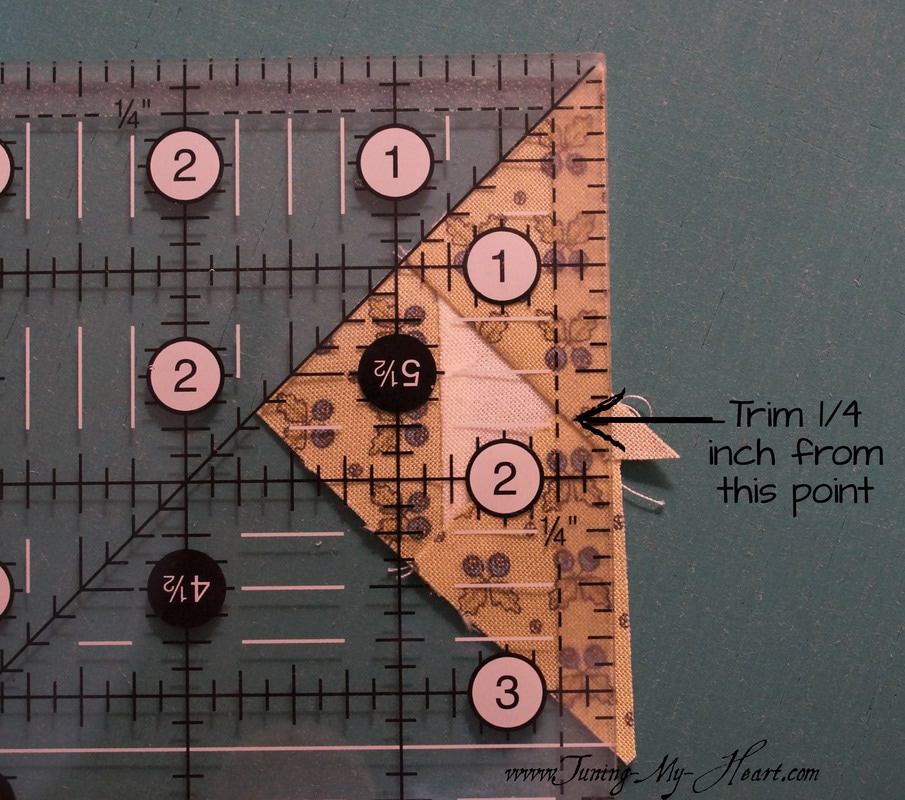
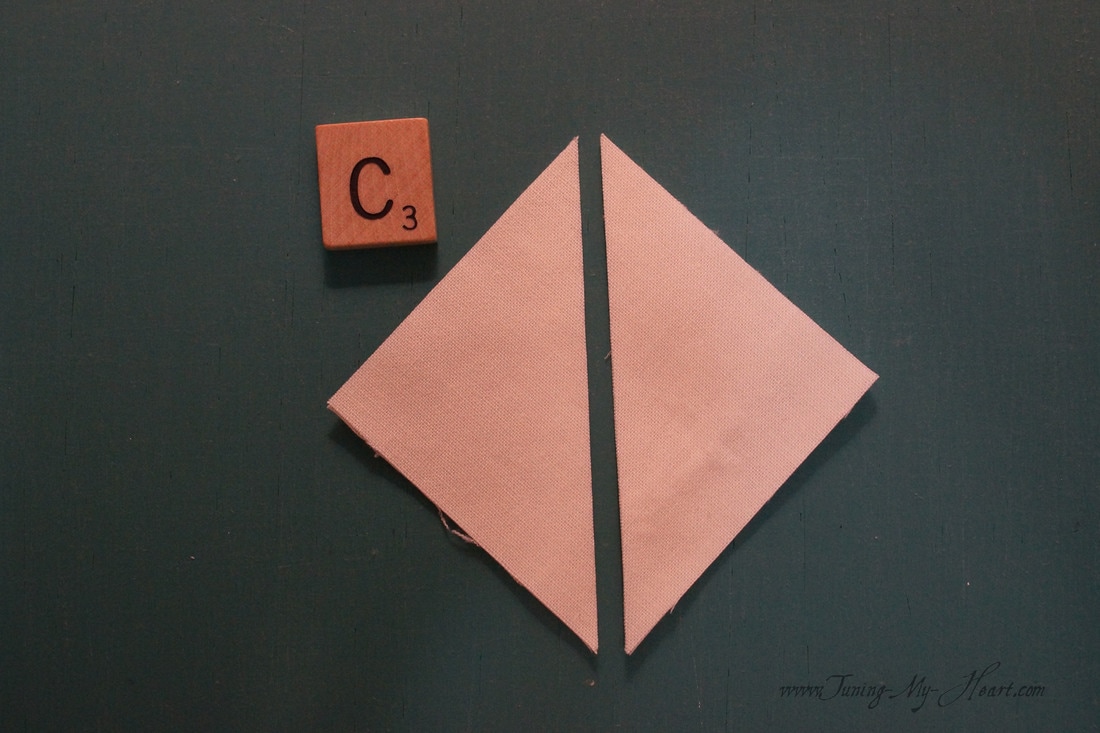
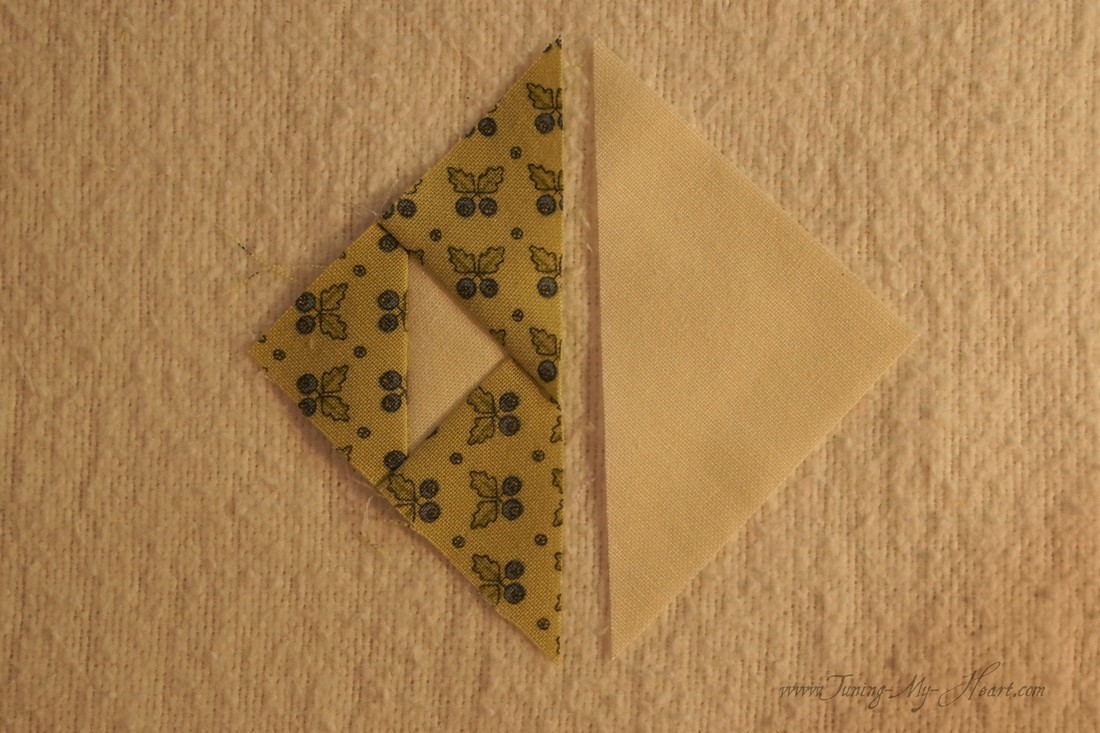
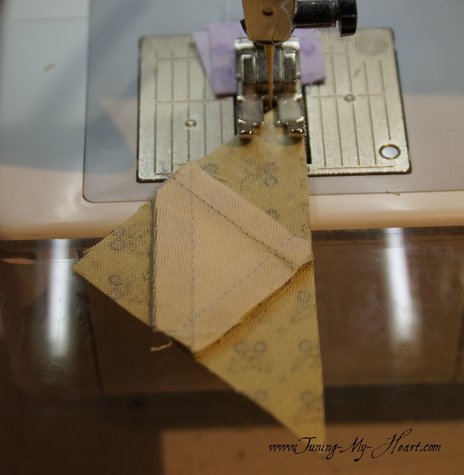
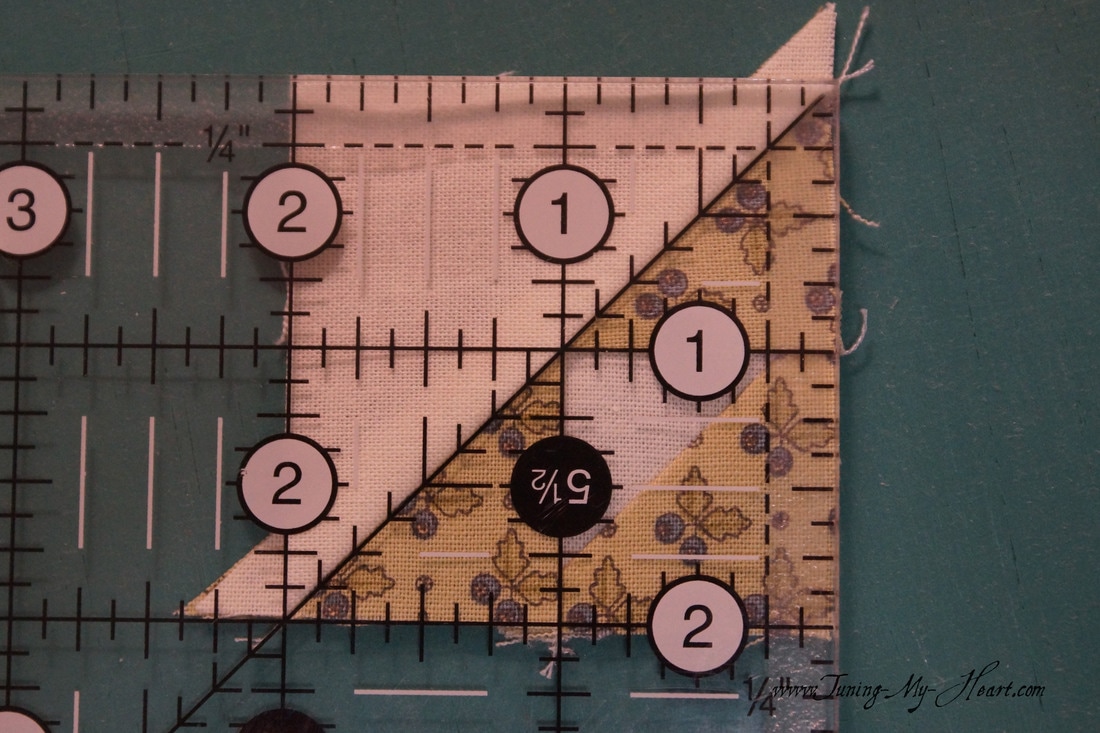
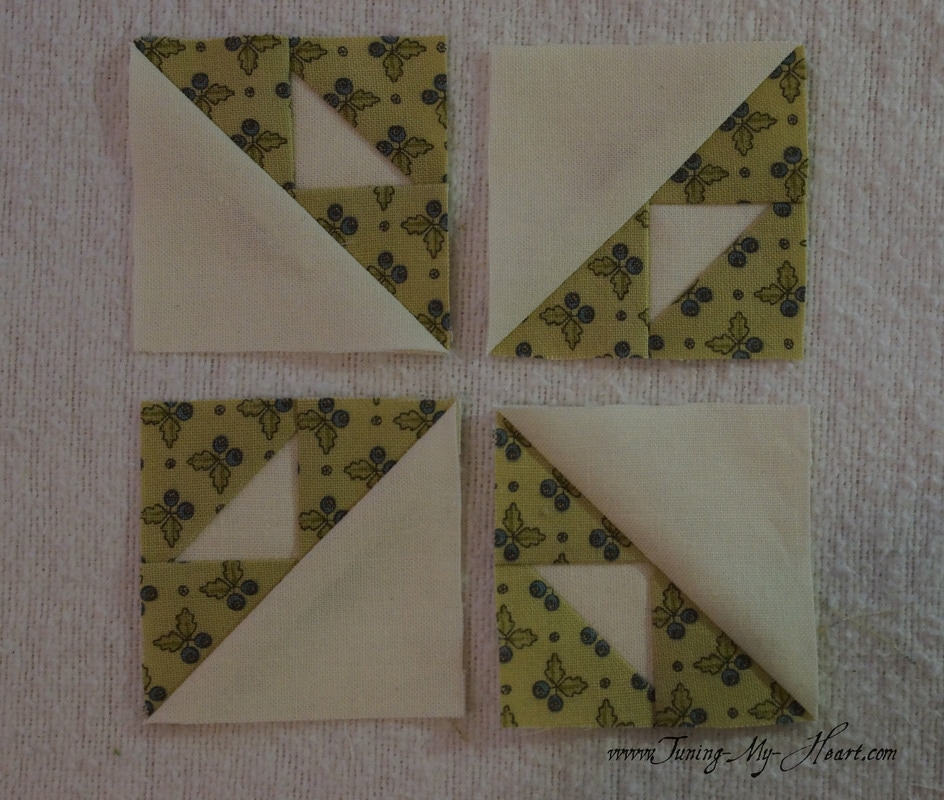
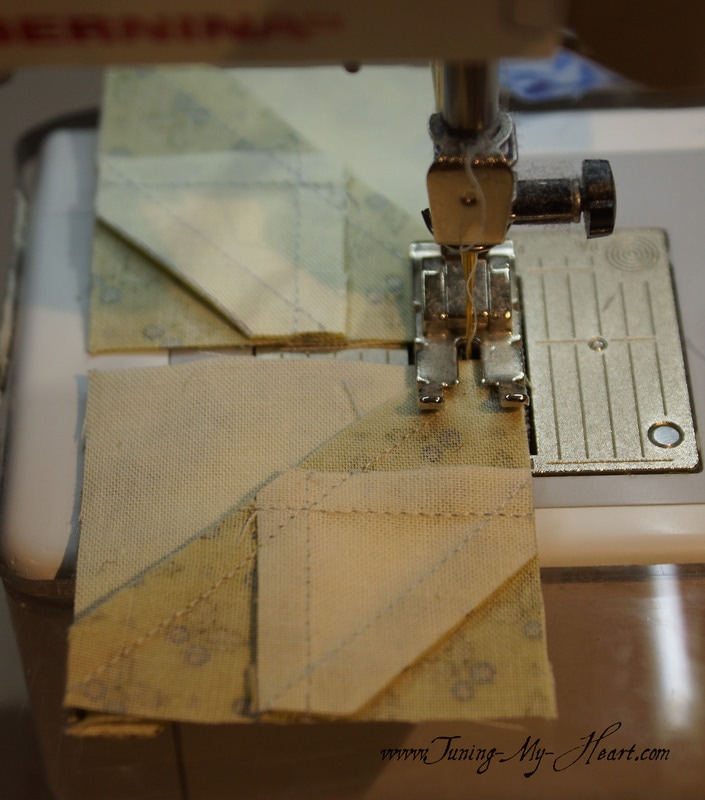
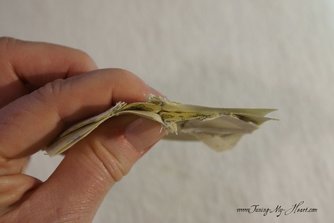
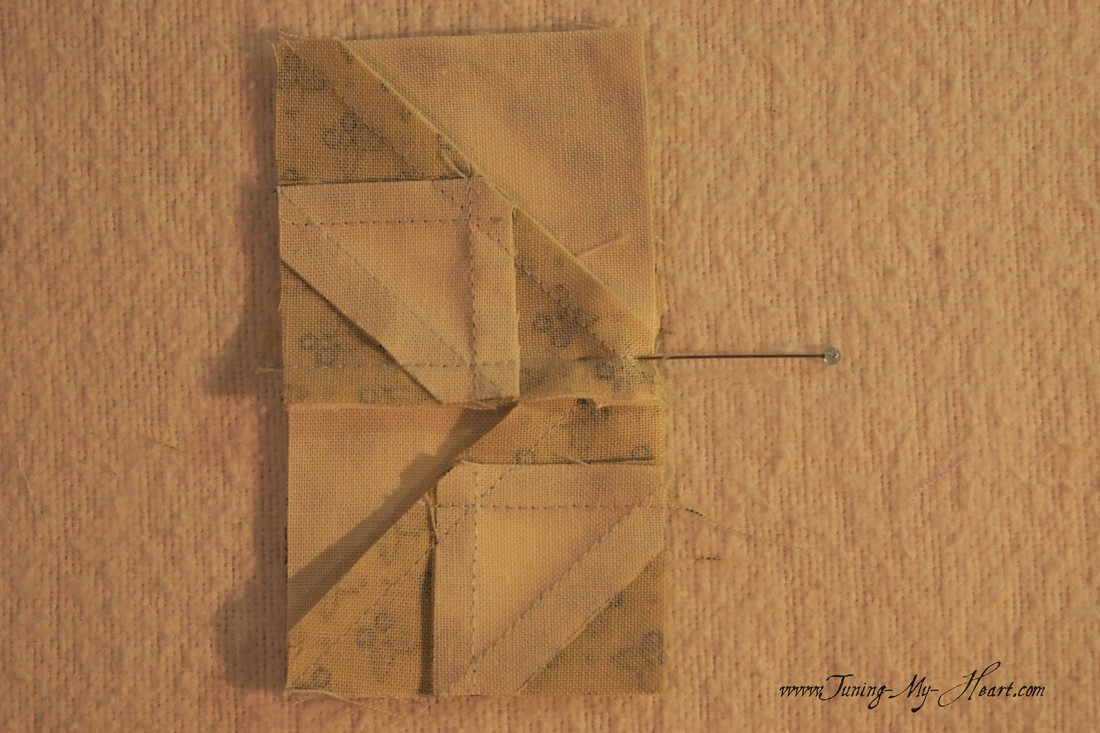
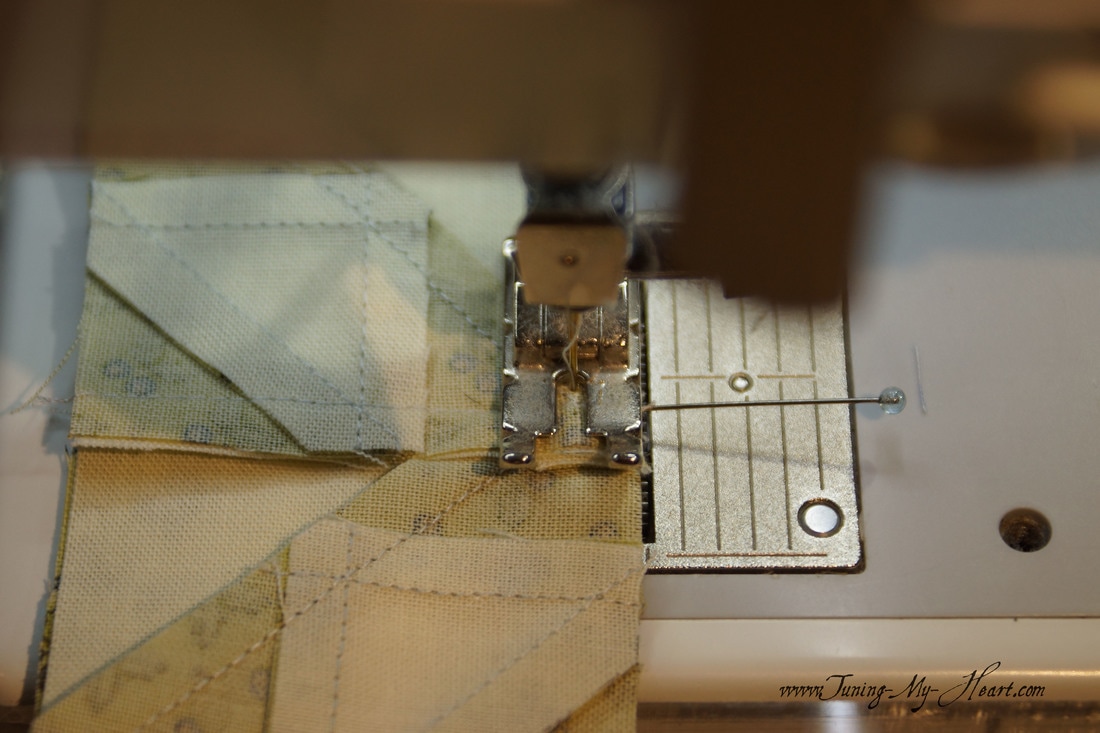
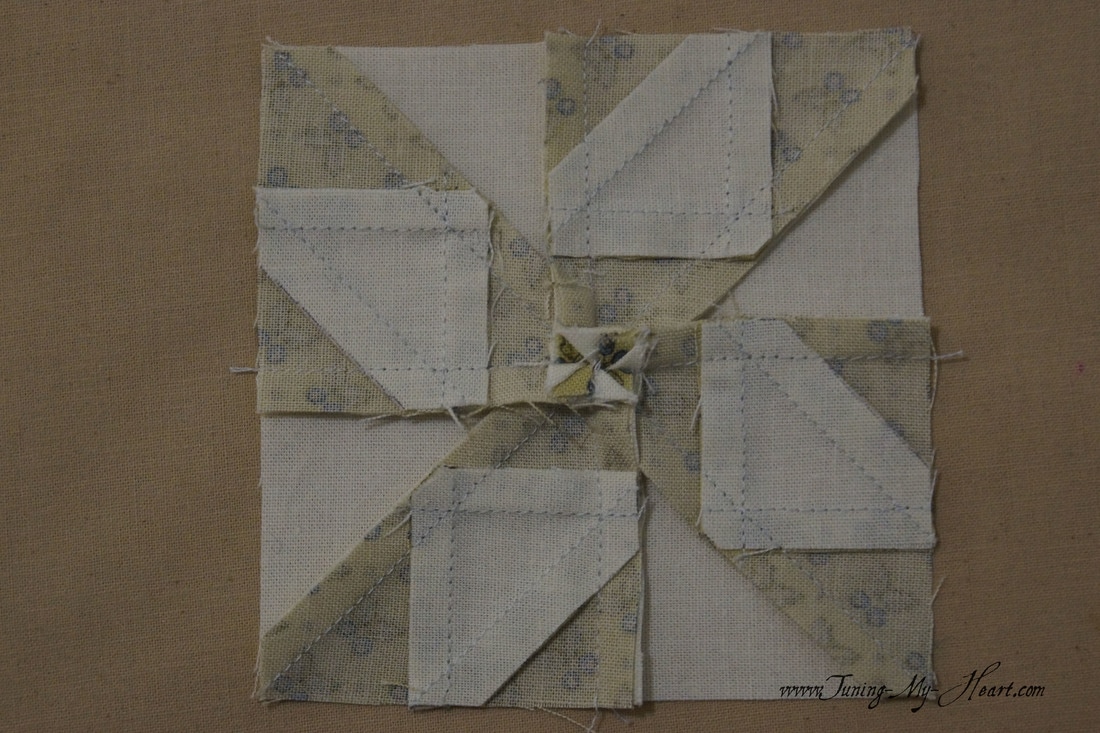
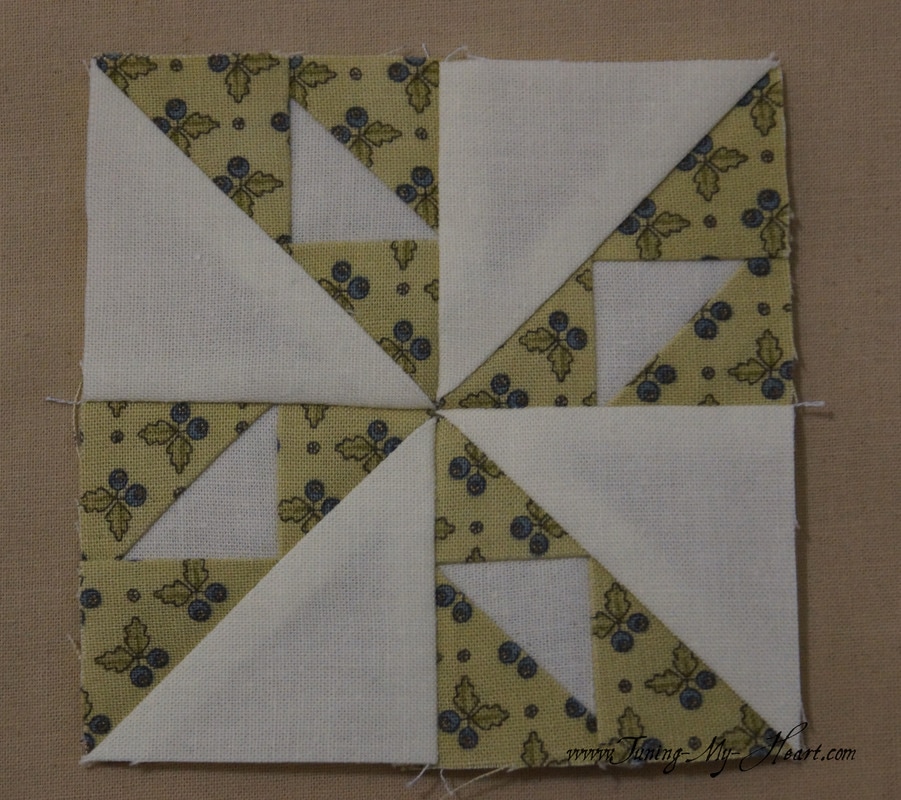
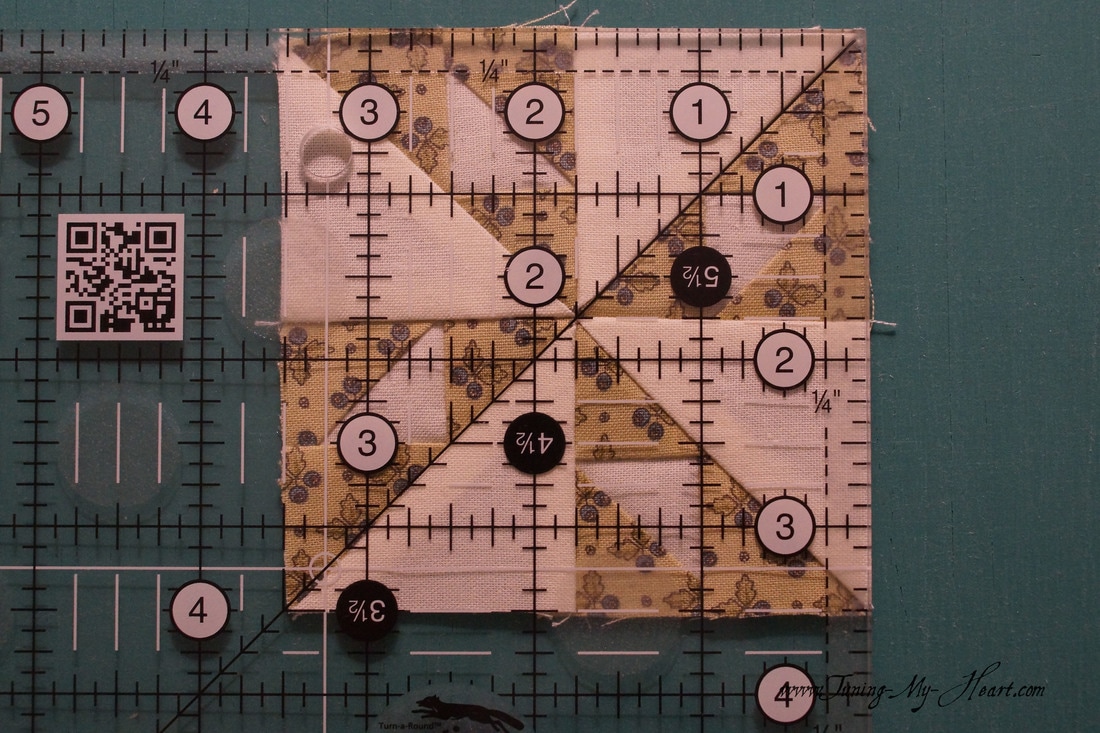
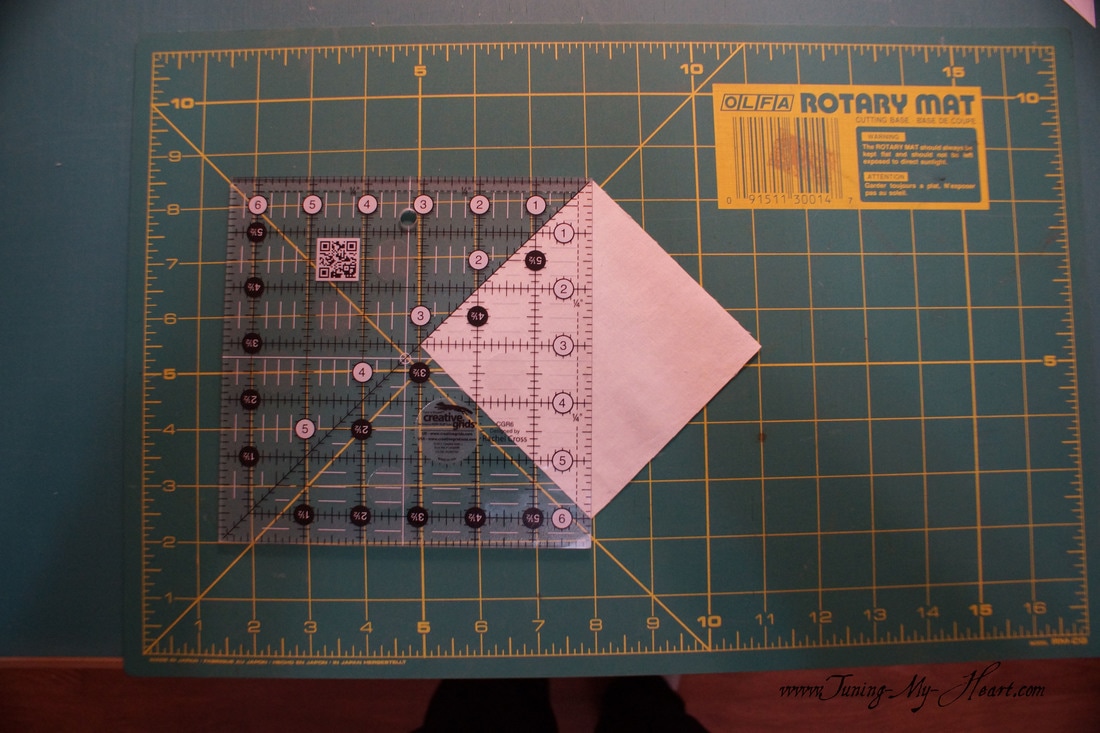
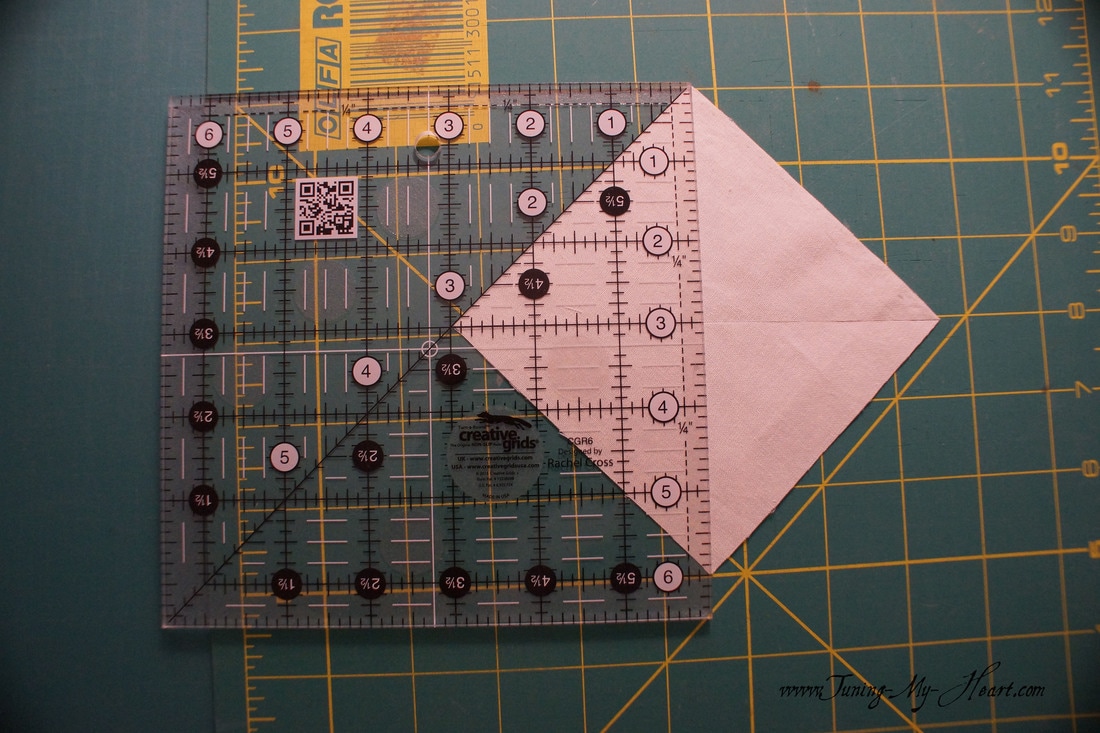
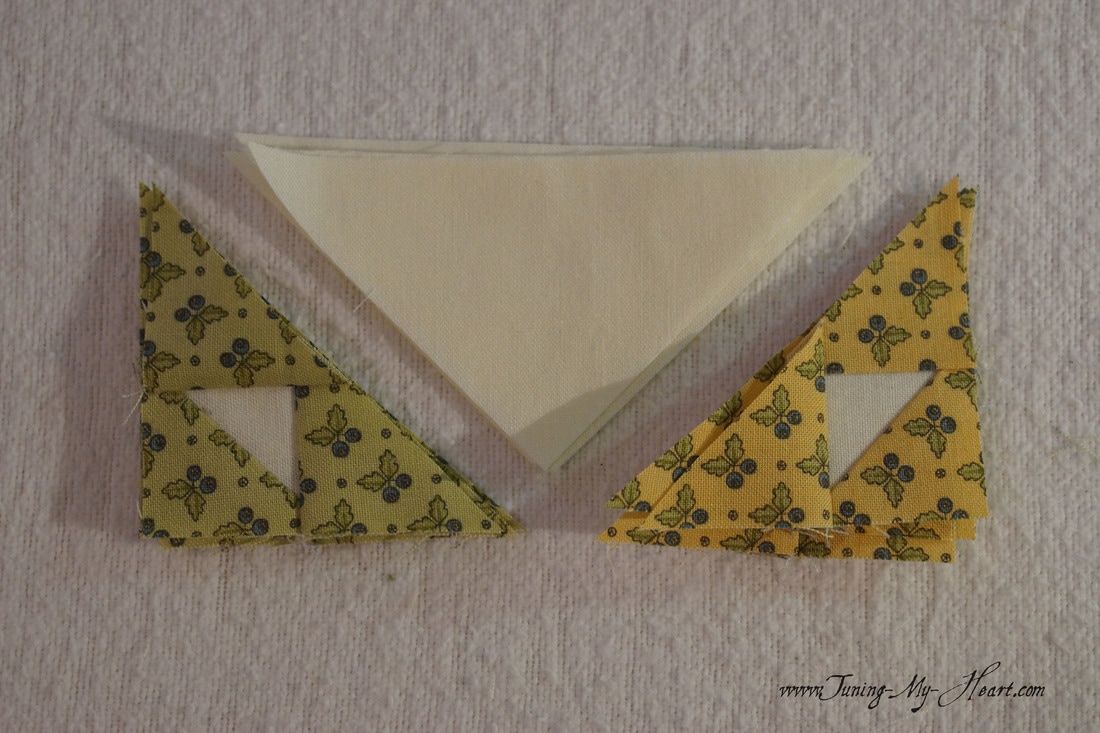
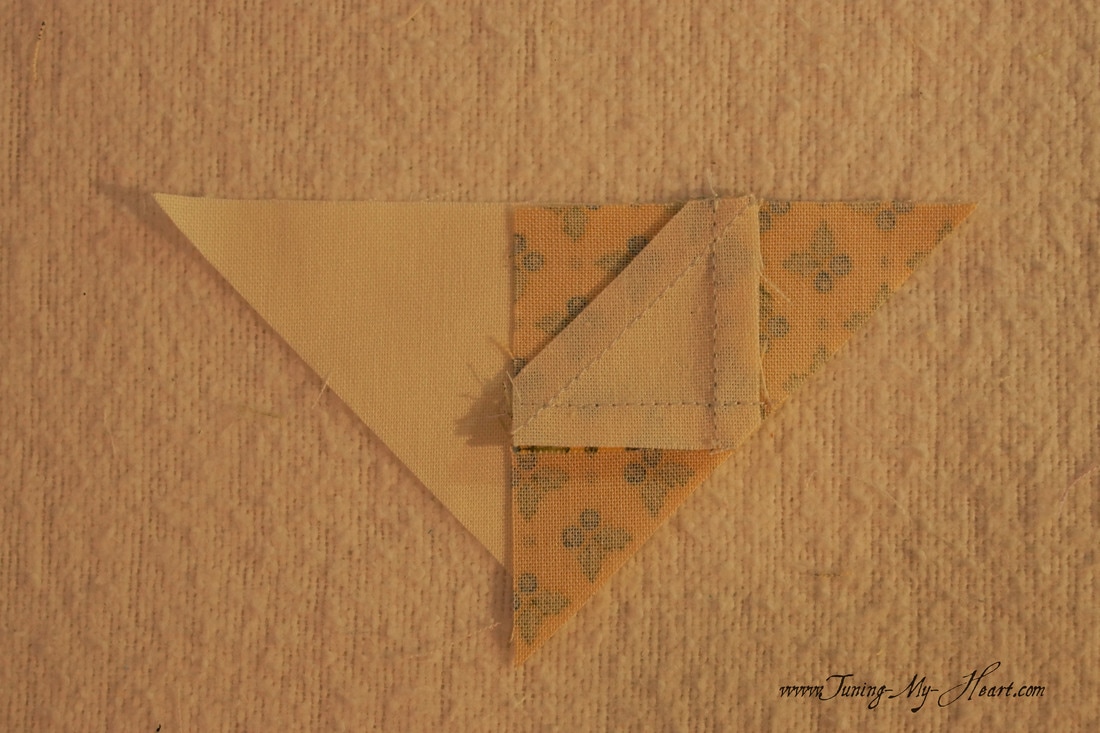
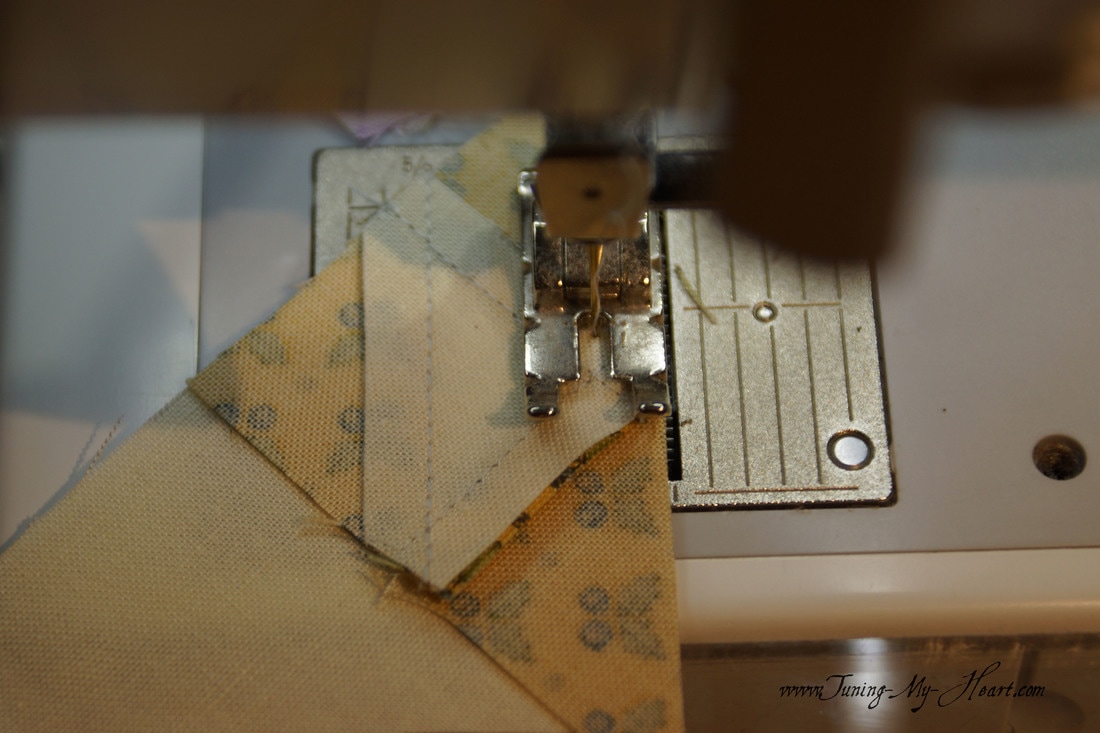
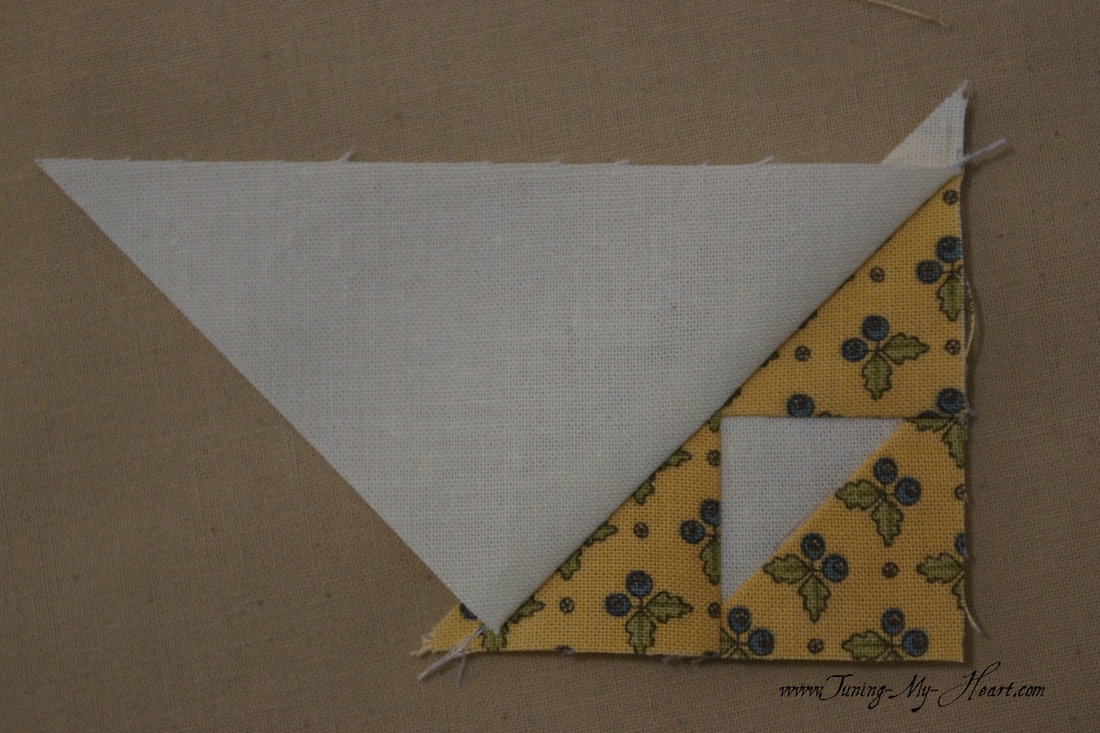
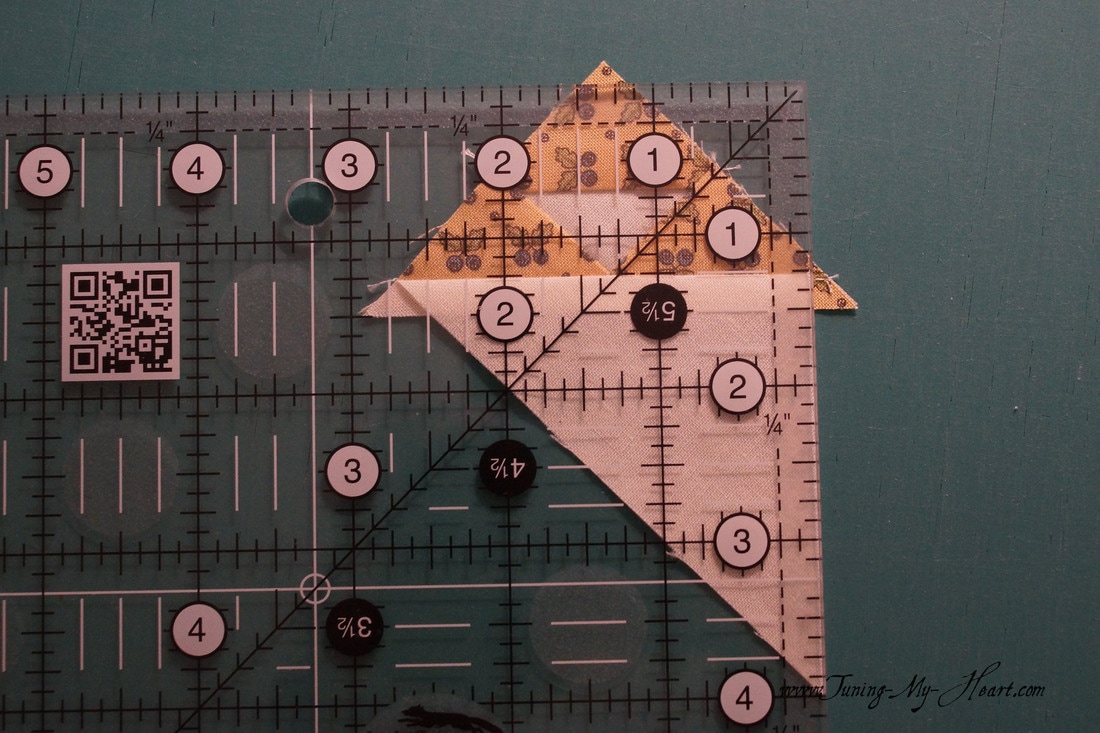
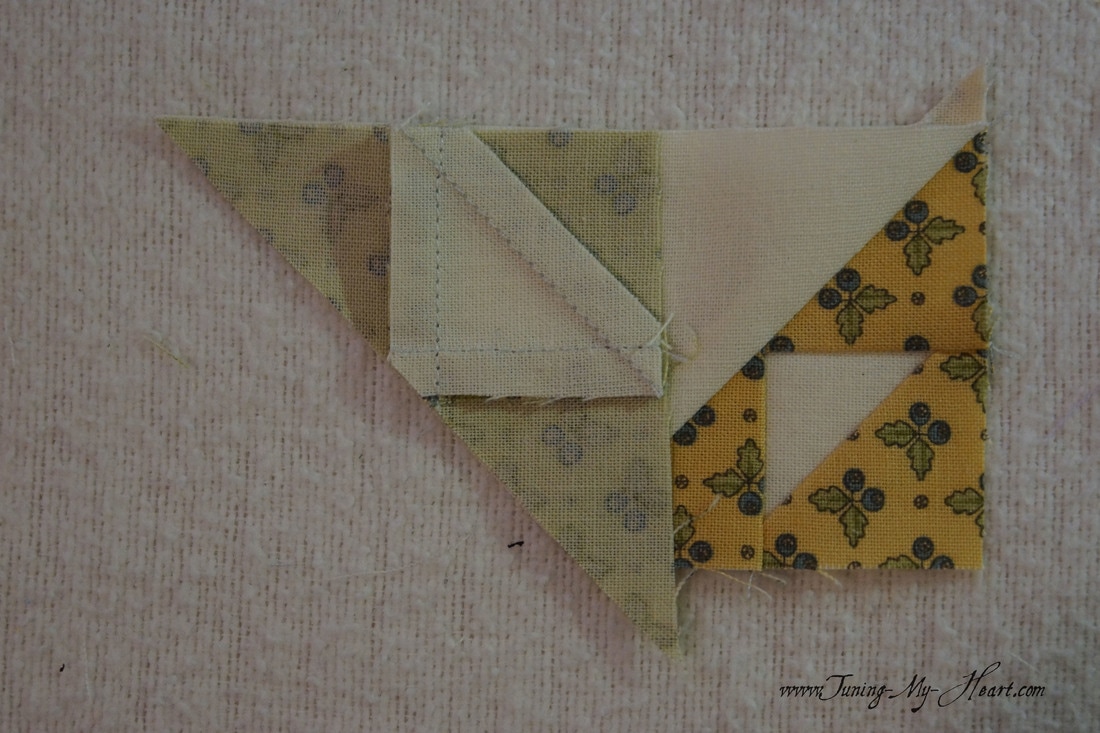
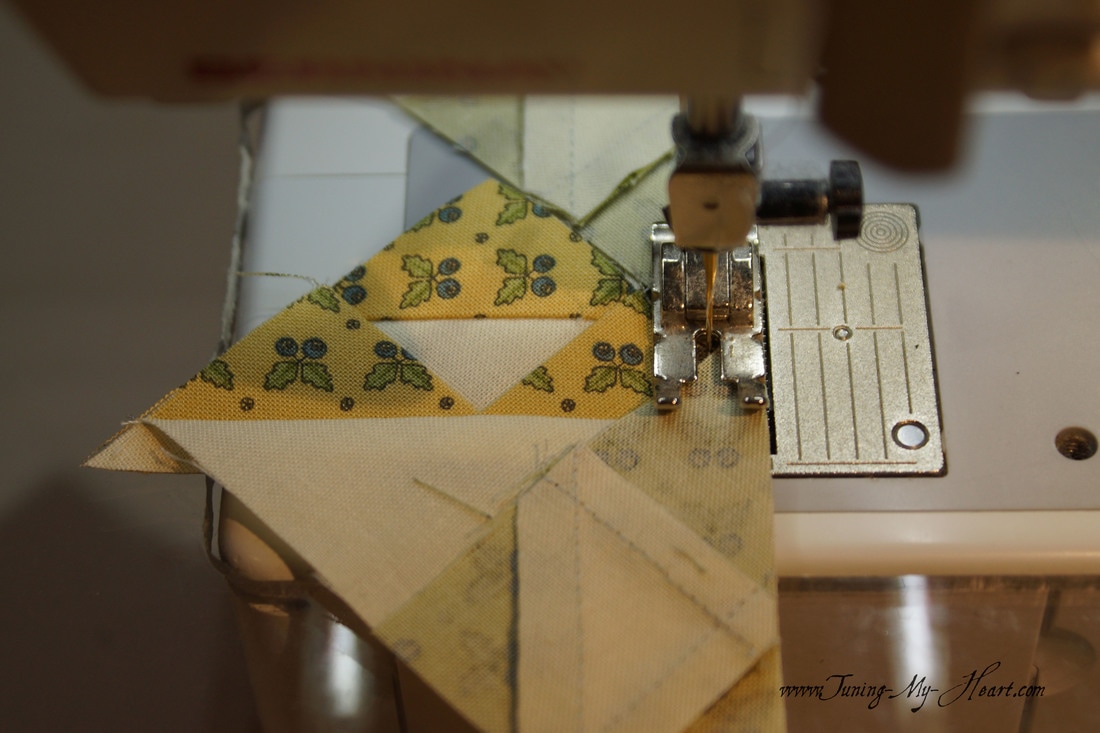
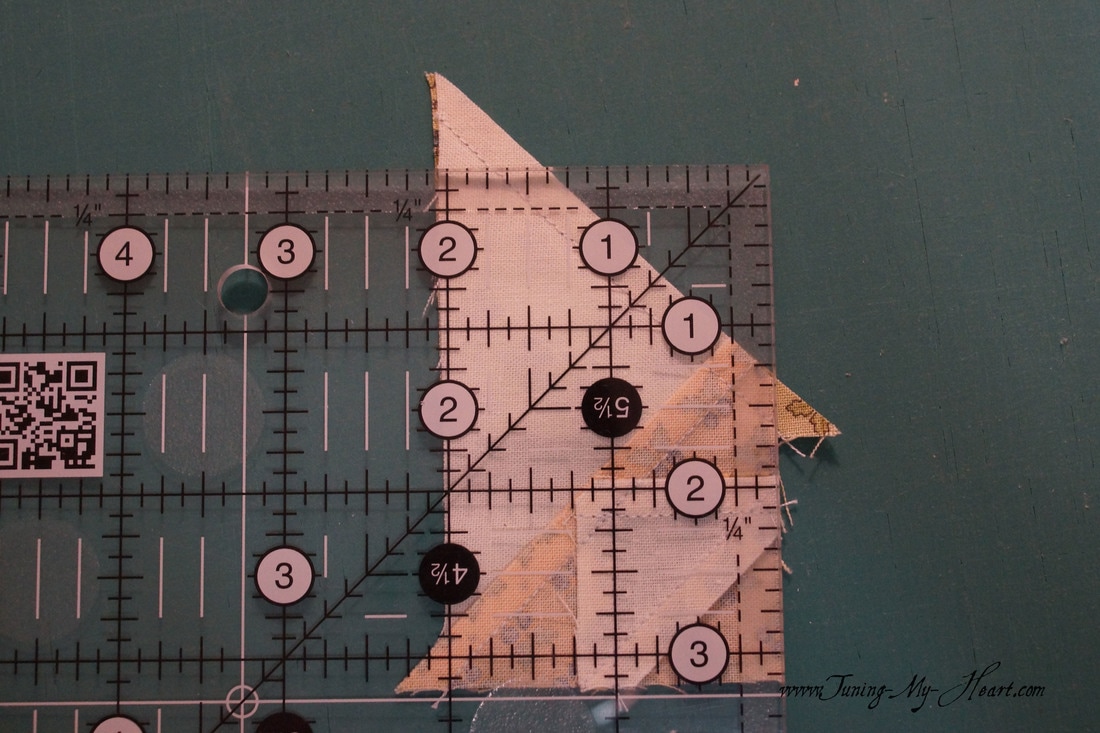
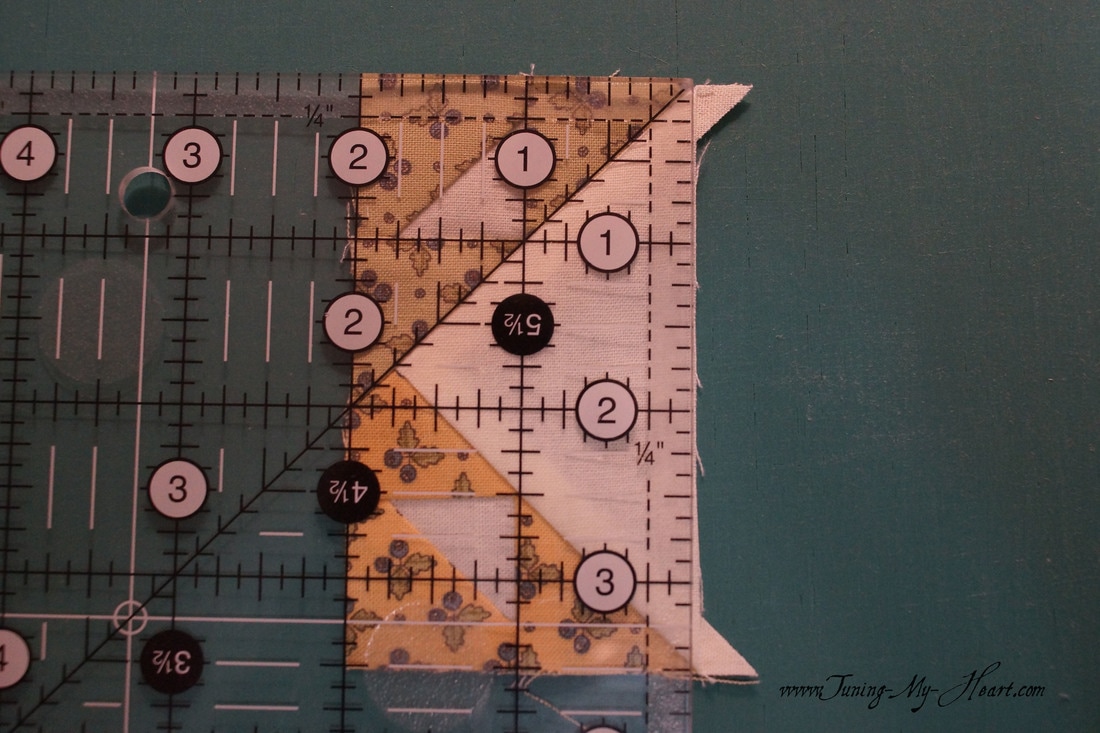
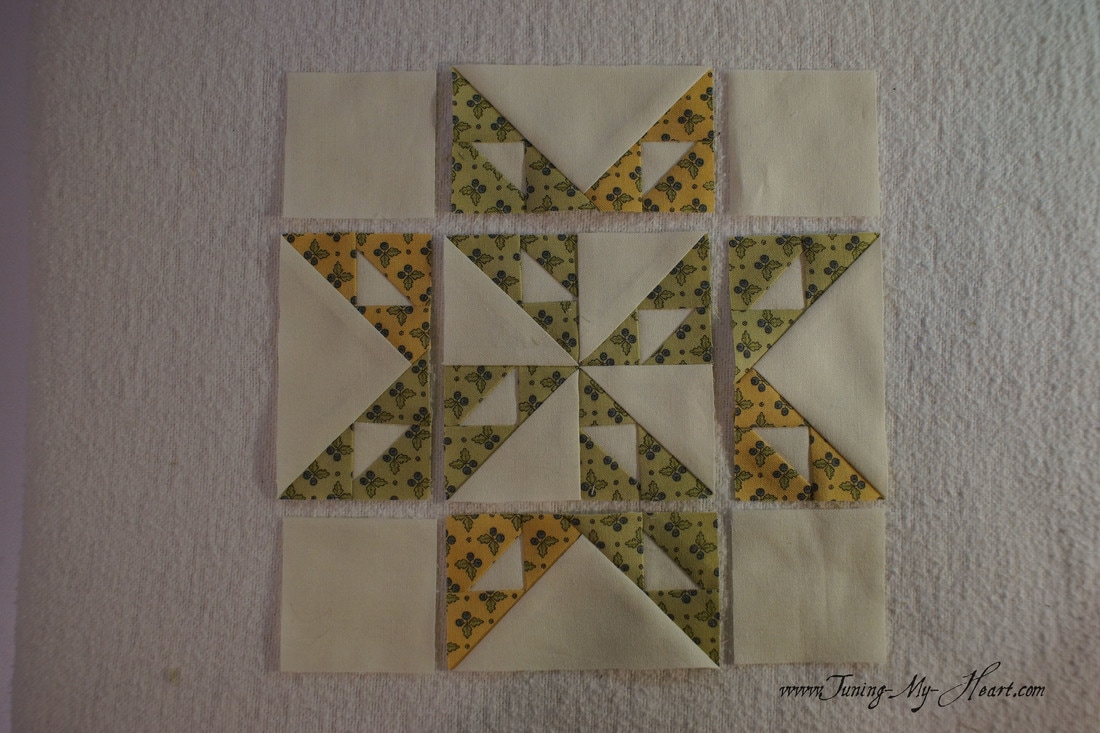
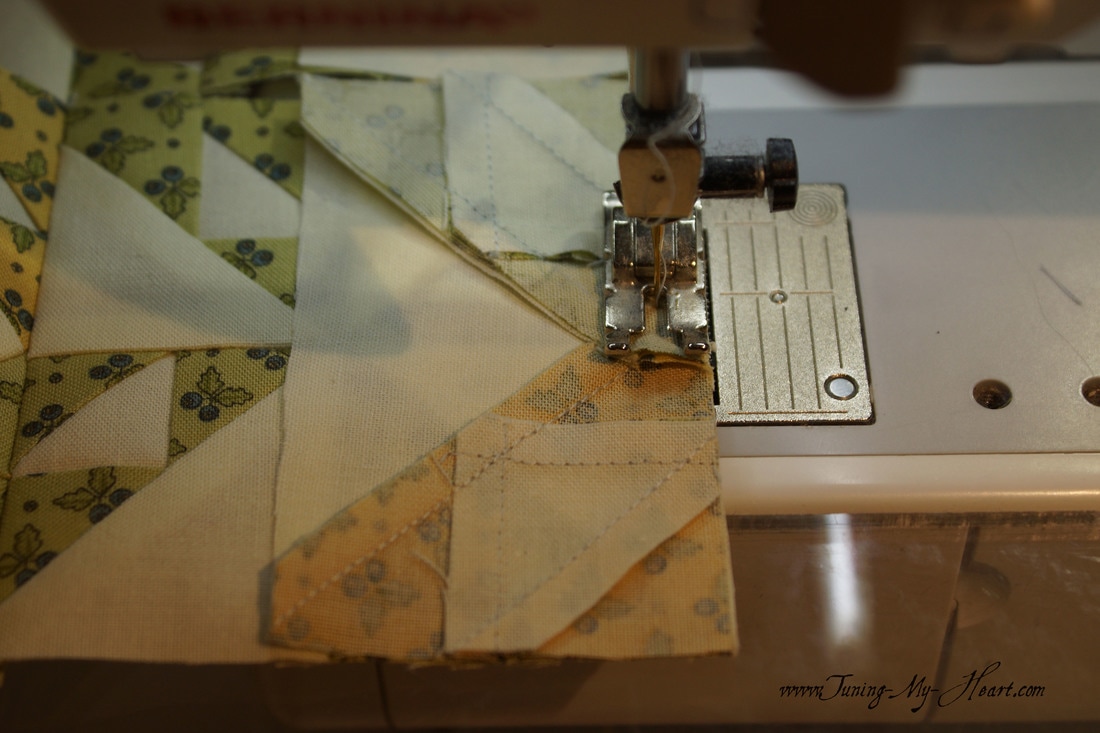
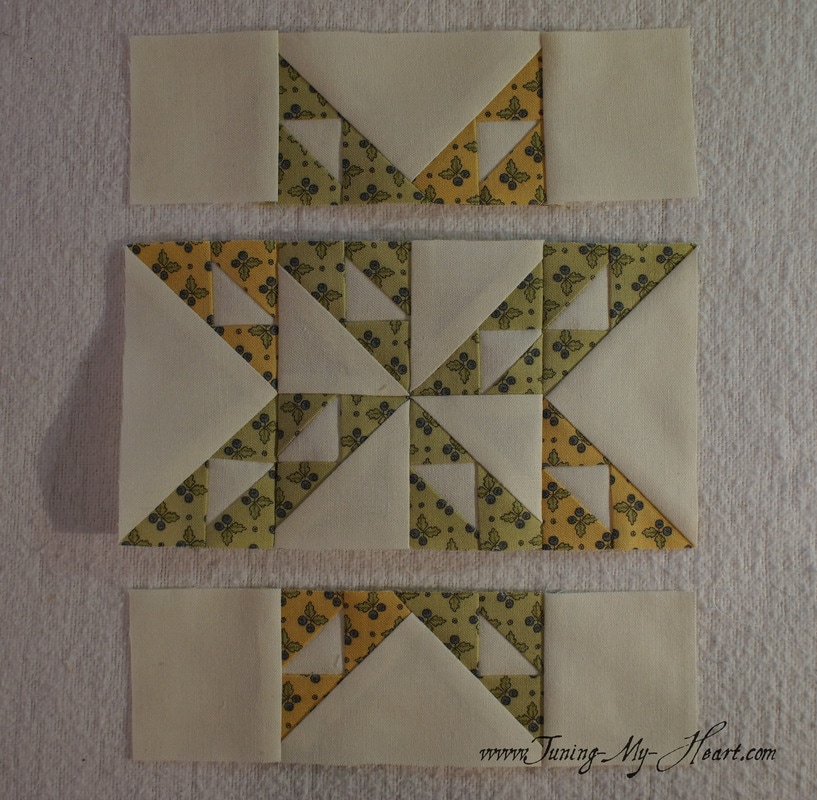
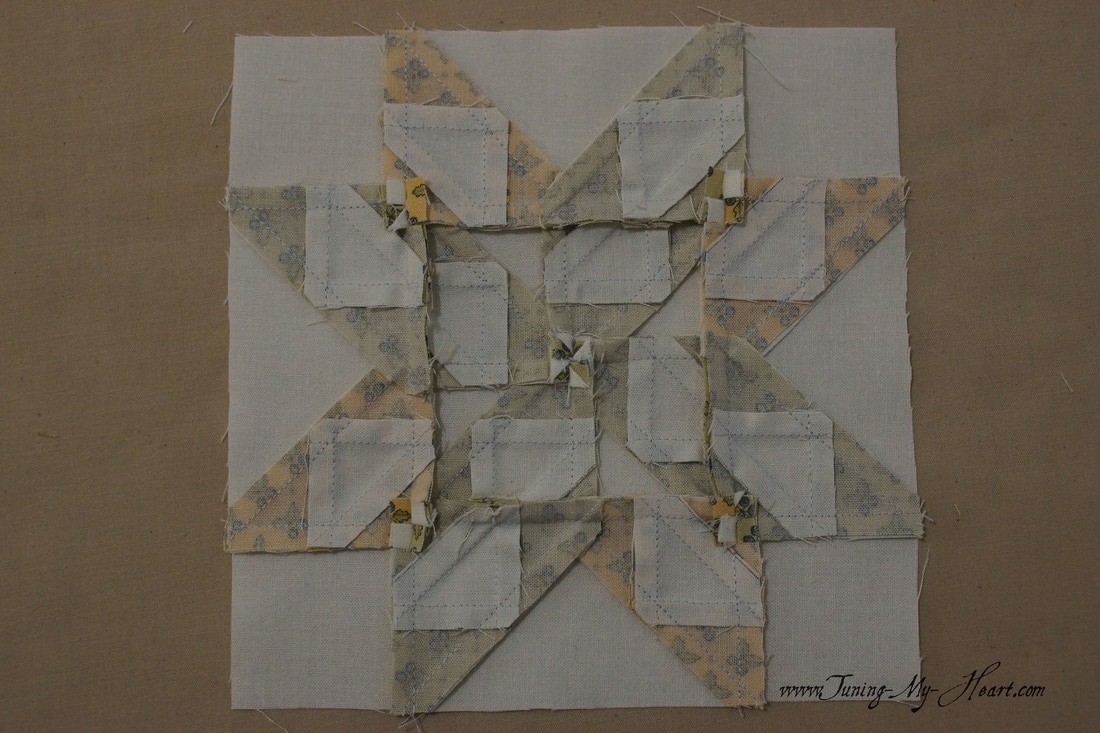
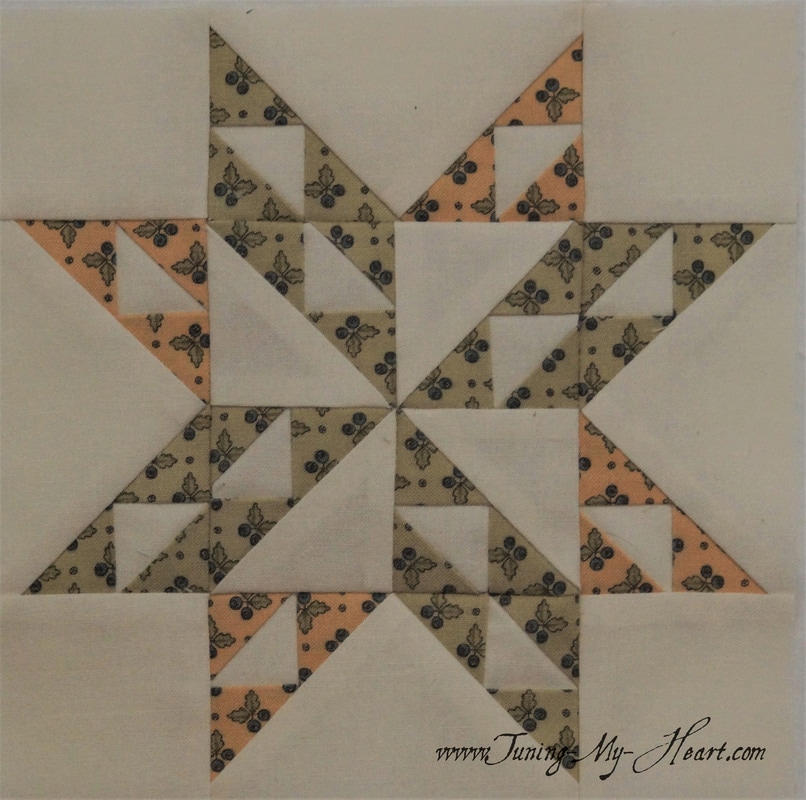
Lisa Bongean has this weeks block. She certainly know how to challenge us! You can read Lisa's blog post here and get the pattern for Block 11 by clicking on this link: https://bearcreekquiltingcompany.storage.googleapis.com/uploads/2017/05/17/files/block11lb_lisasstar.pdf. I have always shied away from sewing triangles on the bias, but have learned that sometimes it is best to face the things that scare you head on. So here we go...Oh, and starch is our friend for these itty bitty pieces. I want to use two colors for my star. In order to achieve that I have cut 12 green blocks and 6 yellow ones for my "B" fabric. I also cut them a little larger in order to be able to trim them to size. Cutting the A and B squares to 1 3/4" gives me a little wiggle room. You can cut them to 1 7/8 inches for a more generous trim amount. I am starting with my A and B squares. For this step I only need 4 green squares and 2 yellow squares. I have drawn a diagonal line down the middle of the A squares. With right sides together I sew 1/4 inch from both sides of the drawn line. I always place the pieces to be sewn touching the needle which is in the down position. Now I just cut on the drawn line to give me two Half Square Triangle units. I am pressing these two the dark side. With the diagonal line of my ruler on the seam line I need to trim these units to 1 1/4 inch. Just have to take a moment and admire my cute little HST's. For this next step I need to cut the rest of the B squares in half diagonally. Time to sew these little triangles onto the little Half Square Triangles. To sew these together I just need to align the edges of the triangle with the edges of the square. It leaves a bit of the triangle poking up but that is okay. After pressing towards the triangle I trim the extra bit off, lining the ruler up with the 1 1/4 inch mark and the seam lines in the Half Square Triangle. Same thing on the other side now. This unit needs to be trimmed making sure that there is 1/4 inch from the bottom point of the inside triangle. For the next step I need to cut the C squares in half. These will be added to four of the units I just made. It is important to go sew carefully here as this is the bias edge of the triangle and can be stretched out of shape. I try not to tug or pull it as I feed it through my machine. I am breaking pressing rules here and pressing towards the C triangle. Again, I am lining the diagonal line on my ruler up with the seam line. These units need to be trimmed to 2 inches square. The four units need to be arranged in a windmill pattern. Sewing the rows together going slowly over the bulky seams. The seams are pressed in opposite directions so that they nest together for the next step. I find a pin at the matching seams helps. It is important to take your time when sewing these pieces together. The seam here is going to be bulky so I have opened it up allowing the seams to fall in opposite directions. And the front side. This unit needs to measure 3 1/2 inches. By lining up the diagonal line on my ruler with the diagonal seam lines and placing the 1 3/4 inch ruler line on the horizontal and vertical seam lines I know right where the middle of my block is. Now I just trim all of the sides. The D square needs to be cut twice on the diagonal. A small cutting mat works well for this as I can turn it after making the first cut without disturbing the fabric. Time to pull out the rest of those triangle units I made earlier and place them with the D triangles I just cut. I need to have my green units on the left in order to achieve the star look I am going for . Sewing on the bias again, hang in there, we can do this. These need to line up together a little differently than before. One tip while sewing is to aim for that X where the seams cross-that will give you the sharp points you are looking for. This one looks like it is going to fall right on my 1/4 seam which is just what I want. It doesn't always work out so well, but with practice I am finding more and more of those perfect points in my blocks. I have chosen to press towards the light triangle. I am trimming off the little extra bit just on this one side for now. Time to add the the green units to the other side. Before I press these I am trimming off the little extra point. Once again I am pressing towards the light triangle. These units need to be trimmed to 2" x 3 1/2" The diagonal lines come in handy again and I need to make sure I have a quarter inch from the point of all three light triangles to the edge of the unit. Laying it all out to make sure everything is as it should be before sewing the rows together. Going slow. To make the seams go together nicely I have pressed the seams on the top and bottom rows towards the E squares. The middle row is pressed towards the center unit. Now I can nest those seams, hold them in place with a pin and sew my unit together. Oh those bulky seams-I have flared them open again. To get the seams to lay in the best direction for the block I actually took a little snip on both sides of the seam-right up to the stitches. Now I can fold the fabric back in the direction I have determined will help the block lay flat. 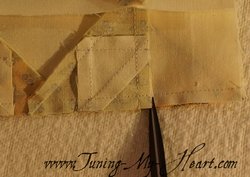 I feel pretty good about this one. I hope you will be brave and give this a try. I always view these things as my chance to learn and improve my quilting. Just think how good we will be at the end of this project and our quilt blocks will be a testimony to our process. Until next time... Happy Quilting!
Liz Sampson
5/19/2017 02:38:39 am
Thank you so much for the practical, methodical presentation. So many details were included that I just figured out on my own through years of quilting that someone with less experience will hopefully grasp the,importance of right away. I also appreciate your recommendation for slow, careful stitching. Happy quilting!
Debra
5/19/2017 10:08:44 am
Thank you, Liz! Exactly, I try to write these with beginner level quilters in mind.
Genie Richez
5/19/2017 05:30:18 am
Oh my goodness! I just love these tutorials! I could not do this with confidence if I couldn't check my measurements with yours. I love how you take a picture of each step. I know I would not even attempt to make these blocks with such small pieces, but I really really really love how small they are and to know it can be done!
Debra
5/19/2017 10:09:37 am
Thank you, Genie! I hope you give it a try!!
Edie
5/19/2017 06:20:30 am
Your block looks fabulous - points are spot on!
Debra
5/19/2017 10:10:09 am
Thank you, Edie-that is very kind of you.
Julie T
5/19/2017 07:32:15 am
Thank you so much for the step by step instructions. These tiny pieces intimidate me. I especially appreciate that you included the finished measurements for the smaller units of the block. It really helps to know if you are on the right track instead of getting to the end and being way off on size.
Debra
5/19/2017 10:11:58 am
Exactly, Julie-knowing those finished measurements really helps. I wish you success with these itty bitty pieces!
Alycia Maurer
5/19/2017 04:03:50 pm
Thank you so much for block 11 tutorial. I think it will really help me! I need to have a projector in my sewing room and a remote control so I can play and pause while I make this block!
Debra
5/19/2017 09:31:15 pm
Haha, Alycia. I use my laptop and picked up a wireless mouse for just that reason-I can start and stop tutorials from my machine. Now you have me thinking I should mount a TV or monitor on the wall in front of my machine that I could hook my laptop too...hmmmm.
Debra
5/23/2017 10:22:21 am
I am so happy that this helped! Thank you for your encouraging words, Cathy!!
Michele
5/23/2017 08:23:50 pm
Thank you so much for a great tutorial. I tried the block for the second time and my points were much better. 😊
Michele
5/24/2017 09:52:39 pm
I am so glad! They do get better with time and practice-one of the great things about groups like the Moda Blockheads that encourage us to continue to develop our skills. Comments are closed.
|
Welcome to the site of Debra Davis-a woman who loves the Lord and loves to quilt.
My other blog where I share about my walk of faith:
Sitting at His Feet This website uses marketing and tracking technologies. Opting out of this will opt you out of all cookies, except for those needed to run the website. Note that some products may not work as well without tracking cookies. Opt Out of Cookies |


 RSS Feed