|
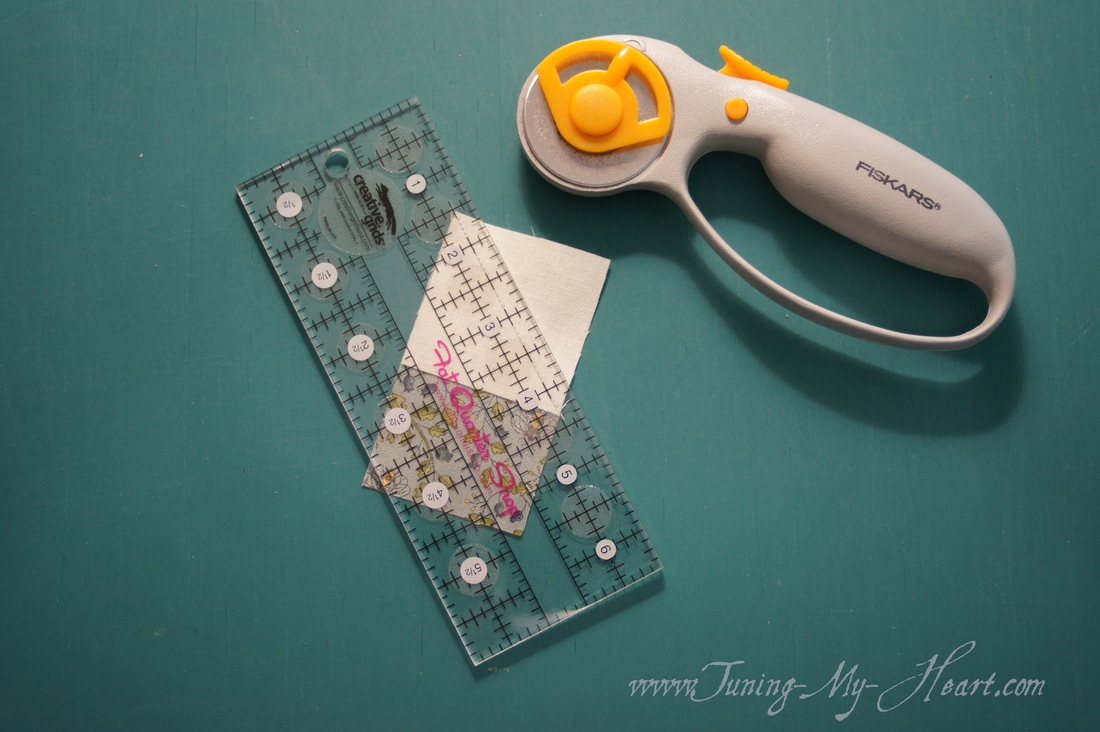
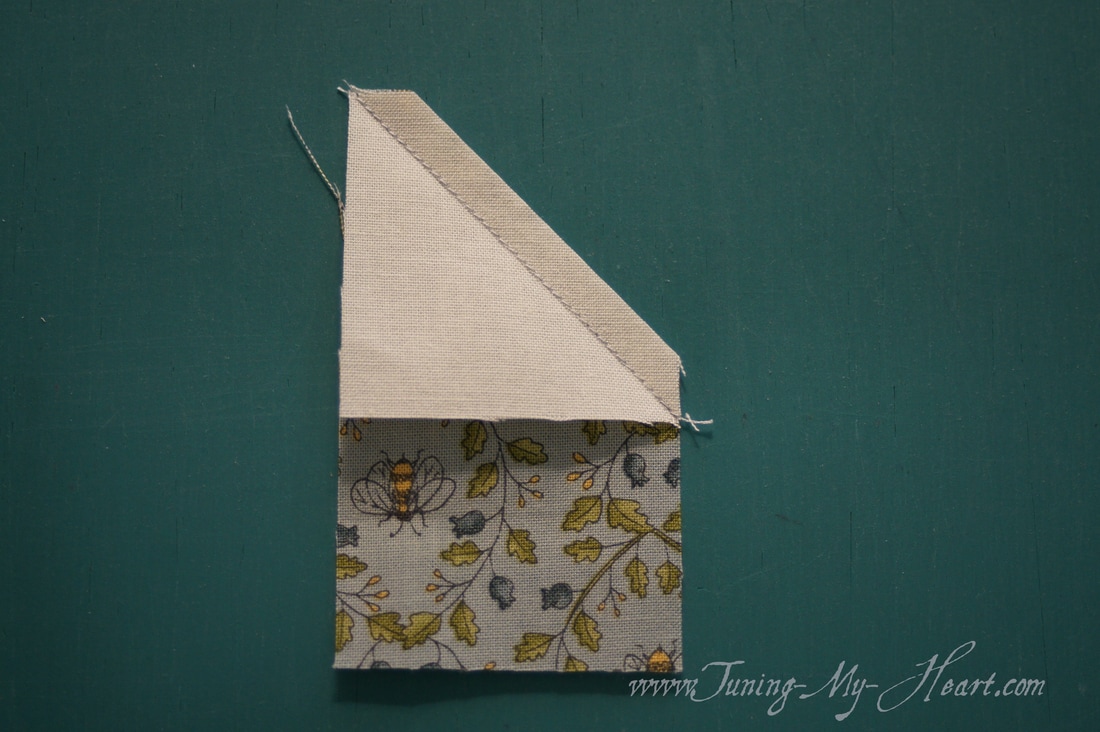
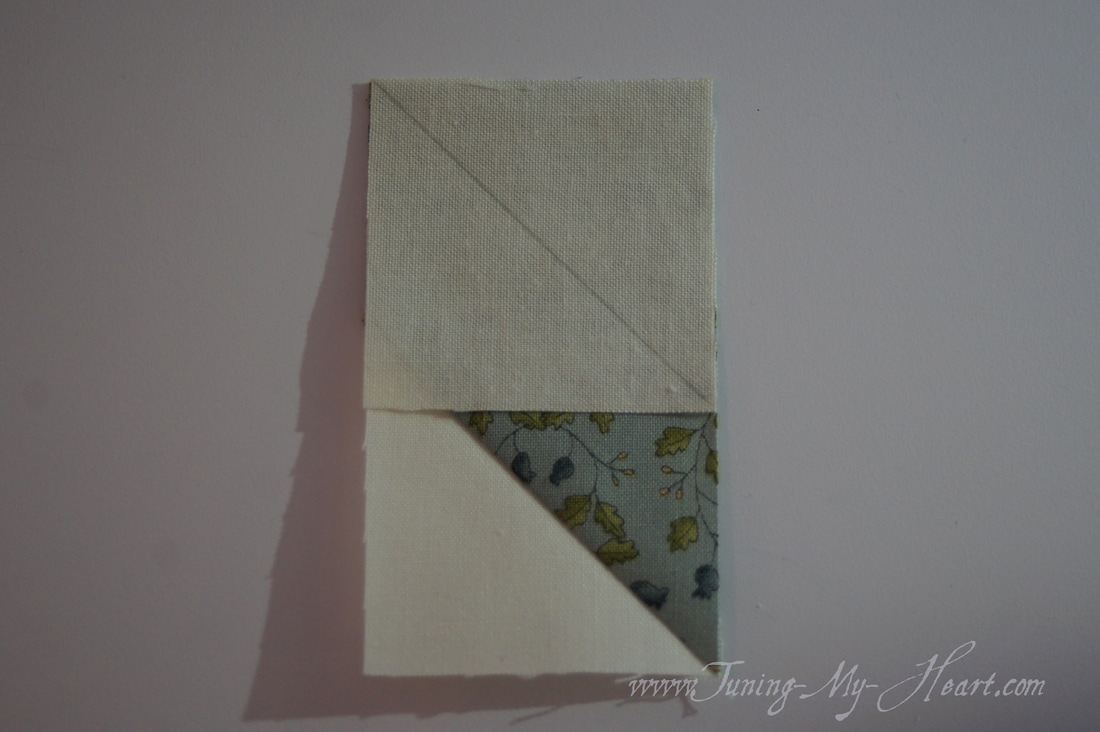
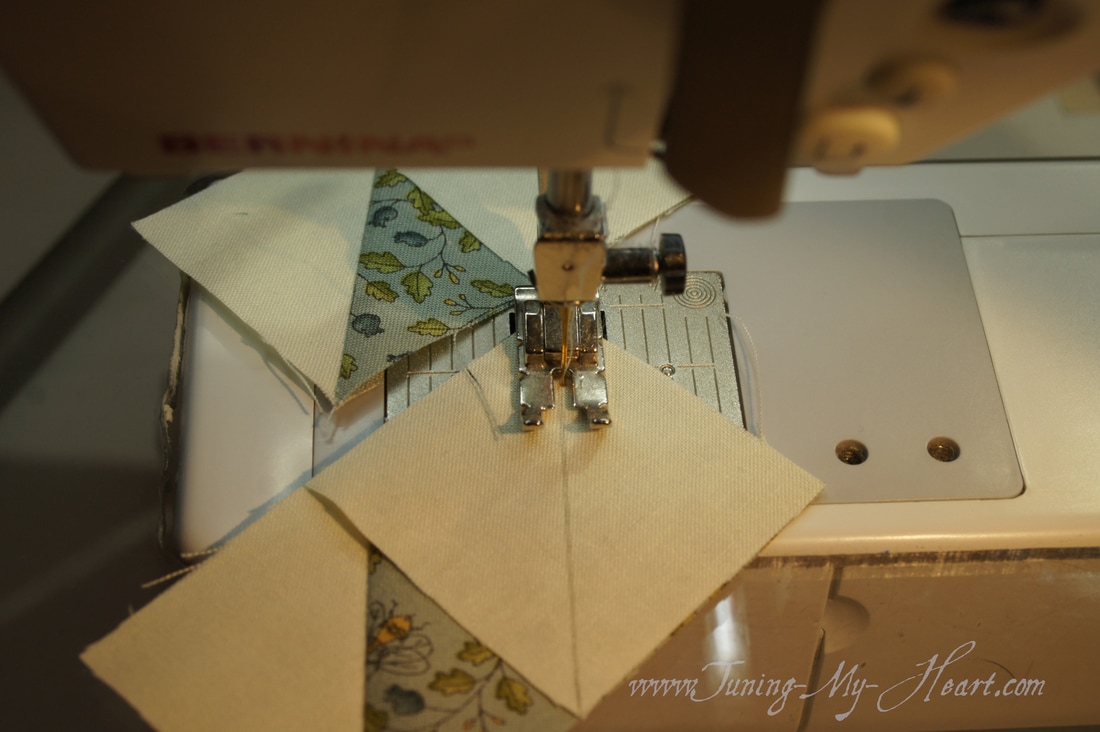
I have a serious problem. I am addicted to quilt patterns. So even though I have more projects than I know what to do with I am jumping into another freebie being offered by some of the excellent designers who work with Moda fabrics. This is a Block a Week project with 6 inch blocks. The first block is Whirligig from Kansas Troubles Quilters and designed by Lynne Hagmeier. You can find the block here: http://blog.modafabrics.com/2017/03/blockheads-block-1/ My first step, once all of my fabrics have been cut is to starch all of the pieces. I have found this to be a huge benefit when piecing smaller blocks. I am following the traditional piecing directions for this block. I start by drawing a diagonal line on all of my A and D squares. 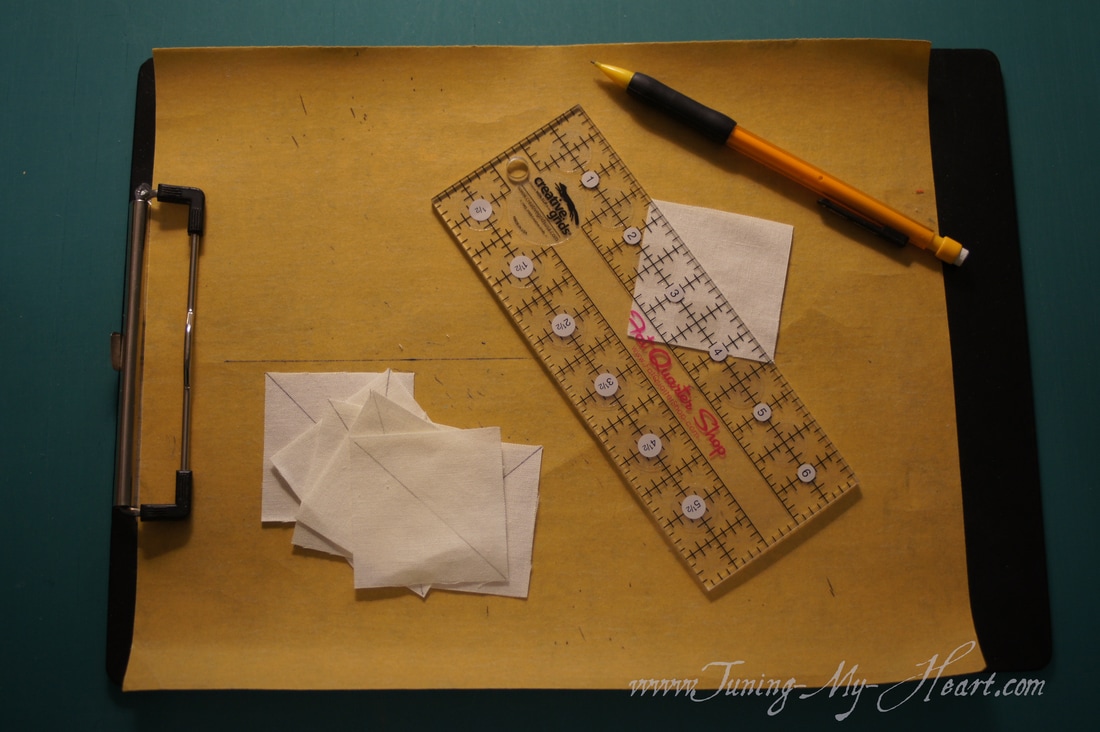 Layering an A square on each of my B rectangles, I am using the chain-piecing method to stitch these together on the diagonal line. I find that if I place my needle just to the right of my drawn line I am better able to achieve the correct finished size.  Once these are stitched I use my ruler to cut 1/4 inch away from my stitching.
Time to press. It is especially important to press these pieces and not iron them. Basically, I try not to move my iron around on the fabric, but rather just set it on the fabric to press it along the seam. 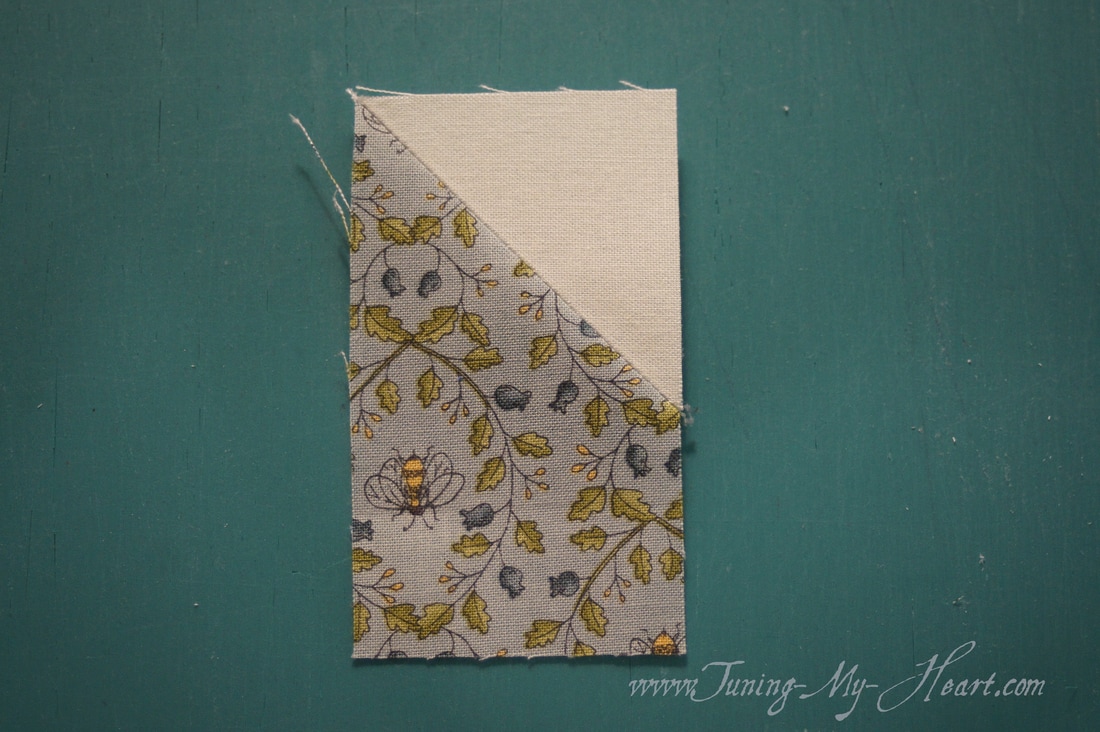 Now I repeat the process with another A square making sure I have my diagonal line going in the right direction.
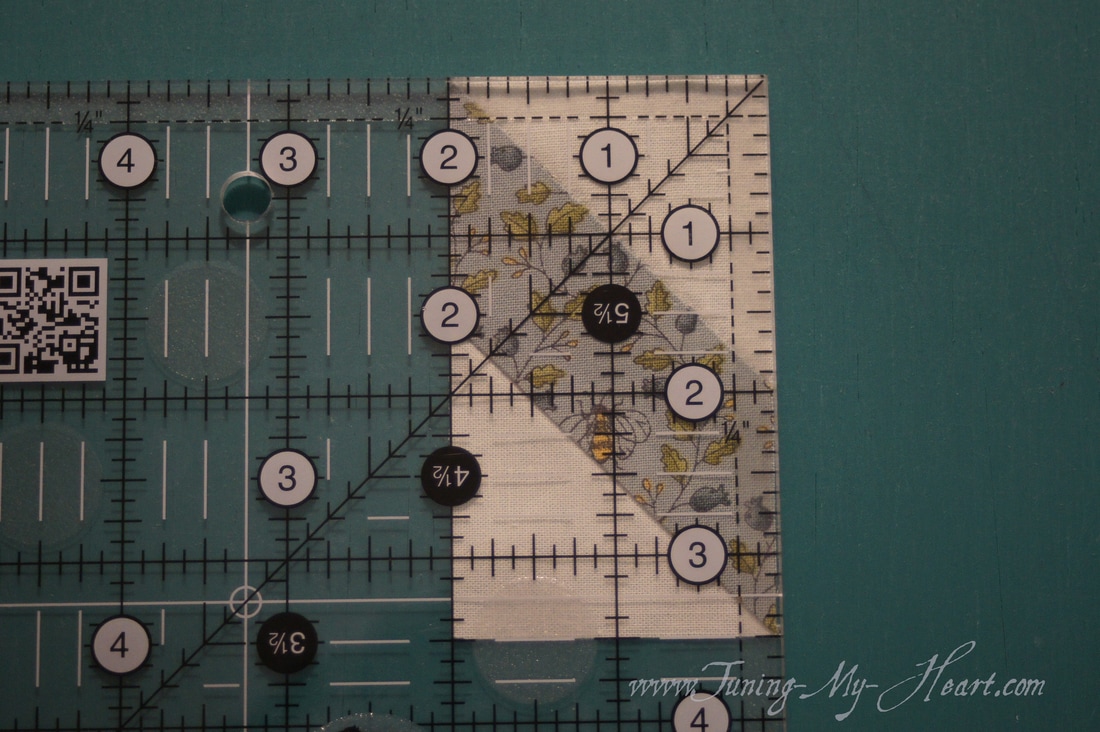
Once everything is trimmed and pressed I check to see that I have the correct size -yes, 2"x 3 1/2"-perfect. That makes me happy! Unit #1 is done.
The process is repeated with the C rectangles using A squares on one end and D squares on the other. This photo gives a better look at where I try to place my needle; right next to the line I have drawn. 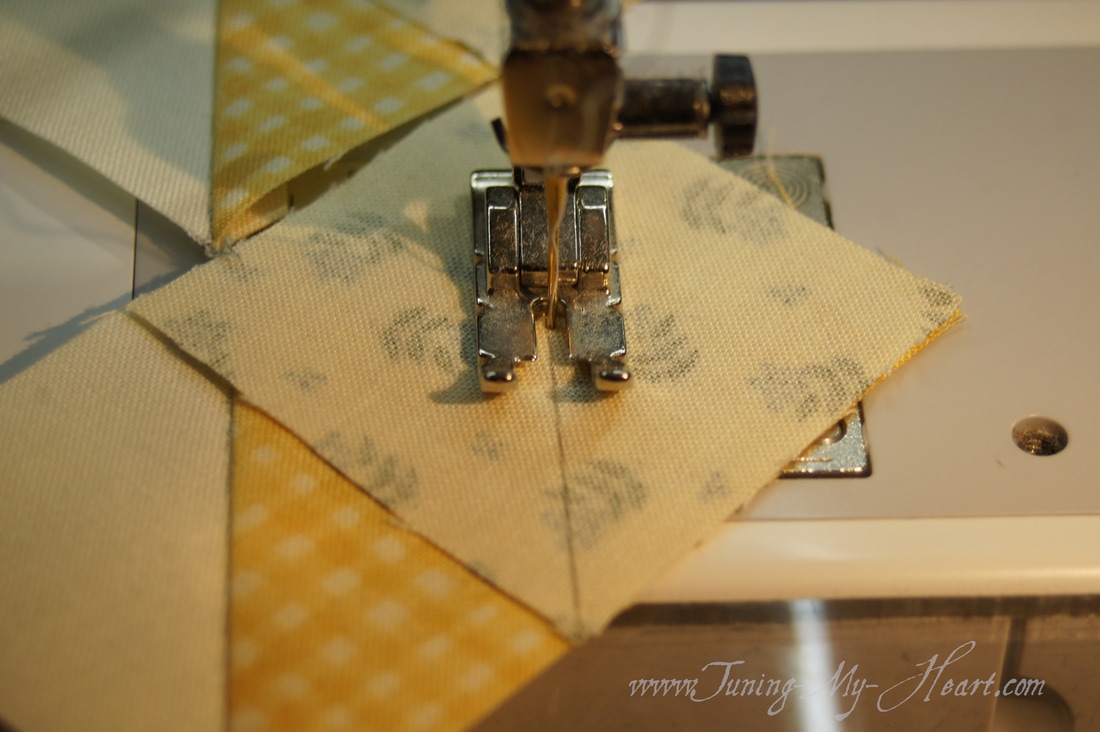 Checking to see that my unit#2's also measure 2" x 3 1/2." Looking good.  Now to lay out the units according to Lynne's design for this block. 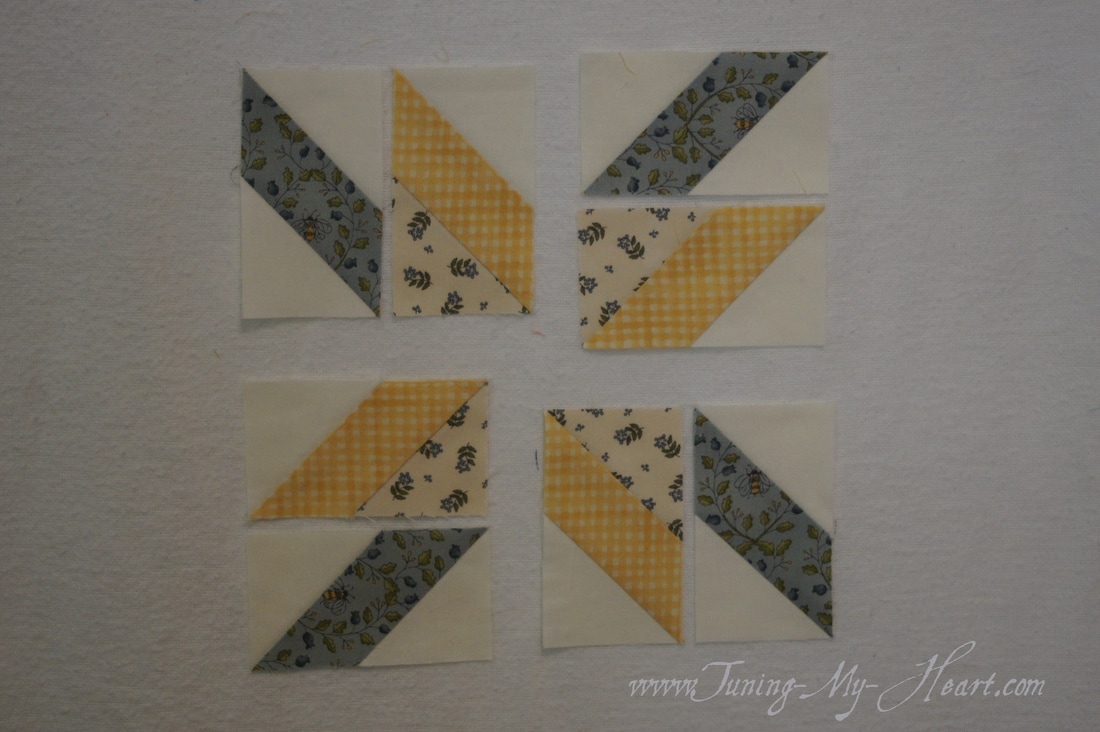 Chain-piecing the units together.  Once again laying my pieces out to make sure I have them in the right order. 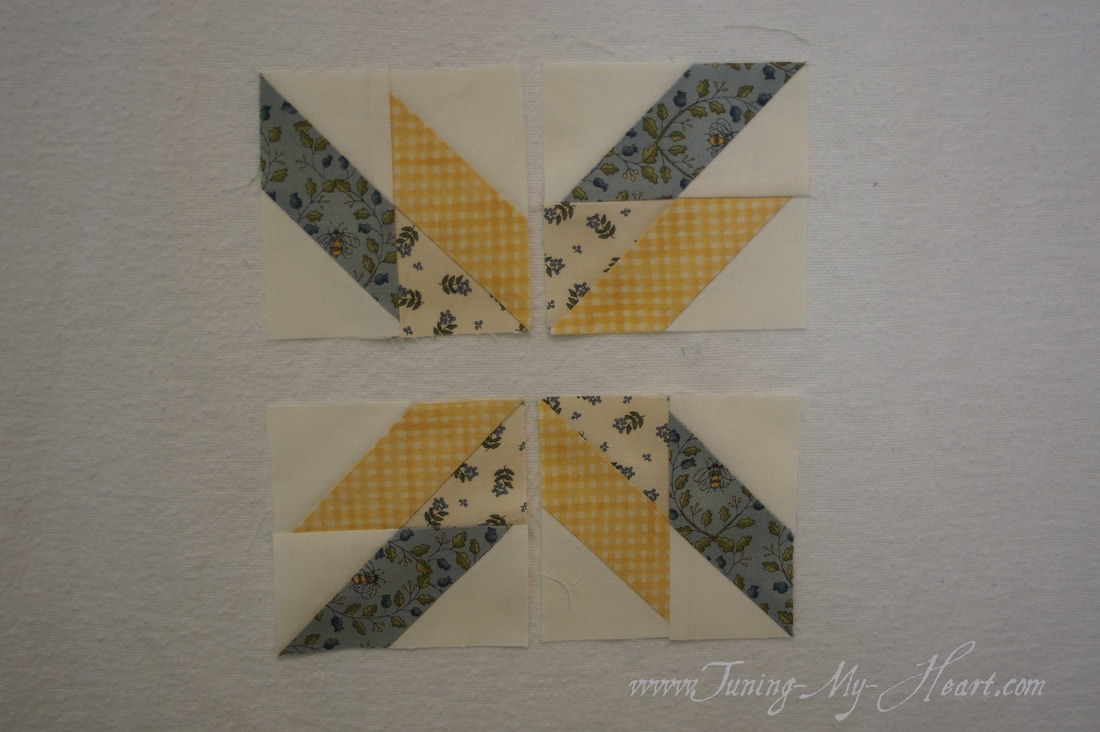 Whenever I come to bulky seams like these, I slow way down. It also helps to have something to guide the pressed seams under the foot. 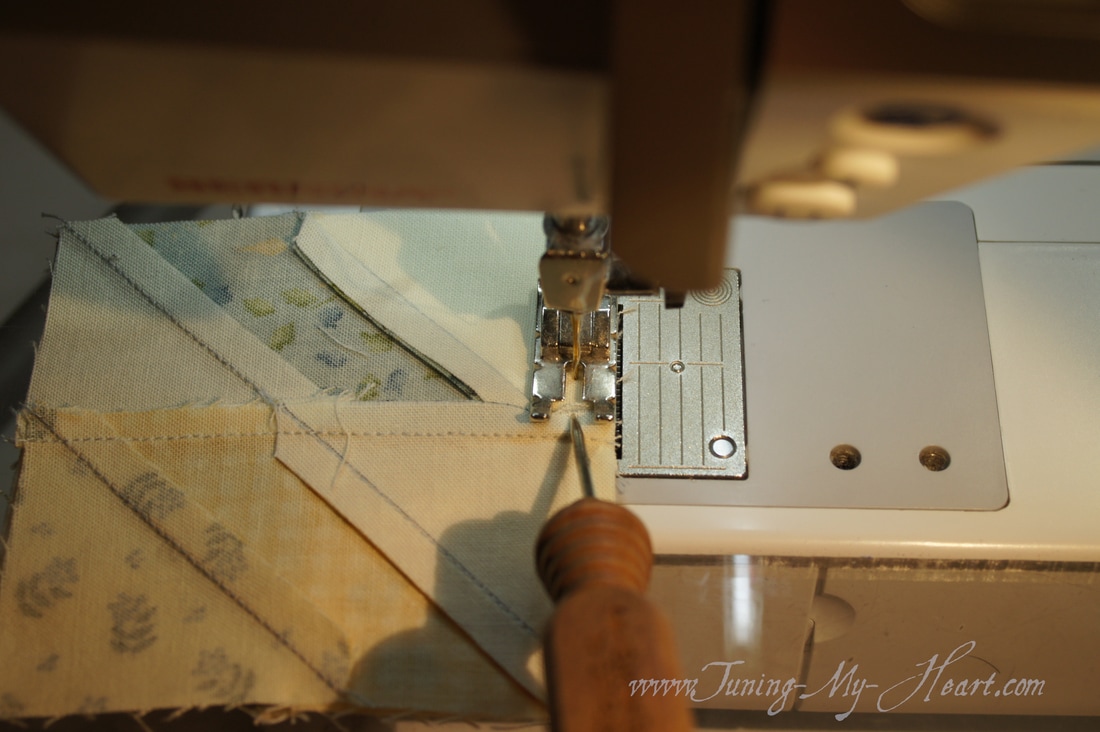 I am feeling very good about how this is coming together. Just need to sew the two sections together now. 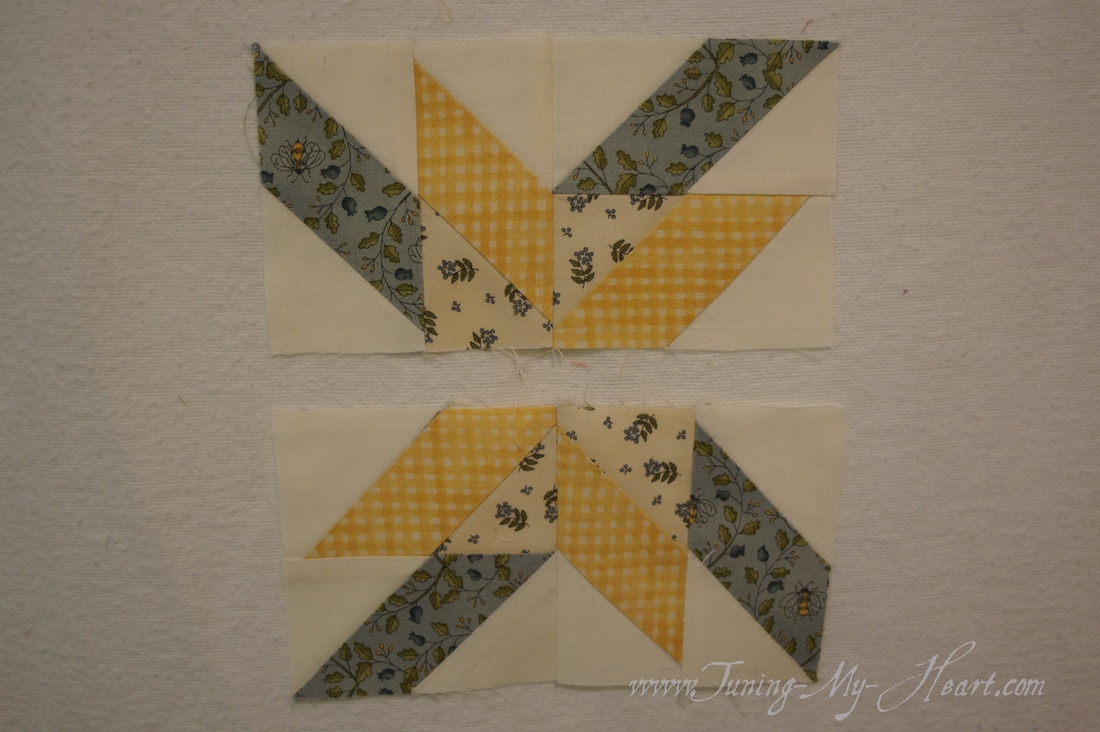 A little pin placed where the center seams meet helps hold them in place. 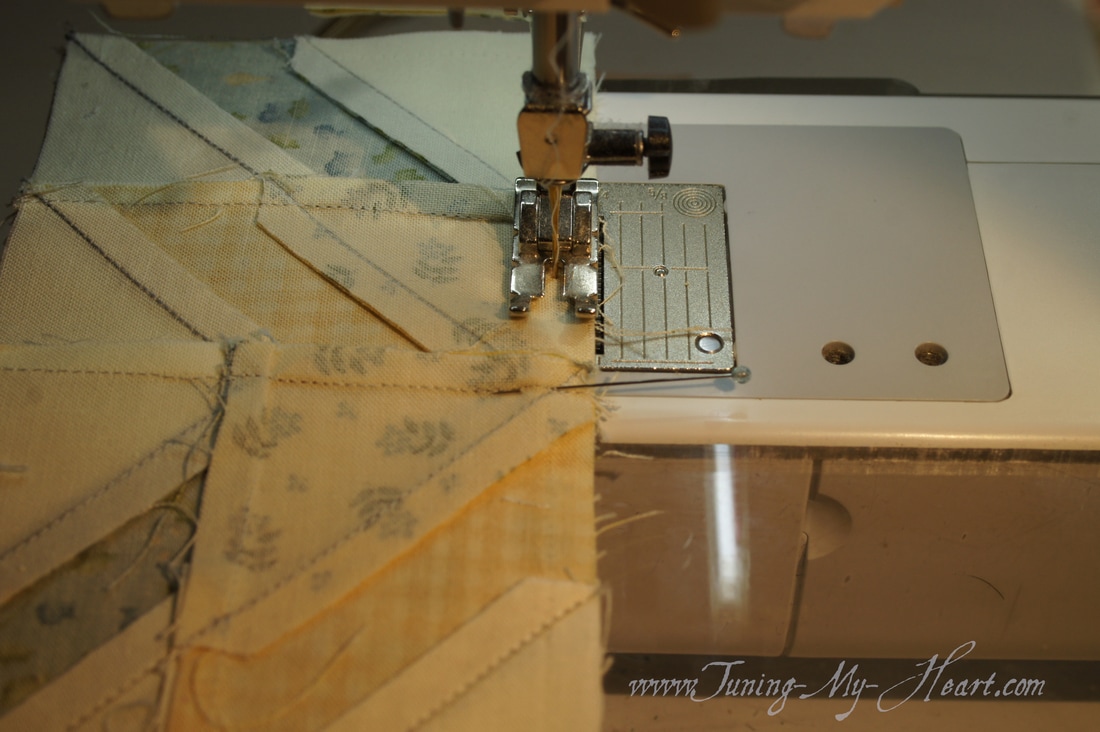 Again, I slow way down when I come to this bulky seam and stitch right up to the pin. With my needle in the down position I gently remove the pin and continue sewing. I also am looking at the little intersection of seams here and trying to land my needle right on that point. 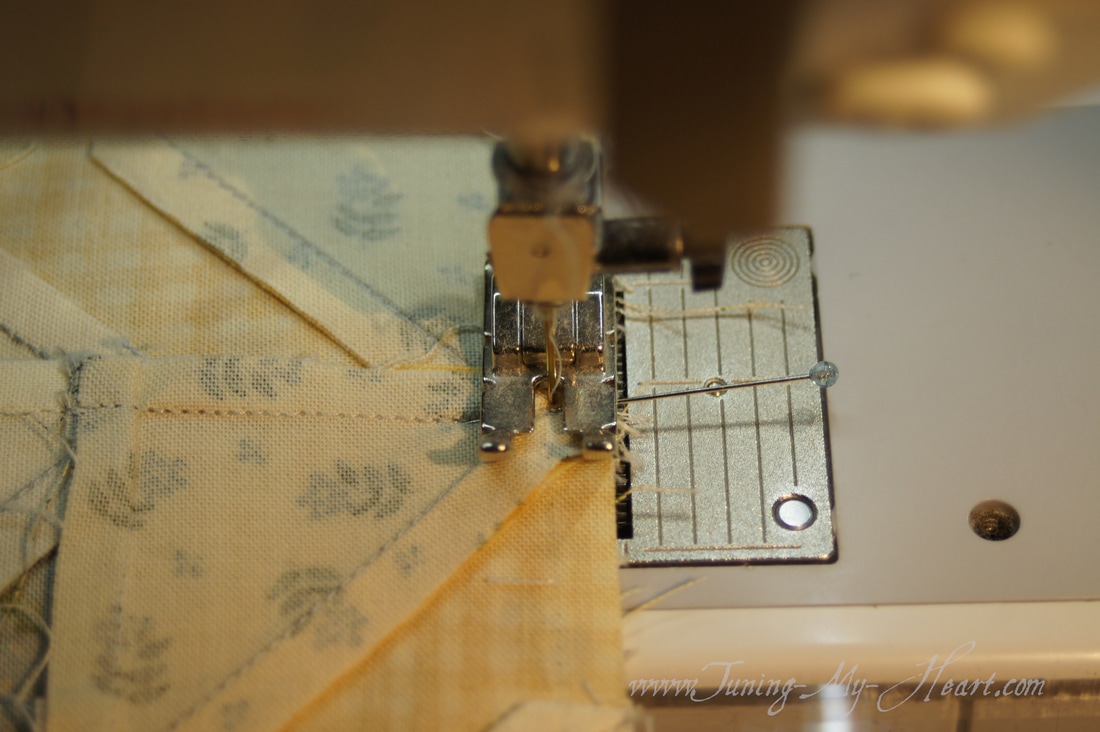 It's a beauty, and measures 6 1/2 inches too. 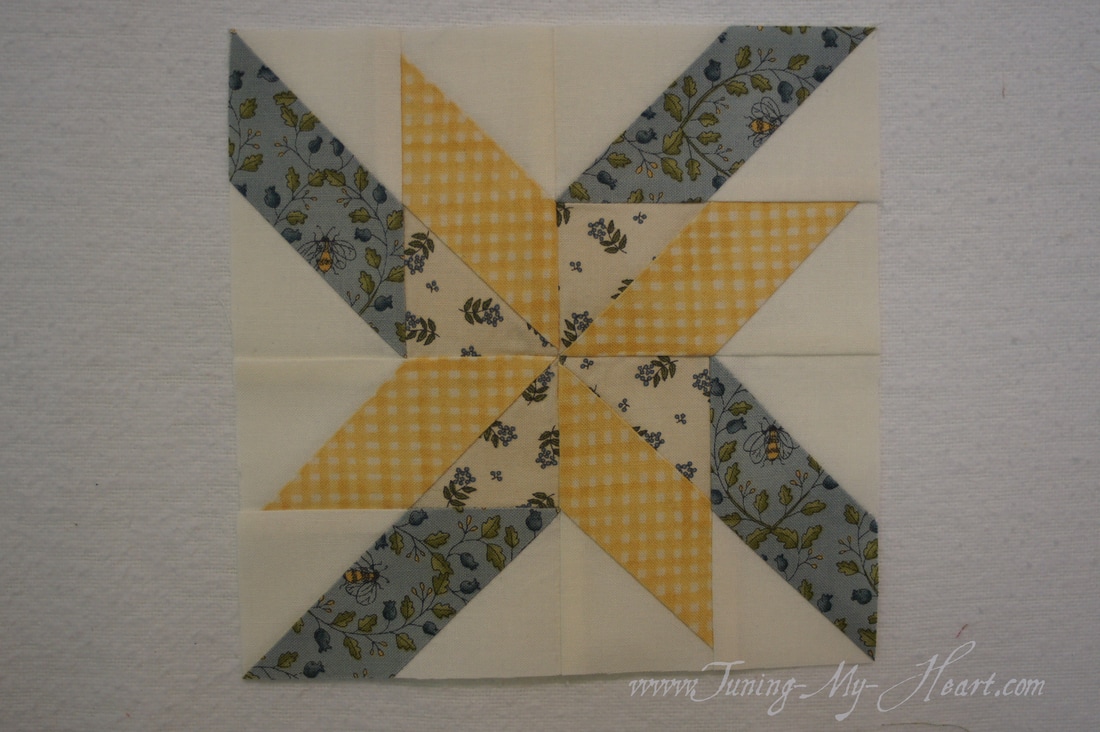 That center seam is pretty thick so I have fanned open the seams to eliminate that pesky lump in the middle. 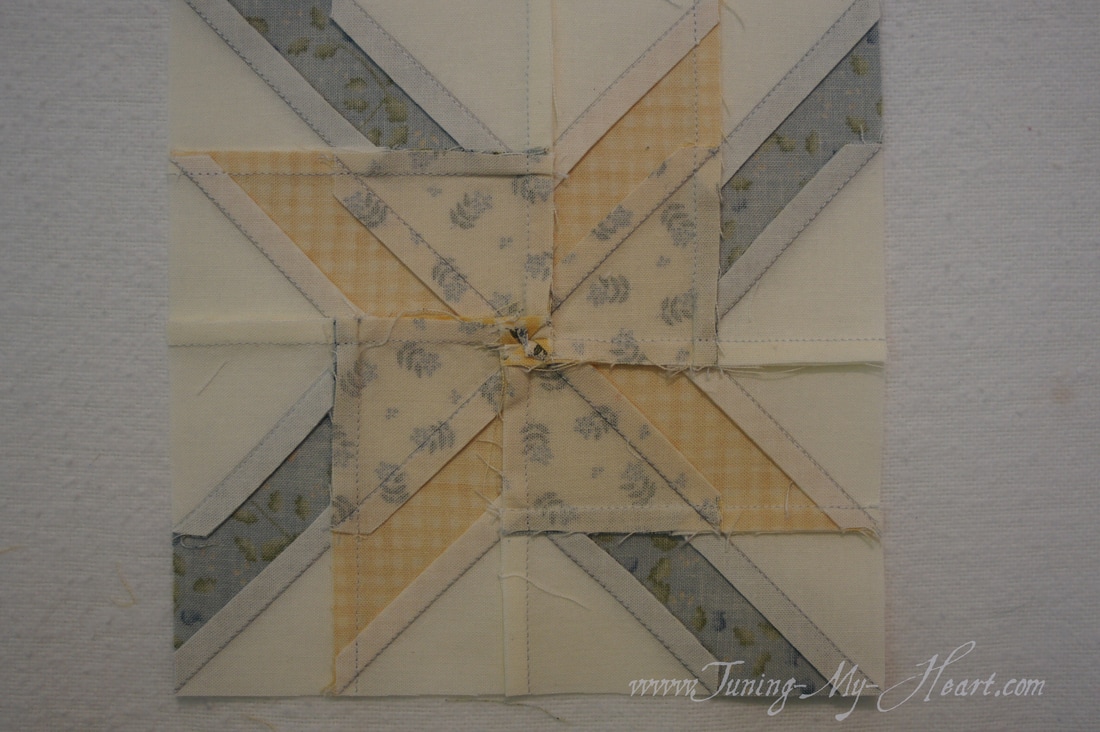 A zoomed in view of the middle seam. 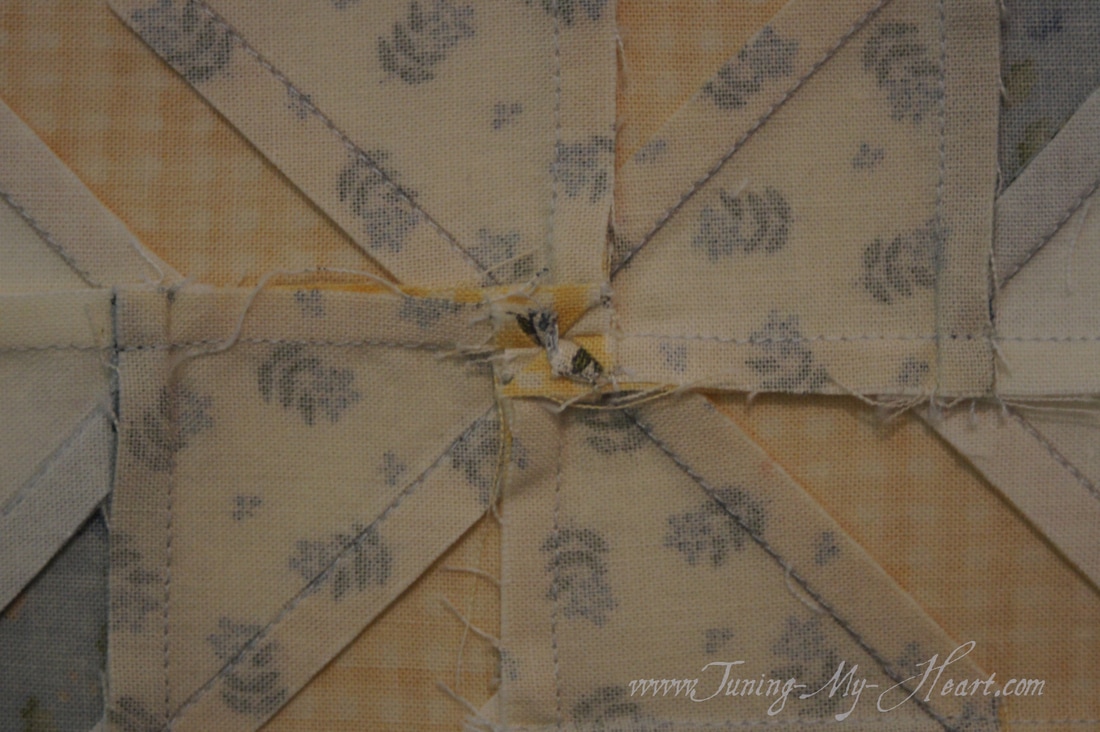 There were enough leftover pieces from trimming units 1 and 2 to try my hand a mini quilt block. What fun that was! 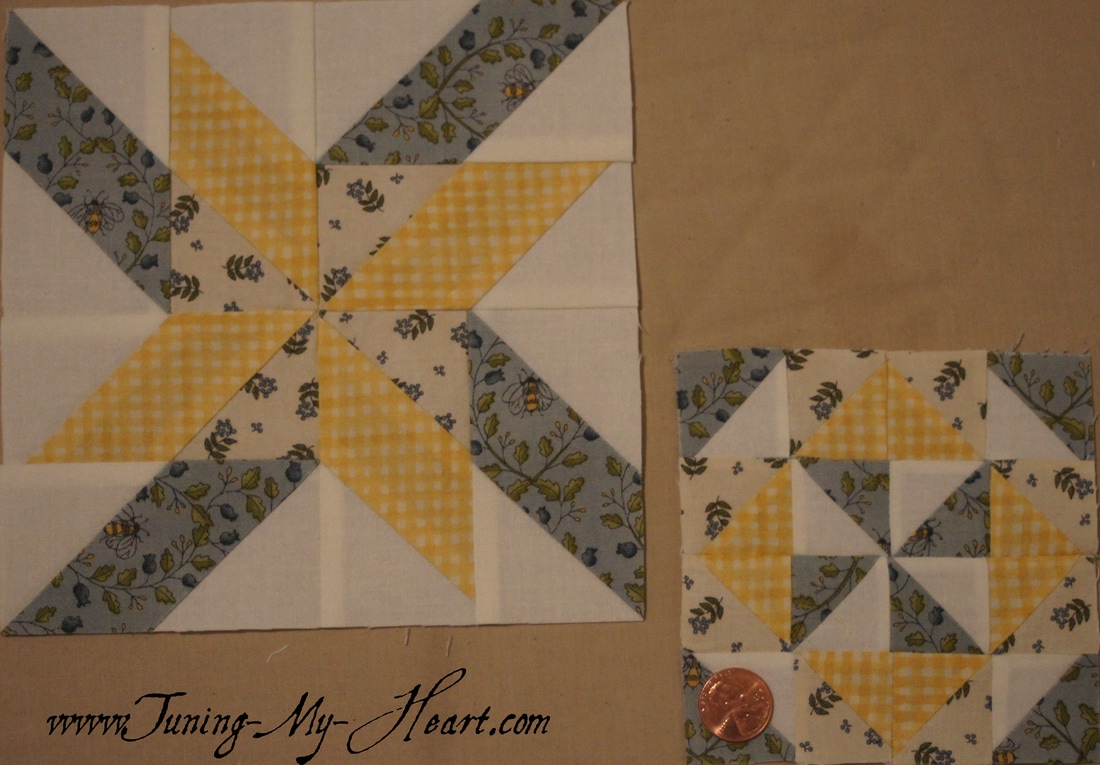 I hope that this tutorial has helped you on your own Blockhead journey. I plan to continue to share how I am putting my blocks together. So, until next time... Happy Quilting! 
Alycia Maurer
4/6/2017 03:58:57 pm
Dian Schwanz
4/6/2017 07:34:05 pm
Thank you, Thank you!! These look like something I can follow!
Debra
4/7/2017 08:24:40 am
I am so glad you found it helpful, Dian. Have fun with your blocks!
Daniela
4/6/2017 09:41:15 pm
Wonderfull Comments are closed.
|

Welcome to the site of Debra Davis-a woman who loves the Lord and loves to quilt.
My other blog where I share about my walk of faith:
Sitting at His Feet 
|


 RSS Feed