|
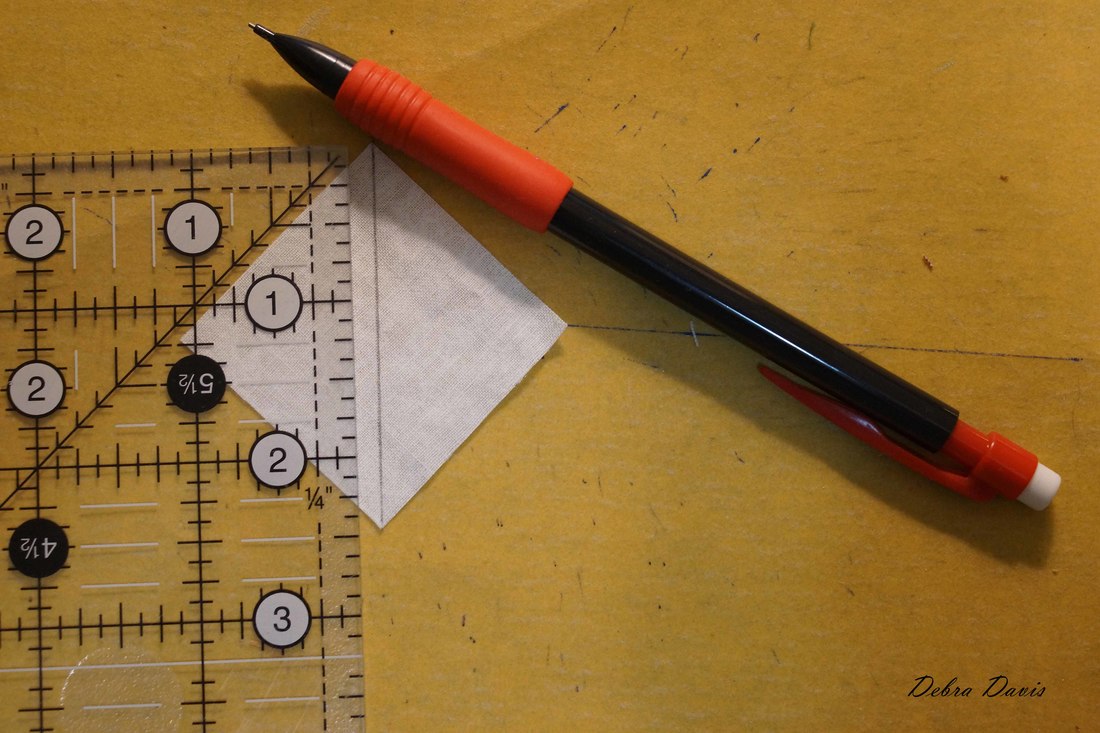
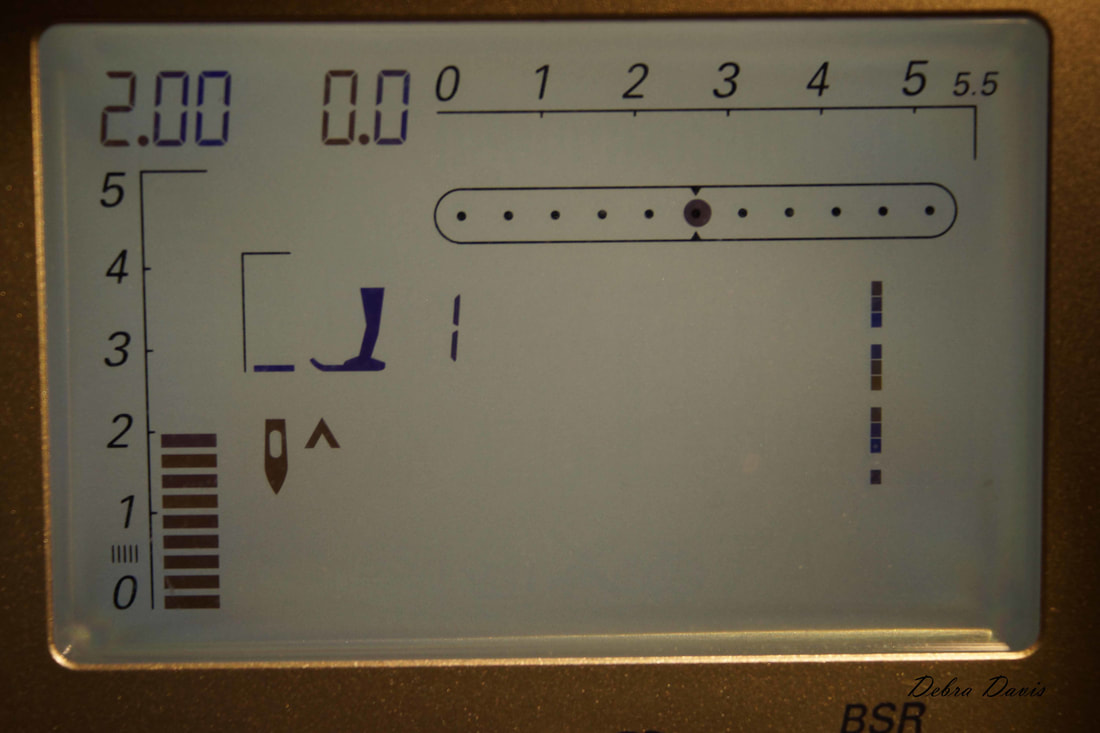
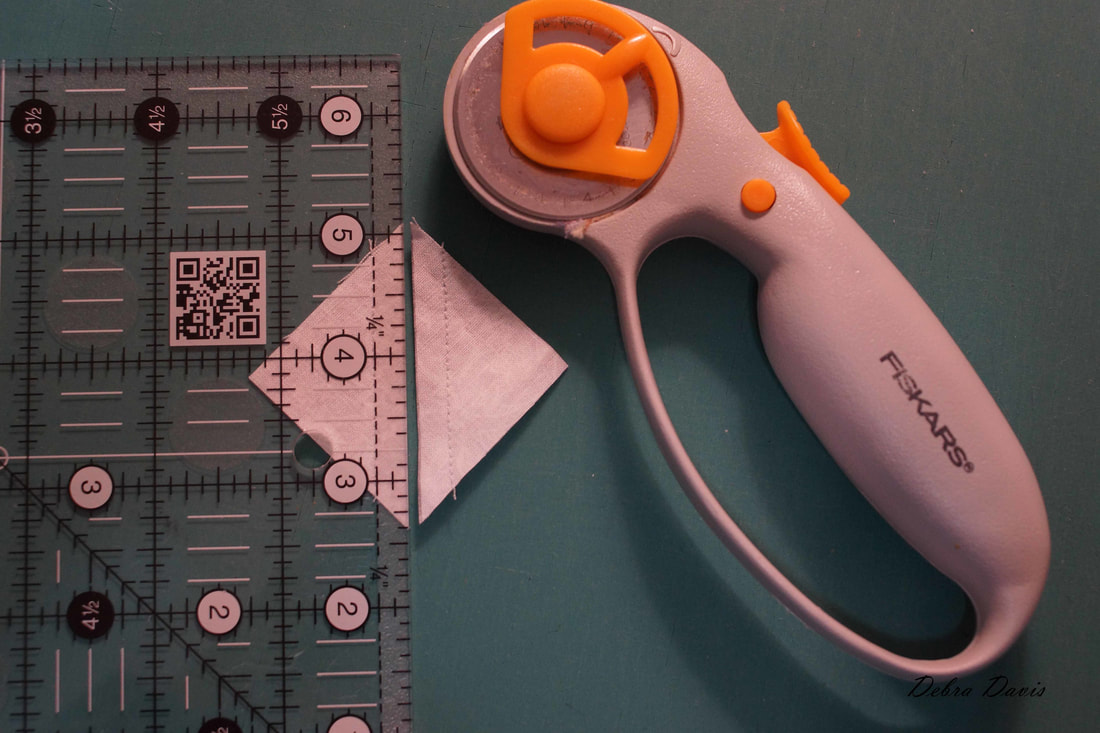
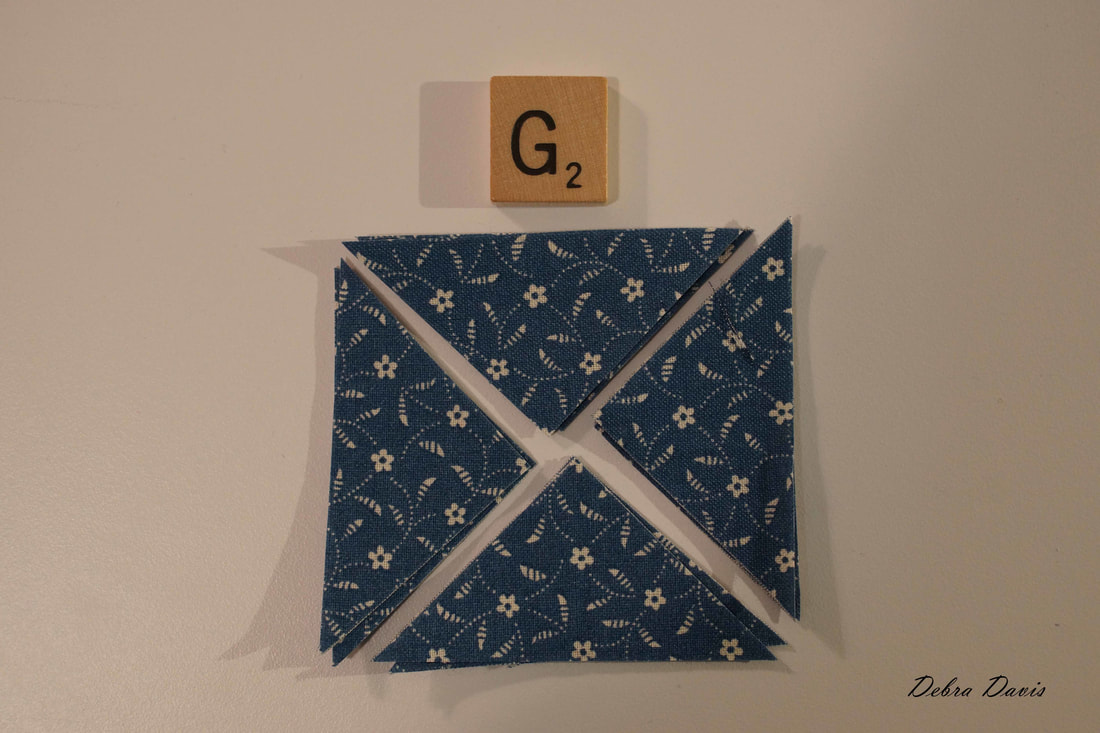
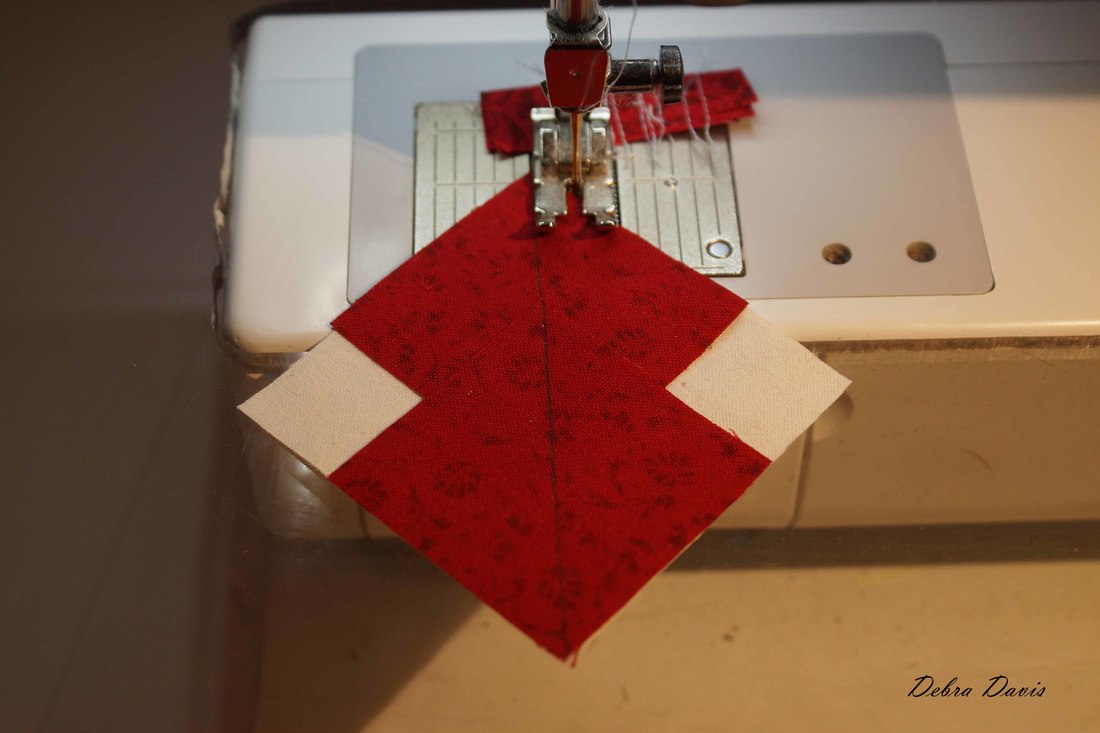
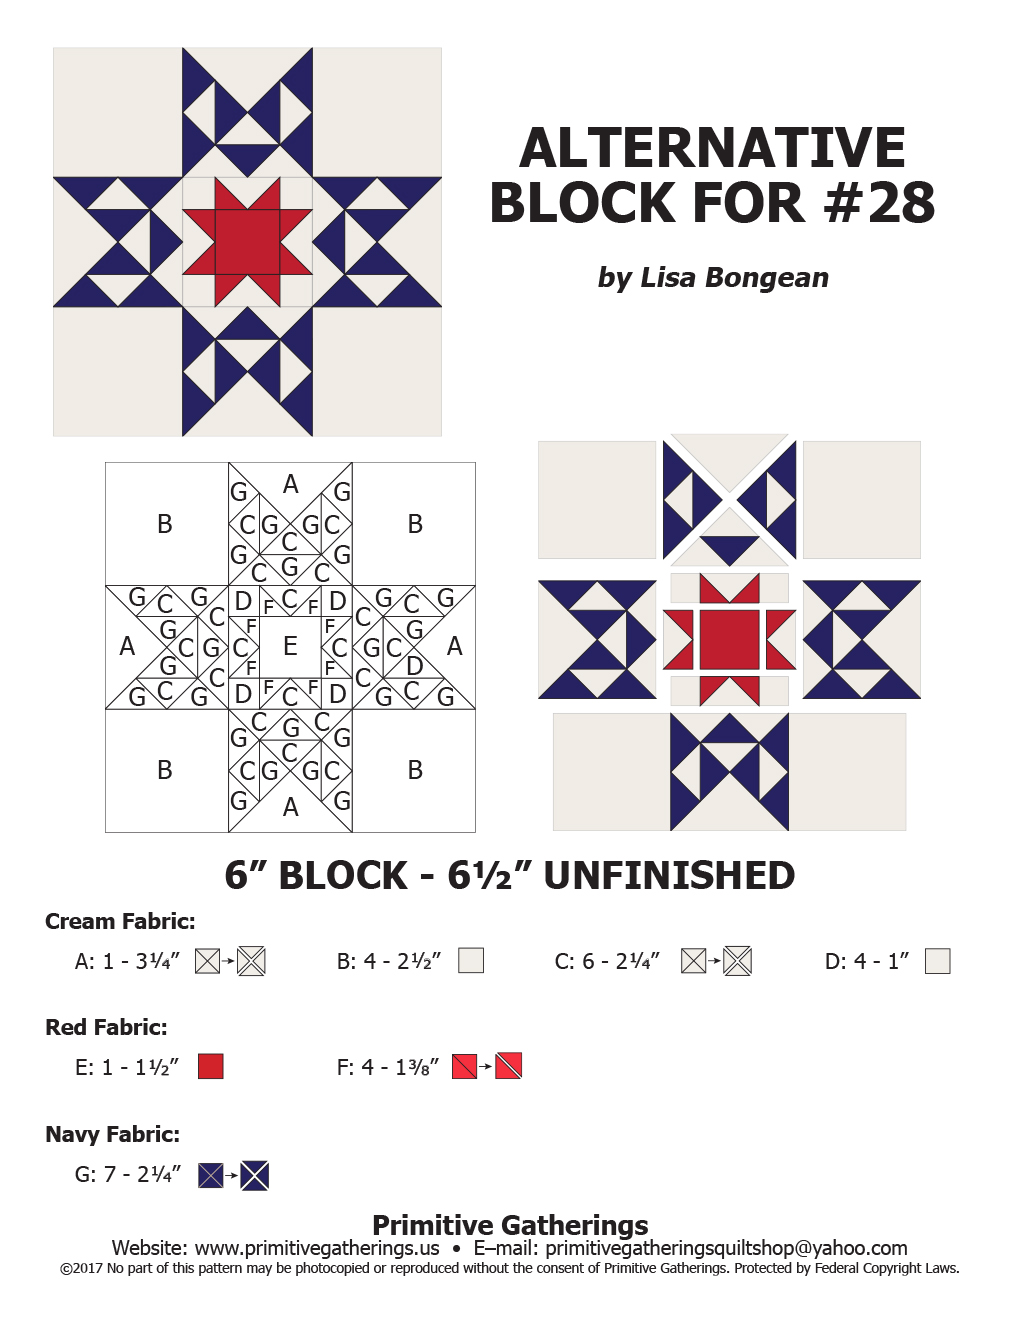
When I asked you which block you would like to see me do next as I play catch-up, it was a unanimous "Alternate 28." HooBoy-when I took a look at that one I just set it aside for a moment. Looking it over, there are of course Lisa Bongean's trademark tiny triangles. But I also saw some ways of simplifying this block. So with that in mind, I sat down to tackle the block-and proudly announced to my math professor husband that I was doing some math. (He likes it when I talk nerdy to him.) The pattern you need for this block can be found here. This block really needs starch. I am using scraps from old projects which were prewashed so starching after I cut them was fine, If you do not prewash your fabric you will want to starch before cutting out your pieces or they will shrink when you apply the starch. The cutting directions for my method are as follows: A: Same as directions B: Same as directions C1: 2 1/8" x 2 1/8"-Cut 2 and make diagonal cuts to give four triangles as in Lisa's directions C2: 1 3/4" x 1 3/4"-Cut 6 C3: 2 1/2" x 2 1/2" - Cut 1 D: Same as directions E: Same as directions F: 1 3/4" x 1 3/4"-Cut 4 (DO NOT cut the squares into triangles) G1: 2 1/8" x 2 1/8" - Cut 4 and make diagonal cuts to give four triangles as in Lisa's directions G2: 1 3/4" x 1 3/4" -Cut 6 (DO NOT cut these squares into triangles) 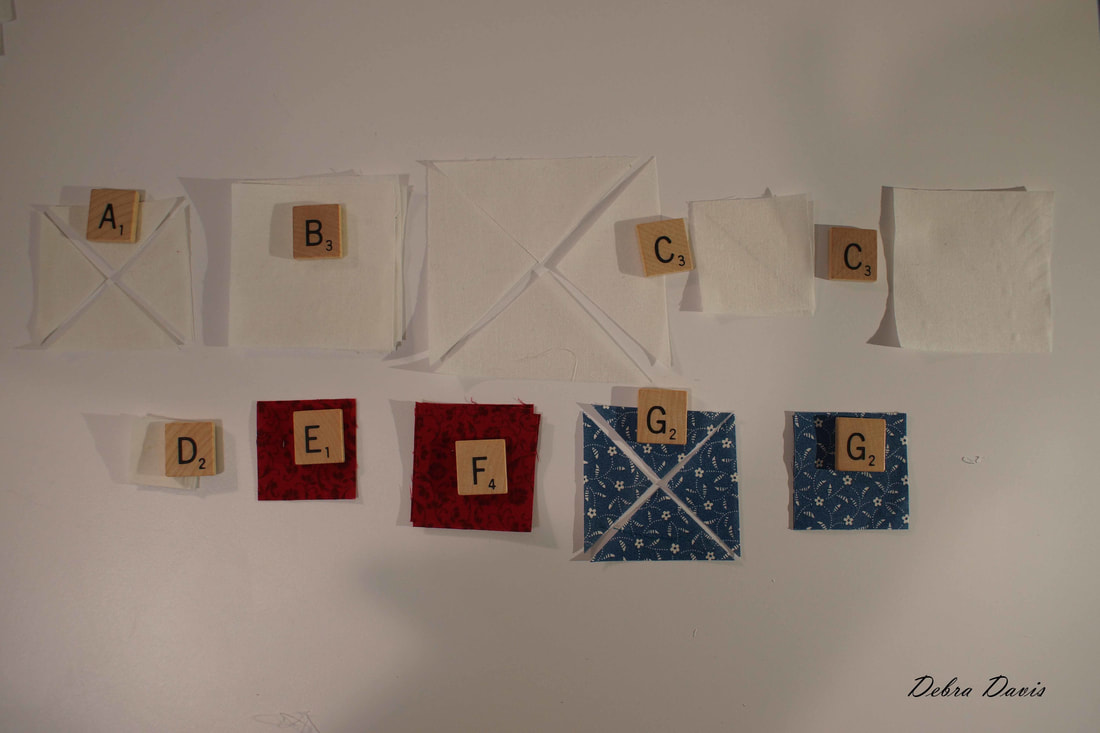 We will start with the C2 and G2 1 3/4" squares to make Half-square triangles. (Since I use pieces from an old scrabble game to label my parts just ignore the numbers on them.) I strongly recommend that you practice with some scraps on the section we are about to work on. 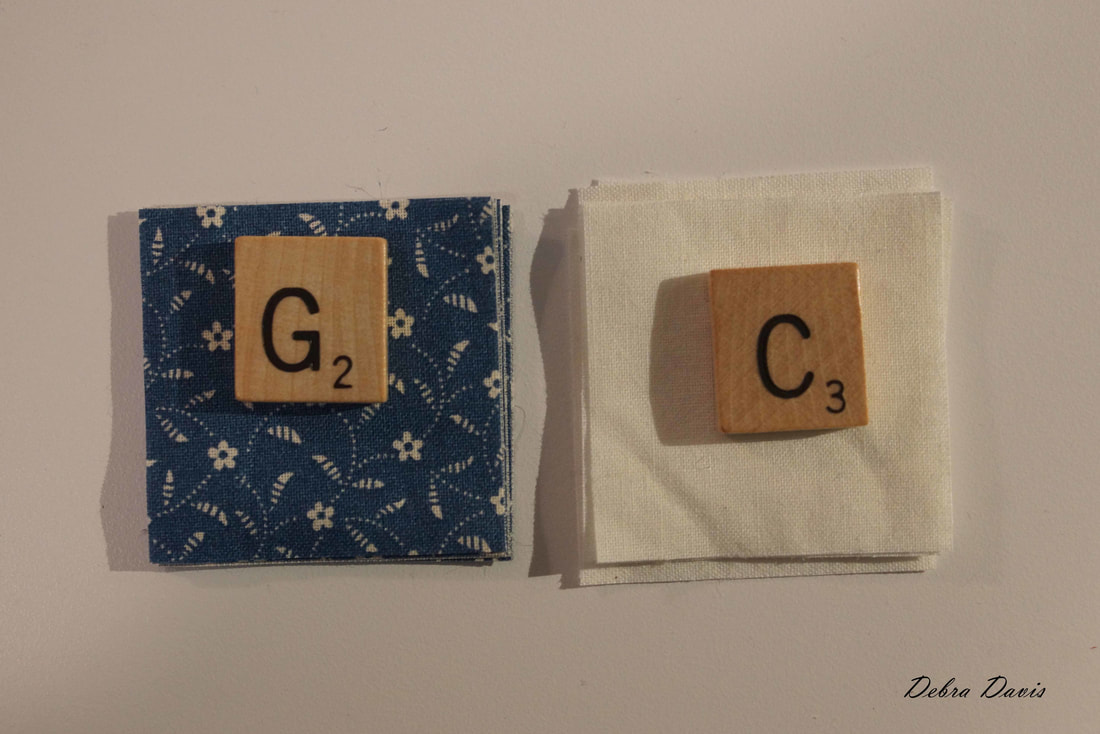 Draw a diagonal line on the back of the C2 squares. We are going to be working with some pretty small pieces so I have set my stitch length shorter than usual at 2.0
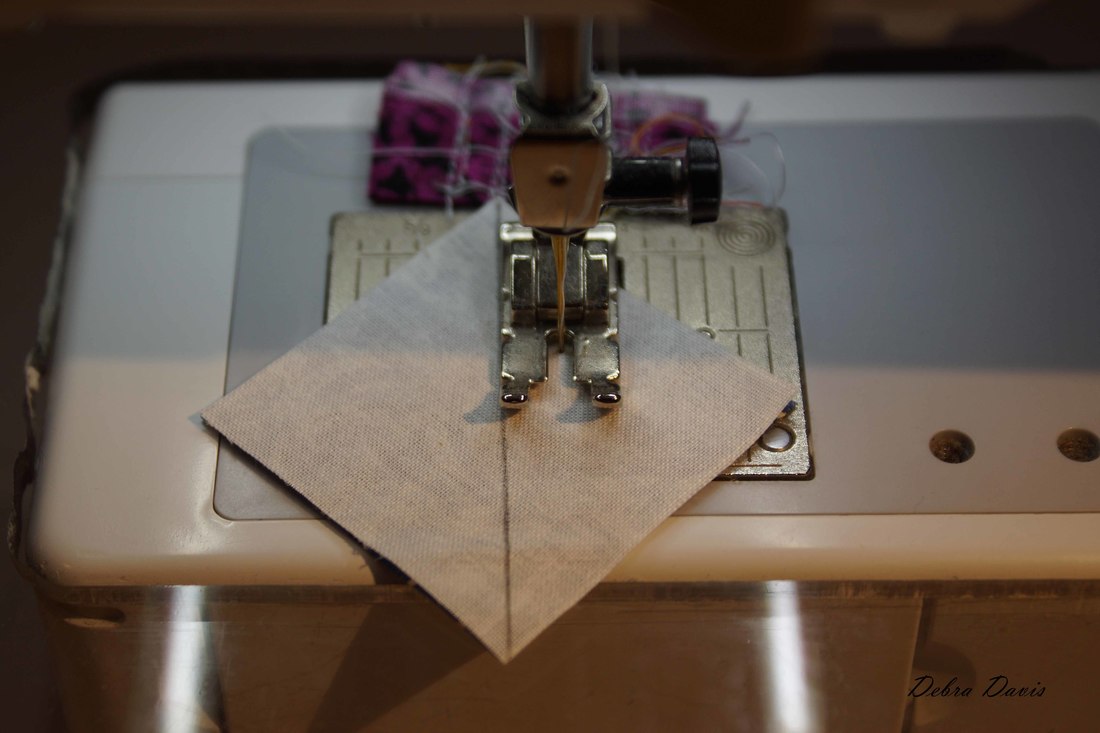
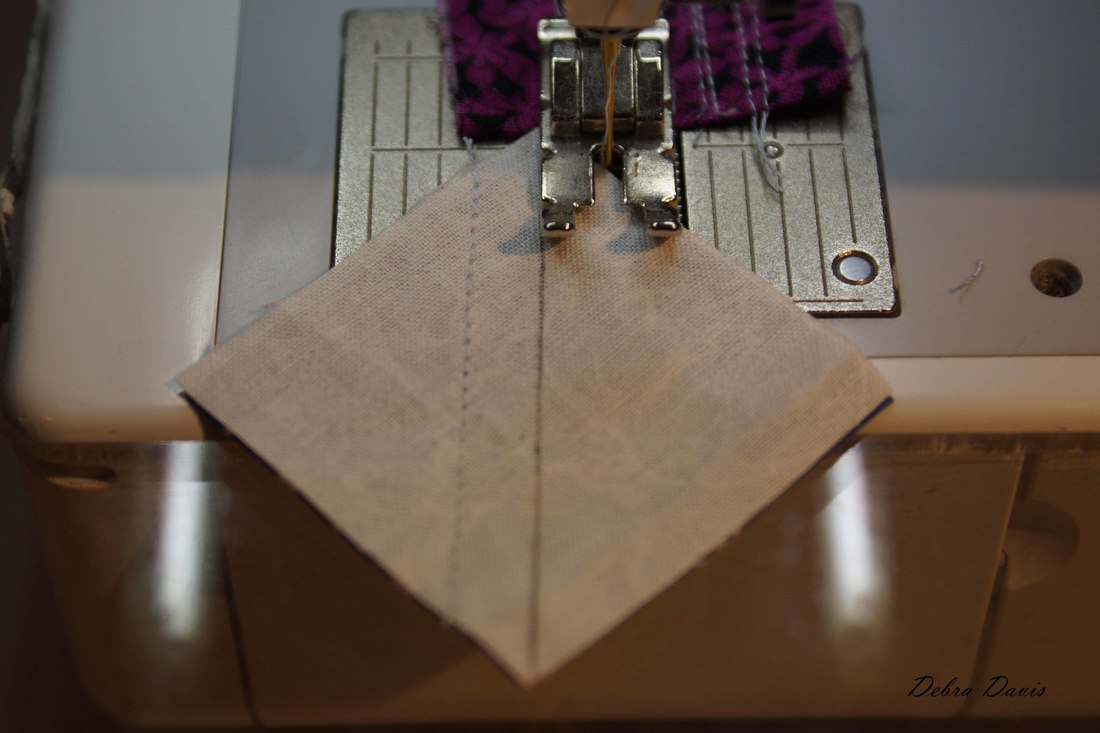
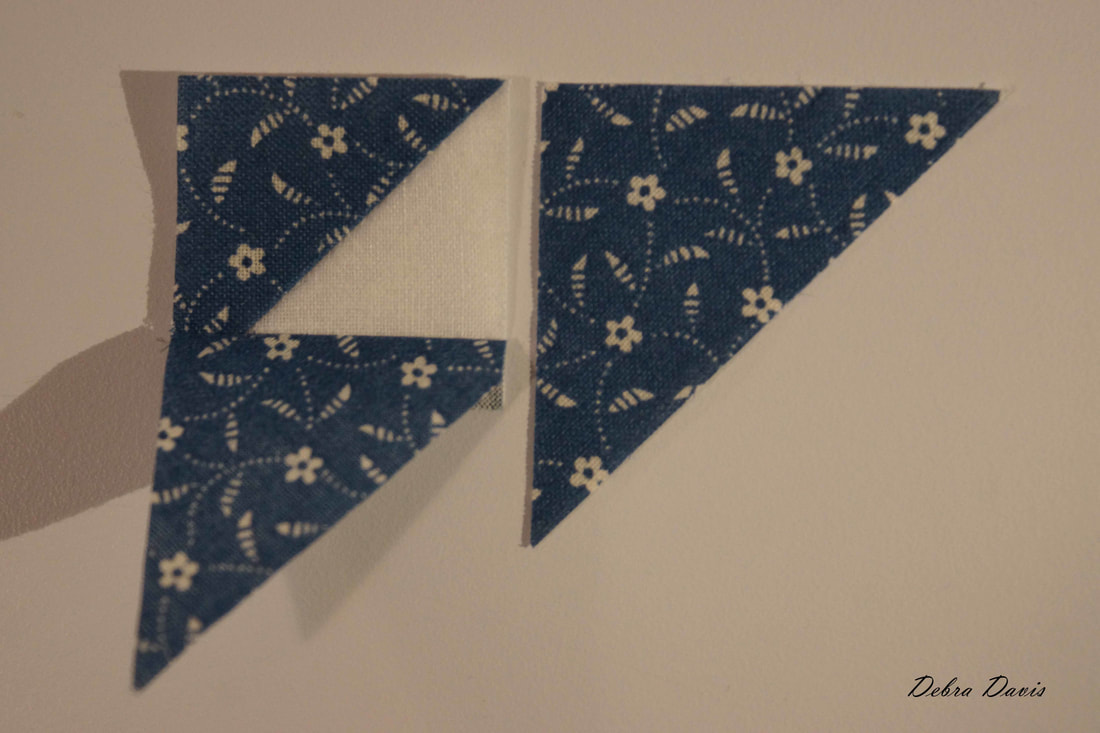
Sew 1/4 inch from each side of the drawn line.
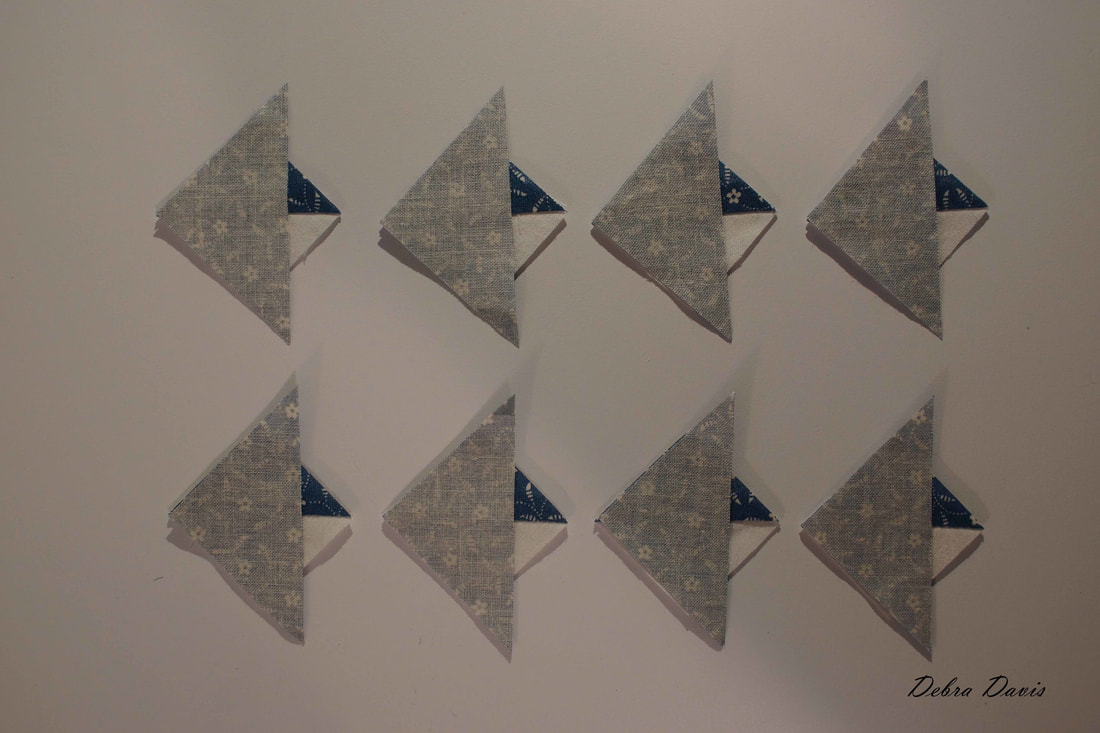
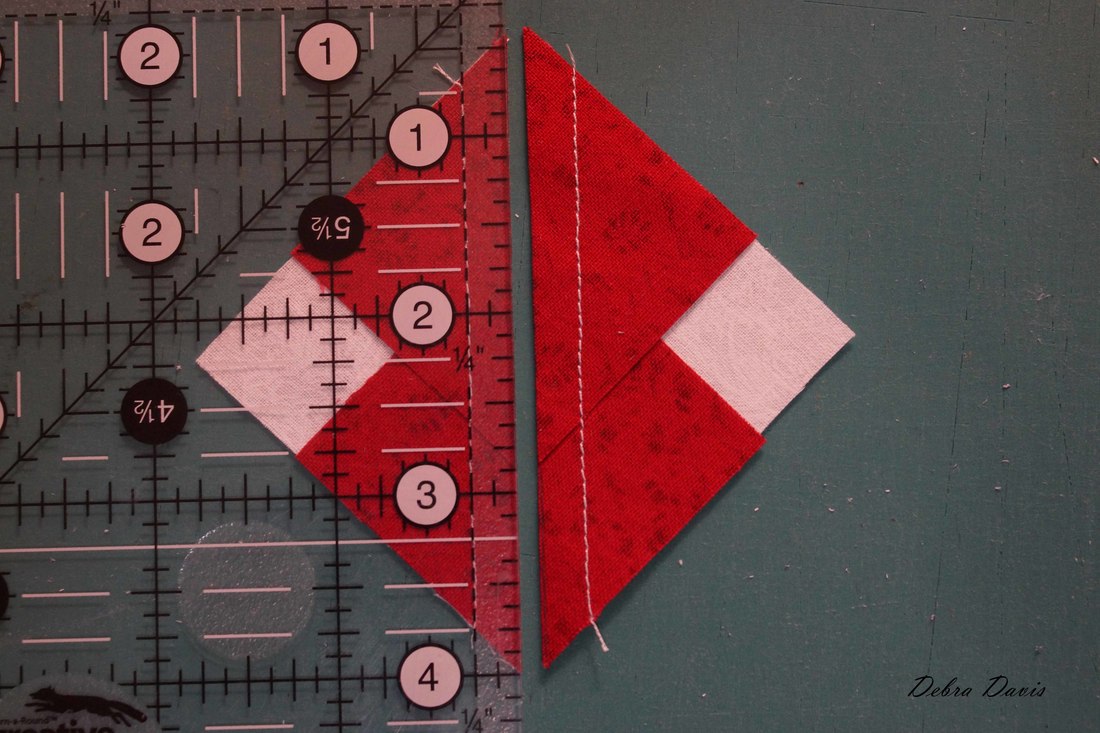
Cut on the line and press towards the dark side. I used more starch on these little guys as I pressed them. We should have 12 tiny Half-square triangles now.
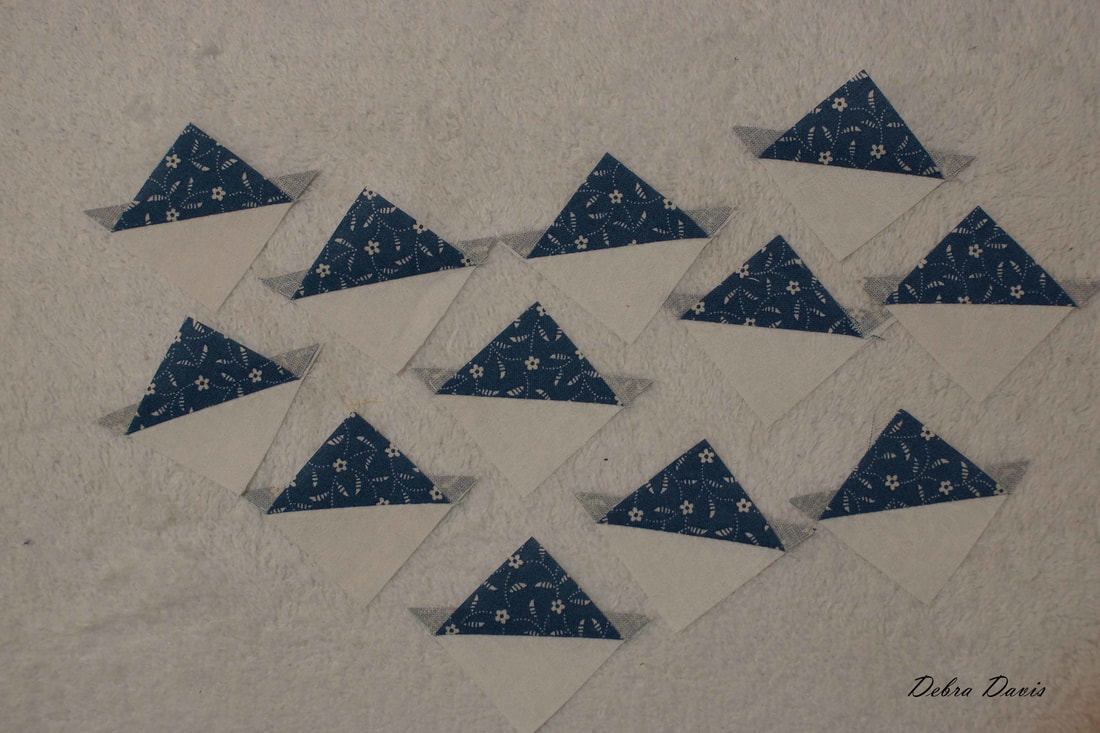
Trim these units to 1 1/4 inches. 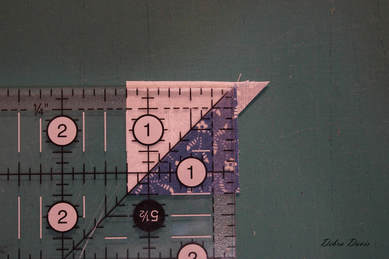 We are going to add the G1 triangles to 8 of the Half-square triangles we just made.
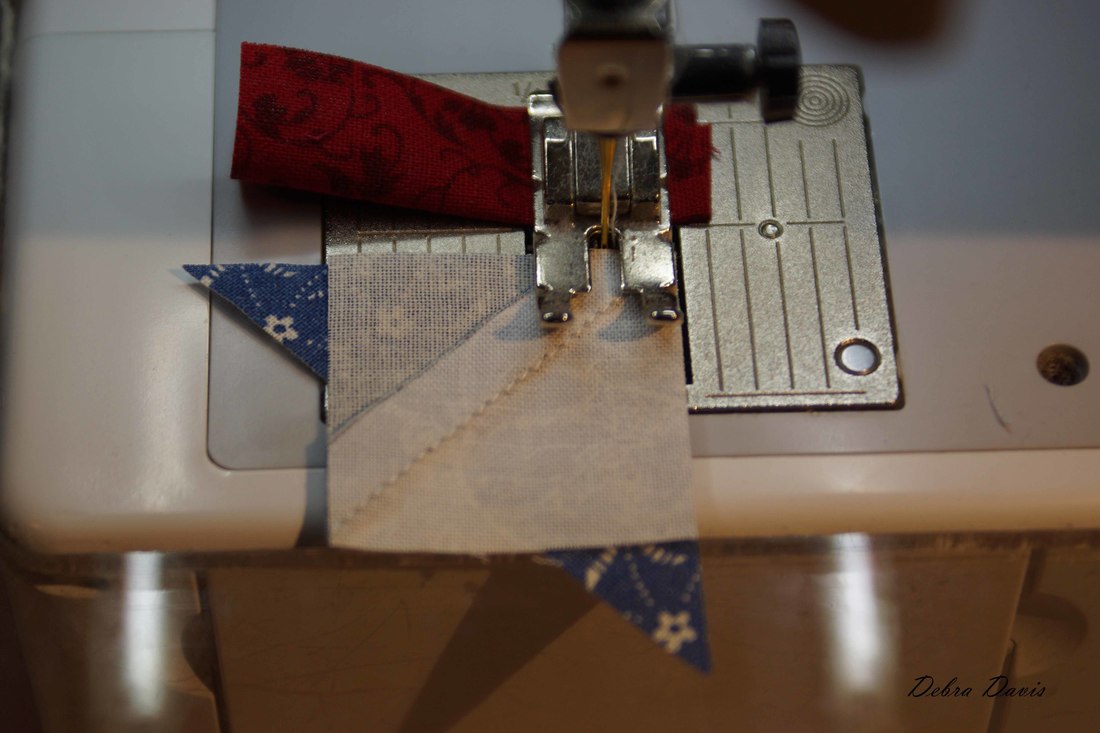
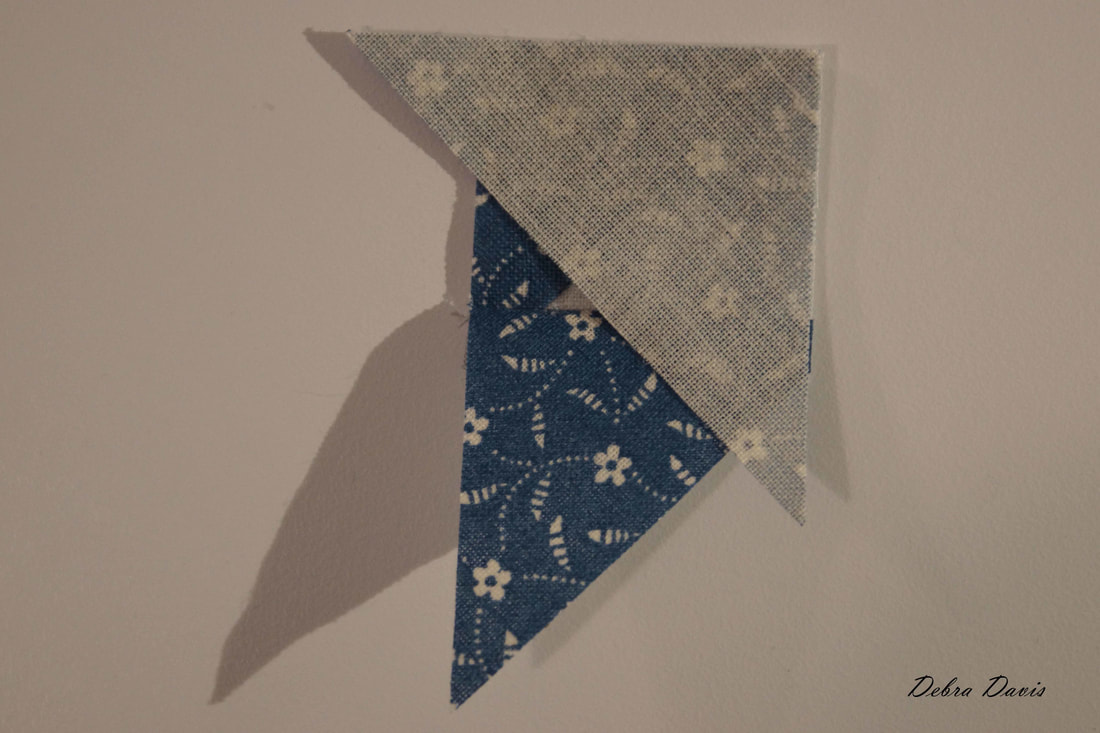
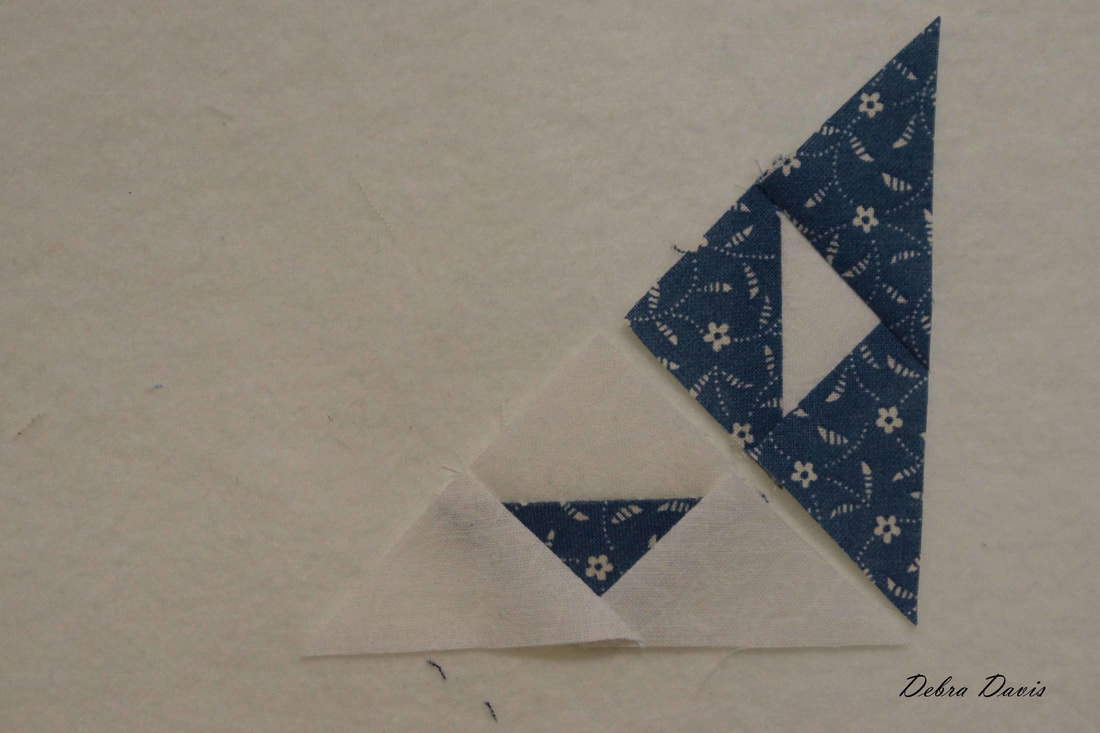
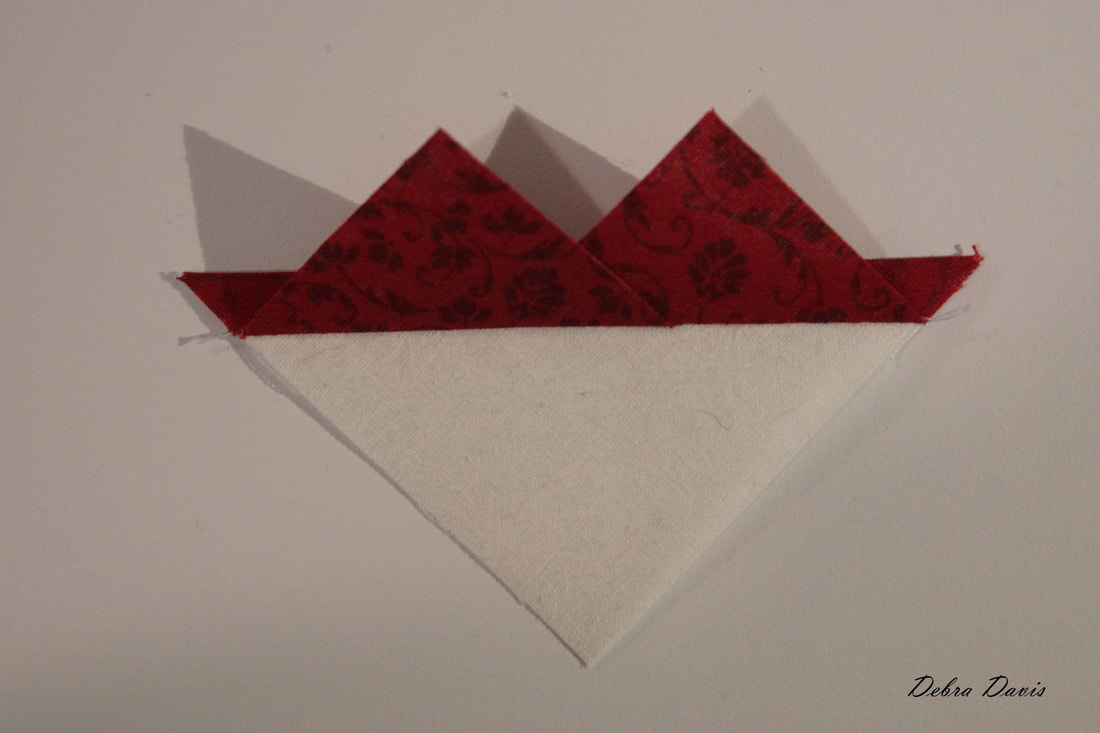
Line up one triangle with the Half-square triangle as shown. 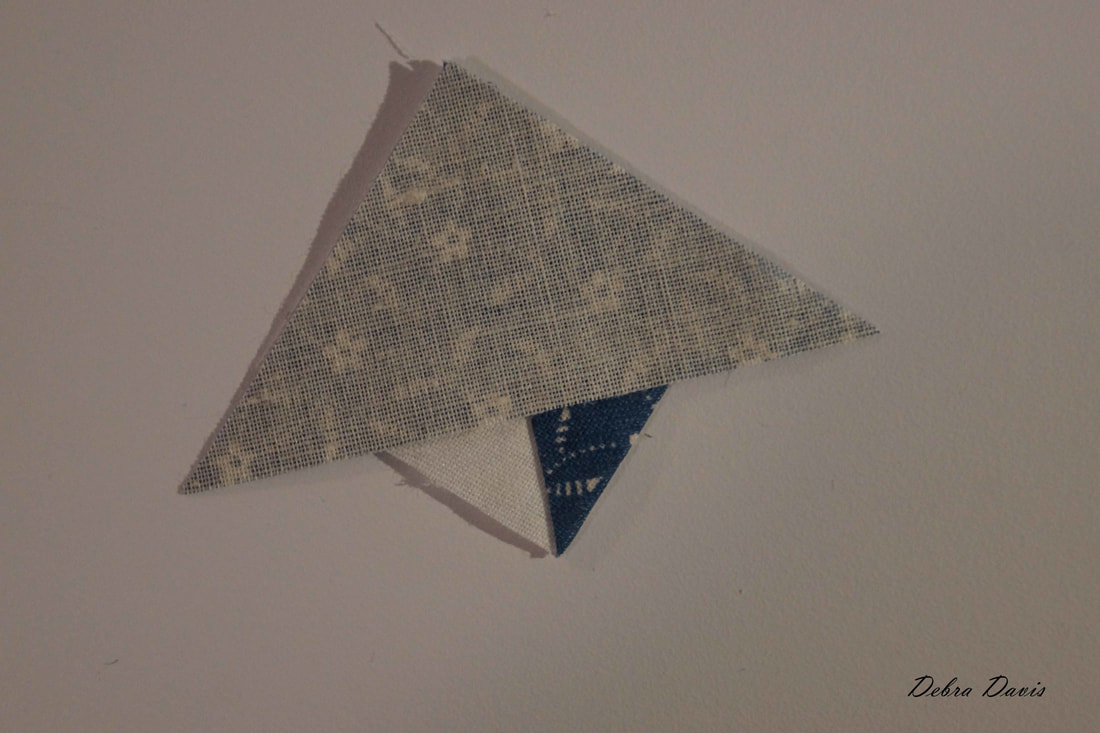 I laid out all eight units making sure everything was facing the same direction before sewing. I find it better to start on the corner rather than the point of the triangles so carefully flipped these over to sew.
I pressed towards the triangle and yes, starched again. Trust me it really helps. Trim off the little extra bit before proceeding.
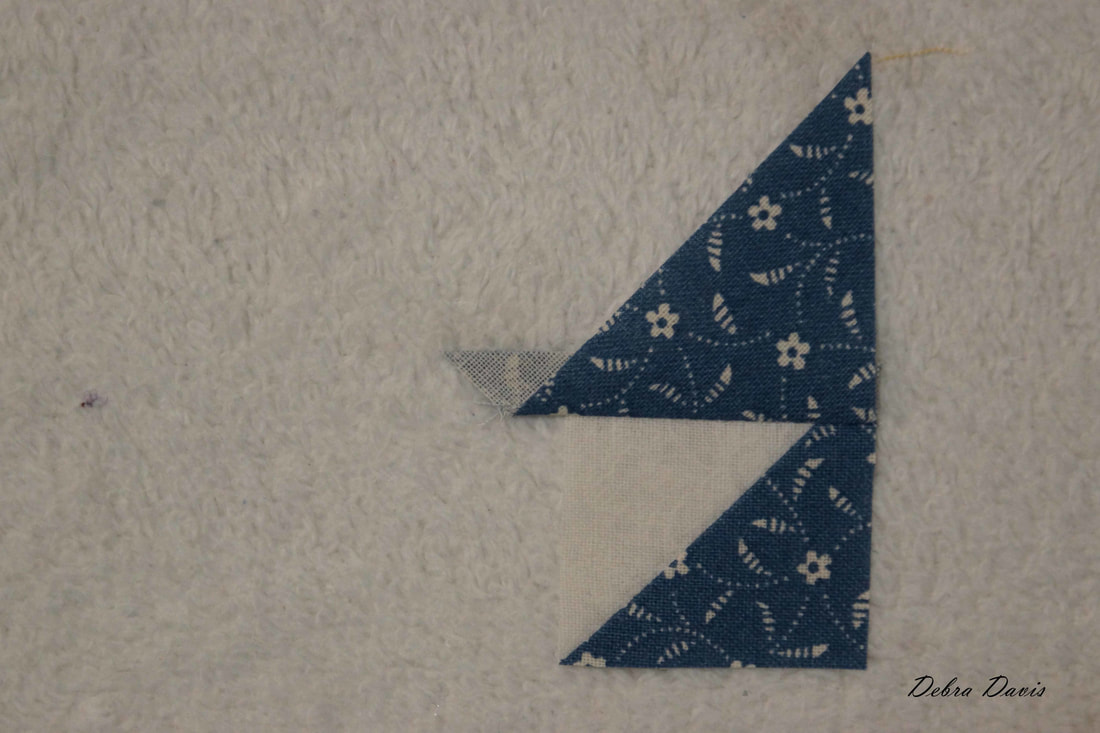
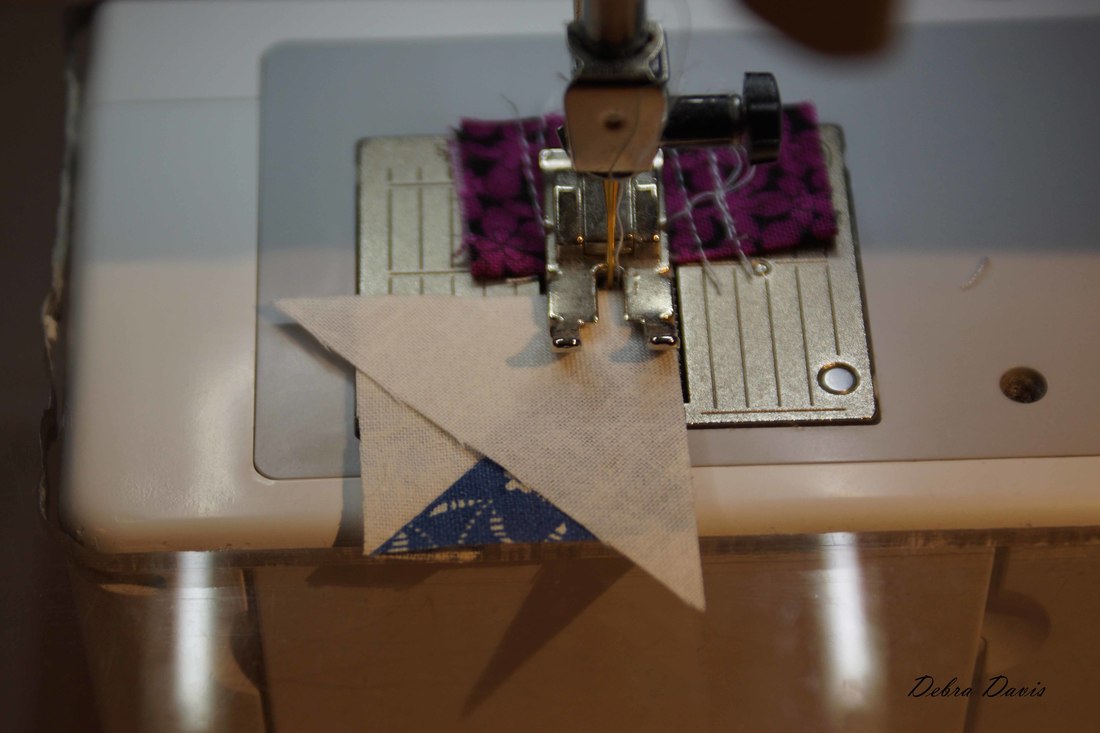
Time to add a triangle to the other side of our unit. I like to lay them out first and then just flip the triangle into place.
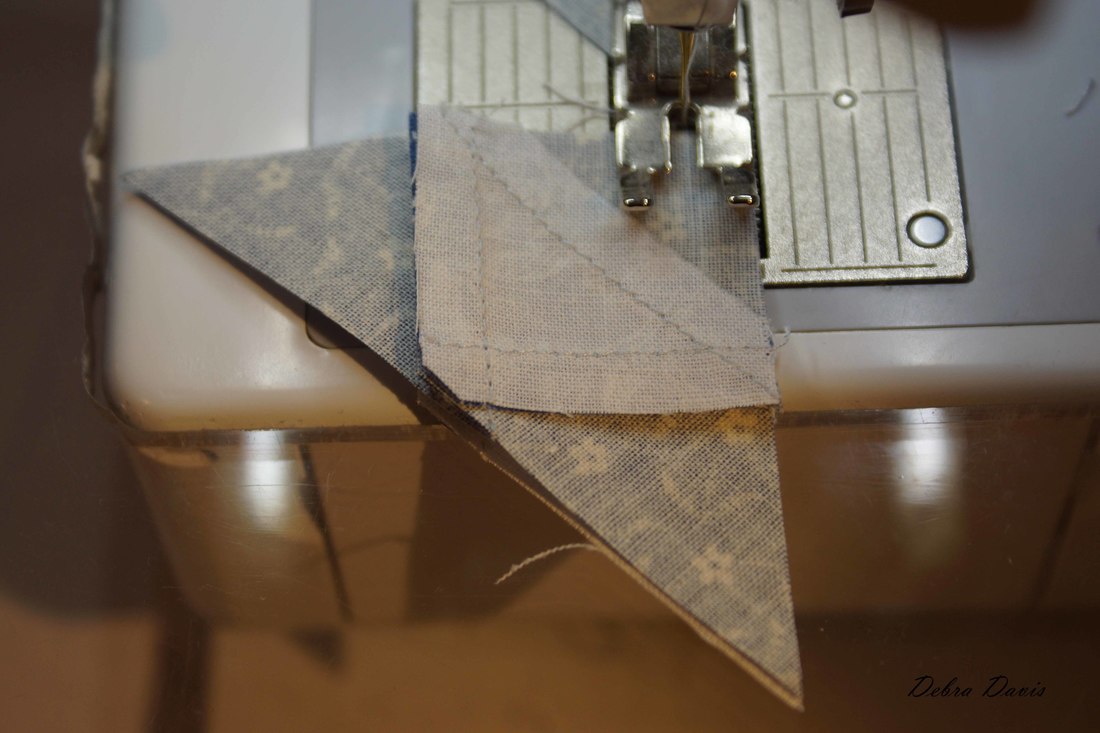
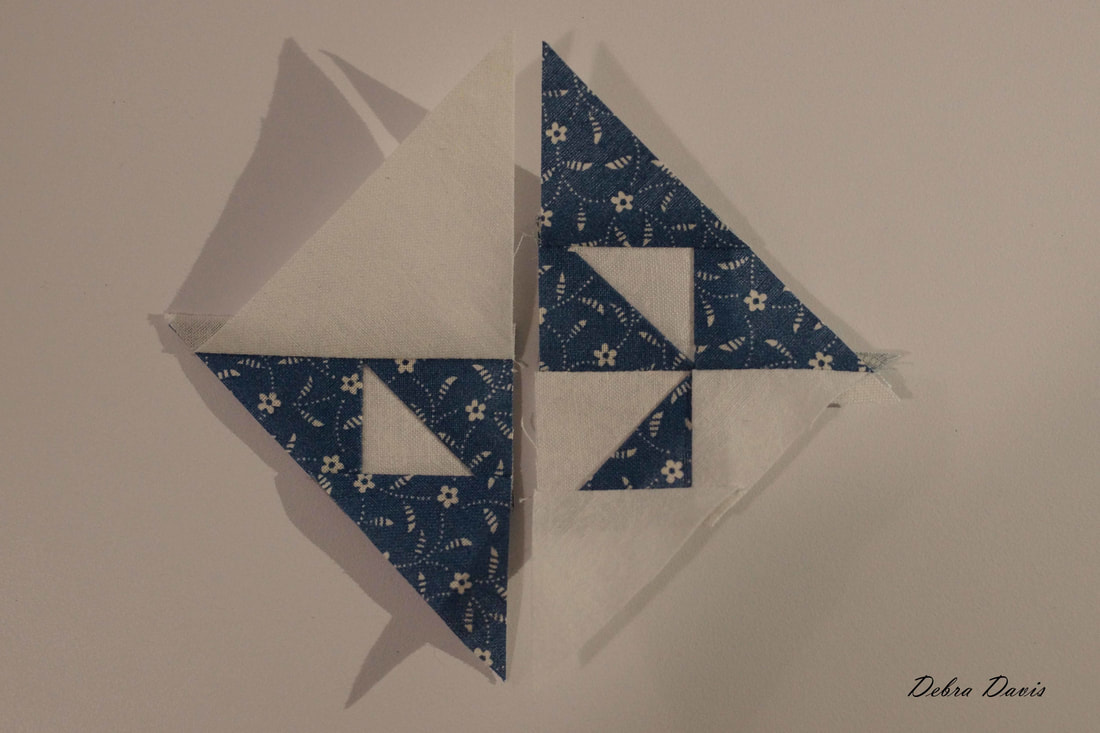
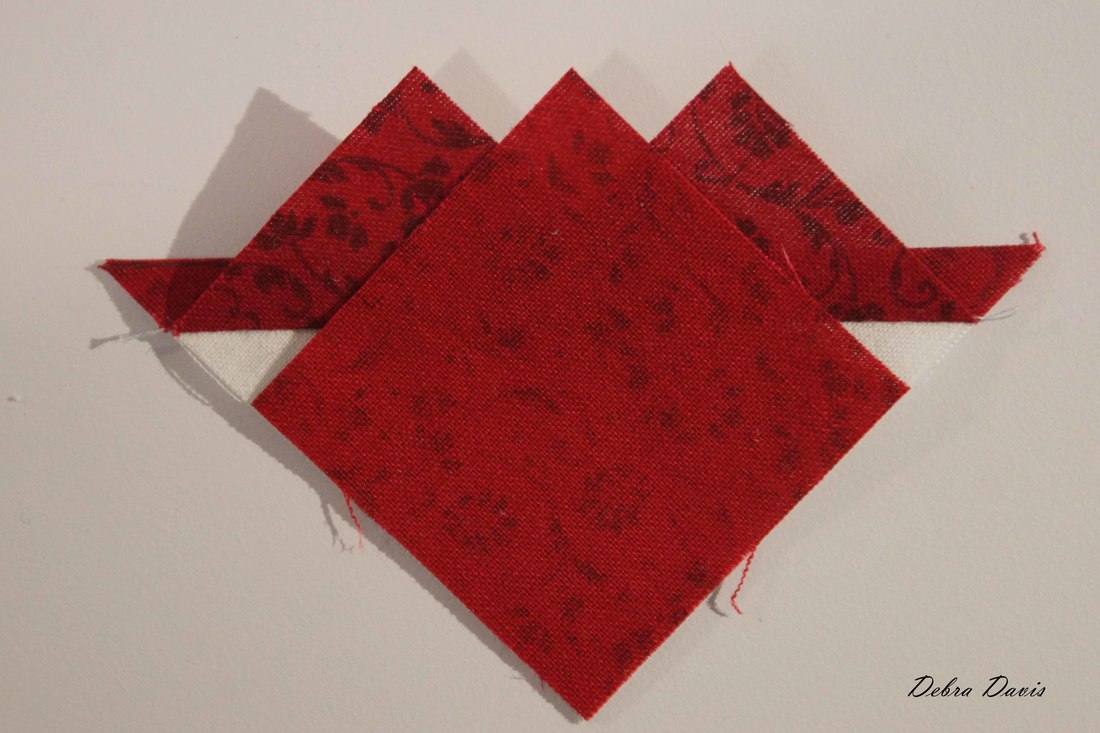
Sew these just as before, starting on the corner. 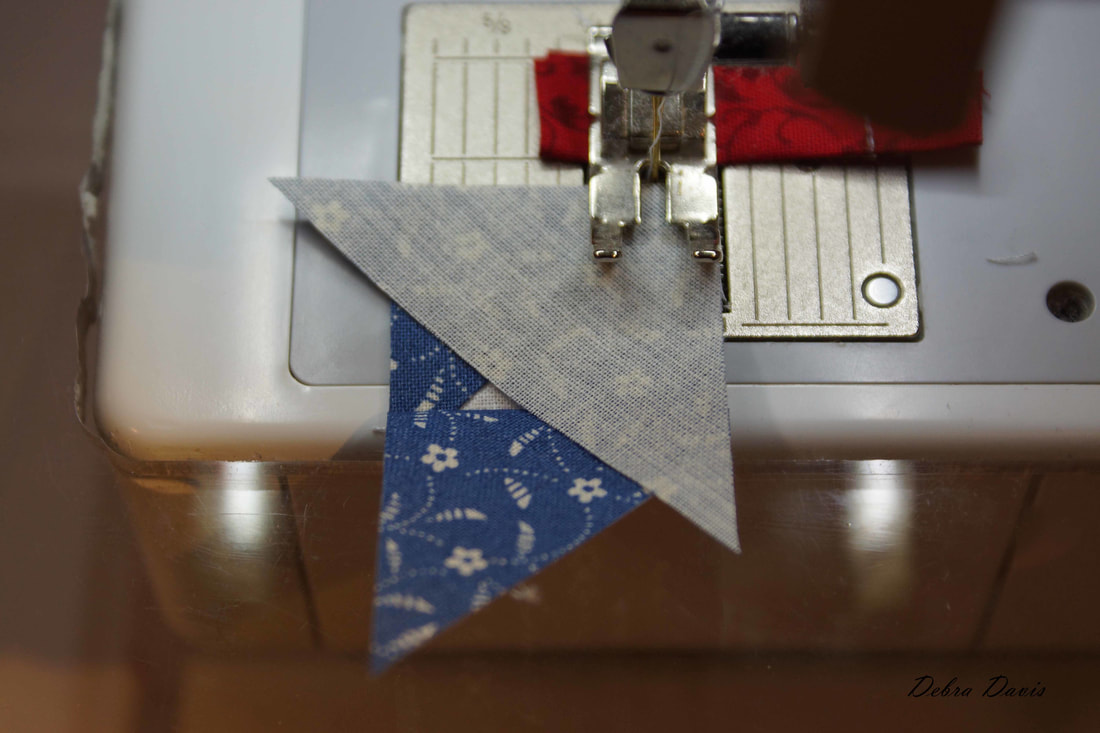 Press open and trim off the little extra bit. 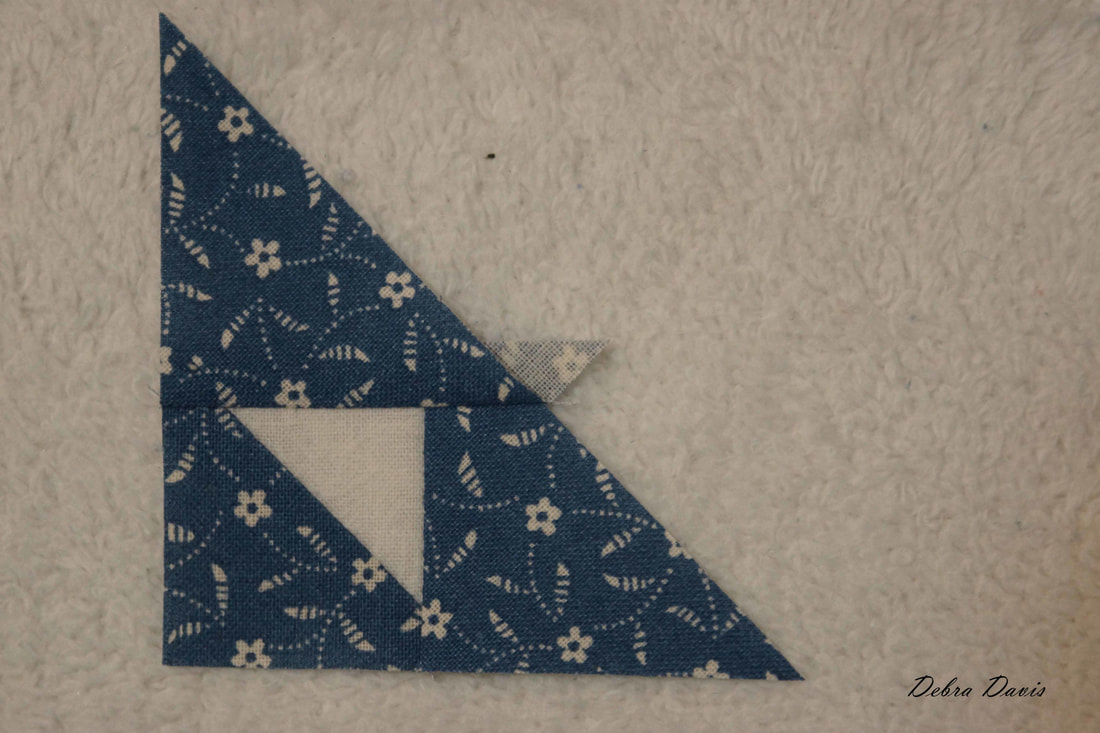 Now we need to do the same thing with the four remaining Half-square triangles, this time using the C1 triangles. 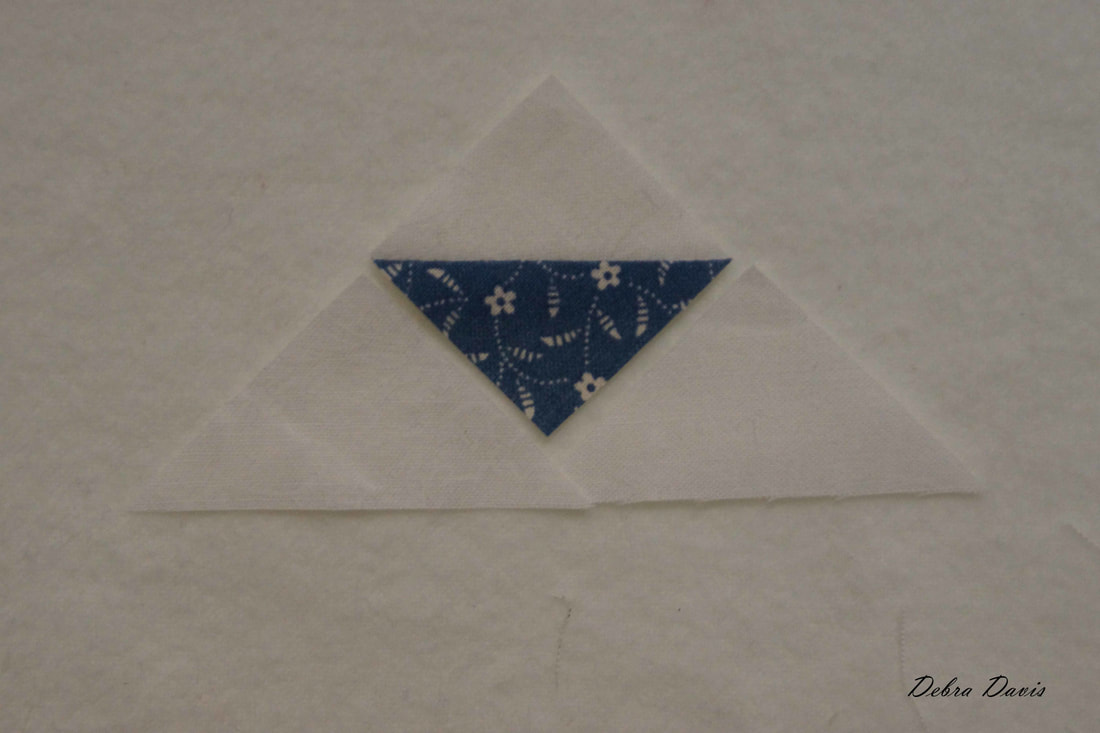 First add the triangle to one side.
Press (and starch) and trim. 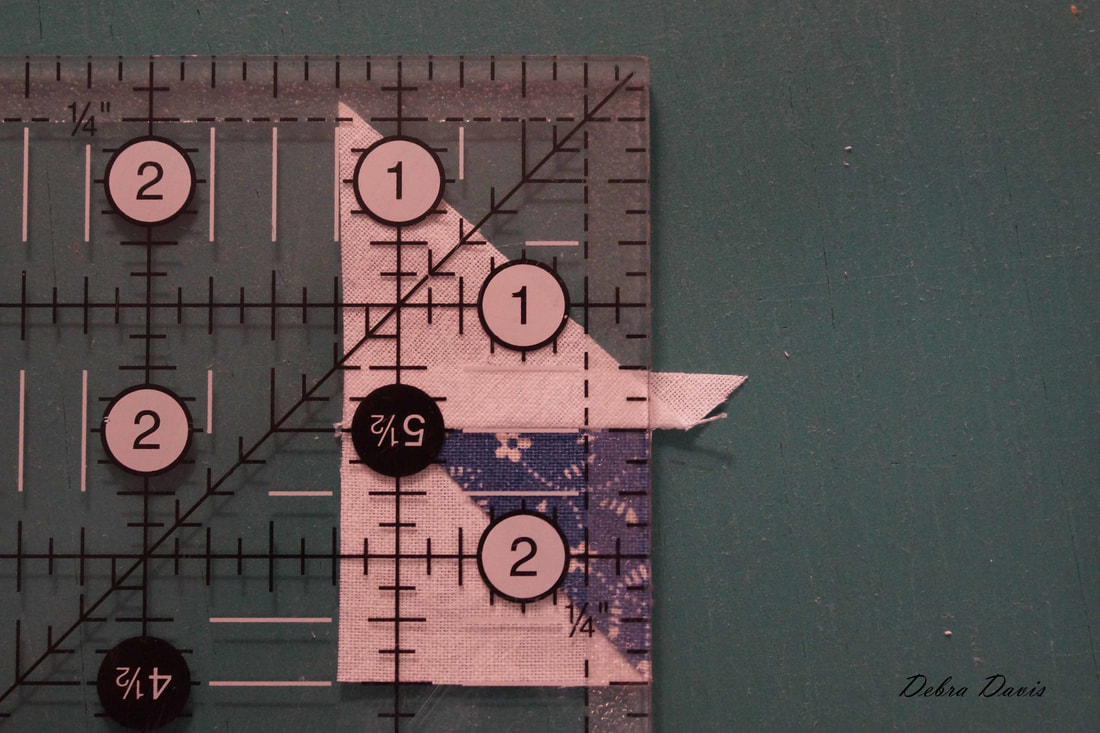 Then add the second triangle to the other side-flipping over when you sew to avoid starting on the little triangle tip.
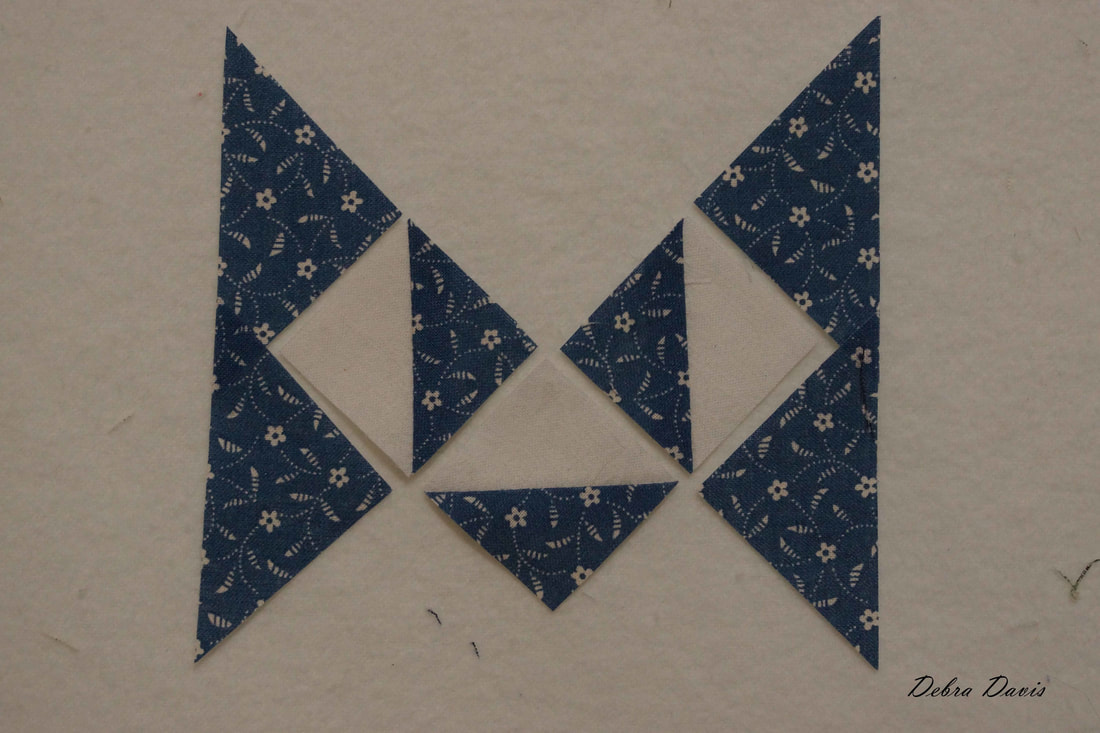
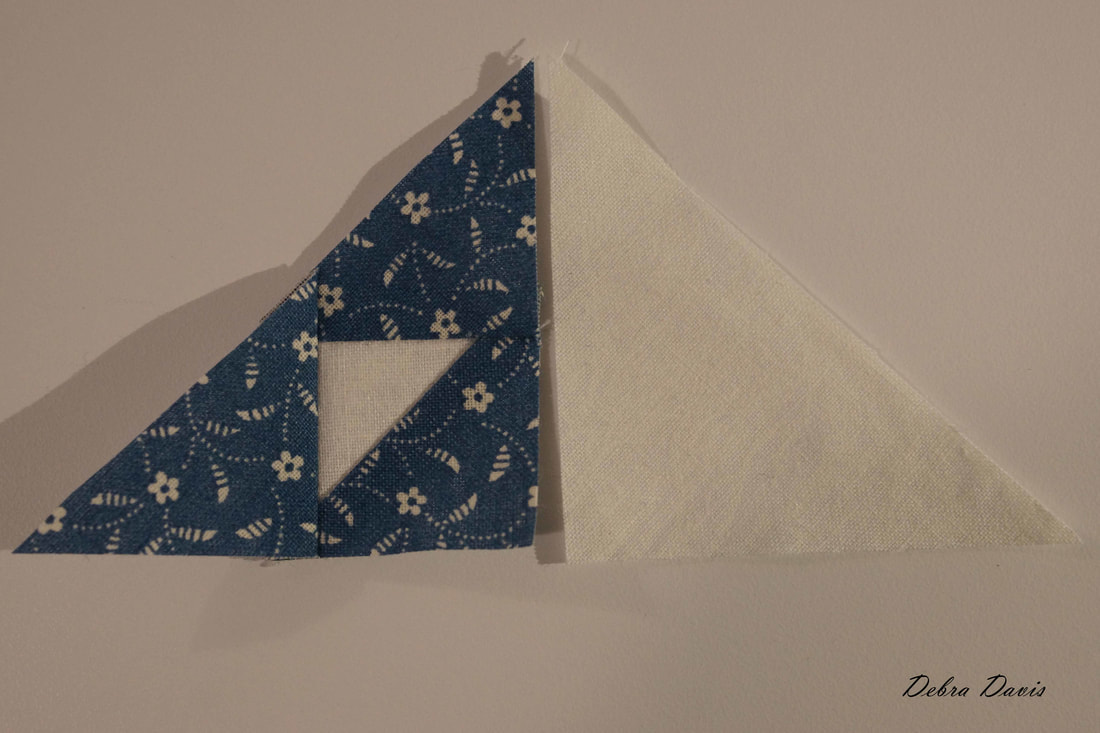
Starch and trim this unit. 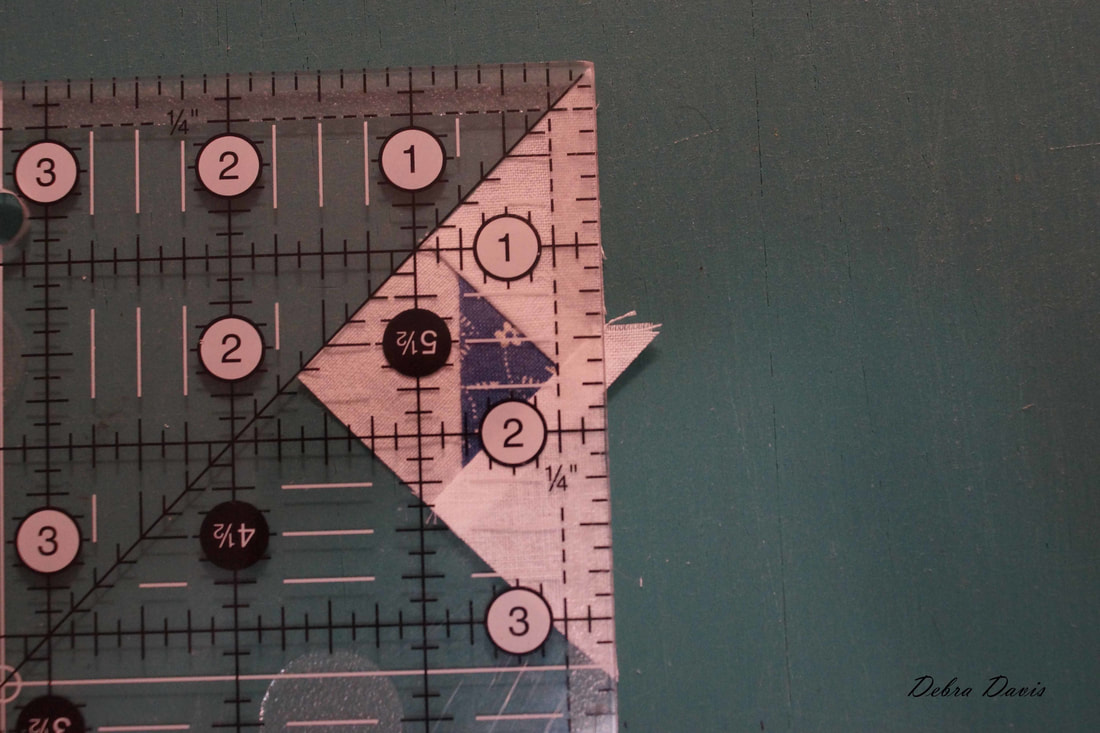 With these units finished it is time to put them all together, adding in the C1 triangles. 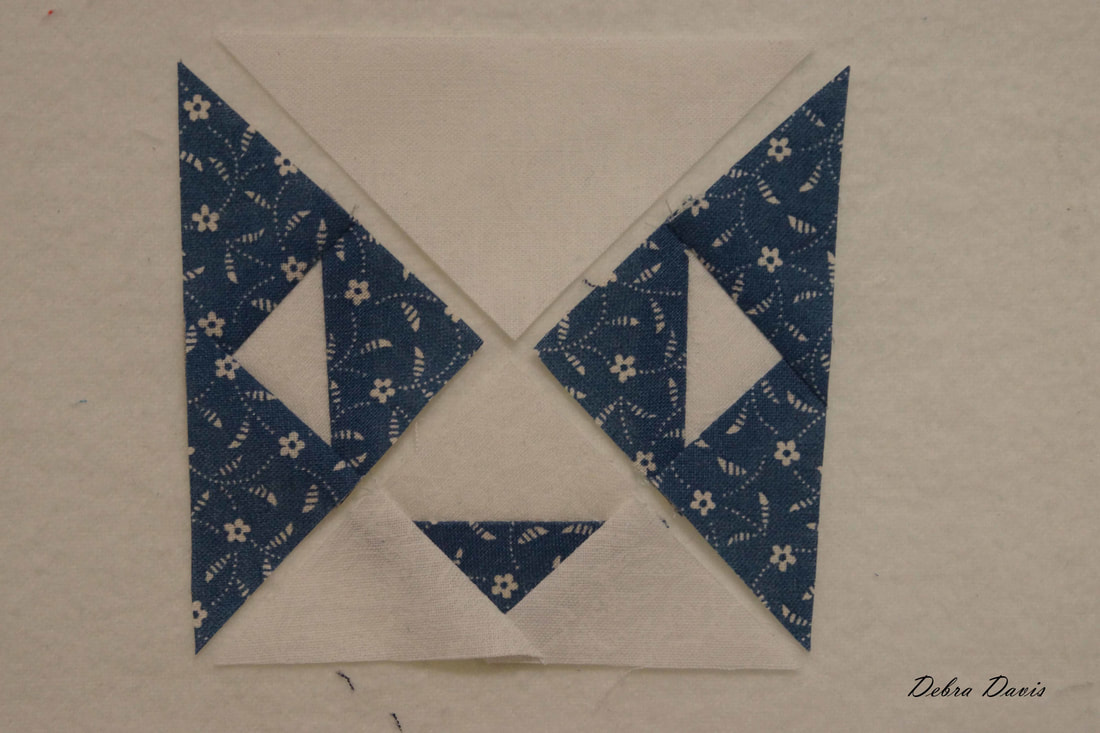 We will sew these together in two parts. First join these two units as shown. (Oh, a little note: you can lay the C1 triangle on top of your units to make sure they are all the same size.)
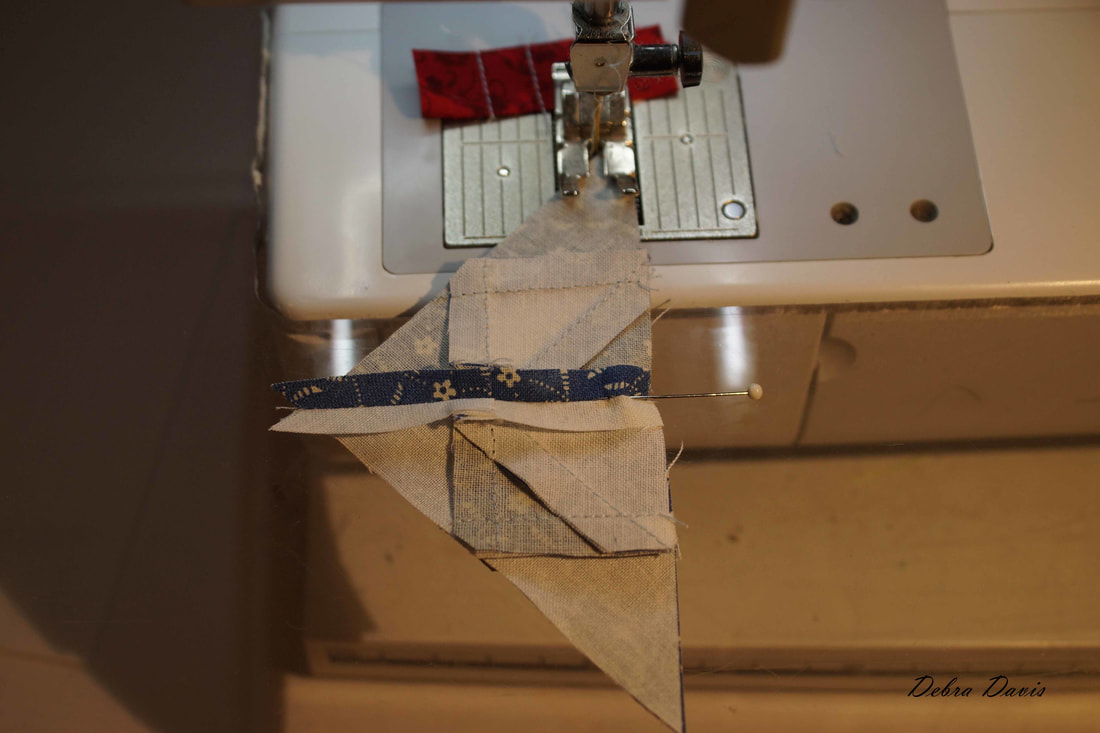
Begin sewing on the corner. It helps to go slow when sewing triangles, they have a tendency to want to stretch and the tips want to wiggle out of place. 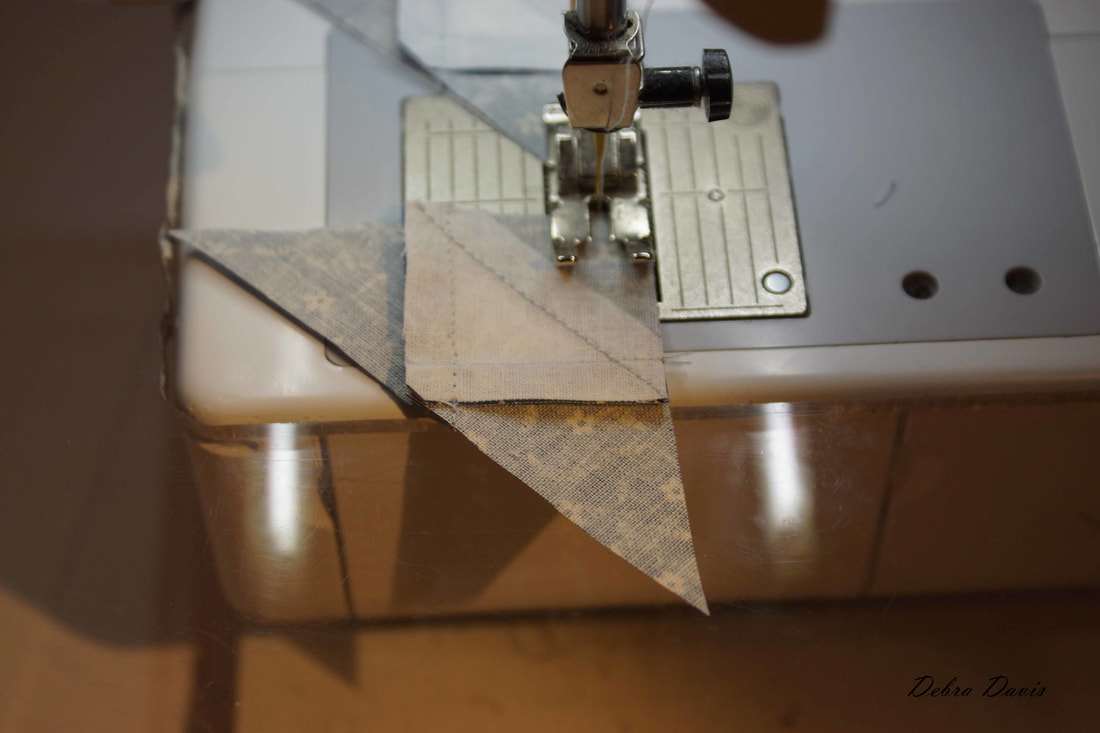 I pressed towards the light side this time to reduce bulk. 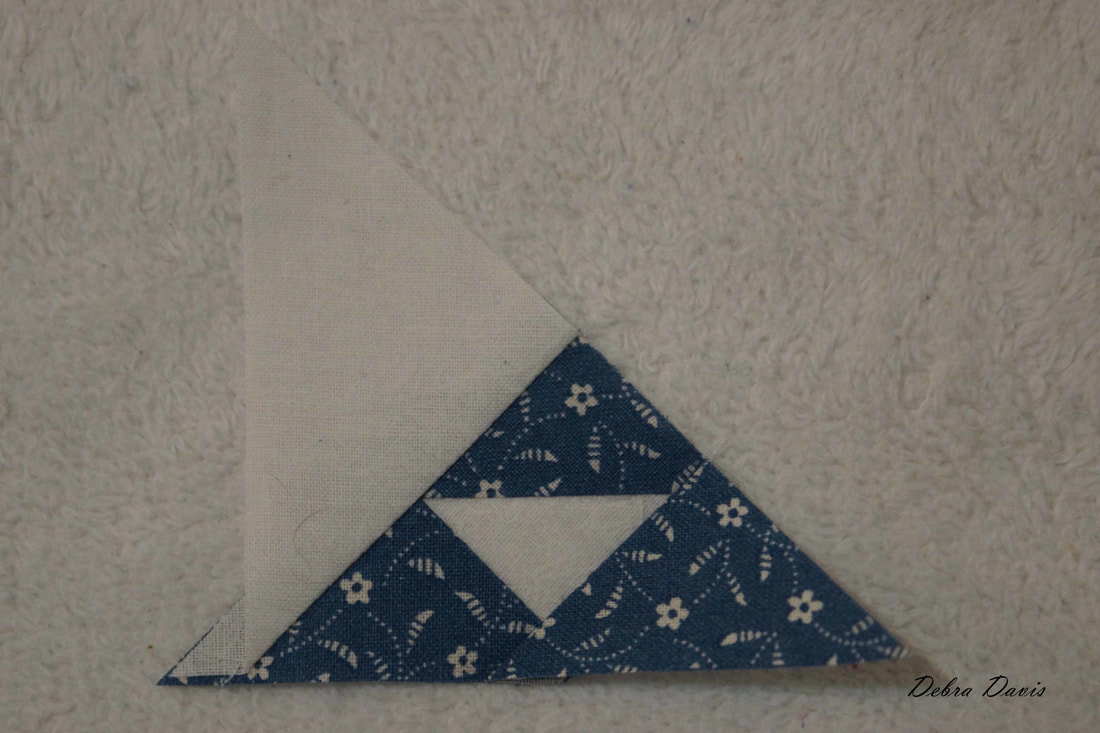 Now join the other two units together in the same way.
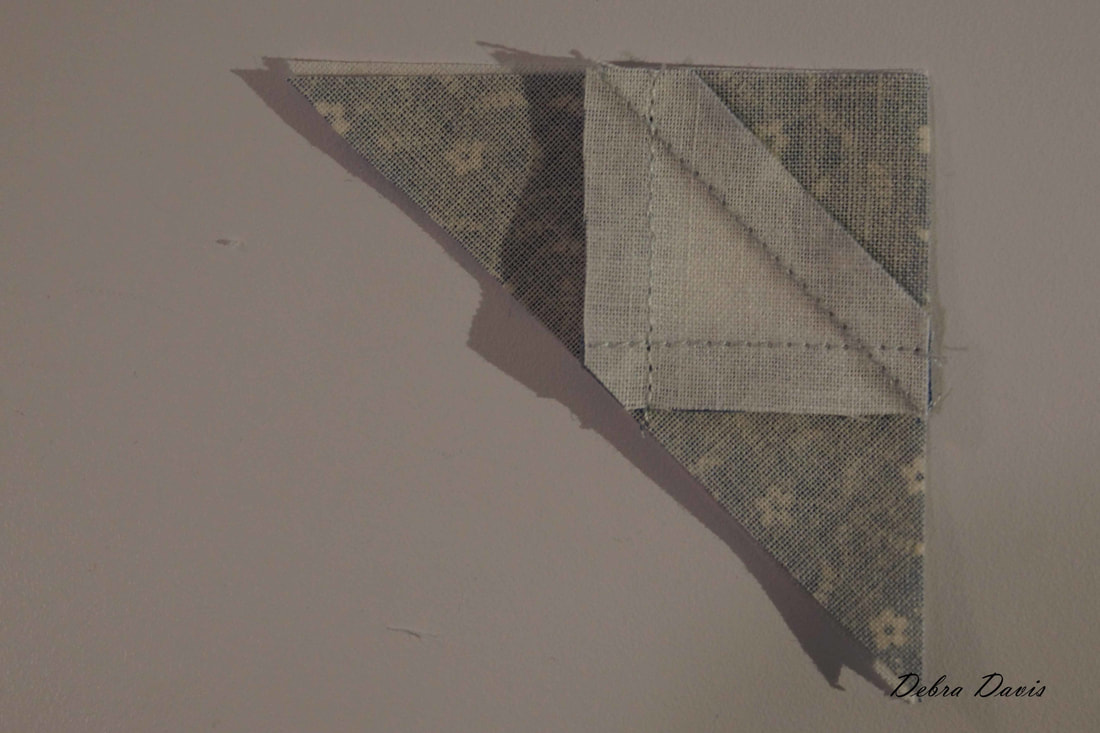
I pressed the seams open on these. 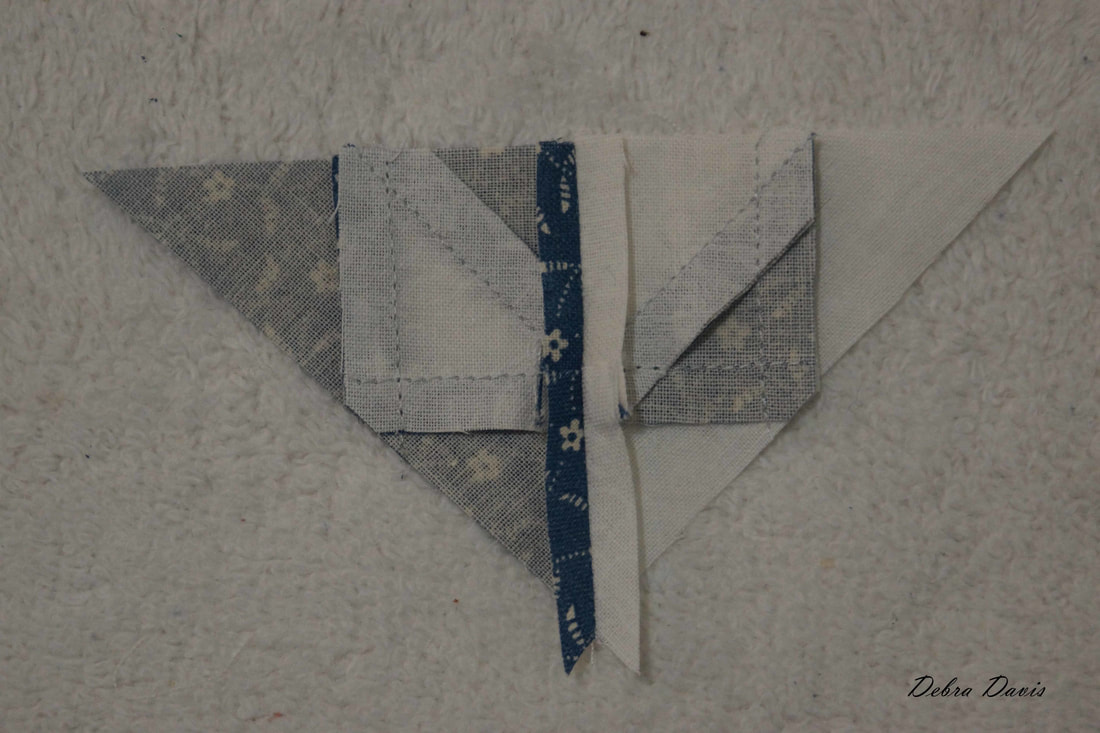 The final step is to join these two units together, matching the middle seam. I did go ahead and pin the seam before sewing.
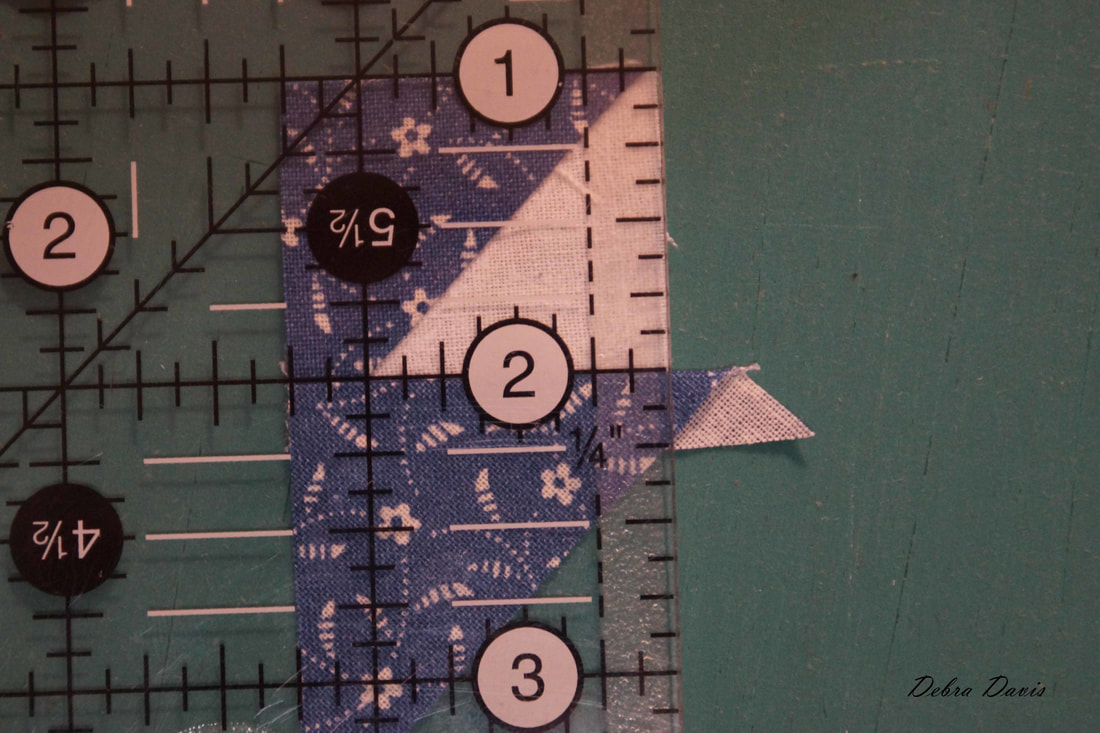
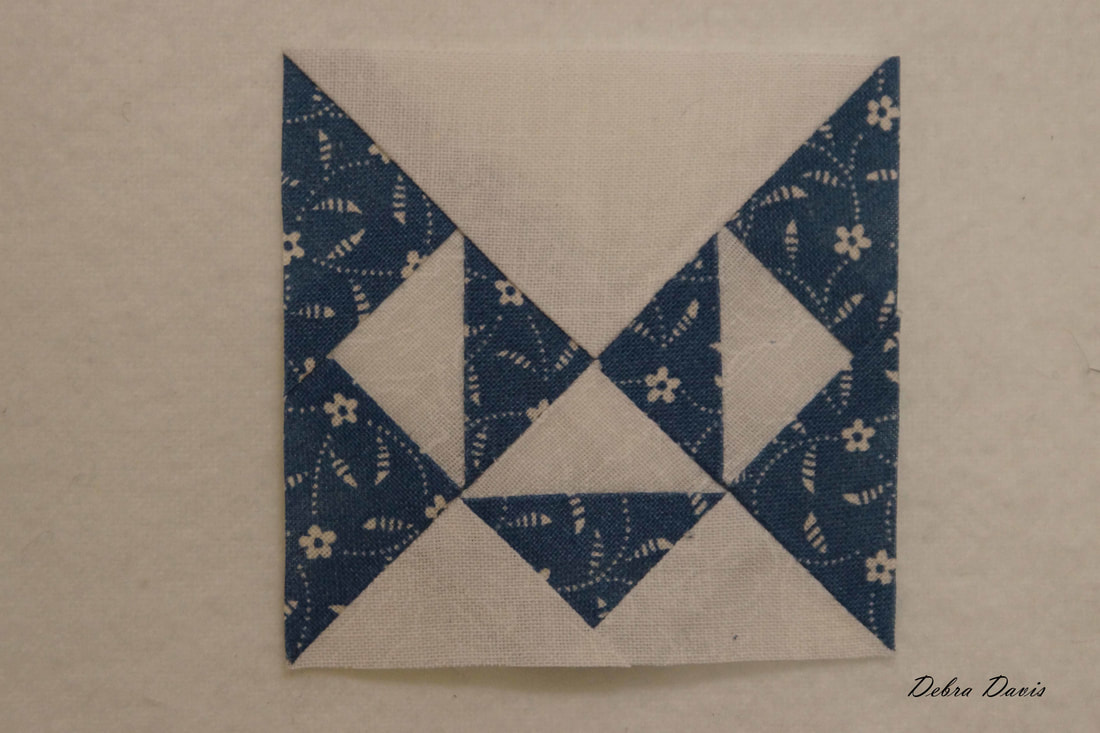
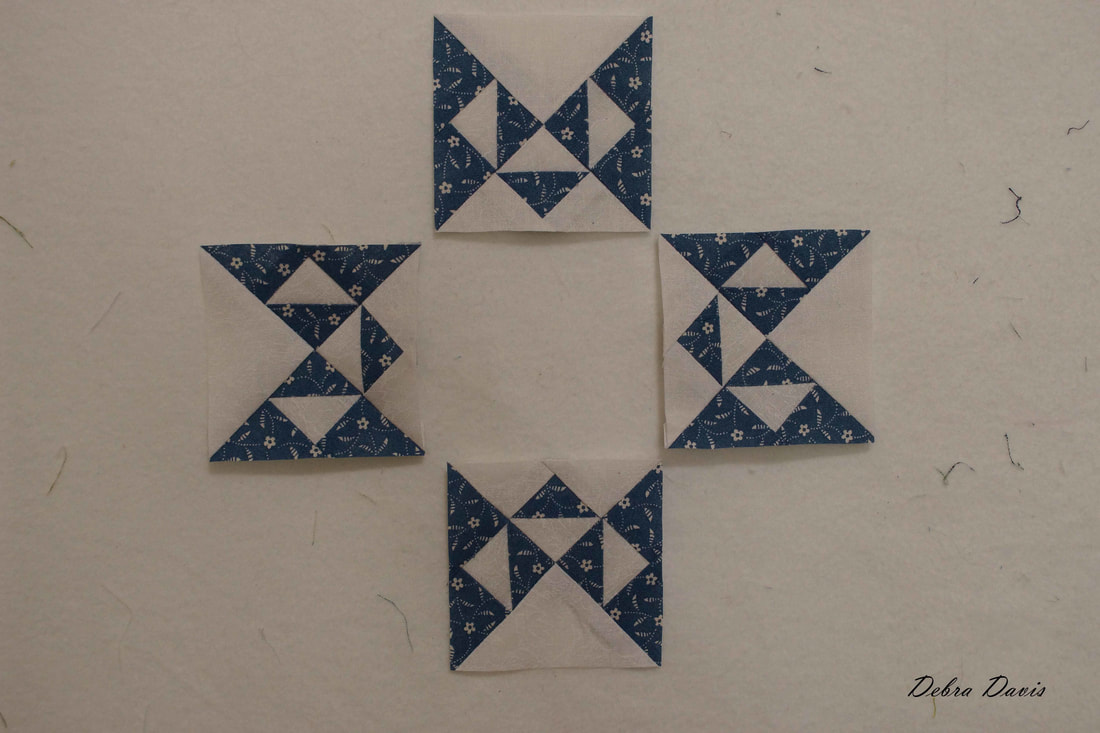
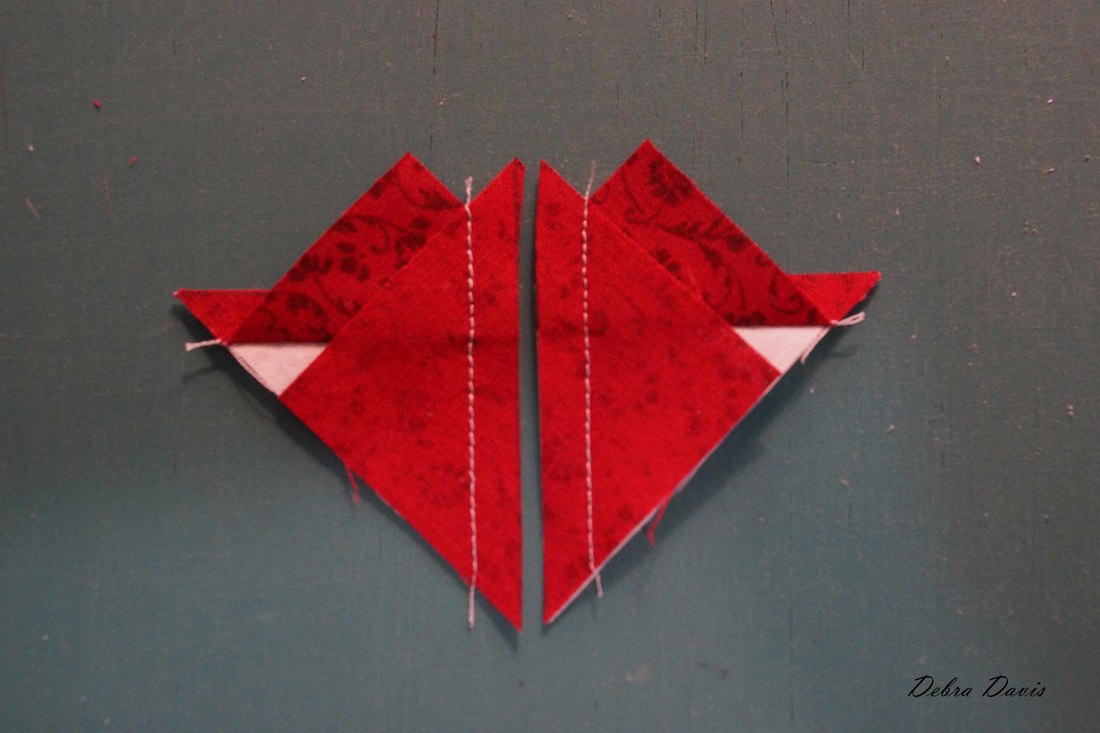
I pressed this seam open as well. The finished size should be 2 1/2 inches. To my dismay I was a little off on most of my units and ended up trimming them to size, but after working on just this one section for several hours trying to achieve perfection, I decided if I lost a few points in the final outcome I was going to simply celebrate that the block was done. If you find you need to trim, be sure that the diagonal line on your ruler lines up with those diagonal seams. 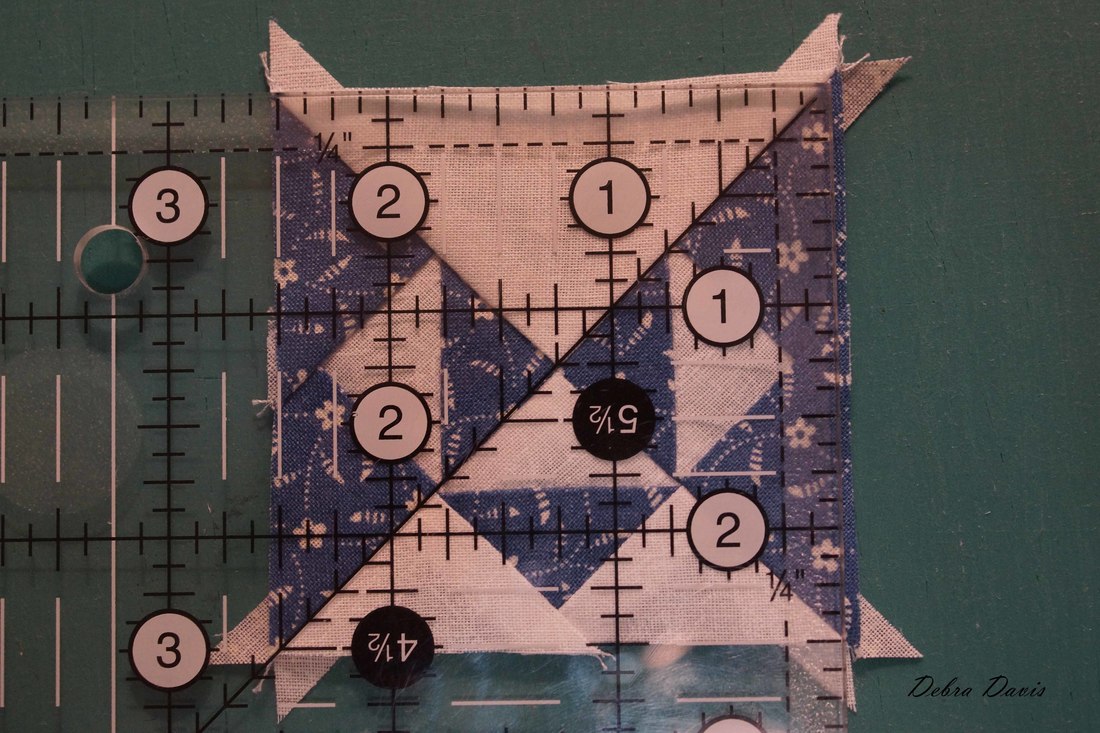 Now we can lay these little beauties aside and move on to a much easier task.
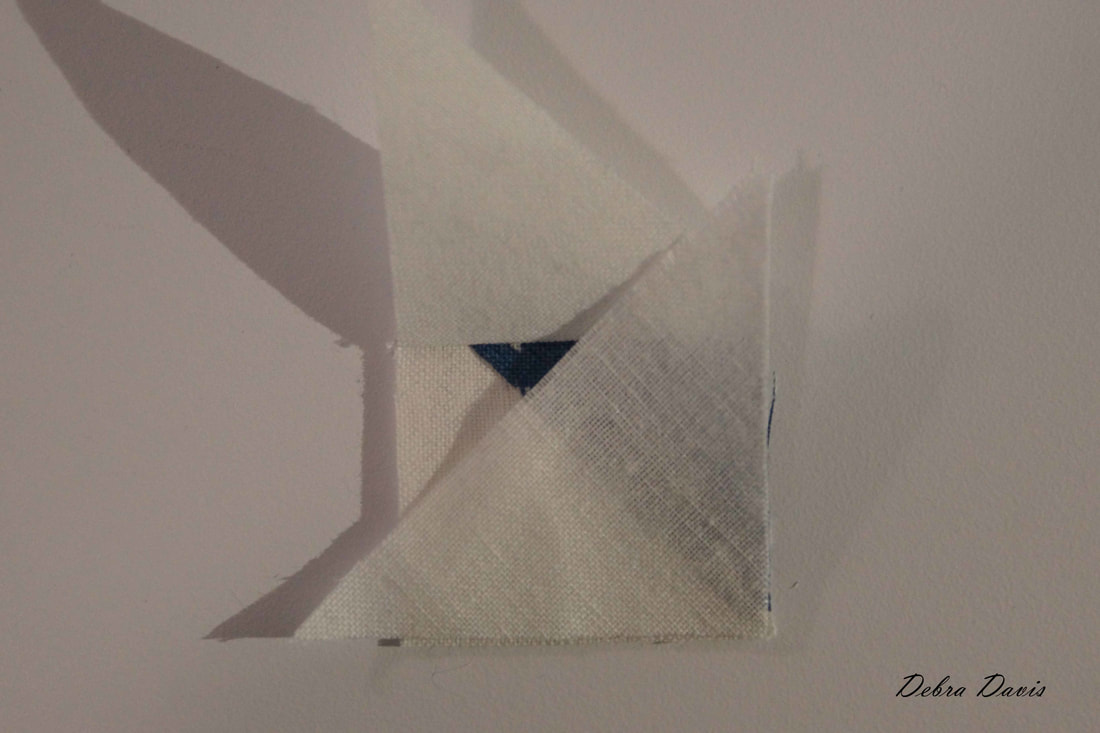
For the center star I am taking advantage of the no-waste flying geese method. To begin I am using the C3 and F squares. Lay two F squares right sides together on top of the C3 ( 2 1/2") square and draw a diagonal line from top to bottom. 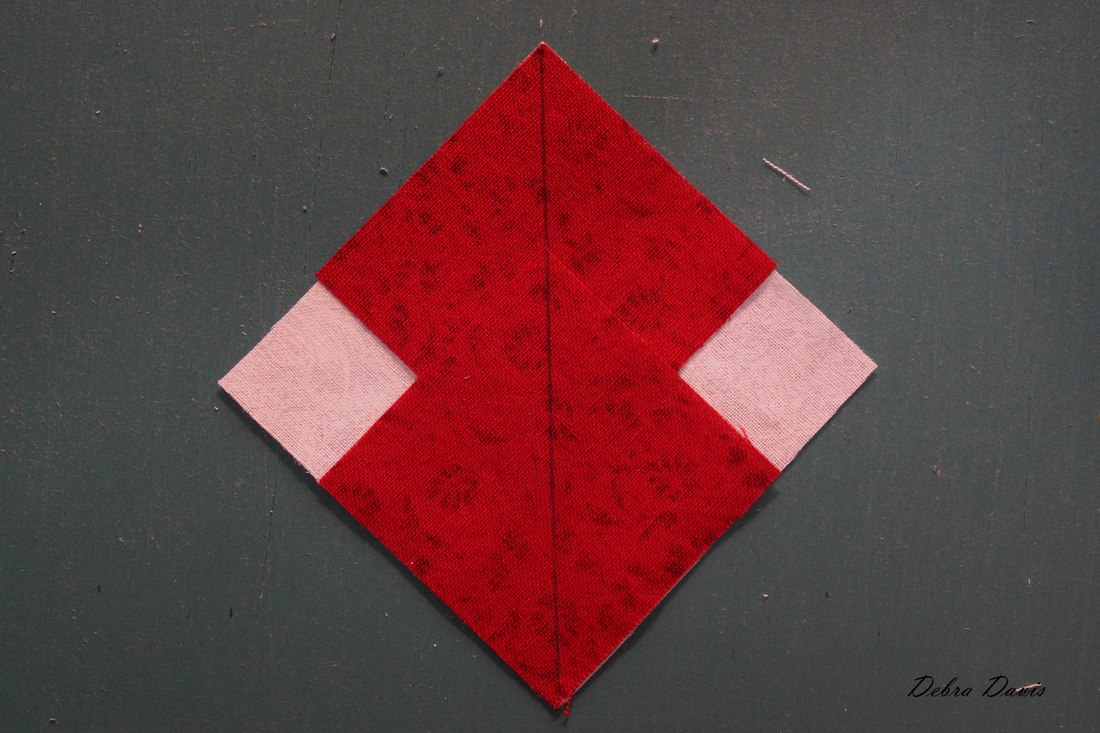 Sew 1/4 inch from each side of the line.
Cut apart on the drawn line and press.
Lay one F square, right sides together, on top of the unit, draw a diagonal line and sew just like before, 1/4 inch from each side of the line. Cut apart on the line and you will have the four Flying Geese units needed for the center star.
Bloc Loc does make a ruler for this size but I do not have it yet so here is how to trim these with a regular ruler. I am using a Creative Grids ruler-they just do not slip on the fabric like other rulers. The Flying Geese need to measure 1" x 1 1/2" so place the 3/4" inch horizontal mark (which is half of 1 1/2") at the tip of the triangle leaving a 1/4 inch seam allowance extending beyond that point. Line up the 1" vertical line on the ruler with the upper diagonal seam. I want the end of my ruler to lay right on that seam line. Trim away the excess. 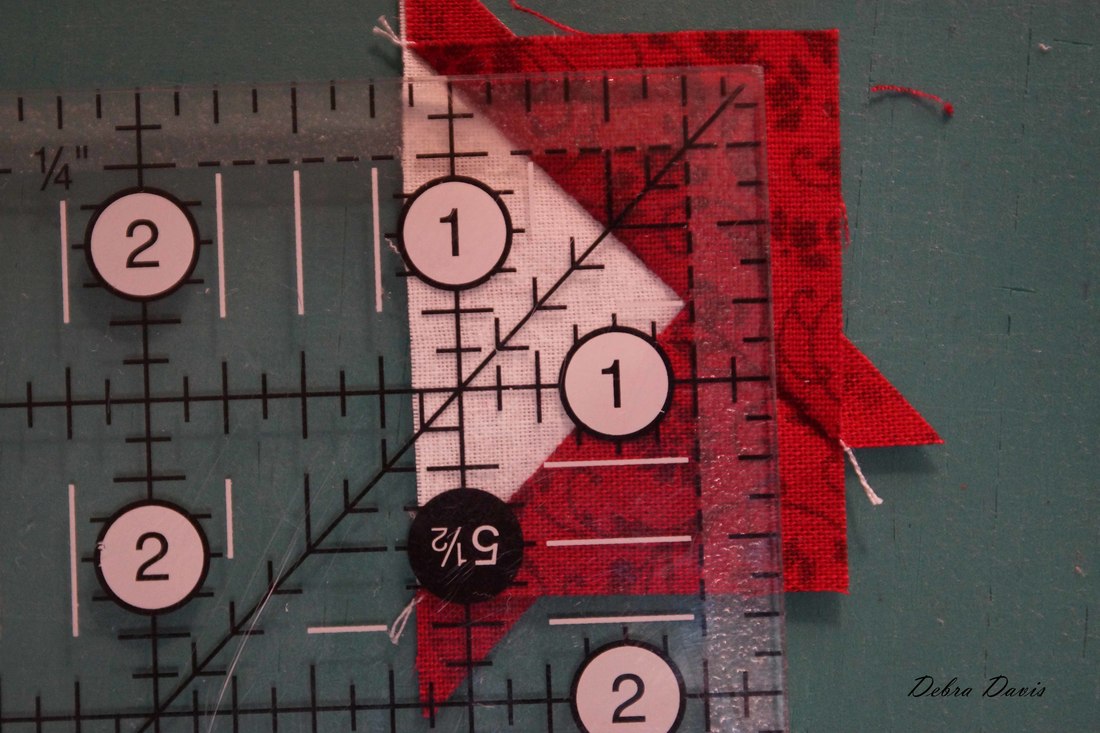 Now I can turn the unit and line up the 1" and 1 1/2" lines of my ruler with the trimmed edges of the Flying geese unit. I also see that the diagonal line on my ruler is laying on that seam. Trim. 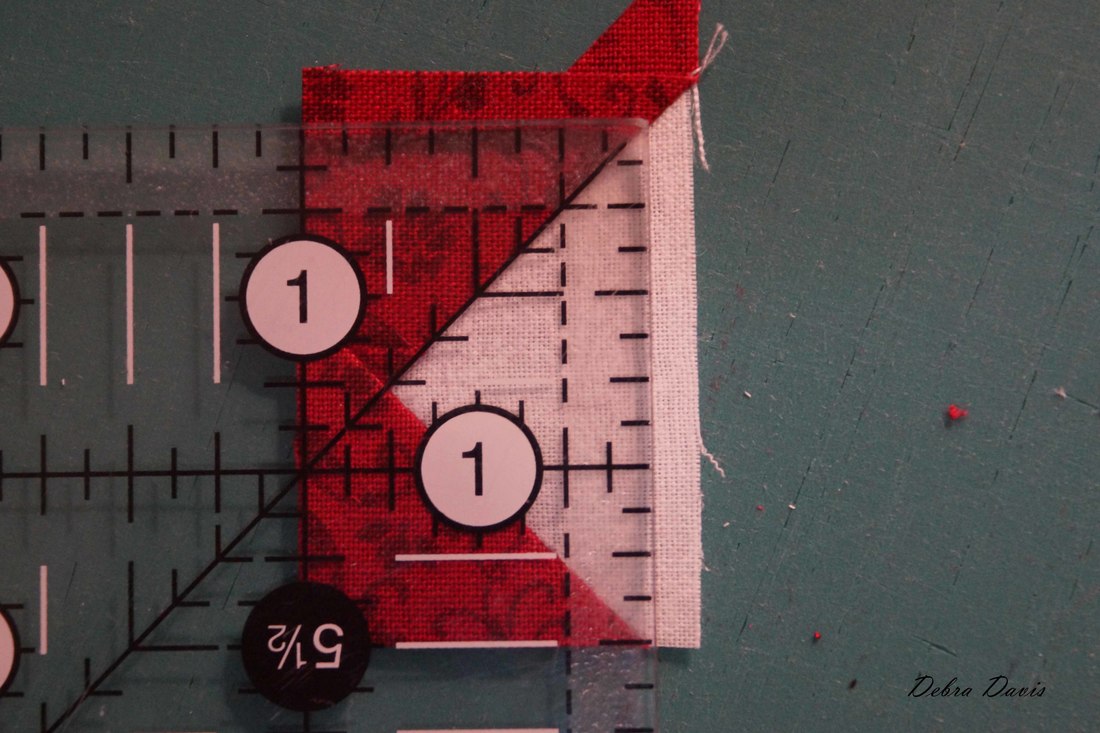 Adding in the tiny D squares I can now sew the star together just like any nine-patch block. 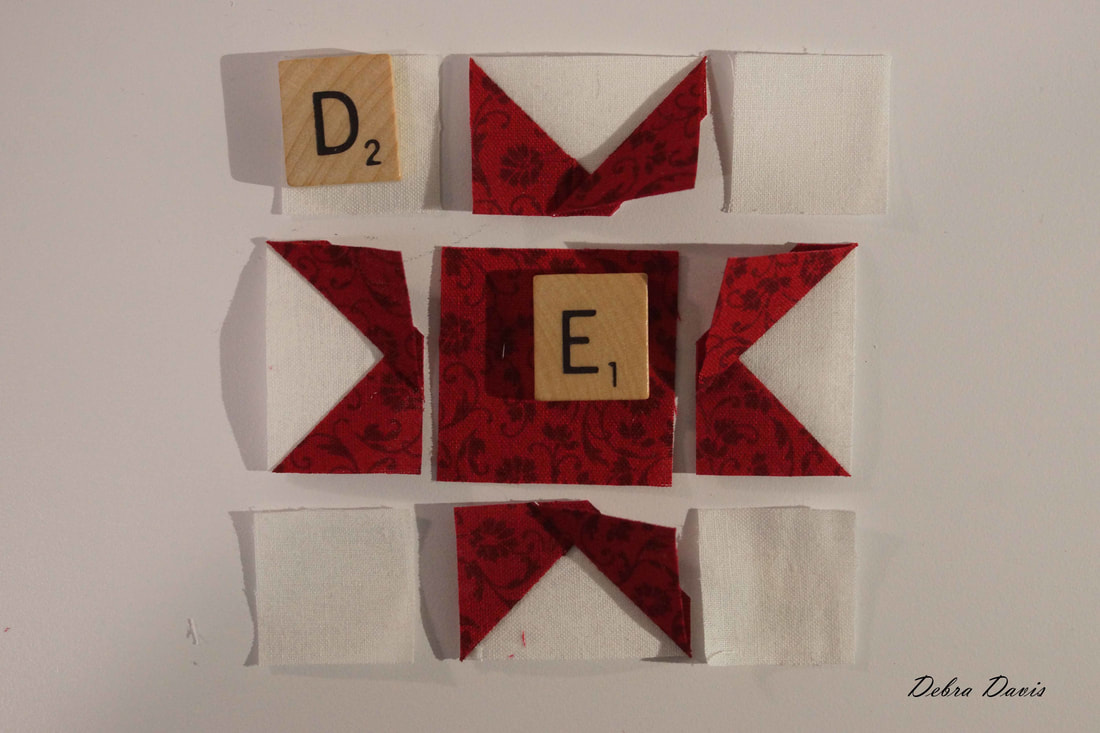 I pressed the seams to the non-pieced squares, so again broke the rules and pressed towards the light side on the top and bottom rows.  The center star should also measure 2 1/2" when finished and happily this time that was the case. Now with all the pieces laid out I can sew the block together, making sure to match the seams as I do. 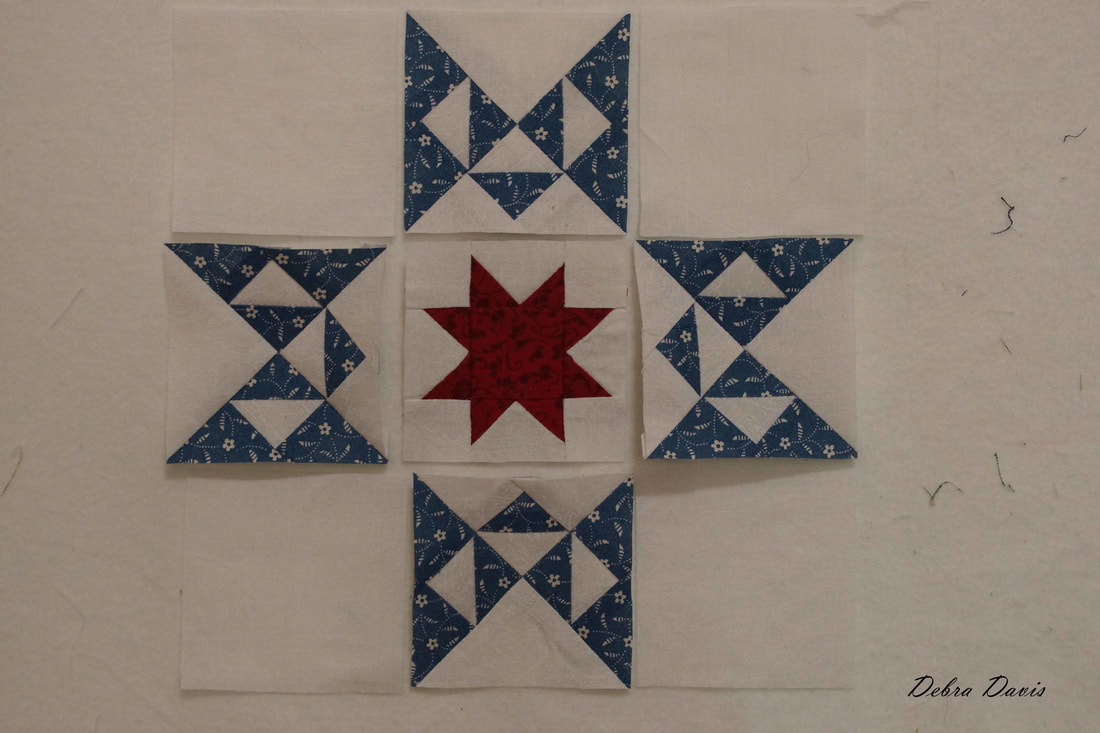 And here we have it, my less than perfect block, but I feel very good about putting this in the DONE pile! 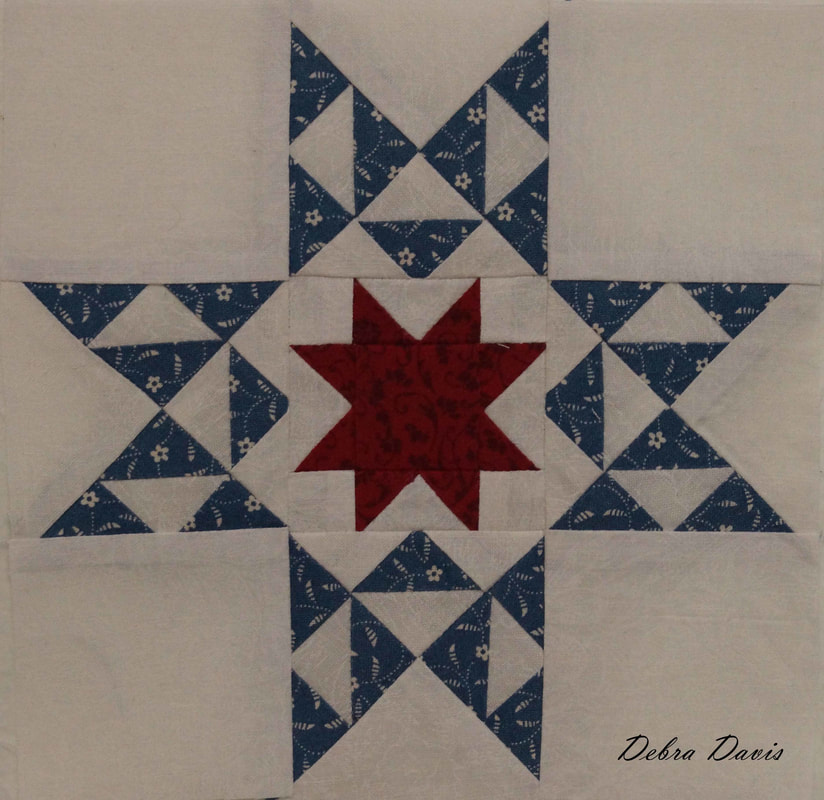 I would love to hear from you if you give this block a try! It is a challenge for sure and though I do not feel I mastered it, I am getting better at working with these itty bitty pieces. Just think how your friends will marvel when you tell them those little white squares in the center are 1/2 inch!!!
Happy Quilting! Debra PDF Version of this tutorial
Dawn
11/26/2017 01:44:06 pm
Thank you, Debra, for your directions! I wasn't too successful both times I tried this block. I cut off a lot of points, and will not attempt it again! I spent over 4 hours on it today, my second attempt, not including the initial cutting. I followed all your measurements, trimming, etc., and my block looks nothing like yours! I'm frustrated but I do thank you for taking the time to make easy to follow directions.
Debra
11/27/2017 09:32:54 am
I feel your frustration, Dawn! Did you look at my points where they units are joined to the center star-makes me cringe really. This was a tough one and I think I may need to come up with paper piecing patterns for it if there is any hope for this block. On the other hand, I still may just be done with this block. Comments are closed.
|

Welcome to the site of Debra Davis-a woman who loves the Lord and loves to quilt.
My other blog where I share about my walk of faith:
Sitting at His Feet 
|


 RSS Feed