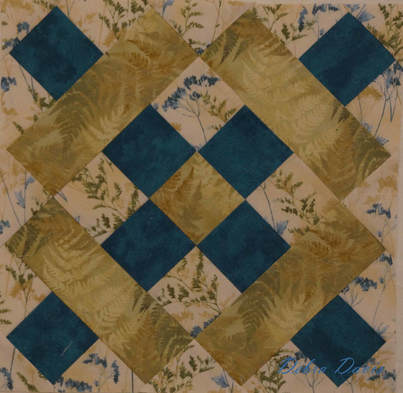
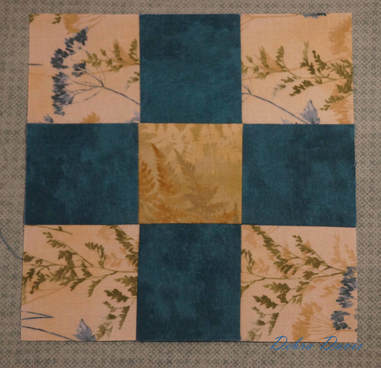
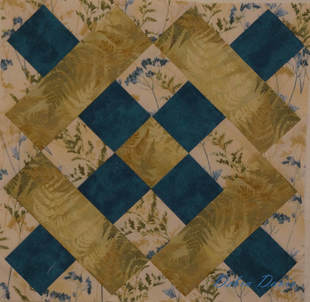
Block 4: Roman Cross
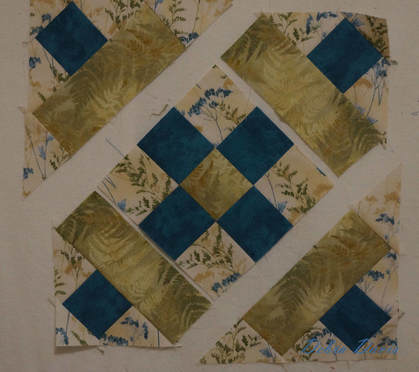
After a wonderful week at the coast with two of our kids I am back in the quilt studio (really just a small bedroom, but I like to call it that.) I was glad to see another 12" inch block, but my hedgehogs will still need to be pretty small for this one. I think it took me longer to choose my fabrics for this block than to actually sew it.
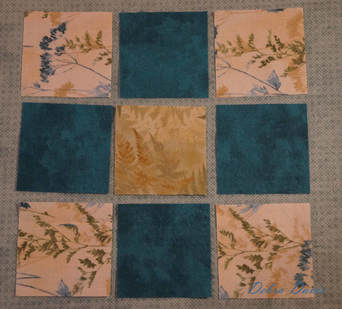
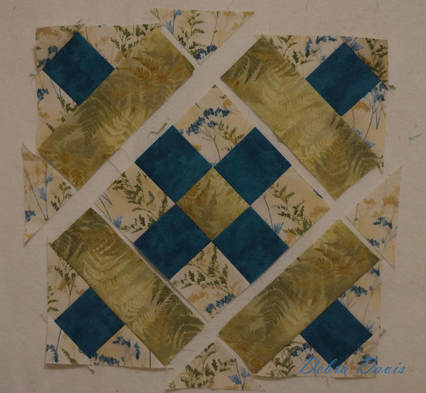
I was not familiar with Brigitte Heitland and enjoyed exploring her blog a bit. Modern quilts are growing on me. You can find her pattern for block 4 on her blog linked here. Brigittte also included paper piecing patterns for this block, which I was tempted to use, but just printed them instead to save for later. Since I am using directional fabrics for this block I decided the best thing to do was lay out all of my pieces to make sure things were turned the direction I wanted them to be.
I decided to start with the easy nine-patch used for the center of the block.
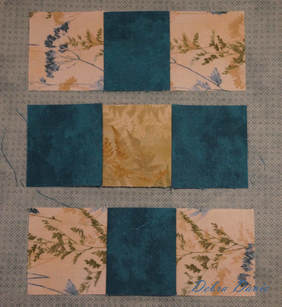
I joined the squares into rows, pressing towards the dark squares in each row.
Because of the way I pressed I am able to match the seams very well as I join the rows together, locking them in place and pinning as needed to hold the seams together for sewing.
I pressed towards the center row, but it does not really matter on this one.
The nine-patch unit needs to measure 6 7/8" x 6 7/8"
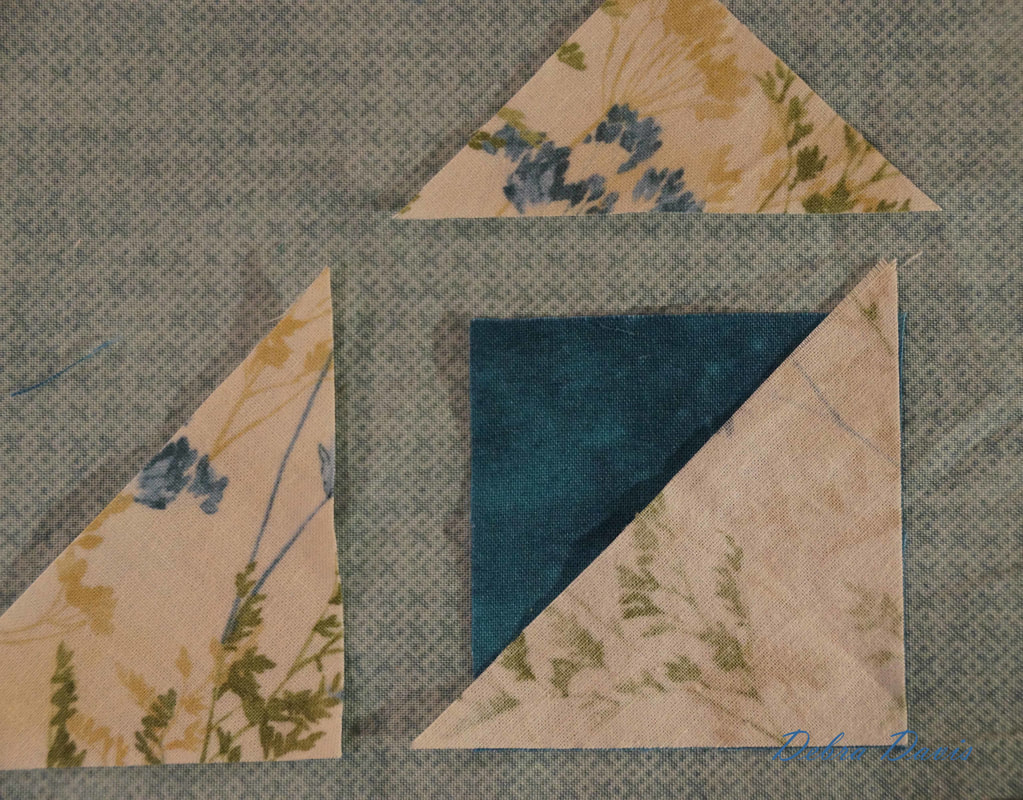
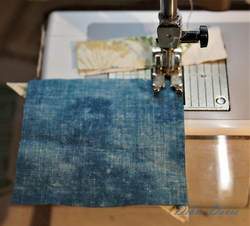
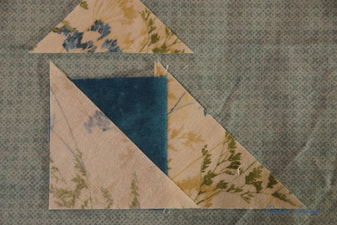
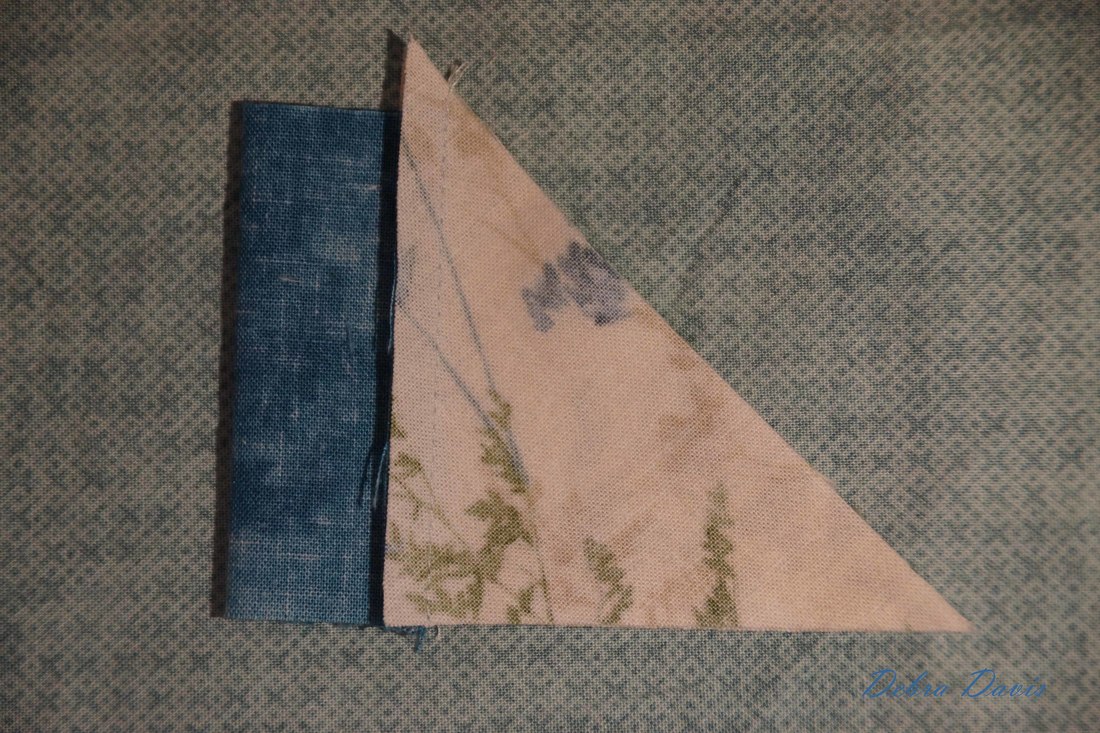
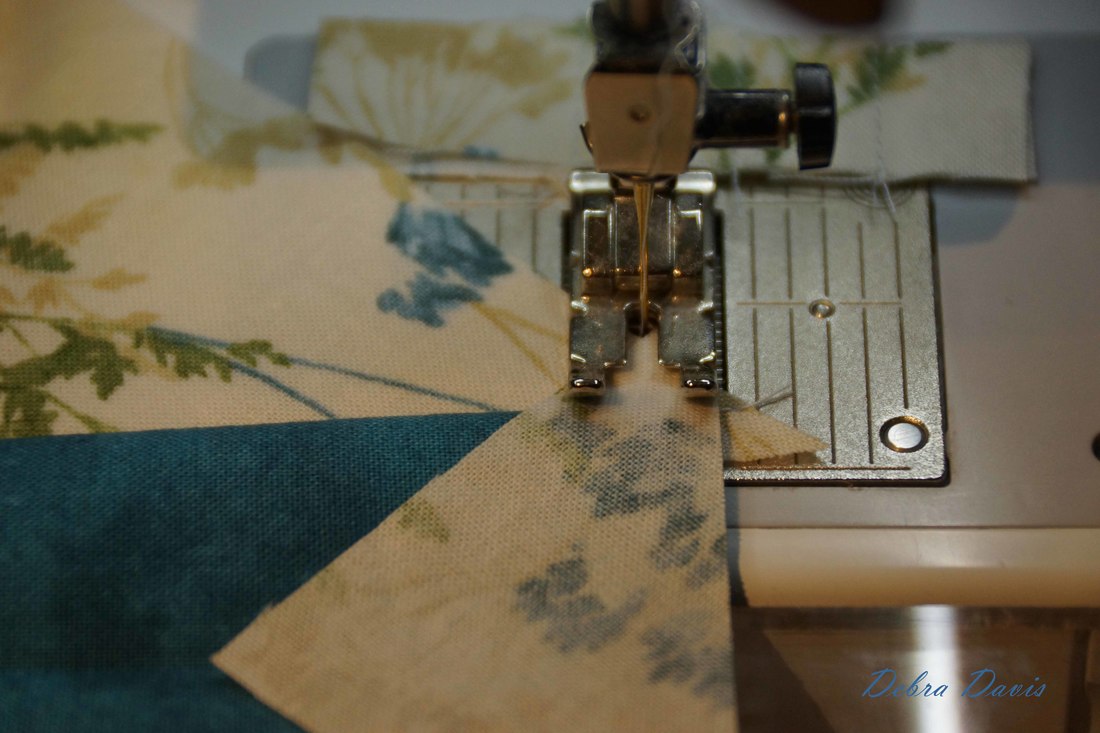
Deep breath...time to sew those triangles in place. I start by flipping one of the triangles over on top of the square, lining uup the two corner edges.
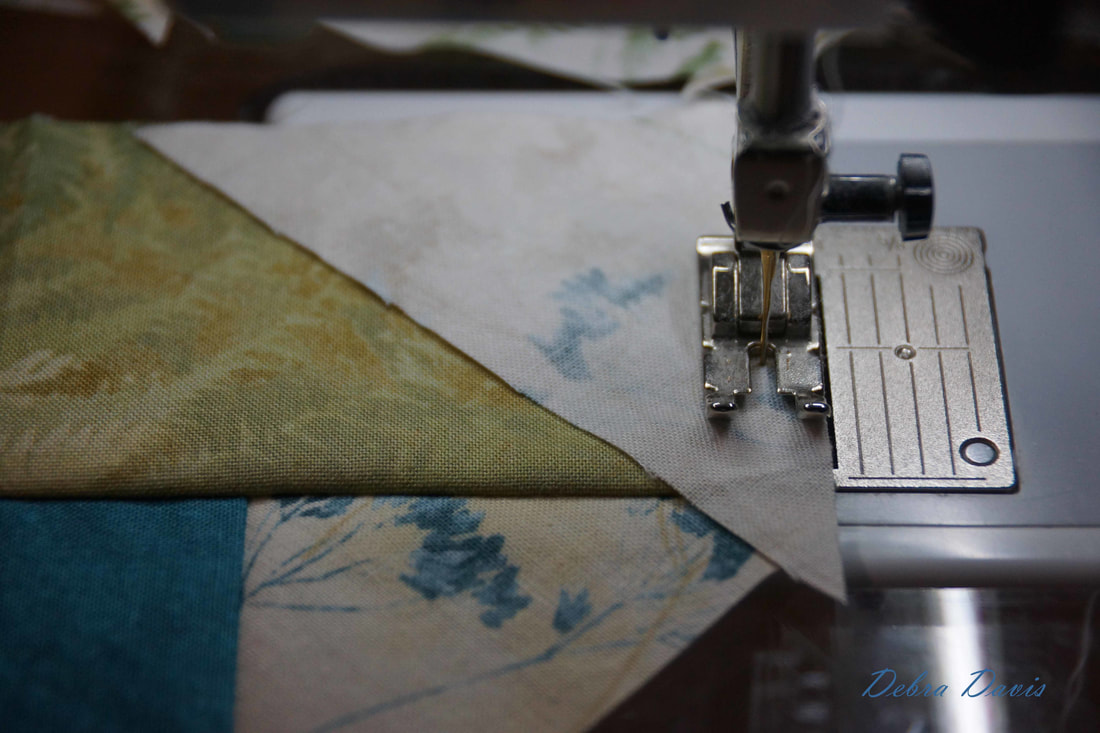
When I am sewing triangle to a square I like to flip the pieces so that I start with the square edge rather than the tip of the triangle-just have to make sure I sew the correct sides when I flip them. Then I do the same thing on the other side, pressing towards the square on both sides.
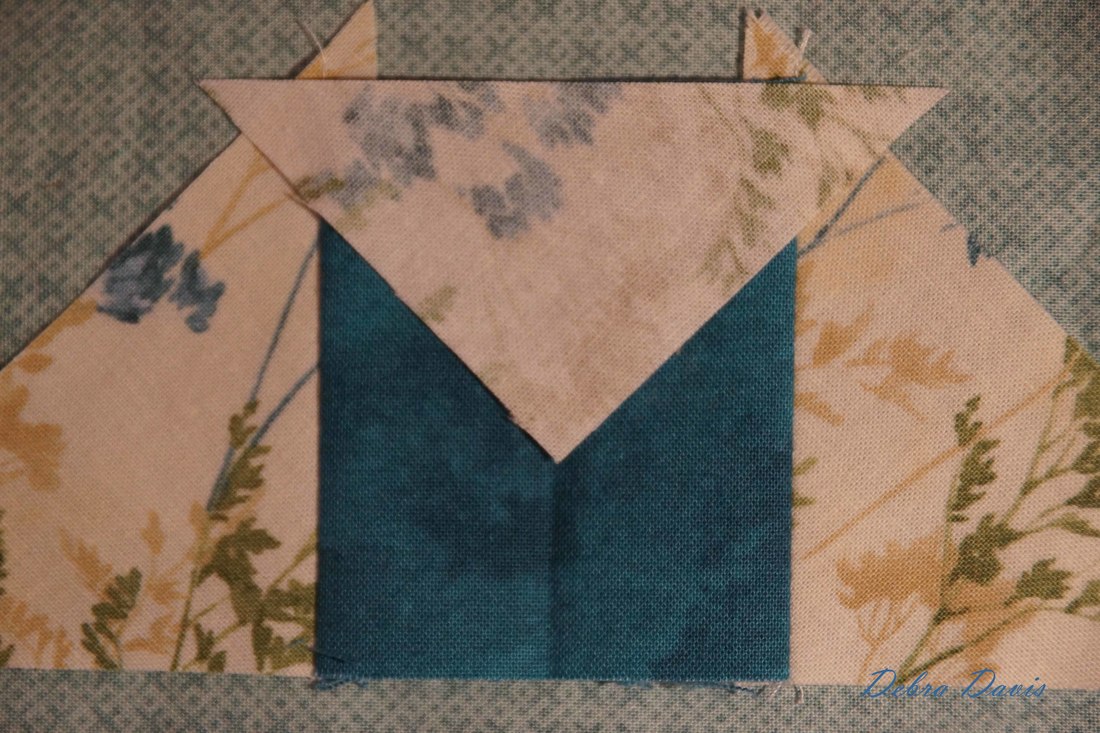
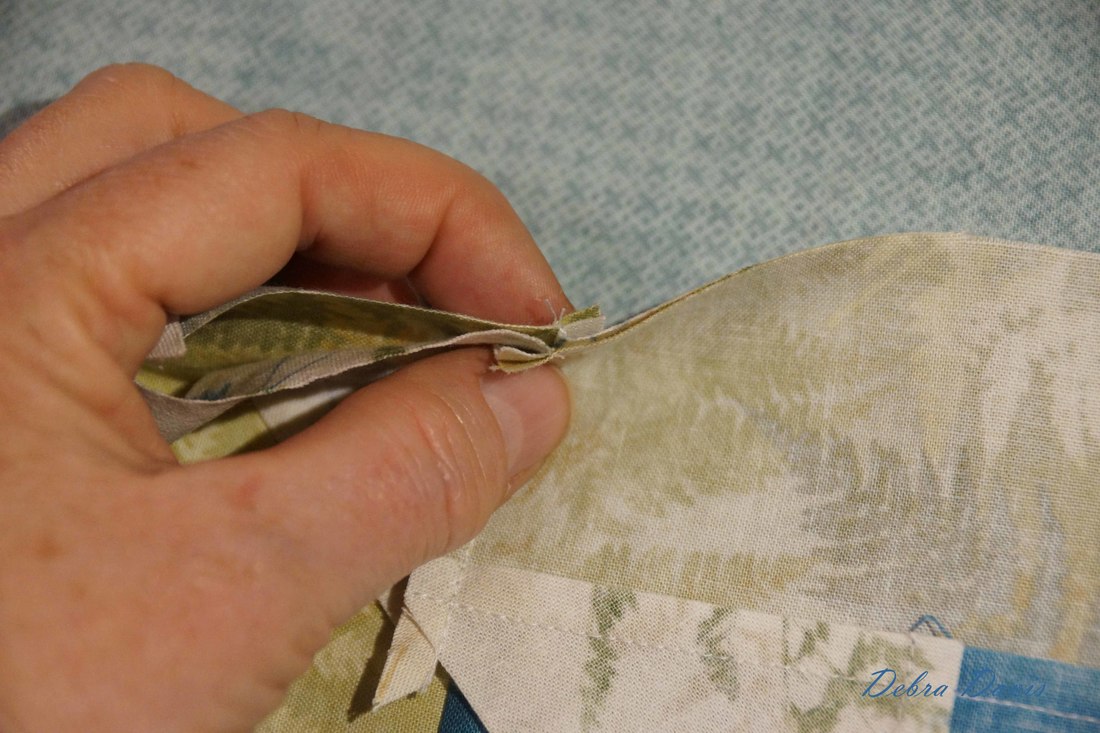
Before I add the top triangle I fold the row in half and press along the fold with my iron to crease the fabric.
Now I know where the tip of my triangle should go...right on the fold. It is helpful to go ahead and trim away those little bits that extend beyond the triangle. It can be hard to see your 1/4 inch seam guide on your machine if you leave them.
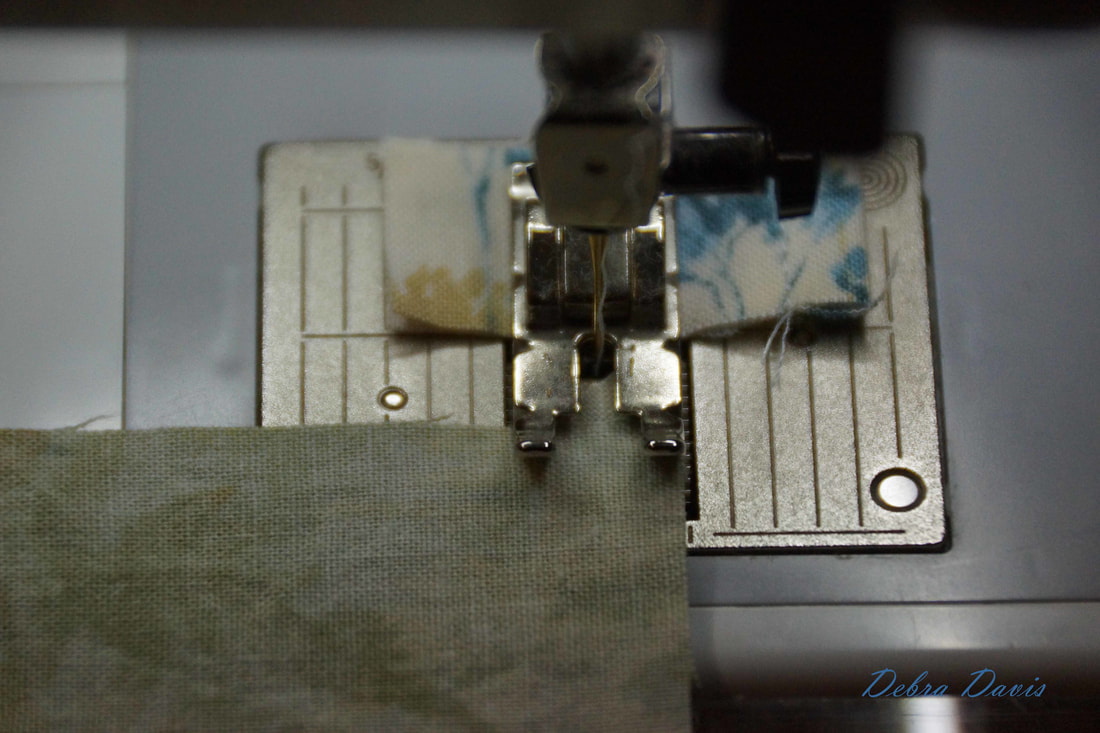
Carefully sew a 1/4 inch seam and press towards the triangle..
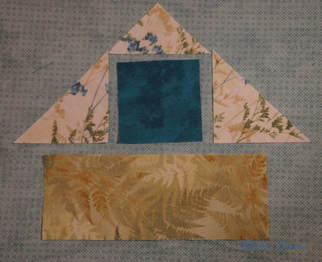
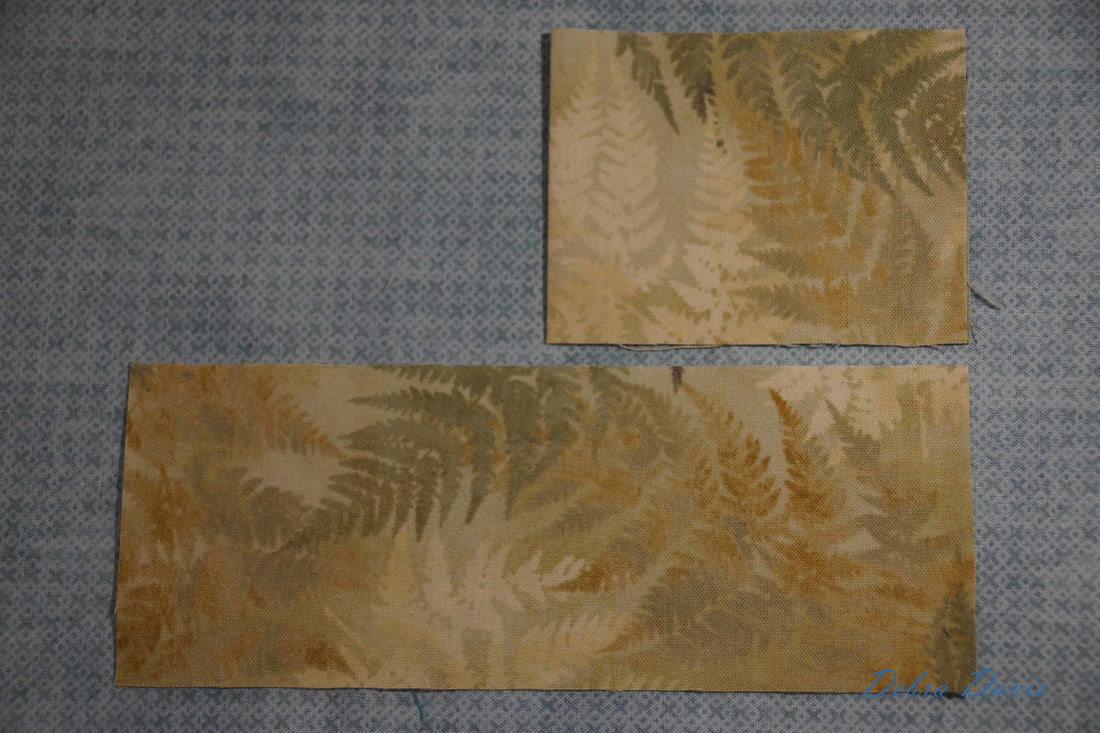
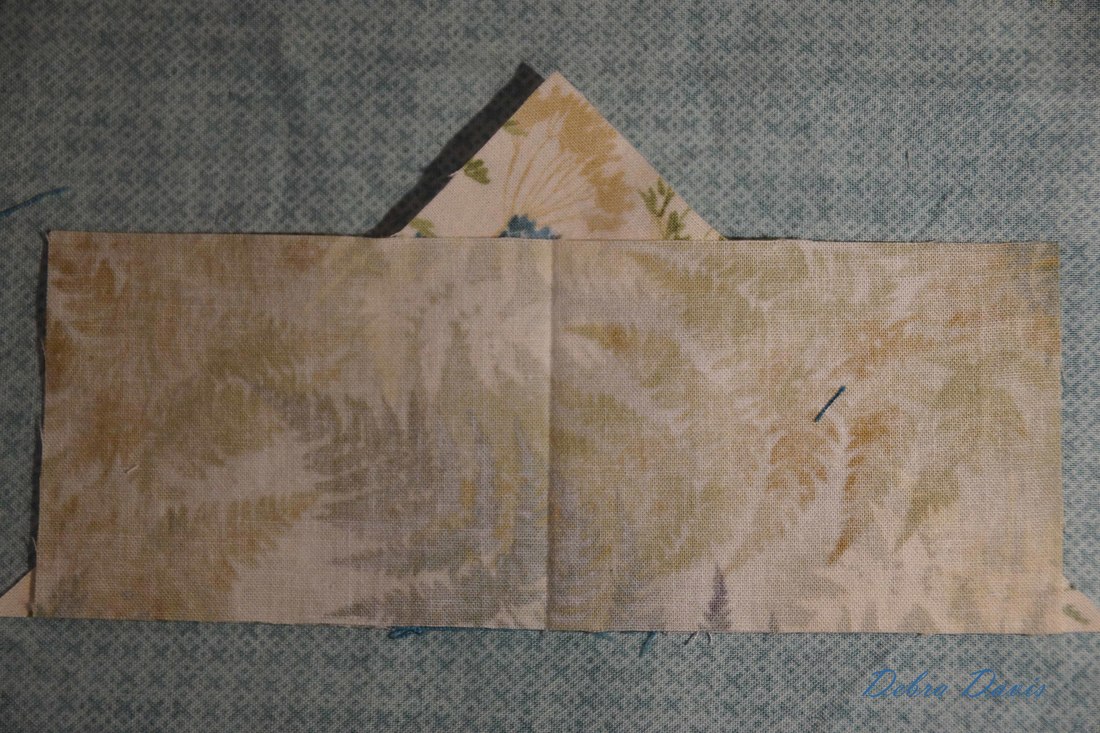
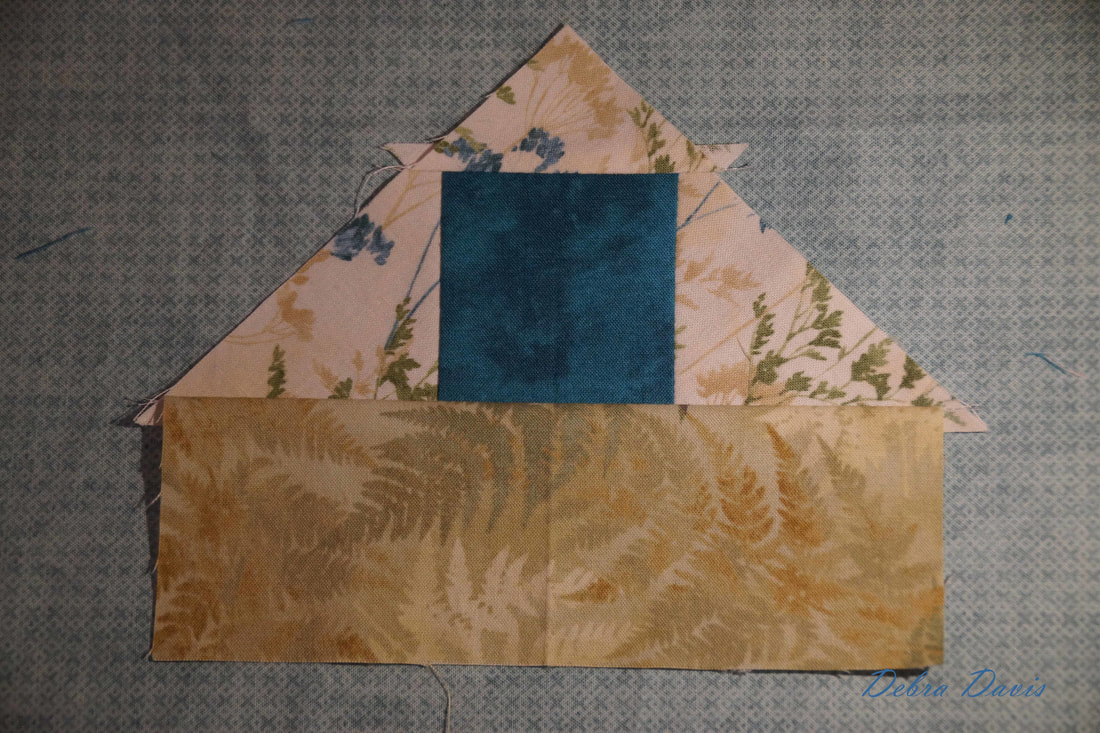
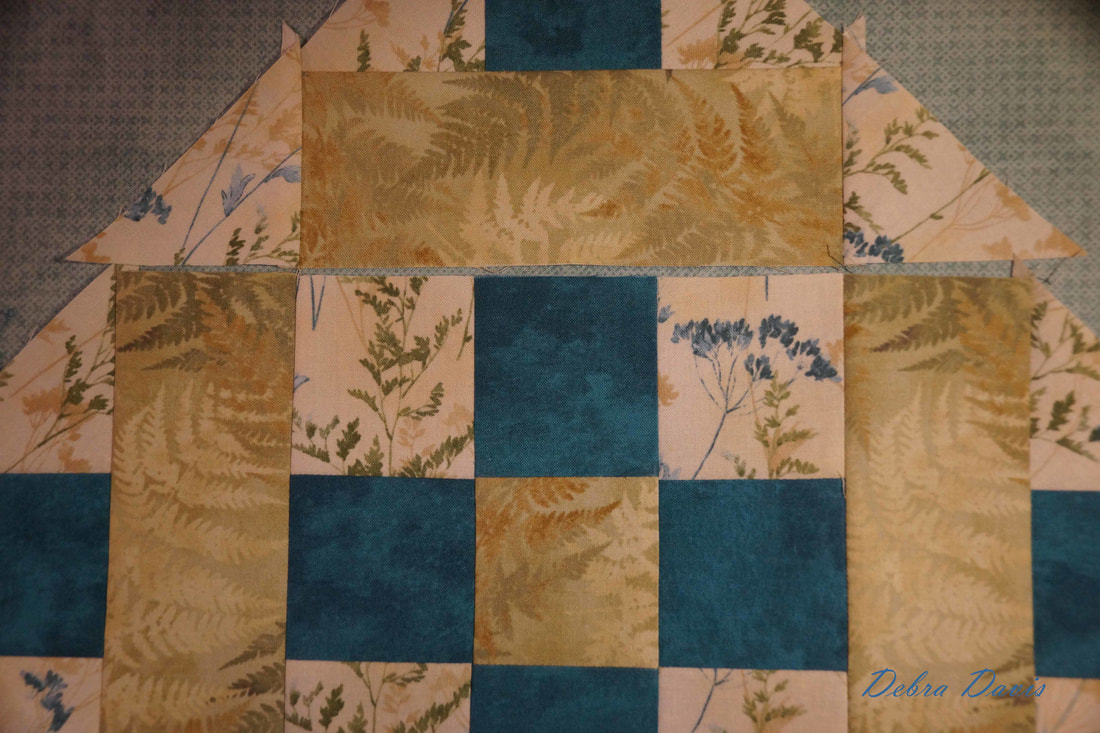
Now we need to add the rectangle to our unit. Once again I am going to press a fold in the middle, wrong sides together this time so that the fold will lay into the fold that is in the unit I just sewed when I put them right sides together.
Sew 1/4 inch from the edge and press towards the rectangle.
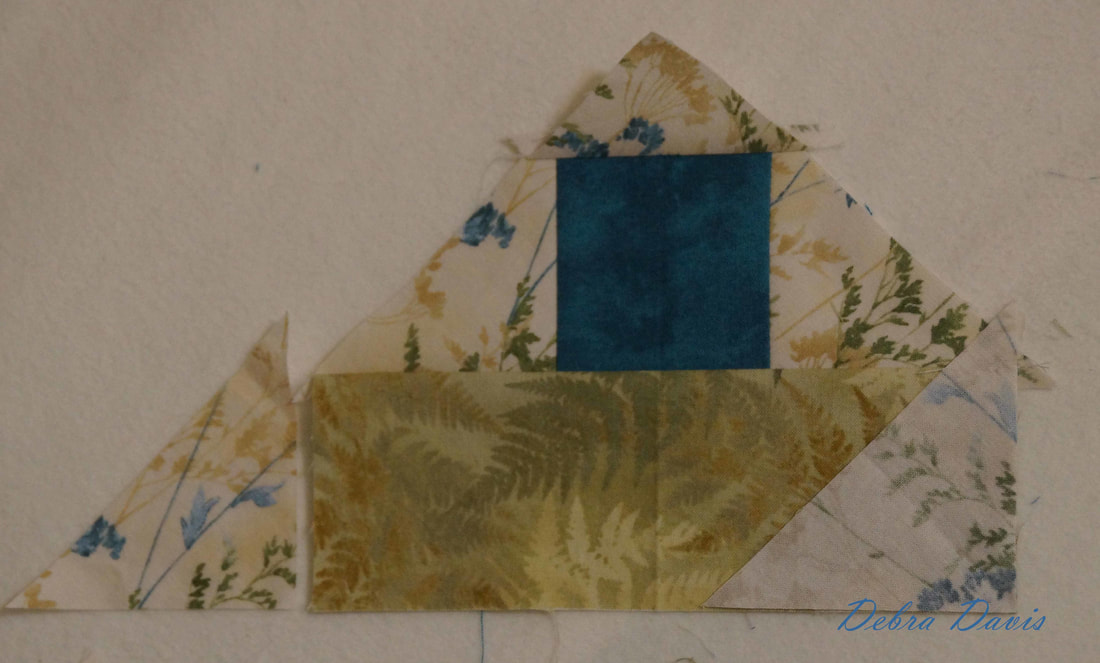
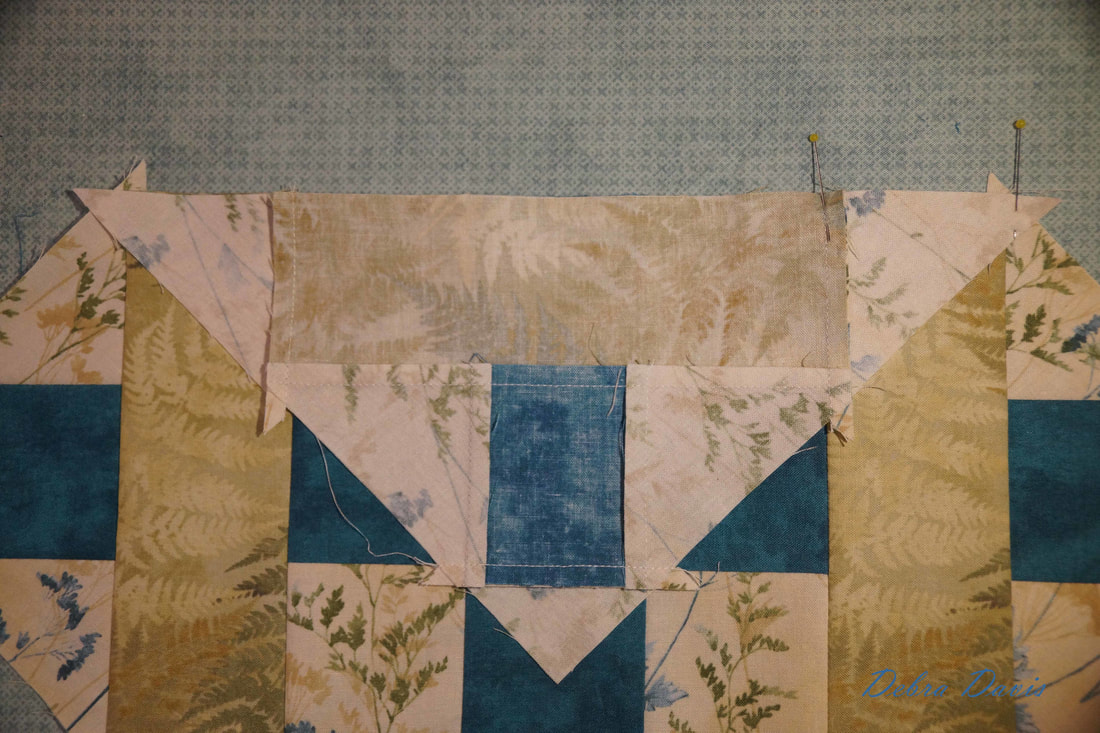
Everything is laid out again and I get ready to add the remaining triangles to the ends of top and bottom units.
These get added just like before-again, it is helpful to trim away those extra bits that stick out beyond the new triangle before you sew.
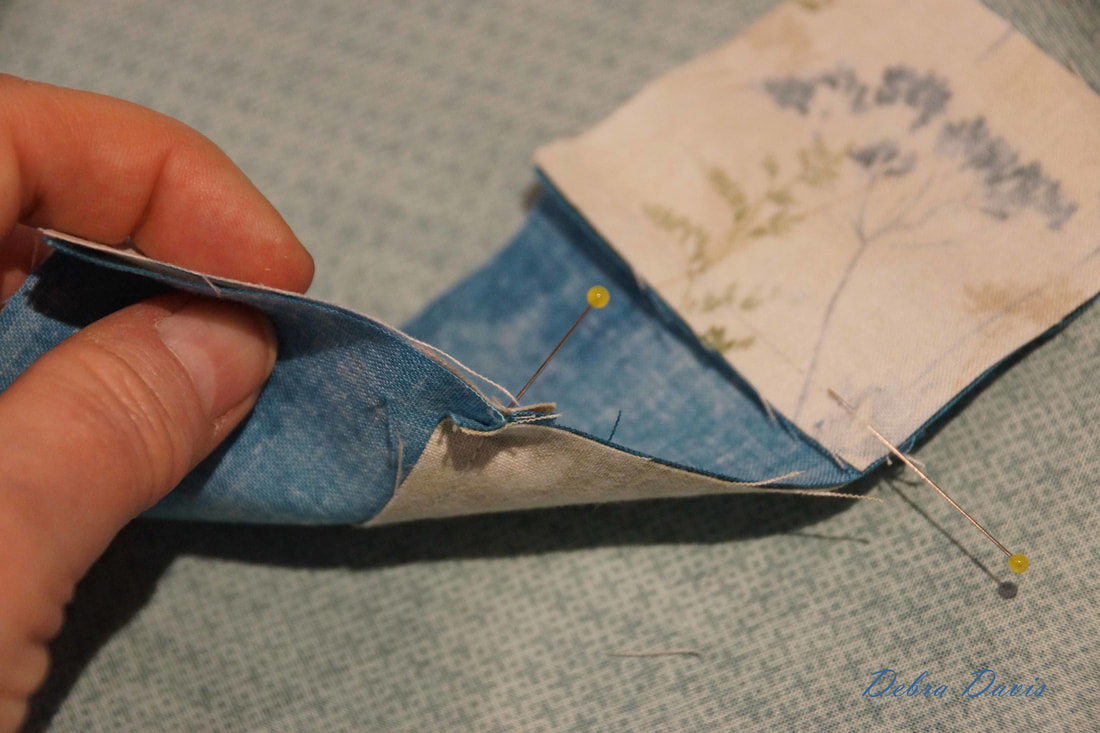
And just like before I started with the corner at the top and slowed my sewing down to make sure the triangle did not shift on me as I came to the tip here. You may find it helps to place a pin at this end to keep things lined up nicely. I pressed these towards the triangles.
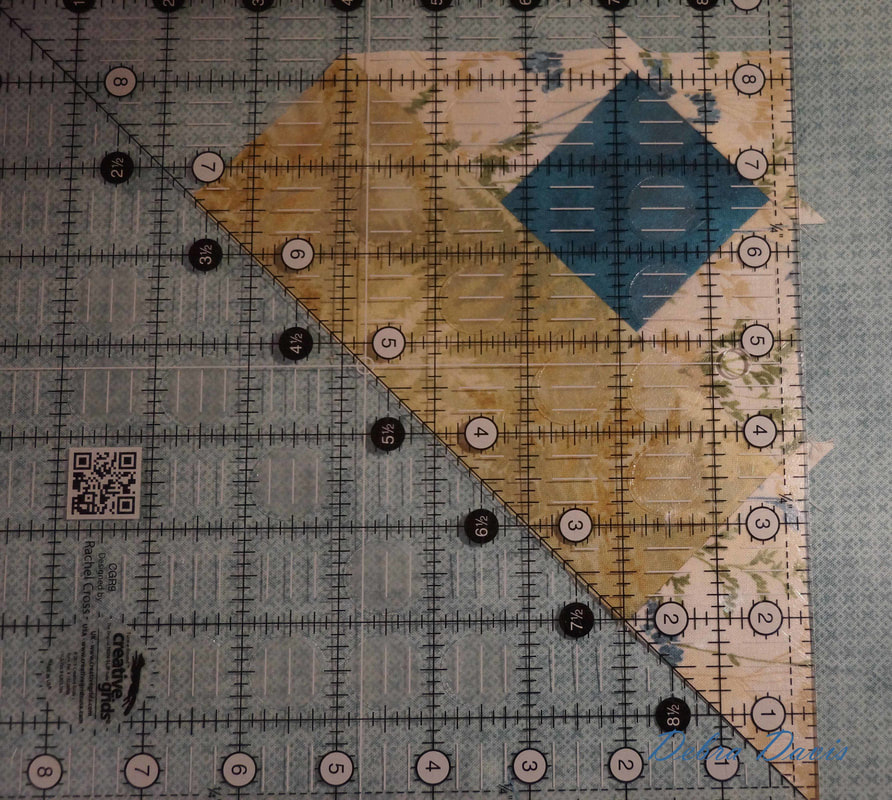
I am very happy to see that when I place my ruler down on this unit the edge made up of the triangles is square to the diagonal line...whew!
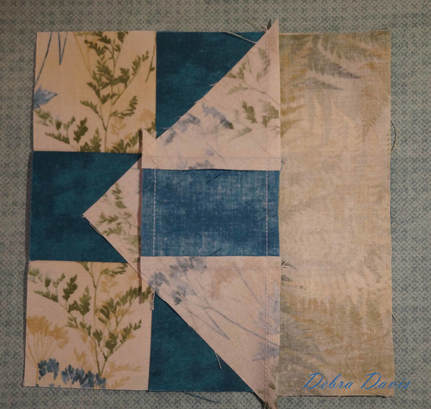
With the final two corner units finished it is time to sew the middle row together.
All I need to do is line up the rectangle with the nine-patch and sew.
I pressed these towards the Nine-patch.
Now it is time to add the last of the corner units to this row. We need to line up the rectangles with the Nine-patch center.
Since I pressed seams in opposite directions they will lock together nicely.
I found I only needed a couple of pins as I sewed these together.
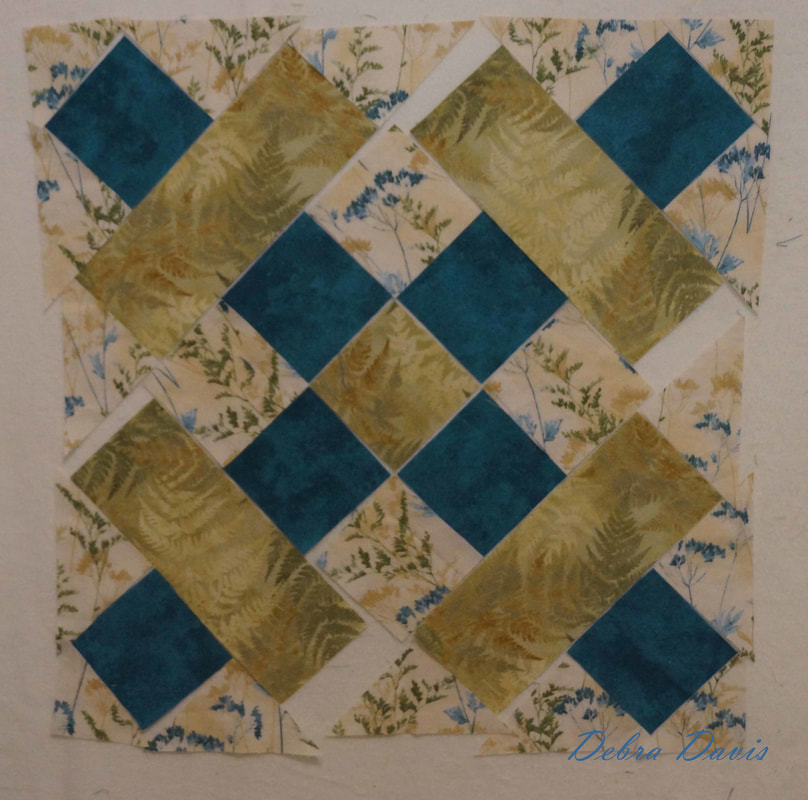
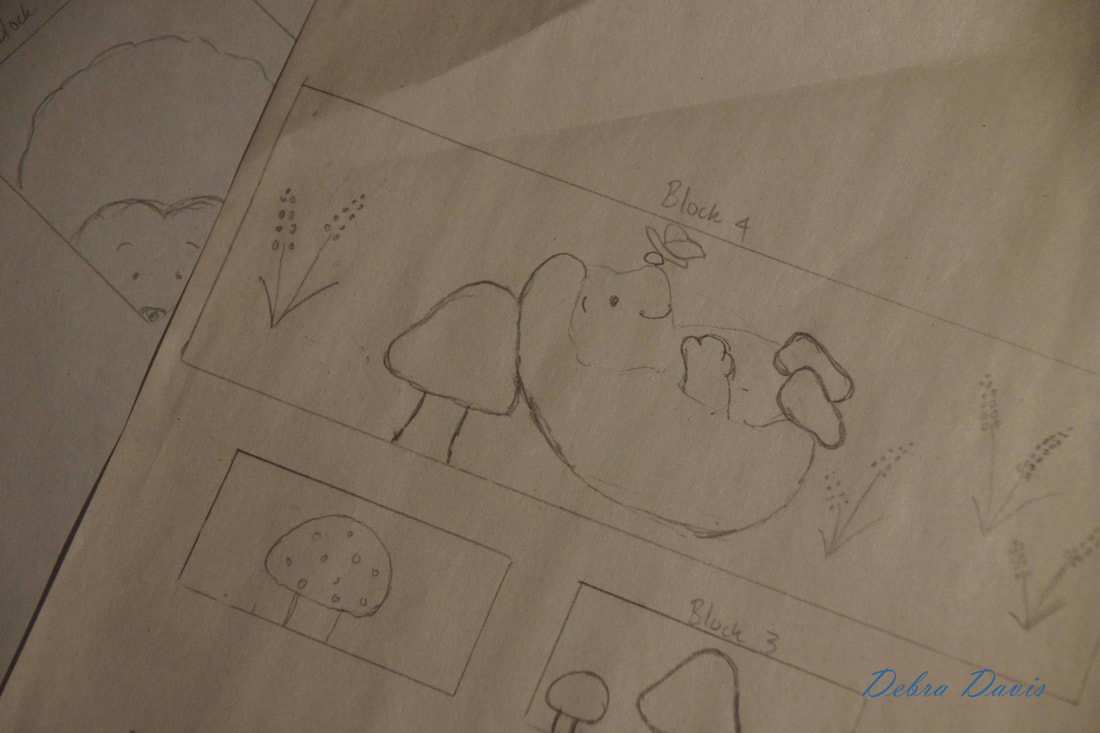
I pressed towards the corner units this time to complete the block. I still have to add my hedgehogs, but have my drawing done of what I think I will do with them here.
Well, I hope this helps you to have success with your block. I am glad to hear from so many that find these tutorials helpful and I look forward to sewing many more blocks with you!
Happy Quilting!
Catherine Beal
7/13/2018 01:49:11 pm
Debra, you are so kind to share these tutorials with us. I wouldn't even have attempted the one without it! Thank you! Comments are closed.
|
Welcome to the site of Debra Davis-a woman who loves the Lord and loves to quilt.
My other blog where I share about my walk of faith:
Sitting at His Feet This website uses marketing and tracking technologies. Opting out of this will opt you out of all cookies, except for those needed to run the website. Note that some products may not work as well without tracking cookies. Opt Out of Cookies |
Tuning My Heart Quilts by Debra Davis is licensed under a Creative Commons Attribution-NonCommercial-NoDerivs 3.0 Unported License.
Based on a work at www.tuning-my-heart.com.
Copyright 2010-2022 by Tuning My Heart Quilts, LLC. No part of this website can be reproduced without written permission from the author. All rights reserved.
Proudly powered by Weebly



 RSS Feed