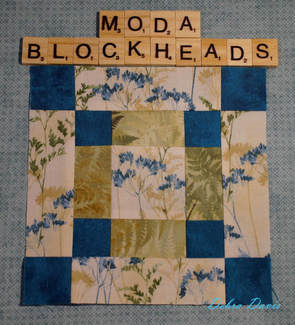
Block 3-Pennsylvania
This week's block is by Carrie Nelson. You can find the pattern on her blog which is linked here.
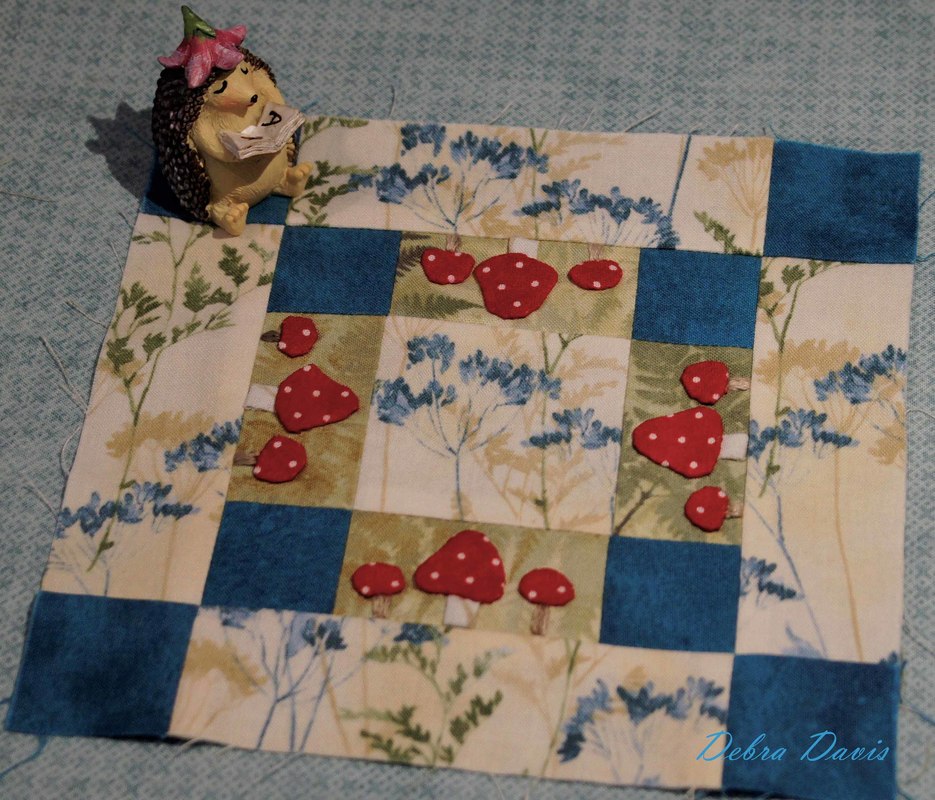
http://blog.modafabrics.com/2018/06/block-heads-2-block-3/ Carrie has also shared several variations on the block so be sure and take a look. This block goes together quickly with some pretty simple piecing. The hardest part was picking out the fabrics to use. I played around a bit as I thought about how I was going to add an hedgehog to my block-I finally decided that this one would have some mushrooms added instead as it would have been a pretty tiny hedgehog to work with. Of course the mushrooms are pretty small-but simpler shapes so easier to work with. When making these smaller block I have found that it is helpful to starch my fabrics before I cut out my pieces. I have been using Mary Ellen's Best Press recently and it seems to do a fine job and smells nice too. ( I found I can get the refill size and just pour it into a spray bottle which is saving me some money.)
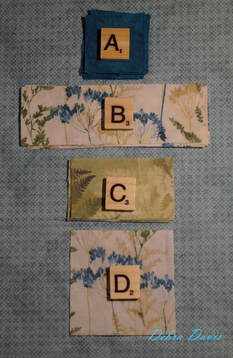
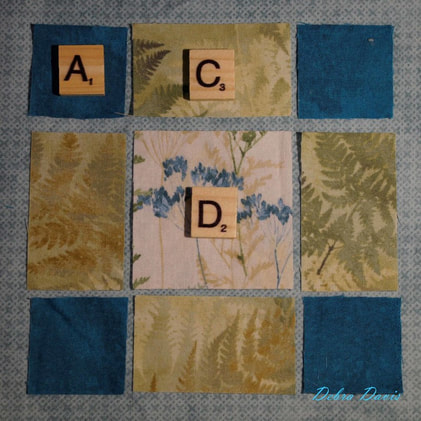
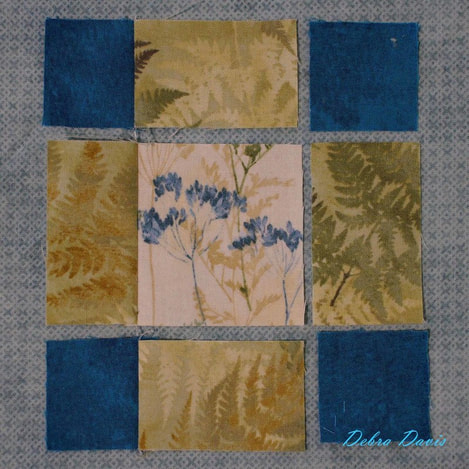
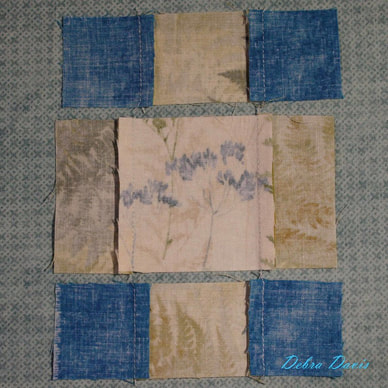
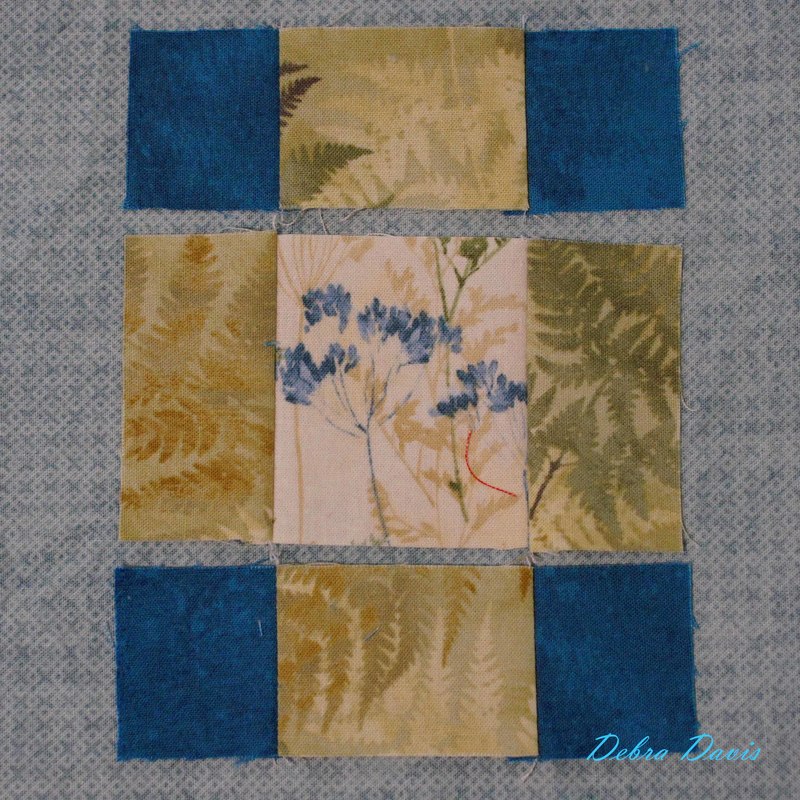
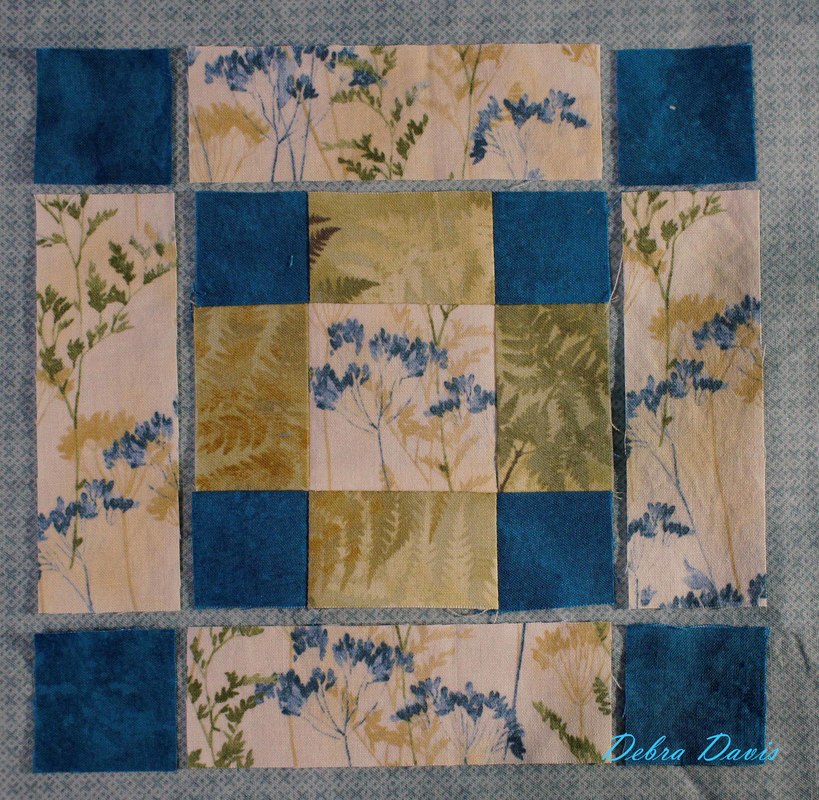
Okay, let's get started. First we need to lay out the some of the A squares with the C rectangles and the D square.
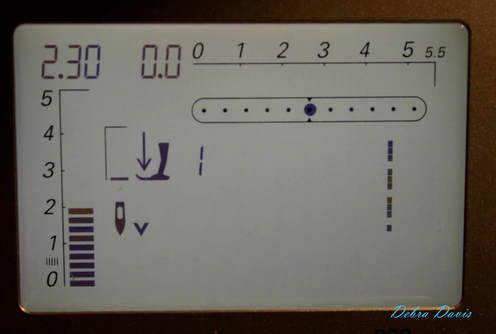
When sewing these 6 inch blocks I set my stitch length a little shorter than normal-I am using 1 2.3 setting on my machine. I also sew with my needle in the down position-a handy feature if your machine has it.
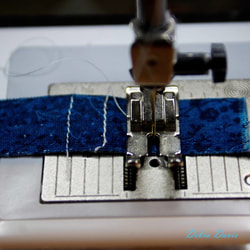
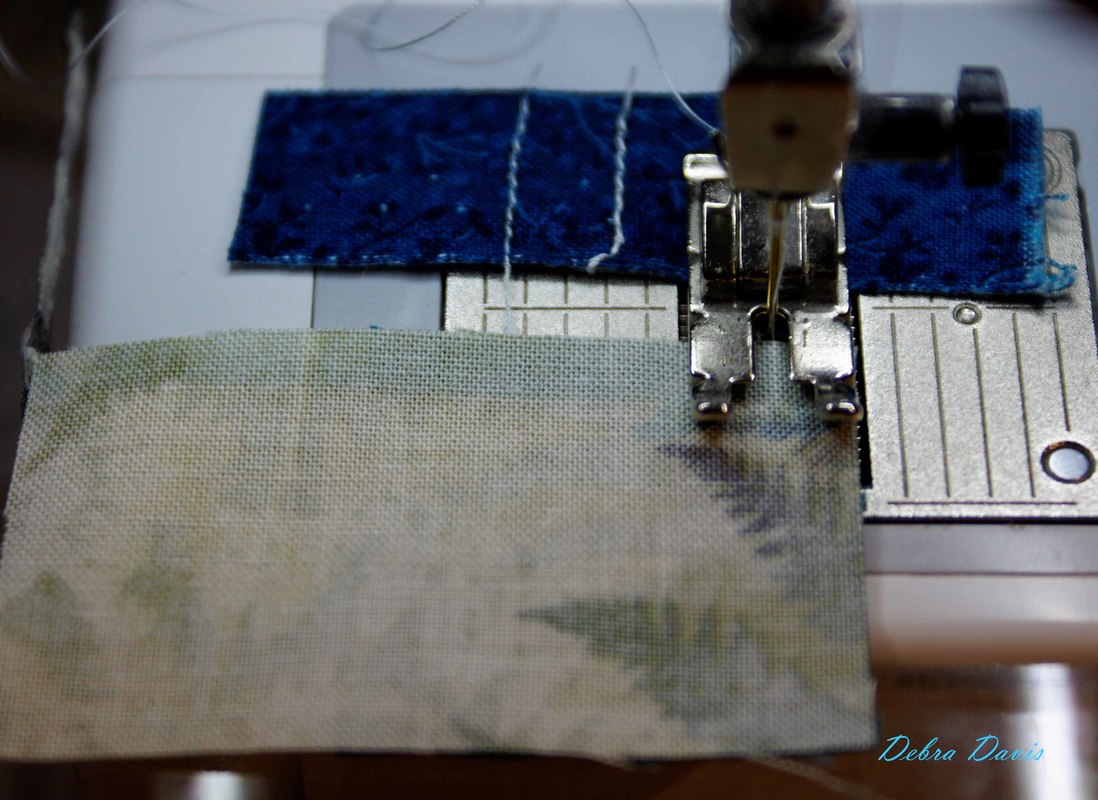
I always begin with a scrap of fabric-there are a few reasons for this, one: I do not have to deal with long thread tails, two: it keeps the fabric from bunching up as I begin to sew, and three: the threads do not get tangled when I start sewing on my pieces.
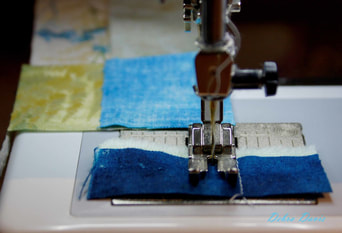
Then I just proceed to chain-piece the pieces together.
I end with another scrap of fabric which will be my starting piece when I come back to my machine.
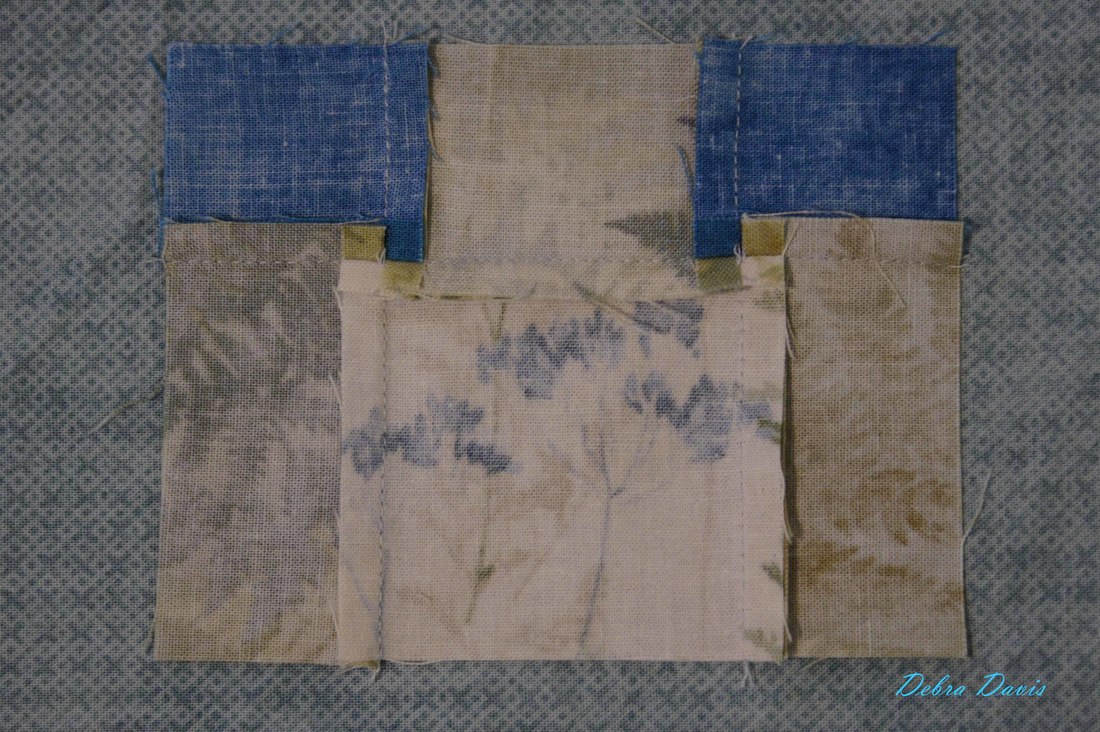
Before proceeding I press each piece towards the C rectangle. If you are using a dark center square then I recommend pressing towards the dark squares instead. The main thing is to make sure that the top and bottom rows will be pressed in the opposite direction of the middle row. Add the last piece to each row and press as before.
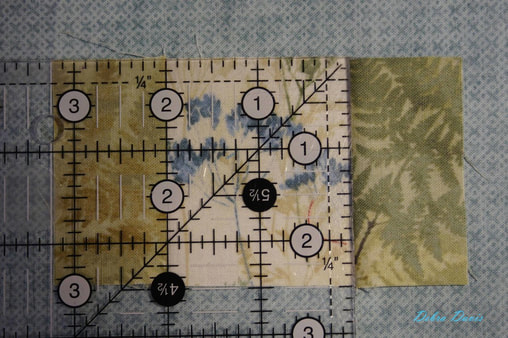
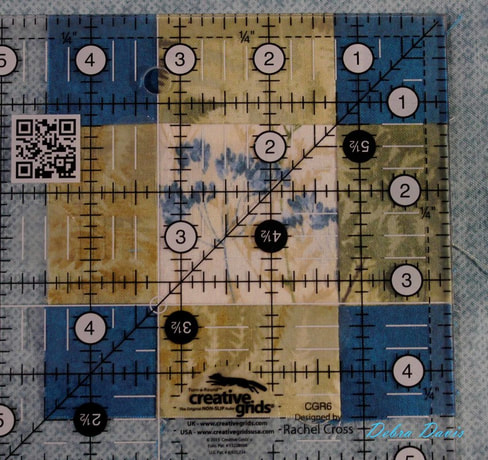
Before moving on take a moment and check your seam accuracy. The middle section of each row should measure 2 inches it we sewed an accurate 1/4 inch seam.
This is vital to getting a perfectly sized block in the end.
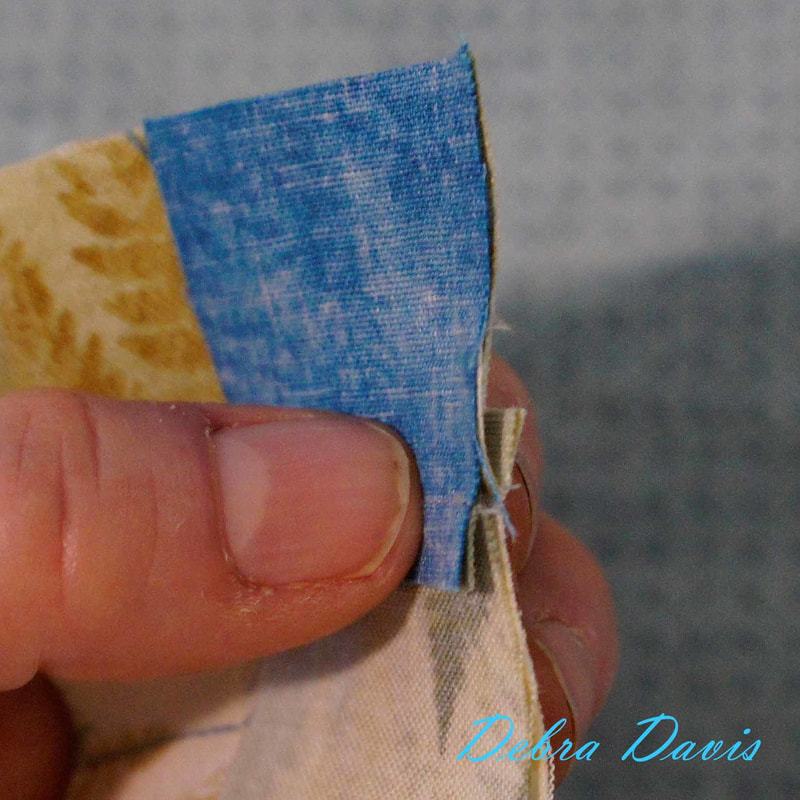
Here you can see how I have pressed my seams in opposite directions.
Now it is time to join these rows together matching the seams. Take some time to feel how the two seams lock together between your fingers, you will soon be able to tell when they are lined up correctly by how they feel.
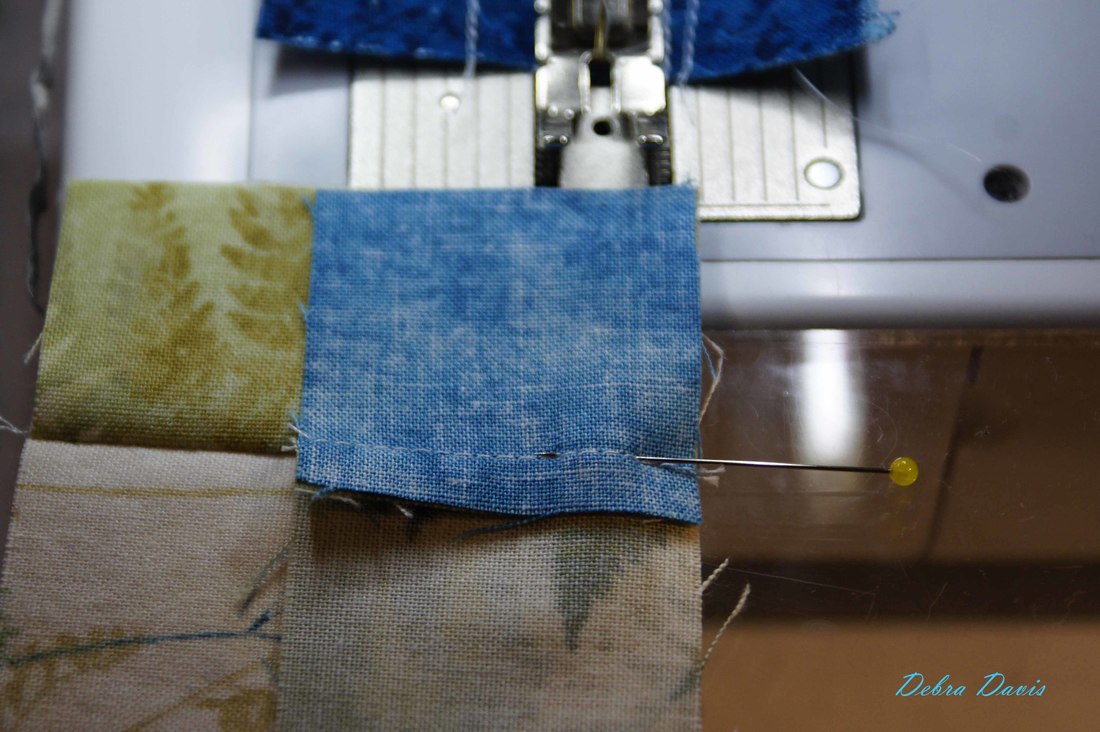
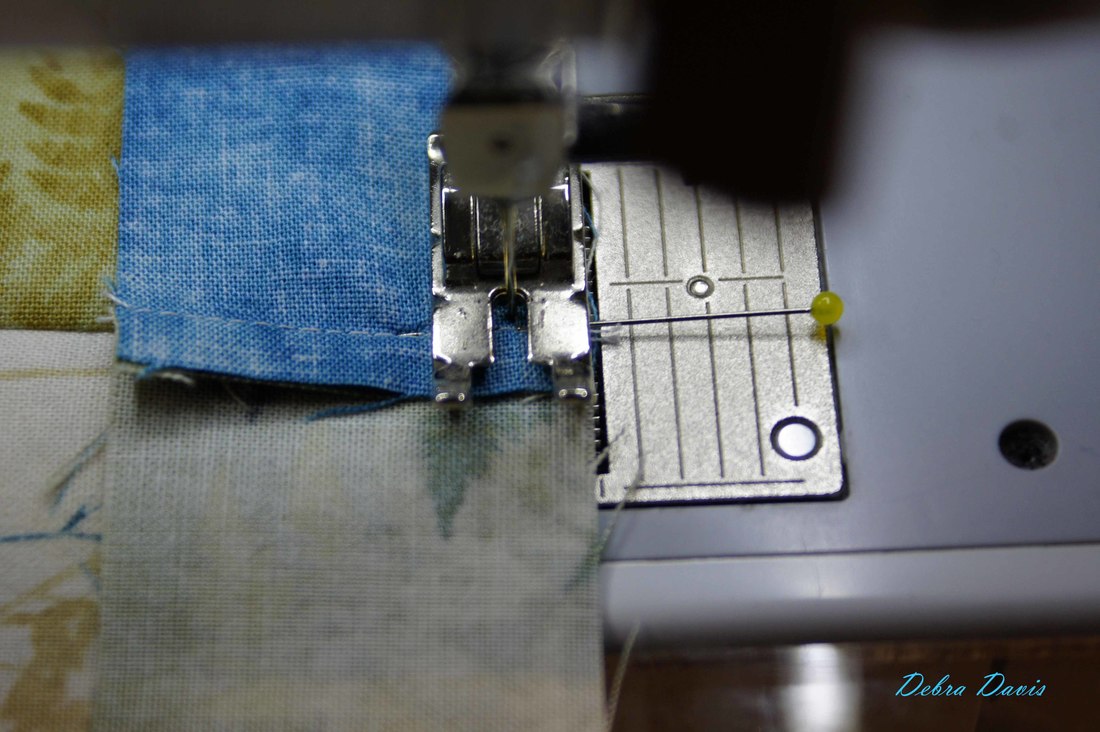
I have placed a pin where the top two seams meet. I sew right up to the pin, but do not sew over it. This is one of those times where the needle down position comes into play, as before removing the pin I want my needle to be down in the fabric to hold everything in place.
After carefully removing the pin I continue to sew.
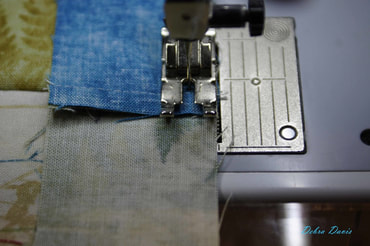
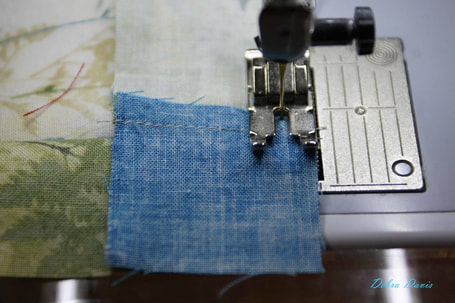
As I come to the second seam you will notice I did not place a pin. I find that when the seam is facing my needle like this it gets pushed into place nicely as I sew. I do however SLOW DOWN as I come to the seam and proceed slowly over it.
I decided to fan my seams, though you could also just press them to one side. In fanning these seams the intersections do lay smoother, but it really is personal preference at this point.
I am going to check and make sure that this square now measures 4 1/2" x 4 1/2"
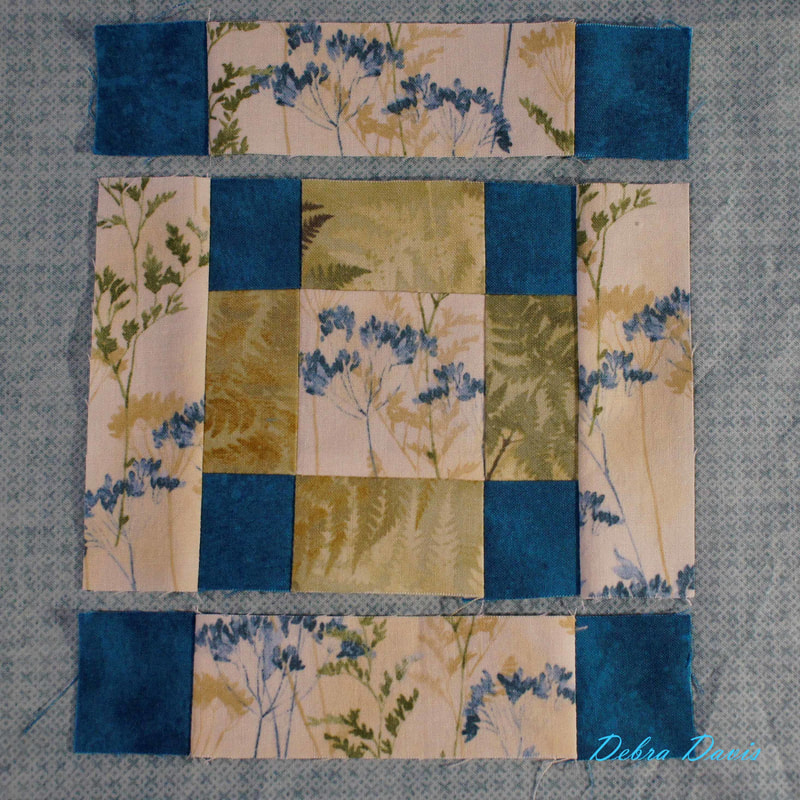
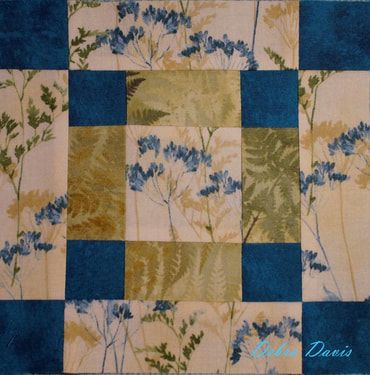
Now I lay out the rest of the A squares with the B rectangles and the center square I just completed. These get sewn together in the same way that we just did the center square. I pressed towards the B rectangles.
Voilà-Block 3 is done...well at least until I add my own little touches.
A mushrooom forest
I hope you have fun making your own version of Block 3. Next week I will have the joy of having one of my sons home for a visit so Block 4 may not get posted right away.
In the meantime I wish you Happy Quilting! Comments are closed.
|
Welcome to the site of Debra Davis-a woman who loves the Lord and loves to quilt.
My other blog where I share about my walk of faith:
Sitting at His Feet This website uses marketing and tracking technologies. Opting out of this will opt you out of all cookies, except for those needed to run the website. Note that some products may not work as well without tracking cookies. Opt Out of Cookies |
Tuning My Heart Quilts by Debra Davis is licensed under a Creative Commons Attribution-NonCommercial-NoDerivs 3.0 Unported License.
Based on a work at www.tuning-my-heart.com.
Copyright 2010-2022 by Tuning My Heart Quilts, LLC. No part of this website can be reproduced without written permission from the author. All rights reserved.
Proudly powered by Weebly


 RSS Feed